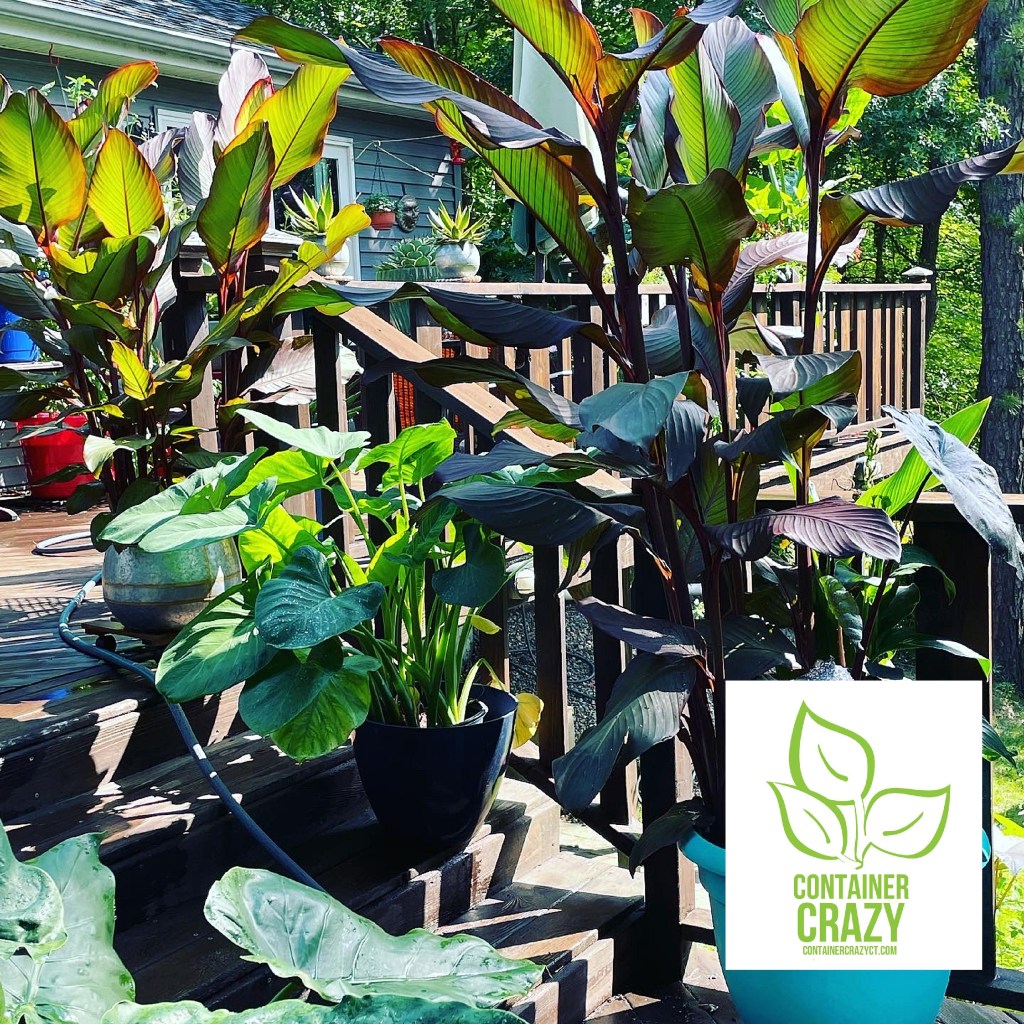
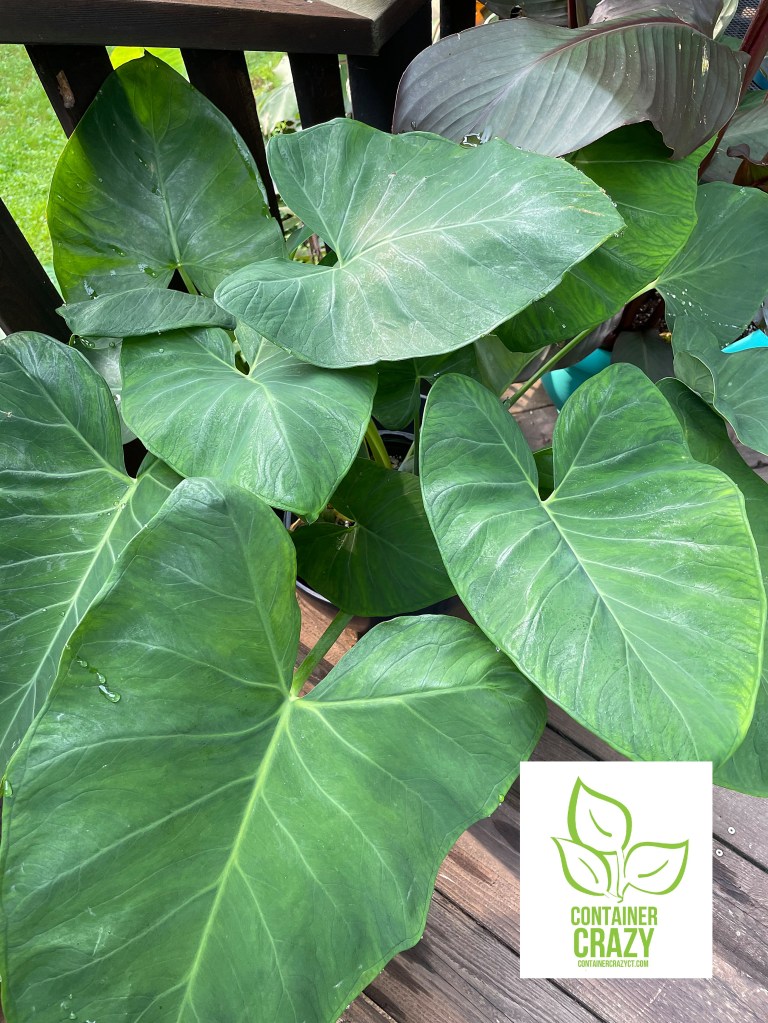
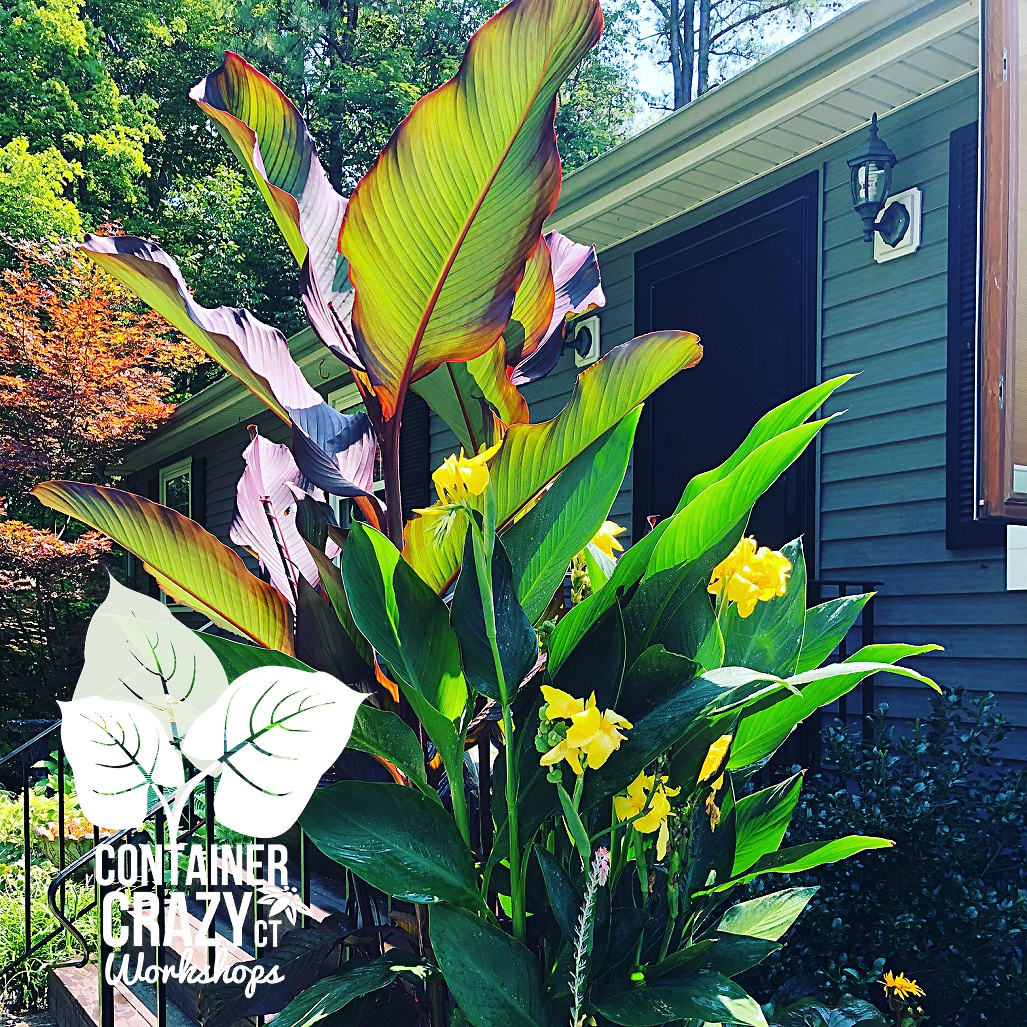
In Connecticut, many plants we use and display in our container gardens and patio pots will not survive the winters here, and must be handled by taking them in as houseplants or storing them by digging out tubers if they have tubers, corms or rhizomes, such as tropical plants like Canna Lilies, Elephants Ears, etc.
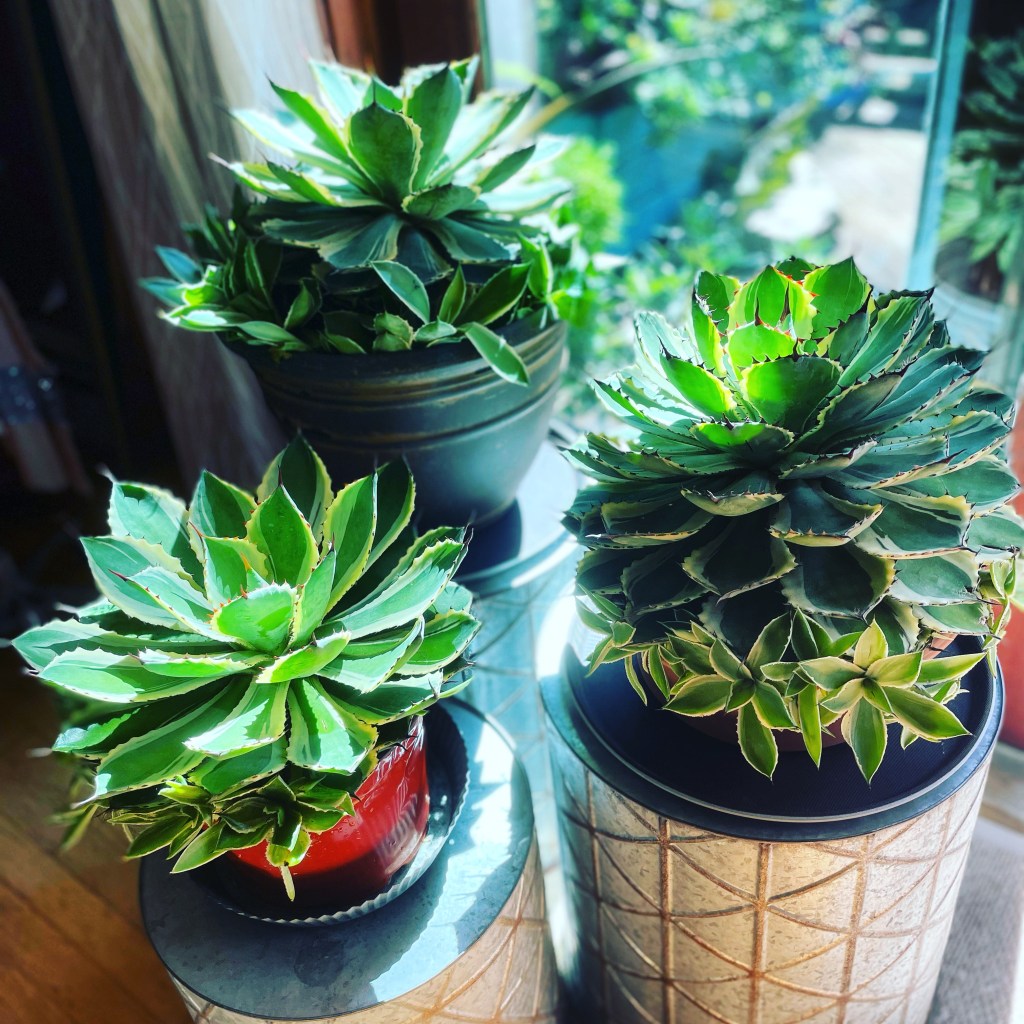
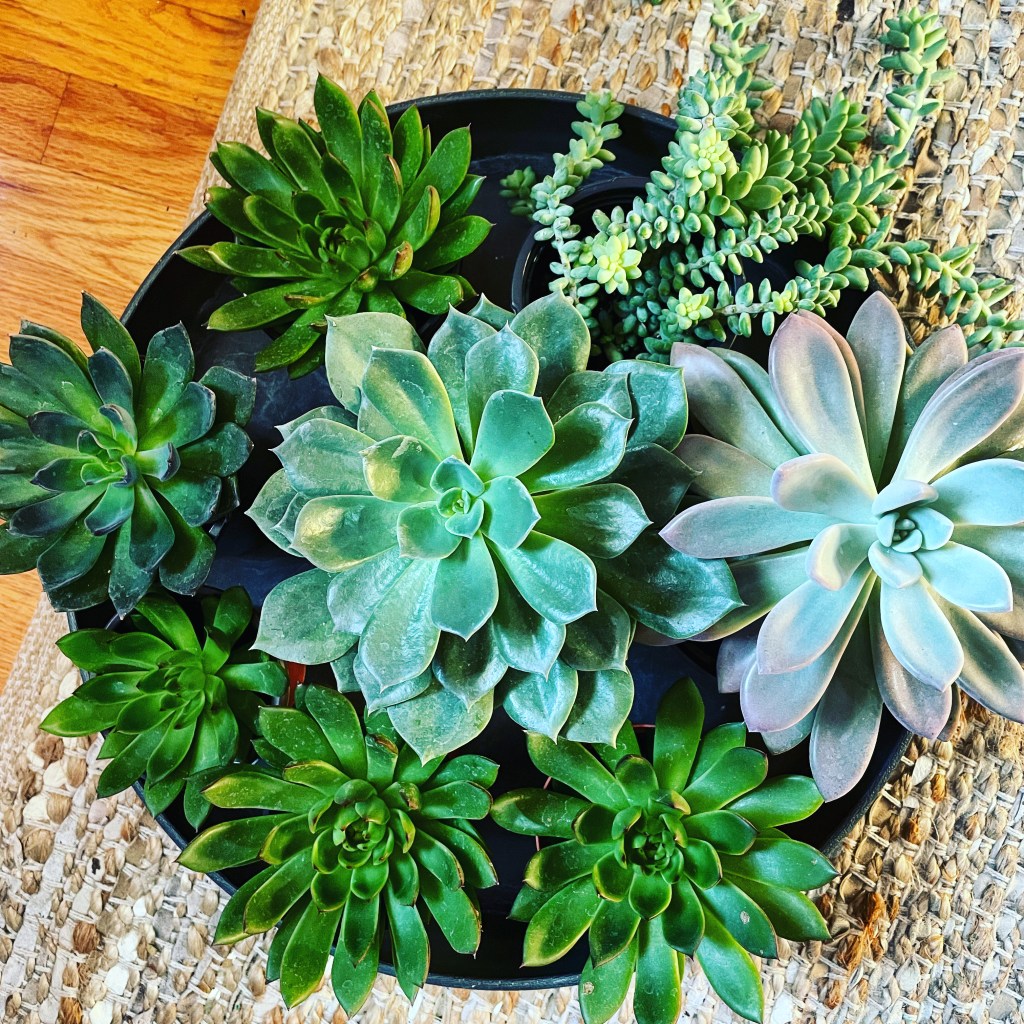
I’ve started some of this overwintering setup process already this year. This year, I mostly have agaves, cacti, and succulents to take inside as houseplants candidates. Some of them are rather large and this is becoming like a jigsaw puzzle in my home, because I’m taking them into the house instead of my greenhouse this winter. I don’t want to pay for the heat for my greenhouse – it is becoming too costly. So, I’m literally back to how I used to store plants when I was first into playing with plants over 20 years or so ago!
Pick and Choose the Best Plants to Take Inside
The process of picking and choosing which are worth taking into the home is interesting. I have literally stared at a giant agave and thought, Hmmm, where could I fit this? I’ve rearranged my small home office so a table has space for some plants by a window. And I put many smaller succulent plants (like in 3-4″ pots) in the kitchen garden window over my kitchen sink that faces south. I even moved a small couch from my kitchen sitting area to fit plants under a window facing west there too. Plant people will do anything for their green babies, like a complete furniture rearrangement to make space by a window.
I see people asking all the time on gardening Facebook group pages, what do I need to do to move in this plant? Sometimes it is a tropical Hibiscus plant, other times it is a traditional houseplant they had outdoors, or perhaps it is a giant Canna Lily plant. Everyone has their suggestions, like dousing them with a dish soap liquid combo, or other methods, like putting them in a garage and doing a bug bomb routine, and someone said they even put theirs in paper bags and spray them with insecticide and let that sit for a day to kill any bugs. Are these methods good? Well, if it works for them – perhaps. Not sure about the bag method, however. But you will try anything to take in a plant for the winter and keep it growing or stay dormant so you may use it again next year outside in the summer months here in CT.
My Ground Rules for Taking Plants In:
I, however, use certain “ground rules” for which plants are selected to be brought into the home for the winter. And here are my rules:
The soil must be dry (as dry as possible).
For succulents, cacti, or agaves, I make sure the soil in the pot has dried out – so they were either kept under a patio umbrella (if there’s been rain) or brought into more sun to help dry out the soil on sunny days recently. I make sure the pot is draining very well, even have tipped a pot on its side and let water run out, and I look at the soil to inspect it. If possible, I may tap the plant out of the pot and inspect the roots and just kind of look over if there are any critters in there. Or rotting roots. Dry soil reduces the potential for soil born insects, I find. And cacti, succulents, and agaves do not need lots of moisture in the winter. So before taking them in, I make sure the soil is as dry as possible. We have had a mini summer episode this week for weather, so it is good right now to try to get the soil dry if possible, so I’m doing that now. Rain is coming Saturday. I want to take them in before that.
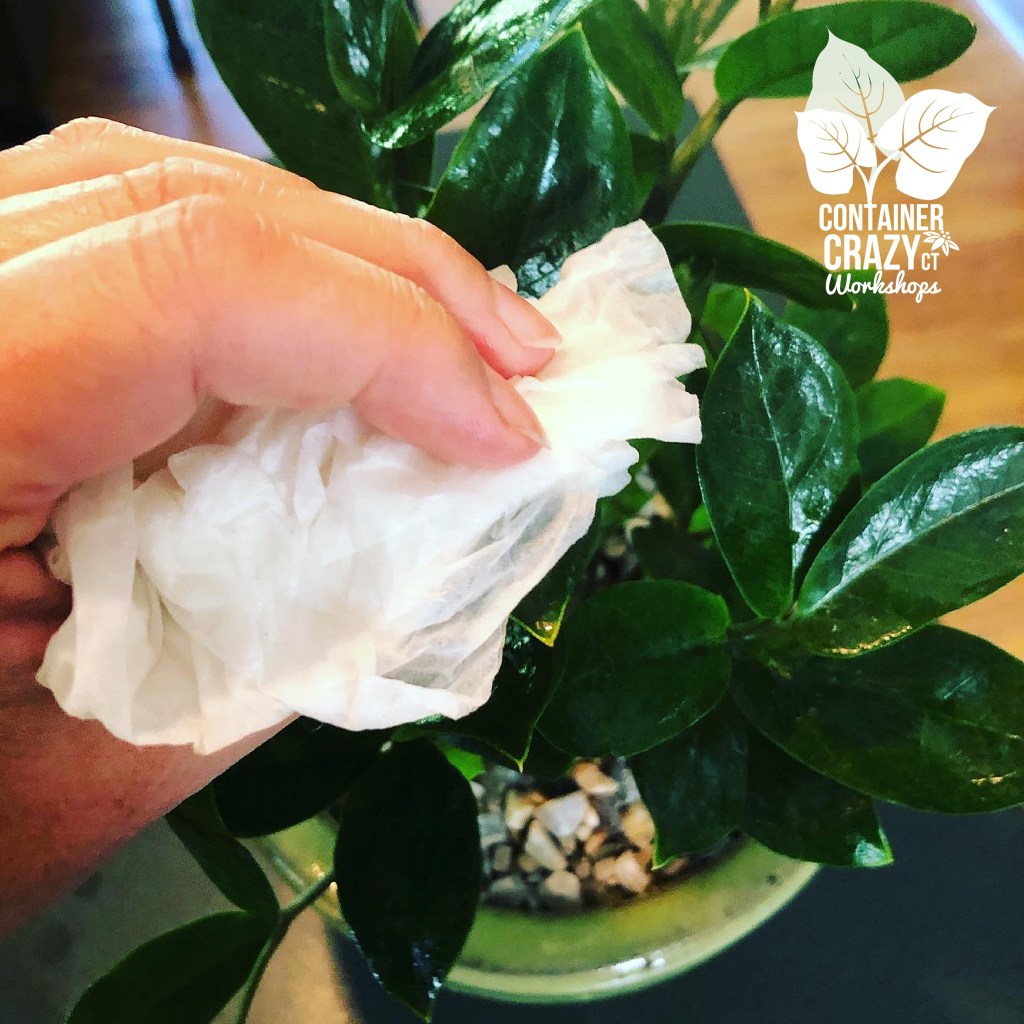
Blow any Debris off the Plant
I have a small leaf blower and I will use that – especially for Agaves since their leaves are stiff and can take the blowing of air, to remove any debris. Leaves from trees sometimes fall on them and get stuck between the leaves of the plant. A leaf blower is perfect this this – it may blow away a spider or two as well, but spiders are usually good bugs, however, if you have a fear of spiders, you probably want them gone before taking the plant indoors. I cut off any bad or damaged leaves of plants after this. What I’m trying to do is remove any potential for something to cause issues. Some insects feed on decaying plant material, so getting rid of anything decaying on the plant is a must. A vacuum may be another handy tool, and also look under leaves of plants for anything lurking.
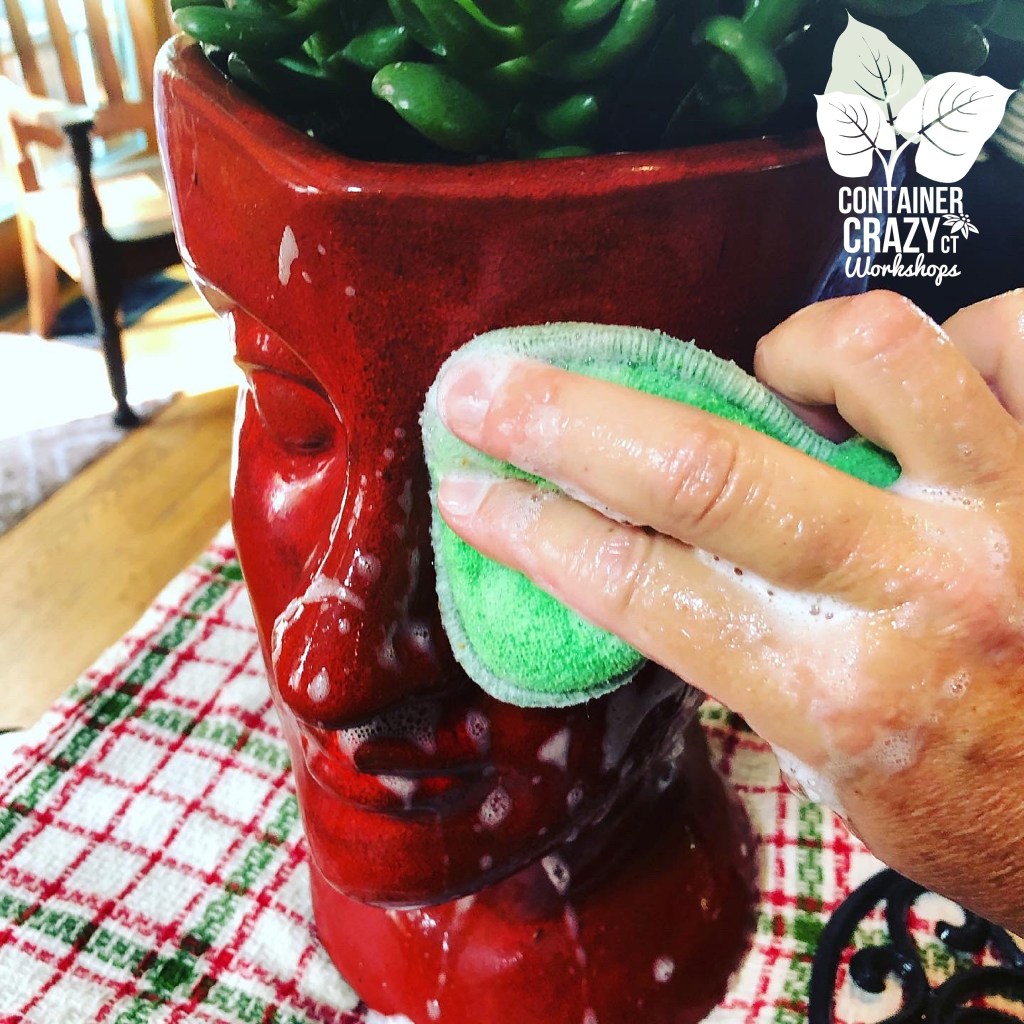
Washing the Outside of the Pot
I use soapy dish water to very thoroughly clean the outside of the pot. I want to make sure I’m not bringing along any debris, dirt, or maybe something unseen. All of this is done to prevent bringing in trouble, like hidden insects or any kind of lurking problem. It is a precaution of sorts. But worth doing.
Selecting Best Location Possible Inside
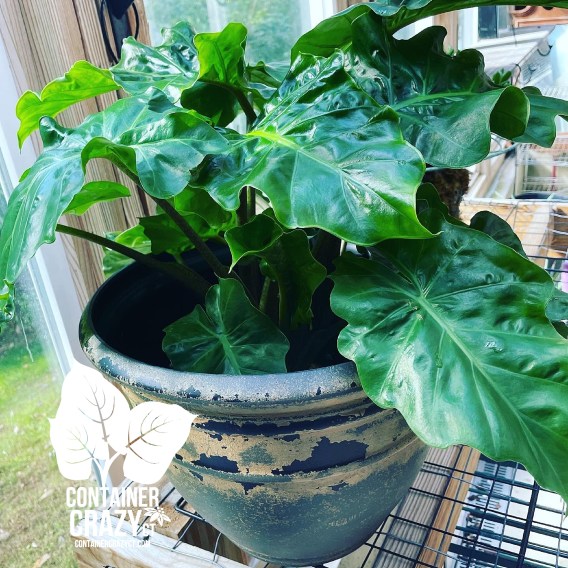
It is tough if you don’t have a glass house, but there are some places I know my plants could make it. Some of my medium sizes agaves went inside the bedroom by the slider. It is Southeast, it will get some sun, just enough to hang in there. I put the mini succulents in the kitchen garden window but remember that window gets cold in winter, but most succulents or cacti can take “some cold”. On good days, I am sure to open the little side windows on the garden window to give the plants air circulation. I also put some on a table in my home office which faces north. I’m not sure if that is going to work though, but I may get a small grow light and try that location. That window and room is colder, but not as cold as an unheated greenhouse would be. However, there are some succulents that actually are fine with less sun so those will go in the office. My bathroom small window works for a couple plants. Plants that don’t need a lot of sun and like humidity from the bathroom shower may go on a little table there.
Spraying Plants with Houseplant & Garden Insect Killer
This I do with only some. If a plant has a bug issue and I see it – and it is bad, it doesn’t make the selection list at all to bring inside. It is too much of a risk to increase and spread. If I may suspect a tiny problem; I may lightly spray the plant before bringing it in to try to treat it. Garden Safe is one I have used. But I truly don’t do this too much. Look at the bottle label on the back, make sure it is a safe product for your particular houseplant candidate (some products should not be used on particular types of plants), and do that outside before you bring it in. Again, I avoid plants with problems, and usually I don’t have too many big issues because I coddle my plants in the summer as well. Many people use insecticidal soaps or horticulture oils, etc. Ask your local nursery person for a good product or browse those sold in stores, but read the label on the back, open it up and see if any plants should not have that spray on them.
Giving Plants Away
I select the people I give my plants to with as much carefully thought-out consideration as I do with which plants come into my home. My sister-in-law has a beautiful big glass living room, and she has a green thumb. I just gave her one of my huge Jades. She was thrilled. I have given her plants before, and she always keeps them thriving for years. It makes me feel good when I see the plants in her home, but I also have that tang of jealousy, like, wow, I gave that one away?! But like I said, my house is small. And she truly does take good care of them.
Overwintering Saves Money for Next Season
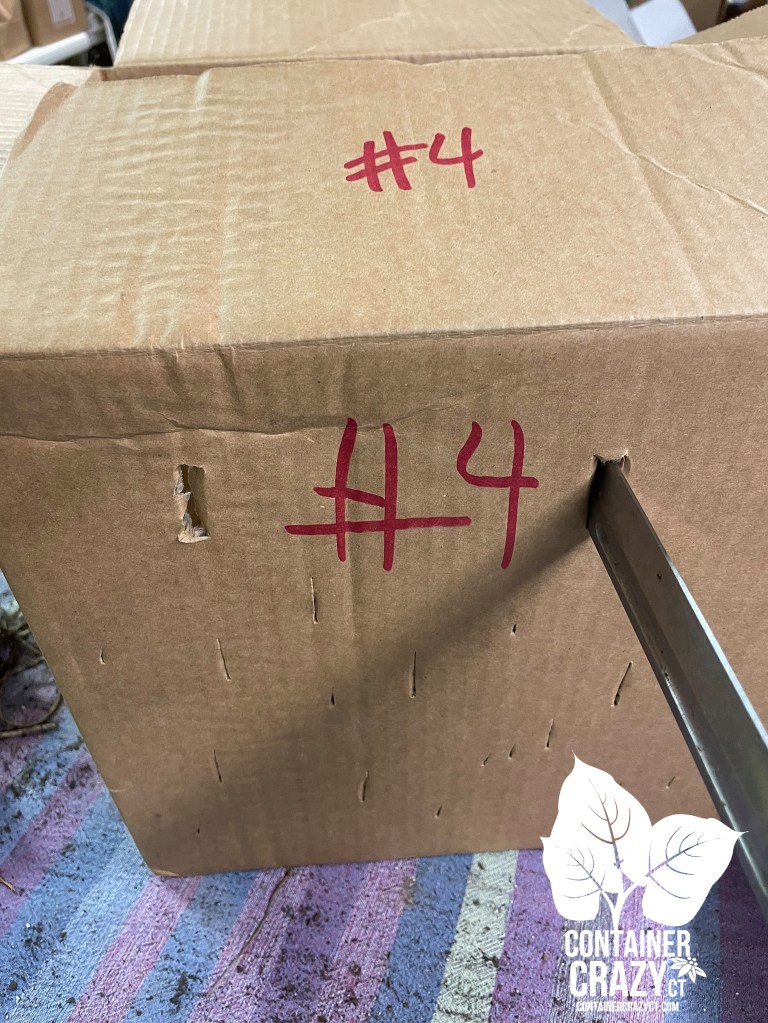
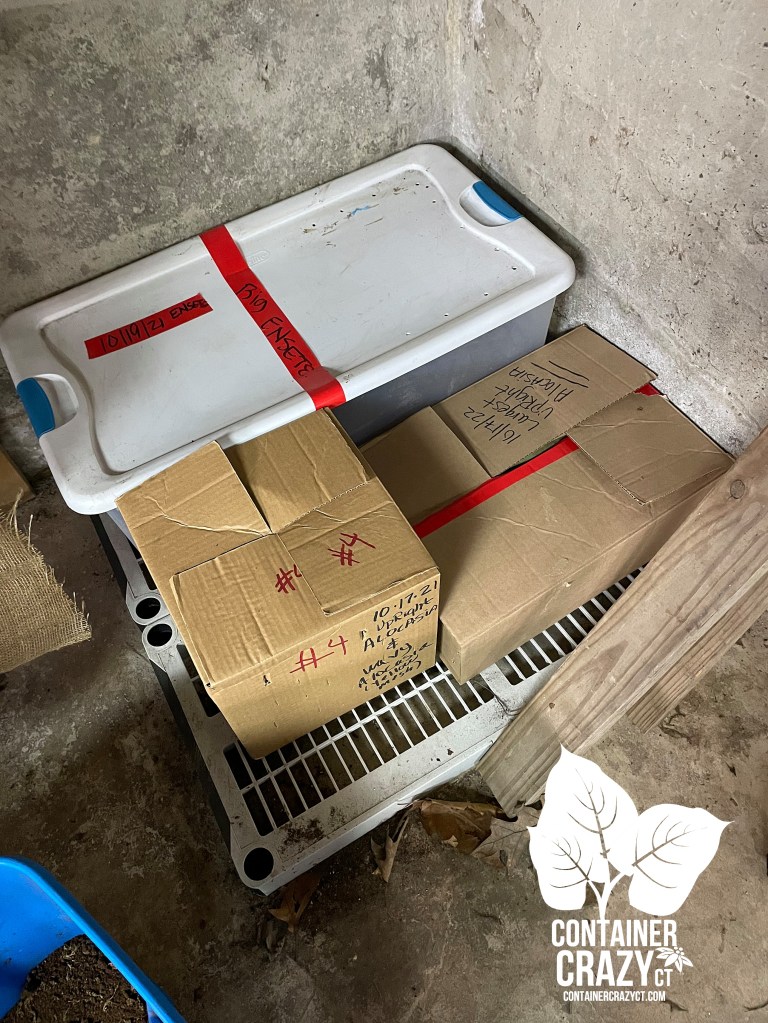
Overwintering plants is a way to save money and also is a method to keep your treasured long time plant companions going for years. It also adds beauty inside your home. And life! But probably the biggest concern people will have been insects and the correct place to put your plant so it can make it. A room with absolutely no light may not work for the houseplant candidates. It depends greatly on the type of plant and the temperature too in the house. If you keep a room totally unheated, that can stress a plant. But that room may be perfect for tubers you are storing in boxes, for example. I will go over tuber and storing of corms and rhizomes again soon.
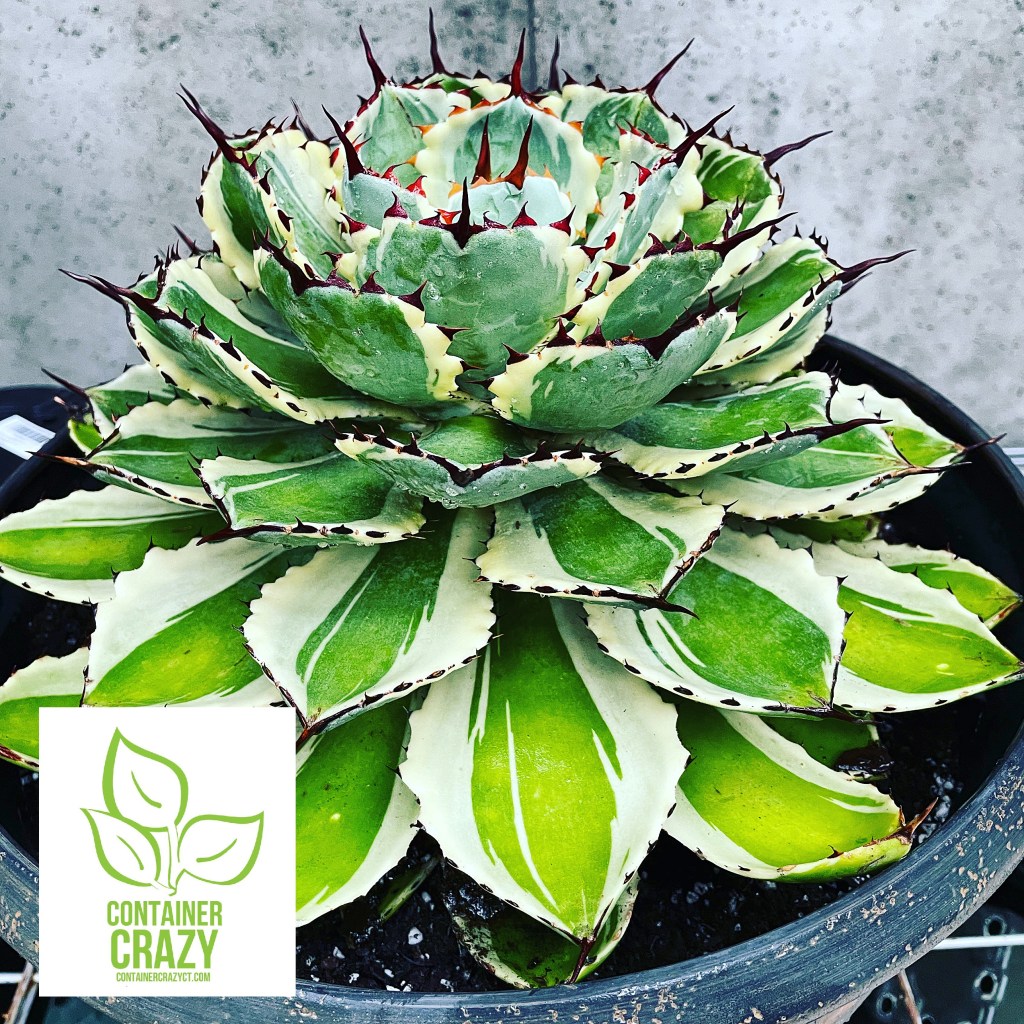
I have a rather large Agave which I’m currently trying to figure out where to fit it. It has matured so much over the years; it is huge and heavy! I noticed one day ants going to the base of the large pot. I thought, uh-oh. I won’t move that one in the house without potentially taking it all together out of the pot and removing all the soil – what a chore, and it can be dangerous due to their spines. I’m still contemplating this one. Should I try to sell it? It’s a monster! What will I do? I don’t know.
Other methods:
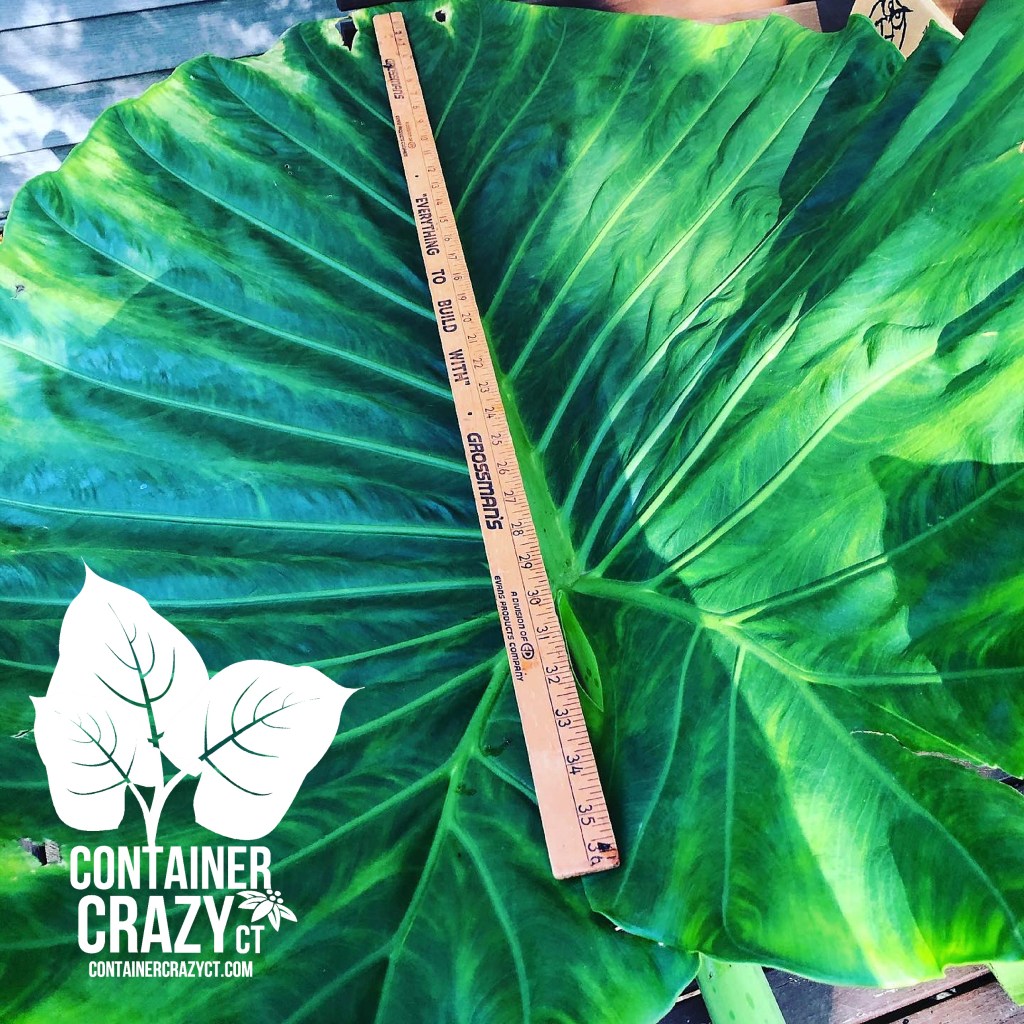
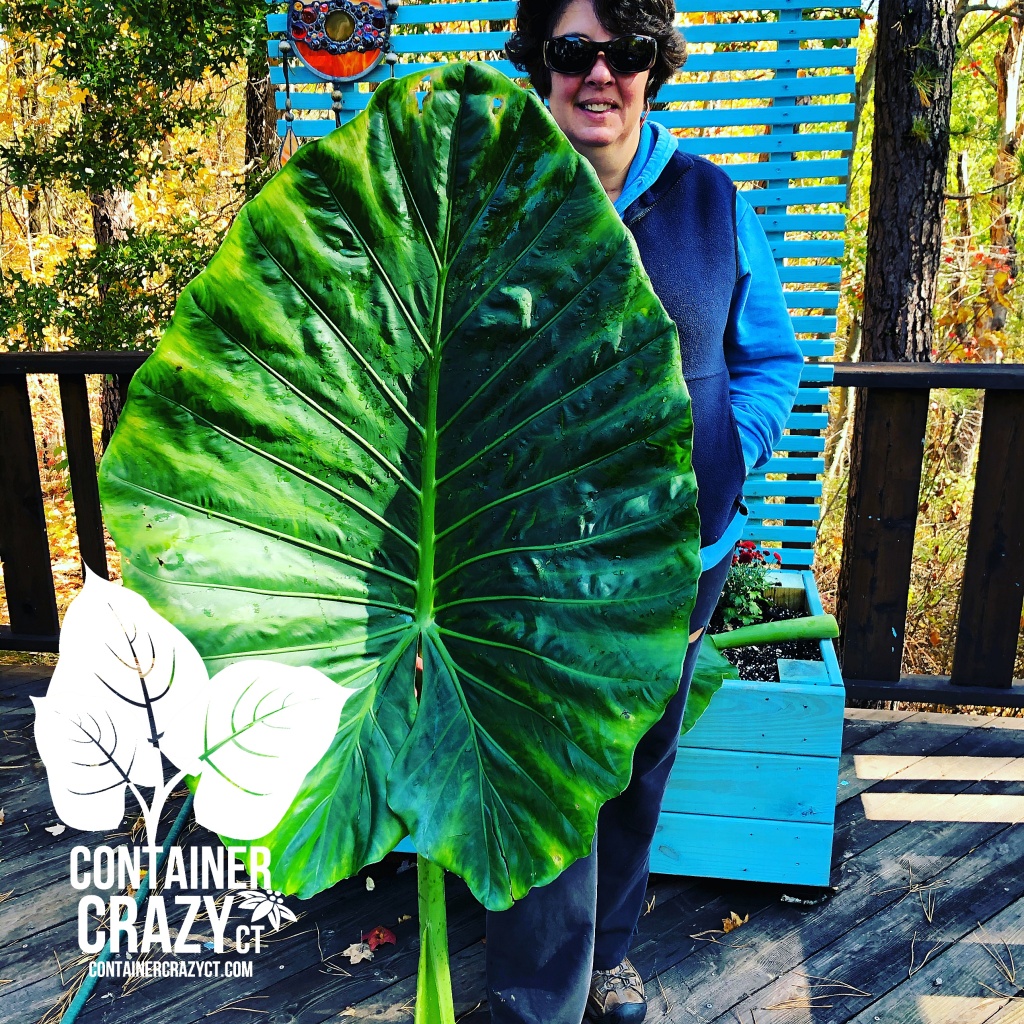
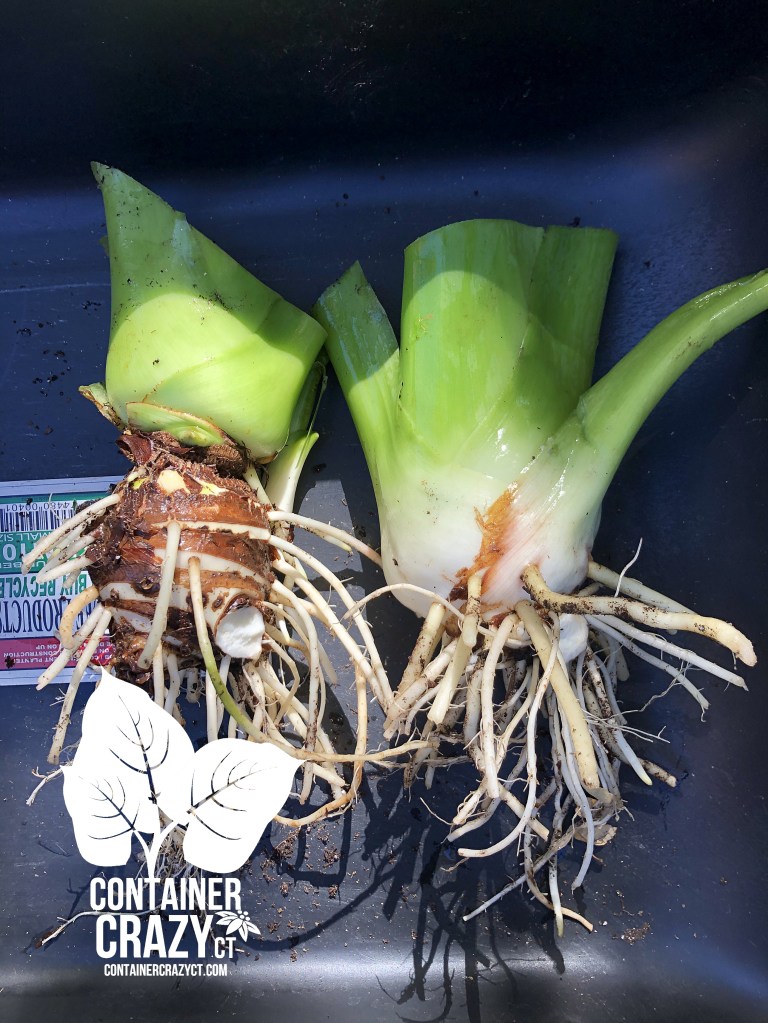
There are other ways to capture some of the parts of the plants like taking off-sets or cuttings of annuals or even some succulents will have off-sets or plants on the stalks, seed gathering for other types of plants, etc. And storing tubers or rhizomes of tropical plants which I will most likely cover here again, but I also have many posts from years past on this on this blog. Use the search bar to search for them. But right now, I’m focused on my agaves, cacti and succulents for this post.
Keep your Inspection Hat On!
Finally, once you have decided to keep a plant and take it indoors, keep your inspection hat on. Look over the plants every few weeks or even every few days initially. If you see a problem, act on it before it spreads. Reduce watering greatly for cacti, succulents, and agaves. They don’t need water much during the winter.
Thank you for visiting!
Cathy Testa
Plant Blogger
Connecticut
Date: 10/4/2023, Warm sunny weather this week but rain and cold on Saturday!
I have a post from 2013 on how I stored my Big Red Banana Plant (tropical plant). It is sometimes difficult to search for, so I’m linking it here below for those asking:
Storing My Big Red Banana Plant
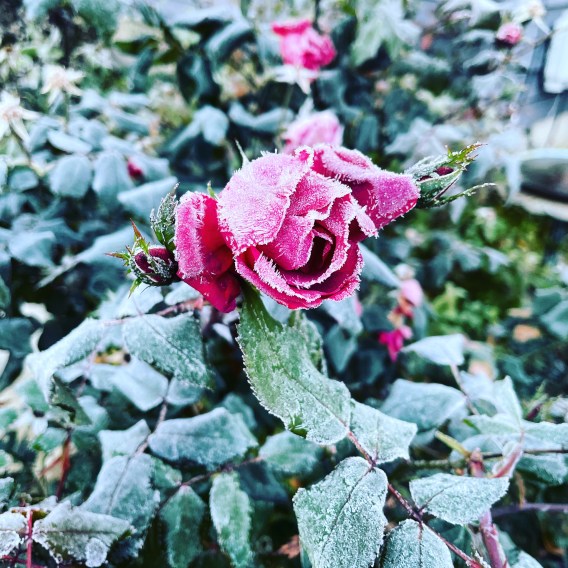
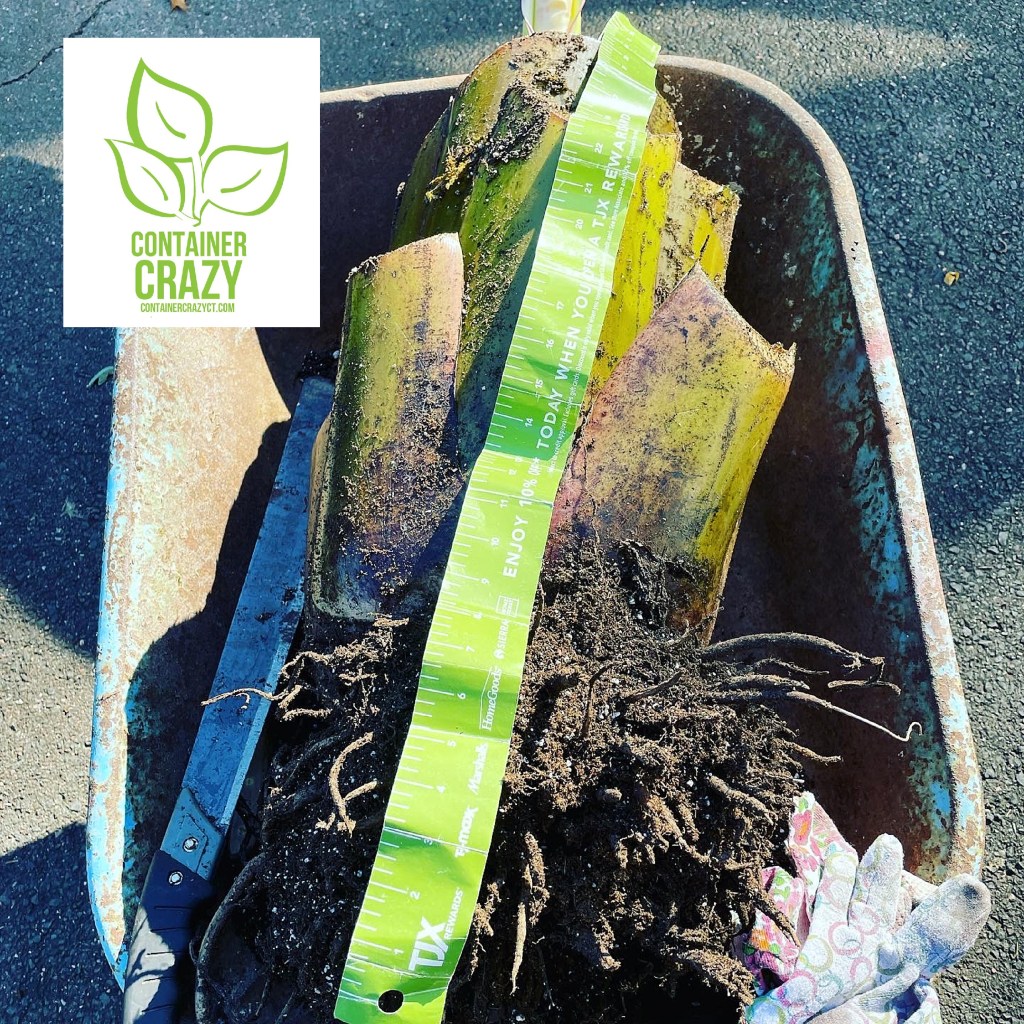
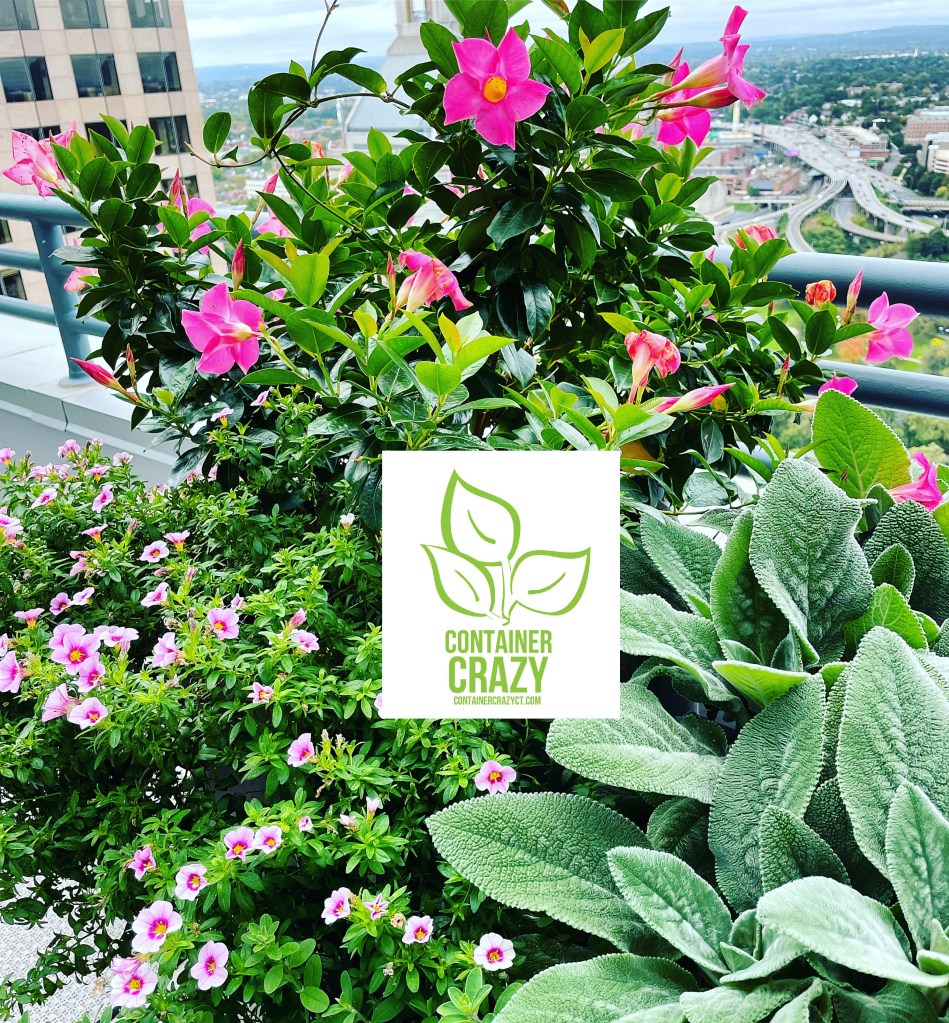
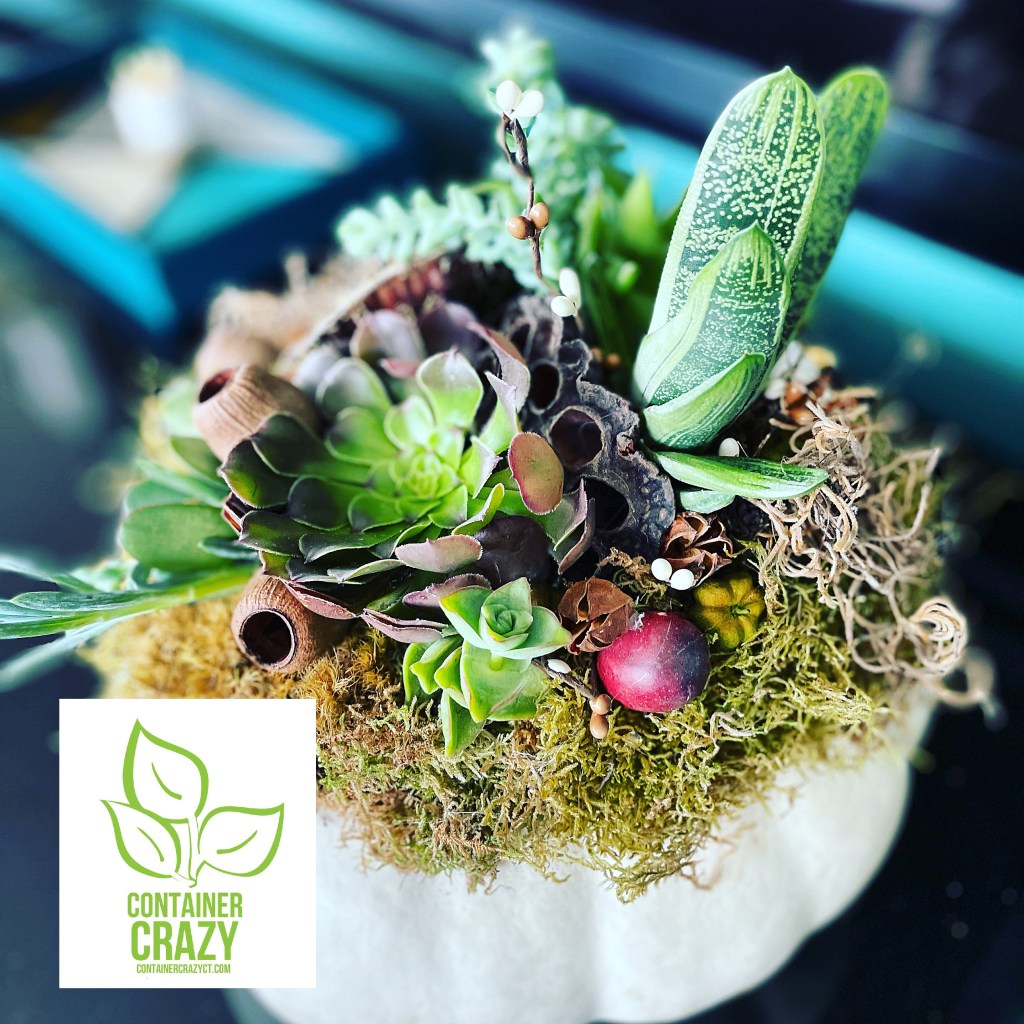
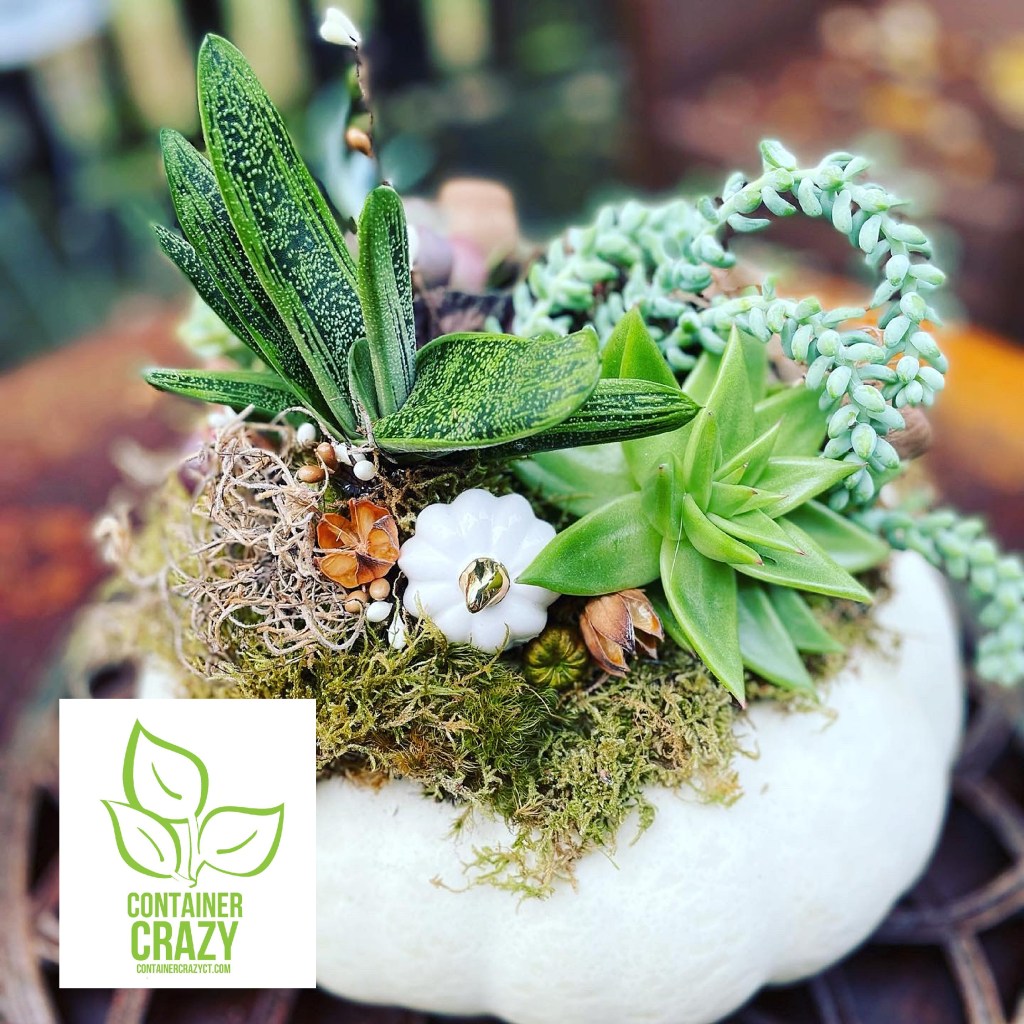
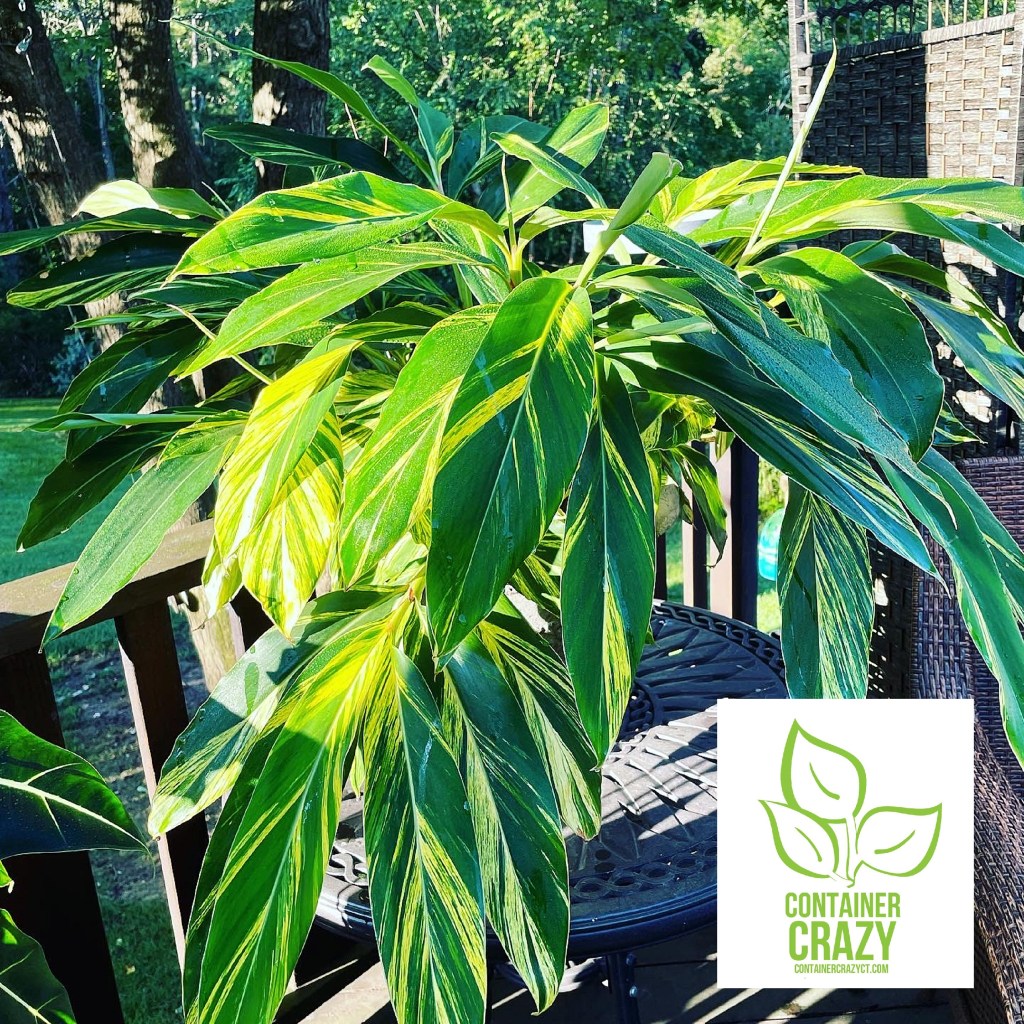
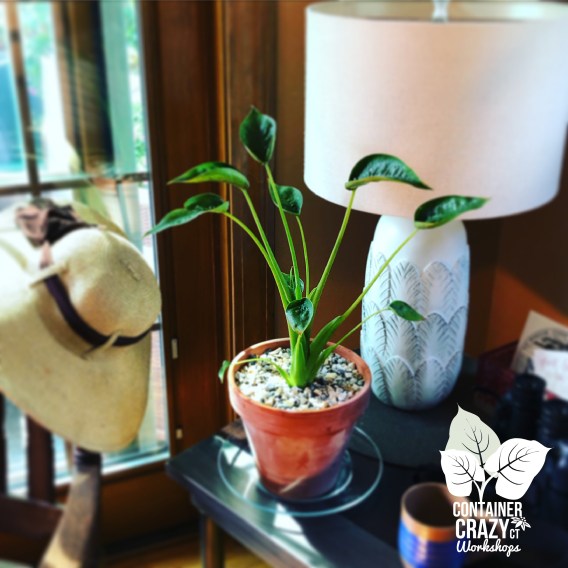
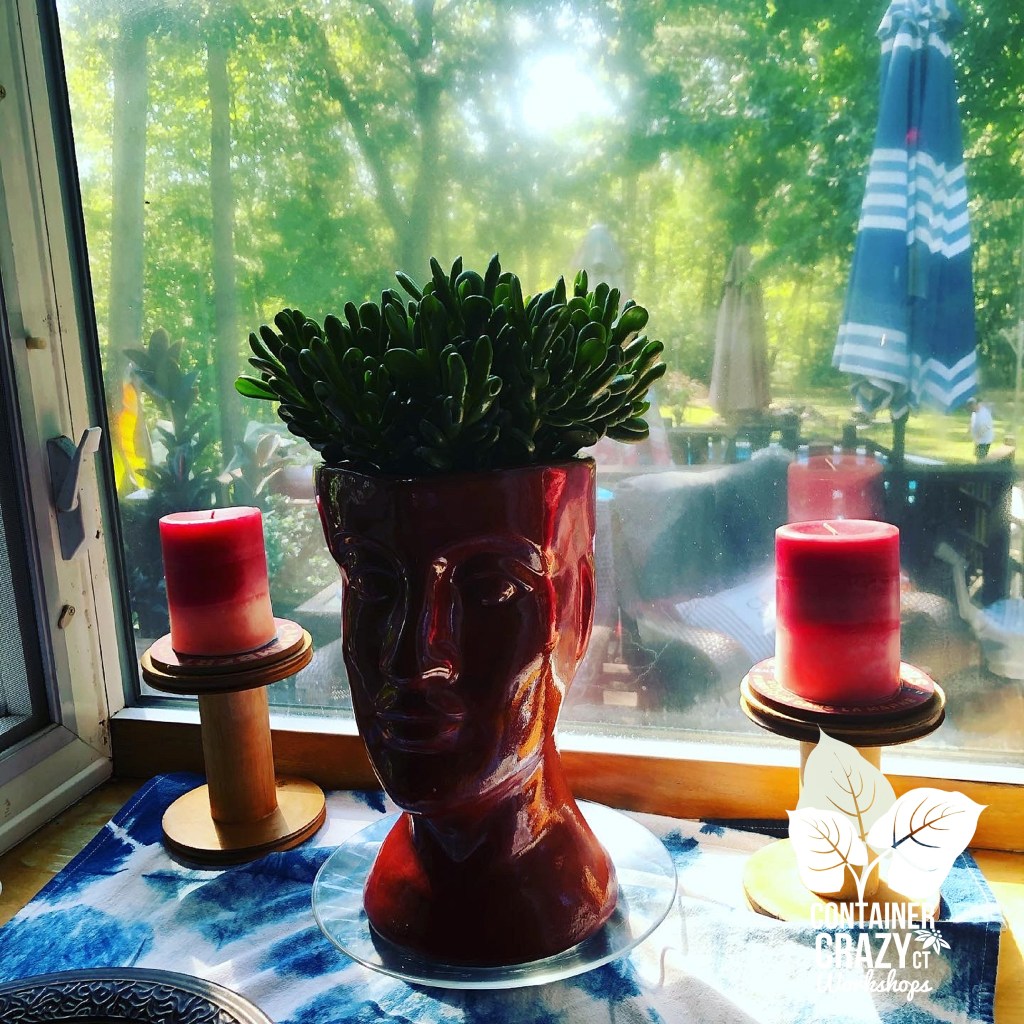
Photos related to today’s post: