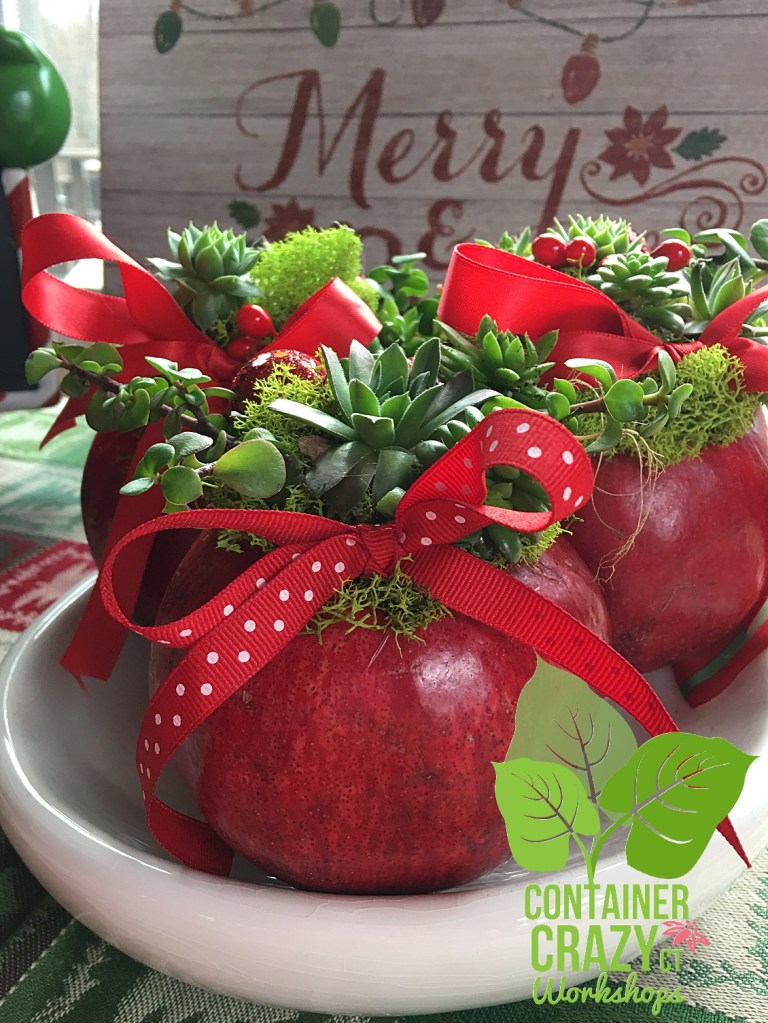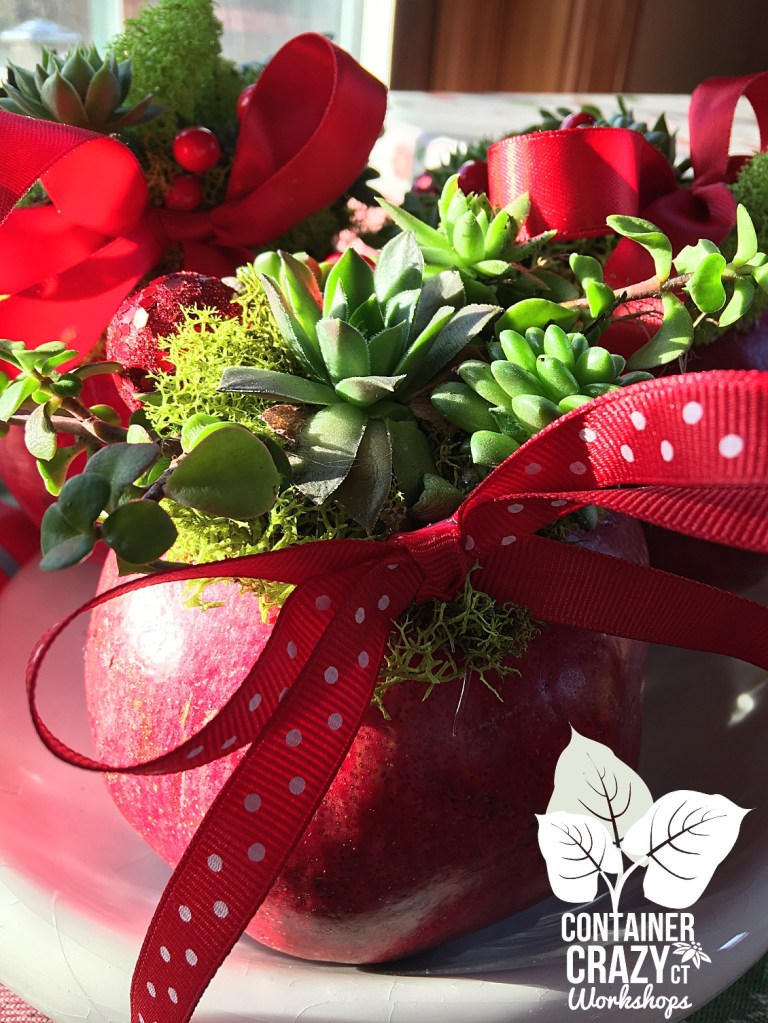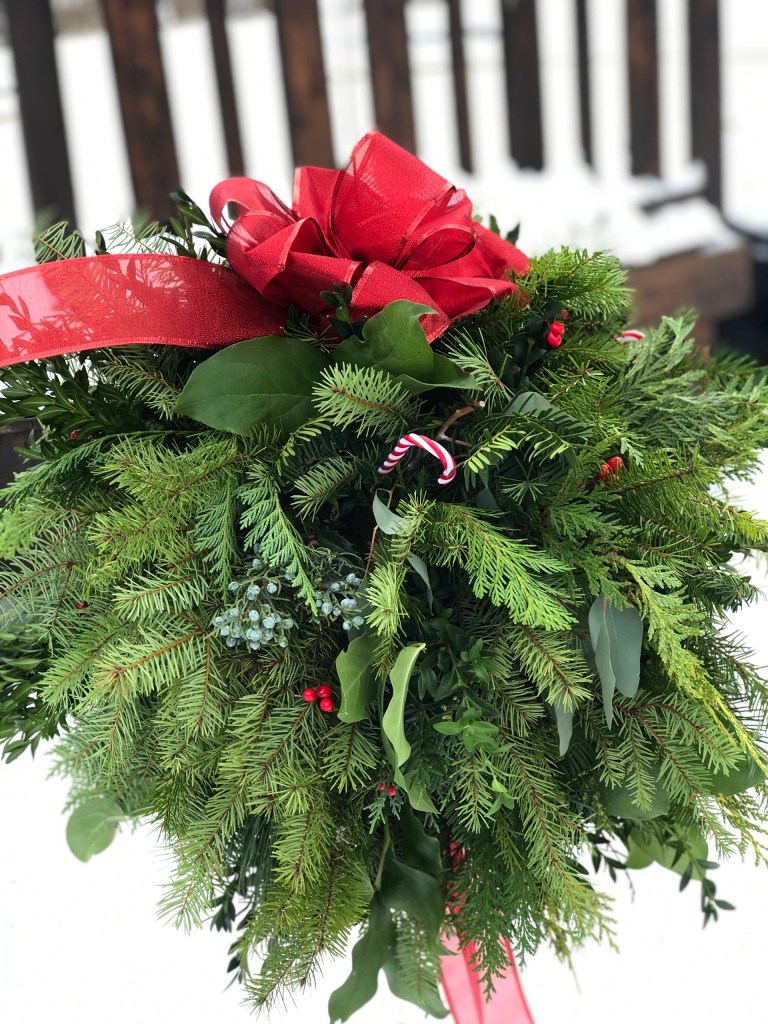
Most of my former or current followers are aware of my holiday workshops. They were held to make wreaths and kissing balls. I obtained some of the best greens around and made sure the mix was of good quality.
But alas, those workshops are now memories. I continue to say good bye to past events related to my small plant business. I look over many, many photos I had kept. I need to start deleting them off my databases.
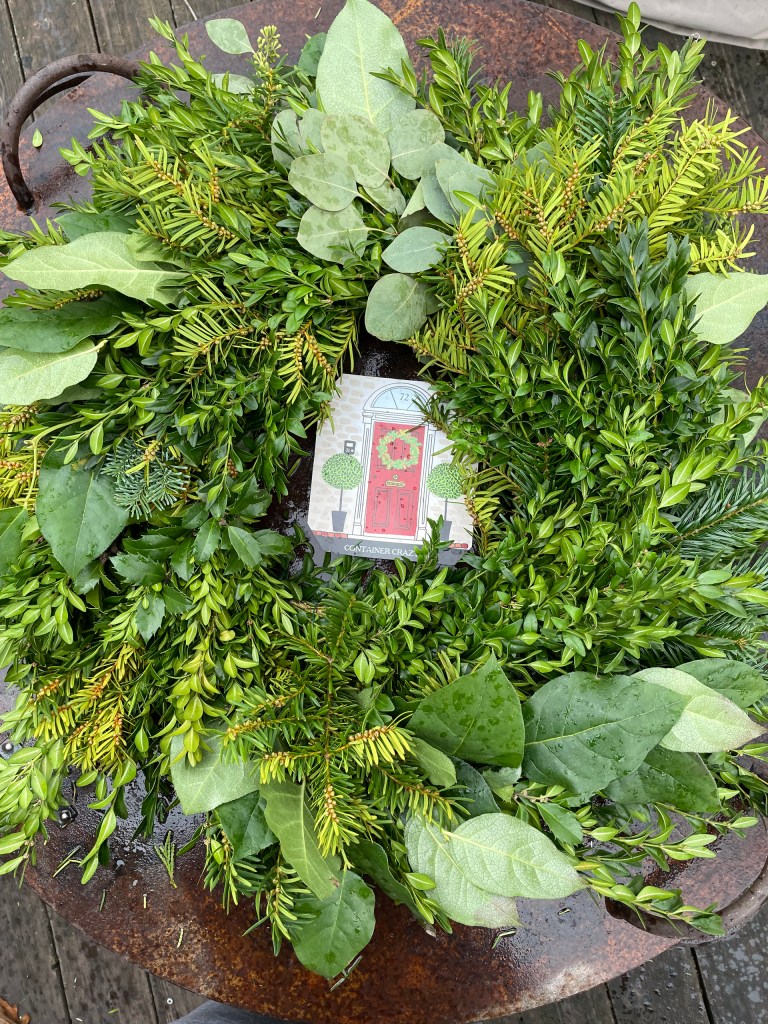
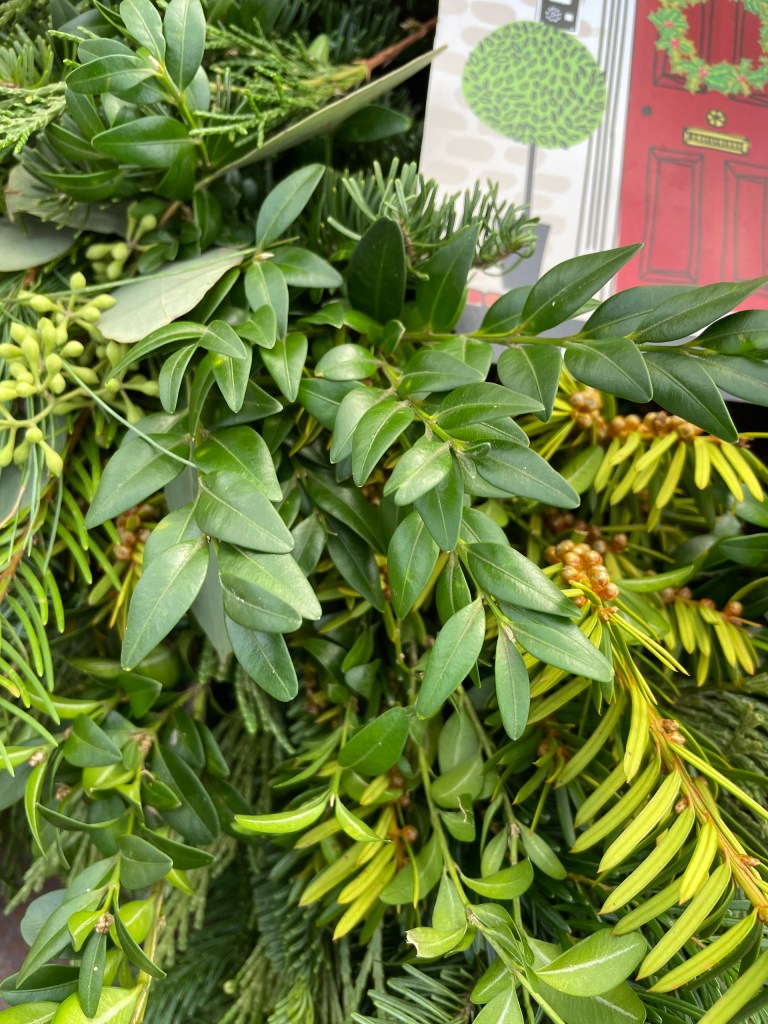
Thus, I really want to keep a history of the greens photos I took. Each photo displays the texture of the green. It serves as a great reference for anyone wanting to know which is which. This is mainly the only reason I’m posting them here on my blog. I plan to keep my blog for a few more years. If I need to look back on them, here they will be!
Let’s get started.
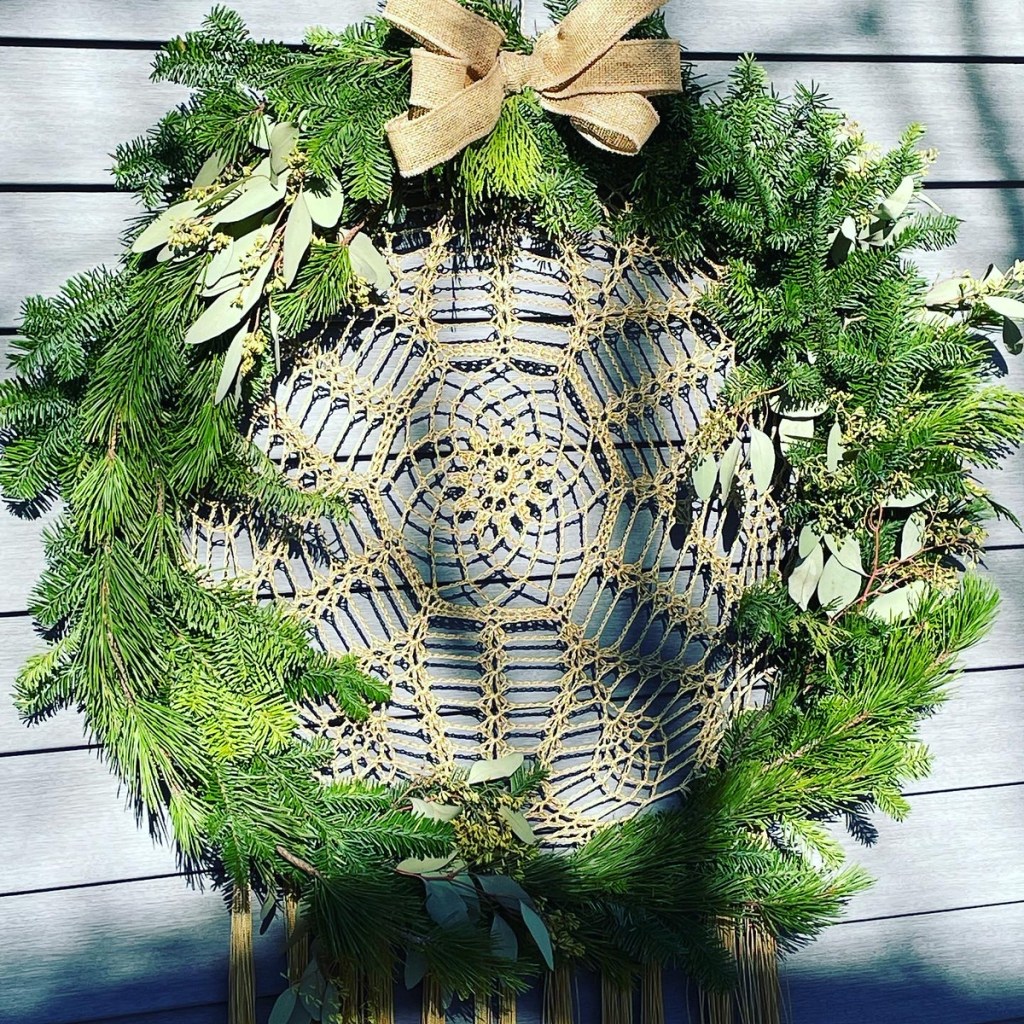
Seeded Eucalyptus – Isn’t it beautiful? It has beautiful soft blue tones to its leaves and tiny seed pods that look like buds to me. There’s no doubt it adds a special elegance when mixed with other greens in an arrangement. It also adds elegance on a holiday wreath. It is delicate with narrow stems.
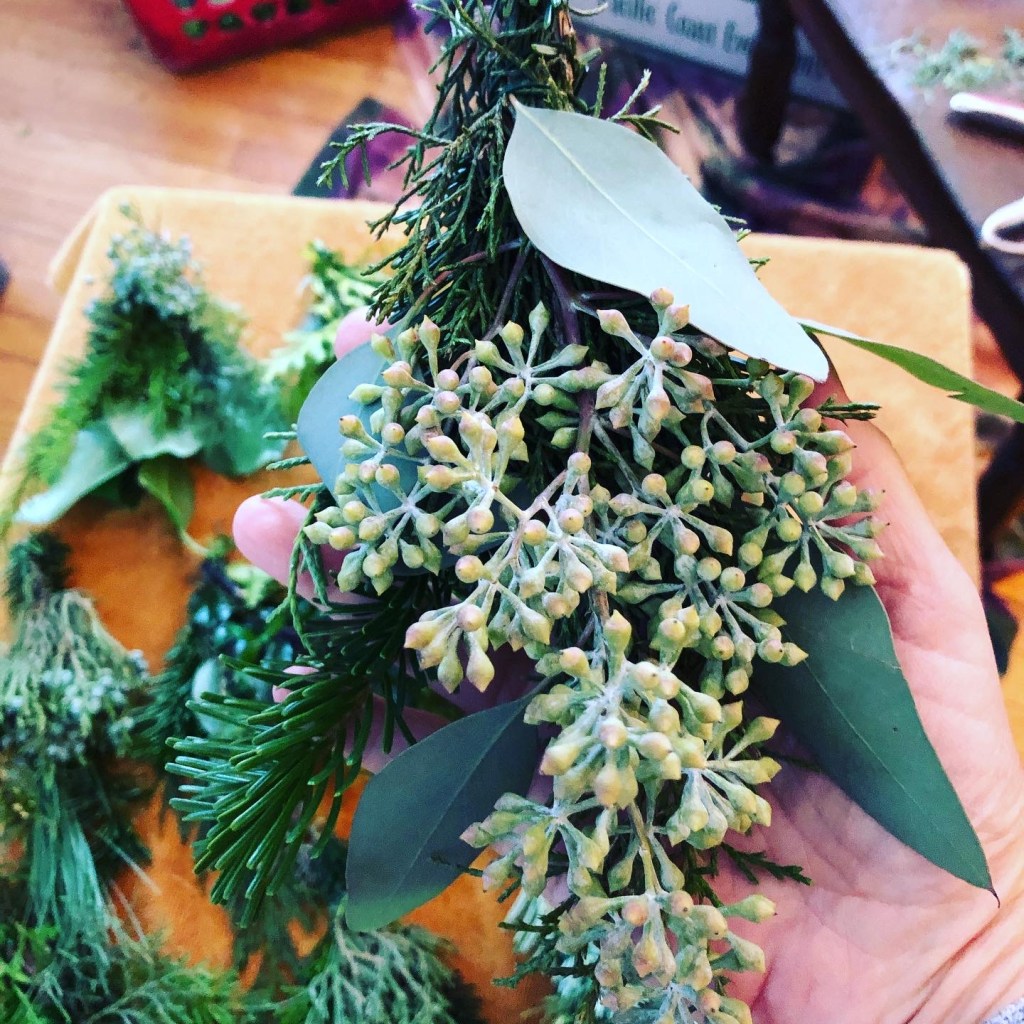
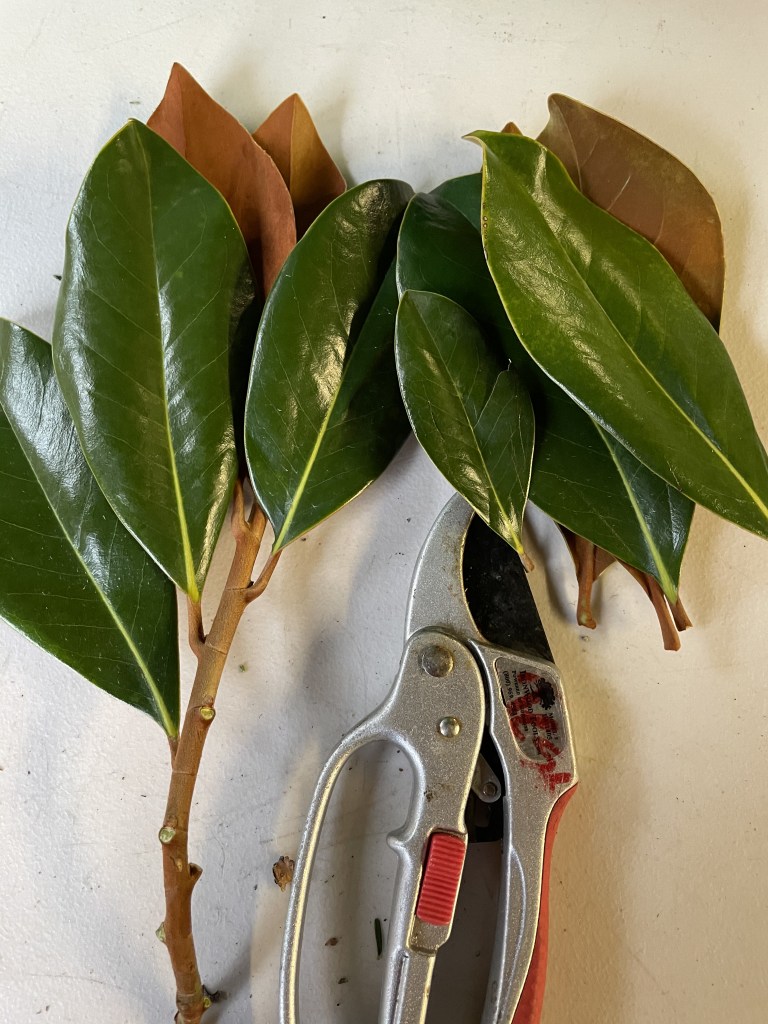
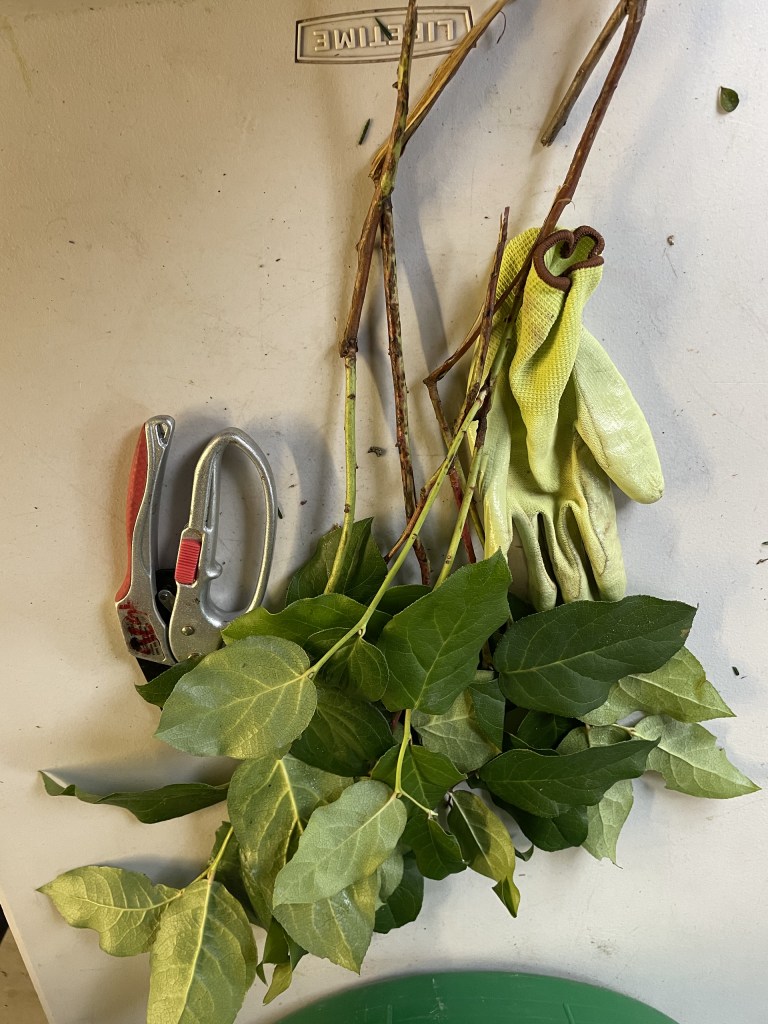
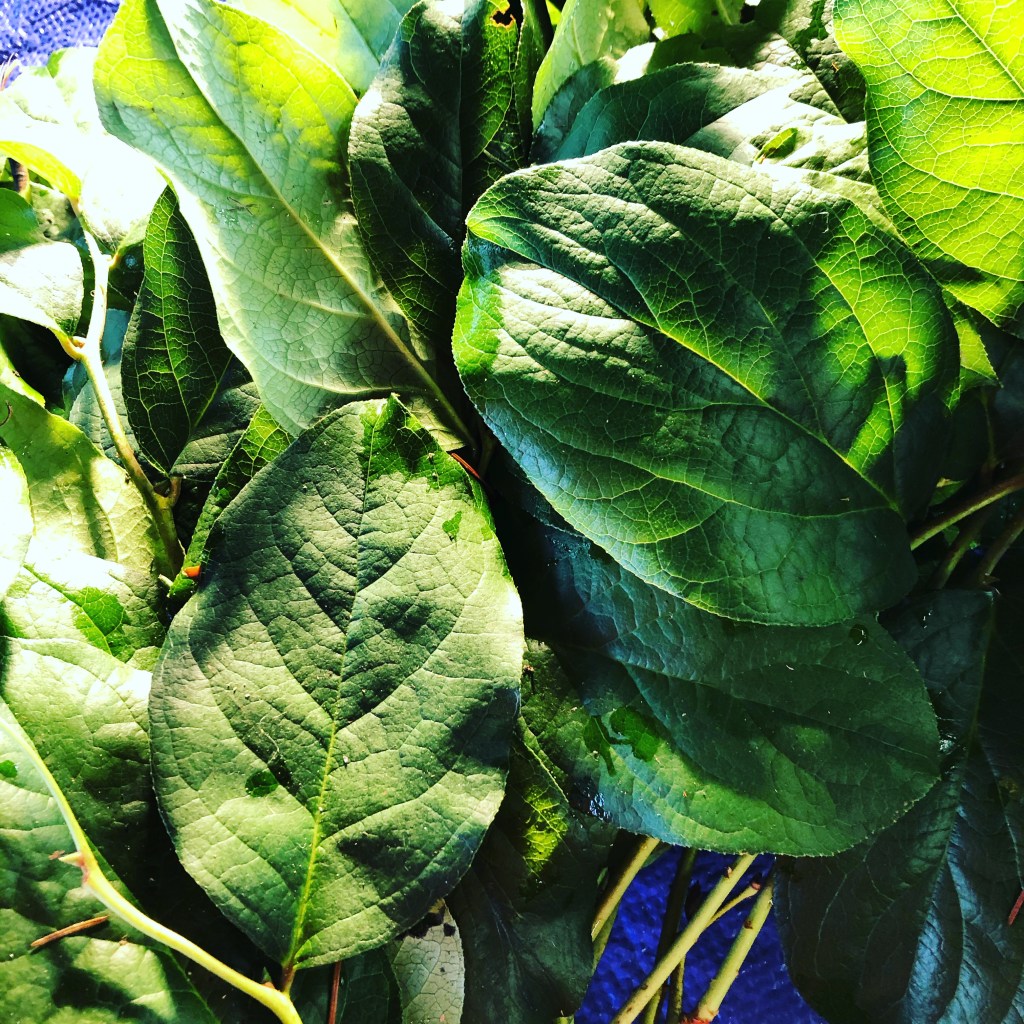
Magnolia Leaves – Everyone loves these, but they were just too expensive to use. I do think they are gorgeous. The shiny front side of the dark green leaf and brown fuzzy-like backside of the leaf are stunning. They are big so they added the larger sized contrast next to finer textures. What I mean about expensive, is I could not justify the cost of getting a bulk in my workshops. I had to cut back somewhere, so eventually, I did not order these going forward.
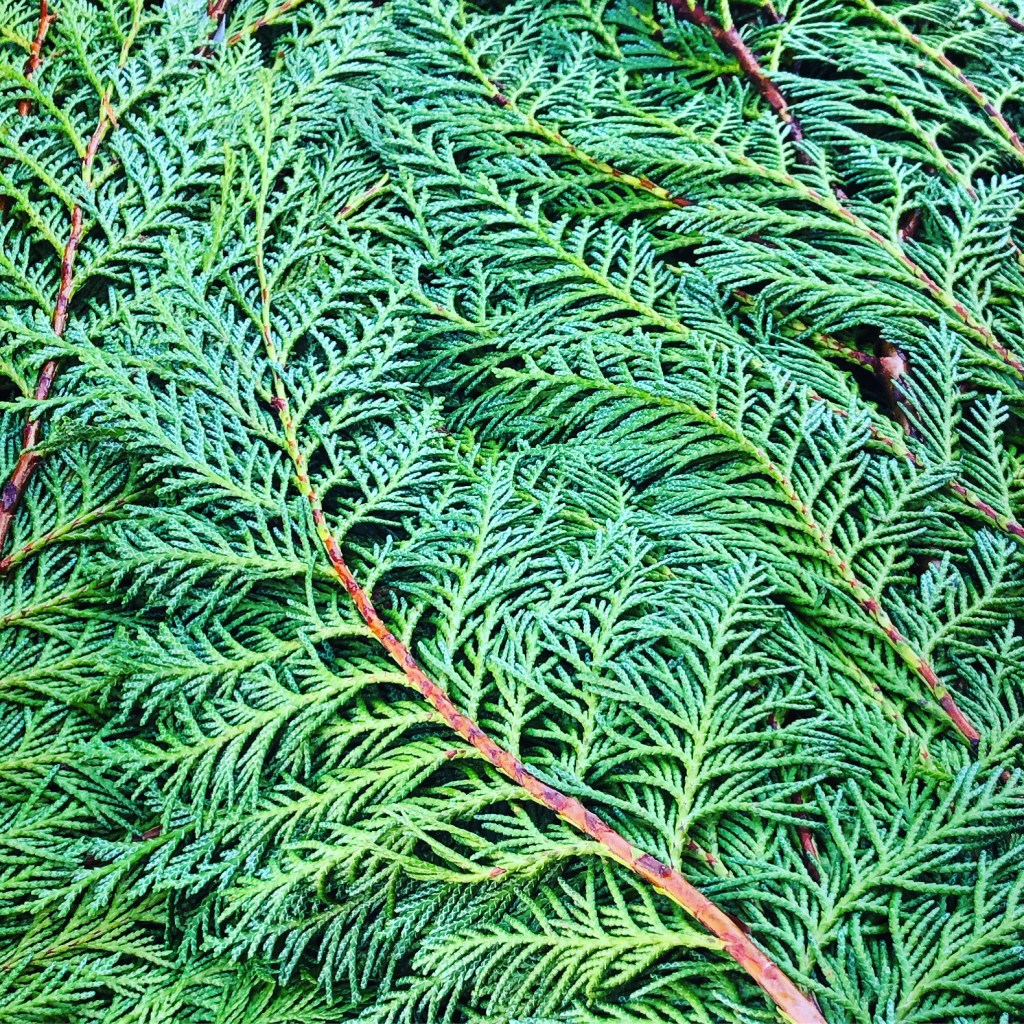
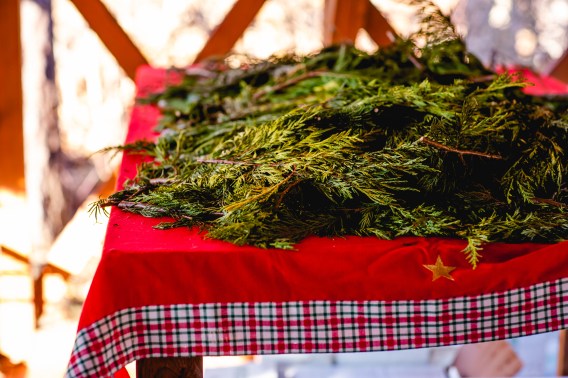
Cedar – The scent and movable texture. Can be used nicely solo on a wreath. You can make a wreath fast if you use only cedar. The branches or tips are long and easy to bend on to a circular wreath frame. I used cedar only sometimes on super big wreaths I made for an outdoor balcony.

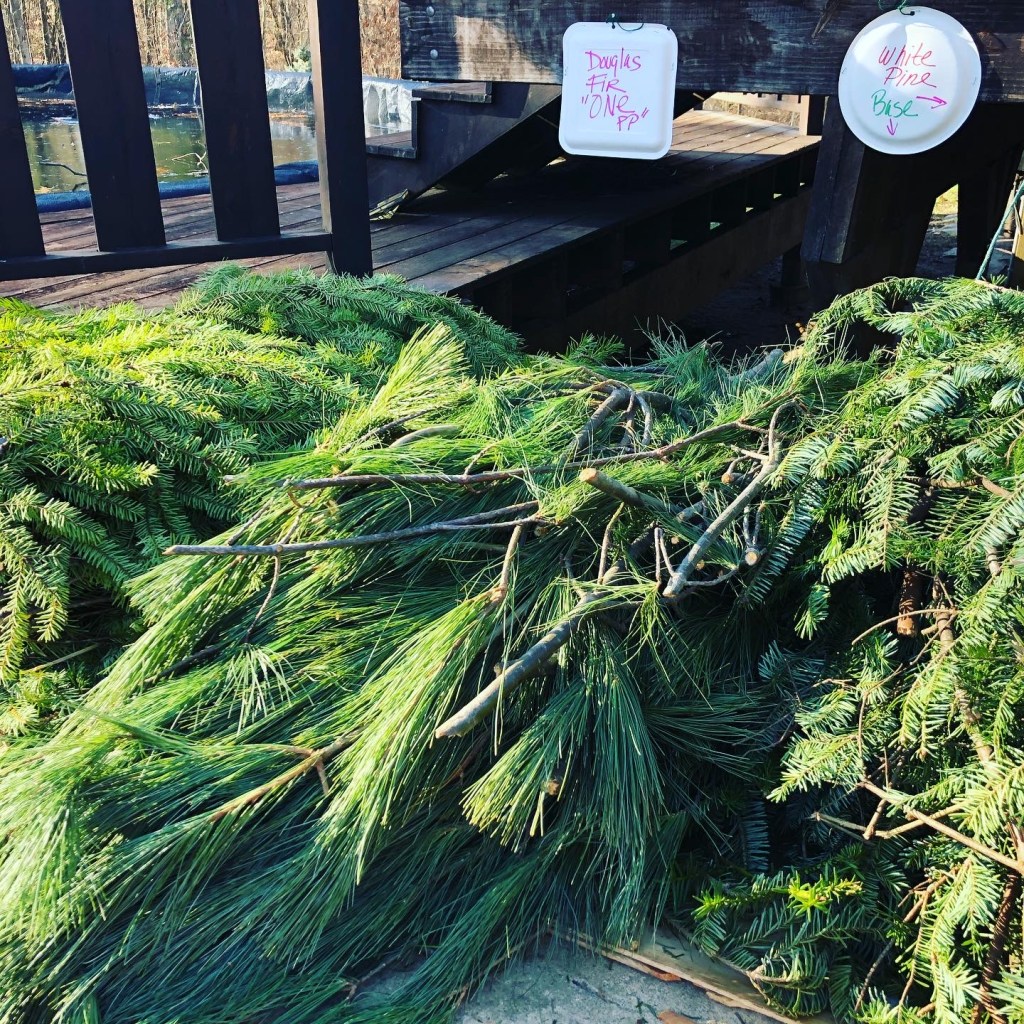
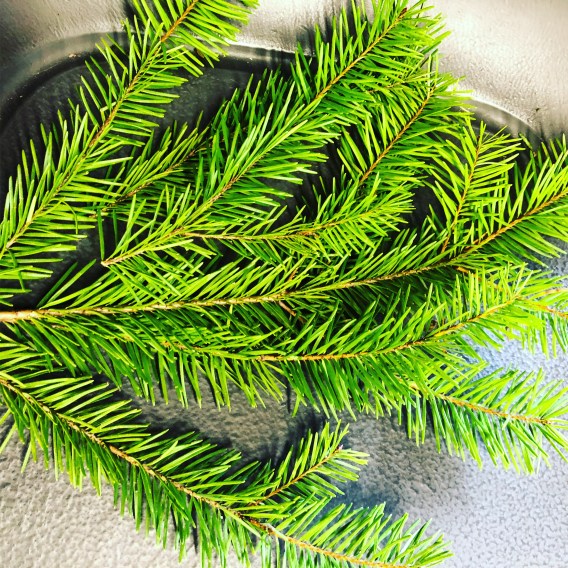
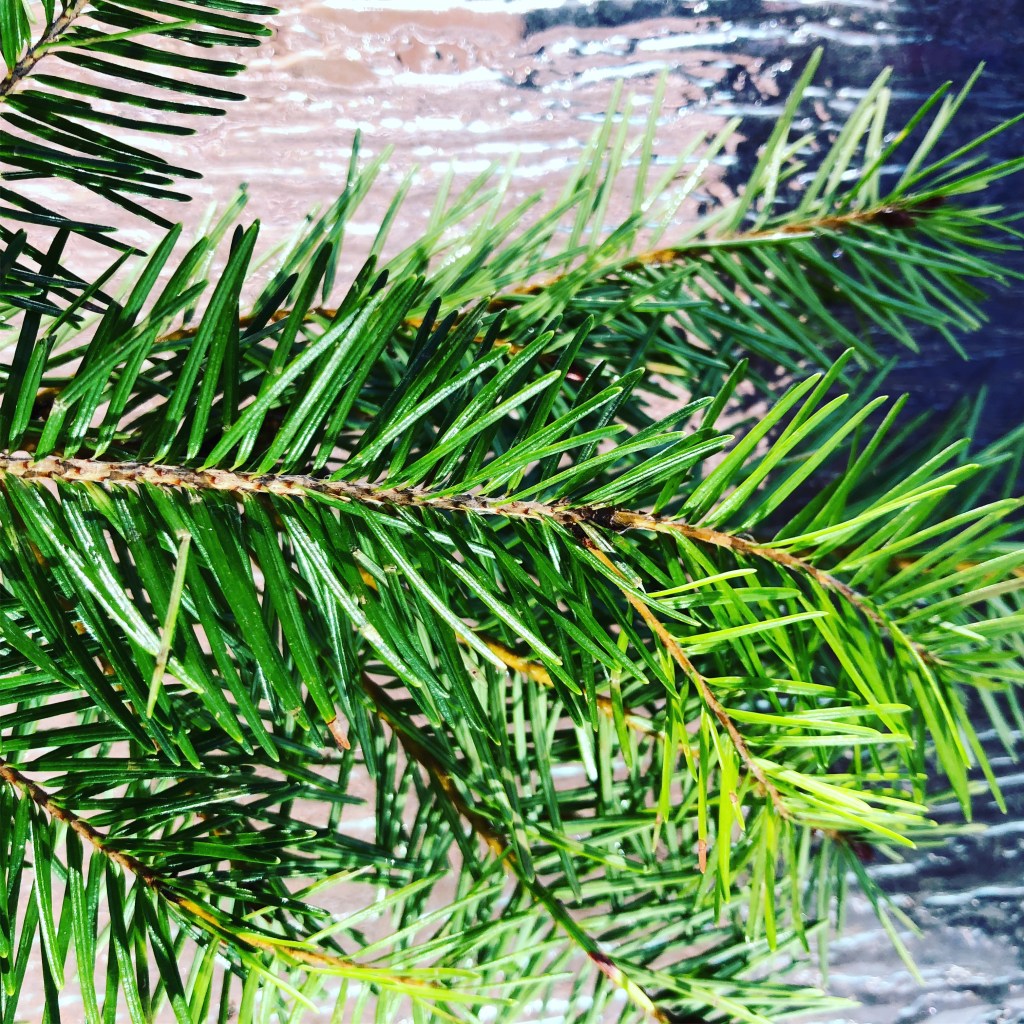
Douglas Fir – Needles are different than typical balsam. I think this was the Douglas fir. It didn’t seem to hold the needles as long sometimes. Stems are strong and sturdy.
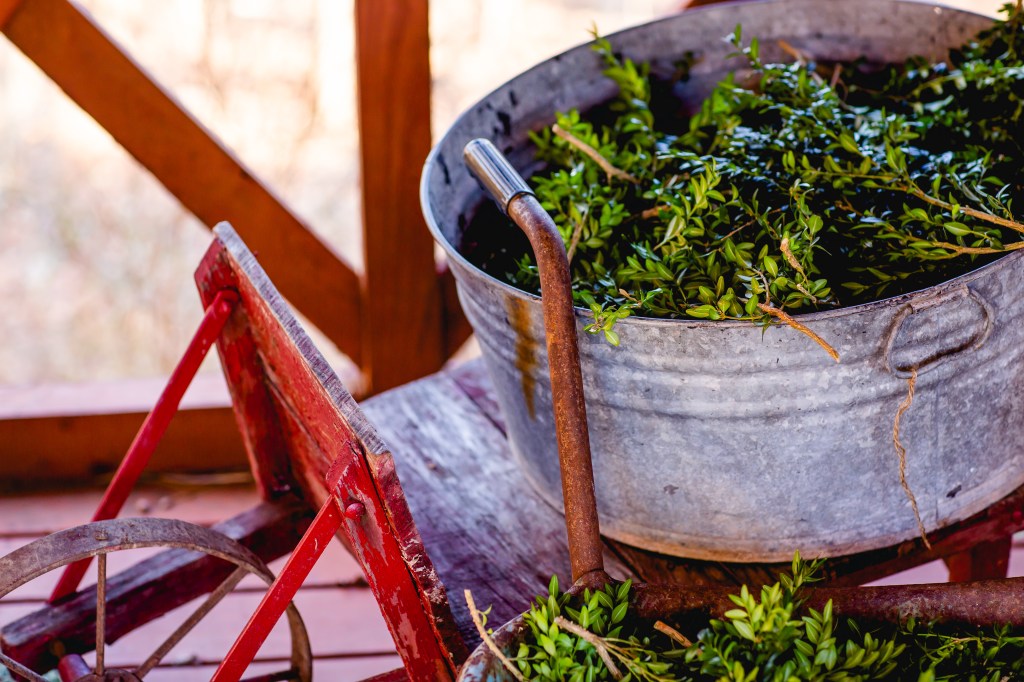
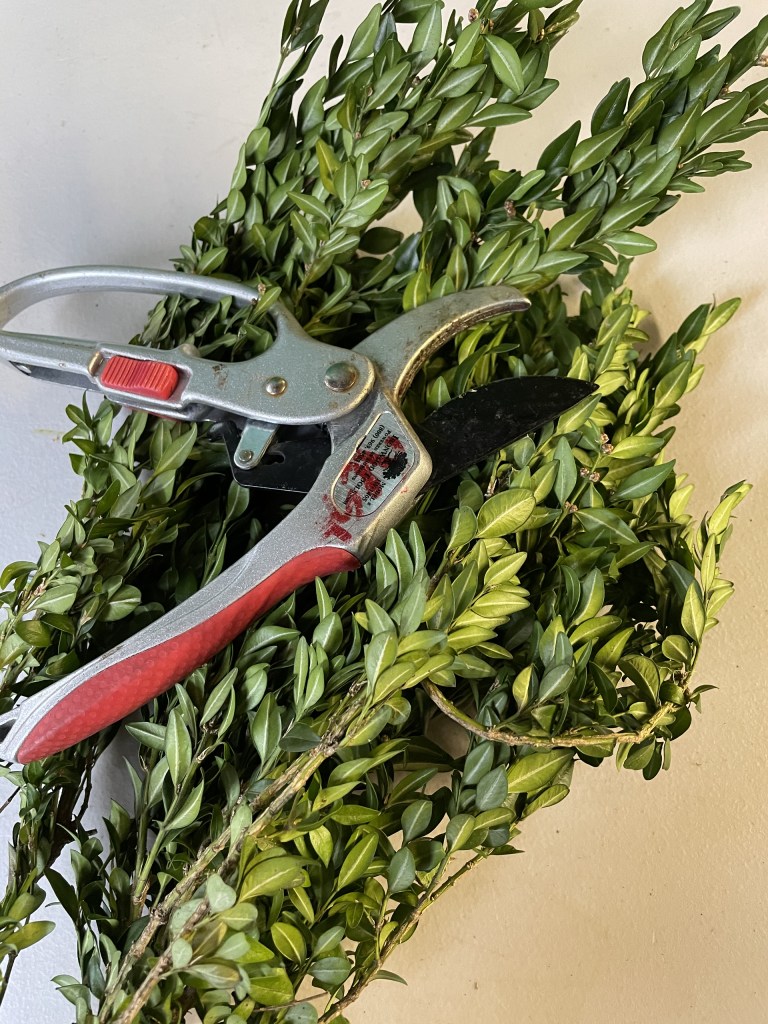
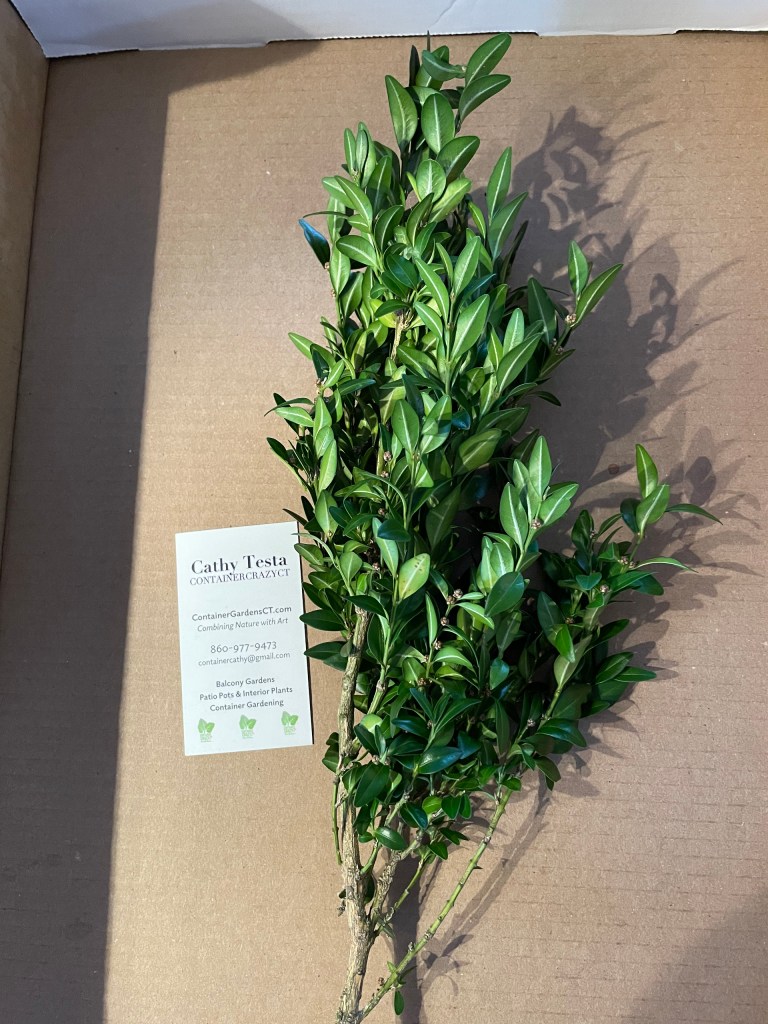
Boxwood – In a galvanized tin on an old wagon. I love this photo! The boxwood retains its color for a long time and it not sticky like other greens. No strong scent to deal with either. Don’t need gloves.
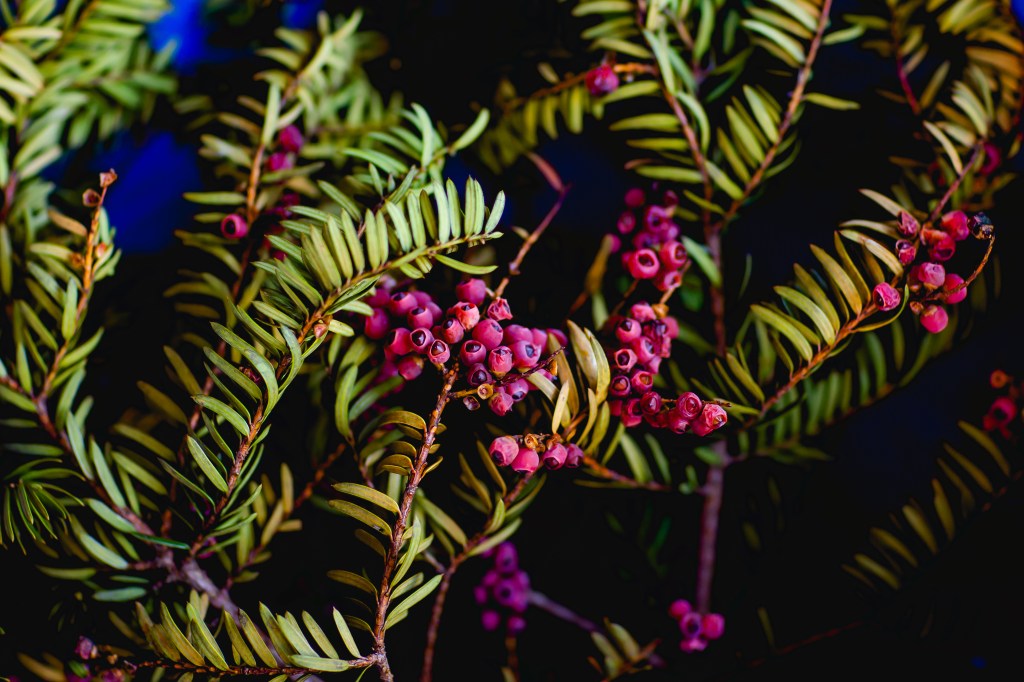
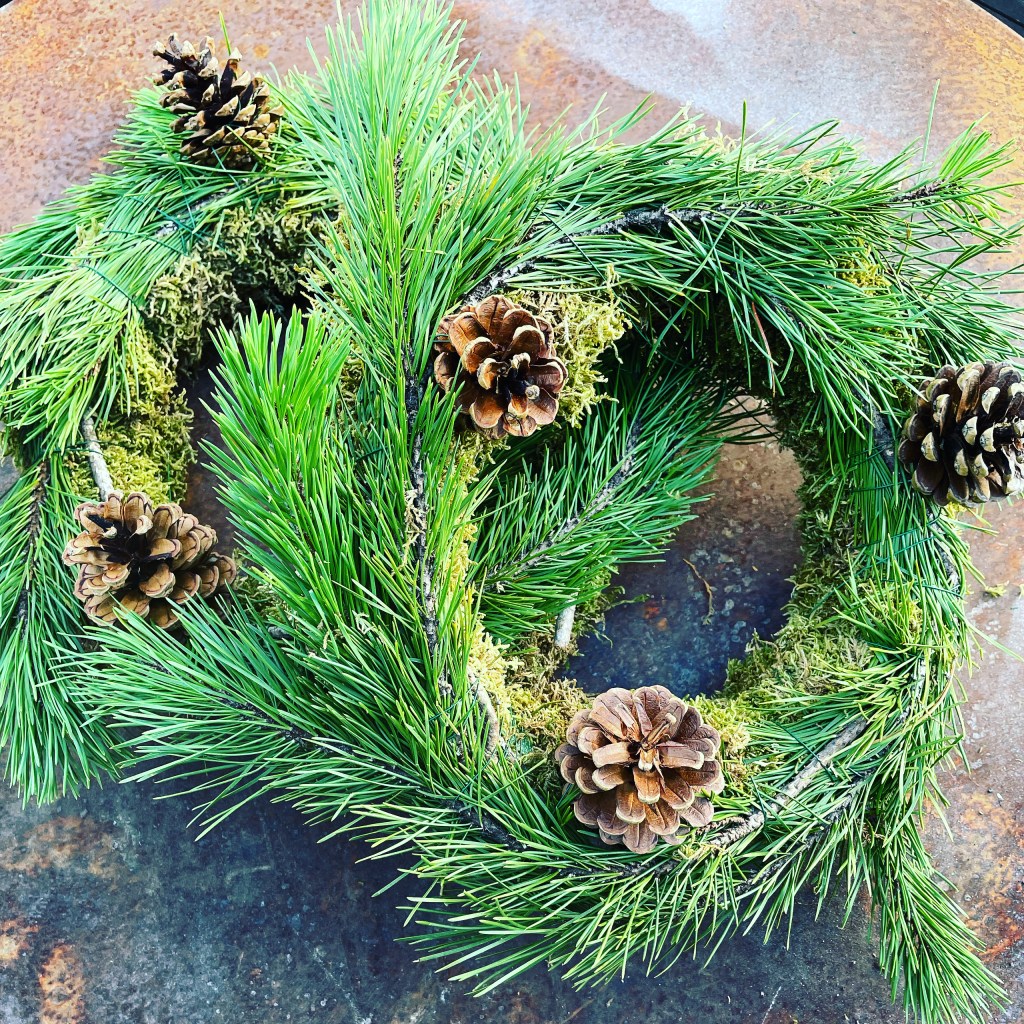
Yew with red berries! This was one of the only greens I harvested myself from my father’s property. He had an old standing grouping of yew trees that were huge! People overlook this green. It has decent needle retention and adds another texture. Why not use it?! I did.
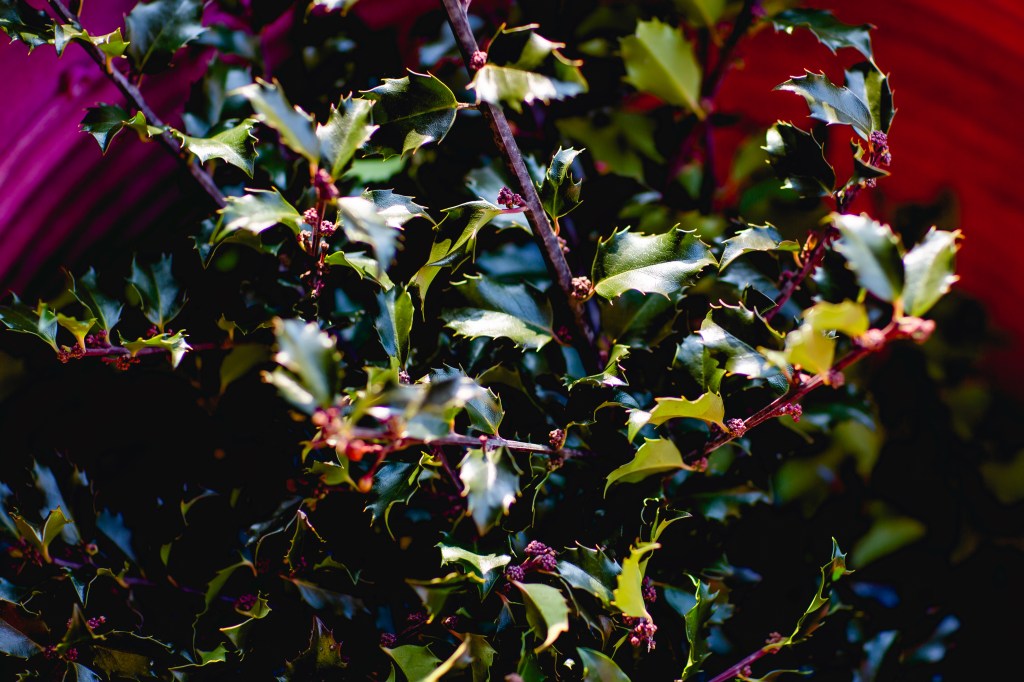
Holly! Sometimes I’d buy a batch, other times a very nice neighbor offered trimmings for me to come take. They are great but can turn black if touched by frost on a wreath outside. Be careful of the sharp spines when handling them to make wreaths.
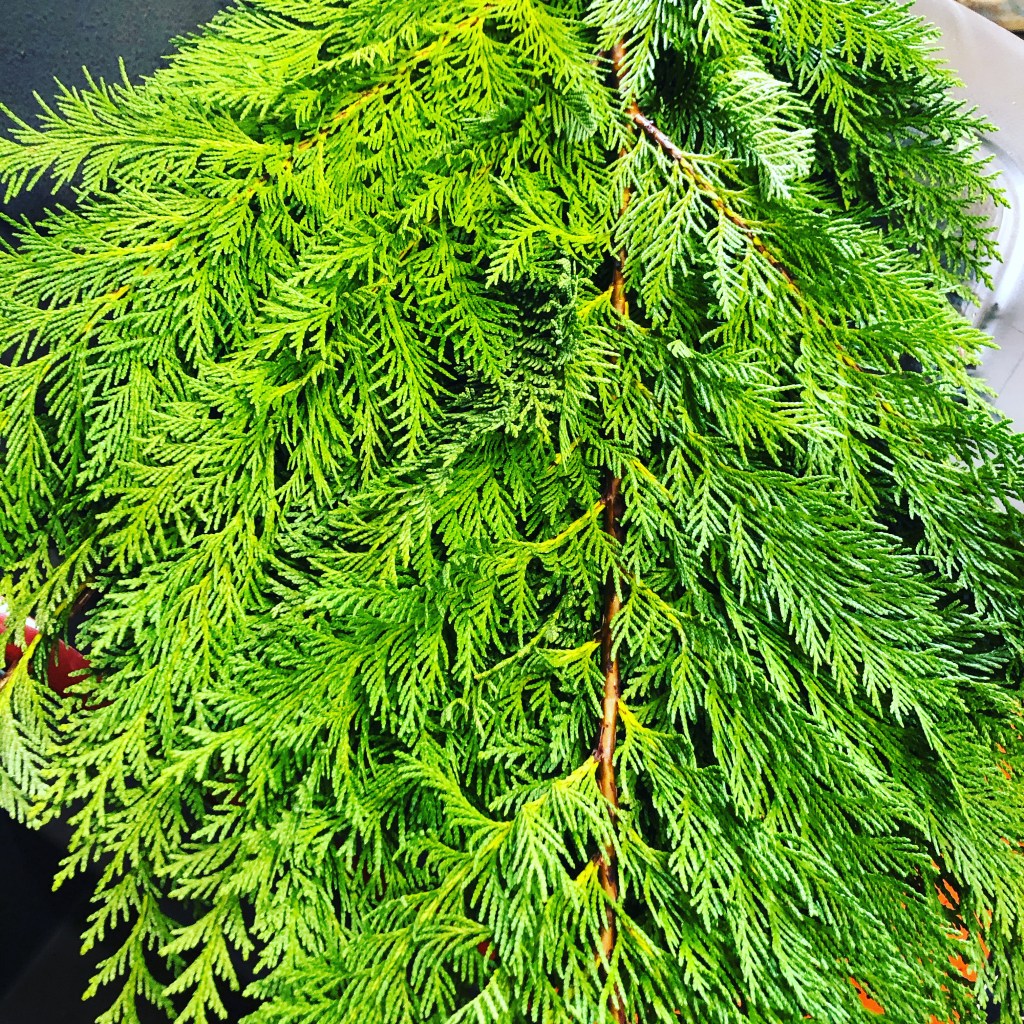
Fir and Cedar (two photos above) – Both are aromatic. The scents were sometimes overpowering when I made lots of wreaths for orders. It surely is nice once the piece is finished. But when I spent hours making wreaths for orders, after a while, I started getting headaches from the overpowering scents.
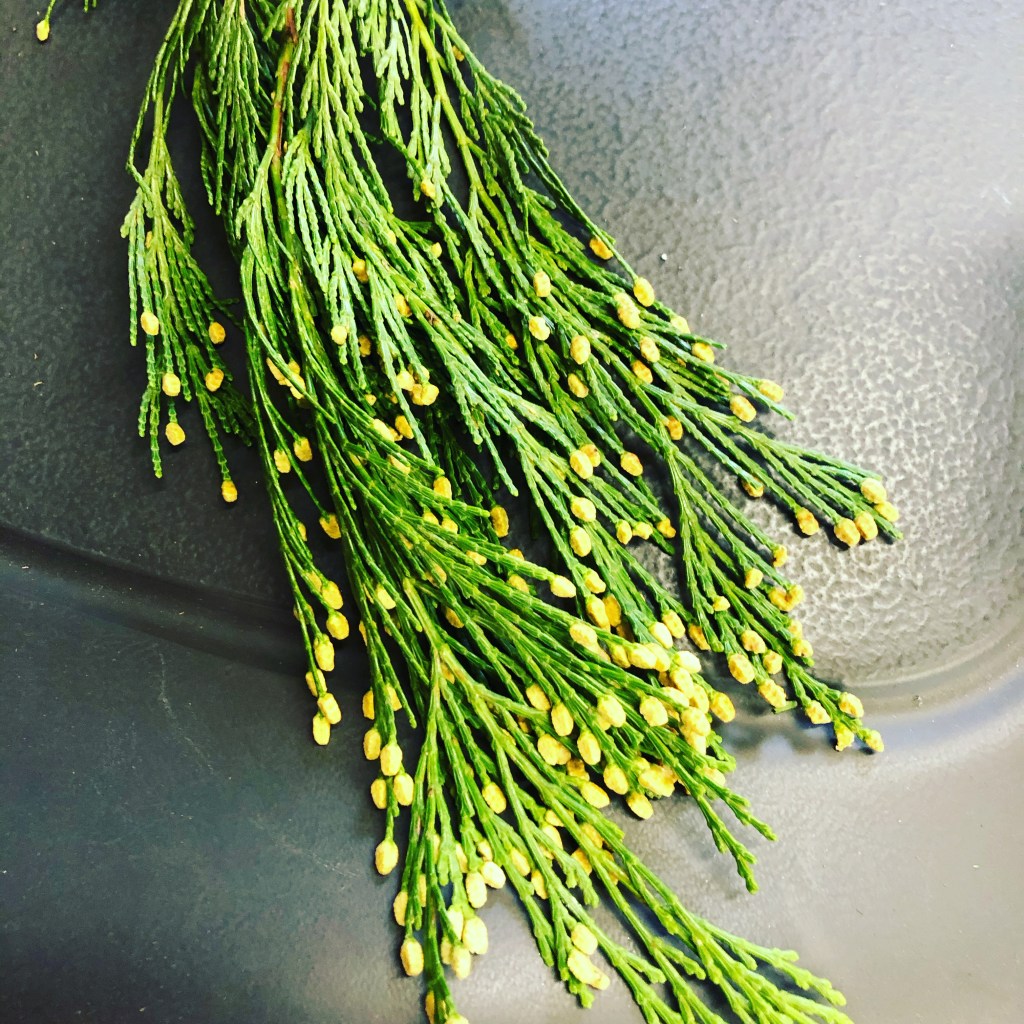
Incensed Cedar – I always wanted some of these too. They have little cones at the tips which are yellow. Smell amazing overall. Easy to handle and work with. Great for use in candle centerpieces too. The branches are a little floppy like too, good for edges of patio pots as well.
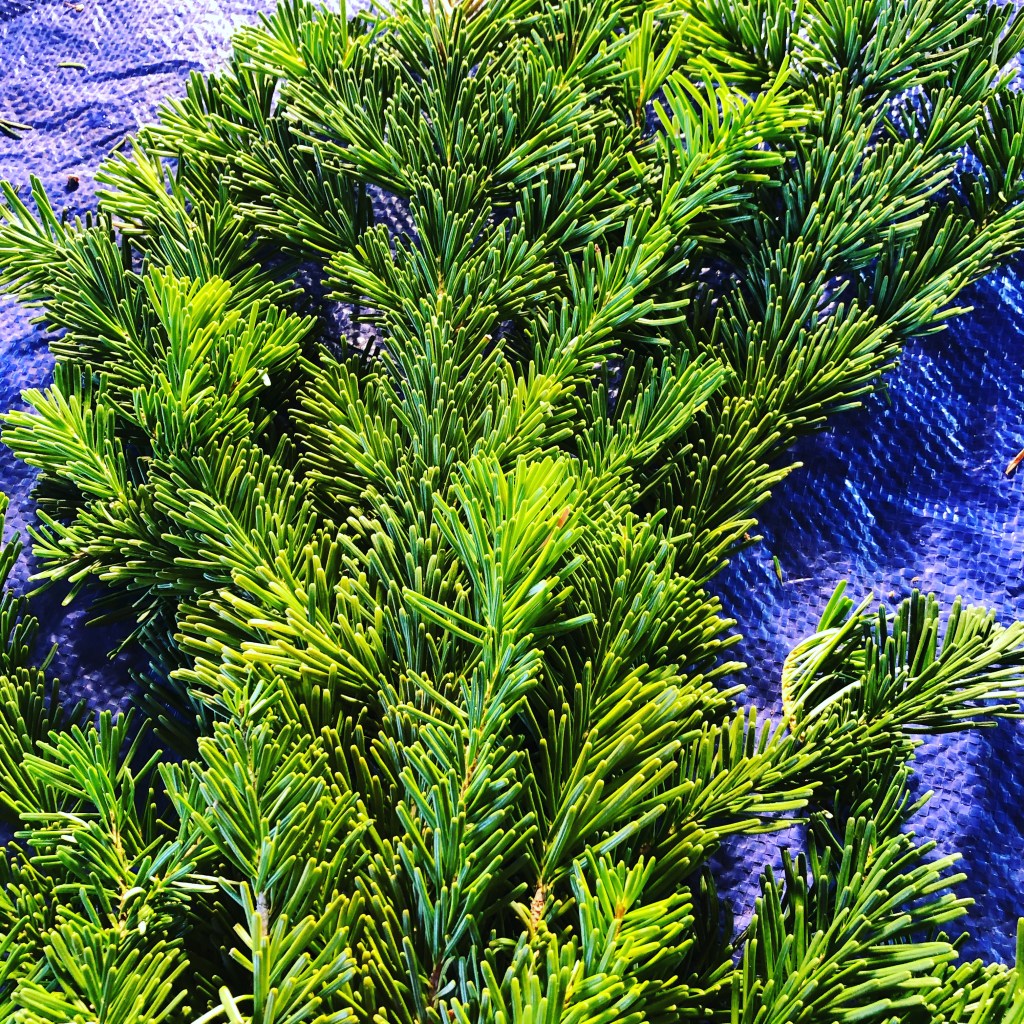
Silver Fir – Much thicker stems. Really useful in container gardens outside for the holidays. Bulky like. If I wanted a strong green to stand up in a patio pot, this was the one. The stems are thicker. Sometimes they were not too good in kissing balls. They were almost too heavy to insert into the center.
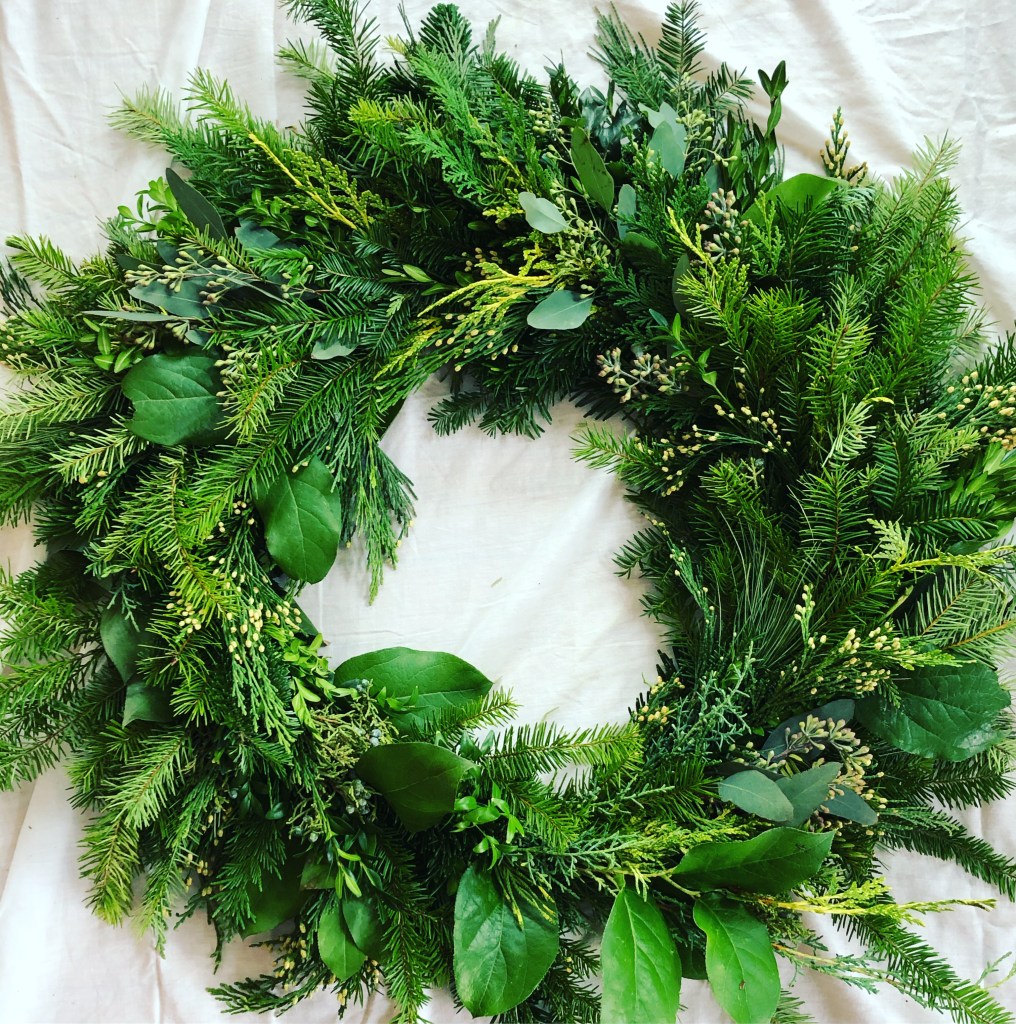
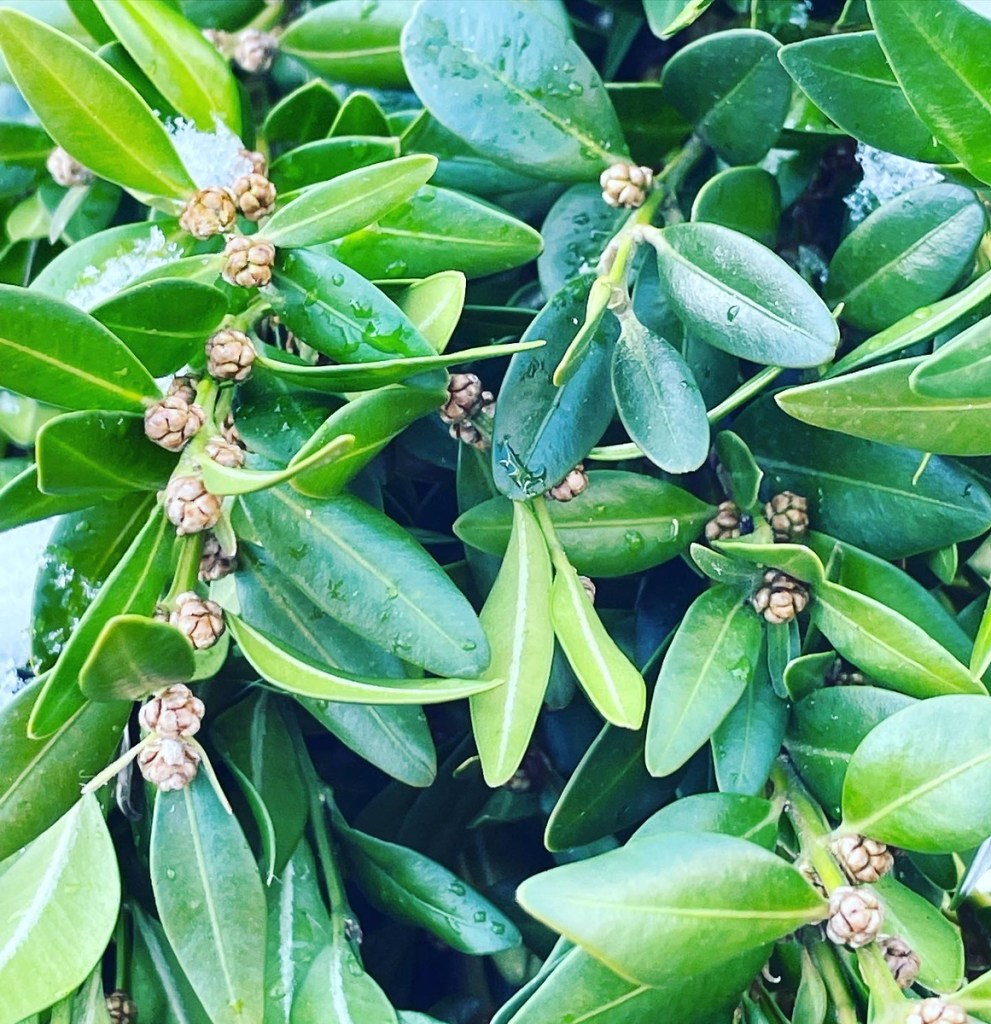
Lemon Leaf Salal – If you can’t have Magnolia leaves, choose this type for an oval leaf shape. It is the next best option. Stems are sturdy and they last in vases as well. The glossy oval shaped leaves are pretty, and this green is one often used in floral designs as well.
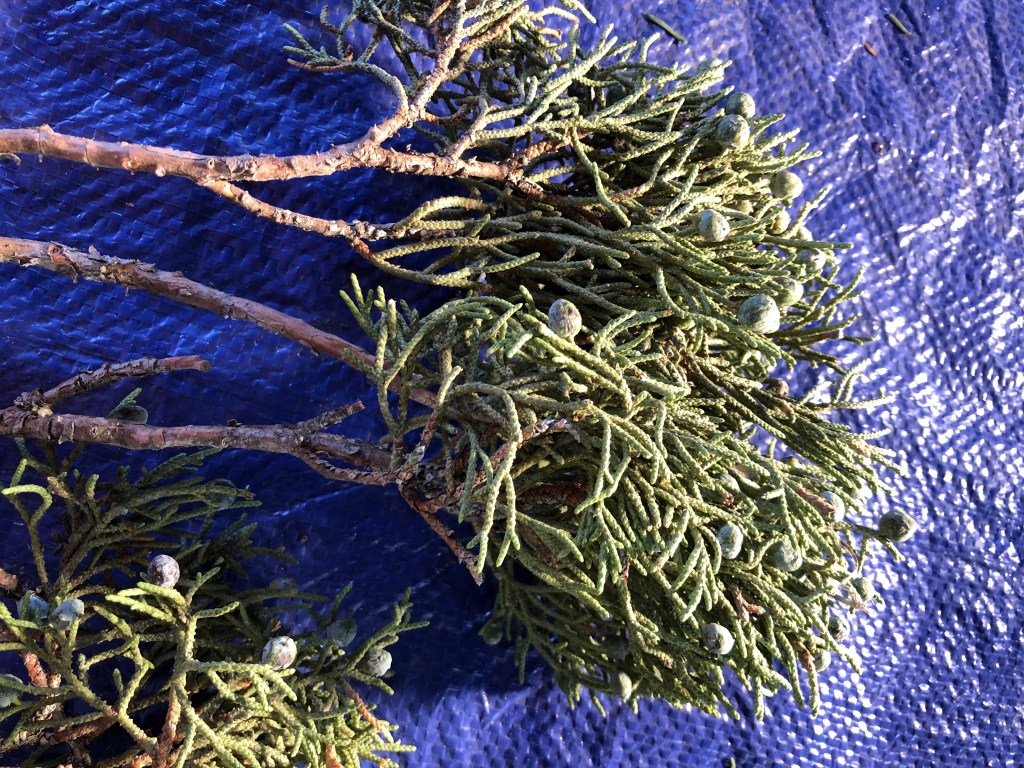
Berried Juniper – Everyone loved adding these to their wreaths in my workshops. It was pricier compared to other greens. It holds up well. Has a special unique scent. Sometimes I used green wired picks to the stems to make it easier to insert into holiday creations.
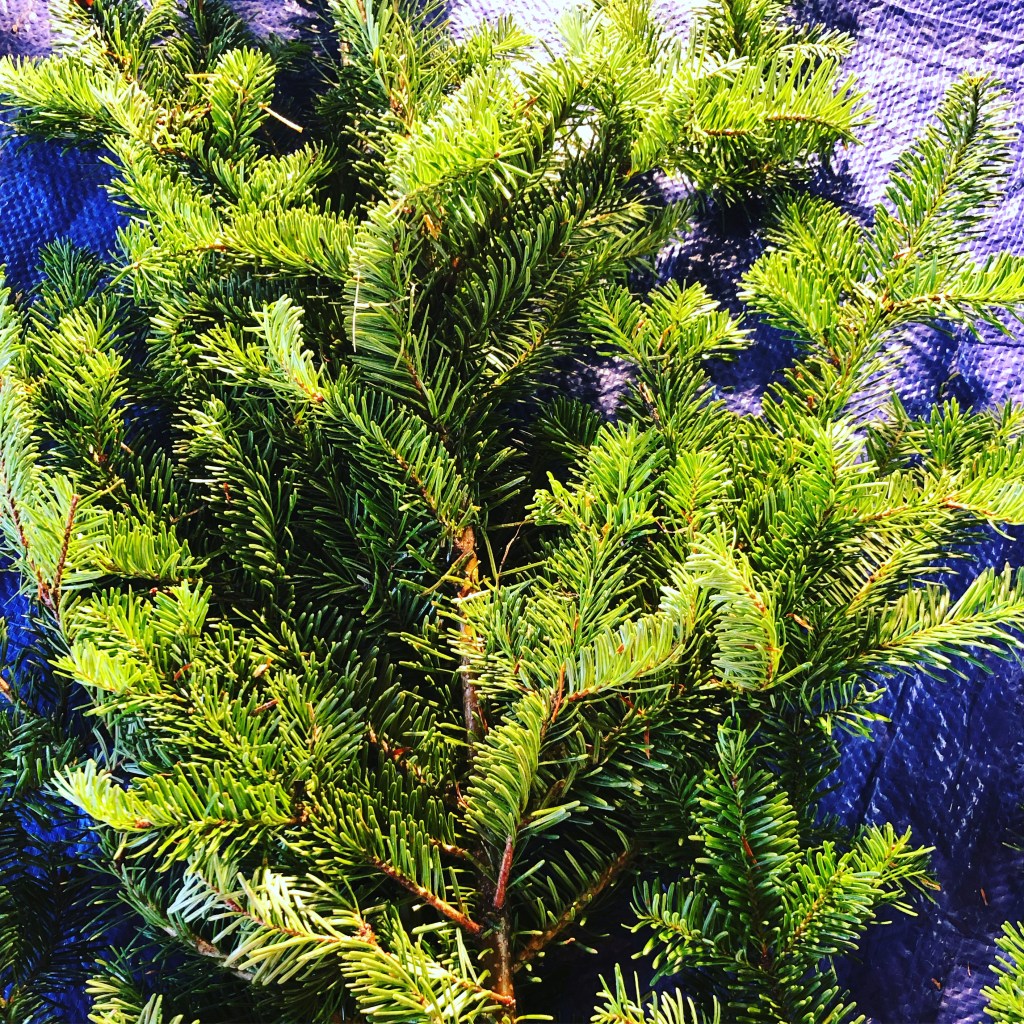
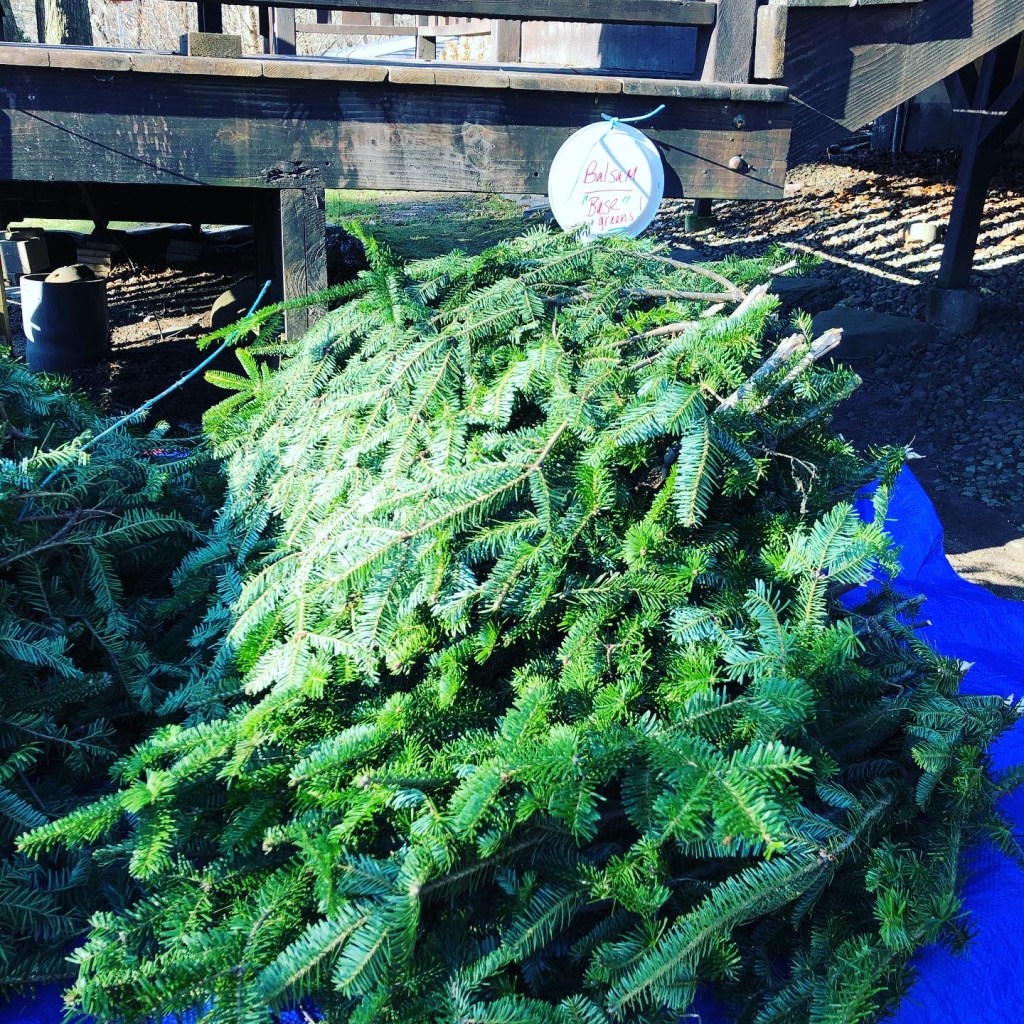
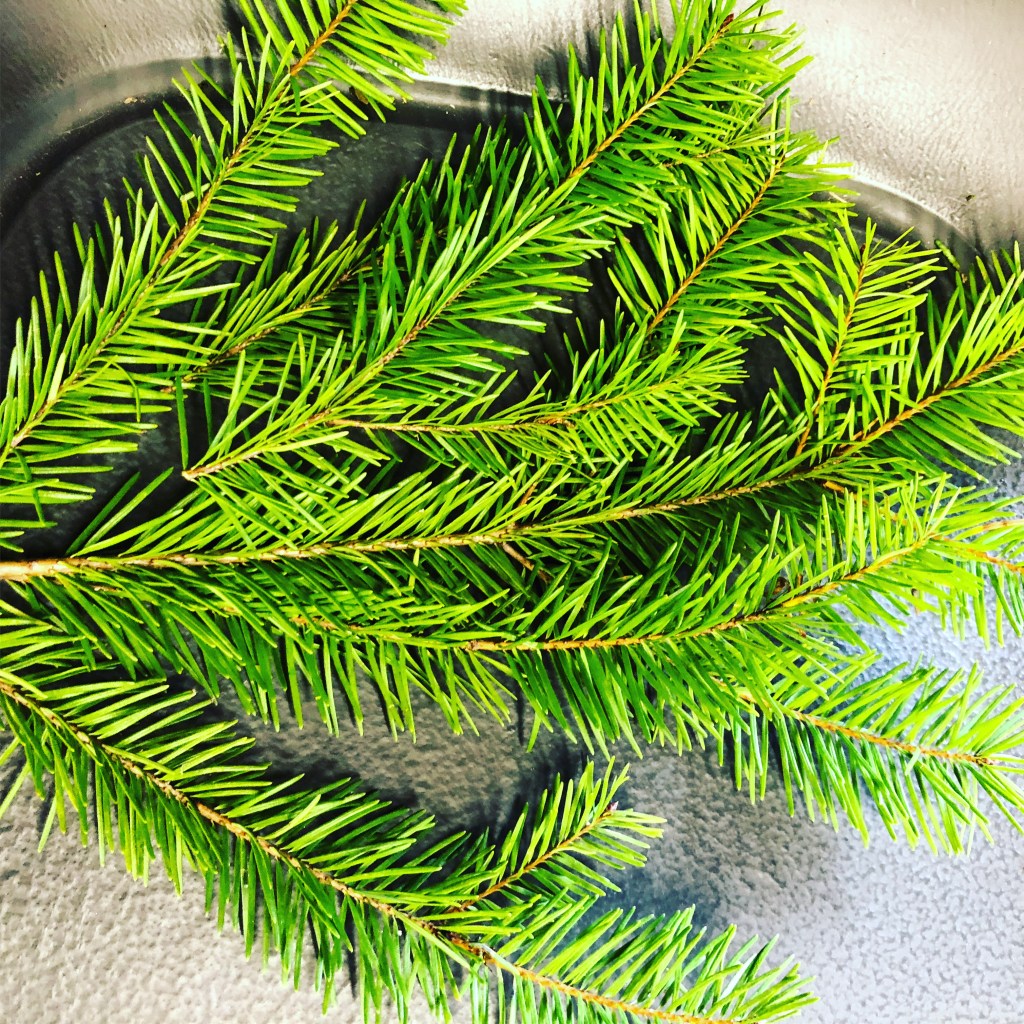
Balsam Fir – The holiday standard and must have type. Balsam signifies Christmas after all. Because the needles hold on well, many people select Balsam Fir Christmas trees. It is also a long-lasting greenery. While sappy and sticky, it has a nice fragrance.
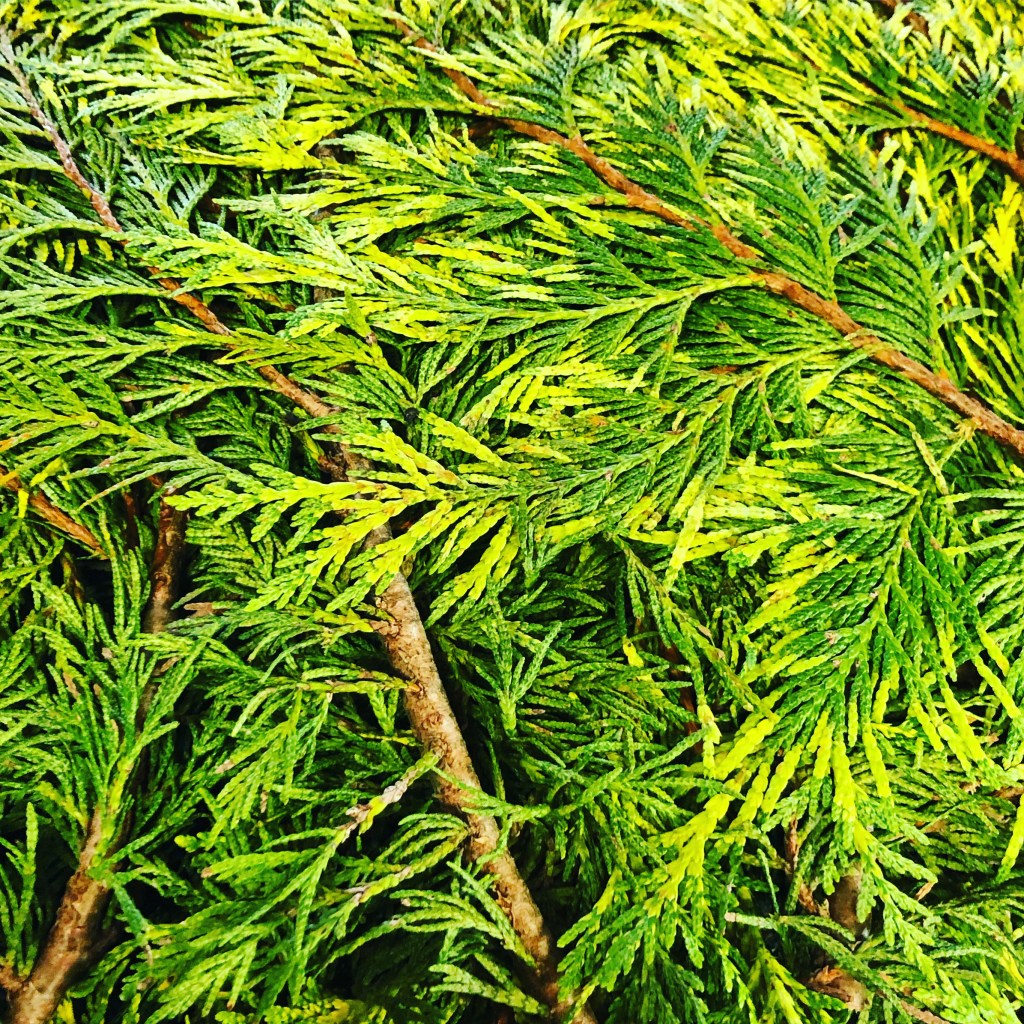
Golden Variegated Cedar – Isn’t it just lovely? That is a special green. Also, on the pricey side. But I would get some to add to the mix. I spoiled my attendees at times. I would limit the quantity per person at my workshops as best as possible. This is an Arborvitae and has a unique fragrance. The scales over lap and this one had yellow tones. Just stunning.
White Pine – Sticky but useful. Adds a slender texture. I would bundle stems together to make the incorporation of this evergreen more impactful in holiday wreaths or kissing balls. Sometimes I collected pine from a big tree in my front yard. I planted that tree as a tiny pencil sized cutting many years ago. It is cool to look at how large that tree is today. It towers quite high.
Silver Fir – I think. The needles are narrower than Balsam fir. I am confused at this time if this is the Silver Fir. But I’m sure I added it to keep the mix interesting. Maybe this was another type. Let me think.
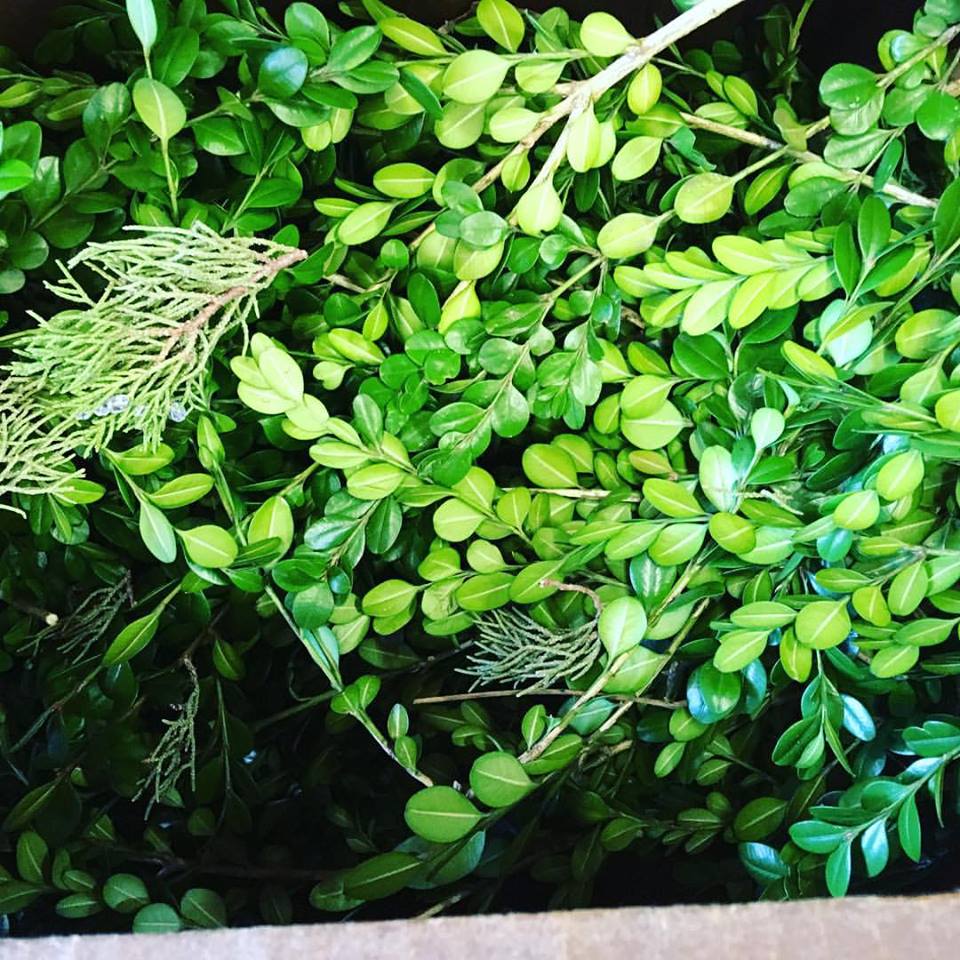
Boxwood – Again, a nice green to add. I think this one was harvested from some of my own shrubs. The narrower type shown above in the photo of boxwood in a galvanized tub was purchased. Some people think boxwood has a strange odor. I really didn’t find that at least while using them in projects. I loved making a holiday kissing ball with only boxwood. It made the ball somewhat classic looking in my mind. And no sticky hands.
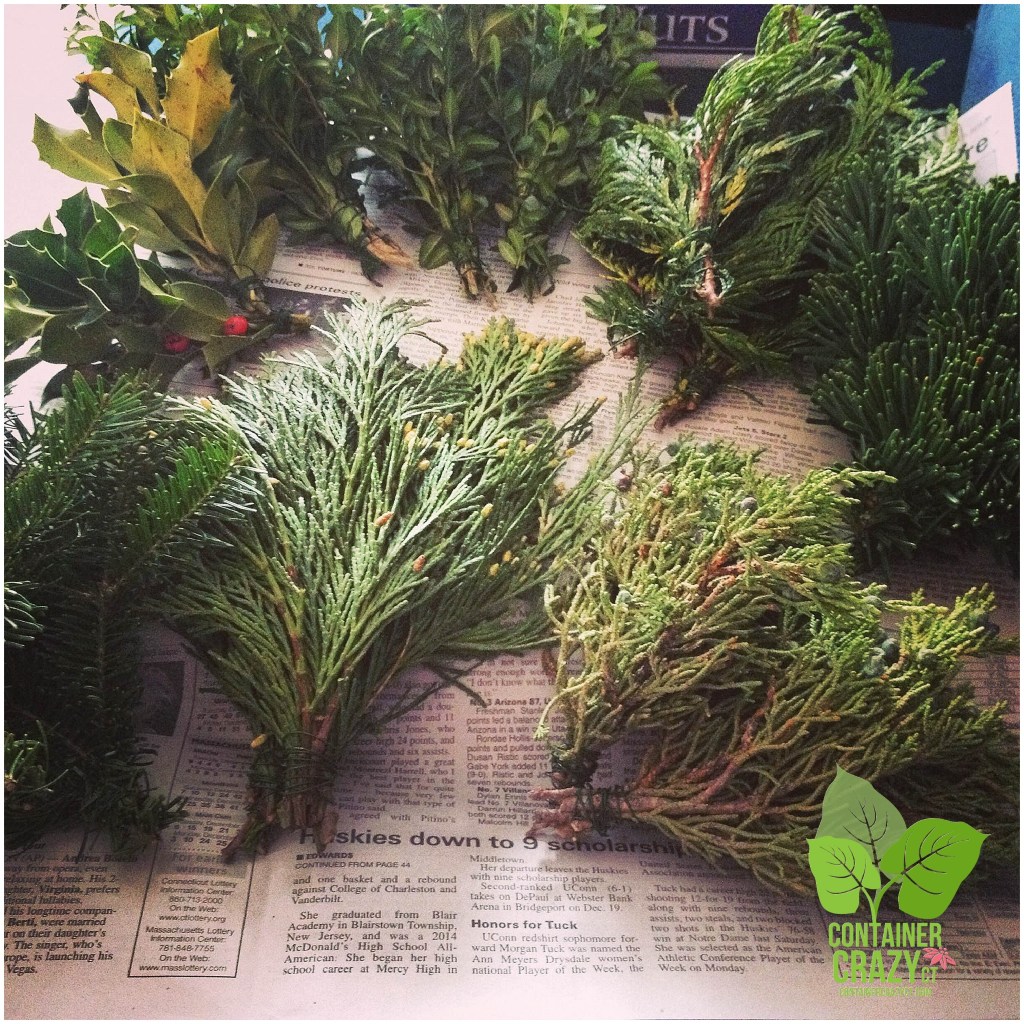
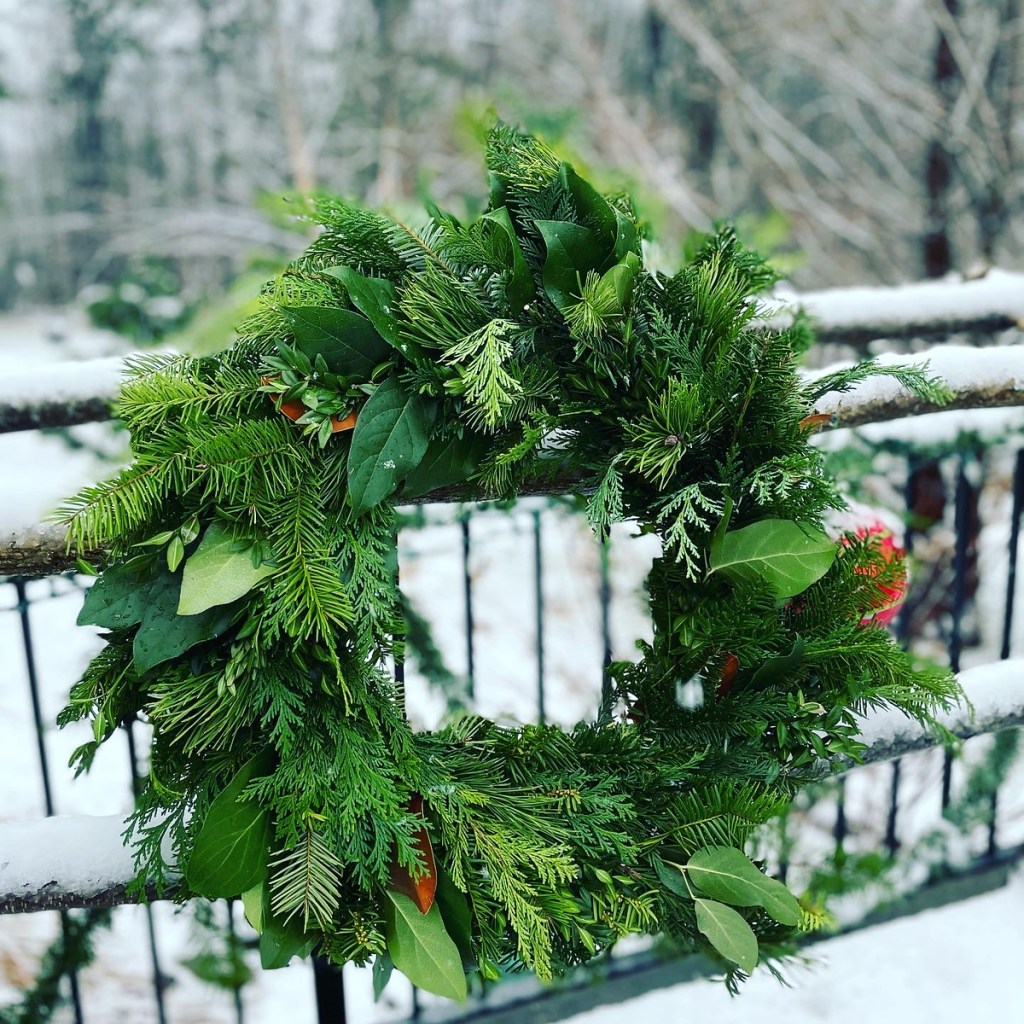
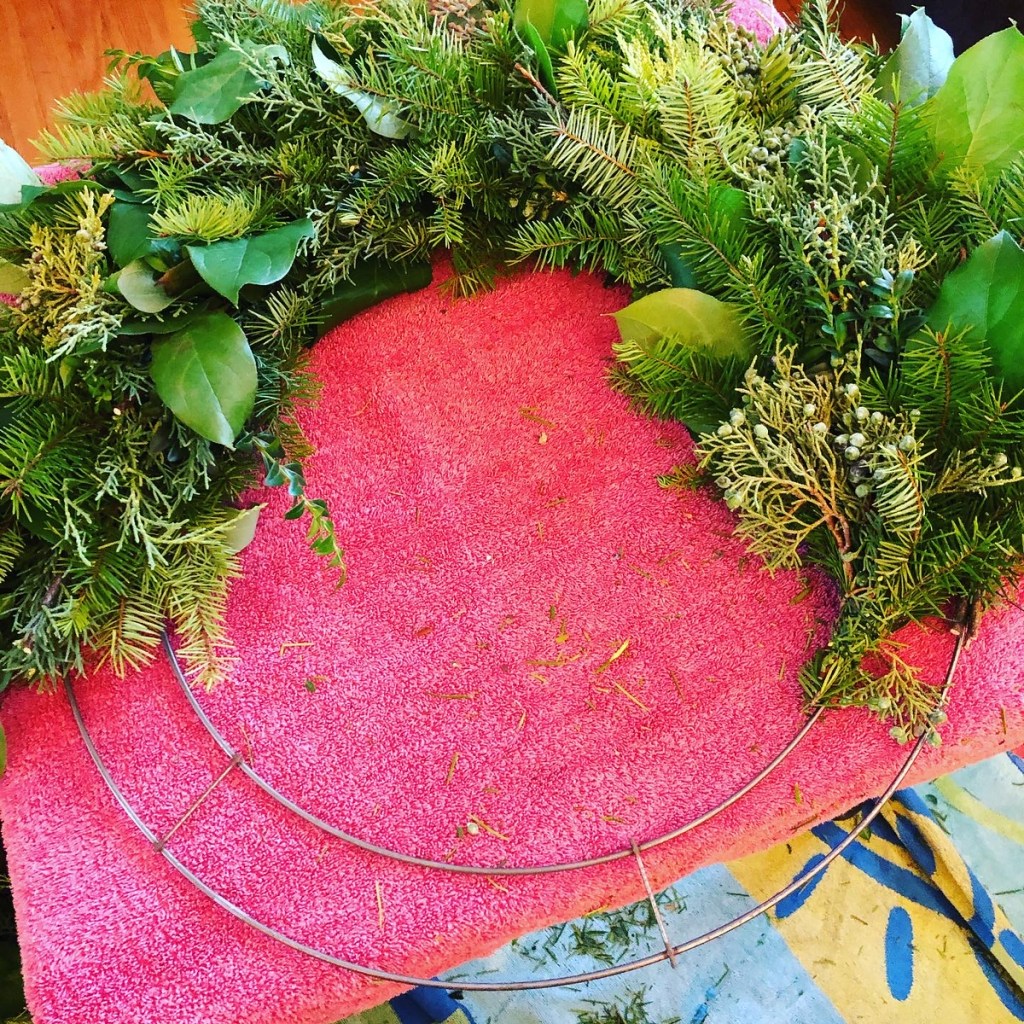
Here’s a photo of them bundled up. I can’t remember why I bundled the same type together above. Usually, I’d bundle a mix of each type and then make wreaths that way. What I mean is I would take a clipping of three or four separate types of greens. I would bundle them with green florist wire. Then I would attach them to my wreath frames. This made the wreath very full and fluffy.
Anyhow, they are all beautiful. I just love nature and all the gifts offered for use or just admiration. Using a mix of greens was a real luxury. It offered texture, shapes, and a fragrance mix. Many were considered florist quality. It was so fun. I still can recall the feeling of each green in my hands while I created with them. I know my attendees absolutely loved those years of my holiday workshops. In fact, I ran into one attendee who attended like my very first workshops. She told me it still gives her a nice memory today, even after many years. She remembers the time we all had together creating for the holidays. I liked hearing that from her.
Well, as noted, the workshops are history. They were pretty much canceled after COVID. They were officially canceled when I closed my small plant related business. In fact, I started making ribbon wreaths after not doing greens wreaths. But anyhow, that’s that!
If I ever wanted to reconsider making fresh holiday wreaths with greens, I would like these photos. They would jolt my memory. They would help me remember the various types of greens we used in our creations.
Have a good day and stay warm…
Cathy Testa
Date of this post: 1/27/2026