Wow! It’s been a very long time since I’ve written a plant related blog post. Times have changed for me since entering the world of early retirement. It is difficult to have as many plants as I have had in the past because of the care involved, and my goals have changed. To travel means needing care at my home for plants while I’m away, and this is not always possible, so I cut back on having lots and lots of plants. And I also tried to focus on drought tolerant plants, so they won’t need as much watering when I’m away on travel.
I didn’t plant as much either to reduce care needs. But I still have the very serious addiction of needing plants on my deck at home. And to save money, another retirement requirement, I want to still overwinter plants as best as possible to reuse them next year in the summer again.
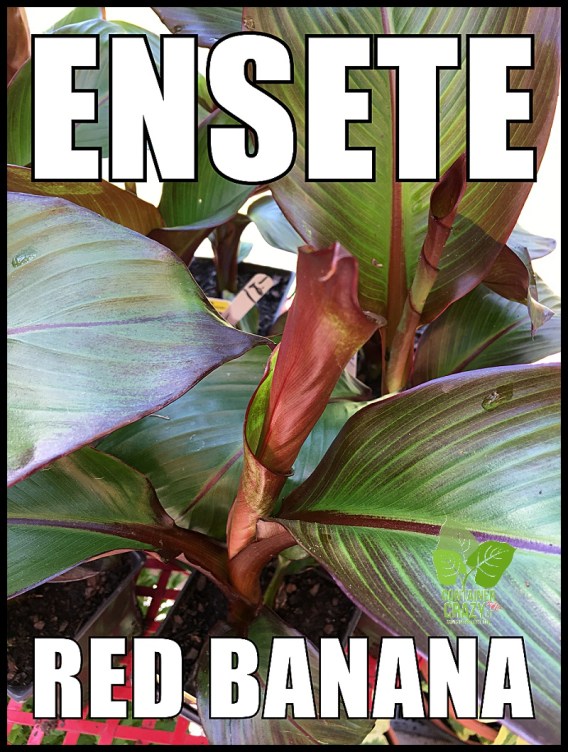
I have written many times how I’ve stored my red banana plant (Ensete) and Canna Lily rhizomes, and elephant ear tubers (both Alocasias and Colocasias) but it bears repeating my basic steps to remind those who ask this time of year.
Frost Expected Soon
A frost is expected later this week on Thursday, 10/10/24, this year. Tropical plants may be touched by frost if you are storing the underground parts (tubers, rhizomes, corms, etc.), but if you want to store the plant in its pot, it is best to move it before frost, so the foliage doesn’t get damaged, stressed, or destroyed from the chills. Move them in tomorrow or the next day, before the frost hits.
Agaves Disassembled
I also move in Agaves as best as possible into my home, but space is limited. I no longer heat my greenhouse (again to save money for retirement fun), so that option is out. In the past, it was no problem to store my Agaves in my low-temp greenhouse over the winter, so they just barely hung on. And then return them outdoors the next summer, but now I have to move them inside the home.

A few of my agaves got very crowded in their pots because of the side shoot babies which had been forming, so my tactic for taking care of those was to take the agave out of its pot, remove all the babies by carefully tugging them away, trying to keep roots if possible, and then placing the babies in mason jars filled with water to sit for a while. This will encourage new roots. Then for the momma agave, I pruned some roots and remove soil quite a bit to fit it into a smaller pot and then move them inside the home in a space I have by my indoor slider. Done!
The baby agave plants may look a little tattered or uneven but give it time. Soon these will have fresh roots, I’ll replant them into very small appropriately sized pots and let them grow. The shape will be normal over time, and they can grow as big as my big agaves have. This particular agave is Kissho Kan. These plants inside the home of the winter are kept on the dry side, barely watering, and in some sun by either my bedroom or kitchen slider doors. They are easy to overwinter if you have the space.

Agaves in mason jars with water above photo
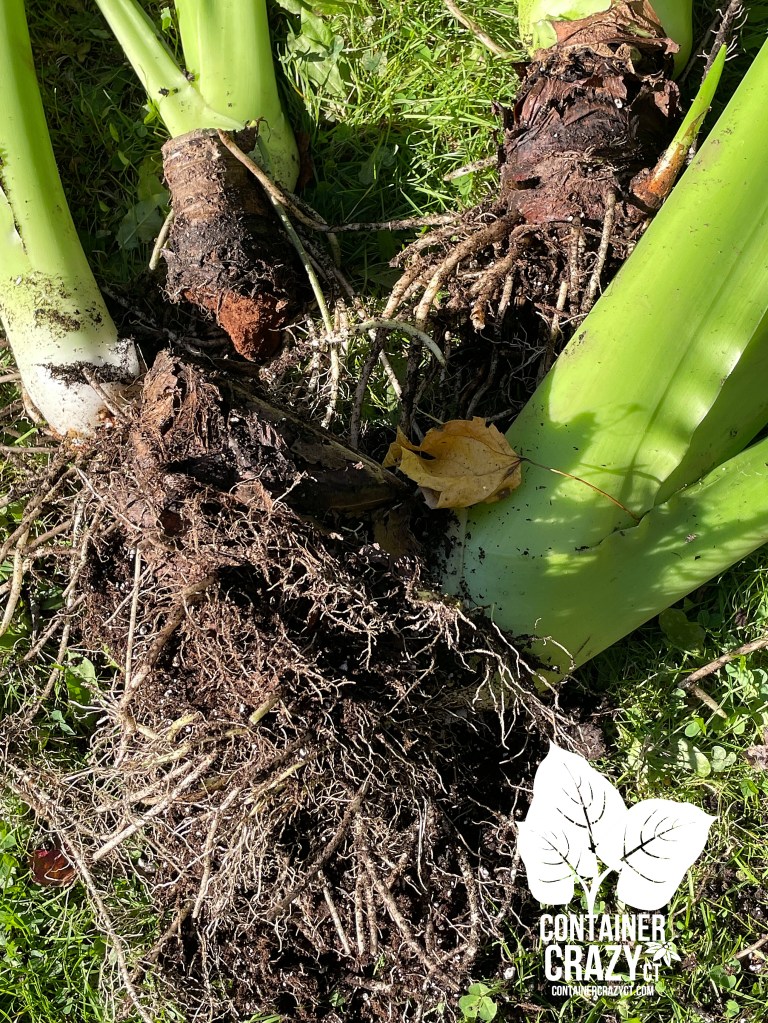
Alocasia Tubers
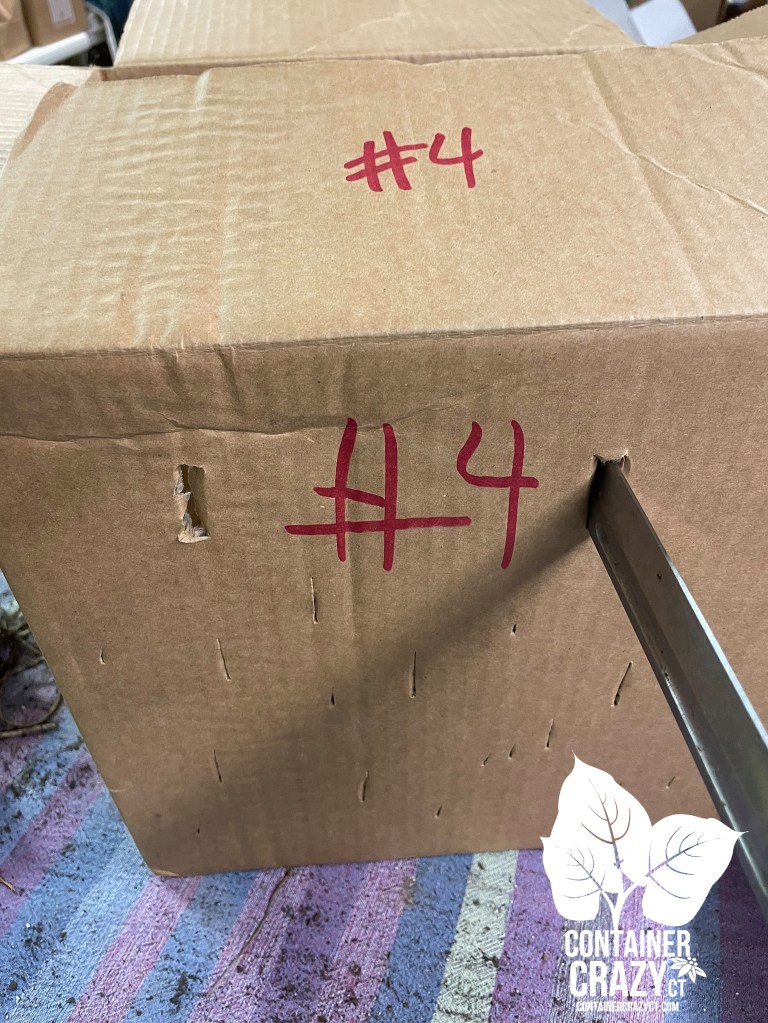
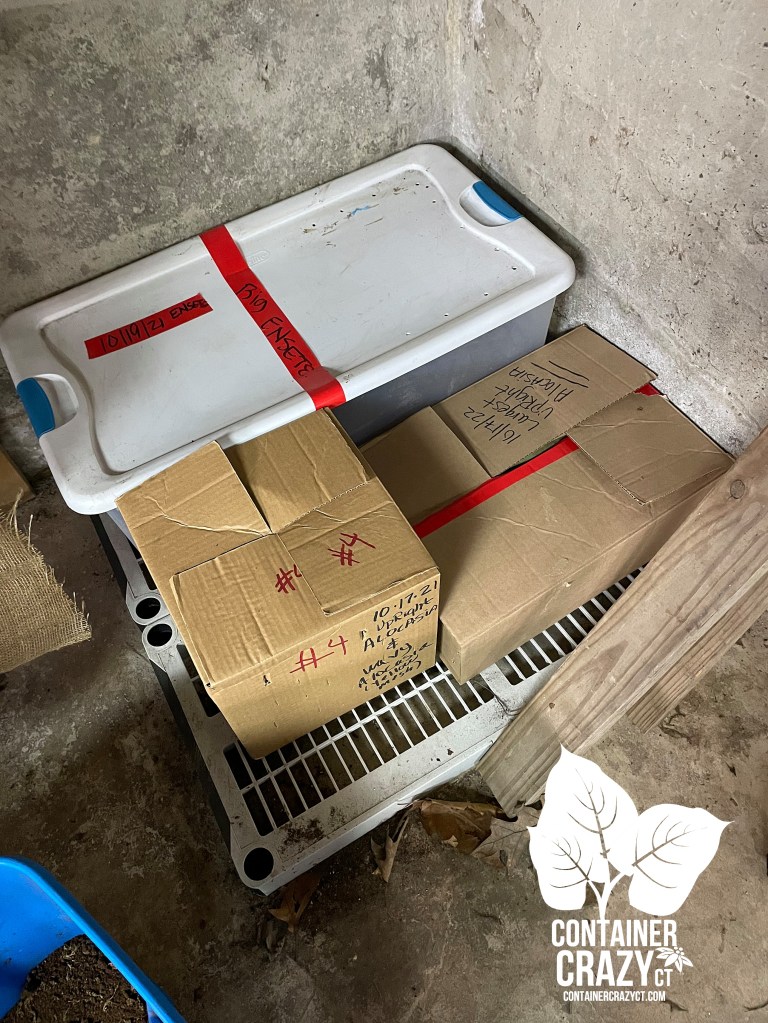
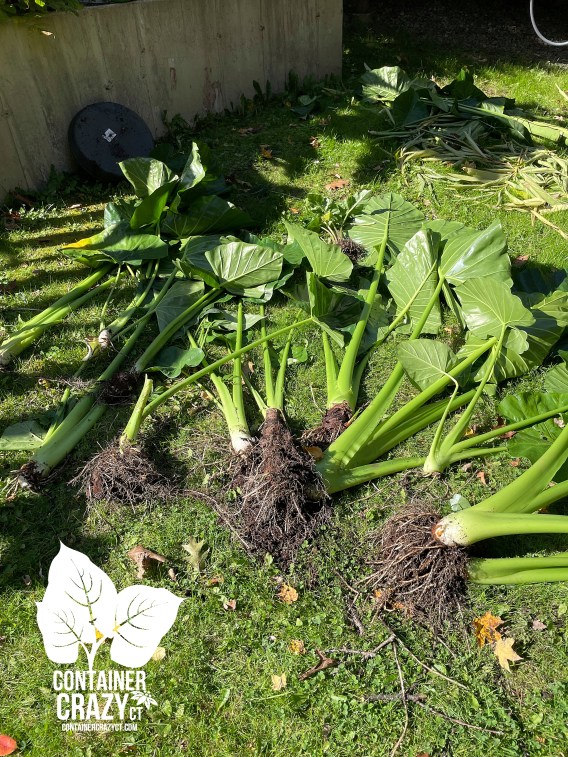
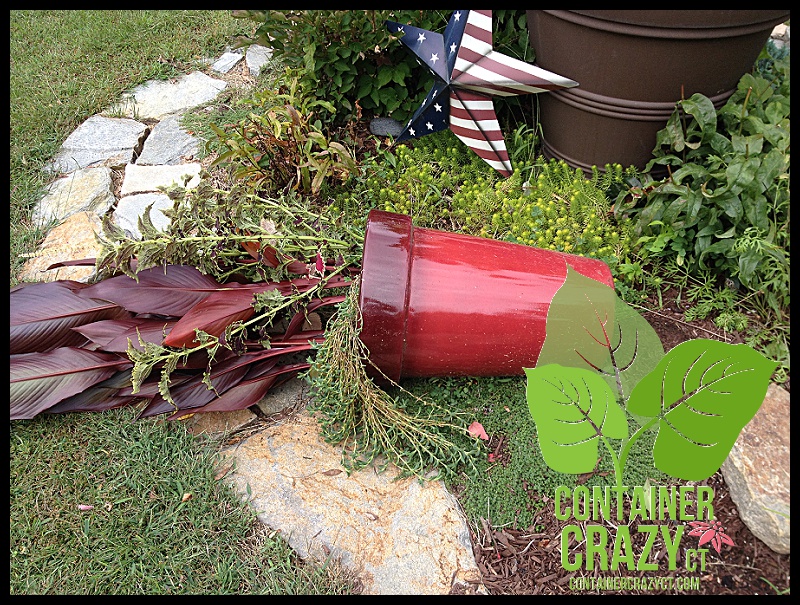
I still have to work on my Ensete and other big pot on my deck, but I managed to take apart one of the alocasias in a smaller pot. I cut off all the foliage first, then dig out the base with roots if possible, and some will have the brown papery covering on the tuber area whereas the smaller sides shoots often do not, either way, I store the alocasia tubers in my basement in boxes with just paper wrapped around them or as a bed (like crunched up newspapers). They can go a bit on the dry side and I make sure to have some slits or air holes in the boxes used to store them. This works fine in an unheated basement that does not go below freezing. Colocasias (elephant ears) are stored a bit more on the moist side by using peat as a bed material in the box. Before moving them into boxes (either plastic or just your basic cardboard boxes), I leave the tubers to sit in the sun for a week or days for a while. I don’t put them in immediately. I may even leave them to dry some on a table in my basement if it becomes too wet outdoors due to rain etc.

These plants (the alocasias) can grow very very large, and the tuber gets bigger and bigger each year. I still have quite a few of those to do. The next two days will be sunny so that helps. The alocasia plants have the elephant ears where the tips point upwards to the sky. Regular elephant ears (Colocasia) point downwards. I didn’t do any of the regular ones this season. I’m kind of hooked on the alocasias.
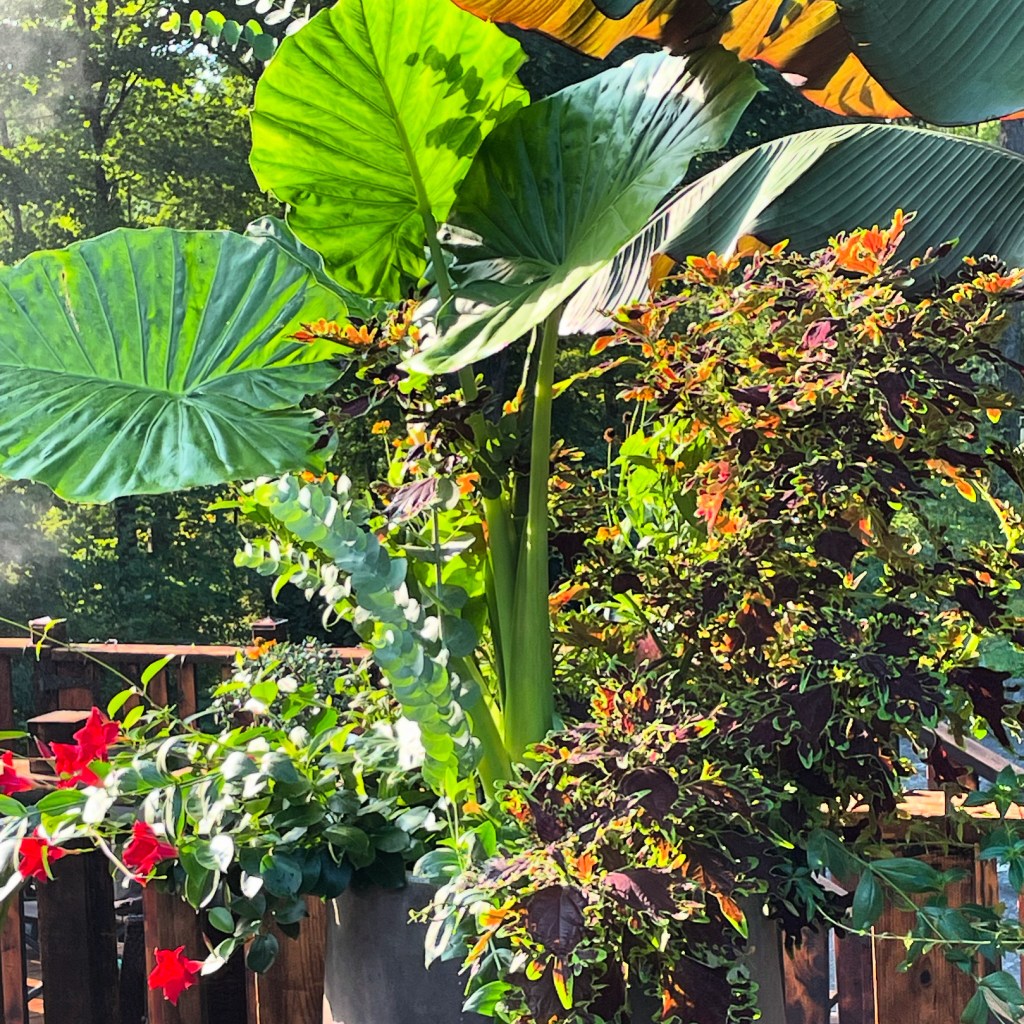
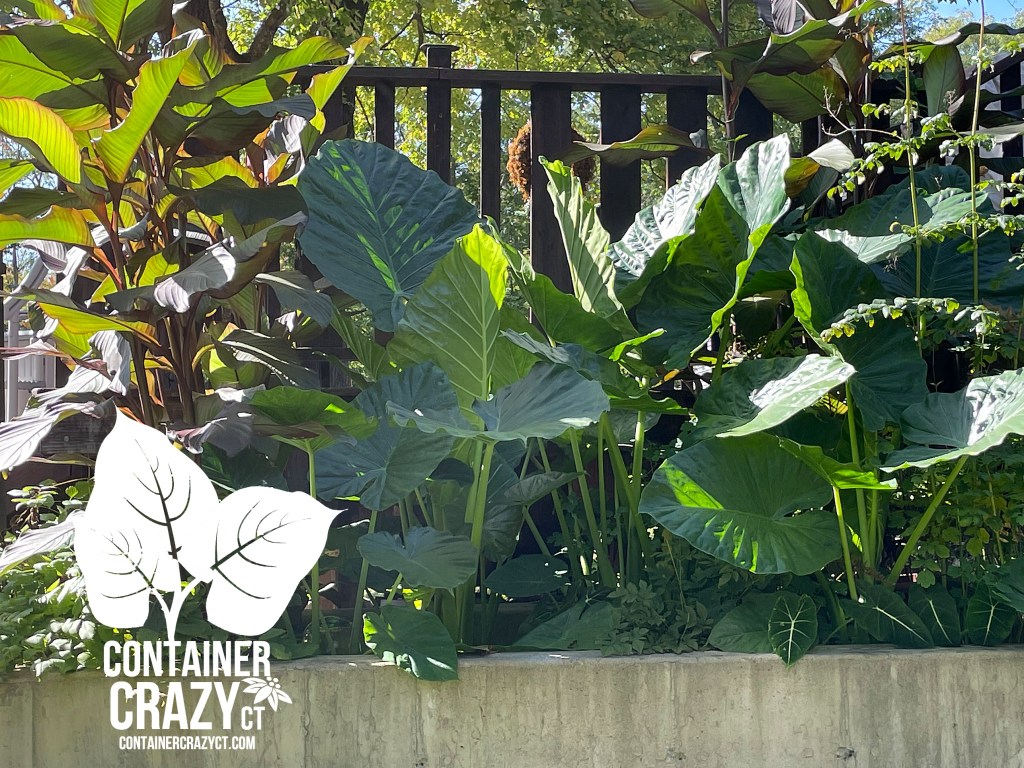
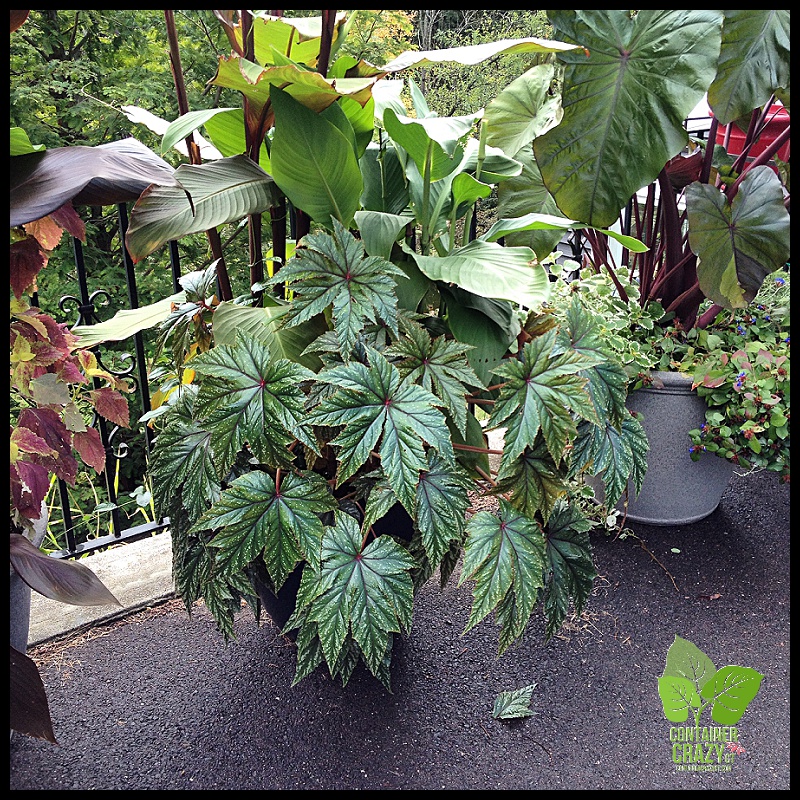
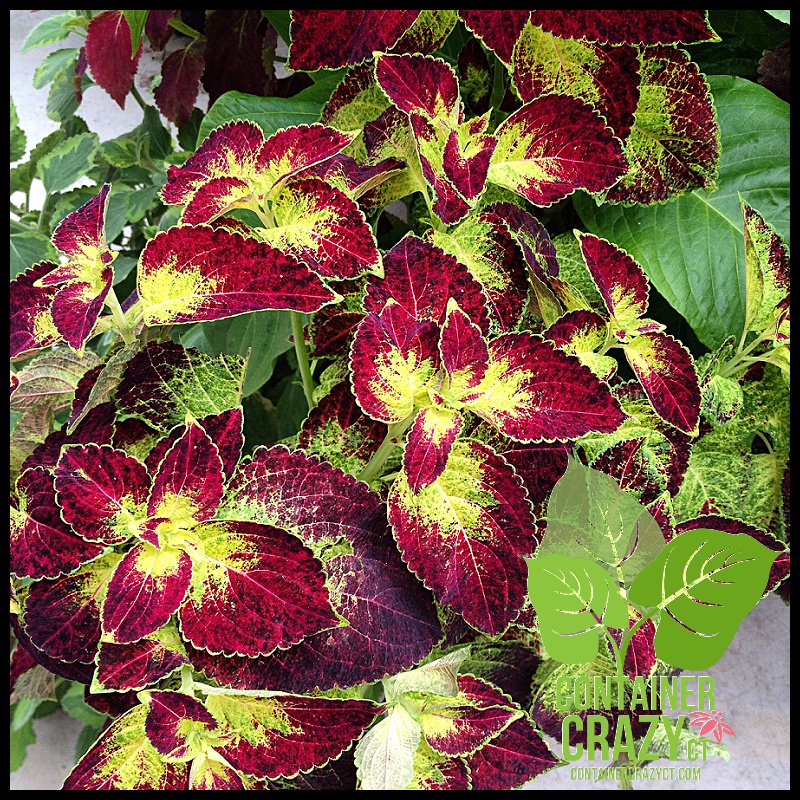
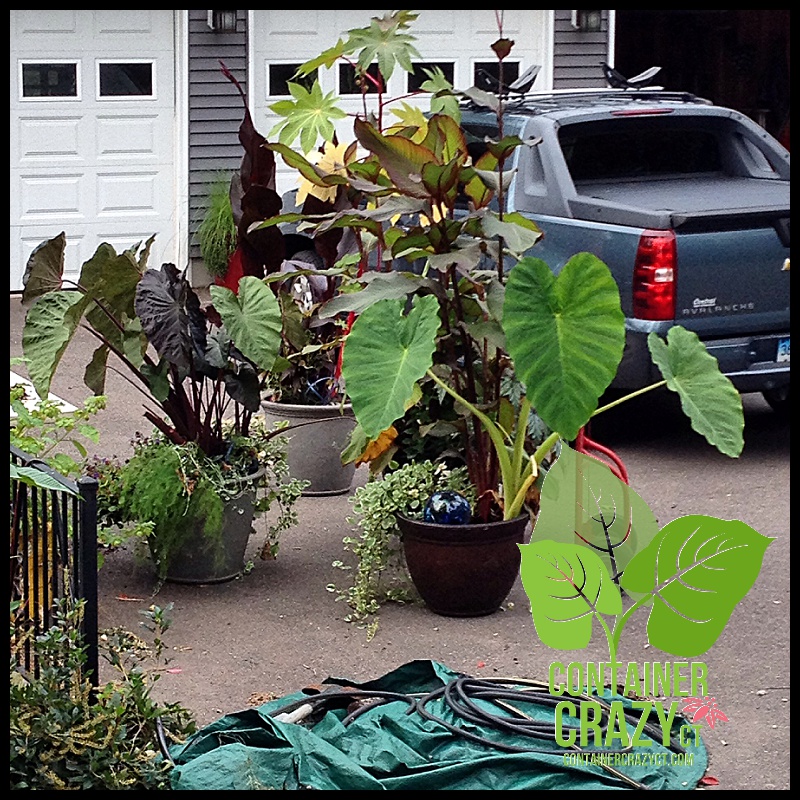
This planter above is my next project. I have to say the alocasia is paired with the most beautiful Coleus Limewire. It is so huge right now; it will be sad to cut it down! It has done wonderfully has a filler plant with the tall alocasia. The burgundy foliage edged with lime green was just stunning when hit by the sun, and the plant was tiny when started, now it is huge! You can also see there is a eucalyptus plant stuck in there, first year I’ve tried one. It is super tall right now and I’ll probably give the plant to my niece. She likes the smell of those plants, but I find the smell disagreeable. However, while it is living in the pot, I haven’t smelled that scent, guess it is when it is cut down.

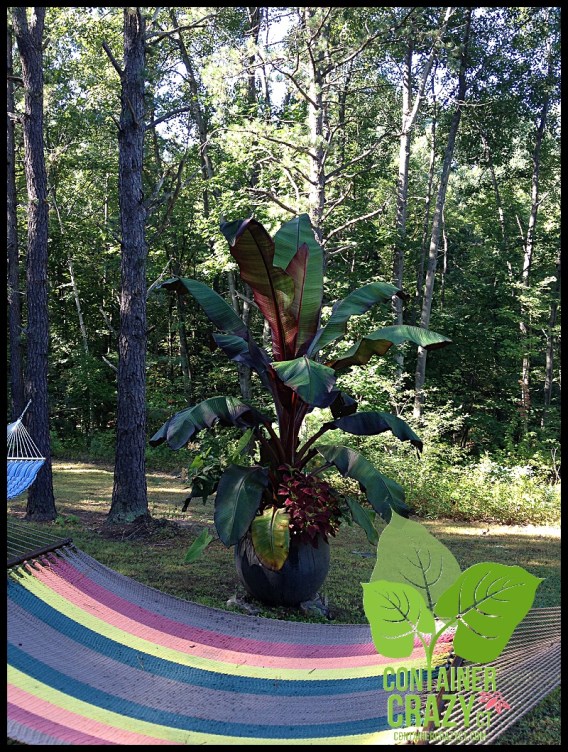
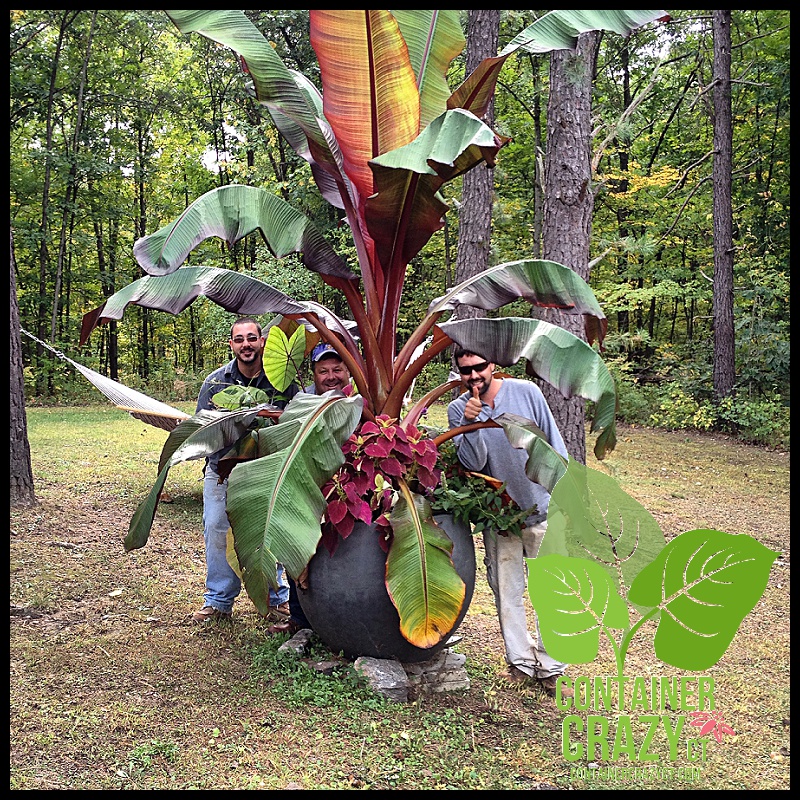
I took this photo this weekend so I could have a reminder of how large this Ensete (red banana plant) grew this season, which is only year 2 of it. I stored it last year, and it shot up a lot this year with growth, and I have to remind myself to plant it in the larger planter next year, because it fell over twice during windy storms here – thankfully the pot/planter did not crack! I was trying to encourage my black cat to pose with me, she wasn’t having it – she wanted to walk around the deck. Her name is Mini and she is our treasure pet! We just love her. She never bothers my plants, it is like she knows, they are important to me, just like she is.
Anyhow, tomorrow I will start to take these apart and store them and will show the steps but here’s some links from prior posts about the processes I have followed with success.
Please note: Years ago, I would put moist peat with my Alocasia tubers, but no longer. I use paper for those, and it works better. That is for the Alocasias specifically. (For Canna Lily rhizomes, I use peat, and for Colocasia regular elephant ears, I use peat).
Hope this is helpful.
Enjoy your day!
Cathy Testa
Broad Brook/East Windsor, CT
Date of this post: 10/7/2024