Here’s ten container gardens which I fell in love with and why from my past creations. I plan to show 10 at a time over the next months. Why? Because I will be deleting the photos from my database soon and it is a way to savor the memories!
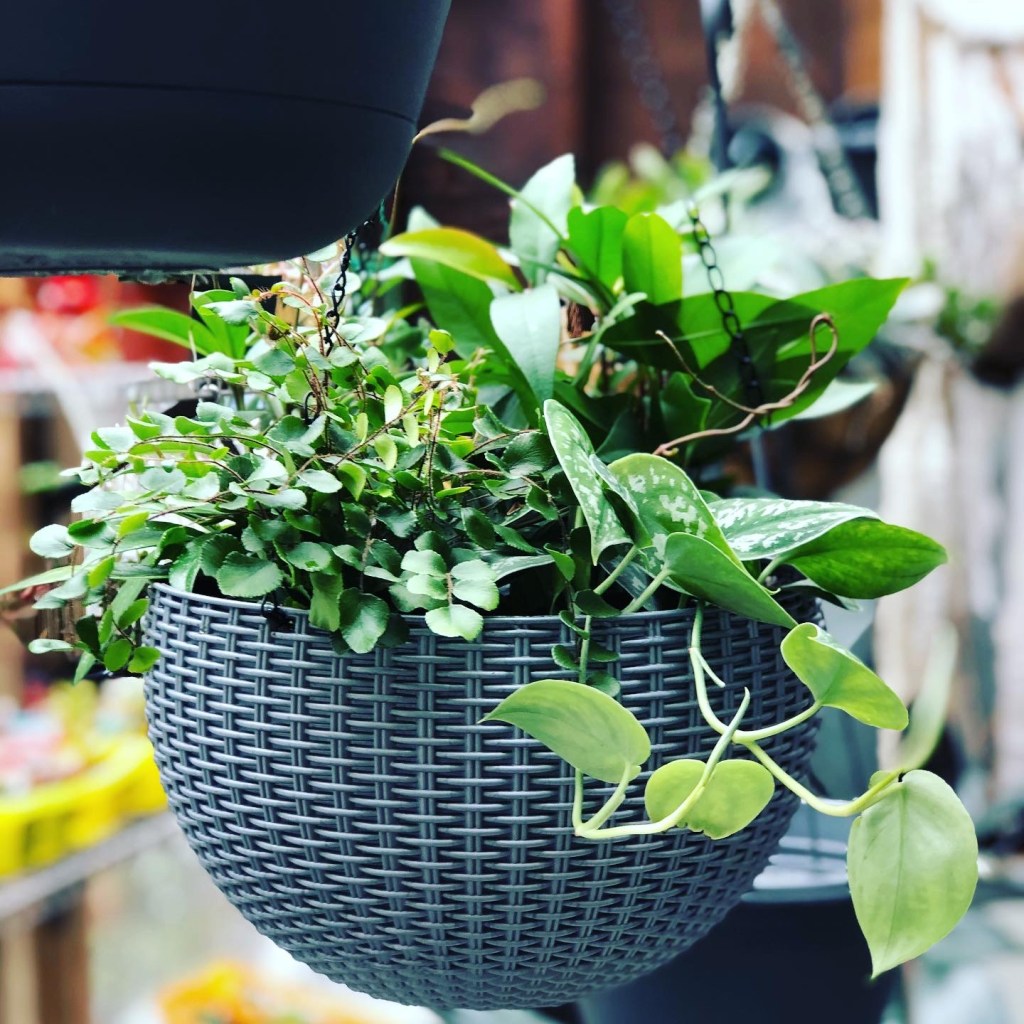
Hanging Baskets with a Mix of Houseplants
One year, I created many hanging baskets with various houseplants for sale. The reason was the houseplants were gorgeous. Additionally, the hanging baskets had a drain hole with a removable plug. It is so important to have drainage for your plants so these hanging baskets would work well. The plants were also extremely healthy and I thought, “Why not?” I sold quite a few of them. Each had a different mix of houseplants. Houseplants have their own unique sets of challenges. To help reduce them, start with healthy plants, which these were. Look the leaves over and make sure there are no discolorations or signs of insect damage. Houseplants like warm temperatures during the day and cool at night. They would be fine hung outdoors in the summer in these hangers in the right spot. Most houseplants enjoy bright indirect light and do not take direct sun too well. Having them in hanging baskets allowed placement in the home or outdoors in summer. In the summer outdoors, use caution so it is not in full sun where it would burn the leaves. It is imperative to allow water to drain out of the pot, and in this case, a hanging basket. These had a removable plug. This allowed proper drainage. Otherwise, I would not have used hangers for these plants. Hopefully the plants continued to thrive for the customers who purchased them.
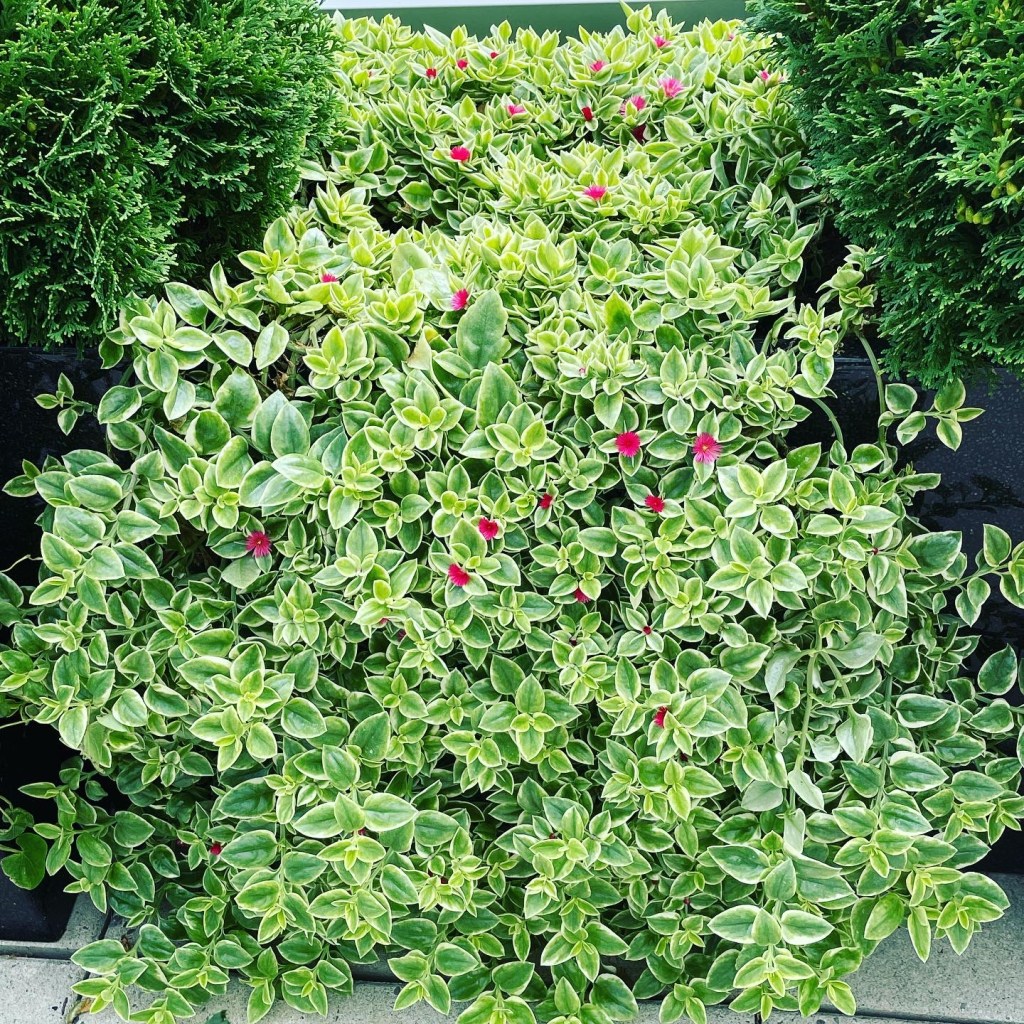
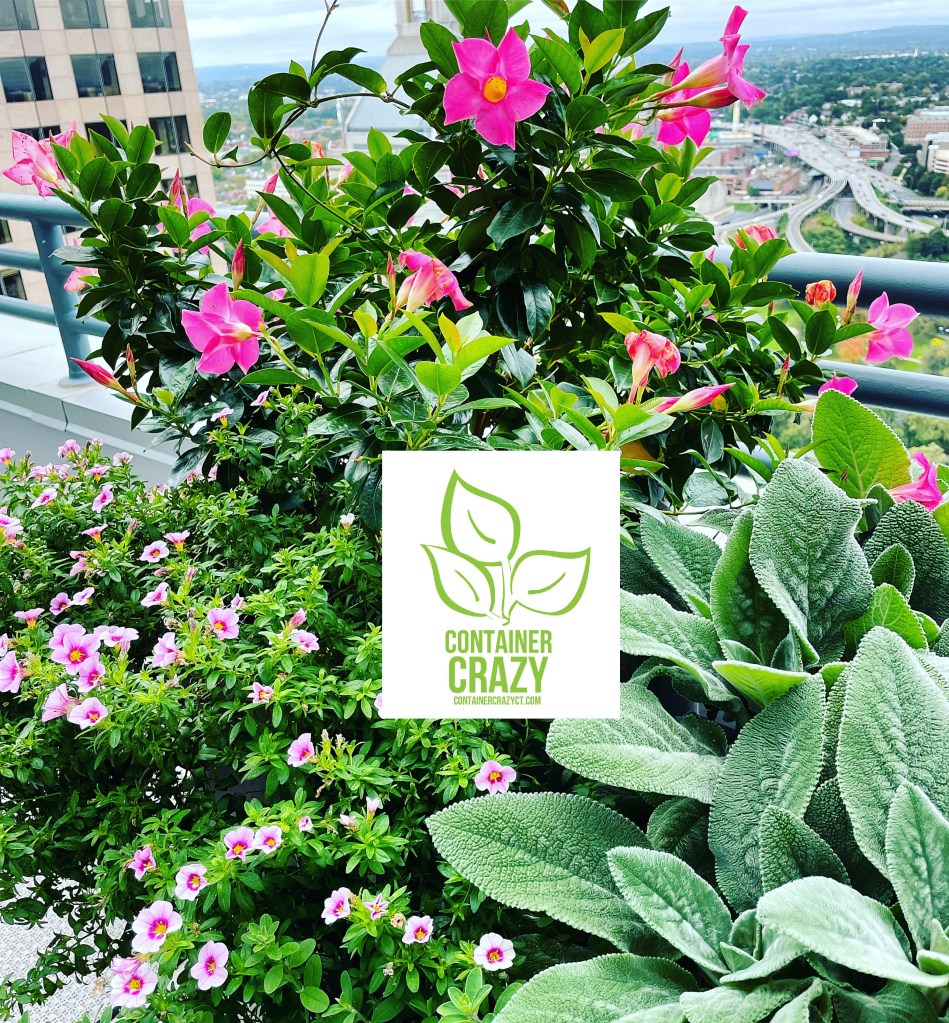
Balcony Spiller Plant on a High-Rise
This plant impressed me immensely. First, it tolerated the full sun conditions of a high-rise balcony, and it grew so fast and full. It would make my plant-based mind mouth water! I started with a small plant and it grew very long, spilling over the edge of square planters. This is why I refer to them as “spillers.” I wrote all about this plant in a prior post. It really had other amazing features like it is easy to take a cutting to root for more plants. The red blooms appeared all summer. The plant did not get any insect damage and was drought tolerant. Read the post below if you wish to learn more. The post has some more photos too. Click below for more detailed information.
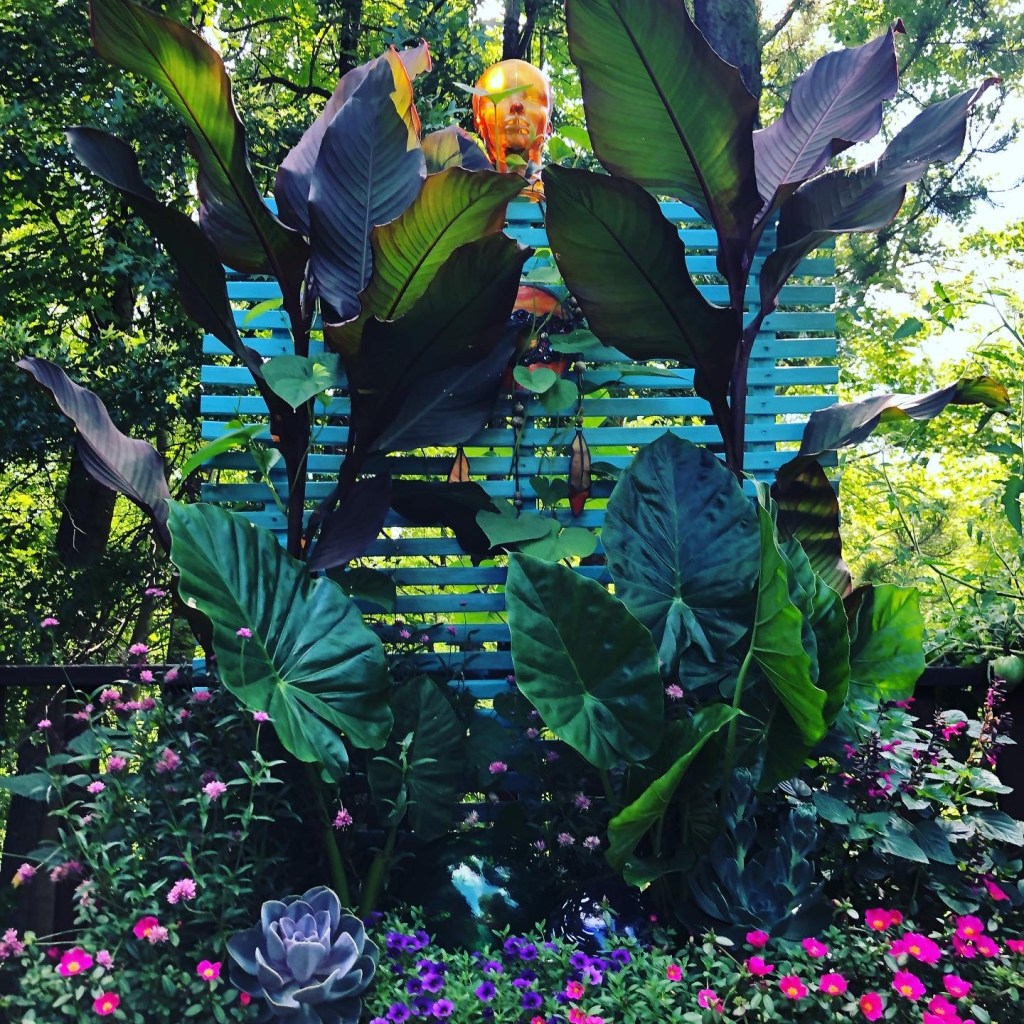
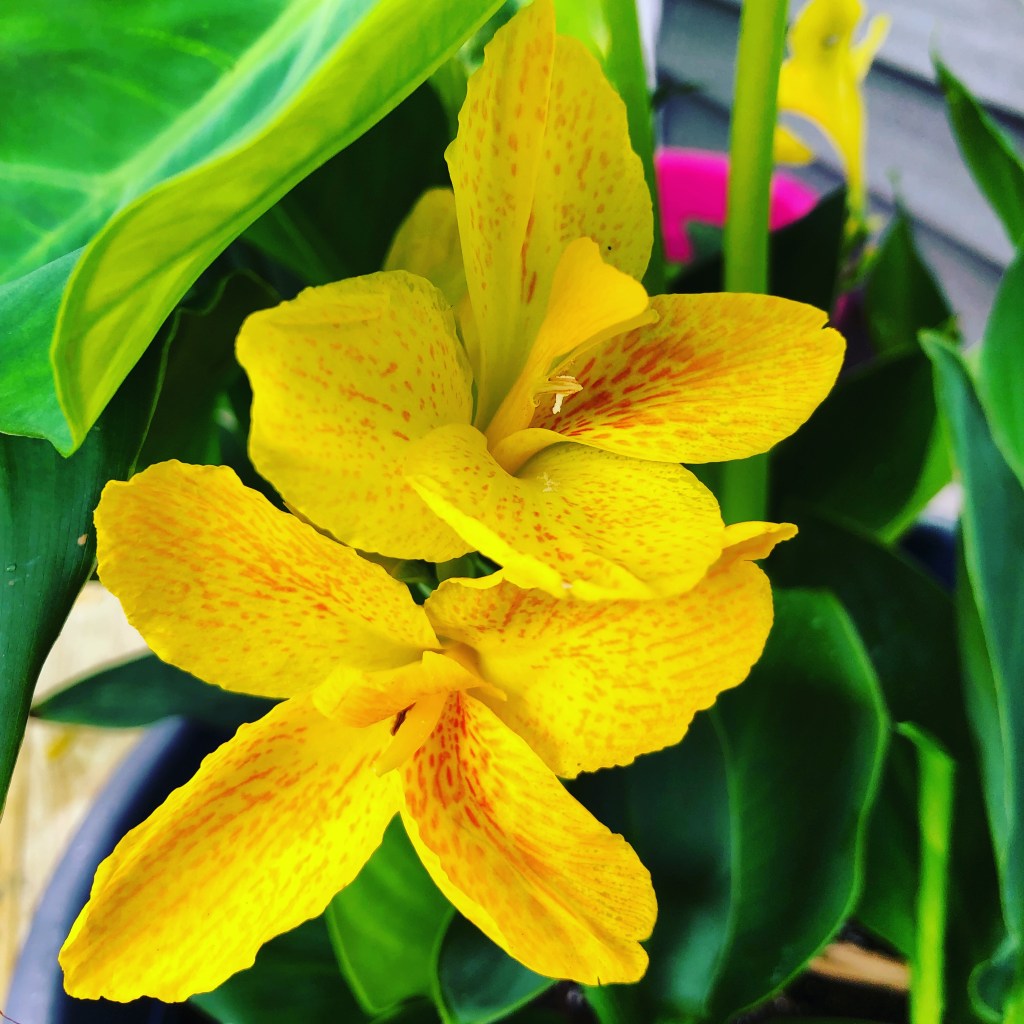
Blue Planter Box with Blue Wall and Canna Lily
One year a lady in my town was building and selling wooden garden planters. I had to have one and situated it on my deck. I stained the planter box and attached trellis wall with an aqua-blue colored stain. Then started to plant it with a mix of sun lovers. The tall canna lilies were stunning and grew to the top of the wall. Below in the base wooden square planter were succulents, flowering summer annuals, and lots of color. I blogged about this planter too. Here’s the post. It shows the progression of growth of the plants from start to later in the summer season. It also identifies all the plants. Click below for more.
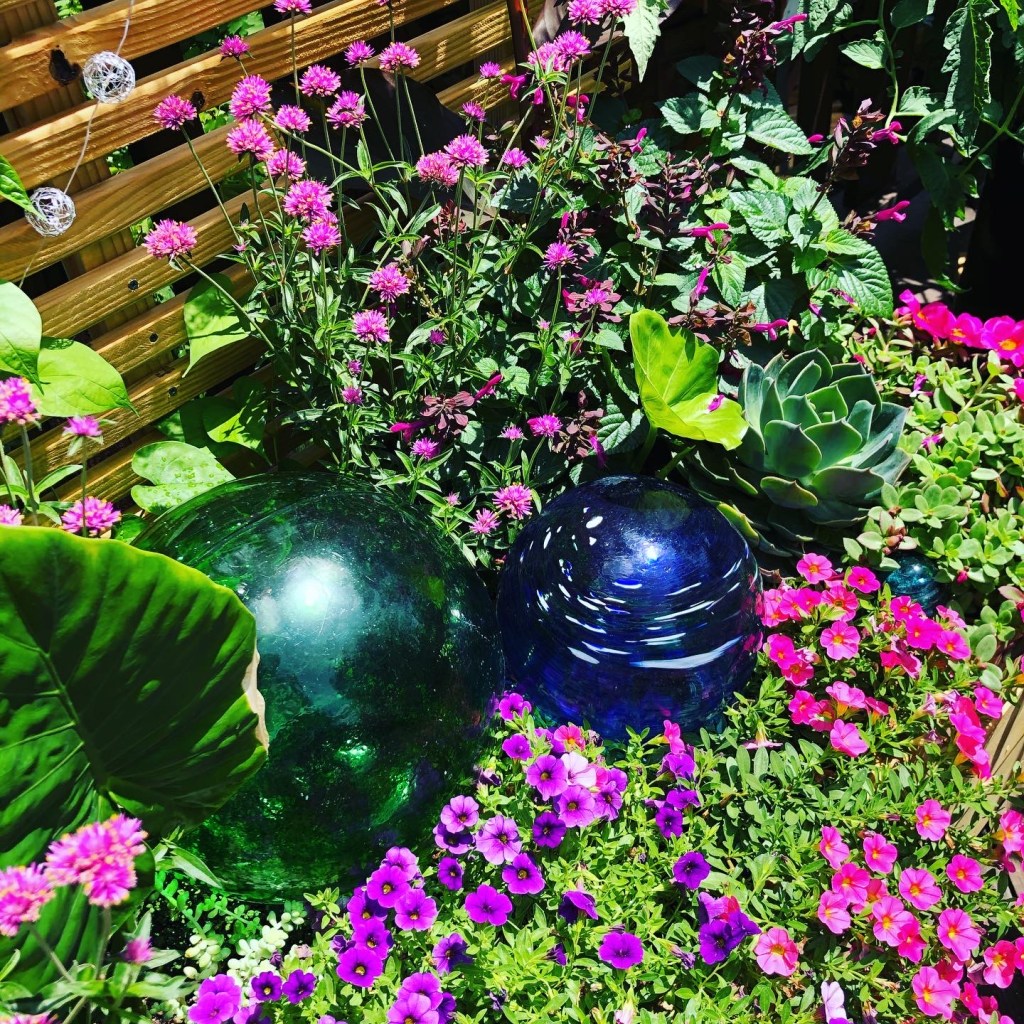

Wedding Pots with Euphorbia ‘Diamond Frost’
I remember Euphorbia ‘Diamond Frost’ being super popular one year. It has delicate white flowers. They are suitable for a wedding theme. These were used in wedding pots I rented to a customer one year. The client asked for blue pots and abundant flowers. I worked hard on these tending to them all summer and delivering them for the outdoor wedding. I wrote a blog post about them below. The nice thing about the white blooming plant is it can stand alone. It can also be used in combinations. Either way, it still looks lovely. Click the prior post link below for details about Euphorbia and the accompanying plants in these blue planters and pots.

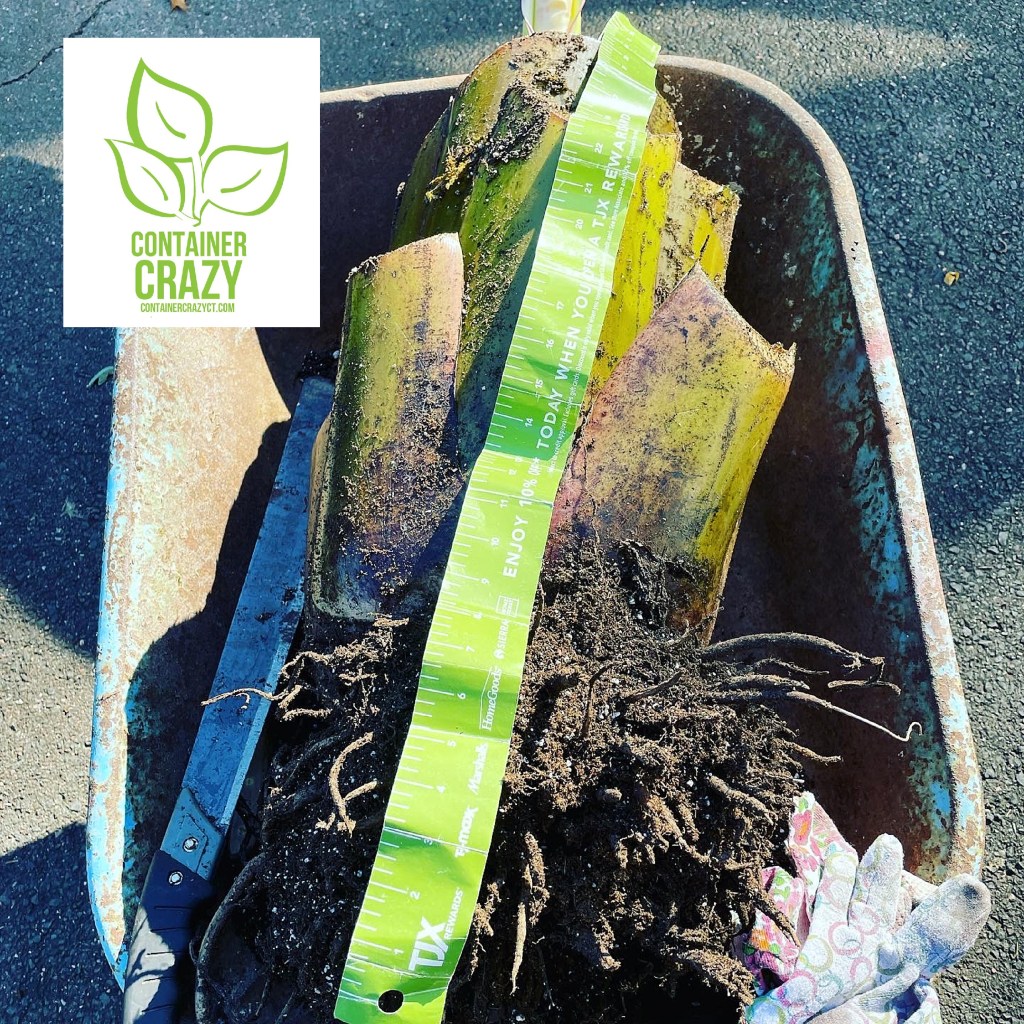
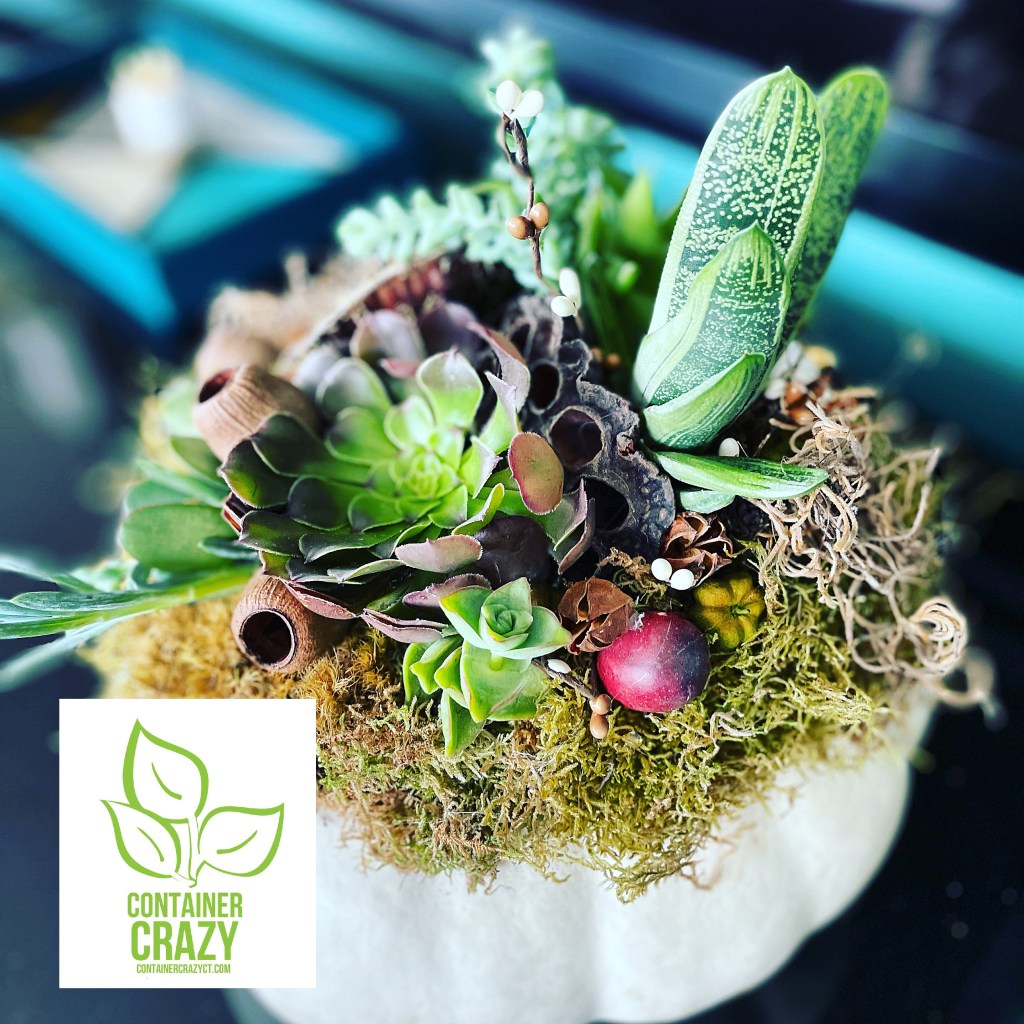
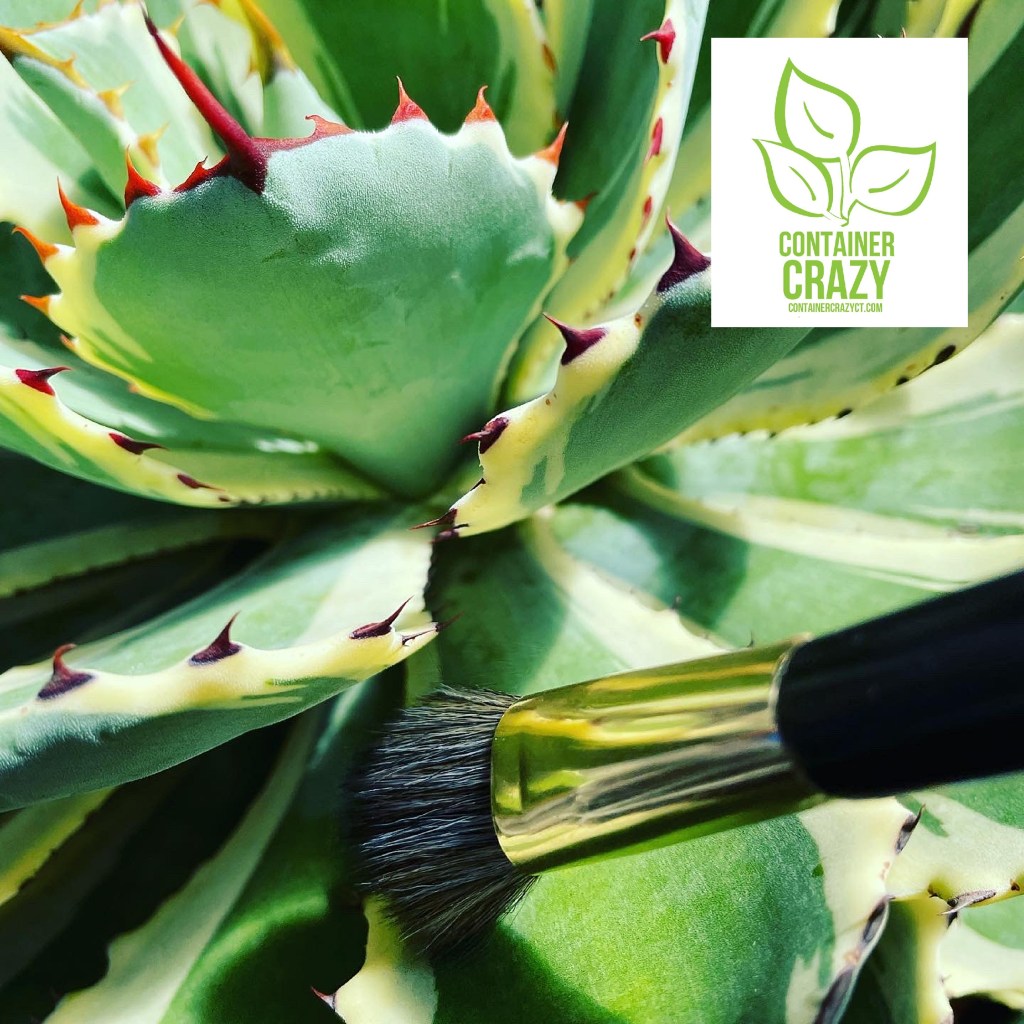
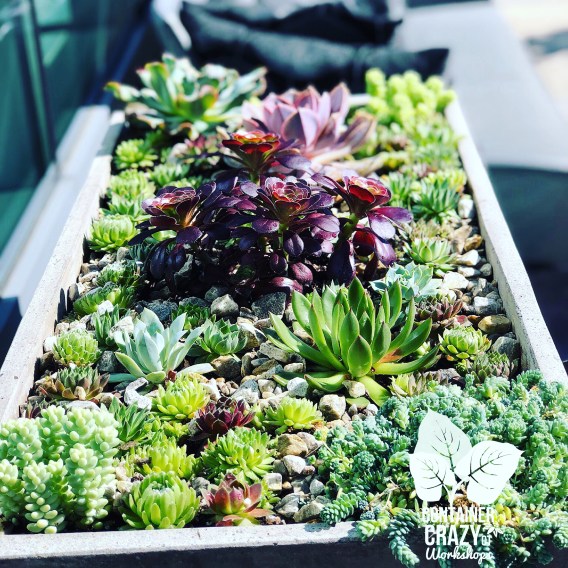
A Tapestry of Succulents and Hens-n-Chicks
This has got to be one of my all-time favorite creations. It was a square cement like colored planter on a high-rise balcony. I was thrilled to fill it with various small hen-n-chick plants (Sempervivums). I also used other unique succulents and dripping down spillers. I felt it was “magazine worthy” to be honest. I know I took a boat load of photos of this planter and the accompanying ones. I’m surprised I don’t have a post about them on this website, but I’ll research that more later. You can see I used small gravel to top dress the soil around the plants. This offered a more finished look. I placed Donkey’s Tail (Sedum morganianum) in two of the corners. This way, it would drip down over the edges of the square planter. By mid-summer, these plants were double in size! Some larger Echeveria plants were included (they look like rosettes). In the center is a stunning Aeonium (plum colored). All of these succulents were in top-notch condition upon planting them. The planter was seen from inside too. This offered a nice touch for admiring the plants all summer long. After the season was over, I removed many of them to continue propagating them.
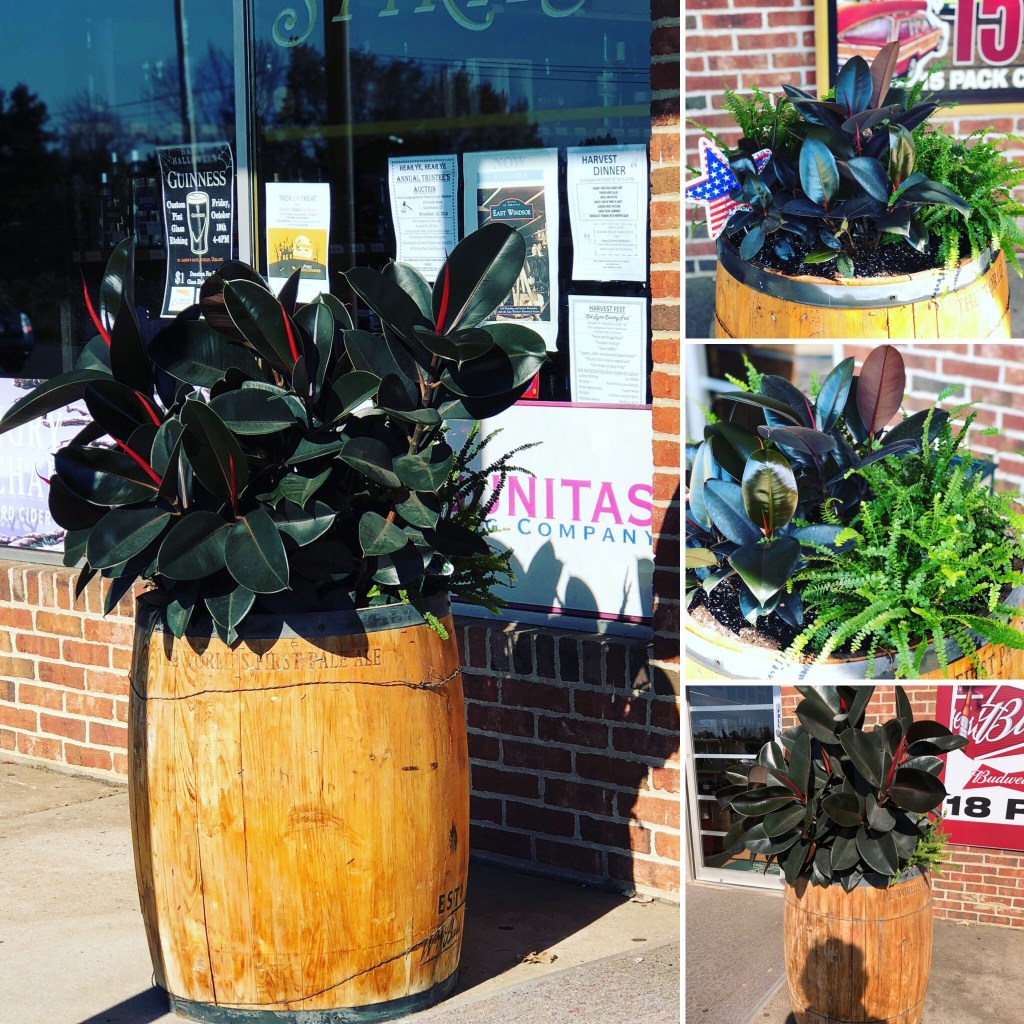
Barrels with Rubber Plant (Ficus elastica)
For years I planted two barrels in front of a package store in my town. One year, I used Rubber Trees. Why not I thought, they are an easy-care plant and have huge leaves and they should not be over-watered. Being watered infrequently is beneficial. The store owners sometimes found it challenging to find time for watering. But what really surprised me was how large they grew in one season! I stuffed some small houseplant ferns around the corners. The rubber plants were showstoppers. They grew wide and full. This particular Ficus had darker leaves and red tips which made it more striking. I was able to remove these plants and keep them a few more years longer inside my greenhouse.
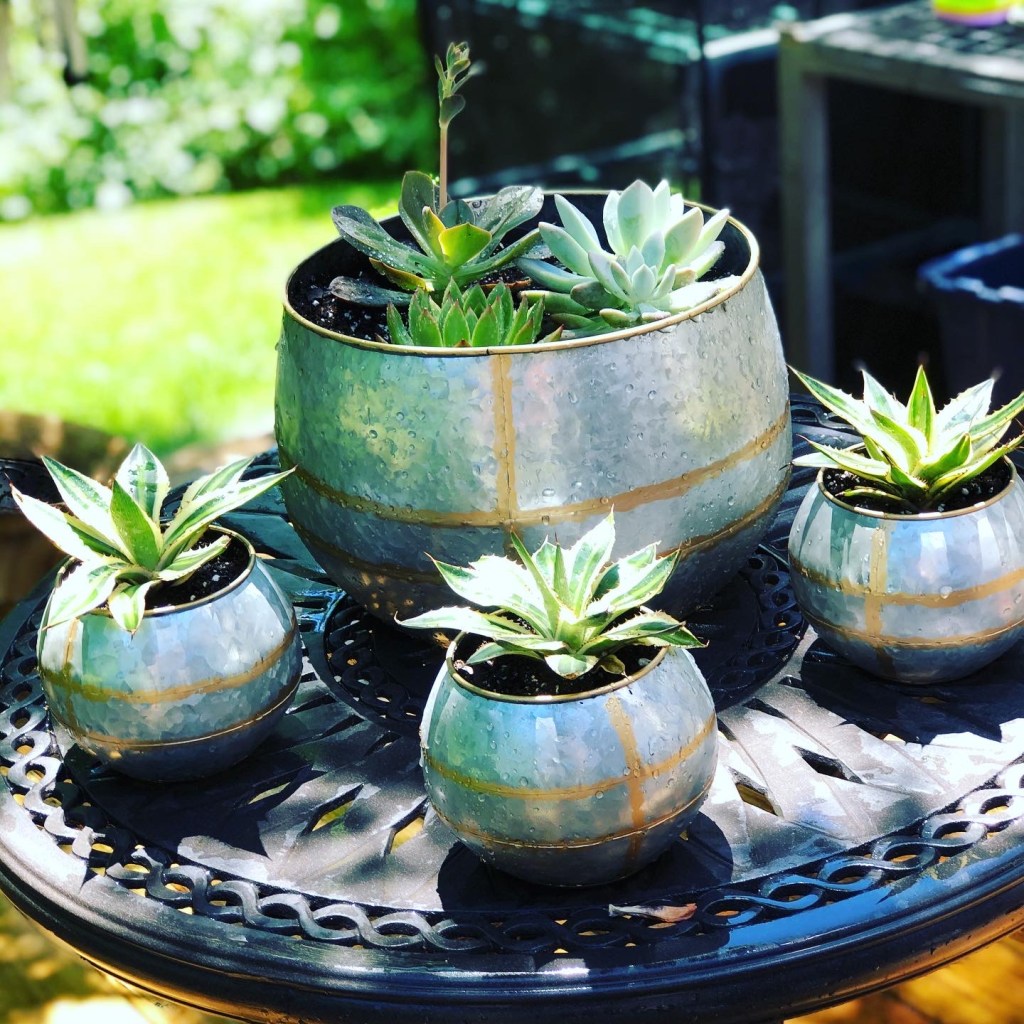
Round galvanized pots
This one is more about the pots than the plants. I just loved these pots and had to have them. I placed some Agave babies in the three small pots. I also put a few succulents (Echeverias and a Hen-n-Chick) in the larger round pot. Each had a simple pre-drilled single drain hole in the bottom (a must). I took this particular photo on the deck next to my greenhouse one day. These ended up being moved to my large deck against my house. I didn’t sell them and still own those pots today. The agave plants outgrew them of course and were moved into larger pots later.

Round Urban Pot with More Succulents
This was one of the accompanying planters on the high-rise. I filled them that year with succulents, agave, and other heat lovers. As with the square planter noted above, I topped dress them with gravel or stone. It gave a nice, finished look plus it helps reduce splashing of water when watering or during rain falls. These plants thrived in a rough environment of heat and strong sun outdoors. Granted some succulents actually like less sun but these performed very well. Succulents like well-draining soil. They need good air circulation, and it would get breezy or very windy here. Some prefer bright indirect light, while others thrive in full sun. A moderate temperature is also ideal. They can handle extreme heat, which they did handle in these urban cement styled planters. Also, the outdoor location provided sun for half the day and shade for half. It was perfect because the shade gave them rest from the intense heat. The plant in the background with rounded shaped leaves is a Silver Dollar Jade (Crassula arborescens).
Thank you for visiting. Stay tuned for more features!
Cathy Testa
Date of this post: 2/7/2026
Cathy had a small business focused on container gardening. Today she and her husband are retired. They like to go camping now thus camping locations have been added to this blog in addition to plant stories.