If you haven’t visited the town of Belfast in Maine, you are missing out. My sister discovered it over 10 years ago and quickly decided to settle there. At the time, I don’t think it was all that well-known, but the secret is out now.
The town of Belfast is a community driven place with a charming Main Street and many historic looking buildings. While it is small, it seems to have a lot happening from parades to arts to harbor festivals. They even have a curling club! And a wonderful farmers market.
We picked this area for a camping adventure in 2024 during July. I wanted to be near the ocean and started browsing various options. My sister suggested a place called Moorings Oceanfront RV Resort.
OCEAN VIEWS
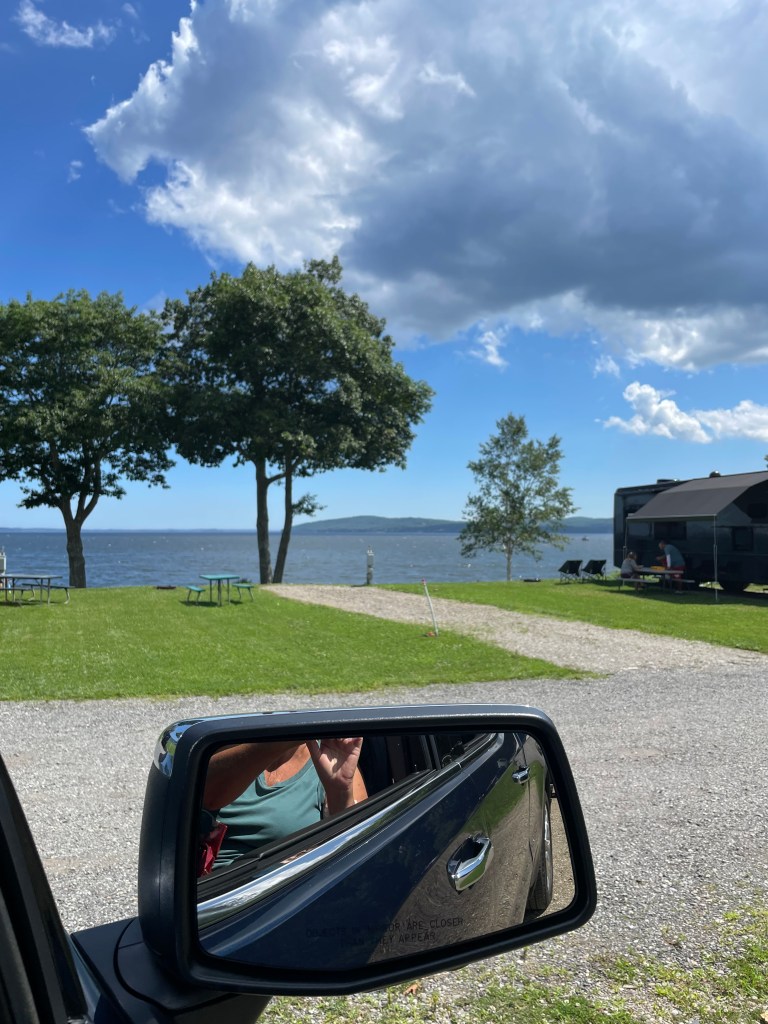
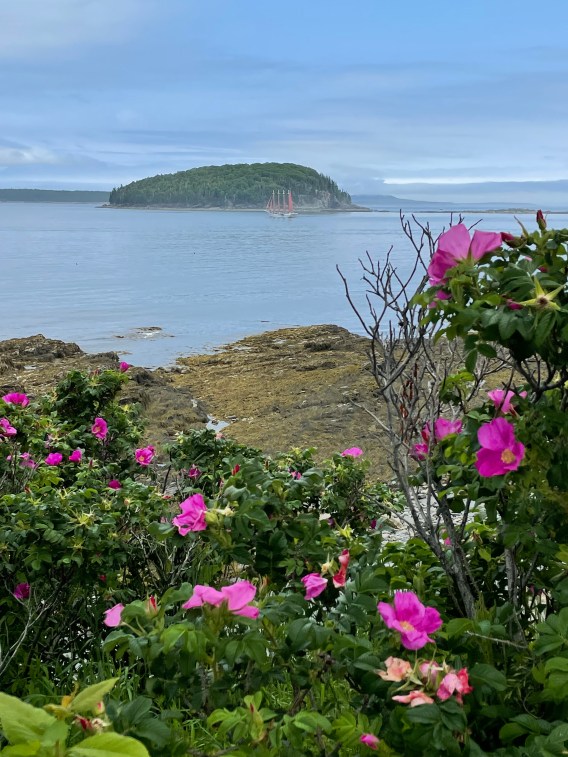
When it came to ocean views, this campground did not disappoint! I was so excited to see this view. I took a photo before I even got out of our truck. It was a beautiful day when we arrived.
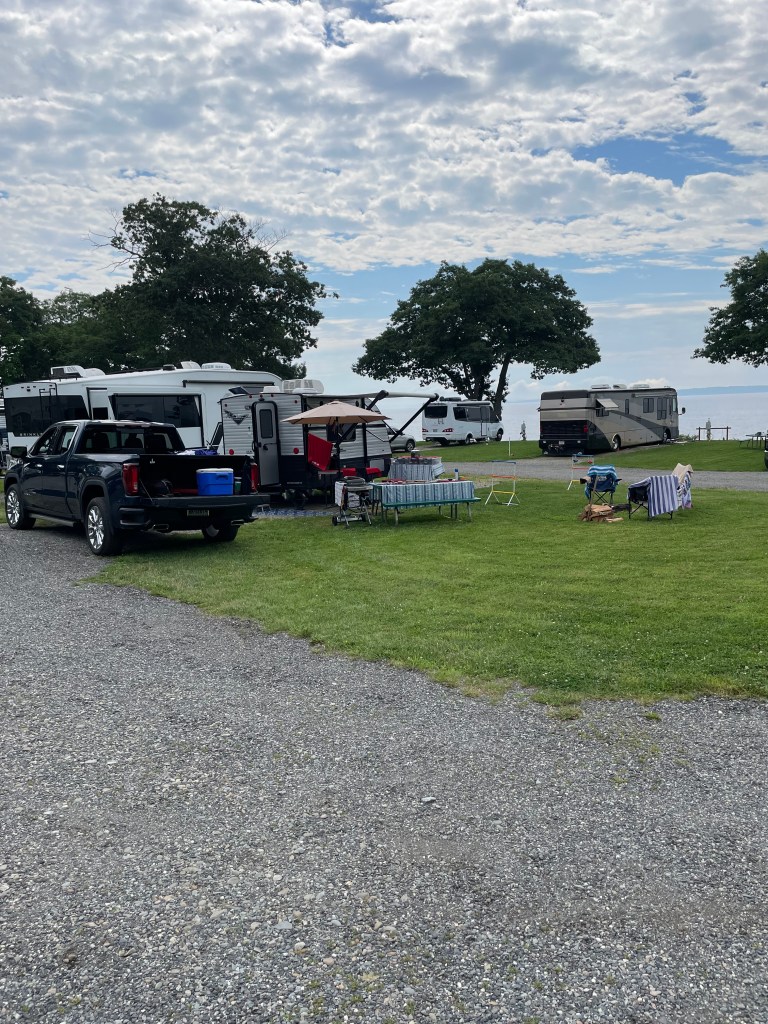
Moorings Oceanfront RV Resort is located at 191 Searsport Avenue, Belfast, Maine. We selected a premium pull through site on a corner. It was site number 9. We liked it. You not only have a great view of the ocean, but this spot also has a nice corner lawn area. Like most campgrounds, it has a picnic table and fire pit provided. I believe all the sites here are full hook-ups too.
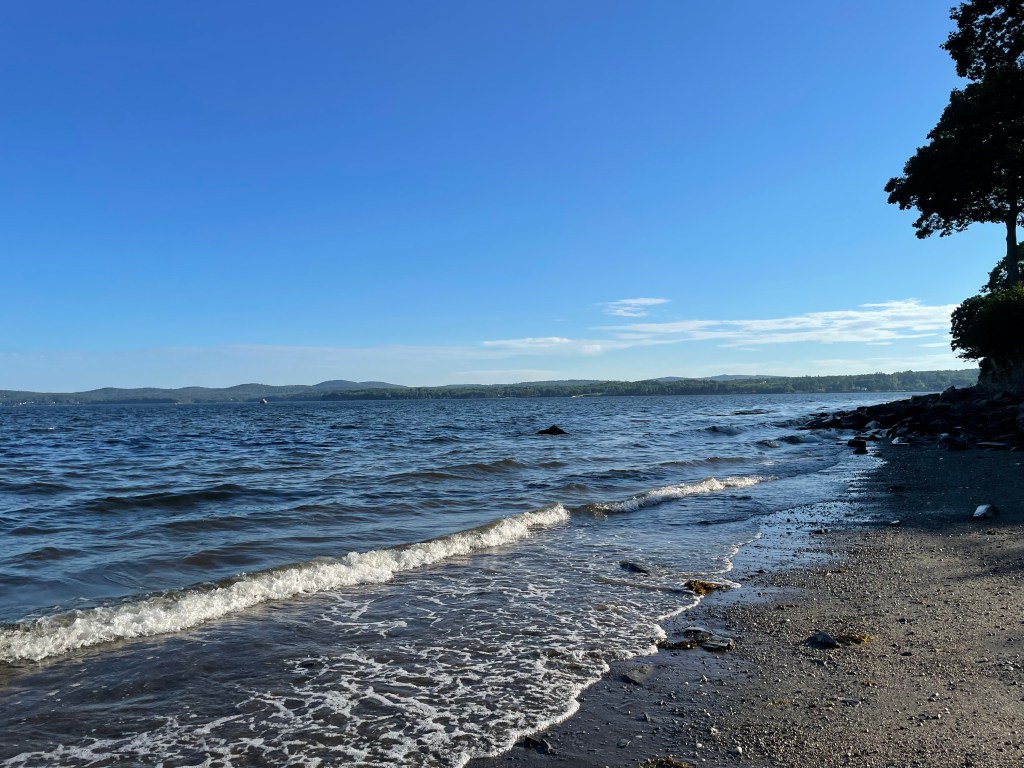
There is a little beach area at this campground, but I would not call it a “swimming beach.” You can go in but it was a little wavy and mucky at the time we were there. It was a good access to go kayaking if you had your own kayaks with you. One day, I watched a couple put their kayaks in and go on an adventure. I wished we had our kayaks with us too.
The beach not being really a beach to hang out didn’t matter to me. I was absolutely in love with the ocean views. It just made me feel happy sitting there and staring out at the beautiful water and sky views. We scored a nice hot week of full sun weather, which made the environment even better.
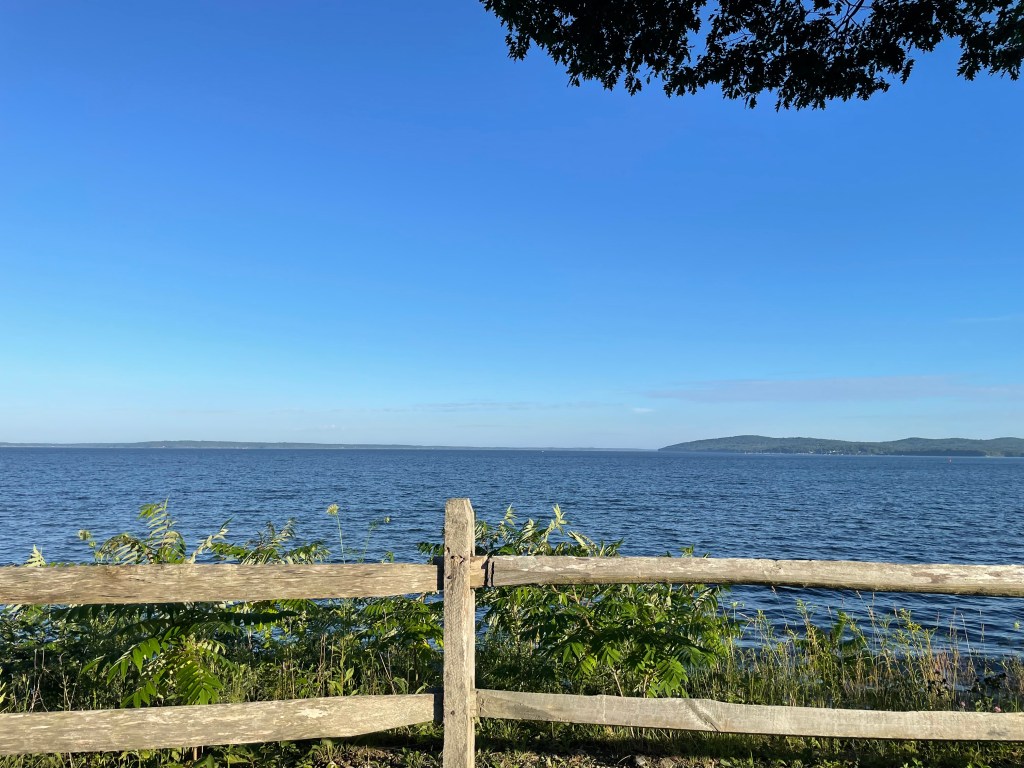
The first row of campers are the more luxurious spots. In front of that row is a lawn area. You can walk there and sit on a nice large hanging swing. Just meditate while looking at a view like this. There was another sitting area tucked in a corner with a large tree for shade. The land facing of this drops down so you must go to the beach access to reach level ground there.
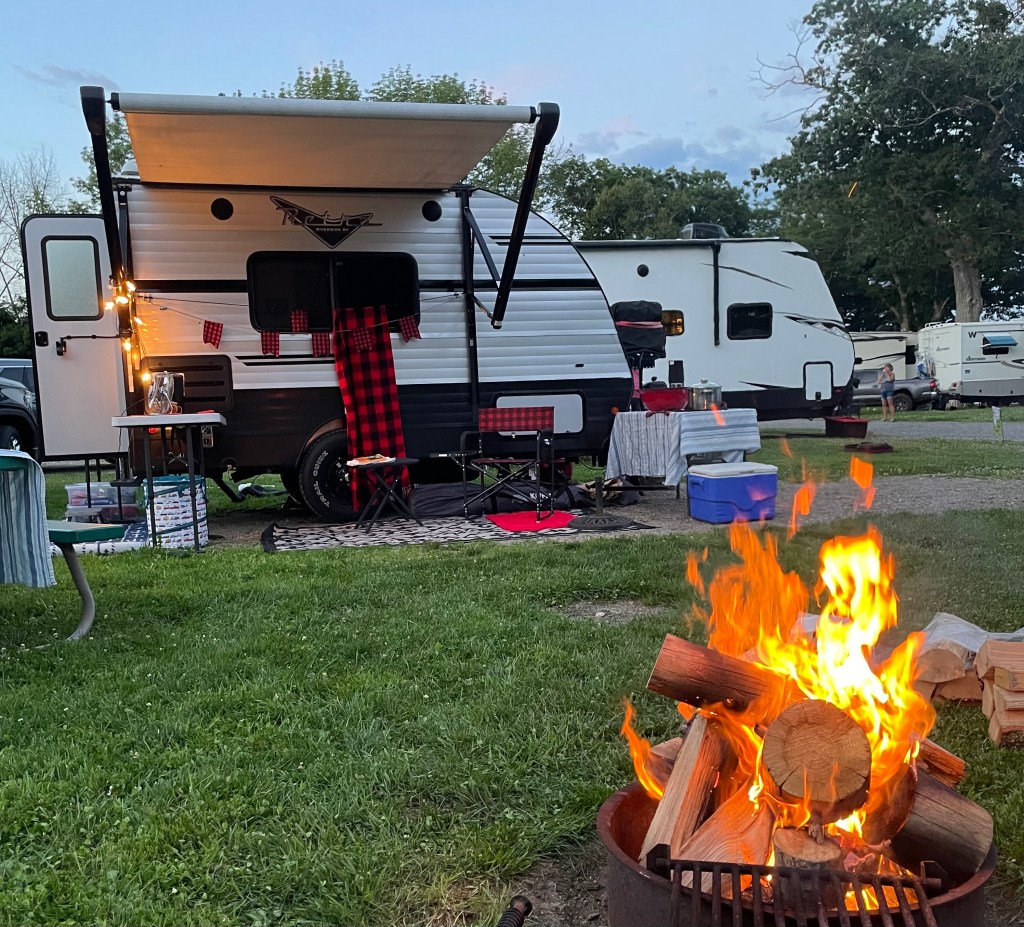
Because our first camper was small, we put a lot items outdoors. You can see we liked having extras. This spot was perfect for us. Take note, there is a Moorings II, but this is Moorings. They are different. As far as amenities, this place does not have a big list. The only amenity you need is the ocean views. Its proximity to the quaint town of Belfast is another plus. For us, it was a hit.
The campground staff escorted us to our site, which was a nice touch. They have a small store and a big dumpster for your trash drop-offs. The place is well kept, clean, quiet, and friendly. But it does not have a pool or other things you find at other RV resorts. It is smaller which is nice as it did not feel crowded or overwhelming. Peaceful evenings and mornings every day. The views of the night sky were spectacular in the evenings with all the stars.
FARMERS MARKET NEARBY
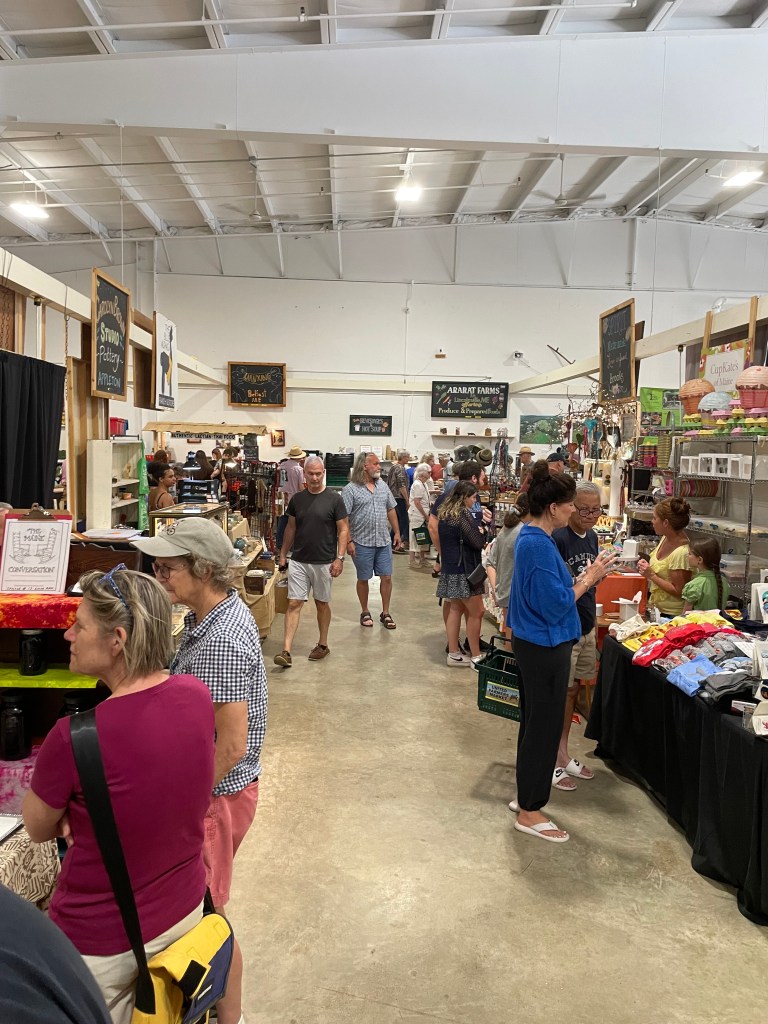
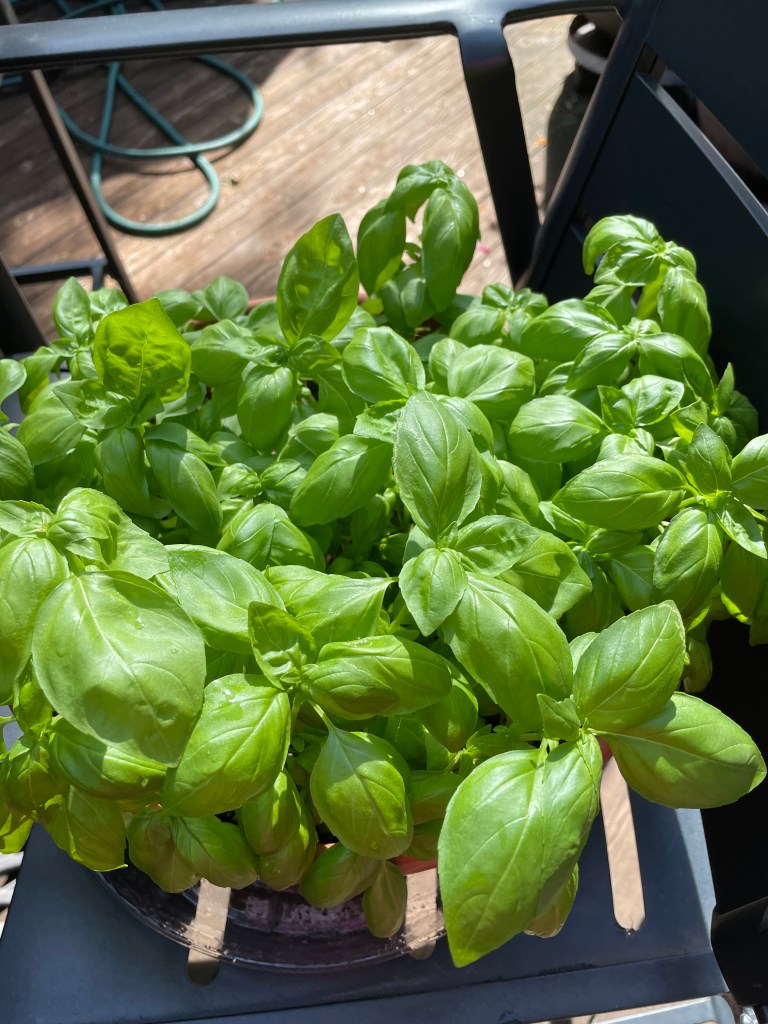
After settling into our campsite, we spent a few days visiting my sister, Lisa and her husband, Jeff. We were sure to go to the Belfast indoor Farmers Market for fresh supplies for our camper meals. She and Jeff gave us the grand tour. It was a really happening market with lots of goodies. I picked up fresh herbs and other things like local maple syrup and cheeses. There were many talented crafters and artists as well. They also have a farmer market outdoors in the summer months I believe.
BREWERIES, PUBS, FOOD
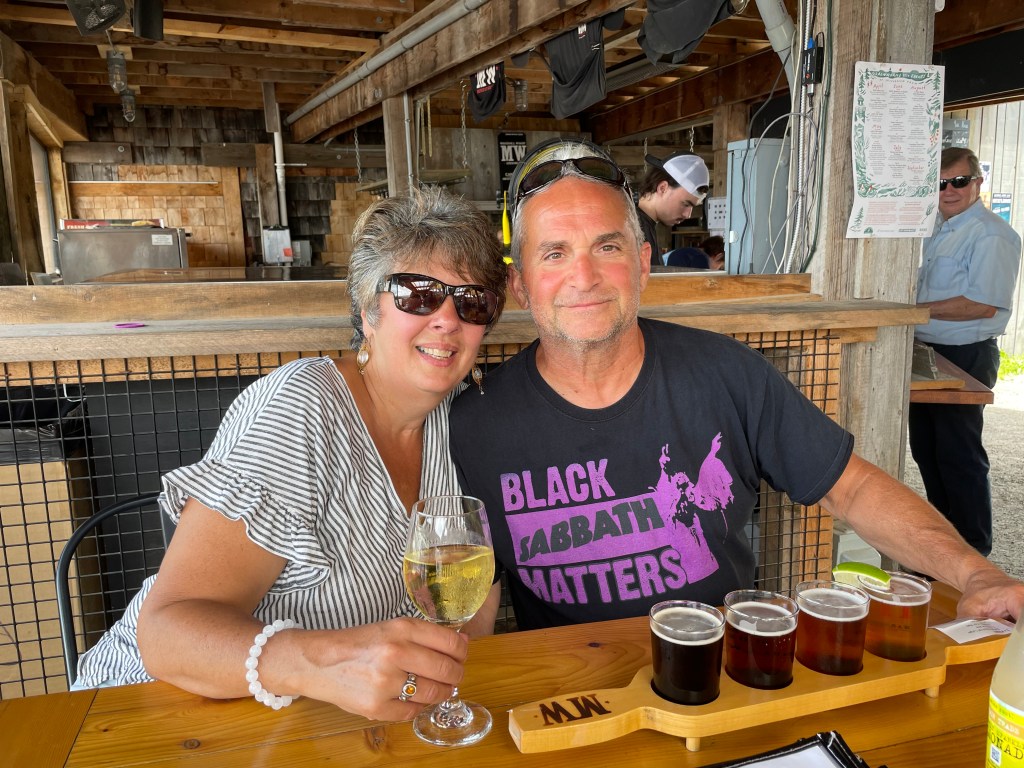
The other fun part about the small town of Belfast is there are some nice little shops, breweries (my husband and Jeff loved that) and a couple restaurants. Here we are at a brewery, and it has semi-outdoor seating by water views. It was fun. And they had wine too – another bonus for me. I cannot recall the name of this spot, but it was fun to visit, sit and chat.
These places are tucked here and there in Belfast. Since we had our local Belfast escorts with us, Lisa and Jeff, we didn’t have any trouble finding them. We especially like Rollies for burgers and hot wings and a fun pub atmosphere. It is located at 37 Main Street. It has that laid back feel and friendly patrons.
My favorite lunch place is Darby’s Restaurant and Pub. It’s located at 155 High Street in town, right off the Main Street. Darby’s is cozy. One day, when we stopped in there again for a drink, I met a fellow from the Belfast Curling Club. He was probably shocked I even knew they had a Curling Club. This restaurant is small and the food is delicious. I think it is worth a stop at least once while in Belfast.
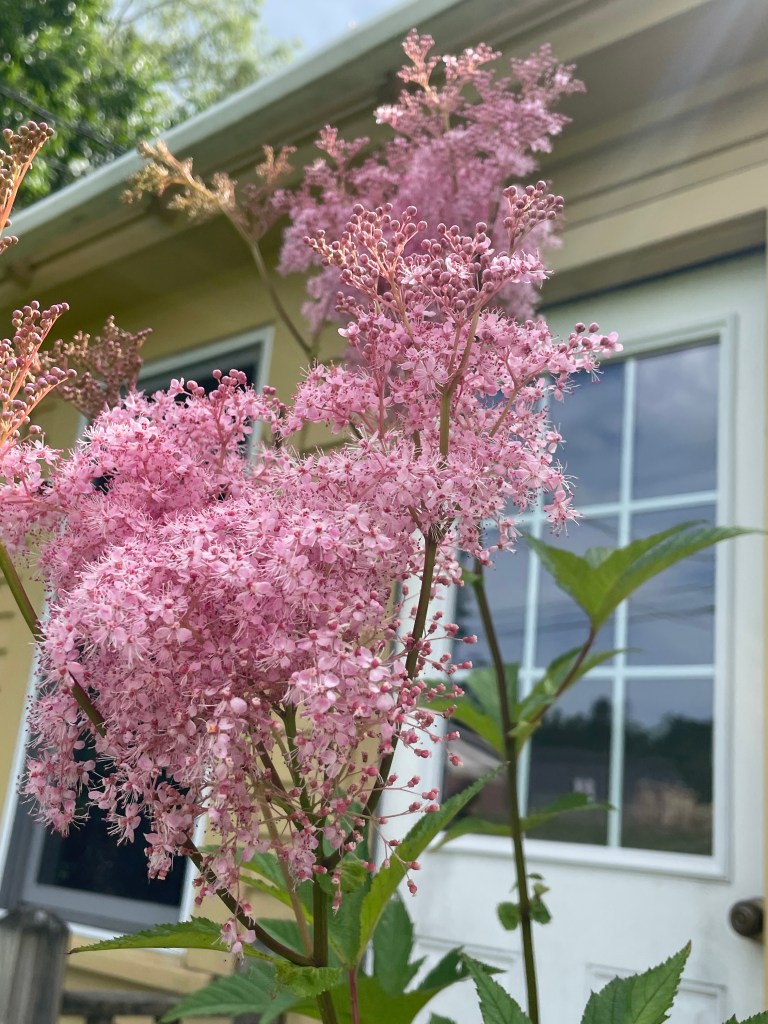
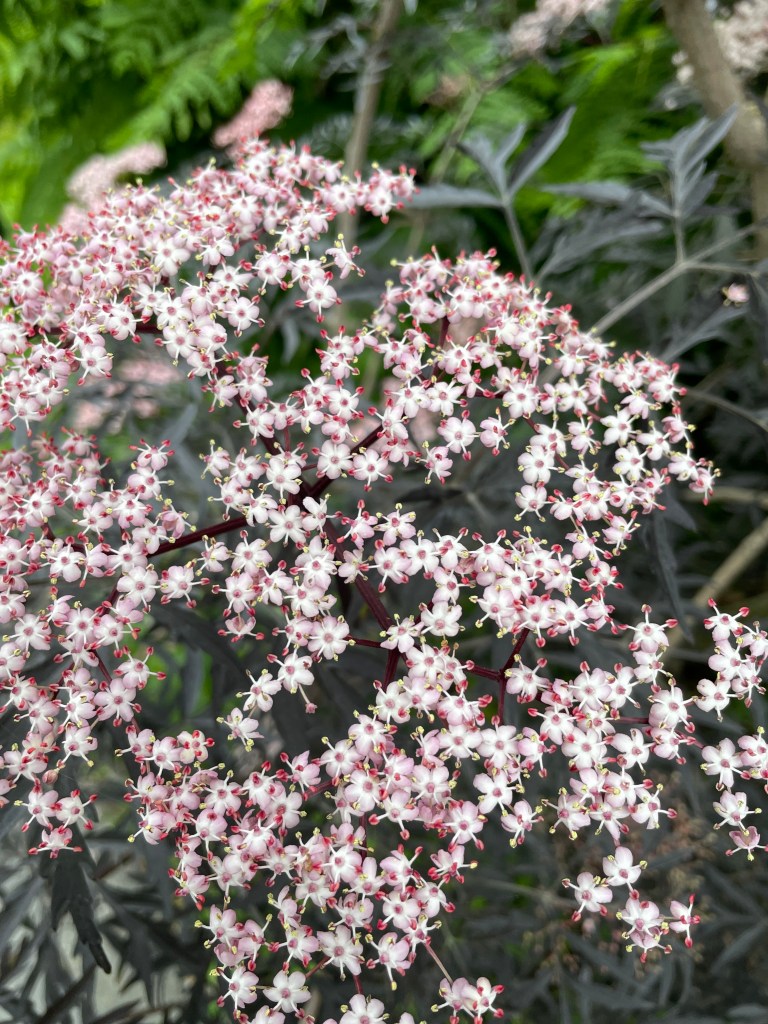
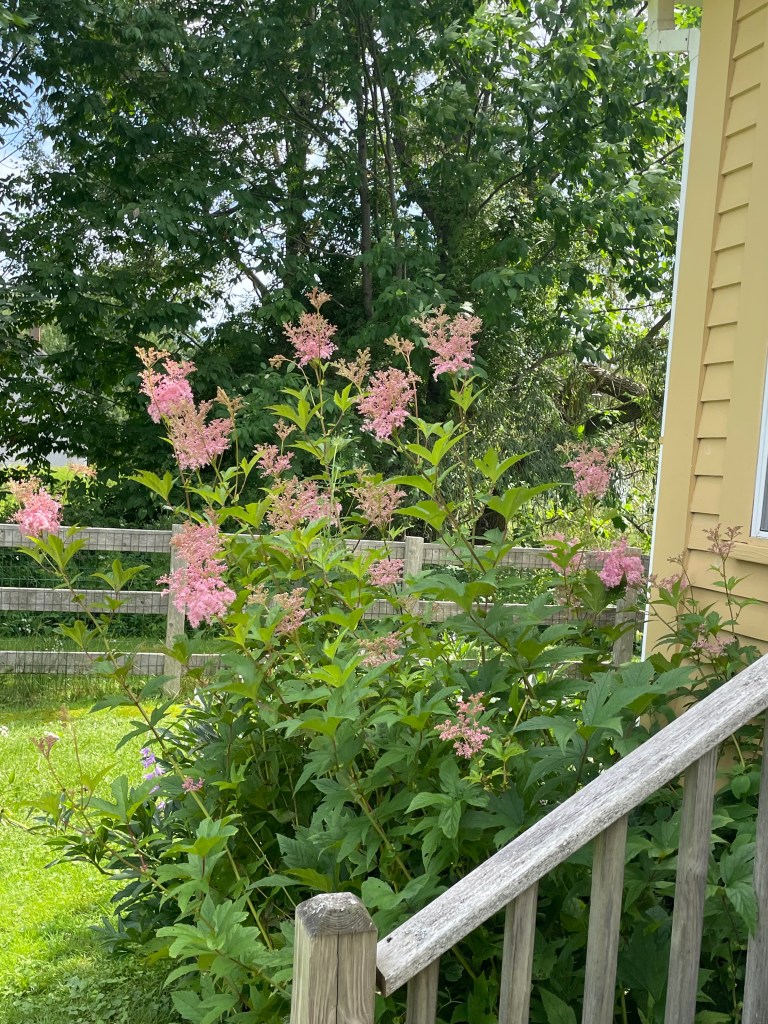
We picked up my sister and Jeff at their house. Then we adventured Main Street in Belfast for the farmers market and lunch spots mentioned above. Lisa pointed out flowers she had out front her house that she said I gave her the starter plant. Ah yes, the beautiful Filipendula perennial. The common name is queen-of-the-prairie. The fluffy rose-colored flowers are dreamy. Her stand of them is outstanding. This is a very tall plant, reaching 4-6 feet high on sturdy stems. The flowers bloom from July to August, and the flowers are so delicate looking. I also like the big compound shaped leaves.
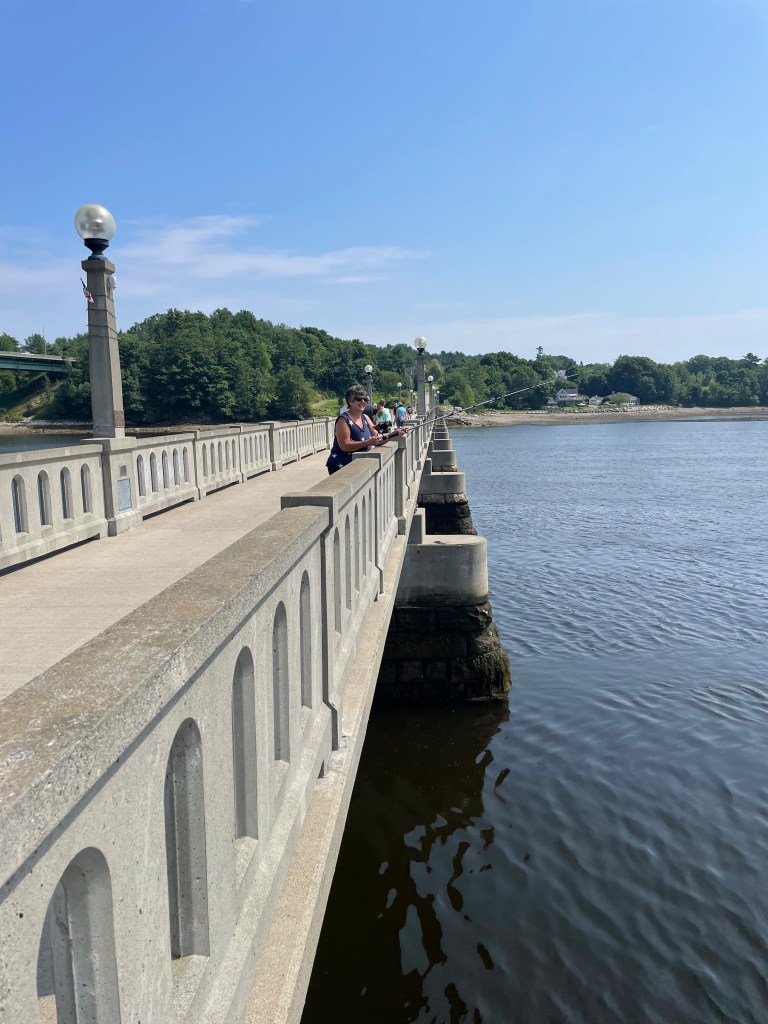
It is not too far of a walk from my sister’s house to a bridge (I believe it is called the Armistice Bridge). This bridge leads to a local shipyard. I often think, gosh she is living a dream! I feel like the area is something out of a movie. An unexpected town with little features one would not expect at first glance.
One morning, my husband and I went fishing on the bridge and that was fun. As usual, he and I didn’t catch anything. We are not sharp fishers. But we did meet people who would stop by to chat. Very friendly people in this area. There is a walking trail not too far from the end of this bridge on the shipyard end. It is an easy walk from the shipyard to Main Street via a Harbor Walk path.

Just being around water views, good food, and nice people was enough for us on this camping trip. A bonus was spending time with my sister and her husband. As I’ve mentioned before, we like to adventure when we camp and check out local areas. This worked out perfectly for us.
BLUES MUSIC FESTIVAL
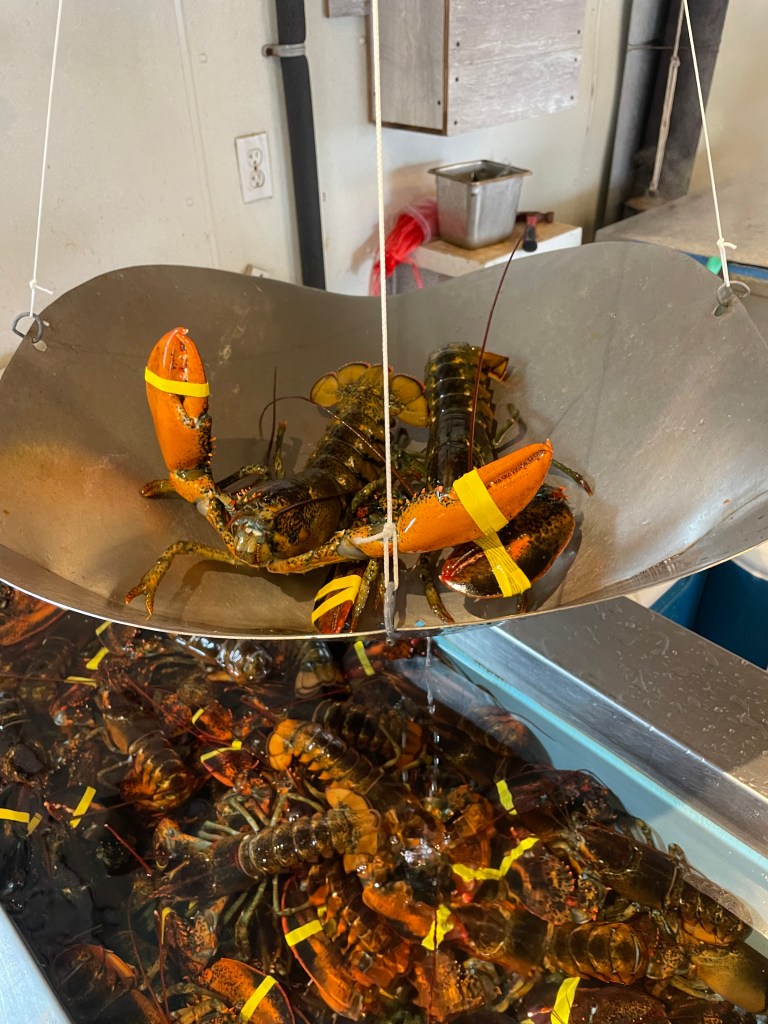
There are lots of things you can find to do in this part of Maine. Rockland is not too far away. Rockland has a blues fest every summer. We timed the trip to take a drive and hang out at the fest one day. But there is much more to do. You can get lobsters to cook at the camp. You can also find a beach to get a tan. There are hiking and biking trails. You just need to go out there to adventure. Rockland has a few nice museums and if you are not a camper, we recommend the LimeRock Inn. Before we became campers, we stayed there for the blues fest. It is not too far of a walk to the fest and a very nice inn.
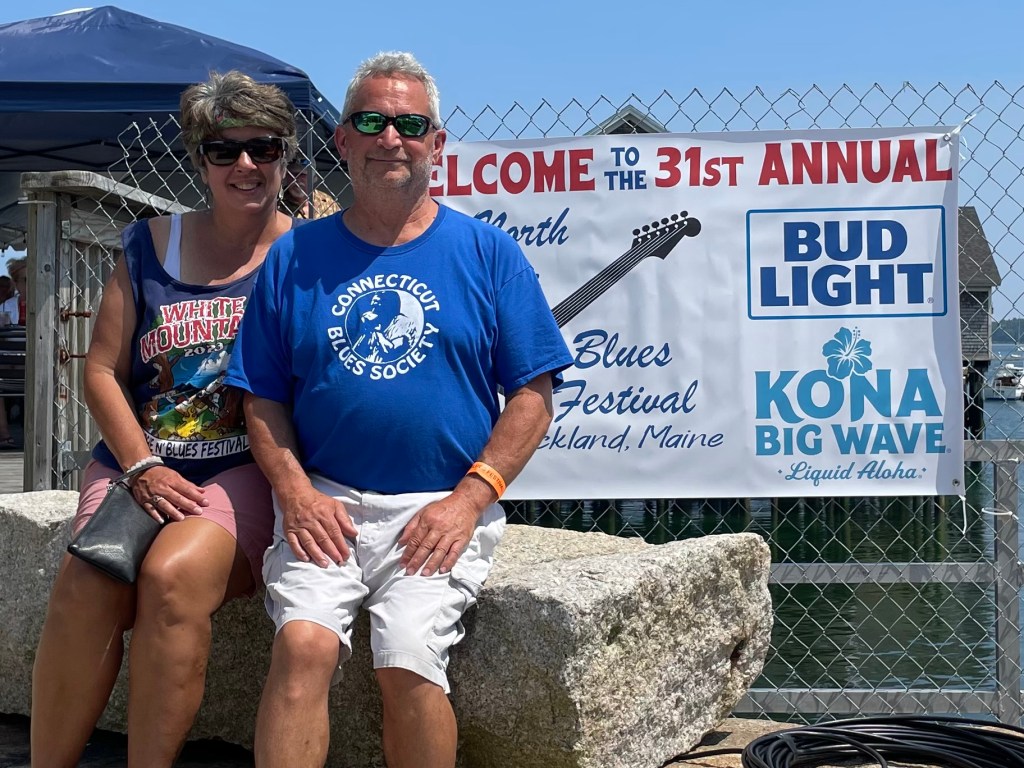
Us at the North Atlantic Blues Fest in Rockland, Maine. You can see our tans were getting dark and we were enjoying the beautiful views by the fest as well. After the fest, we drove back to Belfast. We looked at the stars from our campsite. We sat by the fire. It was a very good trip.
Other notable towns not too far from Belfast are Camden and Rockport. Camden has nice touristy shops and other things to do, and Rockport is on the way to Rockland. You can also go visit Mt. Battie.
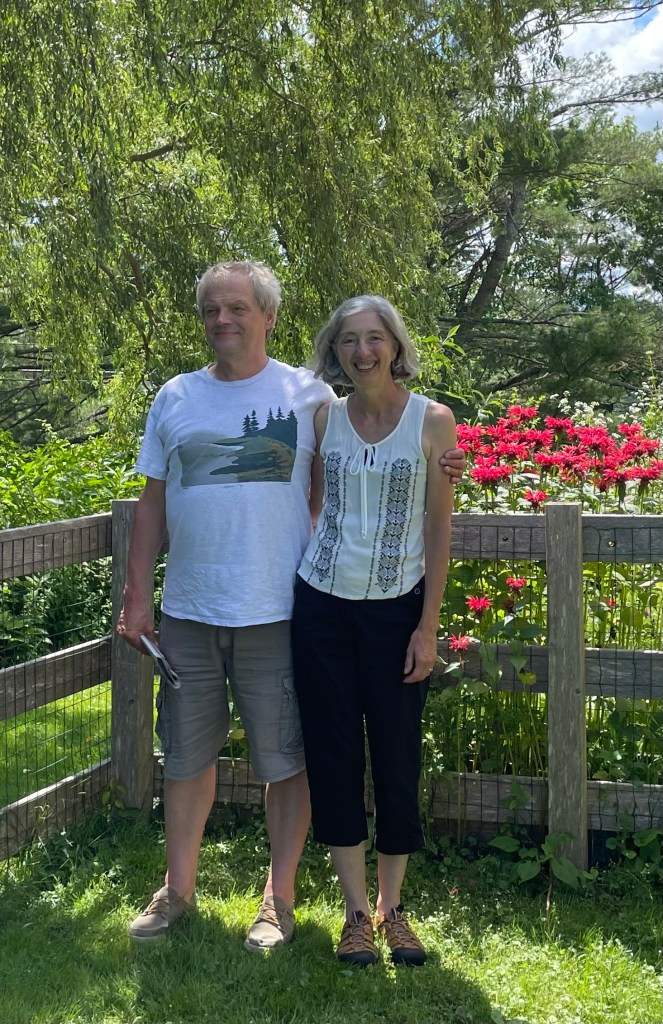
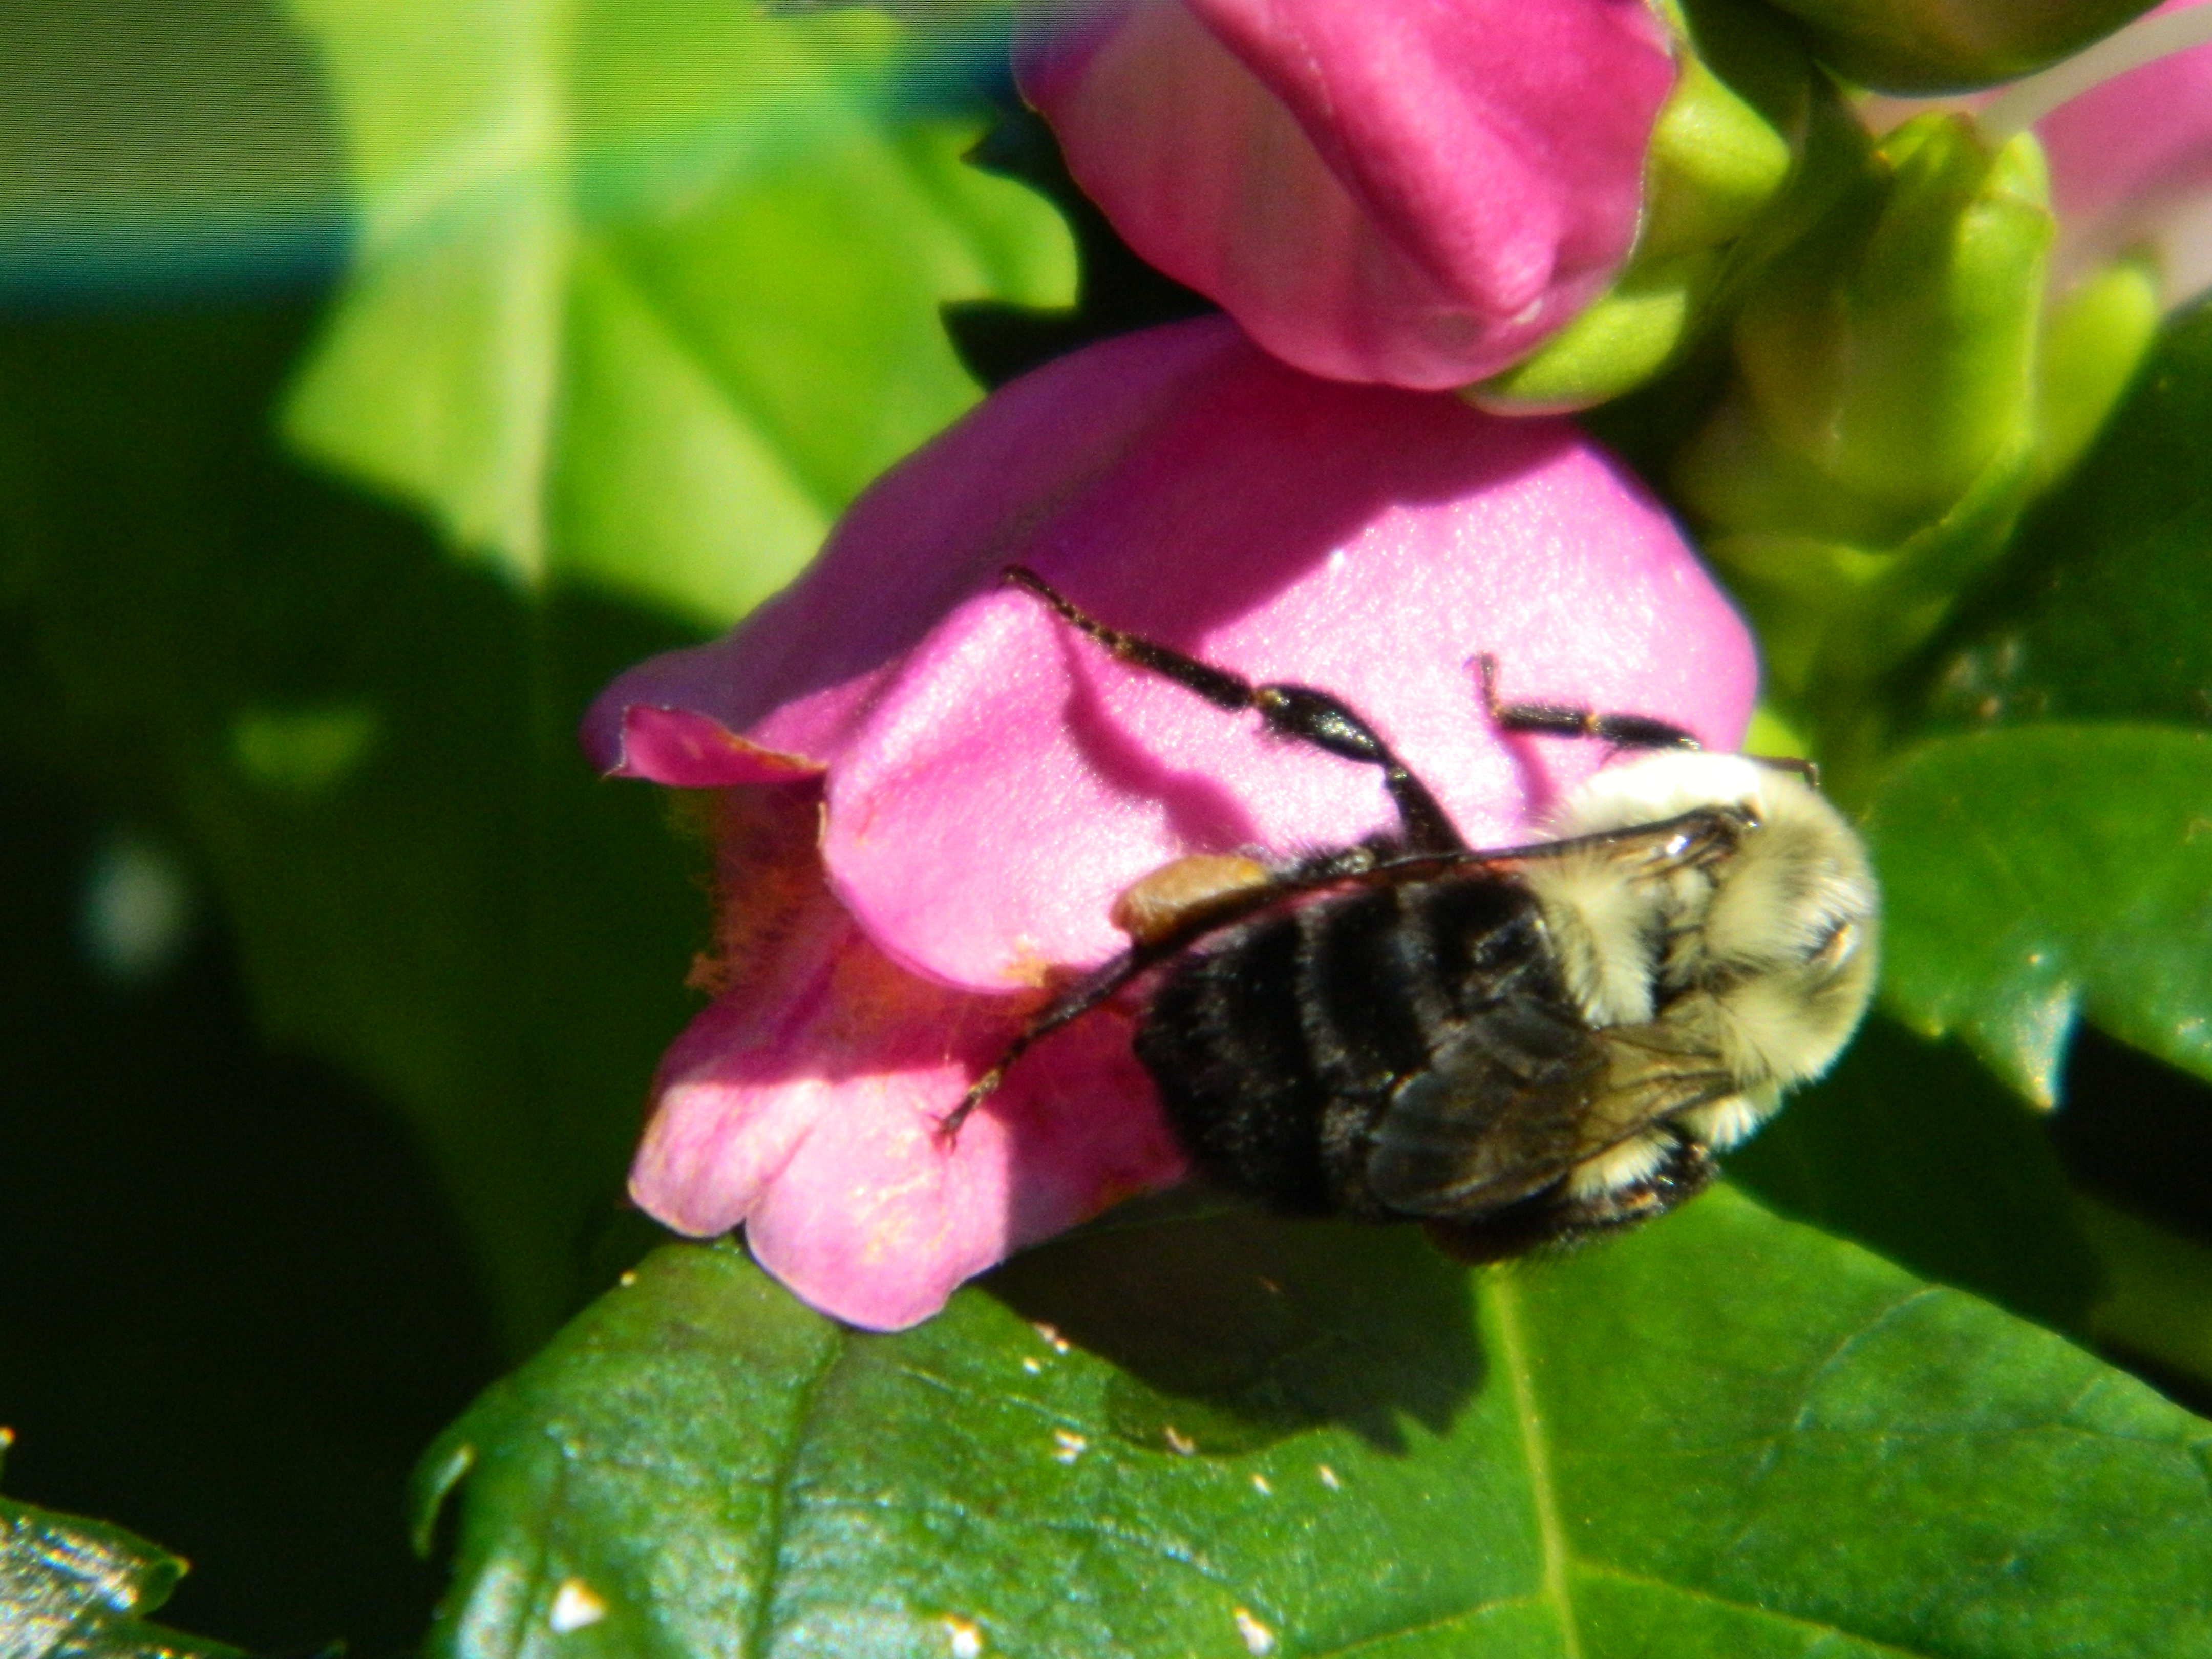
And here is my sis, Lisa with her husband Jeff. She has very pretty flowers in her gardens. You can see beebalm (Monarda) perennial red blooms on tall stems behind her. I remember once Lisa saying she just sticks plants in the ground and lets them do what they do. She seems very successful with this gardening method! I took horticulture courses, so that comment made me laugh that day, but I loved that she said it. Monarda blooms from June to July and the bees love them. Her plants looked very healthy and happy.
By the way, Lisa and Jeff volunteer to host a local radio show called WBFY once a week on Tuesdays. Listen in sometimes. They offer a creative mix of music. I enjoy tuning in every Tuesday to hear their voices as well as their selection of tunes.
Cathy Testa
Date of this post: 2/5/2026