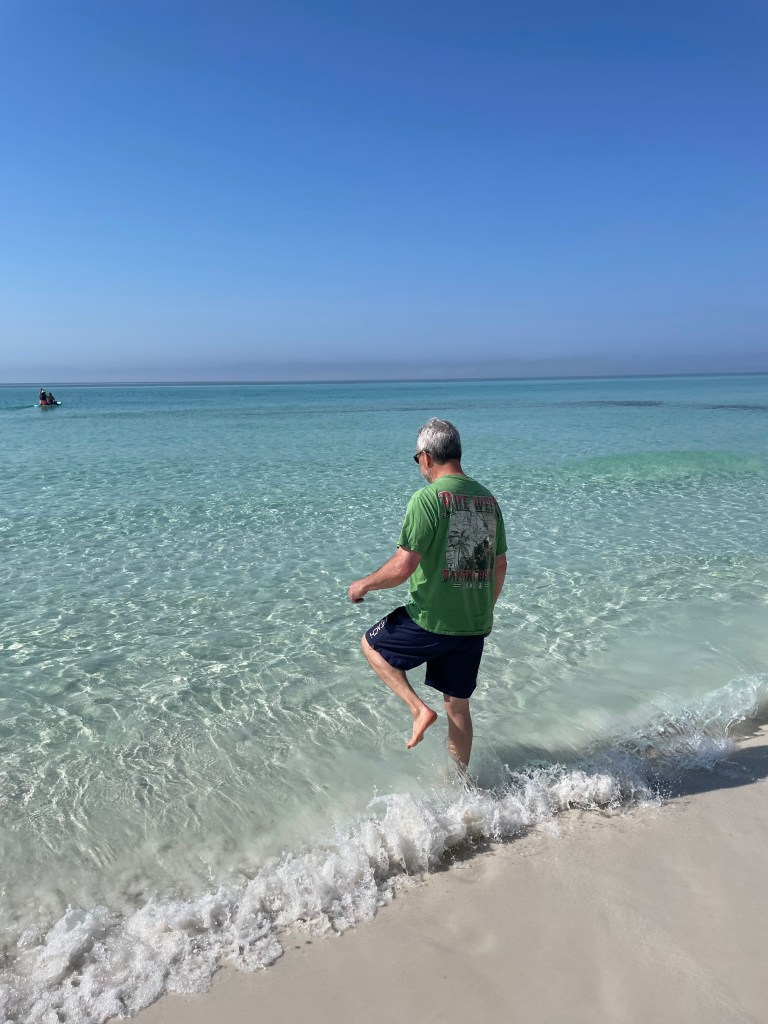
I’ll never forget the first time I got a glimpse of the turquoise blue ocean waters of Destin, Florida. My husband had a business conference near Panama City and after the conference was over, we took a drive towards Destin. The minute I spotted the white sandy beach and the blue clear ocean waters; I asked him to stop and pull over. I walked out there quickly with him. There wasn’t a soul on the beach. It was off season, but I gasped at how gorgeous it was. I was like, “OMG! Look at the color of the water. It is so clear. So blue and beautiful.”
To be honest, he was pretty tired from a week of work conference stuff and didn’t really seem to be interested. He didn’t even want to sit on the beach for a few minutes. Thus, we had to leave, but I remember thinking, I’m going back here someday and never in my wild imagination would have thought when I did return, it would be with a camper.
Upon retirement, long story short, my husband convinced me we would love camping. As I’ve mentioned in my camping related posts here on this website recently, I was never a “camper” person. But I do not enjoy flying anymore. We decided to give camping a shot. And our trip from Connecticut to Florida was our first long trip (after testing some local short trips in New England). And goal number one was – go to Destin, Florida. It was one of my dreams.
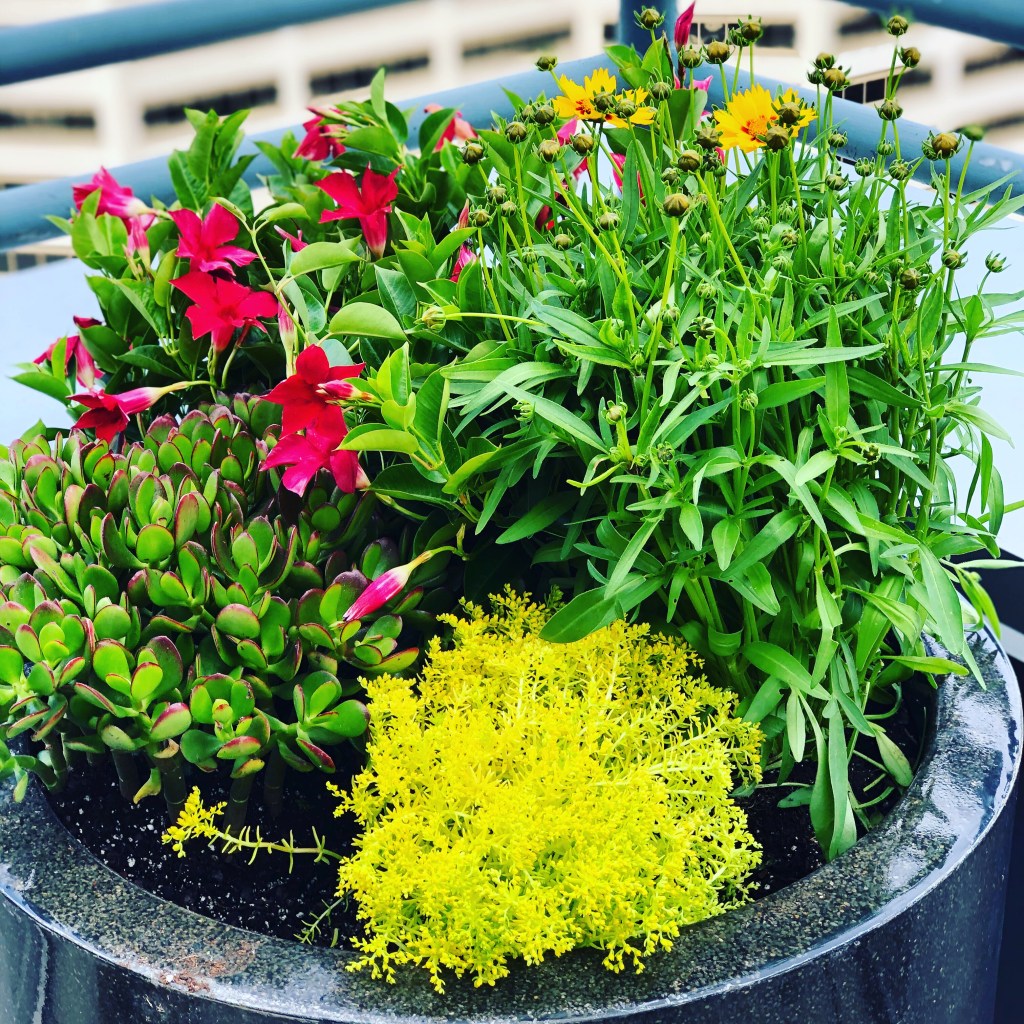
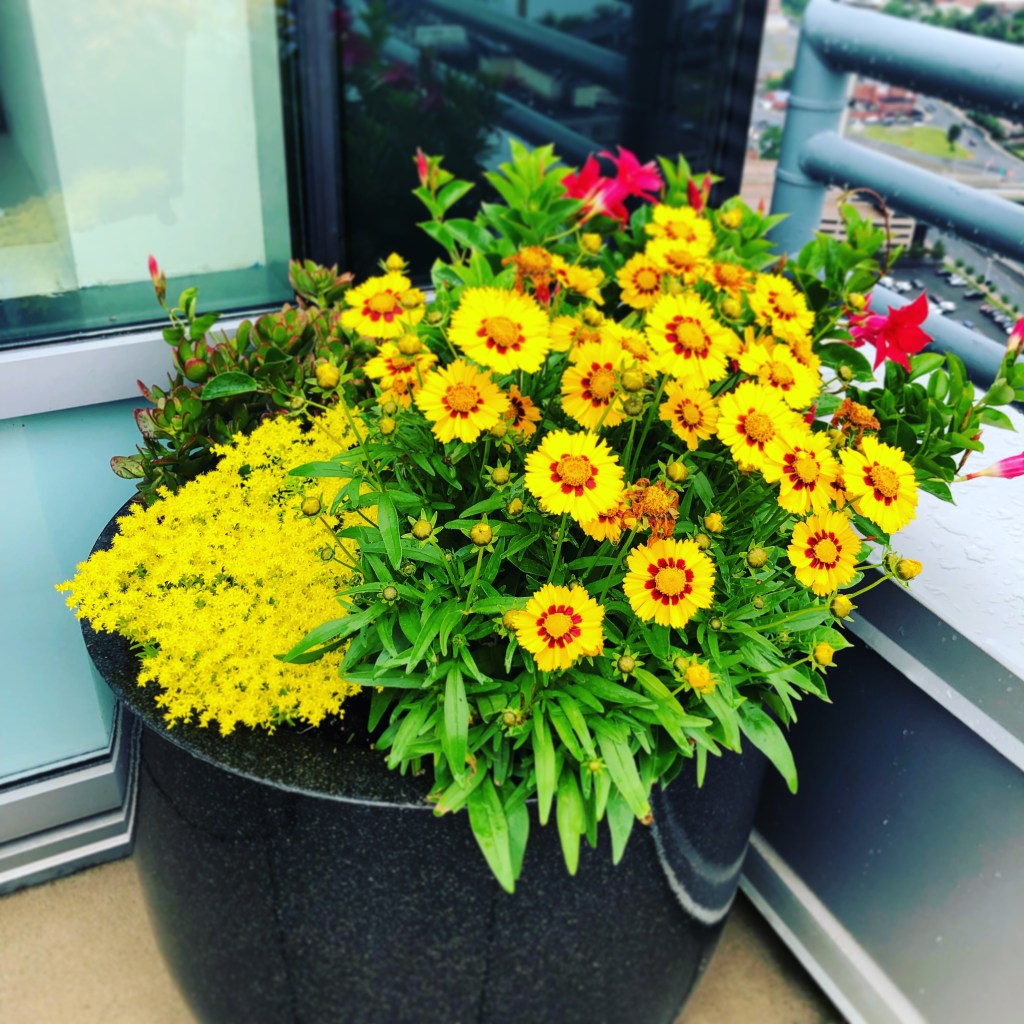
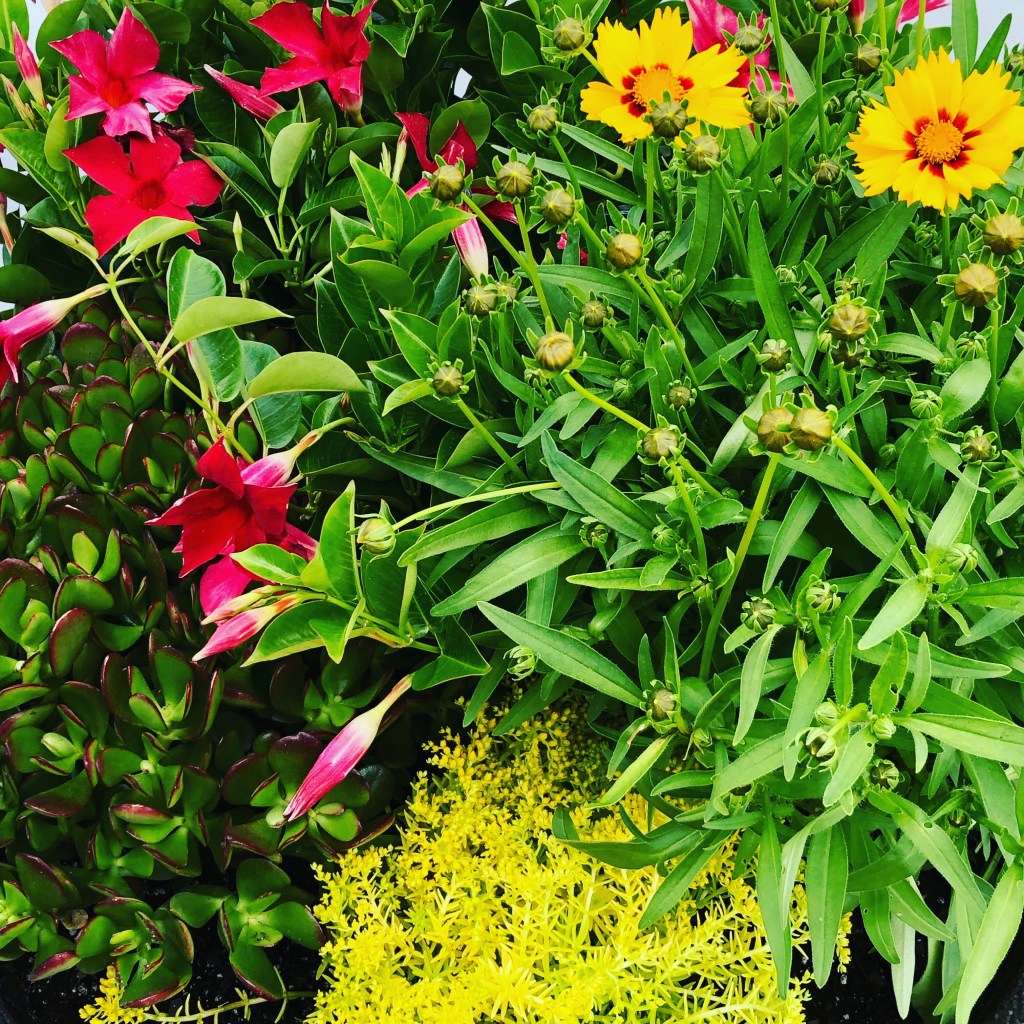
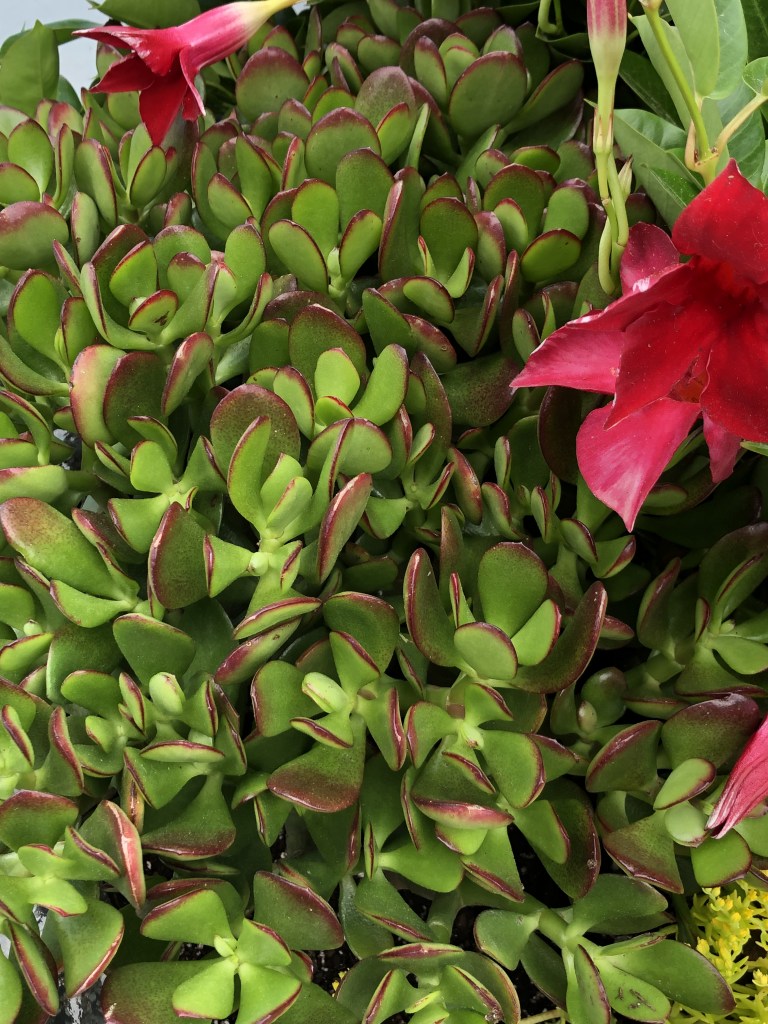
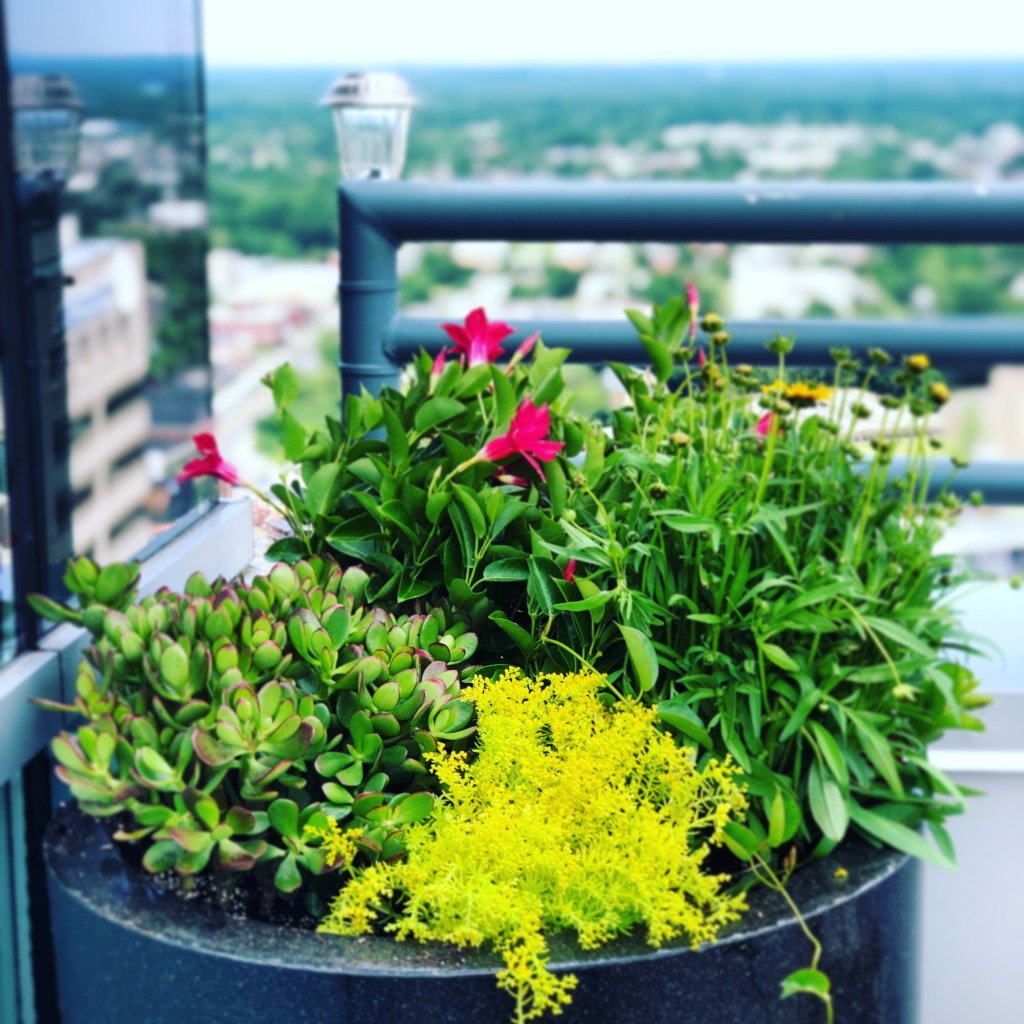
I want to share our journey so I can offer up what I thought of the places we stayed along the way. Why? Well, I do find it very helpful when I run across a blog which gives tips, pics, and information about traveling with a camper, so why not? And because I’m excited about our camping adventures now, maybe just a tad more than my plants, which was the original focus of this blog, my blog, for years. At least for now. Plants have started taking a back seat over camping for my fun budget. I’ll always love plants and even bought two tropical Mandevilla plants while in Florida, but I have to balance that budget for both now. Less plants, more camping.
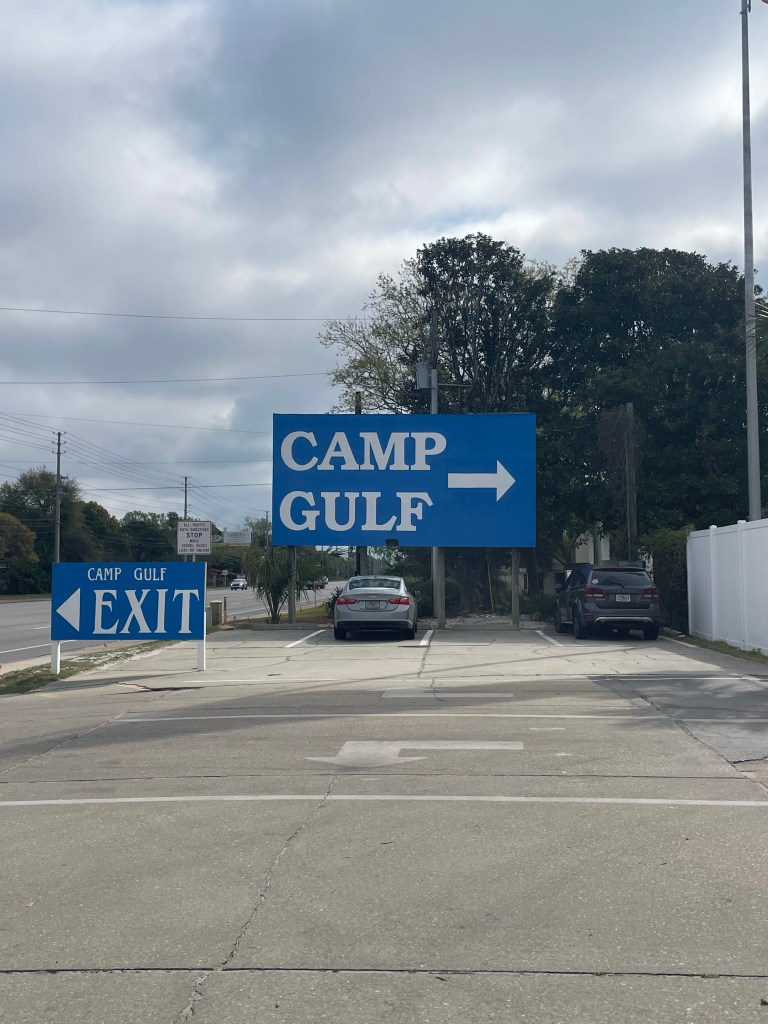
The goal was beach, beach, beach, and it wasn’t difficult to find a campground called, Camping on the Gulf near Destin, Florida. At one time, it was called just “The Gulf” which is on their big blue sign out front of their entrance. I did some research and heard you have to book Florida camp spots one year in advance, so we did that. And I also heard the sites at this Florida place we selected are tight but that they are worth it because you are literally steps from a beautiful soft white sand beach with clear blue waters. Camping on the Gulf is actually in the city of Miramar Beach. Very close to Destin, Florida. Or maybe they are considered one in the same. All I know is they are beautiful beaches and we wanted to go there.
It was a long wait to go on this journey because we made the reservation one year in advance. And before the trip, I was experiencing a great deal of stress and trauma in my own family regarding my ailing mother and more. All I can say is I wondered will we be able to do this trip? I put off booking the camp sites on the way back home from Florida because I was worried my mom would be very ill and I would not end up taking our trip to Florida at all. My mom passed two weeks before we were due to leave. I, of course, am heartbroken over the loss of my mom and still grieving. I grieved a lot before then to be honest. She suffered from dementia and anyone who’s experienced this, you know you grieve while they are alive because they change so much. And to witness her decline over years was very difficult and sad.
After her funeral and all the things that go along with this grieving process, we had to pack up for our trip. It was cold in here in Connecticut still, and it was actually too cold to de-winterize our camper. I was confused on what to do, exhausted, overwhelmed, and crying at times. I put lots of winter clothes in the camper along with summer clothes. I couldn’t think straight, just too tired overall. We, my husband and I, got all we could ready and hit the road. It was mid-to-late March, and I truly thought we would need to de-winterize the camper line before we left, but it still was freezing temps here in Connecticut, and some places on the way there! There was actually a sweep of very cold winter freeze weather in places on our way which typically would not be experiencing frost. Anyhow, we made plans and started to get ready. We decided we will de-winterize where the temps warmed up on the way to Florida.
We stayed in four different campgrounds on the way to “Camping on the Gulf.” Staying two nights at a place in PA and then two nights in VA and then one night in TN and one night in AL, and then finally the arrival to my dream beach. We stayed in some KOAs and another private place which I will share those stories as well on what I liked about each location for on the way there. My husband is in charge of the travel roads he wants to take, so he can explain the route if needed but we wanted to avoid I-95.
Some folks may think that’s stretching out the drive over a few days is silly because you can probably make it to Destin, Florida in 15 hours, but not for us. We are new to this and pulling our 30-foot travel trailer. We didn’t really know what to expect with the winter not moving along yet and as we left and hopefully headed towards warmer weather. We weren’t the only ones dealing with the winter episode. It affected people in Florida too. We weren’t there yet but they were on RV Facebook group pages actually asking, what do we do, we are getting a freeze?! One person even commented they didn’t think they could find anti-freeze stuff in Florida.
I found Camping on the Gulf by google searches and also by being on some RV related pages on Facebook. Those pages are very helpful. Especially when they answer questions when something breaks and if you are new to campers, and don’t know what to do, tons of folks out there camping will put their comments in on the Facebook post to help, offer advice and guidance, which is awesome.
By the way, friends who have visited Destin before all agreed with me that the beaches and waters there are amazing. I knew that part would not be a disappointment. The only worry I had was, will our site be a good one? You really can’t tell most of the time on camping websites unless they have good pics of each site. You have to rely on their camping drawn map or call, I guess. That is one thing which bothers me sometimes. I watched videos I could find trying to spot our site, but none of the videos I found really showed our specific site selected. We picked site number 409 from their camping map. It looked like it would be close to the pool and not too far of a walk to the beach. You can actually have a spot right on the beach at this campground along the front, but the front lined sites do not have FHU (full hook ups). I need FHUs. I’m a FHU kind of gal. I was worried though, how tight are the sites as I read on some blogs the sites are very tight. And you really don’t know till you get there. I had to be patient.
Of course, when we arrived at Camping on the Gulf, we were so super excited. They had an attendant at a small gate entrance, which I read beforehand to not arrive early to this campground because they don’t have room for you to wait in a line with the camper.
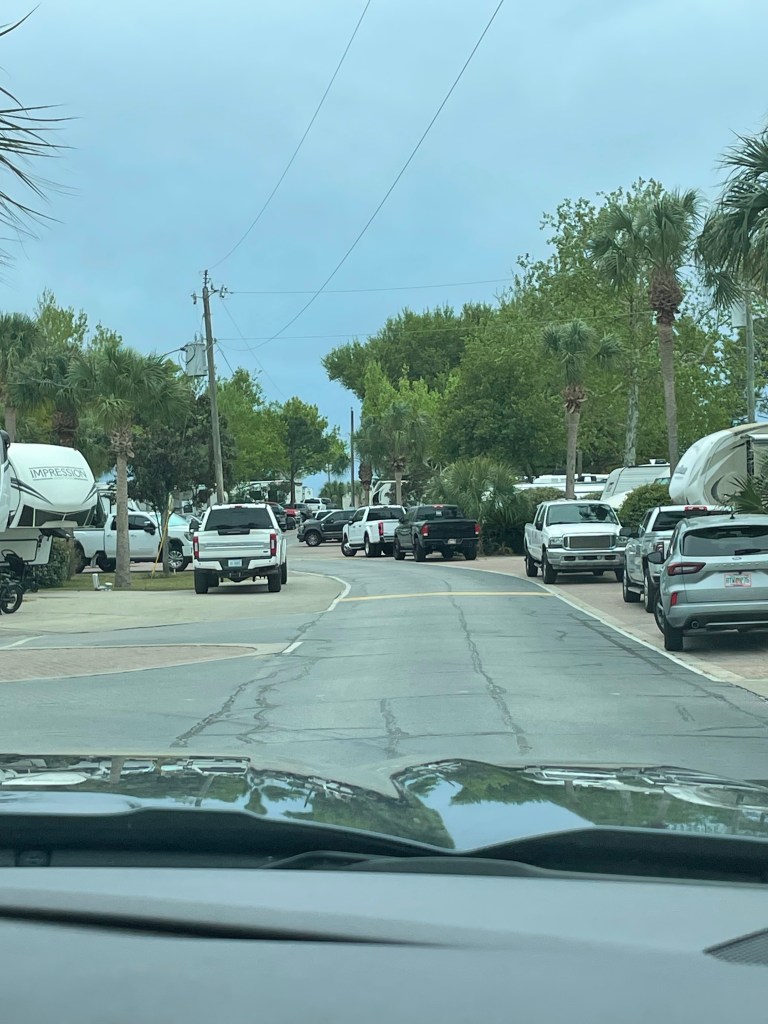
The woman checking us in was super friendly. She was as happy as could be. She was excited for us that it was the first time for us to be at this campground. They arrange the checking in more by being told where your site is located and then you go back to the front office to finalize the check in after you are parked at your site. We entered and drove down a paved road with campers on both sides, turned a corner and could see a playground and other stuff, then turned left back towards the front and voila – found our site number 409.
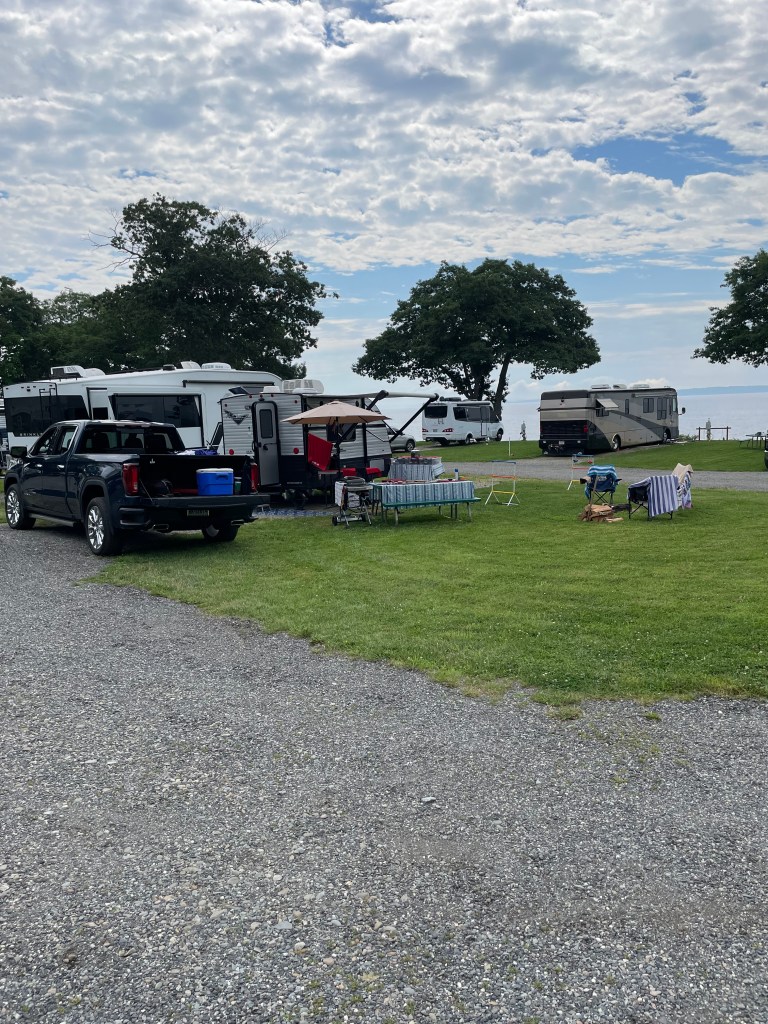
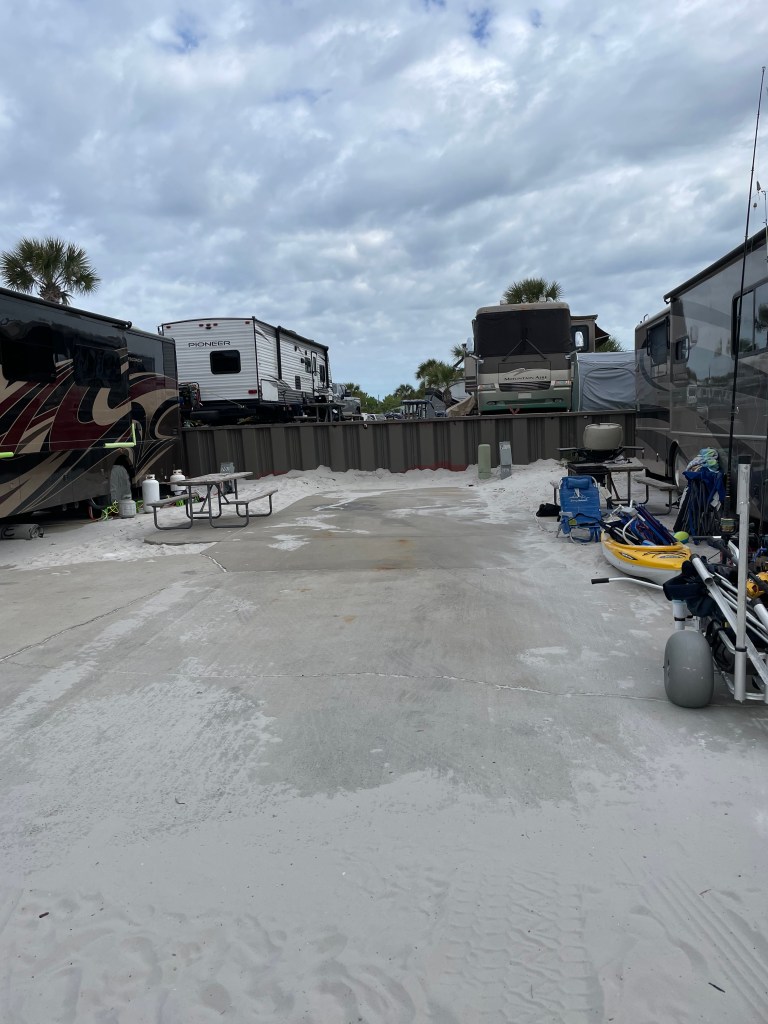
Oh, we were so excited we could barely calm ourselves which is so needed when the woman (me) is yelling out instructions and the man (hubby) is backing up the camper. And we just were both geared up emotionally. I kept saying, go back more, go back more, but then we realized the stabilizer bars under would not be on the paved part, so we had to pull forward and finally got it perfect. That was our first surprise, our site had a paved area with a paved patio portion. In my mind, I thought we were going to be on a sandy grassy area. I didn’t know that it has some paved patio like parts. That was a bonus.
And the space between our site and the one next to us had a small green grassy area – because of some kind of utility box, so we kind of had a second bonus – more space. We were not on top of anyone and felt we had plenty of space. Win-win! Site 409 turned out to be really perfect for us two. It didn’t have a great deal of shade, but we didn’t care. We have an awning on the camper, and two patio umbrellas we brought along. There was one big palm tree which was right next to my bedroom side window, and I loved looking at it in the mornings as it gently moved around from the wind. Plus, because this was mid-to-late March, it was not super-hot. No worries about shade.
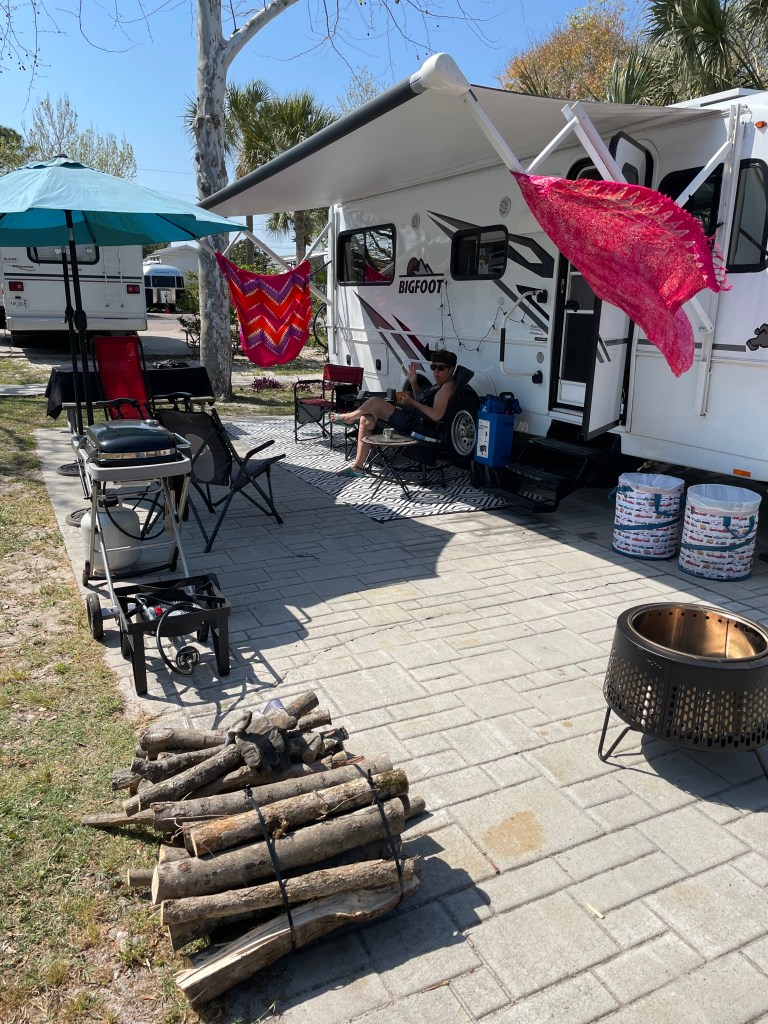
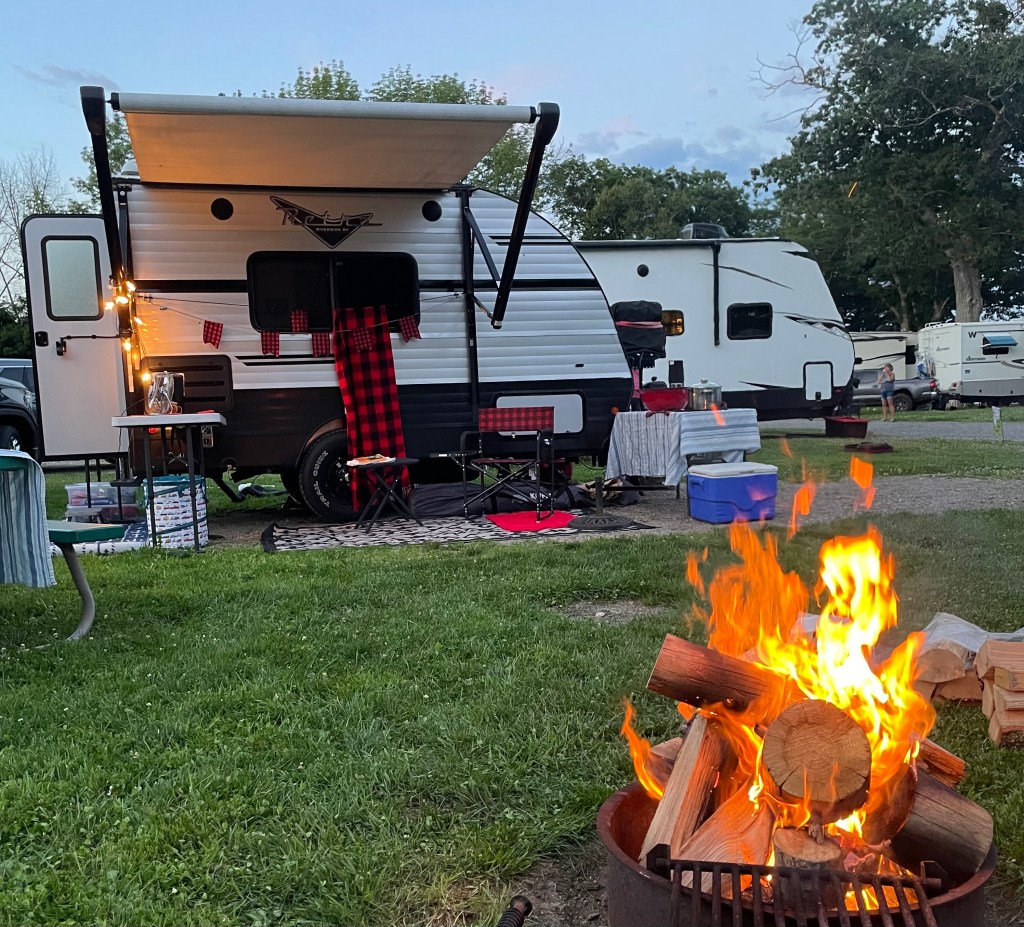
When we arrived, we were so exhausted from travel, we did not walk to the beach immediately. It takes time to do all the hook-ups and set everything up. We were hungry and tired. We got all our stuff out, including our own fire pit. They do allow fires here, but you must have a fire pit that is above ground type (like with legs or those taller encased type ones) and we were sure to be super-duper careful of having small, controlled fires. I was worried they would not allow firepits, but they did. No fire ban. We enjoyed our dinner and fire and went to bed early.
By the way, the timing of our visit was mid-to late March. Our site, which we now knew would be fine for us, was a back-in site and it is located between a bathhouse and a pool. It is located closer to the front entrance of the campground versus closer to the beach. There was a concrete walking path behind our camper, or you could also just walk up the paved road between the campers on the other side. They also have one laundry facility which was fine. More on that later. Let’s stick with the fun parts.

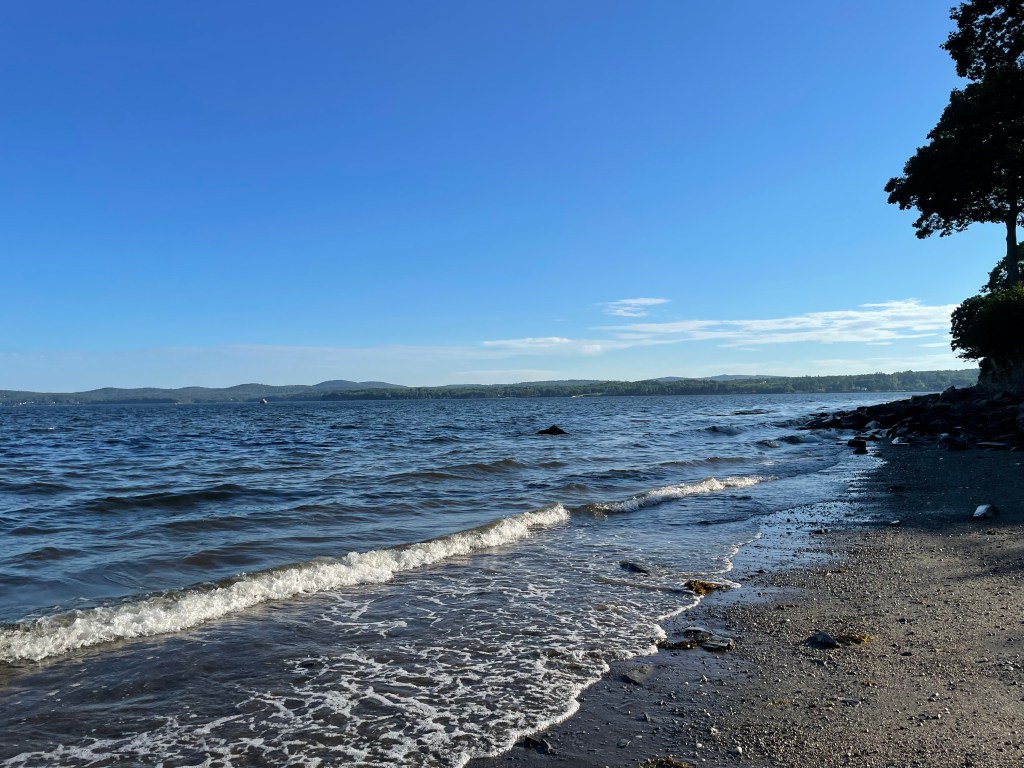
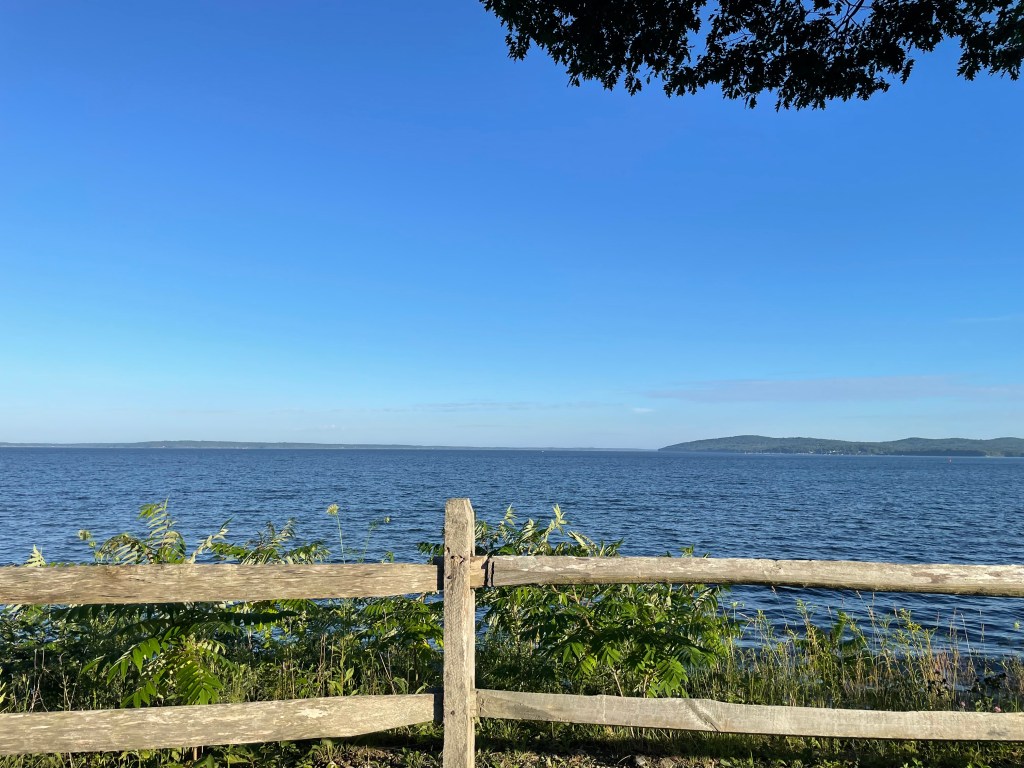
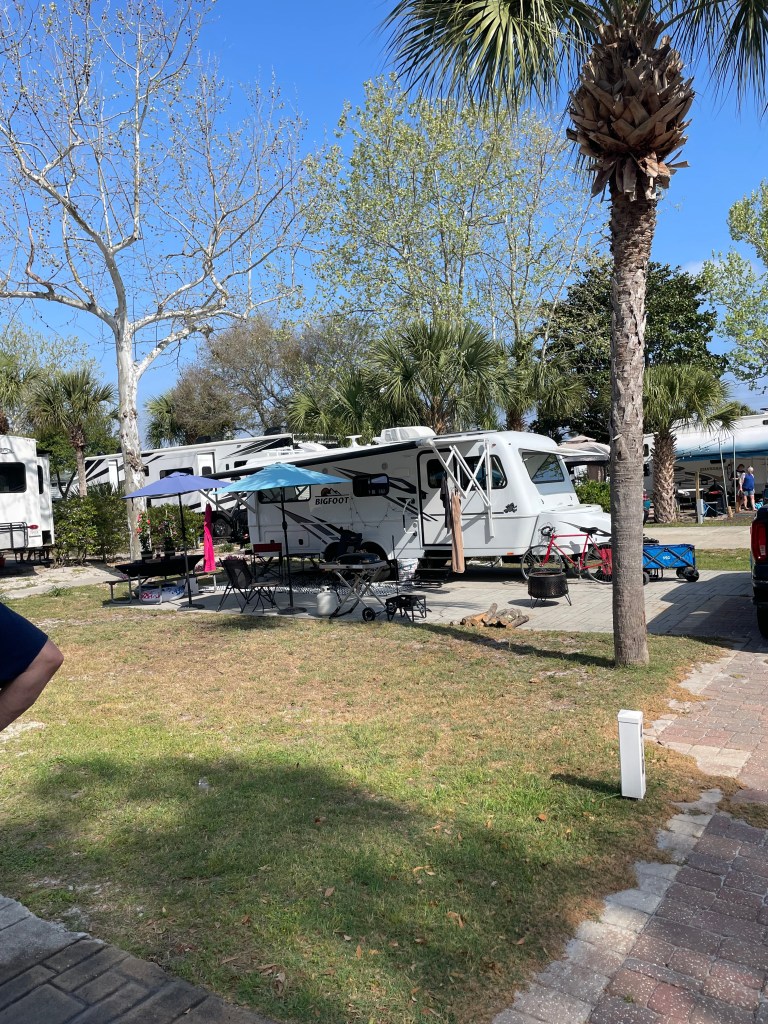
I would have to say, the way to describe this place is it is all about the beach. The sites are close together mostly, but some are not overly close, but who cares really. You are on the beach at a campground and in an area with tons to do. We like to adventure when we take our camper places, and I knew I would enjoy the local restaurants, touring sites, and more in the area. However, we stayed at our camp place probably more than we expected. It was just too good to be on the beach. Especially since we live in Connecticut and winters can be long. We also had great weather during our stay at this camping adventure. The ocean water was a little chilly but not really. The sun was out but we were not boiling on a beach. It was perfect weather. We were lucky.
There are two pools at the campground. I checked out one closest to our site, but it wasn’t pristine clean. And the furniture around it was outdated and there wasn’t enough seats or lounge chairs, but I was able to ignore all that because of the beautiful Miramar beach. I would say that was probably the only little downfall that the pool could use updating and more maintenance. There are actually two pools. One for kids, which I didn’t really even look at it. It has a giant slide and maybe it was in better shape. It is located closer to the beach end of the campground. There is also a pond on the site with a fountain in the middle.
As far as kids goes, we are kid-less but there is a decent small playground which I saw many kids enjoying. It also has a small pickle ball court and basketball area, and it was used quite a bit by people. And there were lots of kids on their bikes in this campground. It concerned me a little because it is a tight campground and they would ride a great deal on the paved roads between campers, and I always thought how super carefully we had to be when leaving in our truck. But it wasn’t overwhelming, just to be very aware. It would be nice if they had a bike park for kids so they wouldn’t be on the roads, but everyone takes all in stride at campsites and are respectful and careful.
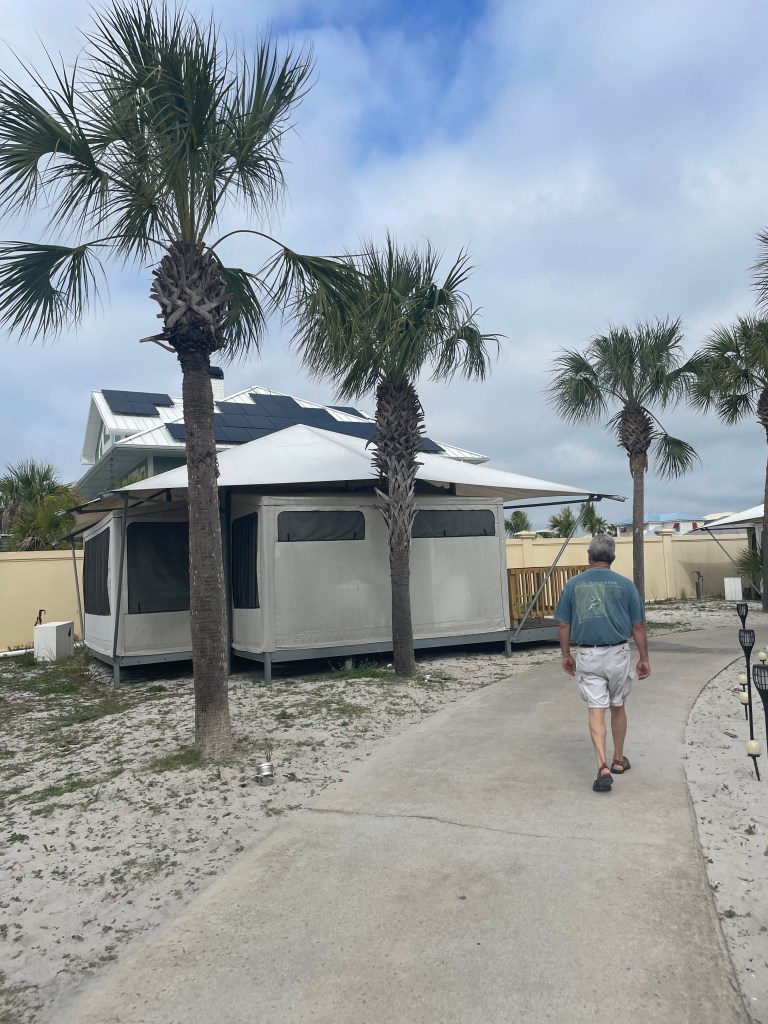
I saw the glamping yurts from the outside at this campground (I think there were 3 of them), they looked decent. No idea what it is like on the inside, but a nice option for those without campers. And there was one beach house like building close to the beach end, but it looked a little older, and I didn’t really look it over. I was too busy looking at the blue waters of the beach. All the roads in and around the campground are paved. There were a few small cabins as well here and there. We actually met a couple who rented a cabin. They told us they’ve been going to this campground for years with their camper, but they now have decided to just rent a cabin. They seemed pleased with it.
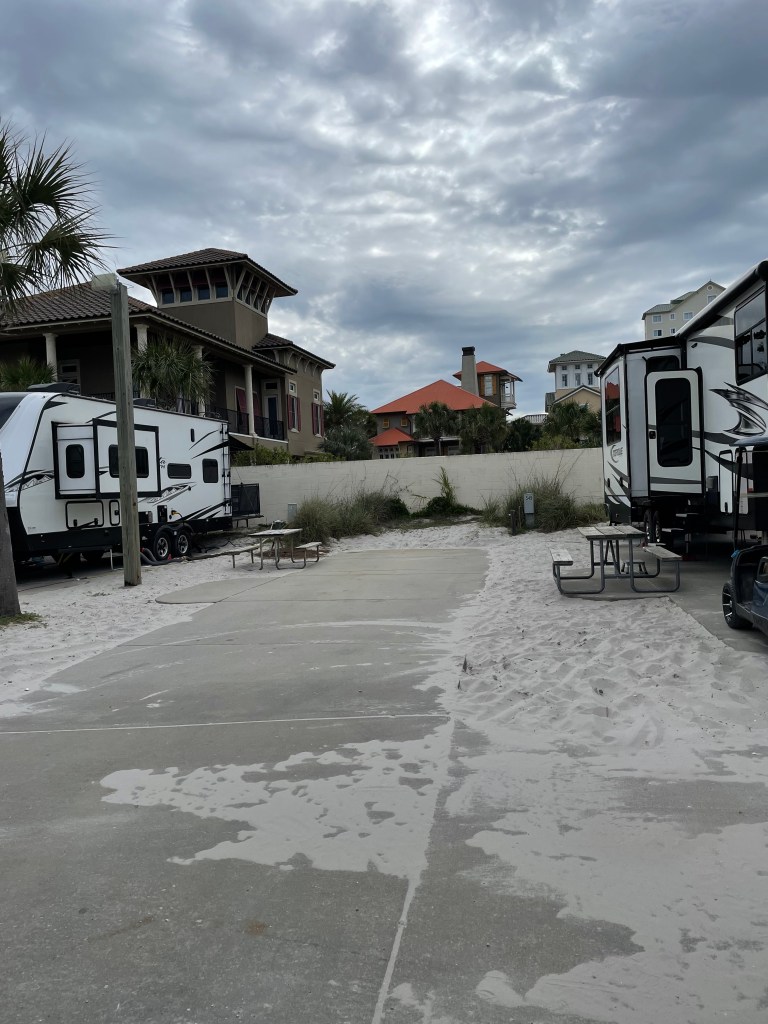
As far as being on the beach, to me it was heaven. But take note, there is no bathroom right on the beach, you have to walk back a bit to use a campground bathhouse bathroom if needed. How nice it would be if they had just one or two outhouses close to the beach. There are no lifeguards, although I saw the lifeguards drive by at times along the whole stretch of the beach but the area in front of the campground is for campers only and it is not monitored by lifeguards all day. It is private in such that only campground folks are on that beach and there’s plenty of space. To the left and right of the beach area for the campers is private spaces for the homes on each side of the campground. To me, Camping on the Gulf, is a little gem. Somehow, that land is still for a campground and it is besides million-dollar homes. God Bless whomever keeps this campground in place.
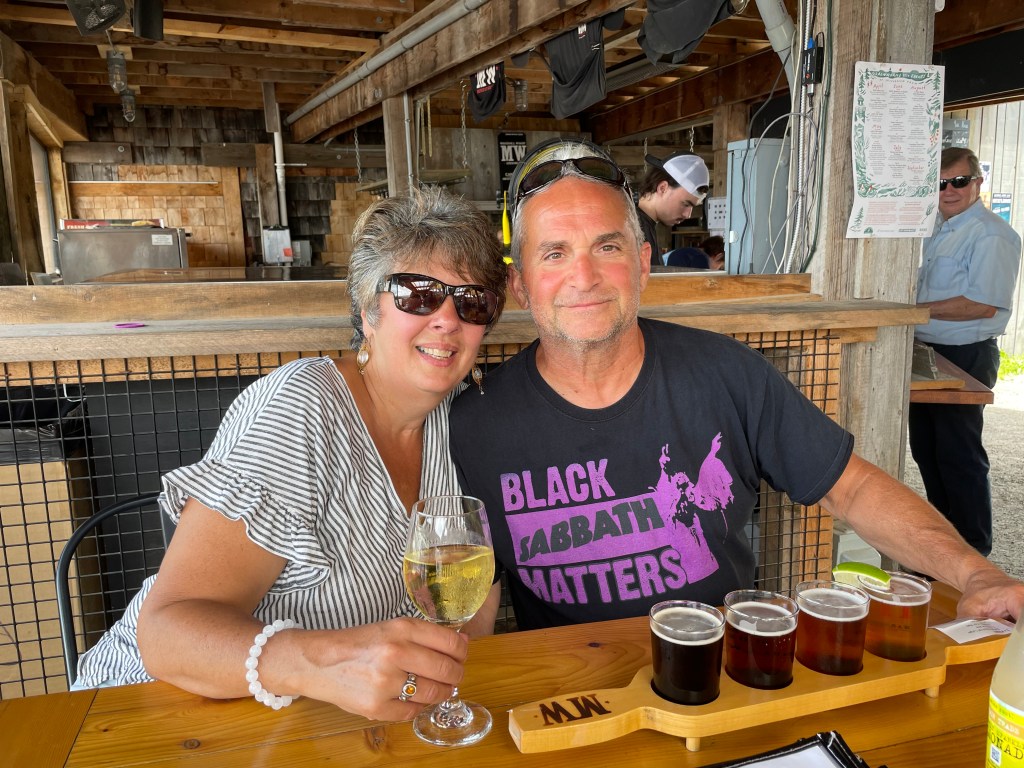
We had a nice surprise two days after our arrival. My aunt and uncle texted me to say they were heading out camping and were only one hour from us, and asked, “Would you like some company?” Wow! I was so surprised. You see, this is one of my mother’s brothers. His siblings and friends call him Cowboy. He is always wearing a cowboy hat! As I’ve mentioned, I just lost my mom before we left, and I thought, this is so ironic and cool. Like I haven’t spent time with my uncle and his wife in years. They live up north from us and well, you know, life gets busy. But at my mother’s wake, they asked about our new camper, and my husband happen to mention we were leaving soon for a trip to Florida. My uncle and aunt just bought their new camper too. It was just amazing that we connected for a few days. To be on the beach with them, during this time after my loss, was a gift. And I felt my mom had a hand it in somehow. Spirits are amazing!
Before I left for this trip with my husband, I made a long list of restaurant suggestions people made on an RV Facebook page about places to eat in Destin. I swear I think I had a list of 20 restaurants. We only made it out to 3 or 4. One was “The Back Porch” seafood and oyster house. It was 7 miles from Camping on the Gulf. That day it was just Steve and I (before my uncle and aunt arrived for a couple days). Well, the food was delicious and it had a fun fast paced busy atmosphere. We sat at the bar, had the most excellent fast professional service, and the Grouper sandwiches were so good. And there was a beautiful view of the ocean through the windows along the backside of the restaurant. There are beach steps too to the restaurant from the beach side as well. It was a great lunch, and I’d recommend it. Because it was a weekday and an early lunch time, we were able to find a parking spot out front without any issues on the parking side.
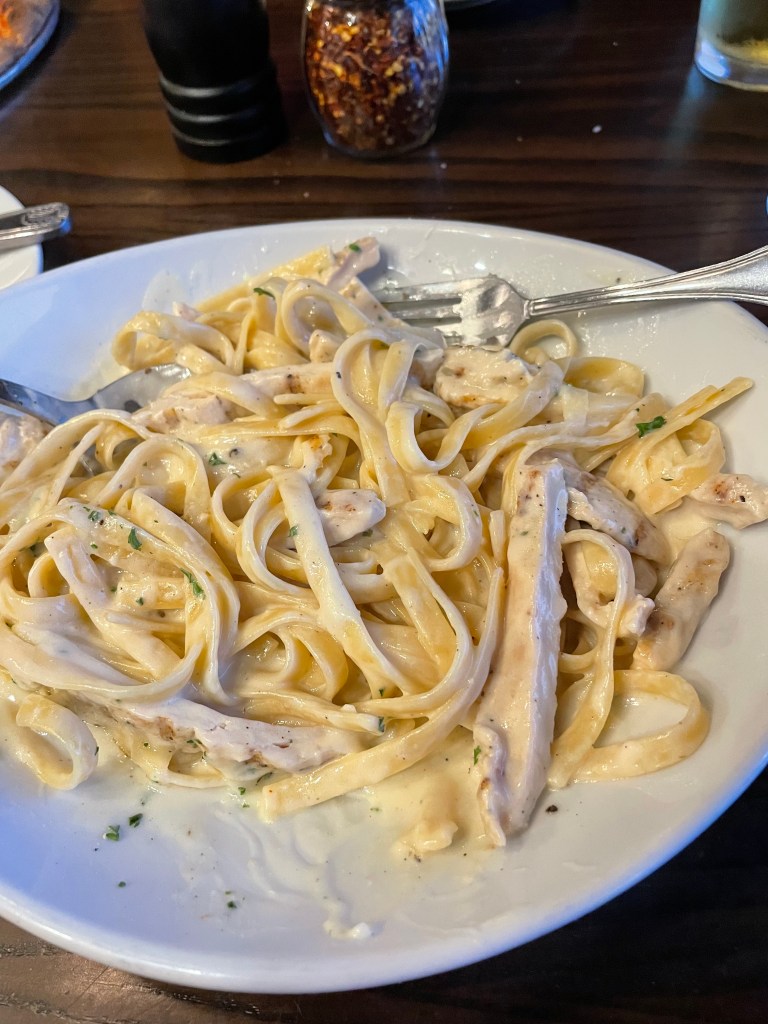
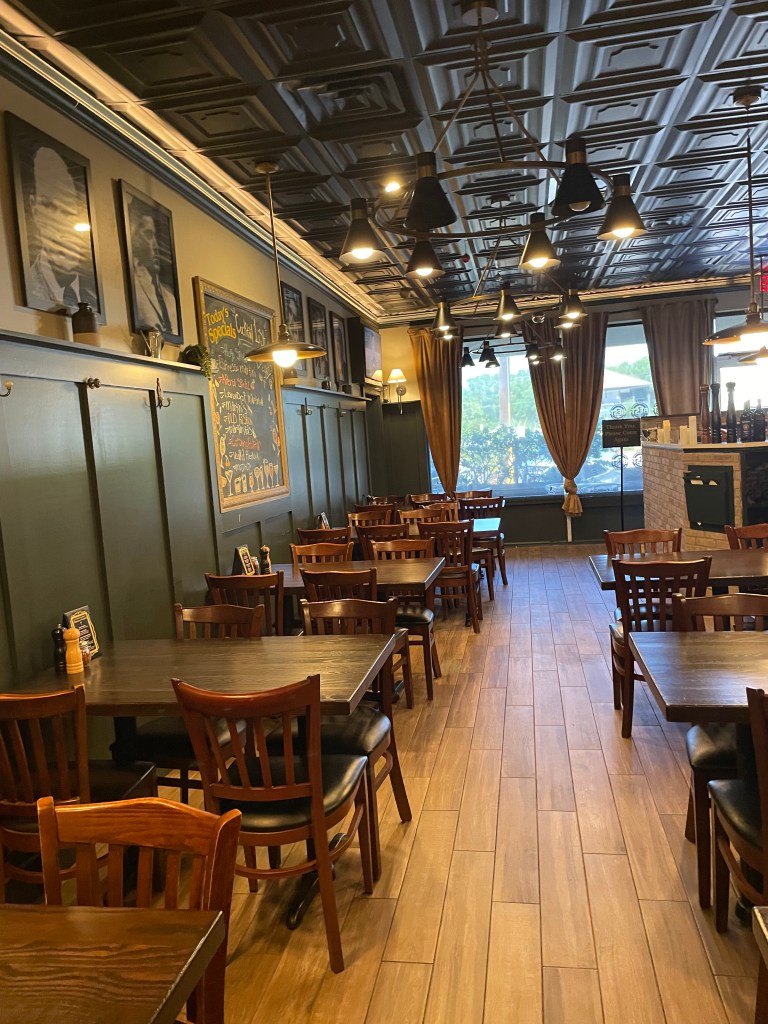
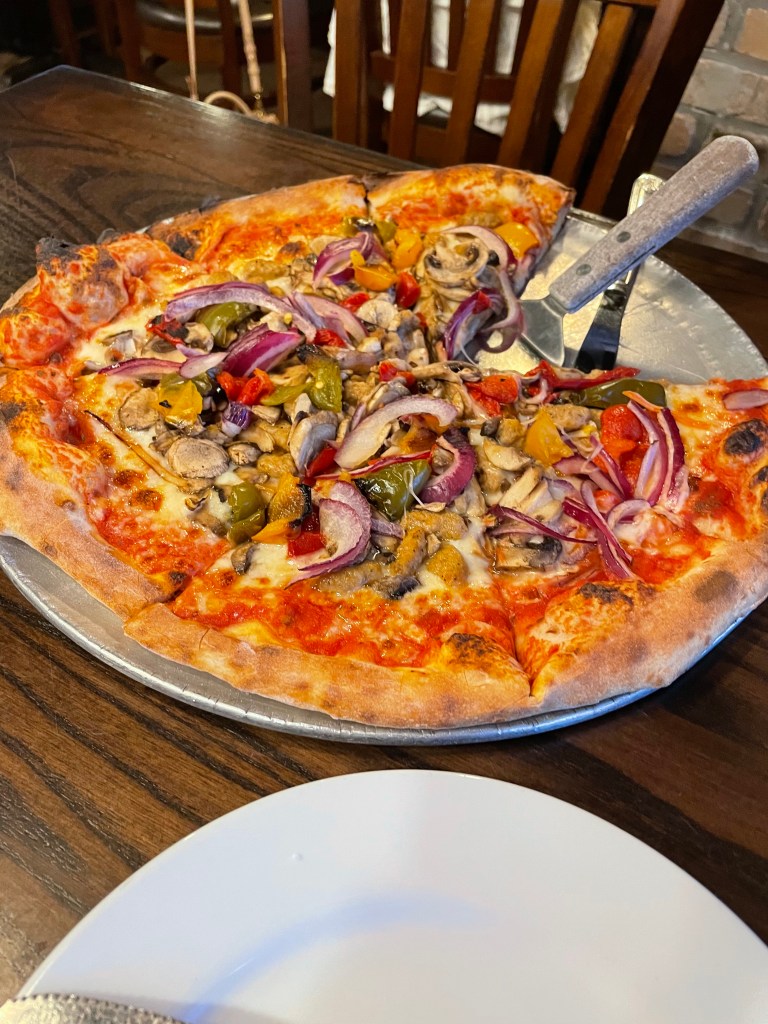
One day, after so many seafood dinners or lunches, we were craving pizza or Italian food. We found a very small restaurant, not fancy looking, with good reviews and stopped there. It was absolutely delicious with homemade pasta. The pizzas are wood-fired and really good. The waitress was super friendly, and we were glad we gave it a shot. It is called “Fat Clemenza’s” and we give it 5 stars. It is located in Miramar Beach, Florida versus Destin, FL if you look them up on maps. It is more like in a small plaza with parking in the front of the restaurant. If you drove by it, you’d probably not consider it much, but I’m glad we found it and had a great fresh lunch there with good wine and beer.
We also did the Harbor Walk Village in Destin that has trinket shops by the water and some eating places, but it just wasn’t our vibe. Lots of younger people were hanging out and I didn’t feel impressed by the restaurant choices there. We found a free parking spot, but I hear it costs a lot to park there now. I can imagine it being very crowded during busy tourist times, and all of that – it was I think about 10 miles from Camping on the Gulf. The Harbor Walk area was the busy end of the area with lots of restaurants, kids’ parks, and stuff like that. The traffic gets congested at times at that end.
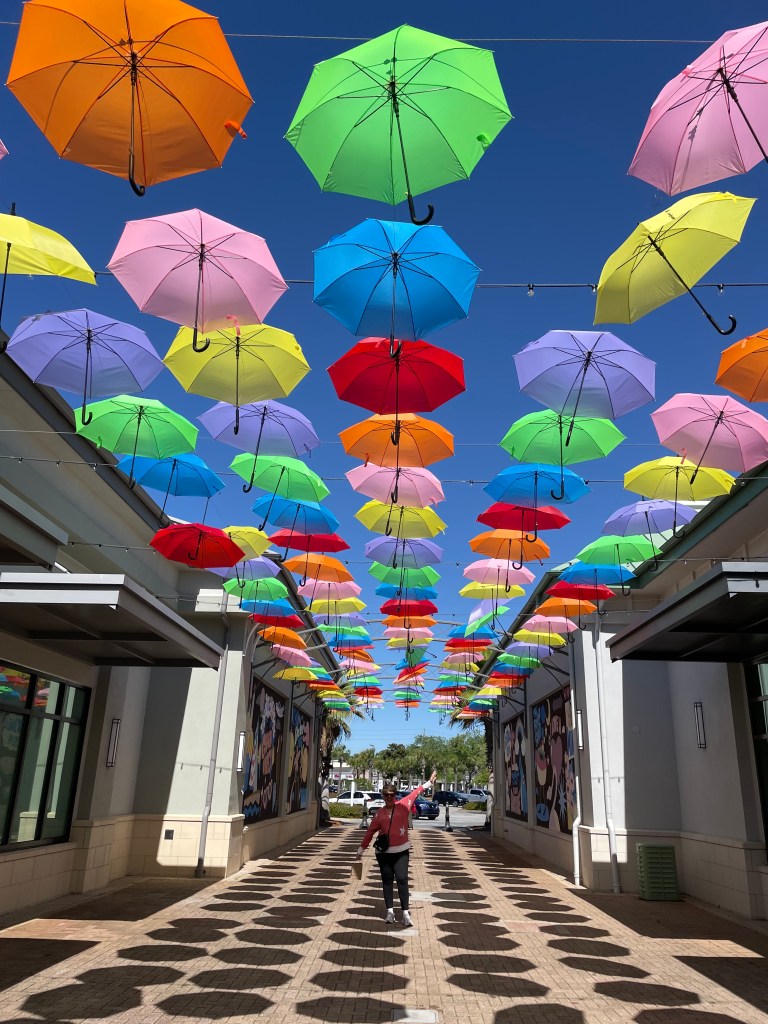
As far as shopping, I did drag the hubby out one afternoon to the “Destin Commons” with outdoor areas and shops. There were only a couple local type shops (soap making for example) and more of the type of clothing shops I’d might find in Connecticut like H&M or those common shops. You pay to park on the sides of the walking paths via parking meters. I got a few new outfits, and it was a sunny day. There was a cool play park in the center of this walkable store area for small kids and they were loving it. It was quiet the day as we shopped for a couple hours. We did not eat there but I saw a big restaurant there.
We never went to Crab Island which so many bloggers or Facebook RV groups about Destin recommended. But we saw it from the roadways. I wanted to go but I had fallen on the concrete walkway at the campground and gashed my leg badly enough that I could not really sit in water all day until that healed up better. Due to my injury, that was missed. I heard it is a fantastically good time. To learn about it, just google or go to YouTube. Oh well, I had the beach right by our campground, so I didn’t really miss out on the ocean. I had to get watertight badges but still enjoyed the ocean waters.
I was really looking forward to calm beach waters of Miramar and Destin, Florida. We had the calmest waters for the first two days there. After, there were lots of small repeating waves. Who’s to complain? But I have a thing about calm waters, but really, it was not a complaint. LOL. BUT on the very last day of our stay, the calm waters returned that day. I stood there not wanting to leave and closed my eyes and thanked the ocean for our beautiful stay and how much we appreciated it. Oh, by the way, the white sand there feels like baby powder. We sure will miss that beach.
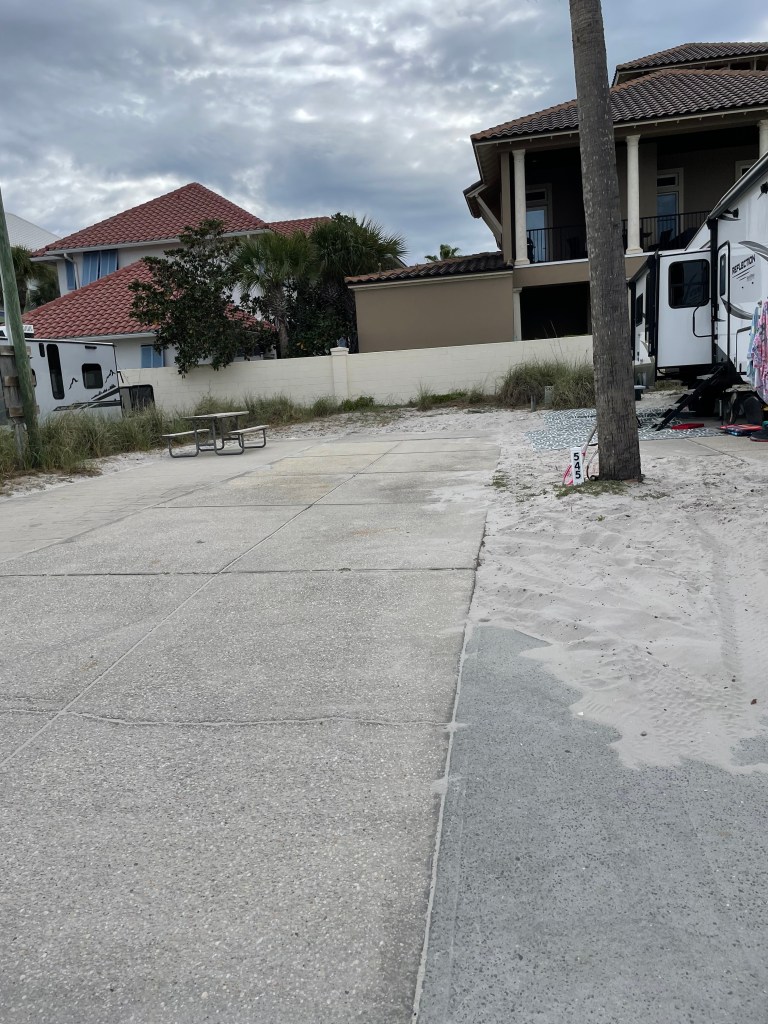
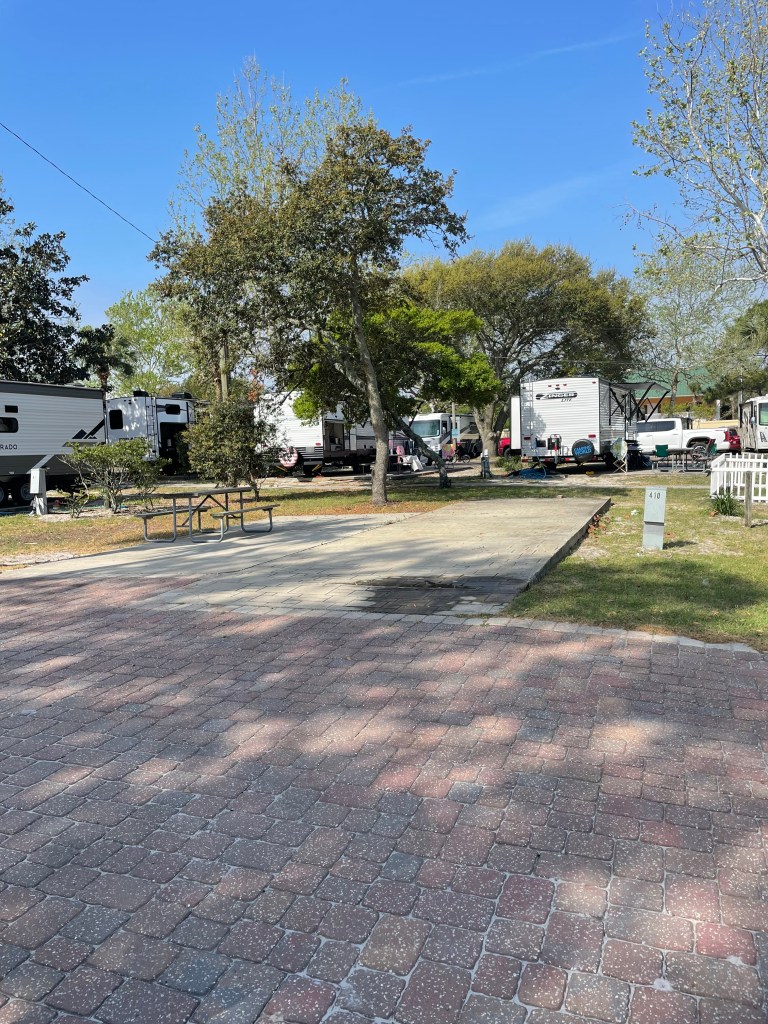
On our last day at Camping on the Gulf, I took photos of vacant sites to share to give folks an idea of what the sites are like. Everyone you talk to on the RV pages say, you must book Florida a year ahead. But once in a while, there would be an open site maybe for a day or two. If you are lucky. Or you might have to play musical-site changes, like musical chairs game, if you take that chance of not booking ahead. Meaning you have to move again to another open site. As for me and my hubby, we liked planning ahead and luckily for us everything worked out. But here’s some photos of the open sites I took:
Overall, my take on this campground is it is all about the beautiful beach. You are a beach bum here with the advantages of many local restaurants minutes away if you like to go out to eat. Also, everyone is happy. I saw only smiling faces. The downside, yah, a little tight but oh well. We loved it. More than some may want to pay for a spot but oh well, we wanted to go. There is only one laundry facility, but it worked pretty well. There are two pools. As noted, they should try to clean up the pools more. There are two bathhouses. We had no issues. Employees we met at the camp store and check in were nice. One day, a woman employee working there was on a golf cart and she asked me if I was okay when she saw a big bandage on my leg (from my silly fall on a sidewalk prior). I thought that was thoughtful for her to ask. Follow-up to our reservations and questions were good and we felt safe. I did see one site across from us that got a little flooded from the one and only quick rainfall, but it drained away. It was like a big puddle. And you know what? Kids were playing in the puddle. That’s what campers do – make the best of it. Would I classify this as a “high-end” campground, I’m not sure. I’ll tell you one thing for sure. Their beach is high end in my book. I’ll never regret going there and soaking it up. I forgot to mention, we brought a portable beach wagon for our short walk from our site to the beach every day. It came in handy.
Cathy Testa
Date of this Post: 5/13/2026
P.S. I will post about the camp stops we made on the way there and on the way back to CT. Feel free to comment or email me with questions!
Camping on the Gulf
10005 Emerald Coast Parkway
Miramar Beach, FL
Note: This is not a paid post in any fashion and just my opinions and take. I hope you enjoyed my post and if you have questions, feel free to ask. Just click on the “Leave a Reply” button on the bottom of the post or click the CONTACT link to reach me.

The Best:
Being on or right near the beach, walkable from every camp site, private for campers.
Next to tons of local restaurants and fun sites.
Not too far attractions (like Harbor Walk and Crab Island tours).
Some kid stuff (playground, kids’ pool).
The Not Best:
Tight sites but as I said, who cares!
Not a “super fancy” resort but very very nice.
Maybe considered costly to some.
Pools are on the smaller side and could use some TLC.
Roadways out front get busy but you are not on the roadways, you are on the beach!
Long drive from East Coast but worth it. At least once in my life time.
…OK, I’ll shut up now…:)