NATURE INSPIRED WHIMSICAL ART – BUTTERFLIES, CHICKENS, AND DUCKS!

2 Comments

Do you enjoy art inspired by nature and animals?

Are you local to the East Windsor/Broad Brook, CT area?

Then swing on by to see some wonderful art pieces by my FEATURED ARTIST on Saturday, April 25th, 1-3 pm.

Laura Sinsigallo of Time Flies by Lauralie

Laura creates mixed media paintings and hanging art. Her inspiration comes from nature and animals.

All of her pieces are whimsical and colorful – and fun.

We can’t wait to have the opportunity to see and purchase some of her wonderful pieces on Saturday following our class on Making Eclectic Wind Chimes.

***

ARTIST SHOWCASE HOURS

Saturday, April 25th, 2015
1:00 to 3:00 pm
Broad Brook, CT (text 860-977-9473 for the address)

***

This is a Great Opportunity to Shop for Mother’s Day

Hanging Art

Hanging Art

Here is a sampling of what you can expect to see.

This is oh So Cute!  I just love them all – don’t you???

Oh too cute!

Oh too cute!

This painting reminds me of an experience I had just last week while traveling – a butterfly was boppin’ around the tops of tall tropical foliage and flowers – and the music could be heard in my mind as I watched it fly around.

Butterflies!

Butterflies!

Adorable is the word I use to describe these two handcrafted whimsical dolls…

Adorable

Adorable

Hello Ducky!

Hello Ducky!

Winter may be over – but I still requested items “from every season or holiday” – It is a great time to stock up for gifts next year – or add to existing collections – of which, snowmen are my fav in winter!

For Every Season

For Every Season

Snowmen Whimsical Dolls

Snowmen Whimsical Doll

Gnome

Gnome Mixed Media Paintings

For the address to the ARTIST SHOWCASE on Saturday, April 25th, 1-3 pm:

TEXT: 860-977-9473

or email containercathy@gmail.com today!

Fun Flowers

Fun Flowers

For more about our Featured Artist, Laura Sinsigallo of Time Flies by Lauralie:

Visit Swiftwaters Artisan Cooperative in Willimantic, CT

Visit Windowbox Boutique in Stafford Springs, CT

And don’t miss the chance to visit us on Saturday in at Container Crazy CT’s in Broad Brook, CT.

Cathy Testa
(860) 977-9473 (text for address)
containercathy@gmail.com

Cathy Testa of ContainerCrazyCT Blog

Cathy Testa of ContainerCrazyCT Blog

Quick Monthly Pic of the 2014 Year

2 Comments

January – A visit to a garden center reveals a tray of lettuce growing happily in a warm greenhouse.

Spotted at a Greenhouse in Old Wethersfield, CT - Comstock Ferry

Spotted at a Greenhouse in Old Wethersfield, CT – Comstock Ferry

February – A walk on my father’s property in the bright winter sun, wearing a silly hat – just for fun!

Cathy Testa_0004

March – A beautiful Amaryllis burst open its white blooms. The scent of its presence fills the room.

One more shot

One more shot

April – Two lovely birds meet on a perch. The puffs of their feathers and little o’ chirps.

DSCN3187

May – A photo was posted of an orchid cactus bloom. So vivid against the blue sky.

Goofing w Camera_0002

June – An attendee graciously poses with her pot – the May class was fun, we learned a lot!

An Attendees Creation at the 2014 Class!  Gorgeous!

An Attendees Creation at the 2014 Class! Gorgeous!

July – A group of us gathered to hear about a homeowner’s pond gardens. Walk and Talk Garden Tours first year.

Attendees Listening to Talk by Rhonda

Attendees Listening to Talk by Rhonda

August – A hummingbird moth visits a butterfly bush during another Walk and Talk Home Gardens Tour.

Sphinx Moth on Butterfly Bush Blooms

Sphinx Moth on Butterfly Bush Blooms

September – A shot taken mid summer in-front of some pots – being prepared for a special event.

Cathy Testa at Home

Cathy Testa at Home

October – A group of attendees getting into their mix as we learned how to make Hypertufas as part of the Nature with Art Programs offered by ContainerCrazyCT.

ContainerCrazyCT Hypertufa Making Class_0006

November – A view of my chicken coop covered with Kiwi vines and surrounded by mixed plantings.

Chicken Coop Pen at Cathy T's

Chicken Coop Pen at Cathy T’s

December – A winter container garden installed at a local business. One of many with fresh greens and decor.

Container Garden Dressed Up by Cathy T at Carol Jean's Hair Salon

Container Garden Dressed Up by Cathy T at Carol Jean’s Hair Salon

What will 2015 bring?  Check in to see…

ContainerCrazyCT.com

My First Square Wreath Done!

9 Comments

Greeting Fellow Visitors,

Making a square wreath is a little more challenging as compared to a typical round wreath because of the corners and how you should keep the greens symmetrical to maintain the square look of the frame – but it is just as much fun as any project working with freshly cut evergreens.

Steps to Make a Square Wreath:

First, decide if want to batch your bundles of freshly cut greens by the “same type/variety” or by a “mix of each type” per bundle.

Mix of Fresh Cut Evergreens

Mix of Fresh Cut Evergreens

Because I wanted to see how it would look if I cut and batched the fresh evergreens by same type, this is the option I used to make my first square wreath.

However, I also love the look of bundles when a mix of each cutting or snip of the various greens are batched and bundled as well. It just depends on your preference or style.

Types of Evergreens Used:

Shown above, from left to right, are Holly, Berried Juniper, Silver Fir, Fraser Fir, Cedar Coned, Boxwood, and Golden Arborvitae.

Highlights of the Evergreens:

  • Holly – Very sharp leaves, and more of a decor touch – I only used 2 batches of those.
  • Berried Juniper – What is a wreath, kissing ball, or centerpiece without a touch of the berried Juniper? The soft, blue tones add a contrast and like the Holly, I made only 2-3 bundles of this to add as a highlight.
  • Silver Fir – Thick stems, one sided long soft needles (meaning the underside color is softer), and smells amazing when cut!!
  • Fraser Fir – Very long lasting, a must in any arrangement, traditional – just like Balsam, but Fraser is what I had available this season.
  • Cedar Coned – I love, love, love the golden color of the little cones on the tips – and it really shows up against darker greens, like the Boxwood. This type tends to drupe or dangle, so use care where you position it.
  • Boxwood – This is another fav – because it is so classic, a rich dark green color, small ovate like leaves, and a bonus is they don’t make your hands sticky while you work.  It’s a dark contrast of green to use in the design and a nice base, such as the Fraser Fir or Balsam.
  • Golden Arborvitae – Soft, flexible yet so beautiful – it has patterns of golden yellow in the green, and really so pretty to add as another element. Like the Cedar, it is a little softer and pliable.
  • Pine – Also smells amazing when cut, very sappy, and thin, long, flexible needles, nice next to coarse greens. Think thick foliage next to fine.

Cutting the Snips for Bundles:

So, cut a few of each at all the same length (4-5″ or 5-6″) and wire them together tightly at the cut end with green florist wire. Use sharp pruners and wear gloves, otherwise, you will have a sticky mess on your hands, and lots of lotion required afterwards.

Prepared Bundles:

Here are several bundles prepared. It is easier and faster to work if you have all the bundles ready to go, then you can lay them out on top of your frame to see how they would look before attaching them individually on the frame.

Bundles Prepared

Bundles Prepared

Think about putting the lighter colored bundles next to darker ones. For example, dark green Boxwood next to the light blue of the berried Juniper or the softer Golden Arborvitae. However, in the end, I don’t think it much matters, as all the beautiful freshly cut evergreens on the wreath usually look amazing!

Dark Green Boxwood

Dark Green Boxwood

14″ Wire Frame Used:

A heavy-duty double-wire 14″ square frame was used for this wreath. The durable frame is usable year after year, which is why I highlighted it at my class on making kissing balls and other holiday creations last weekend.

14" Wire Frame Used

14″ Wire Frame Used

Shown above are several of the bundles attached.  You can see there are two bars along each side of the frame.

Options are to wrap each bundle directly over the middle of those two bars, or to stagger them on each edge of the double bars. If you have a paddle of florist wire, wrap the stem end to the wire, then continue for each bundle without cutting the wire from the paddle.

Working Way Around

Working Way Around

Or you can cut wire as you go – either way works – but the key is to wire tightly. Wrap, pull tight, wrap a few times more to ensure it is secure.  The Silver Fir, as an example, can be heavy as well as a batch of drooping Cedars, so be aware of their weight for each bundle.  Boxwood and Fraser Fir are lighter thus may not require as much wiring.

Golden Arborvitae Used in the Design

Golden Arborvitae Used in the Design

As you approach each corner, think about the placement a bit so the square form is maintained. It also helps to watch a good holiday movie or listen to holiday tunes, and if your day is lightly snowing!

Snowfall that day in Broad Brook, CT

Snowfall that day in Broad Brook, CT

Here is my first ever made finished square wreath without decor and ribbons. The little red berries are double-ended on a wire and easy to attach. The look here is natural and likable, but decor was added after this step.

Square Wreath with Red Berries Attached

Square Wreath with Red Berries Attached

Adding Decor:

This step is really based on your preference. I made a bow to match the color of my white and red holiday decor colors at the house, and inserted picks of white snowflakes. Zip ties are what I use to attach a hanger on the back.

Bow on the Left Side

Bow on the Left Side

Silver Snowflakes Added

Silver Snowflakes Added

All Done!

Here it is all finished and hung on my door.  When my hubby arrived home, he said he liked it and that it smelled good too. And, when posted, many friends “liked it” which was very nice too – Thank you!

All Done!

All Done!

Want to Make Your Own ?? – Now’s Your Last Chance at Cathy T’s!

I’m holding a mini-session tomorrow, Saturday, Dec 13th from 9:00 am to 12:00 noon. If interested in attending, contact me via text or call: 860-977-9473 or email containercathy@gmail.com. Cost is $30-35 based on item you elect to make. Options: Kissing Ball, Candle Centerpiece, Round Wreath – or, of course, a Square Wreath!!!  Location: Broad Brook, CT.

This will be your last opportunity to Make Your Own, but if you don’t have time, and need a decor element made for your home, custom orders are accepted.

TGIF Everyone,

Cathy Testa
http://www.ContainerCrazyCT.com
860-977-9473
containercathy@gmail.com
http://www.cathytesta.com

Go back

Your message has been sent

Warning
Warning
Warning
Warning

Warning.

Visit Cathy T’s Pinboards on Holidays to see many, many inspirational ideas of working with evergreens!  Click the Pinterest Icon on the right side bar of this blog.

To see examples of Cathy T’s Container Gardens Stuffed with Evergreens – See her latest posts and pinboards.  Ho-Ho-Ho-Horticulturist!!!

We Put Lights in Our Holiday Kissing Balls and Wreaths

Leave a comment

The lovely lady in the below photo, attending Container Crazy CT’s annual Kissing Ball & Holiday Creations Class, brought a string of holiday lights to put in her kissing ball one year – and that was the moment a trend began at this annual class!

The Official Light Queen at Cathy T's Annual Class

The Official Light Queen at Cathy T’s Annual Class – Photo by HomePlaceBlogger

Magic like this sometimes happens in class – and is one of the best part of holding a session where creativity kicks in by all the attendees. Thus, this light originator has been crowned our “Official Light Queen” at our class.  Love it Eilene!  Thank you for inspiring us.

Lights in our Holiday Kissing Balls

Lights in our Holiday Kissing Balls

In fact, this season, so many of the repeat attendees, which I refer to as the “Advanced Kissing Ball Makers,” are perfecting their techniques as they create their kissing balls, wreaths, and candle centerpieces with fresh evergreens.

Square Wreath with Lights - New This Season in Cathy T's Class!

Square Wreath with Lights – New This Season in Cathy T’s Class!

Here is an attendee also bringing lights, inspired by our “Official Light Queen” above, which she added to the square wreath she made with a mix of beautiful fresh evergreens.

Cathy T shows the class the new square wreath frame (Funny Expressions! LOL.)

Cathy T shows the class the new square wreath frame (Funny Expressions! LOL.)  Photos by HomePlaceBlogger

The square wreath is a new option available at Cathy T’s class this year.  It is created using a 14″ double-heavy duty metal frame – the frame is so strong, it will not bend and lasts for years to be reused. And the lights, which this attendee attached to her square wreath shown above, are battery operated – Great Job Dianne!

Light Queen Demonstrating

Light Queen Demonstrating – Photo by HomePlaceBlogger

I asked our Light Queen, Eileen, to demonstrate her technique for adding the holiday string of lights to the kissing balls, and you can see Renee is watching carefully – as she had plans to do the same in her two kissing balls.

Renee works the blues - adding blue ribbons and blue lights

Renee works the blues – adding blue ribbons and blue lights to her kissing balls

Renee and I attended the same high school (many moons ago). In fact, we sat next to each other in art class back in those days – and I always loved her drawings and clay art, and later in life – well, she ended up in my life even more – because I married her cousin!  So we are in-laws, and to have her here again this year is a treat.  She did an amazing job with her two kissing balls this season.  Way to go Renee!

Two finished with Blue Ribbon and Blue Lights!

Two finished with Blue Ribbon and Blue Lights!

I just love her bubbly personality which comes through in these photos.  More will be posted soon of our attendees amazing creations, and see below – a mini session is underway this weekend on Saturday.

Finished with Lights; Photo by HomePlaceBlogger

Finished with Lights; Photo by HomePlaceBlogger

Tips for Using Lights in Your Kissing Ball:

Evergreens remain fresher if kept outdoors in the cold where they will also receive some moisture from occassional snowfall or rainy days.  So, I always recommend kissing balls be hung outdoors, this way, they will last a long time – even up to February.

And please note: DRY greens are a huge fire hazard.  Never EVER leave a kissing ball with lights on unattended – and the same goes for any candle centerpieces created – do not leave candles unattended in centerpieces with greens if you decide to light the candle – even if it is a non-drip type as provided in class.

In fact, my recommendation is to not light the candle at all – or to use the non-drip type with a catch tray inserted for any potential drippings and if you light the candle, ONLY when you are sitting right in front of it.

Why so cautious?

Ever see a dry Christmas tree catch on fire?  It can be very dangerous and the flames move quickly.  So while lights are gorgeous in all evergreen creations – and many are available now as battery operated – just remember the safety rules – only when attended and better if the creation is displayed outdoors.

Have a Good Day Everyone,

Cathy Testa

Note:  A mini-class is underway for this Saturday, 12/13/14 at 12:30-3:00 pm.  If interested, contact me soon!

Go back

Your message has been sent

Warning
Warning
Warning
Warning

Warning.

Container Gardens with Evergreens – Spice Up Your Space for the Holidays

Leave a comment

I’ve worked on cold and windy days to install festive holiday container gardens with evergreens and decor this time of the year – but I have to say, yesterday was probably the coldest day ever experienced outdoors while doing so.

Checking the weather beforehand wasn’t on my list – I knew it was going to rain today, so I thought, I need to get this done first thing on Monday.

The truck was loaded up with evergreens and decor supplies by sun up. Sometimes, having an early start is nice because all is quiet before shops open up for the day.

So off I went.  Within the first 45 minutes tho – my hands were frozen.  It was much colder than I expected. It was like 22 degrees out!

But because I enjoy the process of installing container gardens for the holidays, ignoring the tips of my finger tips getting cold in my not-warm-enough gloves was somewhat easy – at first.

As the owner of a business showed up to unlock his store, he said, “You picked a terrible day to do this. It’s freezing out.”

So, I responded with, “It is suppose to rain tomorrow, and it is time for the seasonal change up, so here I am!”

He agreed, indicating this is his favorite container of the seasonal change outs, and how he is looking forward to the holidays.

After completing his two big barrels at his store front, I went for a coffee and returned to the house for warmer socks, gloves, a neck warmer, and warmer ski like hat – it was THAT cold out.

Back out I went and finished two other jobs, taking a lunch break in between to – yes, warm up again.

Luckily – these are local clients – for which I am very thankful for their business.

Check them out – The Sweet Spot Bakery in Broad Brook, CT offers freshly baked cupcakes, cakes, and more – and they are yummy. In fact, I had them make a kissing ball cake for my latest class – it was much fun as everyone didn’t realize it was a cake at first.

KB Cake by The Sweet Spot Baker (Photo by HomePlaceBlogger)

KB Cake by The Sweet Spot Bakery of Broad Brook, CT (Photo by HomePlaceBlogger)

Then there’s the huge and popular package store, Joe’s Fine Wine & Spirits, on Rt 140 in East Windsor, CT.  When I looked around at the supply of wine and beer, during my warm up breaks in the store yesterday, I thought – “Gosh, what Leslie and his staff has done for this place is amazing.”  They offer a huge selection of wine and beer — and they hold holiday festivities during the year, like wine tastings, and several important fundraising benefits to help raise funds for community efforts.

Barrels in-front of Joe's Fine Wine & Spirits by Cathy T

Barrels in-front of Joe’s Fine Wine & Spirits by Cathy T

After finishing the decor at Joe’s Fine Wine & Spirits, it was off to a local hairdresser’s shop, next to the new TRX exercise studio, which is another small local business to support. The salon is called Carol Jean’s Hair Salon at 144 North Road, East Windsor, CT. Michelle is a great person and offers local salon services.

Container Garden Dressed Up by Cathy T at Carol Jean's Hair Salon

Container Garden Dressed Up by Cathy T at Carol Jean’s Hair Salon

All of these business owners tell me the festive container gardens outside their businesses adds a welcoming environment – and their customers really enjoy seeing them each season, and talking about them with the business owners.

Container Gardens outside of storefronts and businesses lets everyone know – customers are important to their small businesses, and they want to share the holiday happiness too!

If you are interested in an install job for container gardens, call me this week while supplies last.  This is the best time of year to dress up your outdoor store front environment, whether it be a container garden stuffed with greens and decor or a holiday kissing ball or wreath hung on your front door. Tis’ the Season!!

His and Her's Elves Grace the Steps of THE SWEET SPOT Bakery in Broad Brook, CT.

His and Her’s Elves Grace the Steps of THE SWEET SPOT Bakery in Broad Brook, CT.

And, by the way, I’m super glad I went out yesterday, despite the freezing cold, instead of today. I hear the ice is slick out there today – black ice, my husband warned. He already e-mailed me from his office to say be careful stepping out on to the driveway today. It is slick.

I think I’ll wait for the sun to come out and warm up everything – this time!

Cathy Testa

http://www.ContainerCrazyCT.com
860-977-9473
containercathy@gmail.com

Go back

Your message has been sent

Warning
Warning
Warning
Warning

Warning.

Hypertufa Making Class – A Great Way to Enjoy a Chilly Fall Day

4 Comments

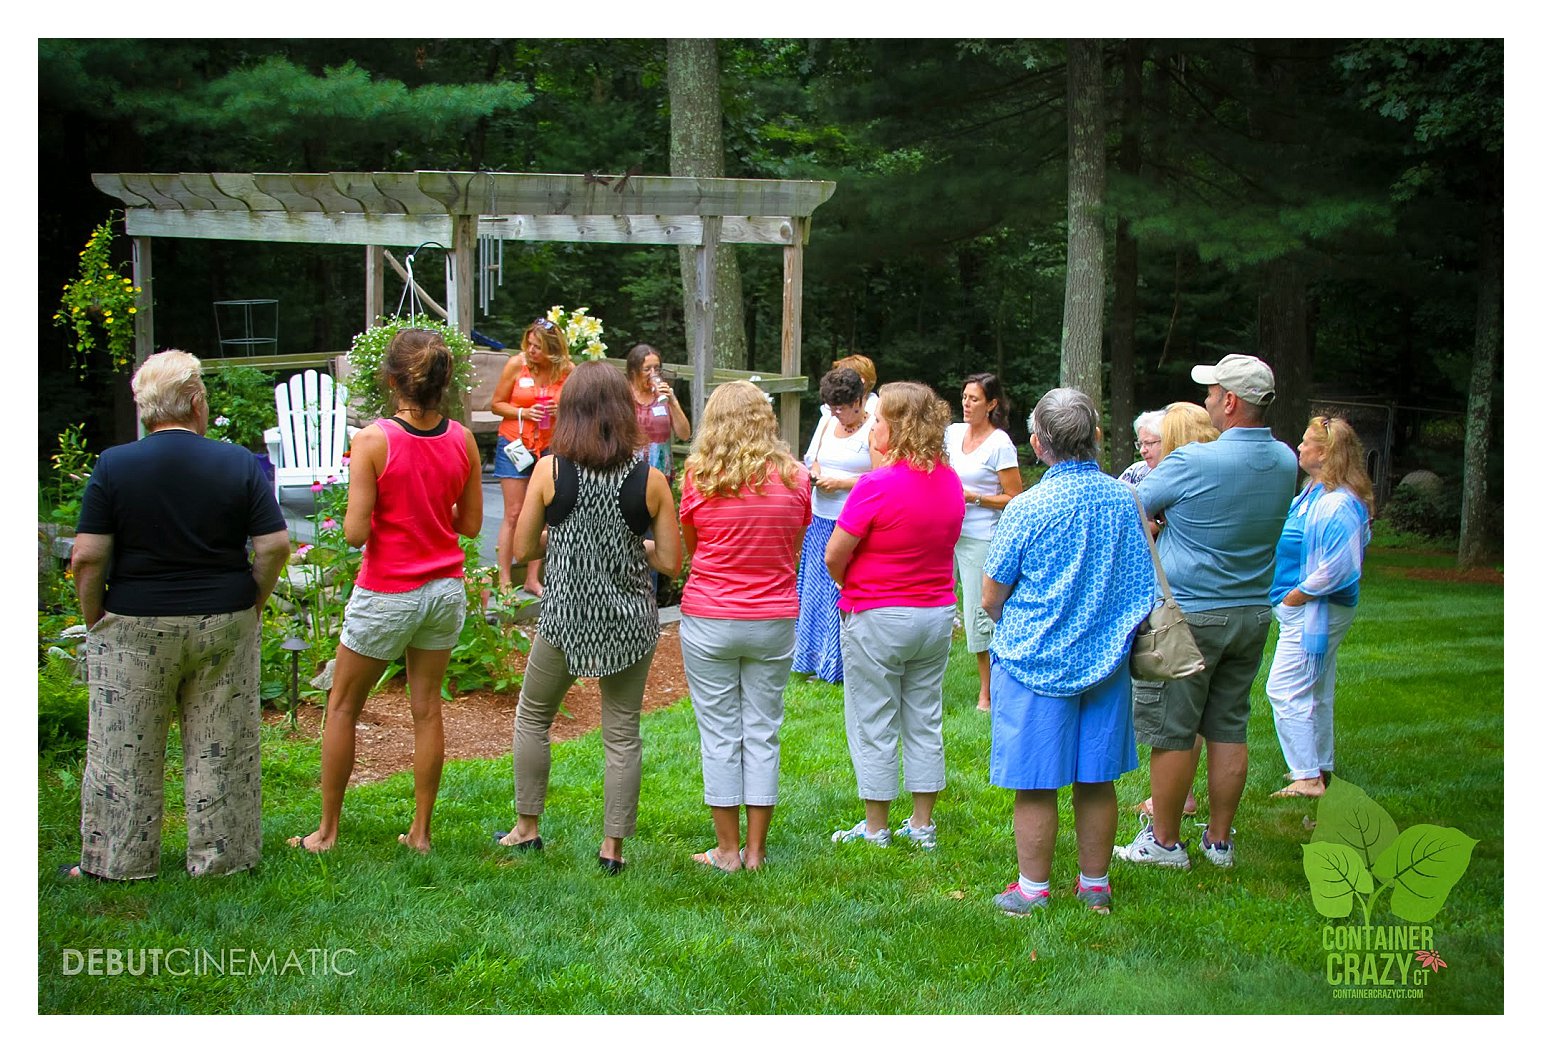
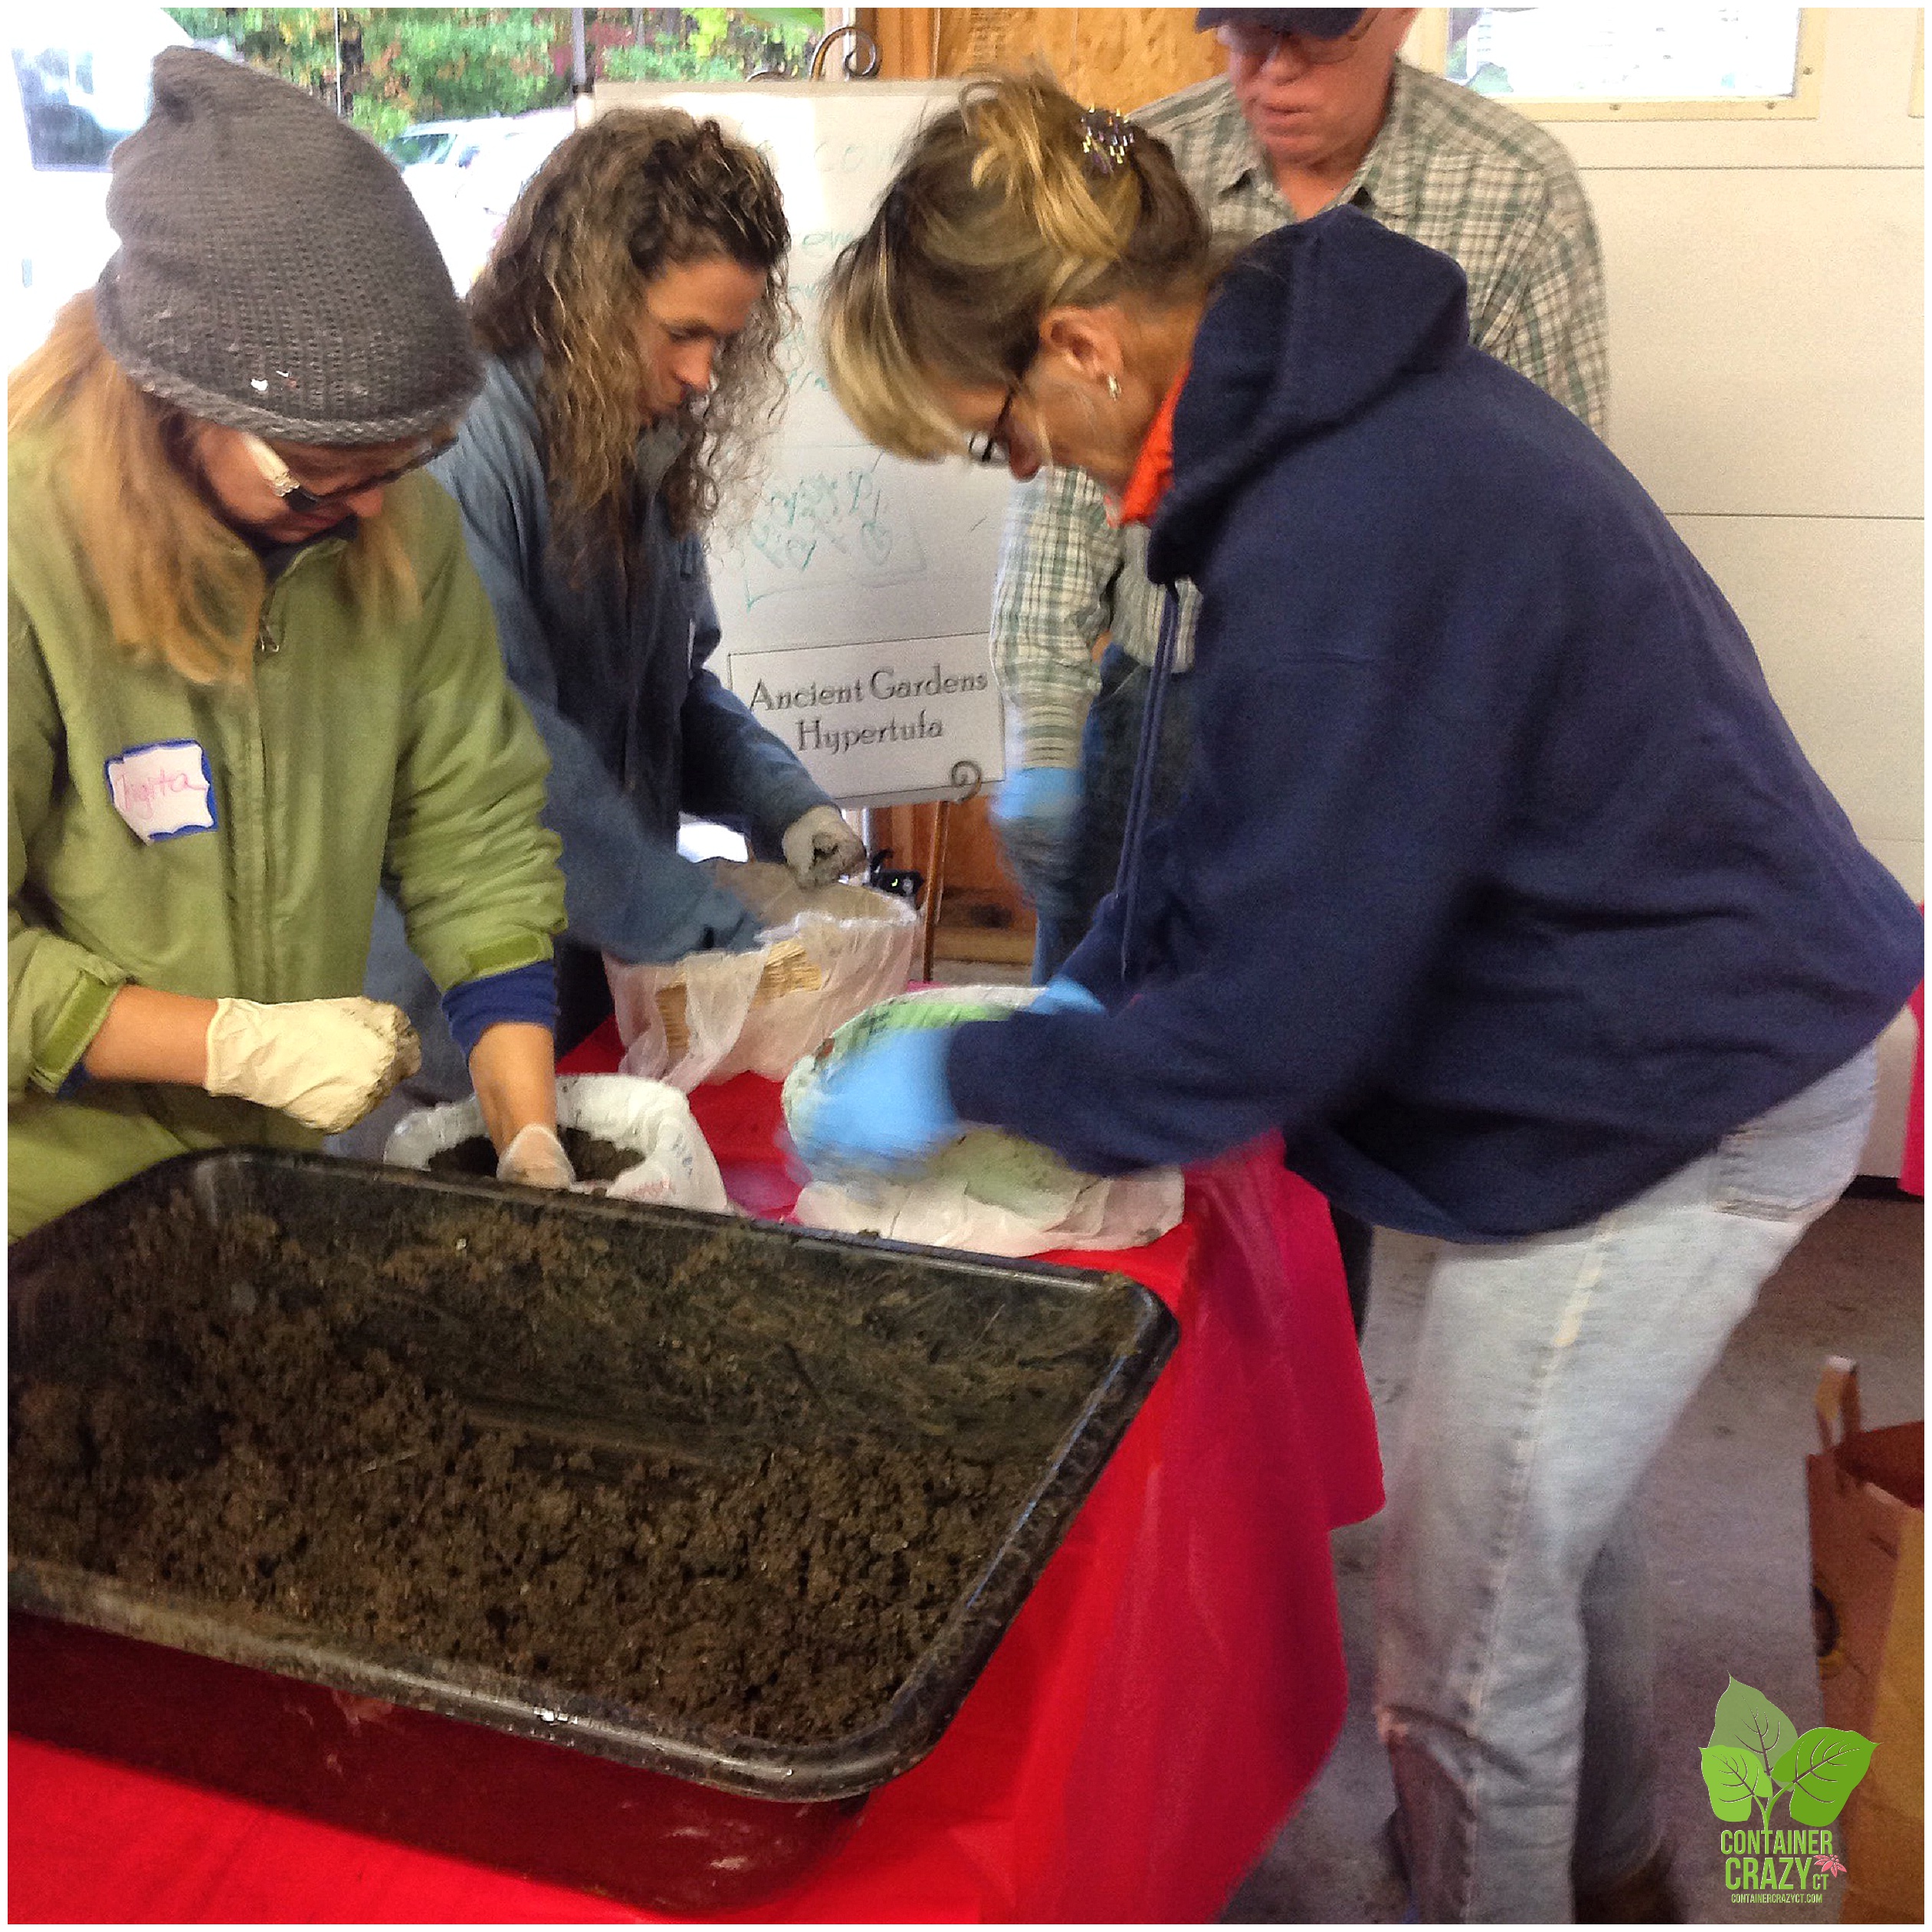
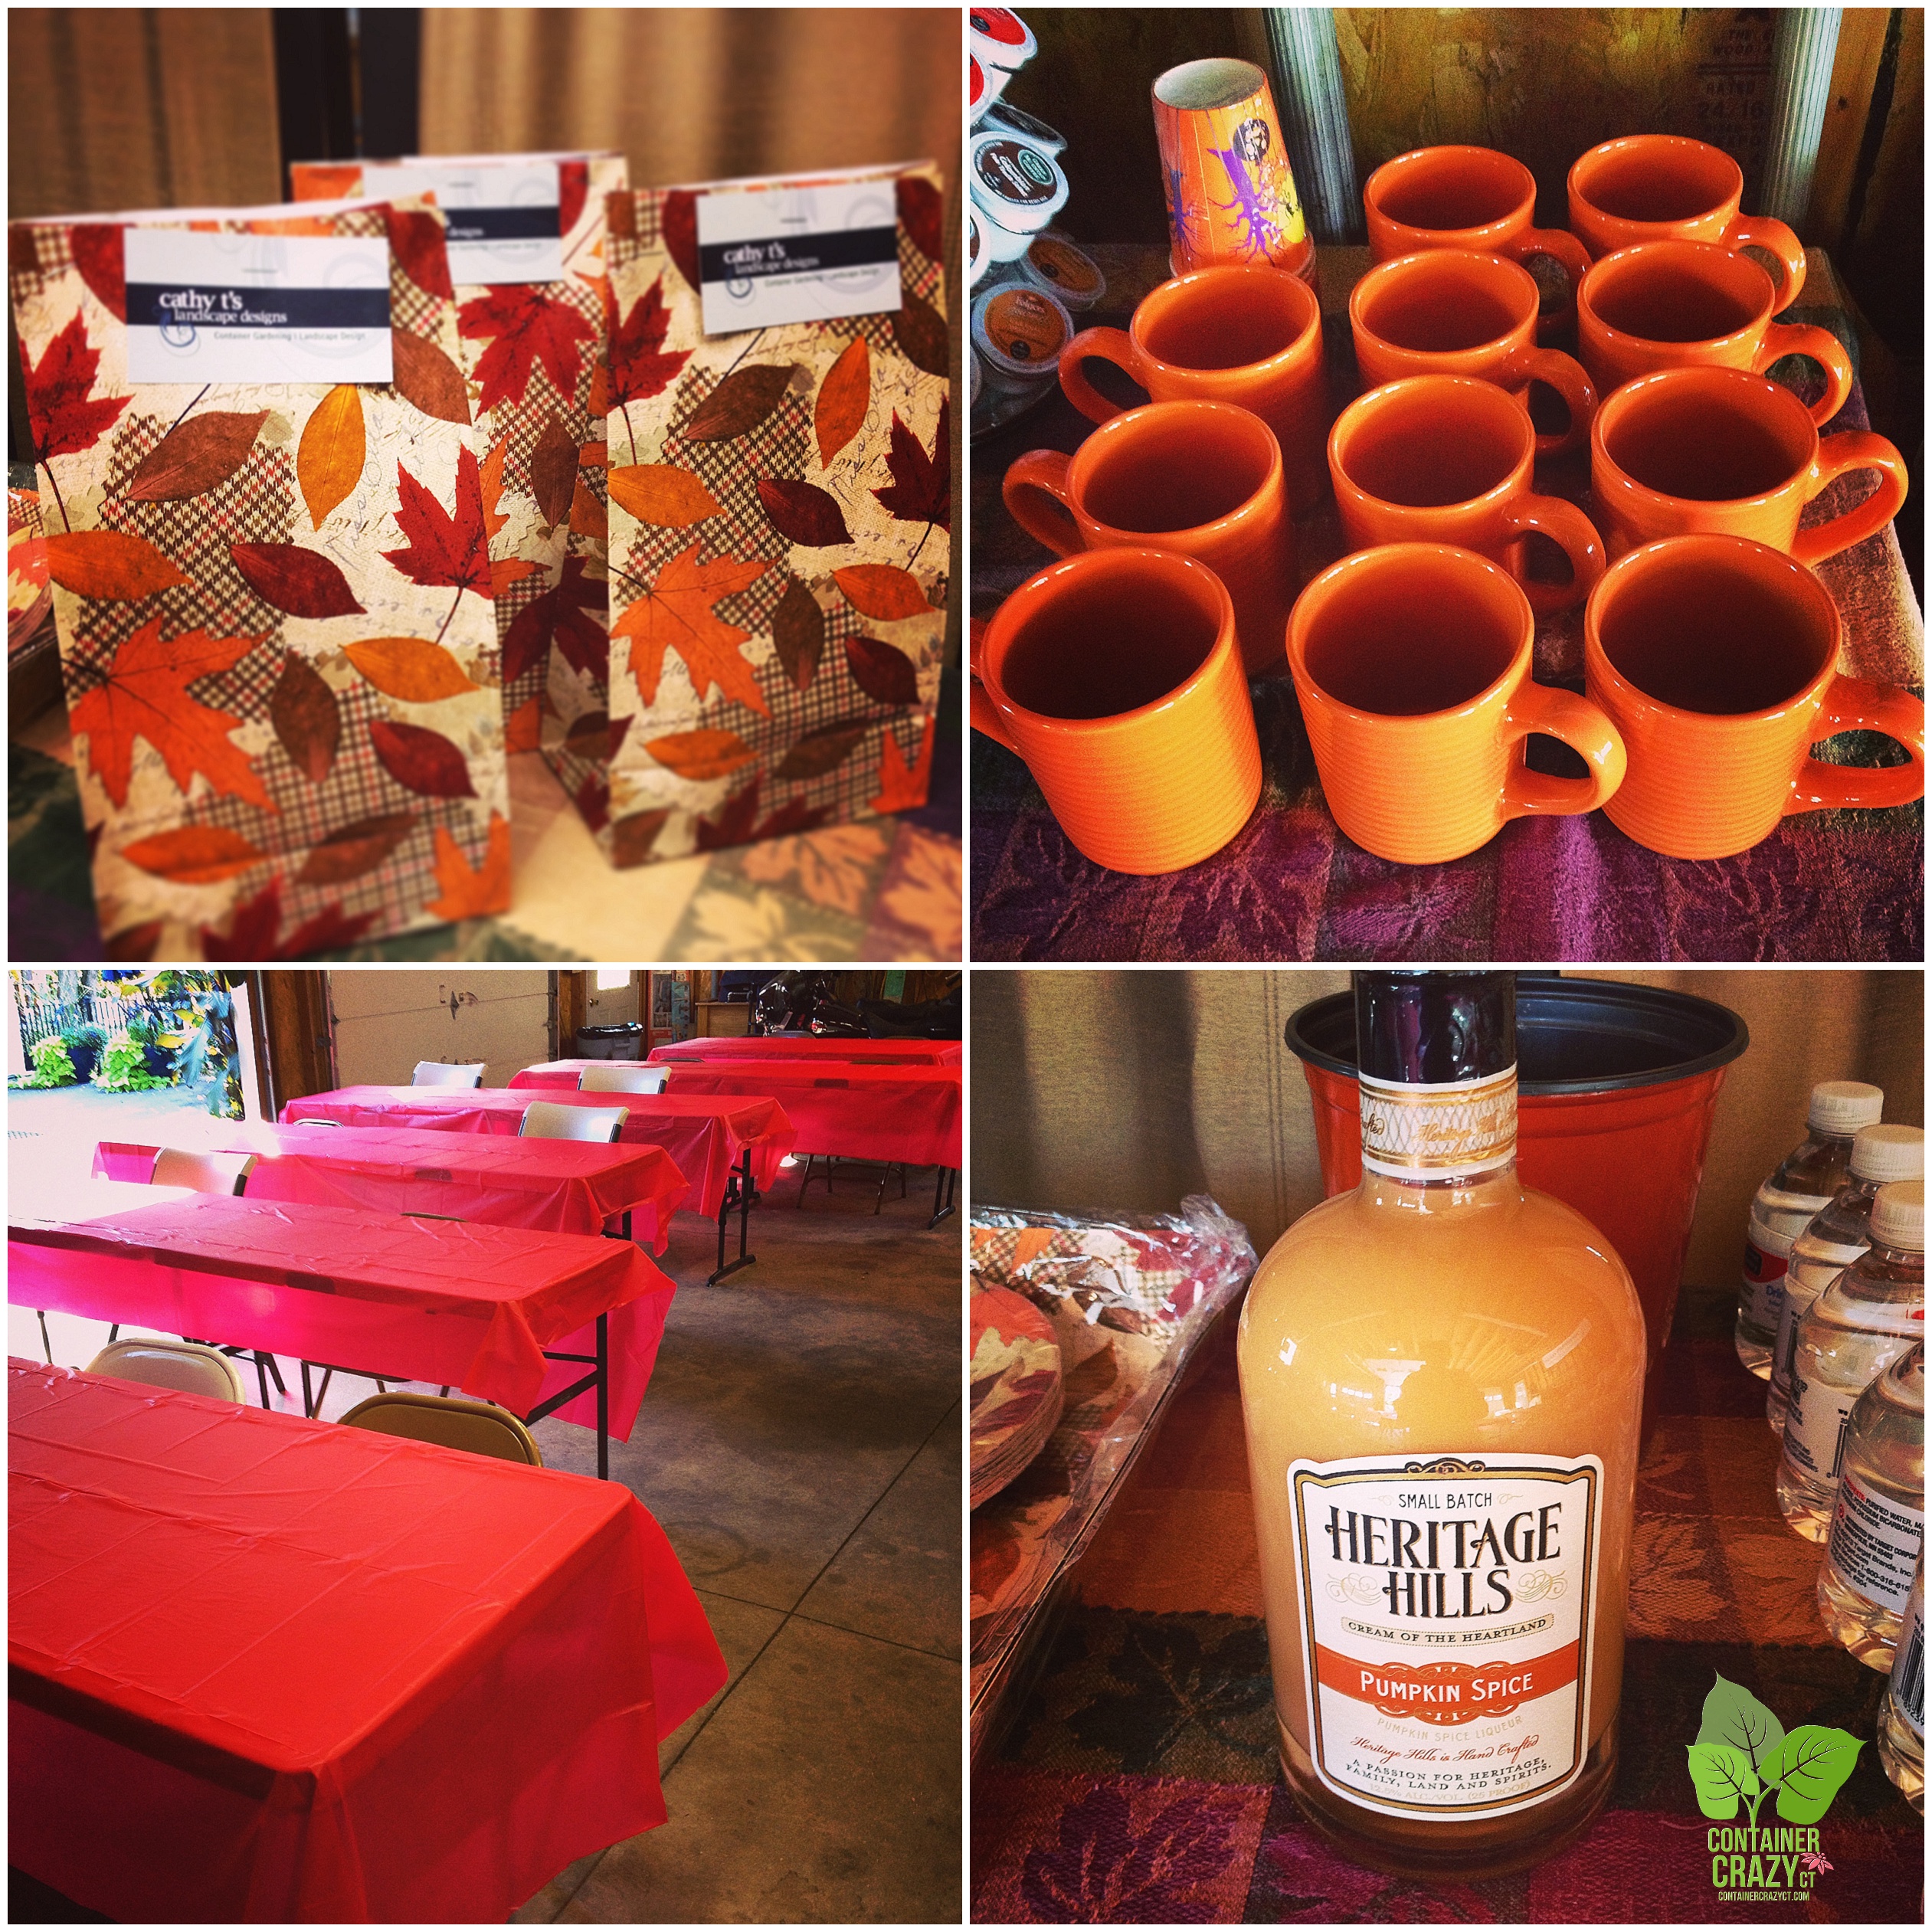
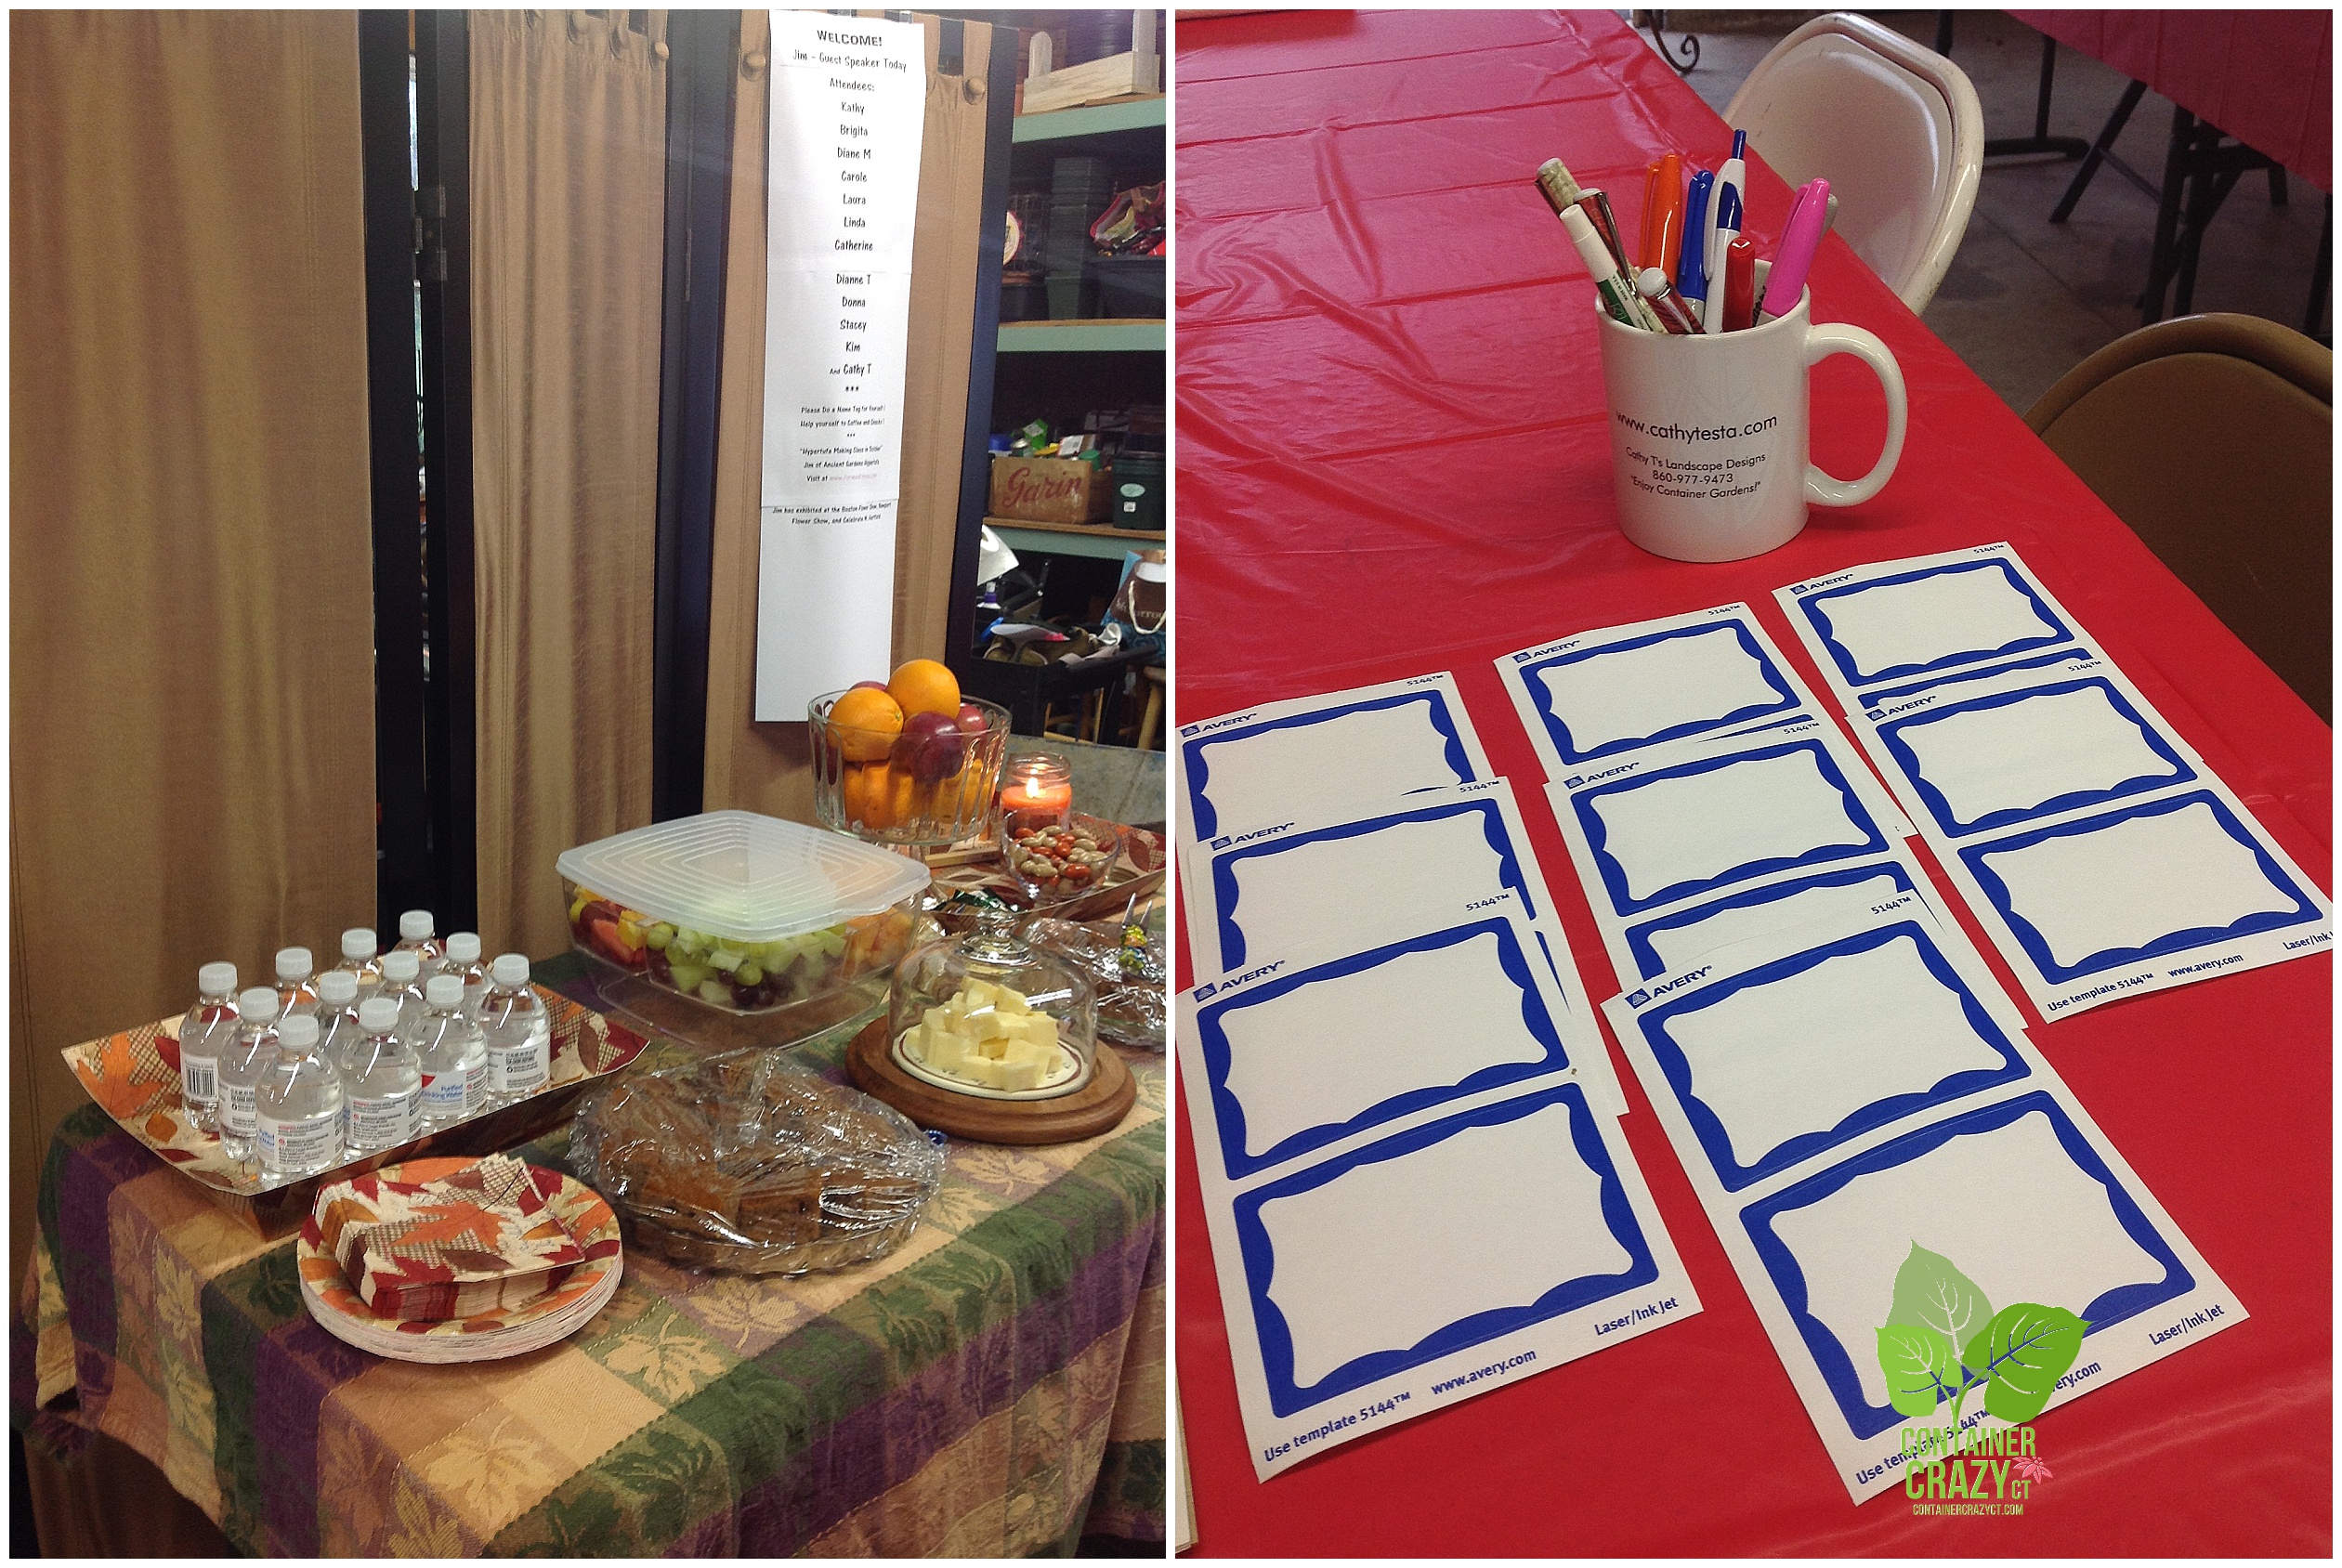
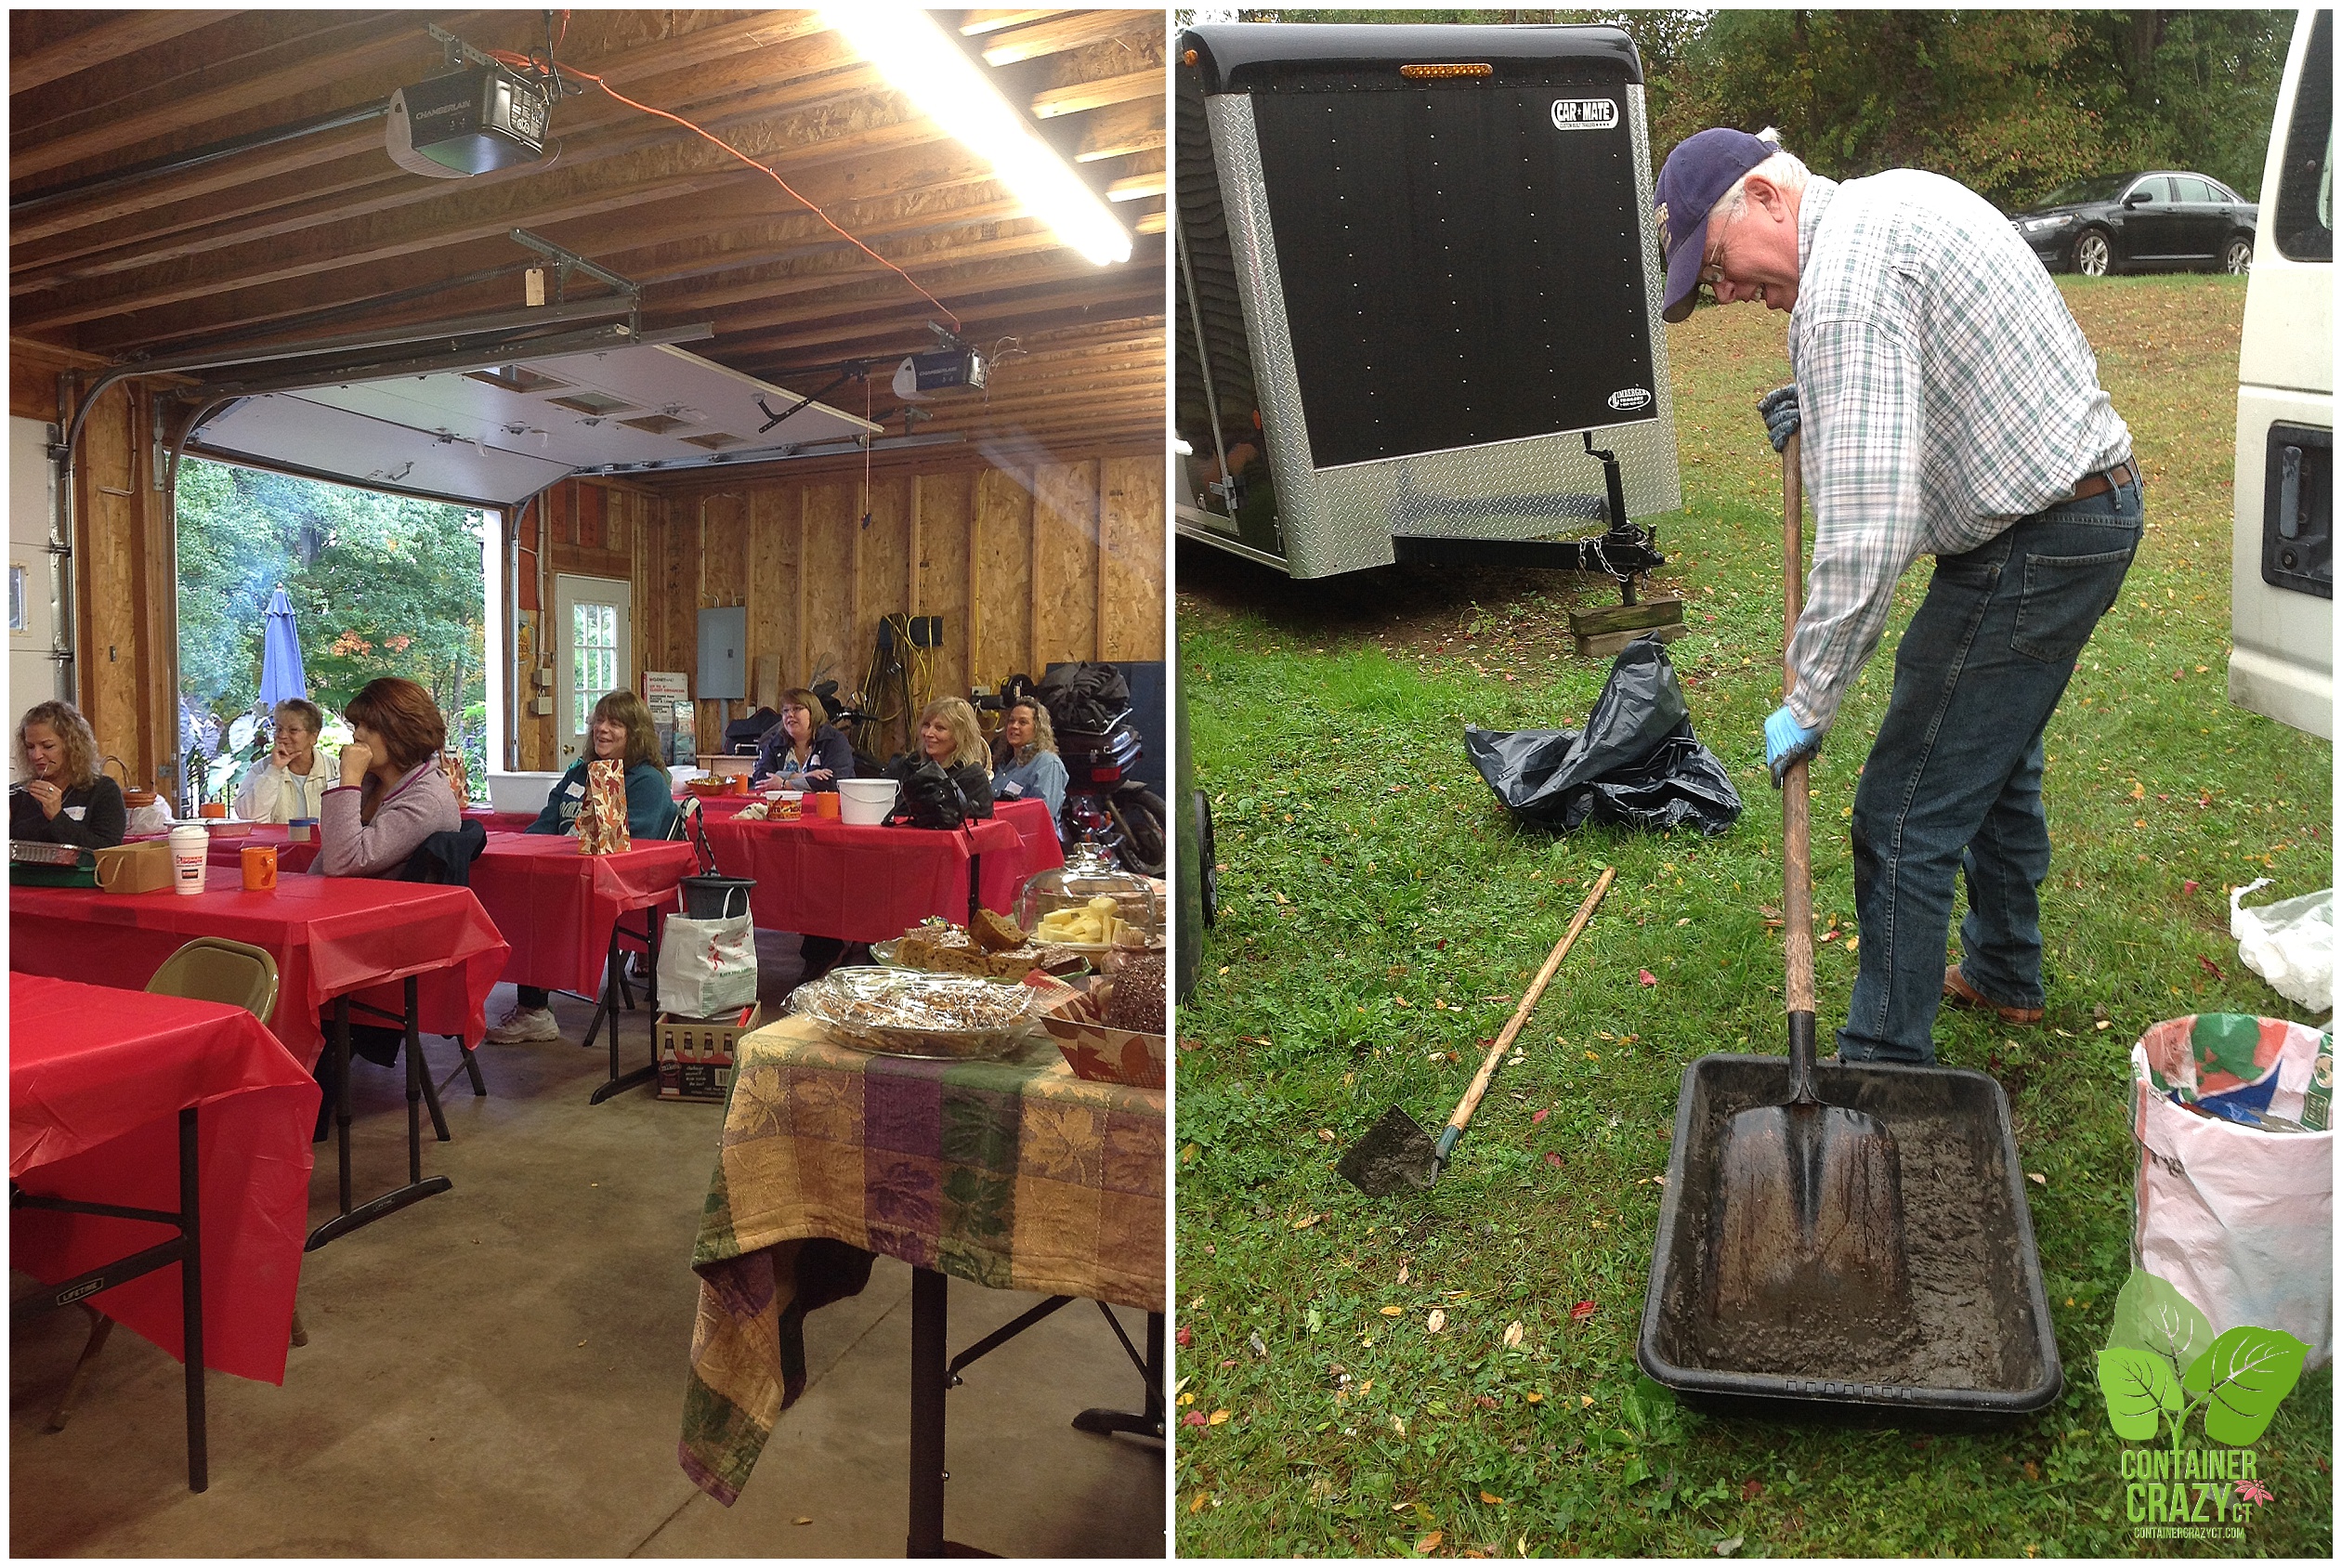
On a very cool and rainy Saturday, 12 ladies gathered to hear a professional hypertufa making artist talk about the how to’s and secrets of making hypertufa pots.

Hypertufa is a very lightweight natural material that looks like stone,” stated Jim Kandik of Ancient Gardens Hypertufa.

And he should know. He has been handcrafting planters and garden art in hypertufa style for years and offers them for sale at various garden and art shows, such as the Boston Flower Show, Newport Flower Show, and Celebrate West Hartford show – just to name a few.

We all felt lucky to have Jim give us the low-downs on how to make hypertufa planters and containers as we wore our cozy sweatshirts and hats to ward off the slightly chilly air coming through the garage doors of Cathy T’s large classroom.

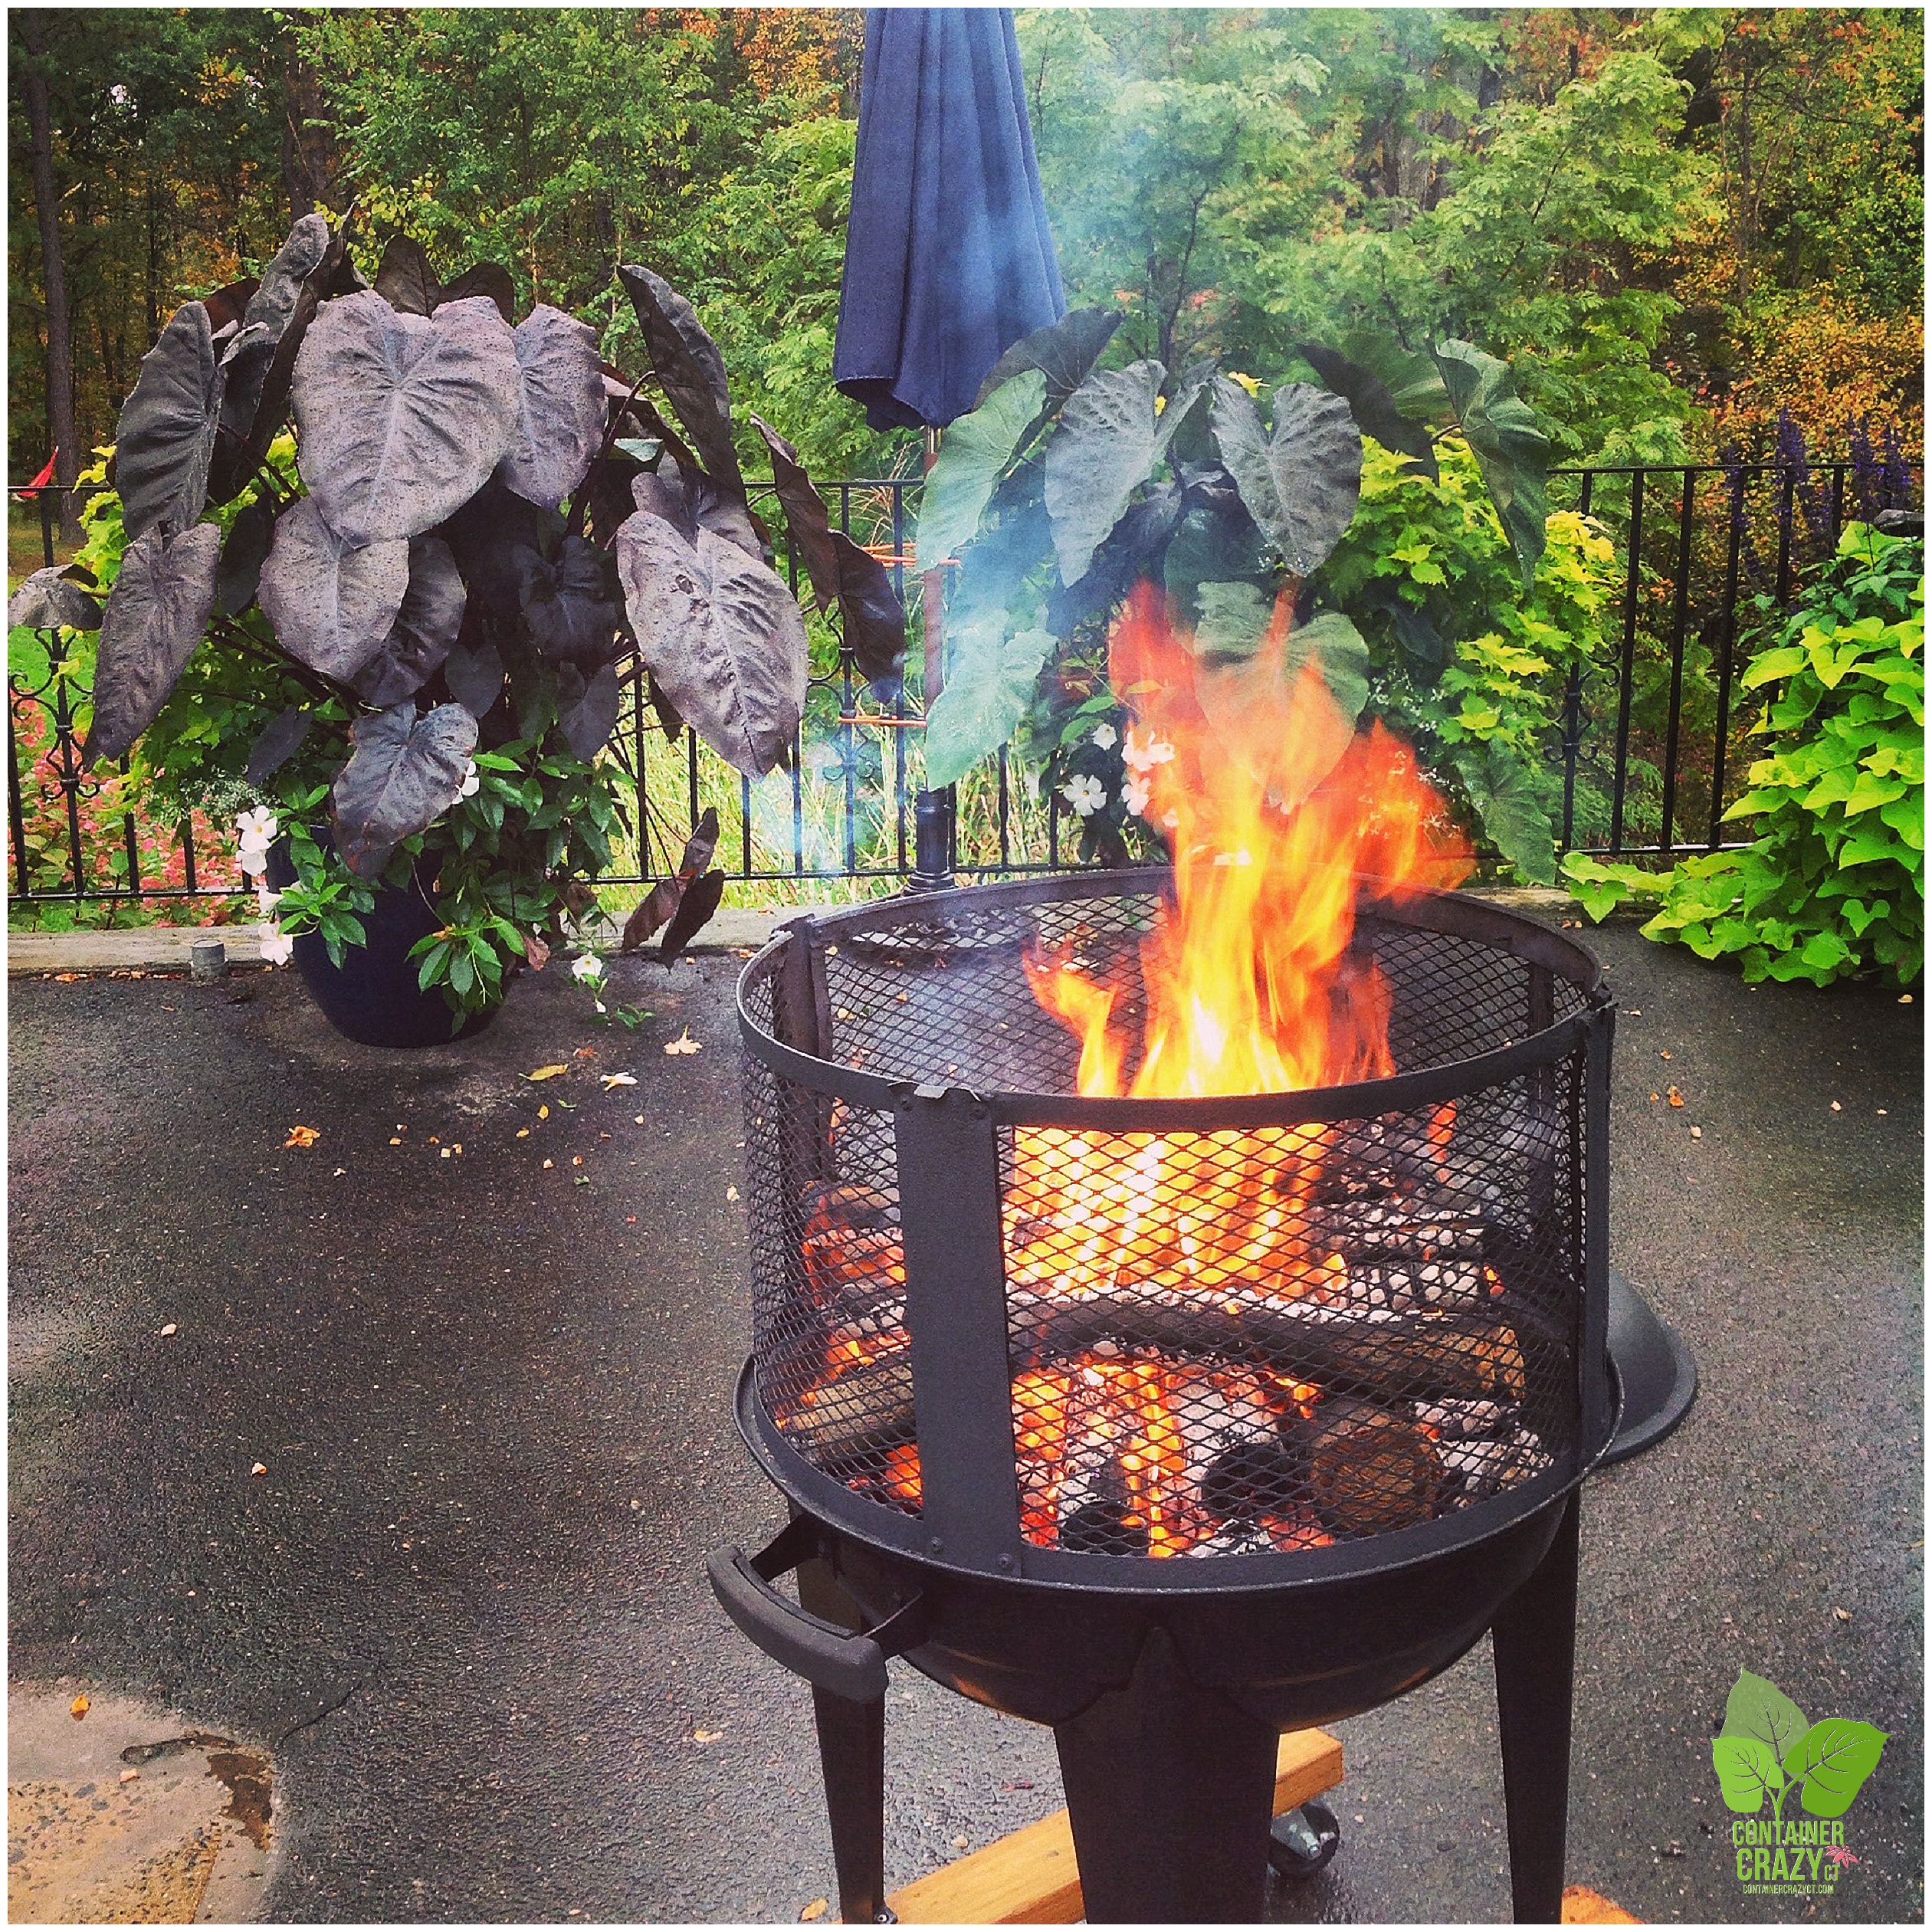
And if the fall clothing didn’t work, a cozy outdoor fire pit and hot coffee spiced up with pumpkin flavoring and whipped cream was offered to the attendees to warm up their fingers before they began their work of assembling their first hand-made hypertufa pots under the careful direction and guidance of Jim as our guest instructor.

As Jim explained in his class handouts for the attendees, “Tufa stone, a form of limestone, was used in olden times to form troughs on farms.  It is now so rare that “Hypertufa” was created to duplicate its look and function.

Jim has refined his hypertufa recipe and process to create the finest hypertufa available.  And this refinement is not an understatement as it was apparent to us all attending this class that Jim has a love for making these handcrafted pieces of art.

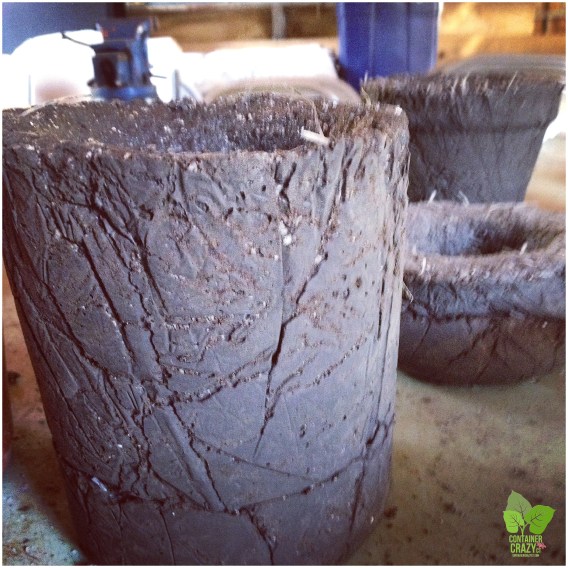
He makes beautiful birdbaths, planters, fairy houses, mushrooms, and sundials.  Even a gorgeous planter was showcased as part of the day’s activities.  Each is made with good lines and bones, so to speak.  The edges are clean and forms are nearly perfect, but each is unique.

Hypertufas are very lightweight, so they can be easily moved around as features in your gardens or as planters for a table top.  They are easy to care for as well.

Any plant can go in them, from houseplants to succulents, and you may even elect to add a bit of mini garden art or delicate small stones to the top after planting them.

As Jim of Ancient Gardens Hypertufa stated, “Hypertufas need no other special attention and can last for many years.” But he strongly advises you should always move them under cover by bringing them inside during the winter, as standing water will freeze and crack the pieces.

Jim explained his passion of vegetable gardening from years ago, and how a special Aunt was an avid grower of roses.  She was so involved in the process of growing roses, she was eventually a judge at one time for the American Rose Society.

His love of making hypertufa pots and art is in his genes.  It was all passed on via the love of gardening by people like his Aunt. He remembers the first time he saw a hypertufa in friend’s garden and how he was drawn to it immediately and wanted to learn how to make them.  Once he learned the process, it was, well, all hypertufa history from there!

“Cement is an ingredient in hypertufas, but it is not technically accurate to call cement a hypertufa,” stated Jim during his lecture portion of the class.

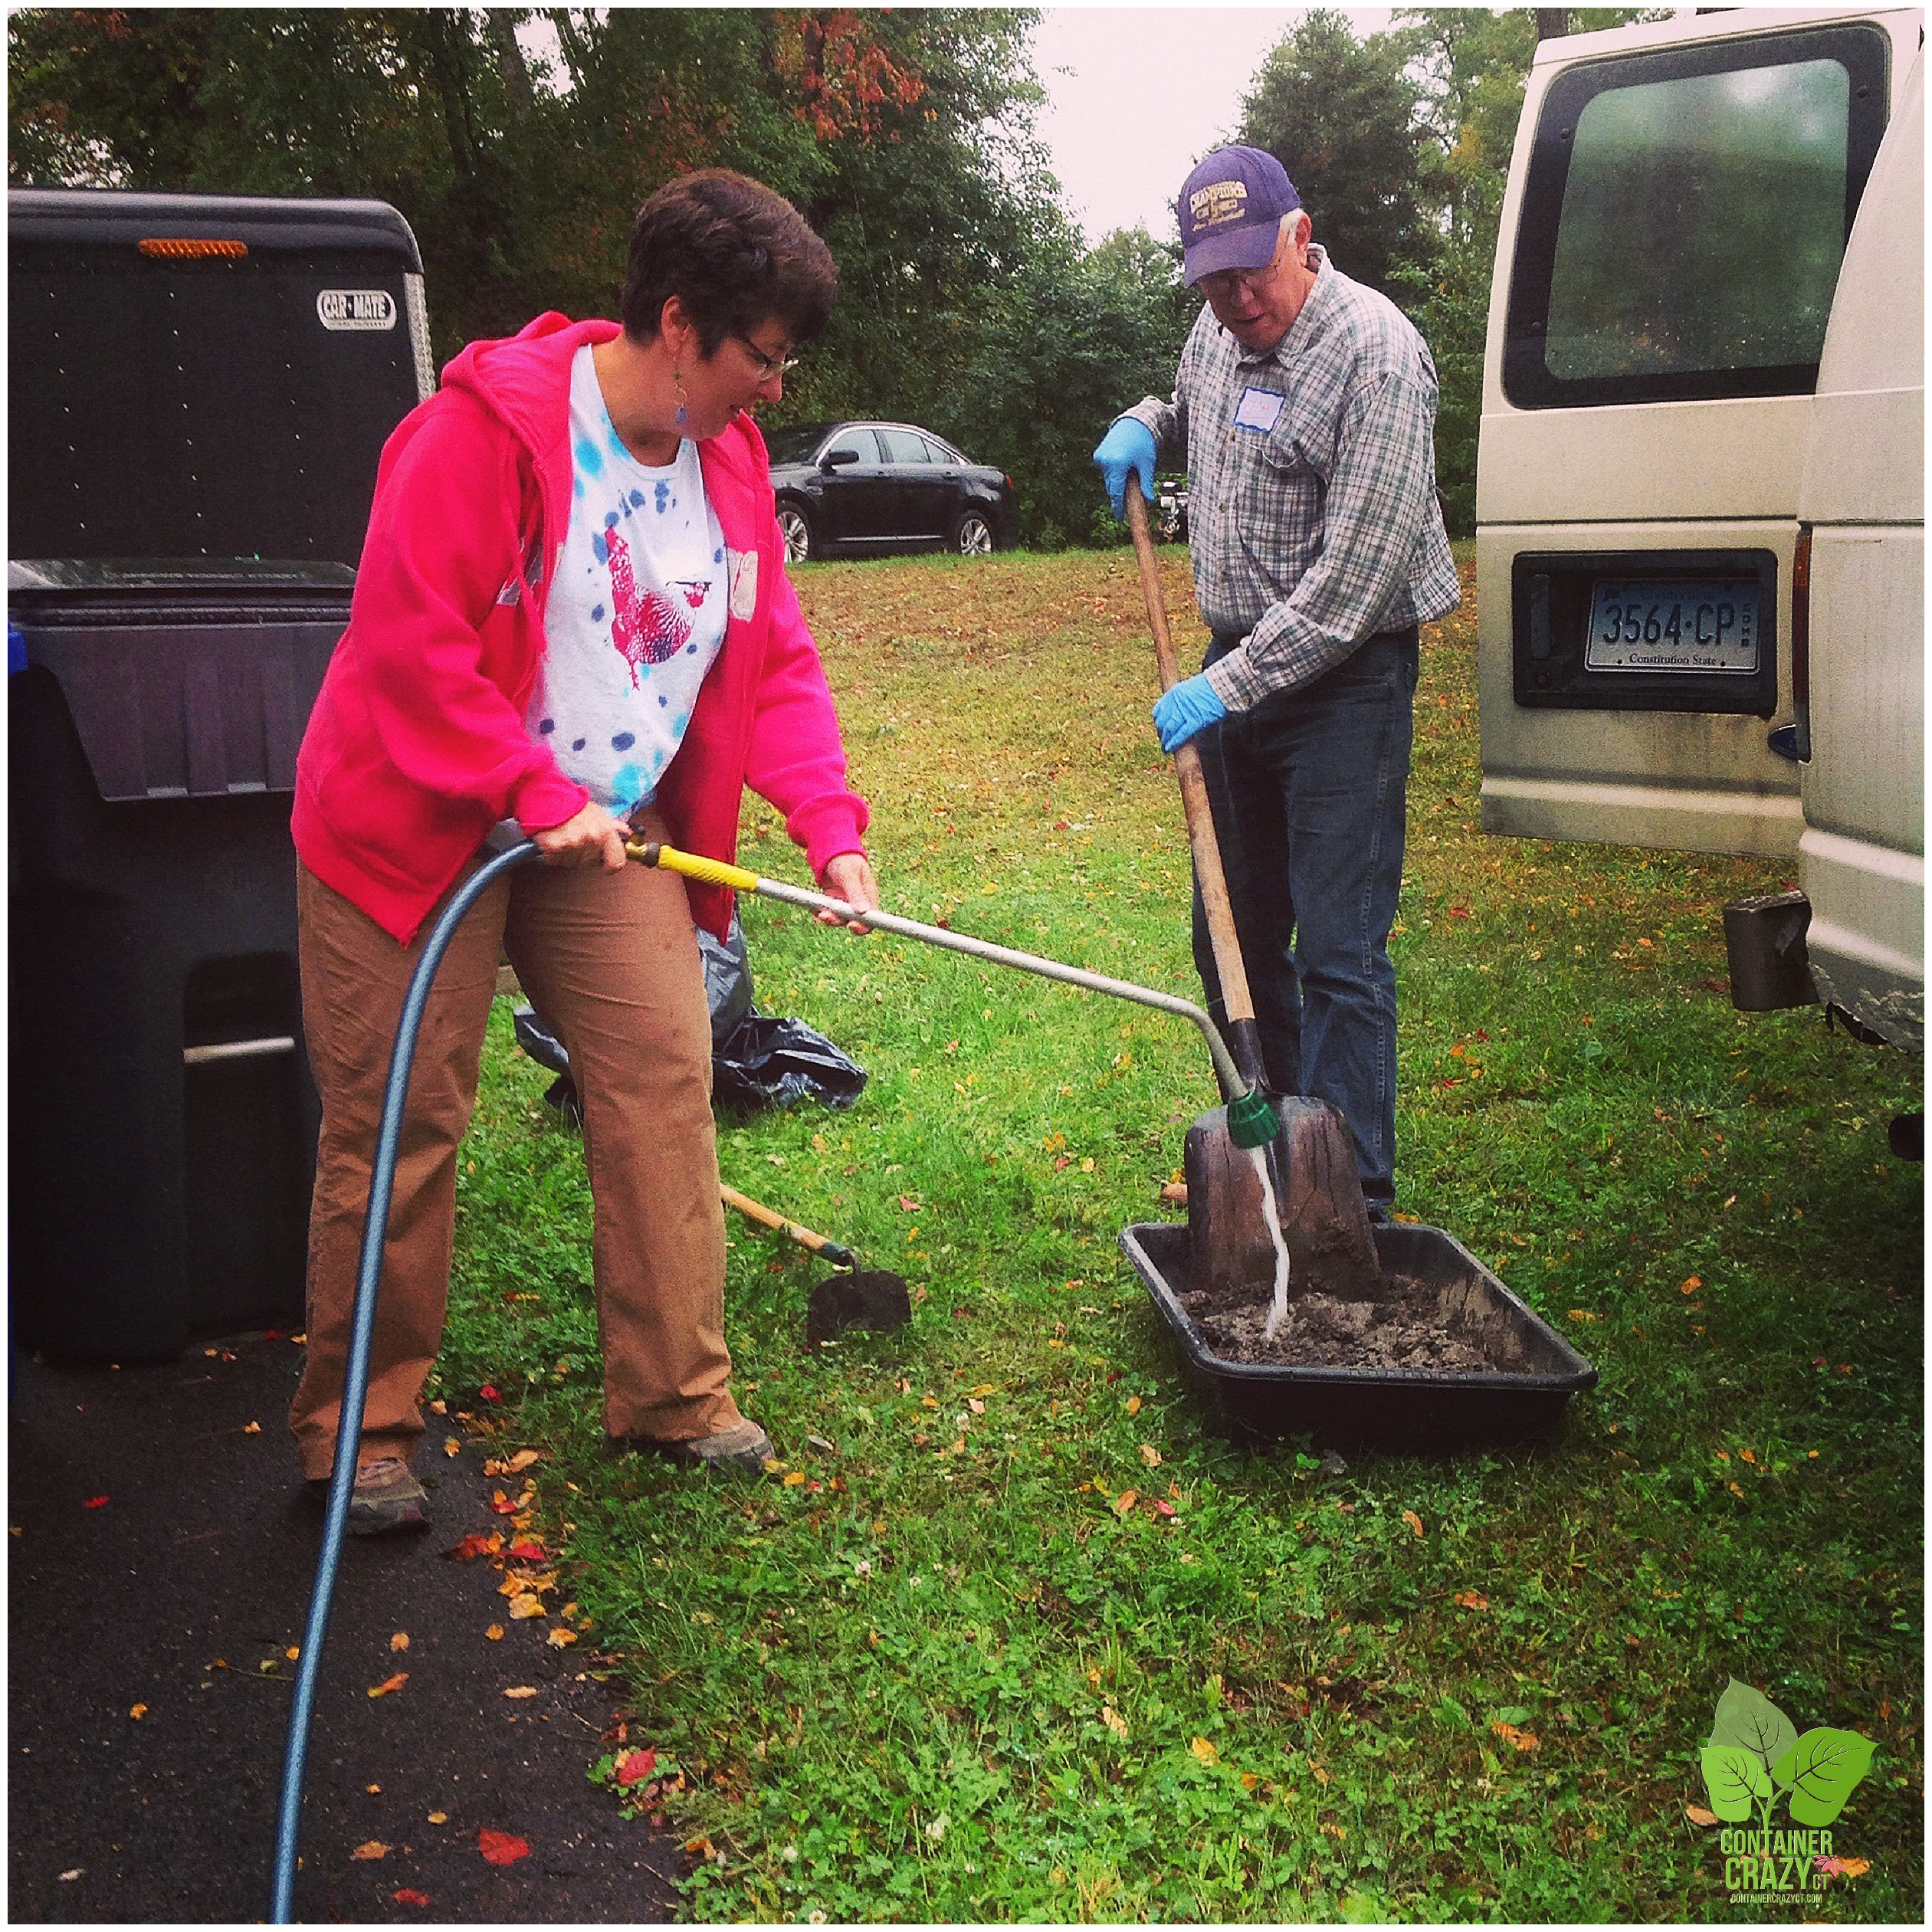
He went over the other key ingredients to use in correct proportions by volume to achieve the correct mix and showed everyone exactly how to add water appropriately so you do not have too much or too little.

Mixing water into the hypertufa mix is an art form, similar to how one must master the art of watering plants in container gardens.  There’s a bit of science and art to the process, and our special guest instructor, Jim, was sure to show and tell this aspect very well to the attendees.

Hypertufas are porous, not as dense as cement,” explained Jim further during his lecture and demo.  “Cement is very fine (like talcum powder), and it is extremely important to get it well mixed thoroughly as it absorbs water, and it must be evenly distributed during the mixing process.

Jim adds other special ingredients to stabilize the mix and make it stronger, which he shared with the attendees of this class, and also provided lots of tips and the “secrets” of success.

After Jim of Ancient Gardens Hypertufa went over all the specifics, tips and tricks, and details of the mix components, he showed us exactly how to mix up a batch, explaining his mixing process is similar to how masons do it for masonry work, using the appropriate mixing tools as well. He also showed the exact consistency and what to look out for as you prepare your batch.

As soon as things were mixed just perfectly, the attendees began assembling the mix into their molds.  This class was designed to teach the process, so the molds were on the smaller to medium size, just perfect to understand and learn the process from a master.

When making hypertufas, it is important to remember the mixing process is critical as well as the correct ratio of the components used in the mix, and then the last step, the curing process is critical.

After made, they are not ready to be used for a few weeks.  A few days of setting is involved, then removal from the molds, and followed by another period of curing and drying.

Depending on where this takes place, such as in a garage or inside a workshop in the home, the temperature and air environment will affect the amount of time required.

Also, the materials used to make the hypertufa can have an affect on the pH of the soil put into the pot, so Jim provided a tip on what to do if this is a concern for the type of plants used in the hypertufa container.

Jim of Ancient Gardens Hypertufa was very generous by offering us all his insider tips which he has learned and mastered over the years, and giving wonderful fall discounts on some of his pre-made hypertufa pieces of art.

And last but not least, he made us laugh too – what more could you ask for in a presenter?! We truly appreciate his expertise and hope to visit with him again soon at his upcoming art shows.

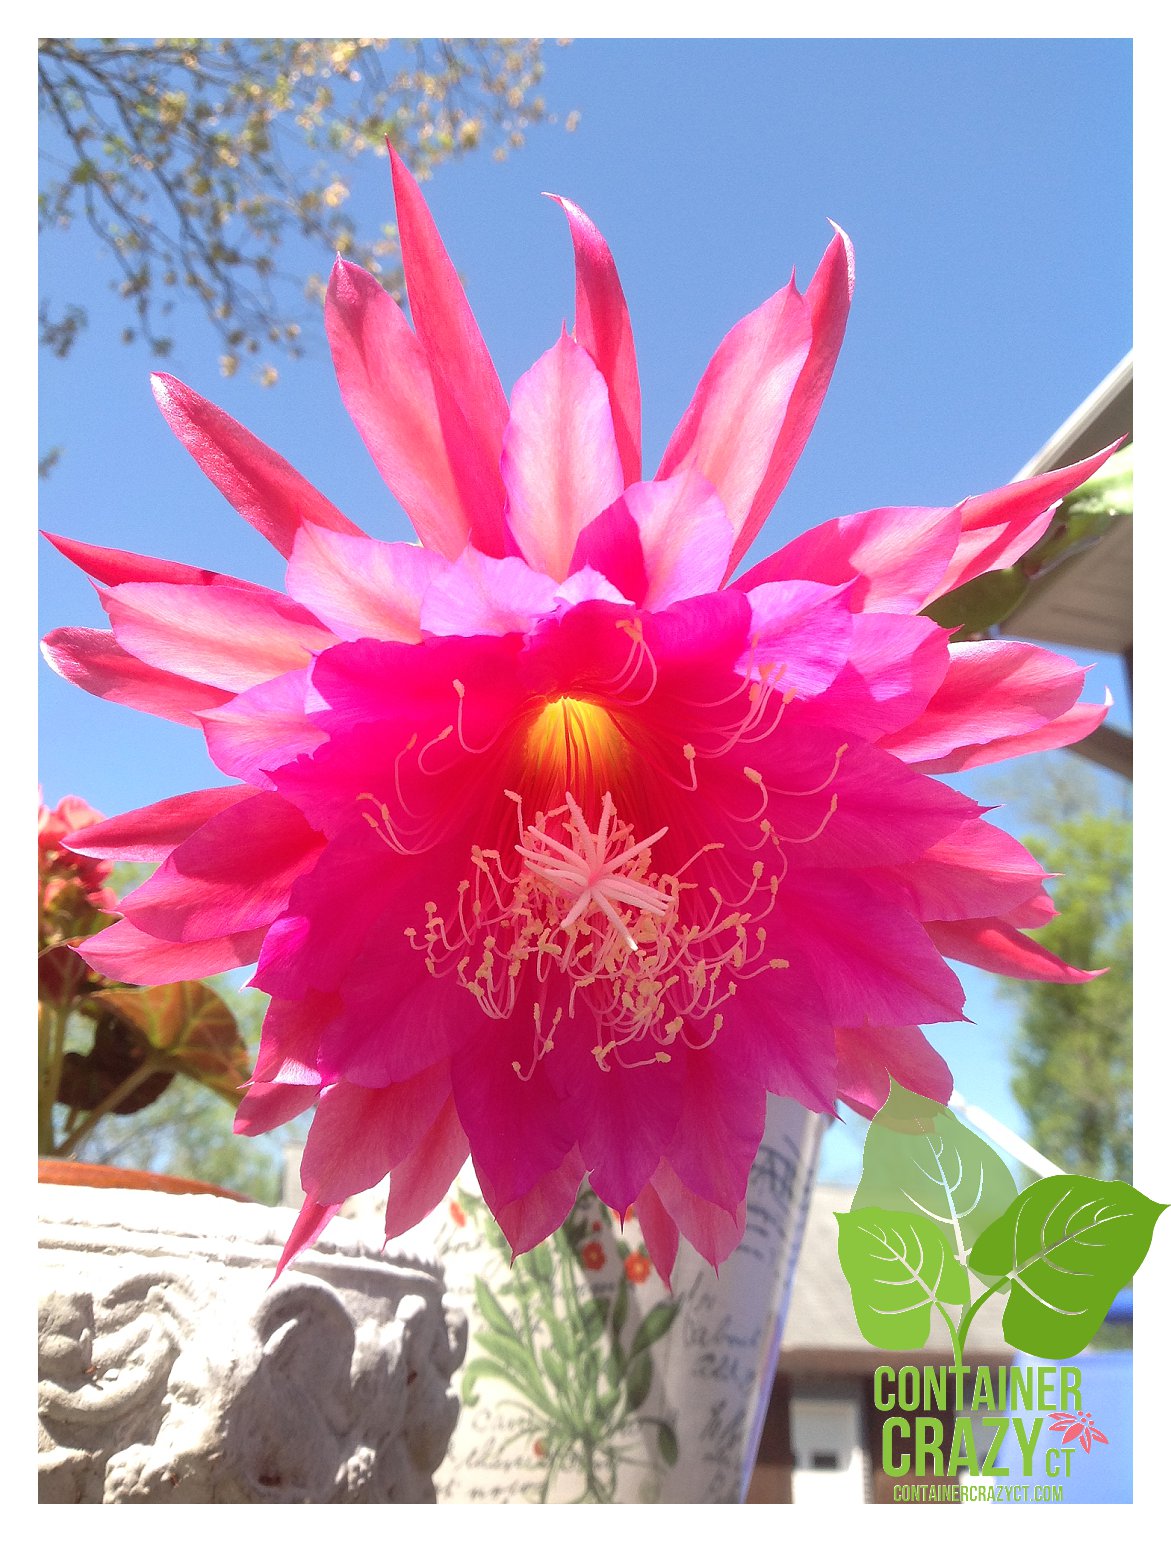
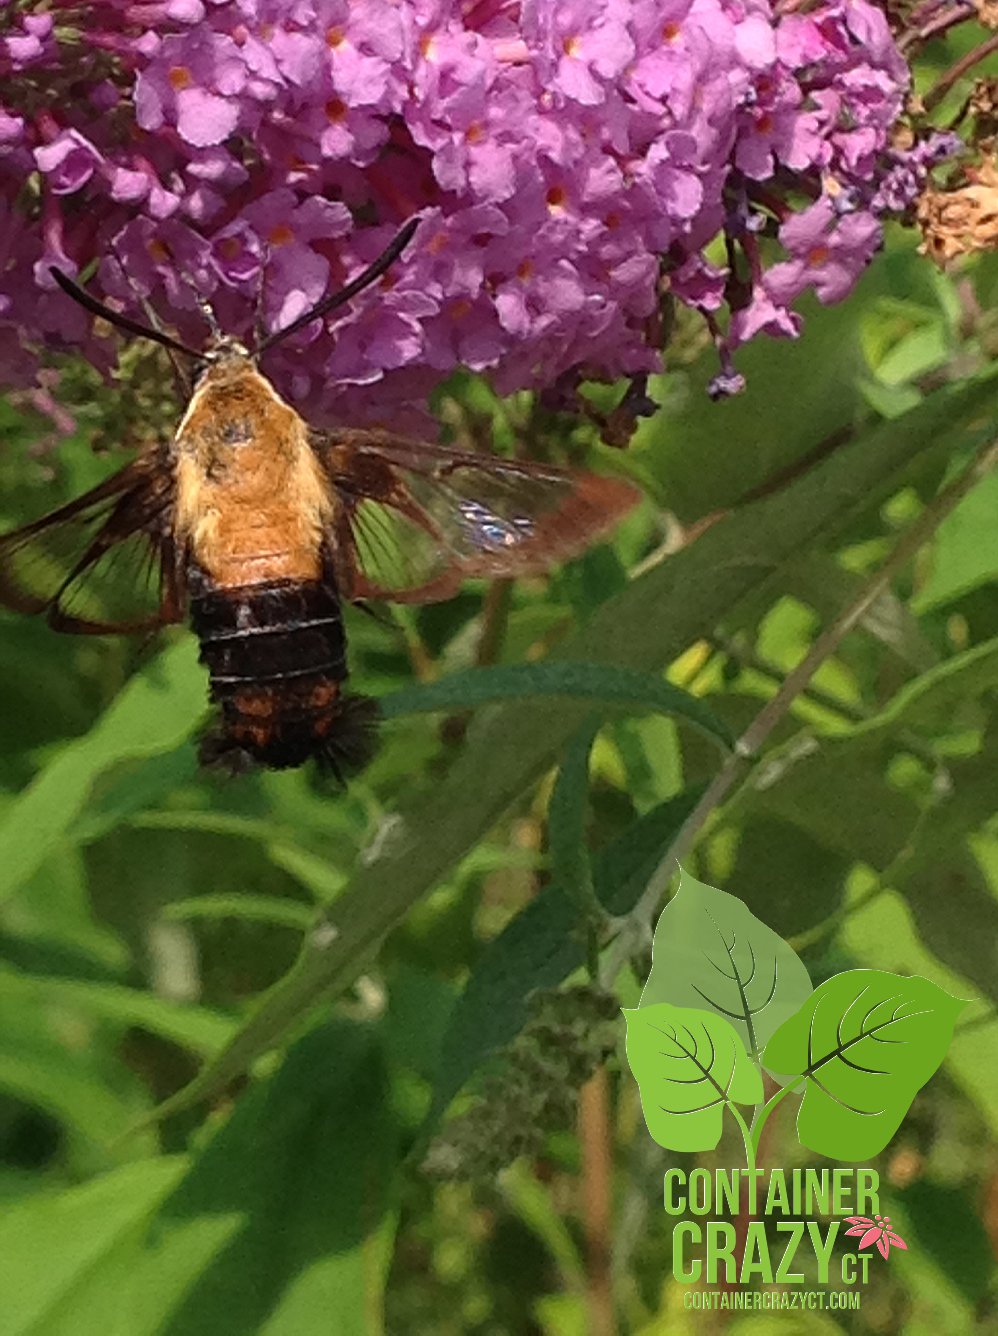
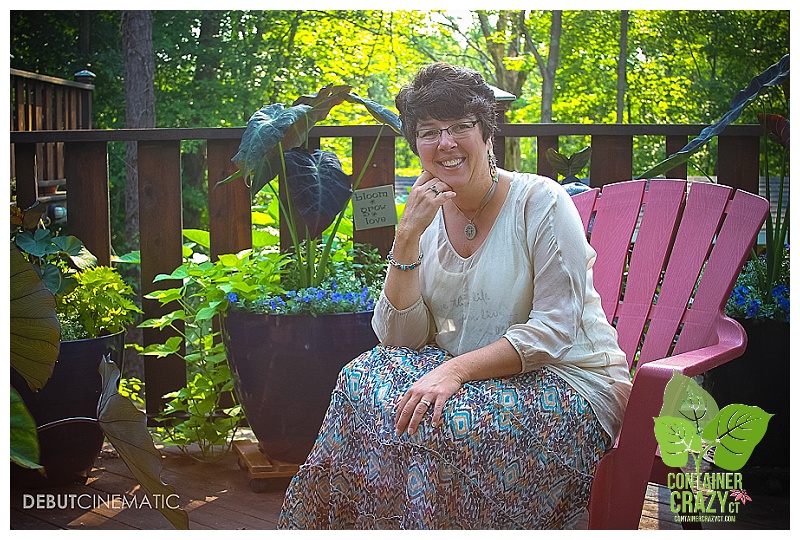
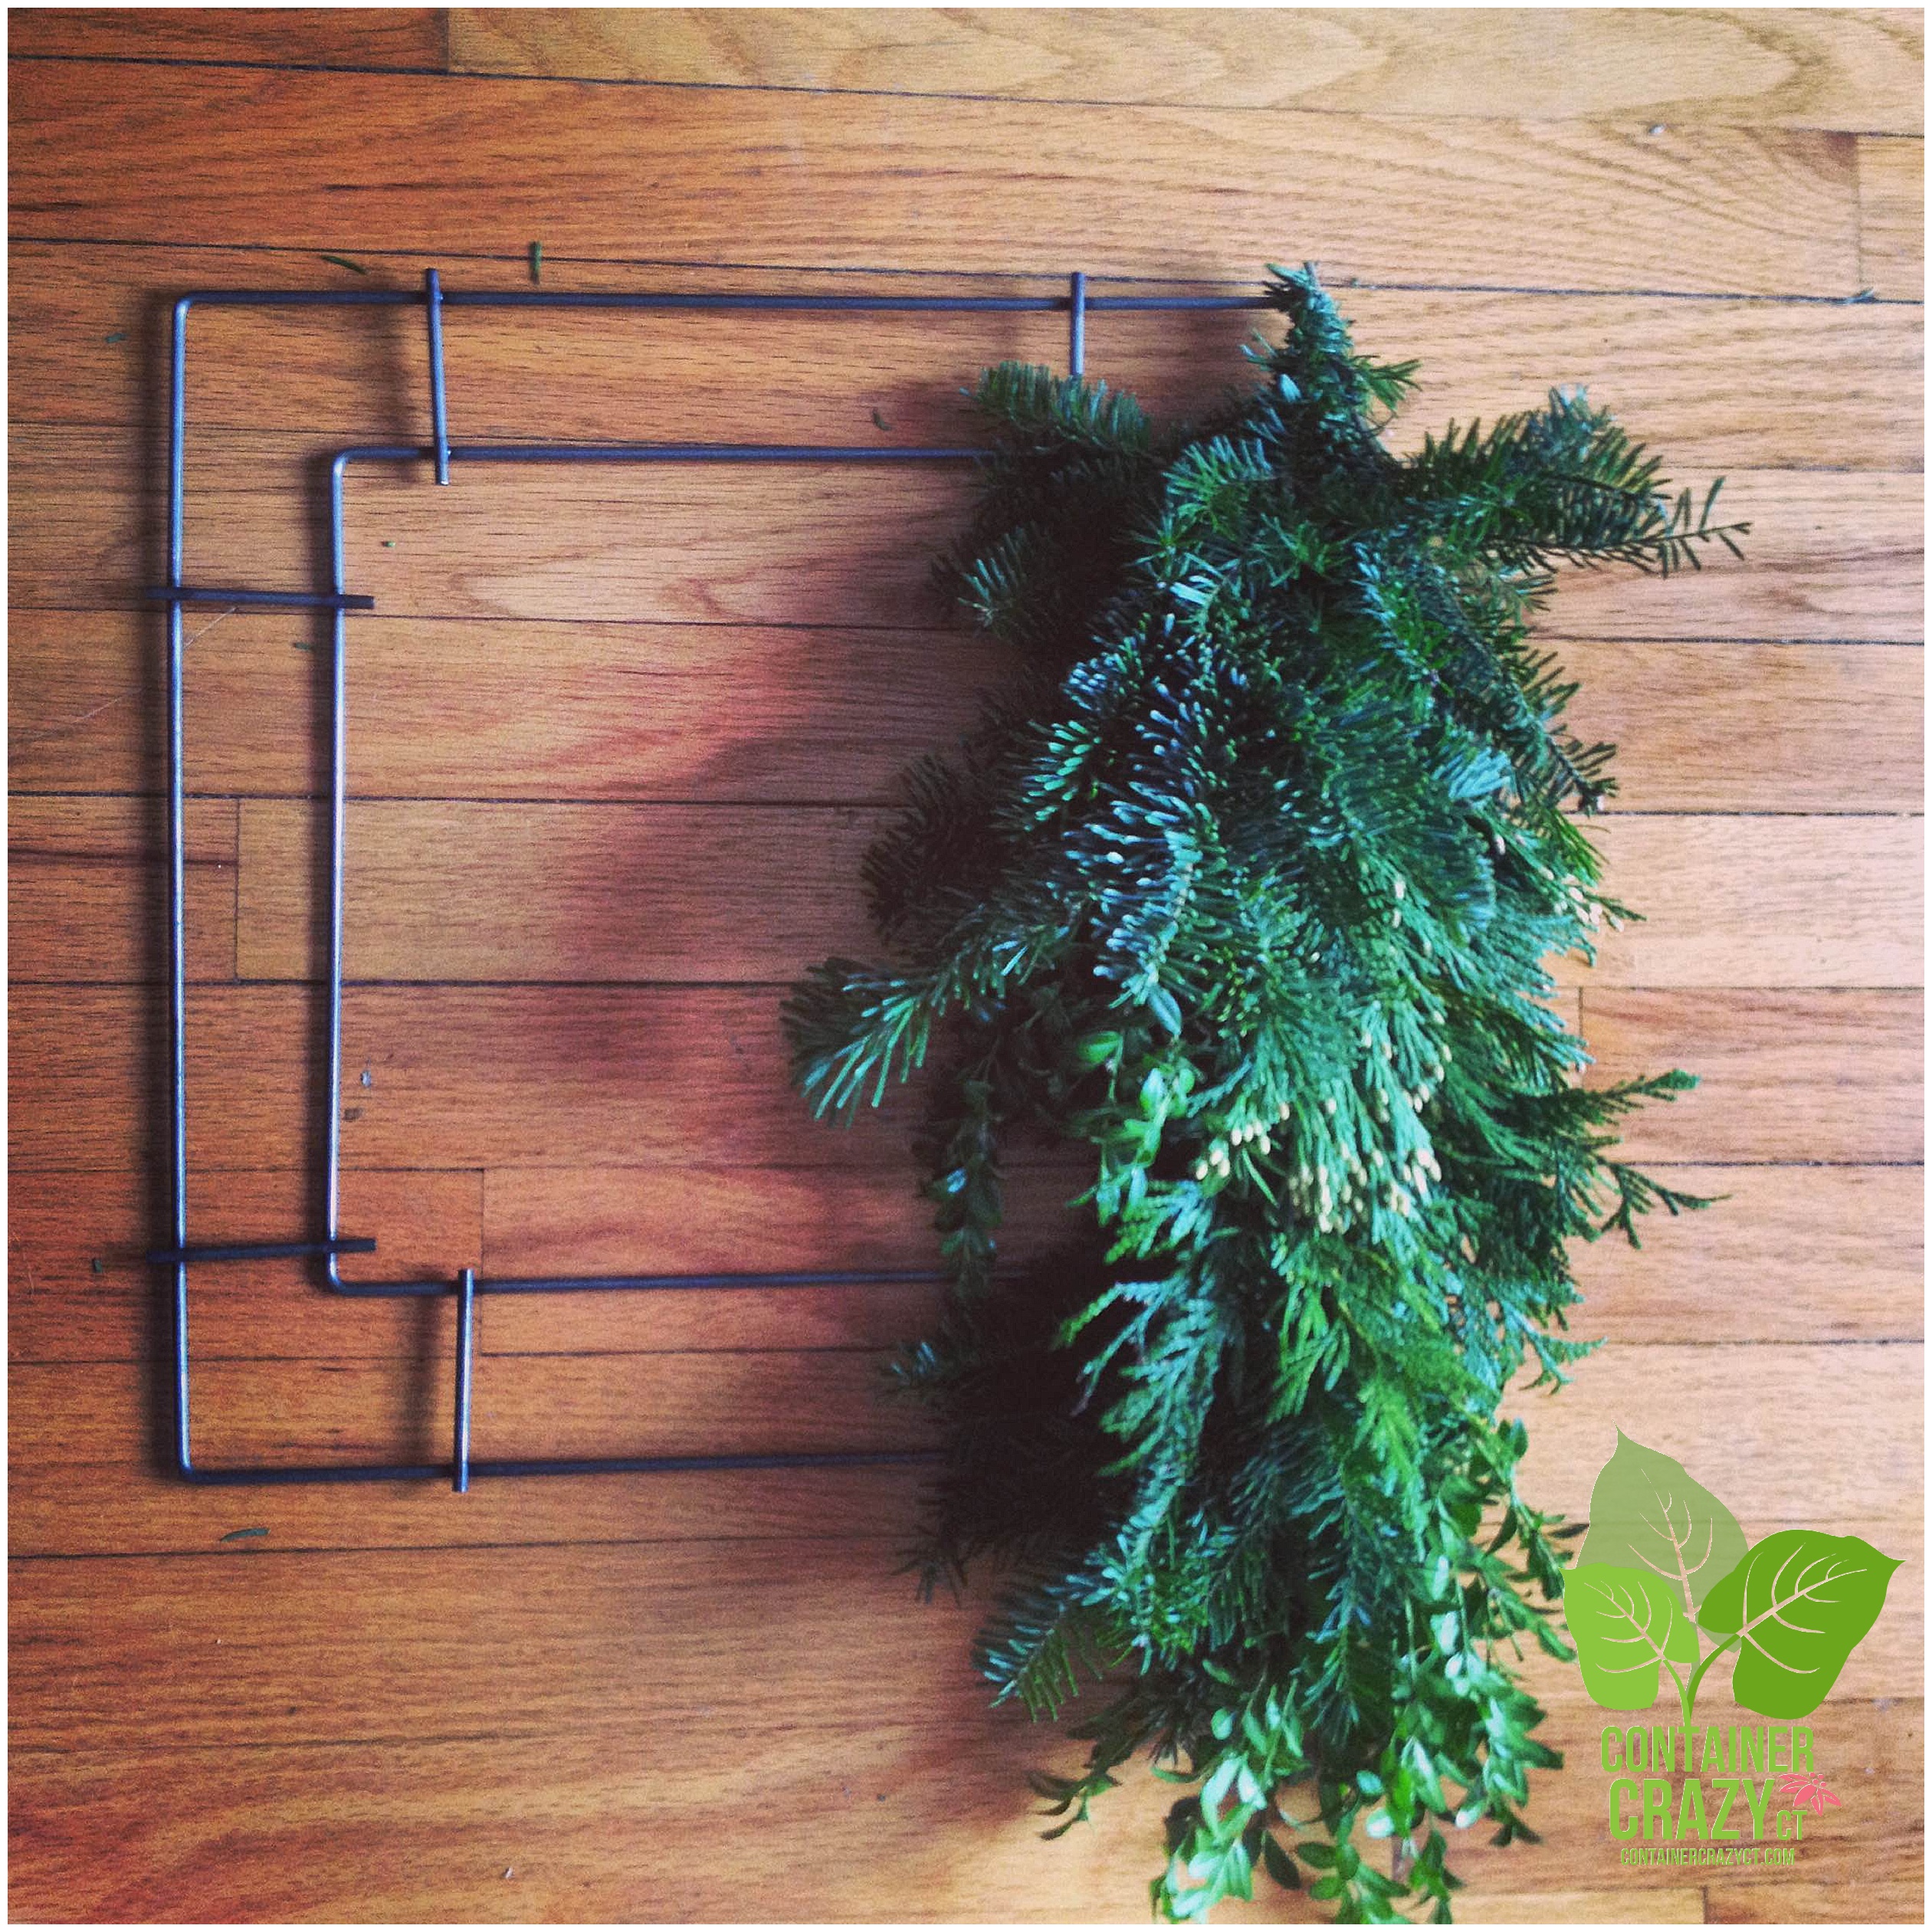
Here are some photos taken during the class.

To find out more about Jim and his products and exhibits, visit www.formedforyou.com. Also, his products will be available at online stores via Amazon.com soon.

ContainerCrazyCT Hypertufa Making Class_0004

ContainerCrazyCT Hypertufa Making Class_0001ContainerCrazyCT Hypertufa Making Class_0002-001ContainerCrazyCT Hypertufa Making Class_0003ContainerCrazyCT Hypertufa Making Class_0013ContainerCrazyCT Hypertufa Making Class_0015ContainerCrazyCT Hypertufa Making Class_0016-001ContainerCrazyCT Hypertufa Making Class_0017-001ContainerCrazyCT Hypertufa Making Class_0018ContainerCrazyCT Hypertufa Making Class_0014-001ContainerCrazyCT Hypertufa Making Class_0011ContainerCrazyCT Hypertufa Making Class_0010ContainerCrazyCT Hypertufa Making Class_0009ContainerCrazyCT Hypertufa Making Class_0006ContainerCrazyCT Hypertufa Making Class_0005

Cathy Testa
http://www.cathytesta.com
http://www.ContainerCrazyCT.com
860-977-9473 (cell)
containercathy@gmail.com (email)

Upcoming Workshop:

5th AnnualHoliday Kissing Ball and Evergreens Creation Class” is scheduled.

Date:  December 6, 2014 (first Saturday in December)
Start time:  11:00 am 

To Request Your Seat:  

Fill out the Contact Form by clicking on the top menu bar of this blog, or here:
Cathy T Classes-2014 Kissing Ball and Holiday Creations Class.