Greeting Fellow Visitors,
Making a square wreath is a little more challenging as compared to a typical round wreath because of the corners and how you should keep the greens symmetrical to maintain the square look of the frame – but it is just as much fun as any project working with freshly cut evergreens.
Steps to Make a Square Wreath:
First, decide if want to batch your bundles of freshly cut greens by the “same type/variety” or by a “mix of each type” per bundle.

Mix of Fresh Cut Evergreens
Because I wanted to see how it would look if I cut and batched the fresh evergreens by same type, this is the option I used to make my first square wreath.
However, I also love the look of bundles when a mix of each cutting or snip of the various greens are batched and bundled as well. It just depends on your preference or style.
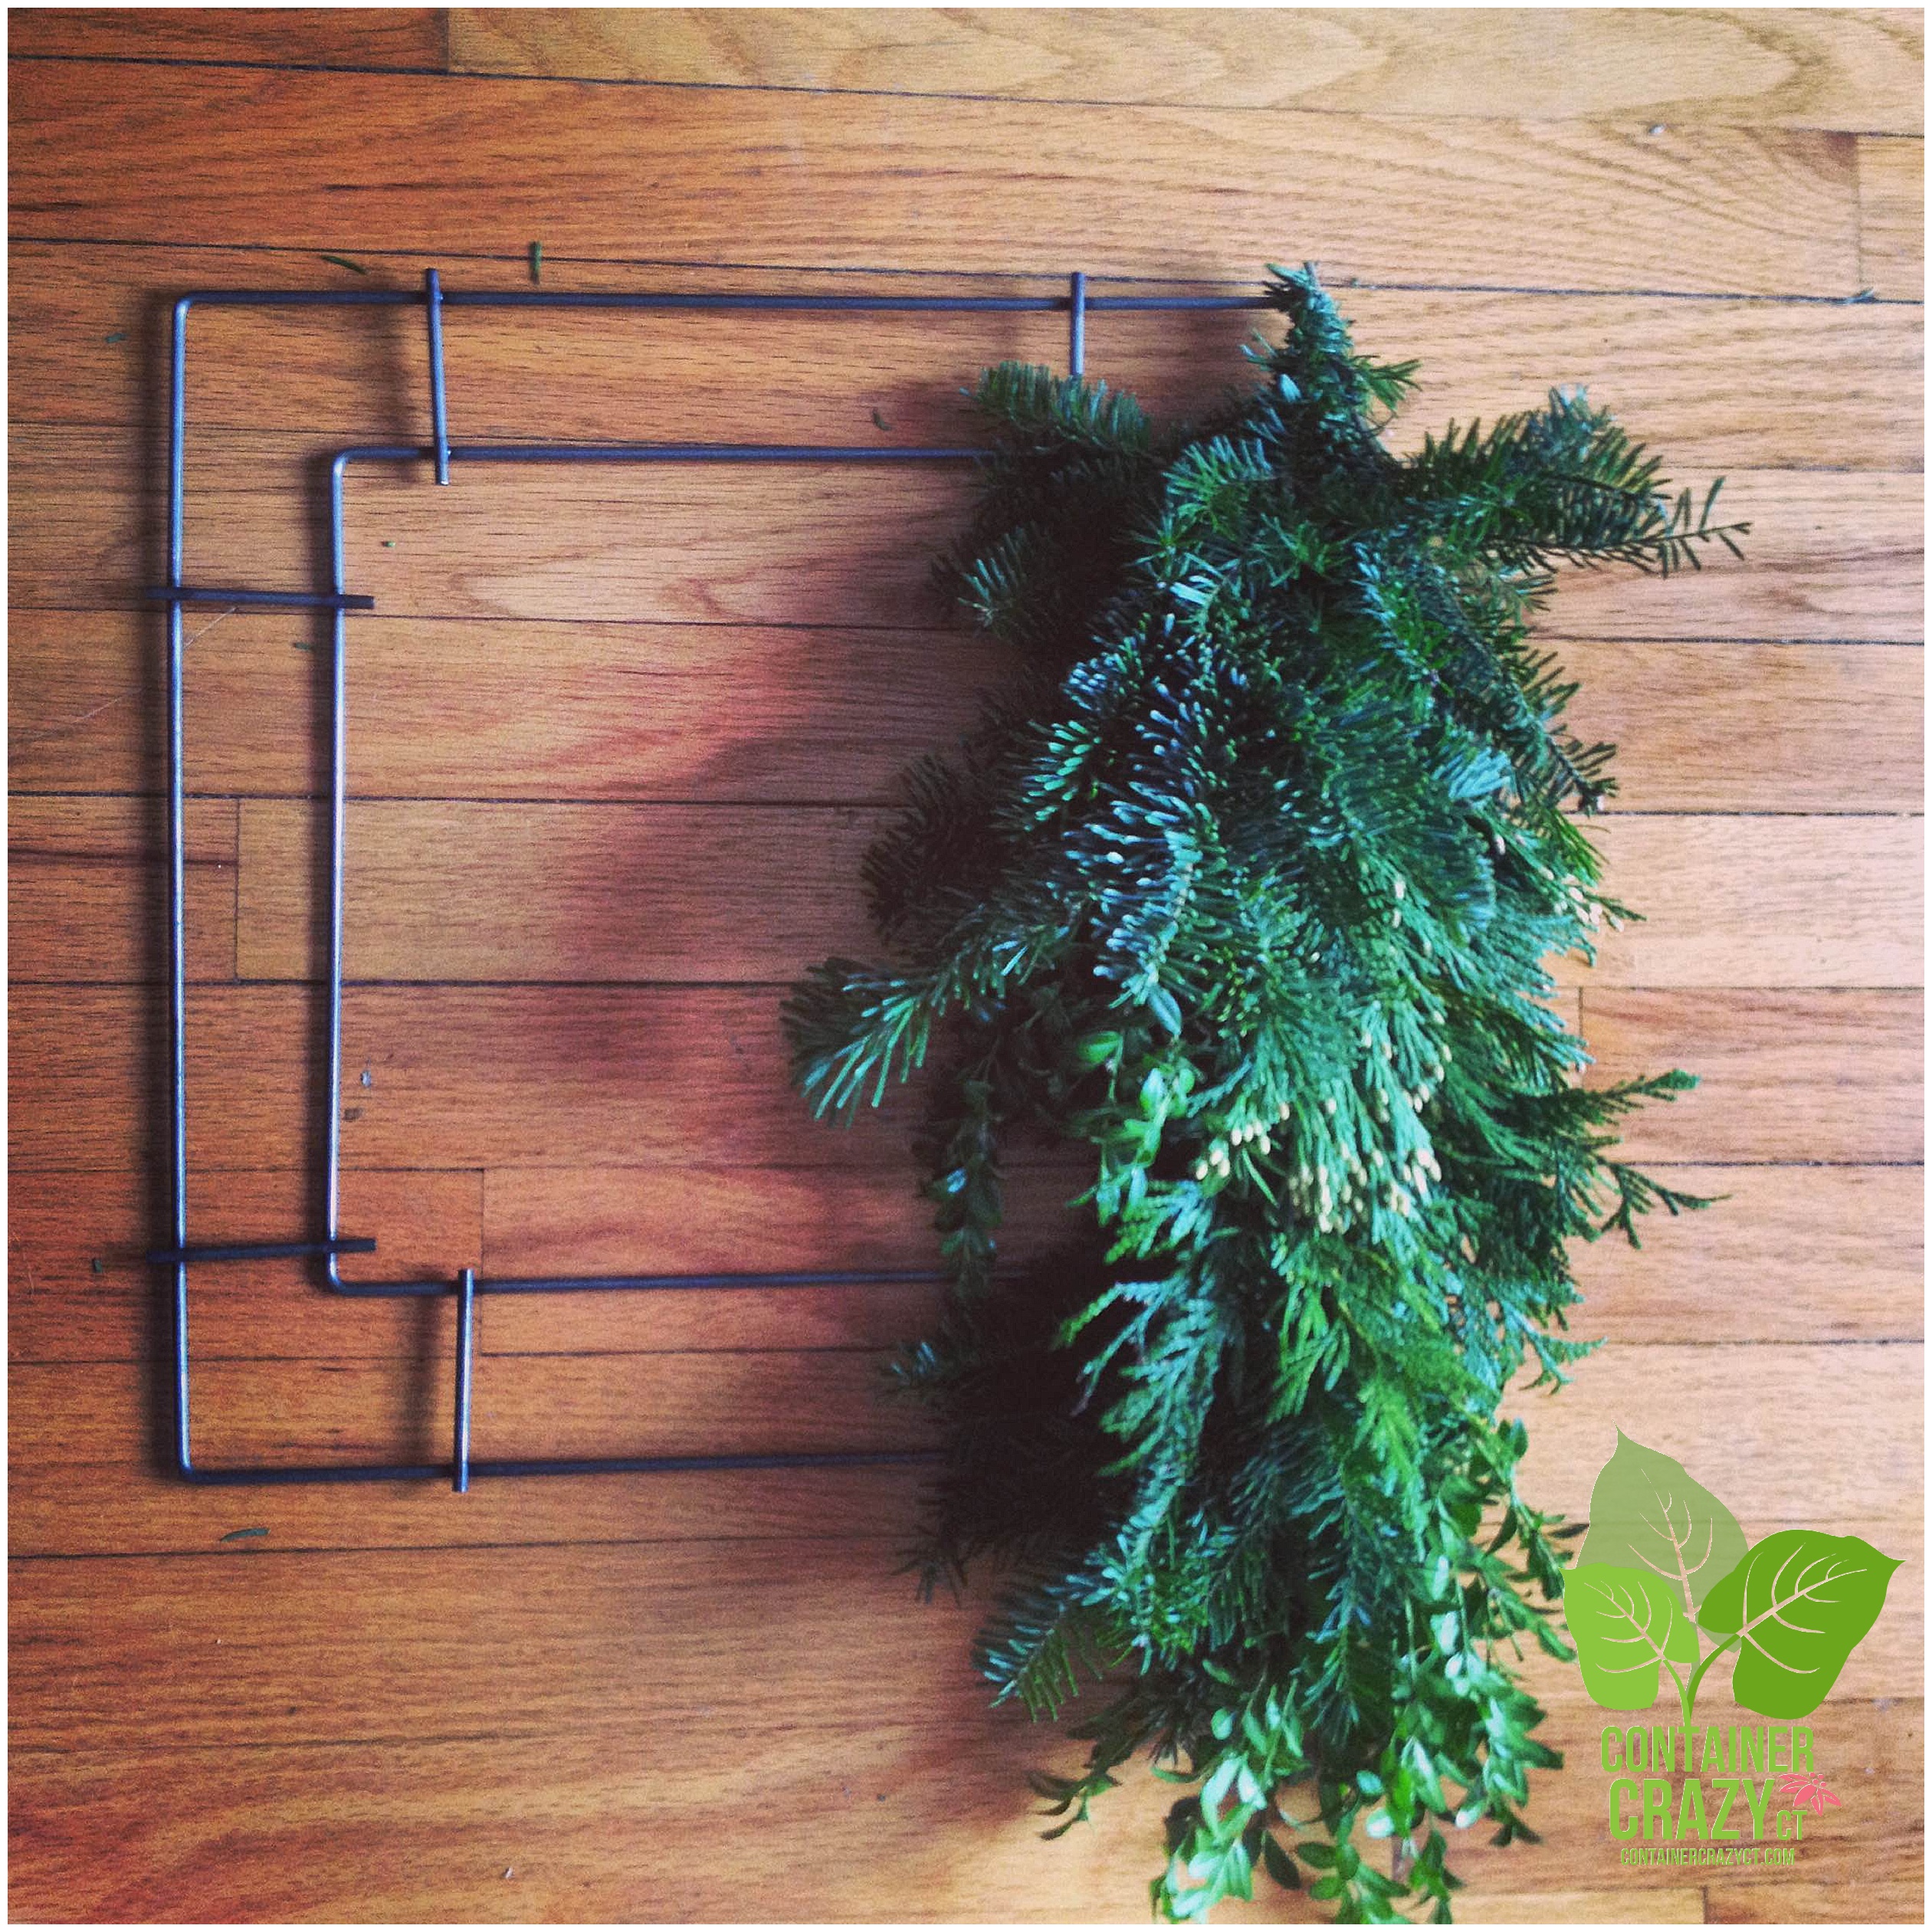
Types of Evergreens Used:
Shown above, from left to right, are Holly, Berried Juniper, Silver Fir, Fraser Fir, Cedar Coned, Boxwood, and Golden Arborvitae.
Highlights of the Evergreens:
- Holly – Very sharp leaves, and more of a decor touch – I only used 2 batches of those.
- Berried Juniper – What is a wreath, kissing ball, or centerpiece without a touch of the berried Juniper? The soft, blue tones add a contrast and like the Holly, I made only 2-3 bundles of this to add as a highlight.
- Silver Fir – Thick stems, one sided long soft needles (meaning the underside color is softer), and smells amazing when cut!!
- Fraser Fir – Very long lasting, a must in any arrangement, traditional – just like Balsam, but Fraser is what I had available this season.
- Cedar Coned – I love, love, love the golden color of the little cones on the tips – and it really shows up against darker greens, like the Boxwood. This type tends to drupe or dangle, so use care where you position it.
- Boxwood – This is another fav – because it is so classic, a rich dark green color, small ovate like leaves, and a bonus is they don’t make your hands sticky while you work. It’s a dark contrast of green to use in the design and a nice base, such as the Fraser Fir or Balsam.
- Golden Arborvitae – Soft, flexible yet so beautiful – it has patterns of golden yellow in the green, and really so pretty to add as another element. Like the Cedar, it is a little softer and pliable.
- Pine – Also smells amazing when cut, very sappy, and thin, long, flexible needles, nice next to coarse greens. Think thick foliage next to fine.
Cutting the Snips for Bundles:
So, cut a few of each at all the same length (4-5″ or 5-6″) and wire them together tightly at the cut end with green florist wire. Use sharp pruners and wear gloves, otherwise, you will have a sticky mess on your hands, and lots of lotion required afterwards.
Prepared Bundles:
Here are several bundles prepared. It is easier and faster to work if you have all the bundles ready to go, then you can lay them out on top of your frame to see how they would look before attaching them individually on the frame.

Bundles Prepared
Think about putting the lighter colored bundles next to darker ones. For example, dark green Boxwood next to the light blue of the berried Juniper or the softer Golden Arborvitae. However, in the end, I don’t think it much matters, as all the beautiful freshly cut evergreens on the wreath usually look amazing!

Dark Green Boxwood
14″ Wire Frame Used:
A heavy-duty double-wire 14″ square frame was used for this wreath. The durable frame is usable year after year, which is why I highlighted it at my class on making kissing balls and other holiday creations last weekend.

14″ Wire Frame Used
Shown above are several of the bundles attached. You can see there are two bars along each side of the frame.
Options are to wrap each bundle directly over the middle of those two bars, or to stagger them on each edge of the double bars. If you have a paddle of florist wire, wrap the stem end to the wire, then continue for each bundle without cutting the wire from the paddle.

Working Way Around
Or you can cut wire as you go – either way works – but the key is to wire tightly. Wrap, pull tight, wrap a few times more to ensure it is secure. The Silver Fir, as an example, can be heavy as well as a batch of drooping Cedars, so be aware of their weight for each bundle. Boxwood and Fraser Fir are lighter thus may not require as much wiring.

Golden Arborvitae Used in the Design
As you approach each corner, think about the placement a bit so the square form is maintained. It also helps to watch a good holiday movie or listen to holiday tunes, and if your day is lightly snowing!

Snowfall that day in Broad Brook, CT
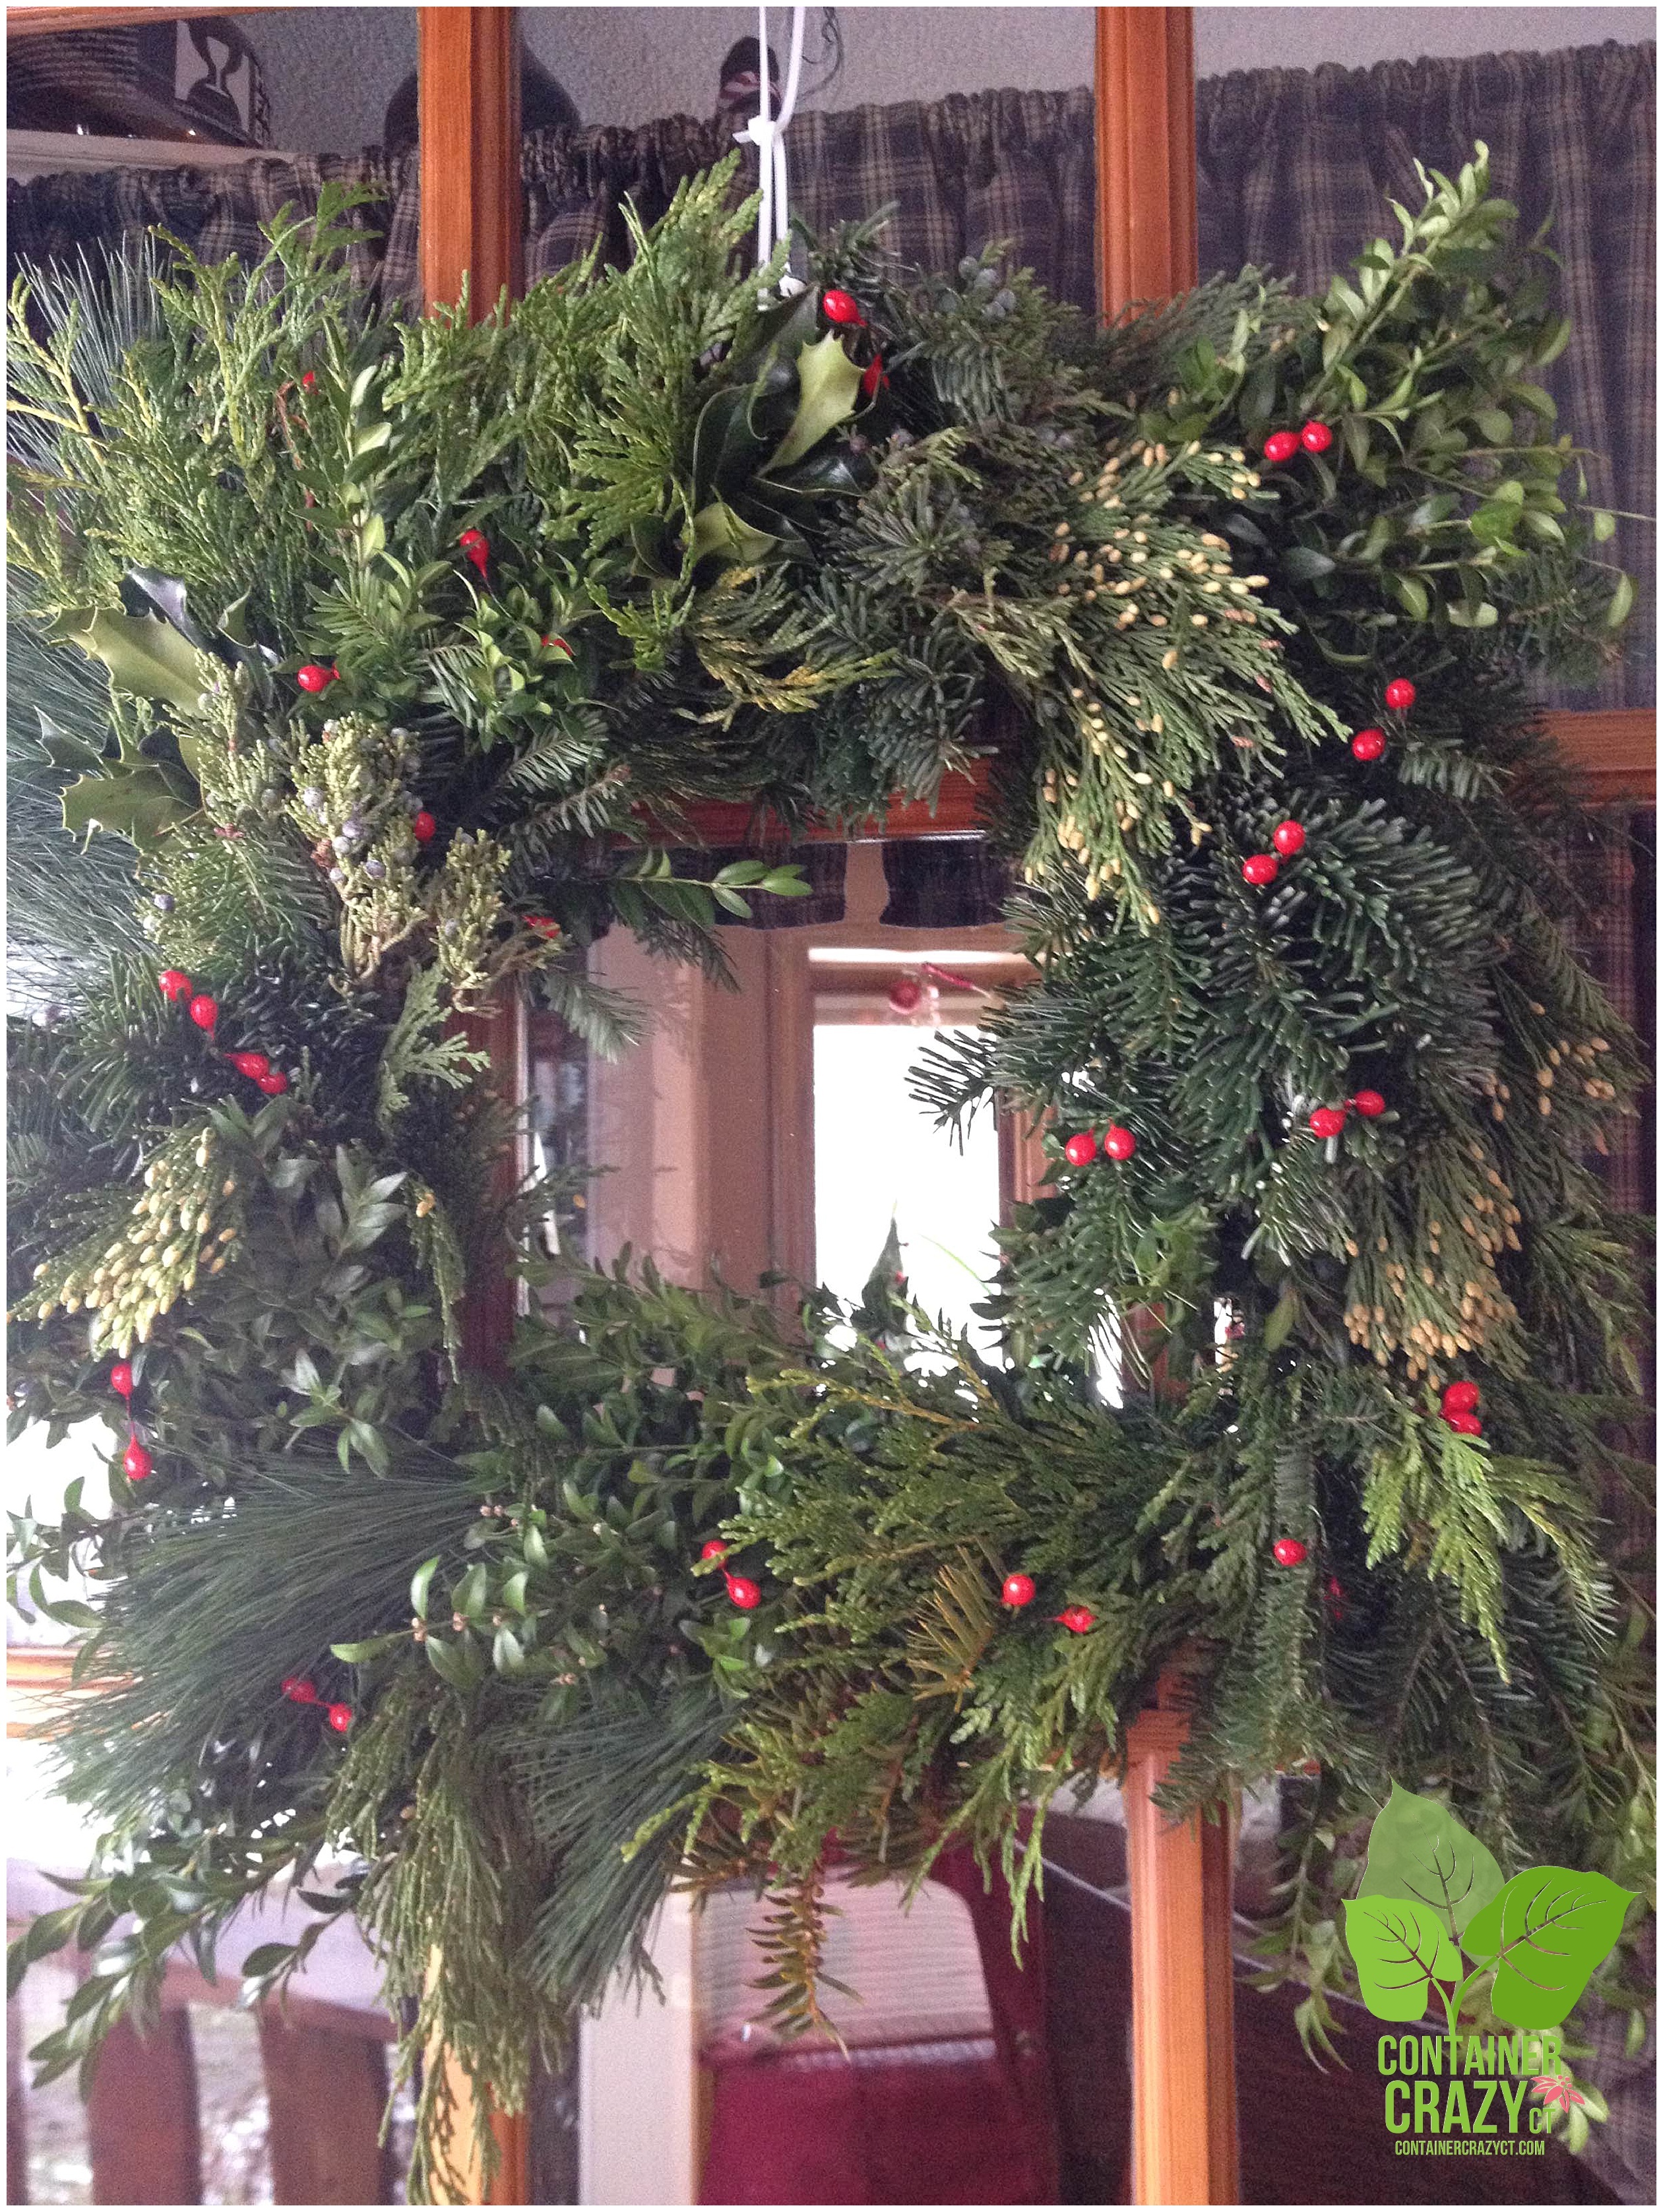
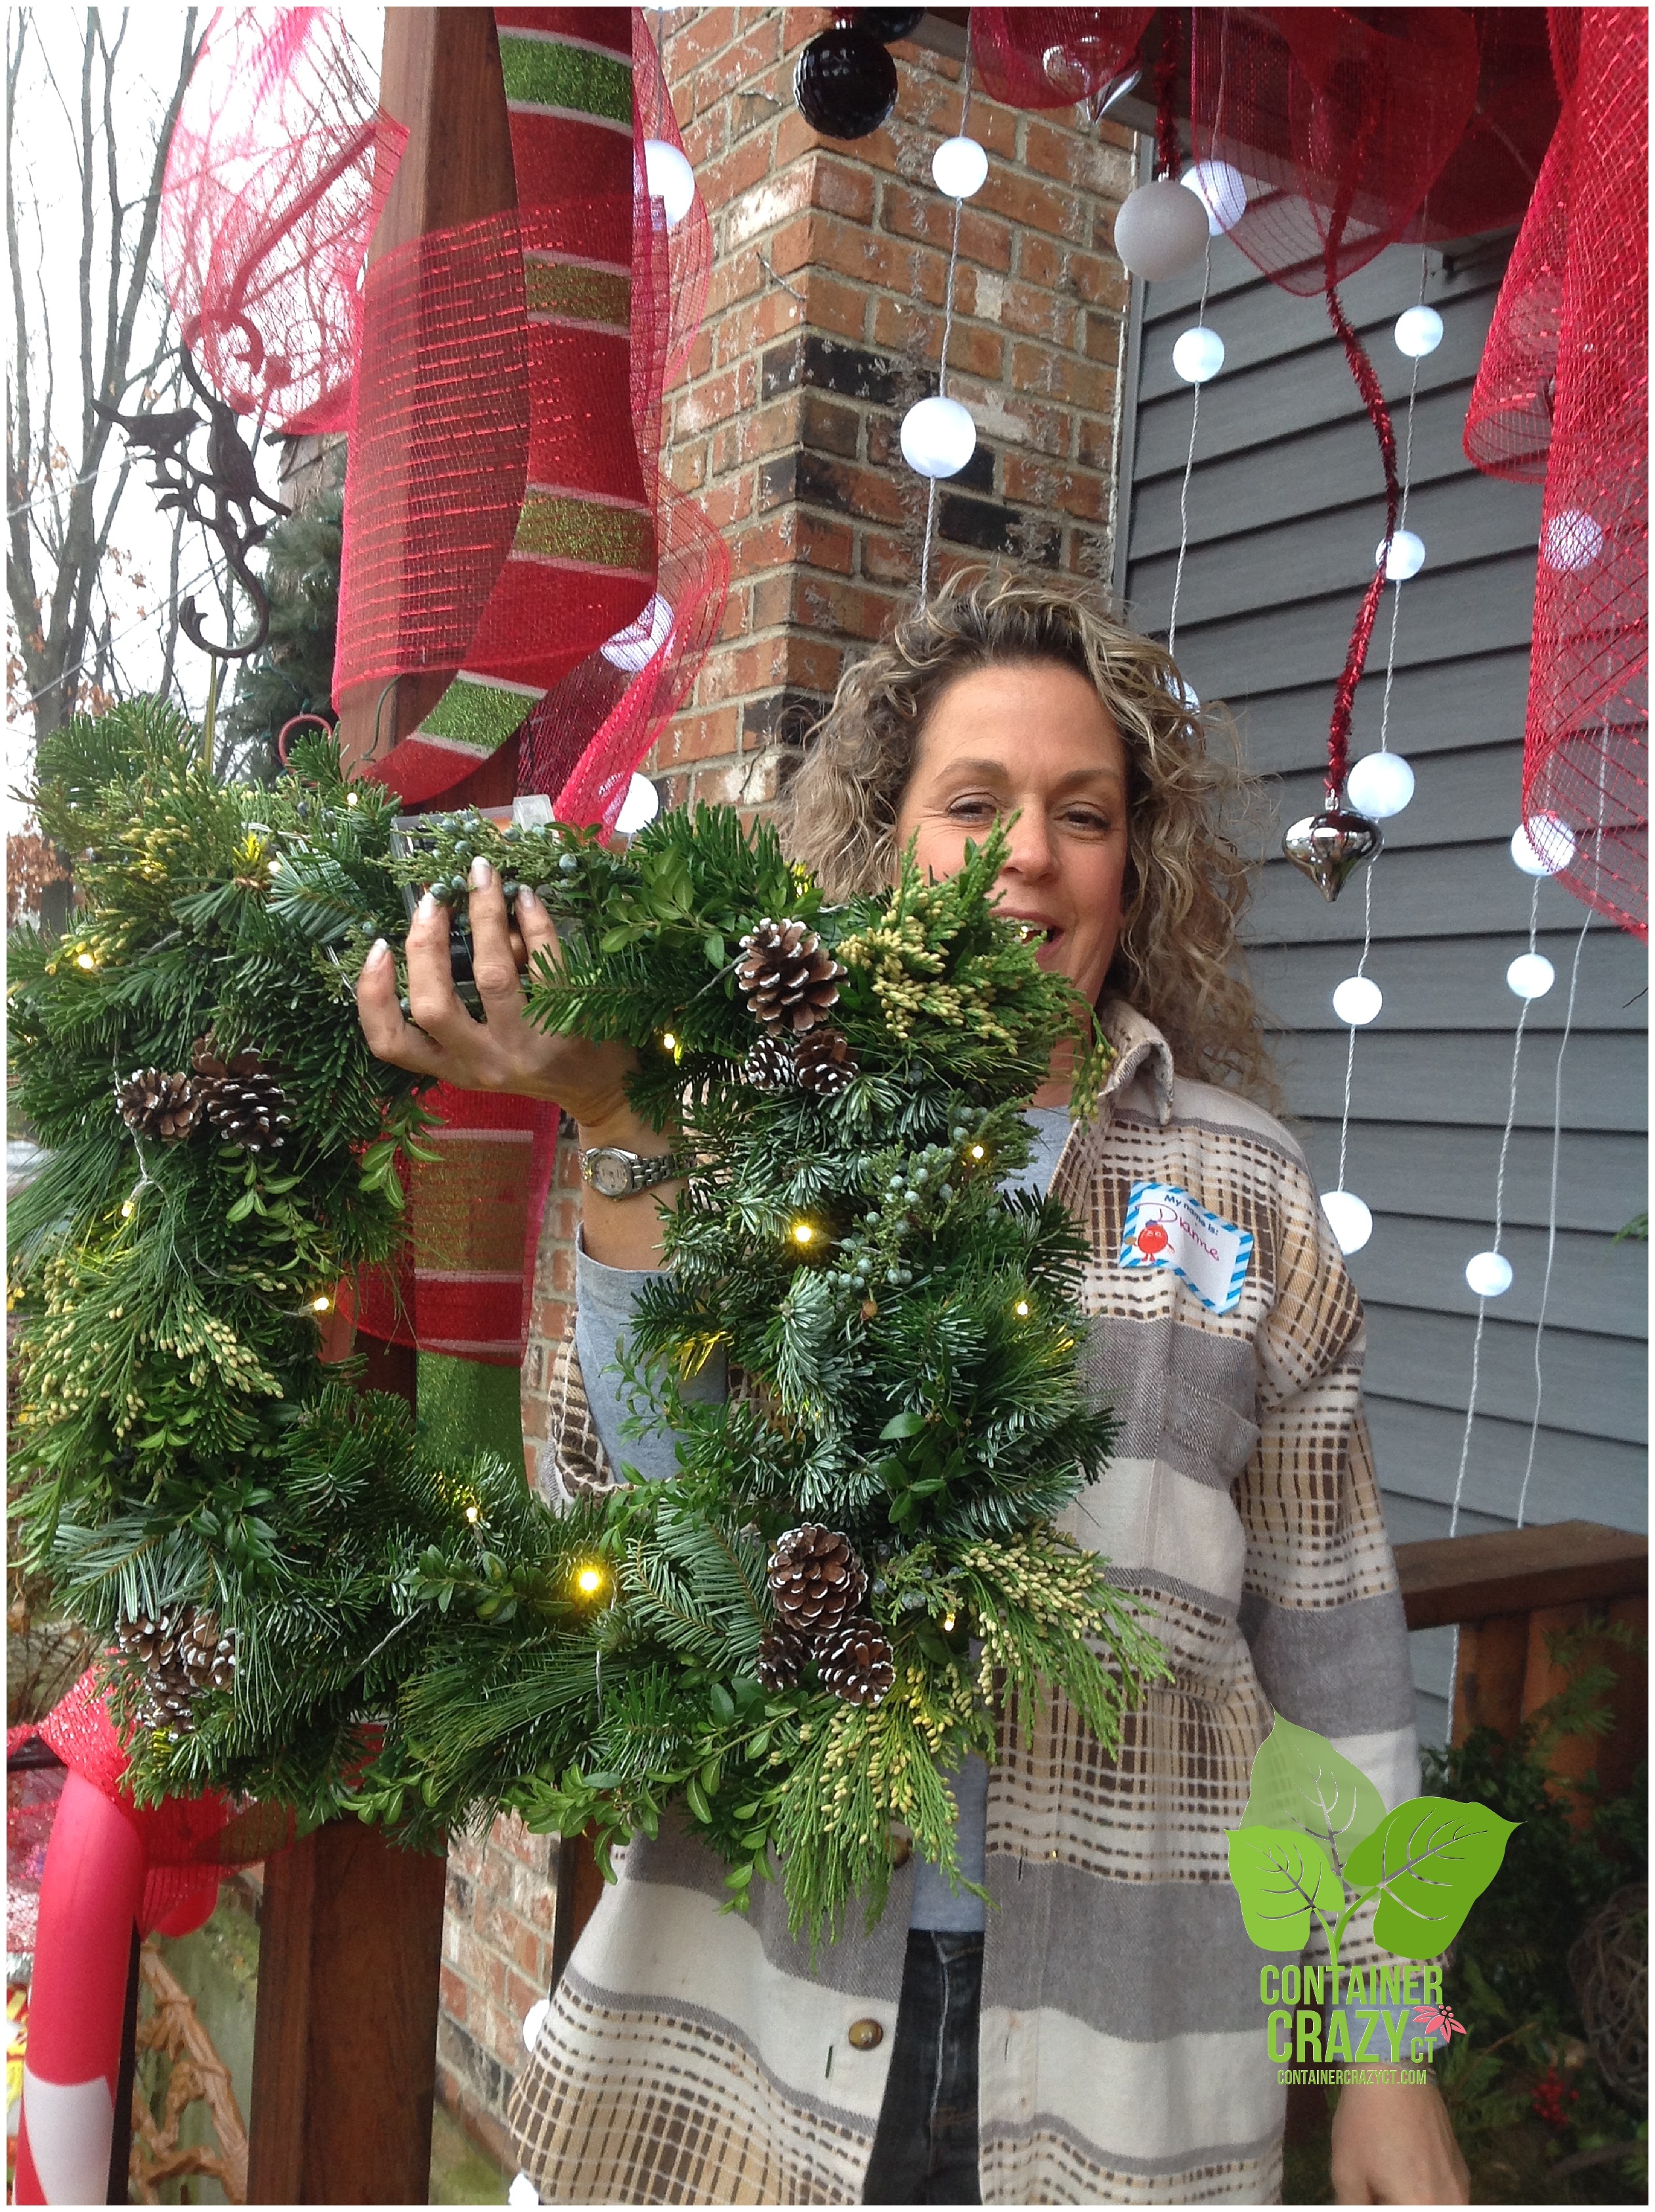
Here is my first ever made finished square wreath without decor and ribbons. The little red berries are double-ended on a wire and easy to attach. The look here is natural and likable, but decor was added after this step.

Square Wreath with Red Berries Attached
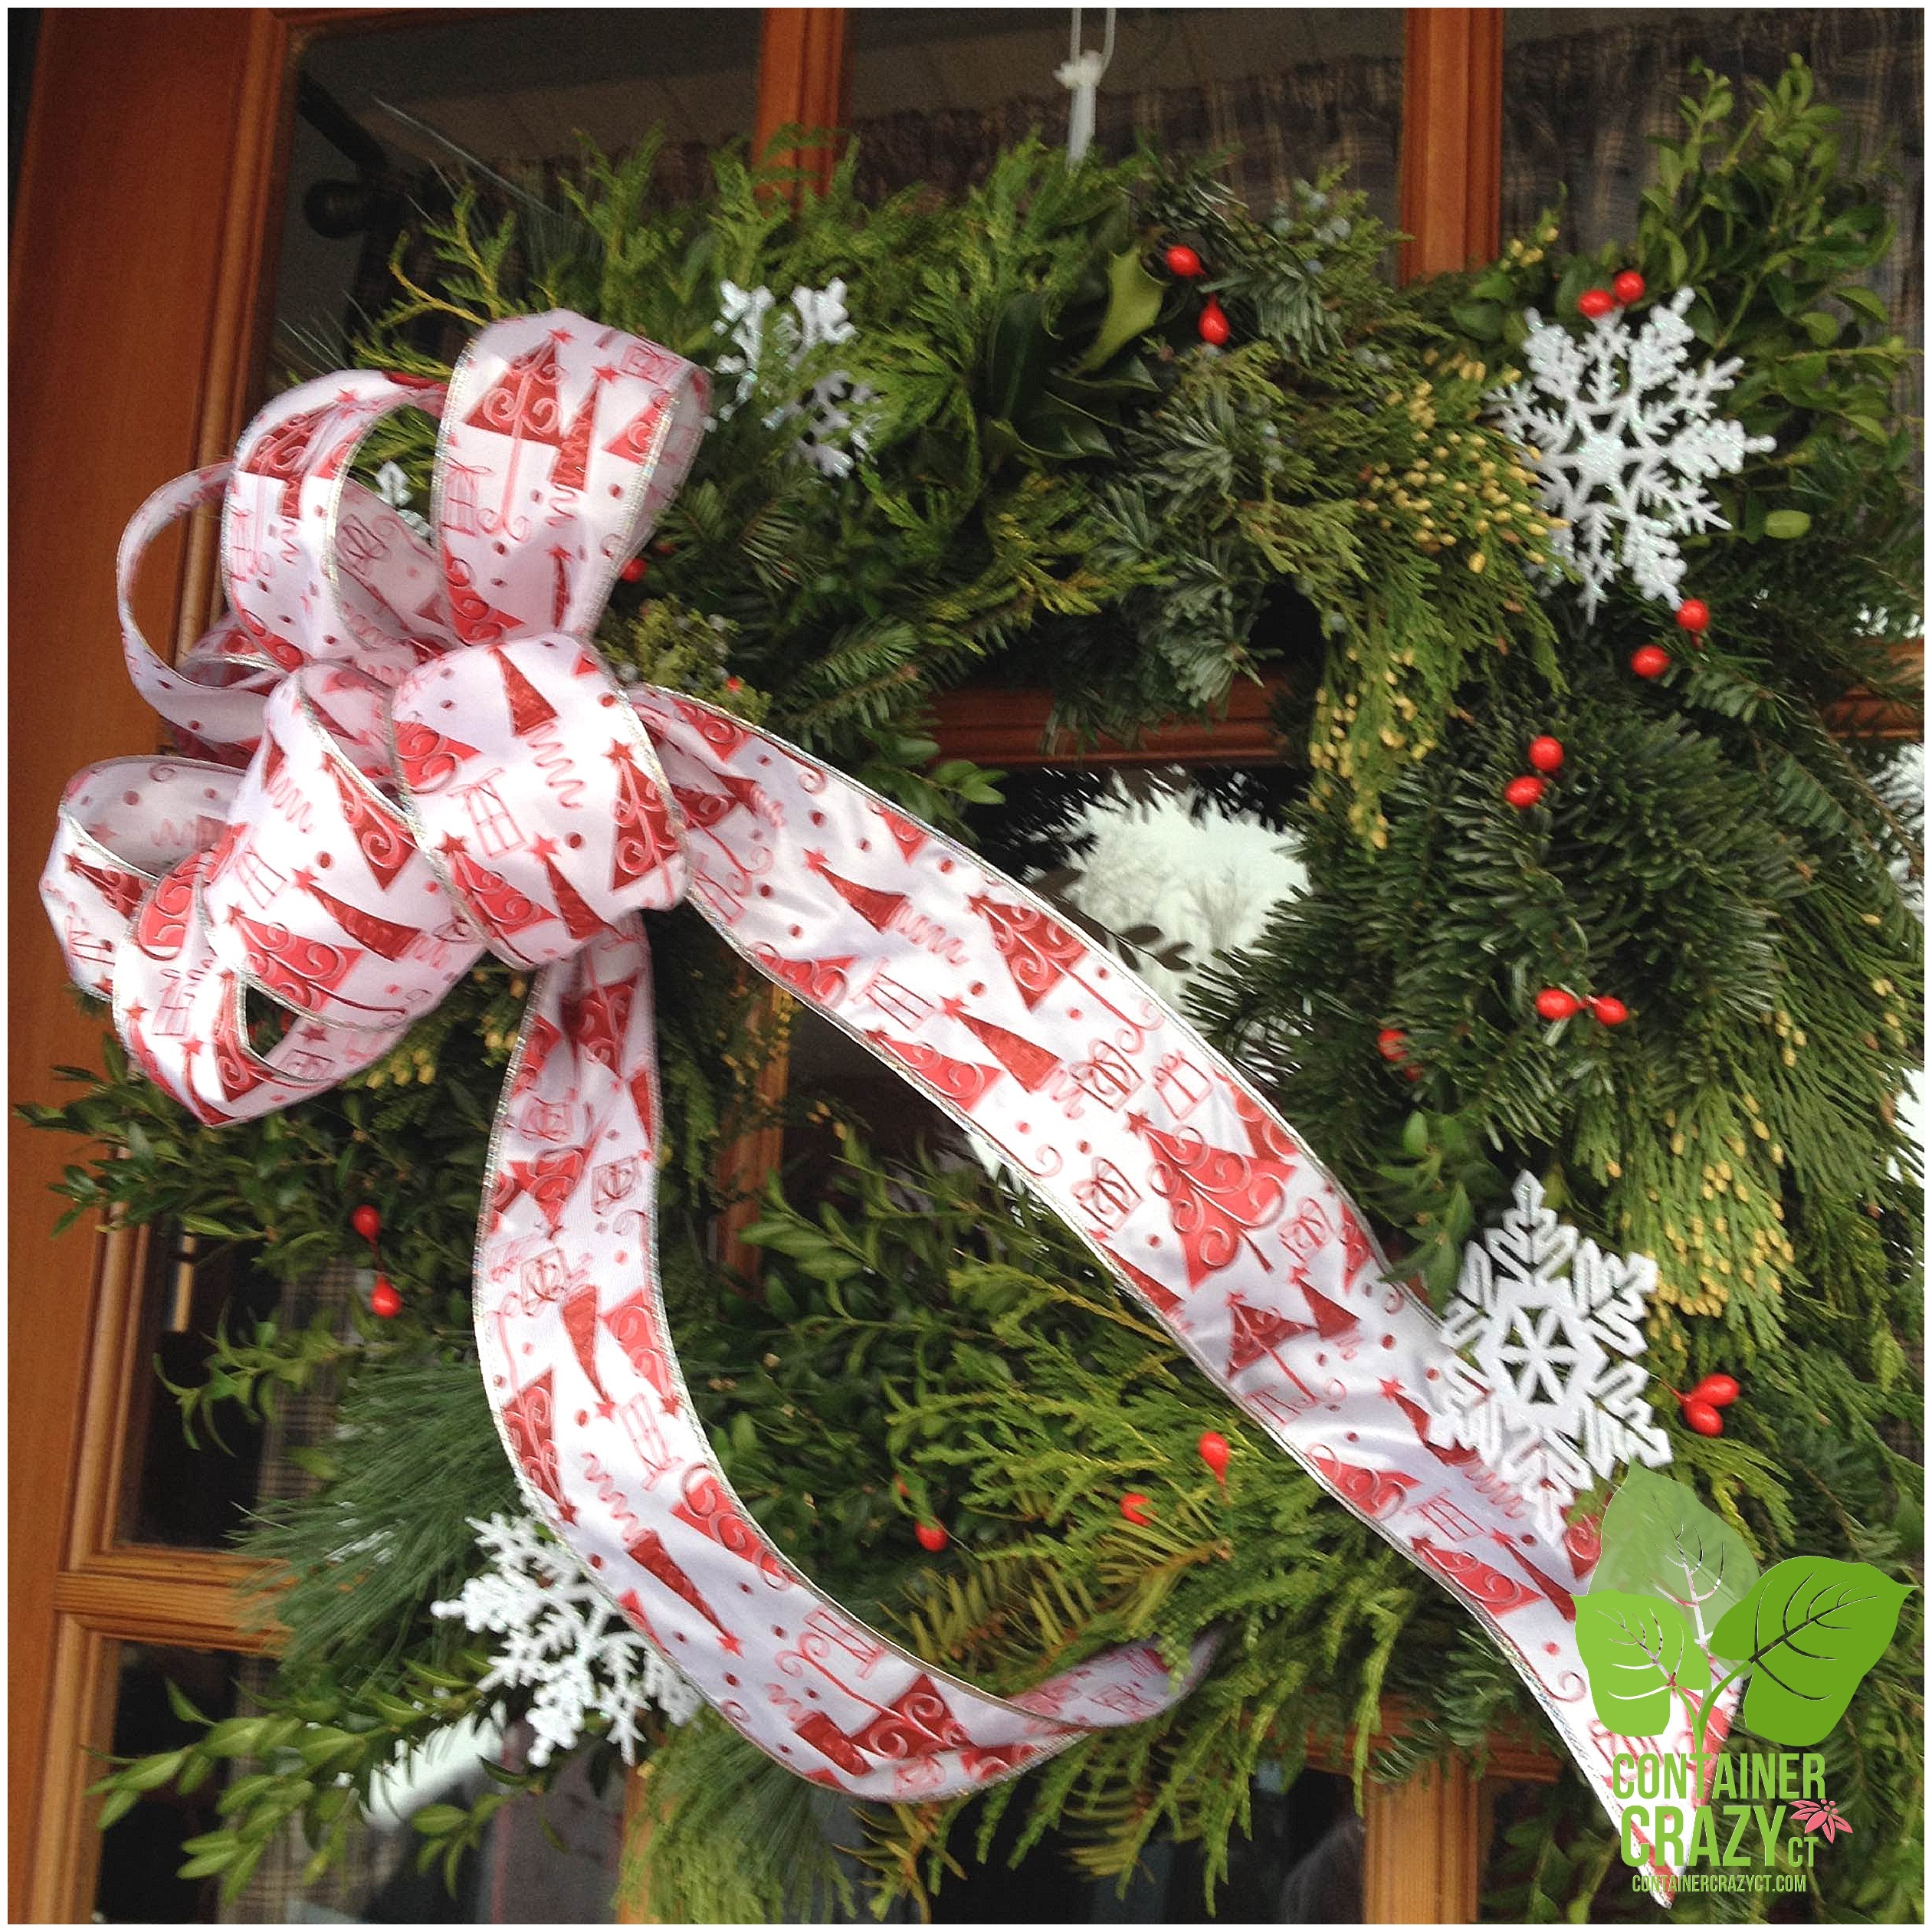
Adding Decor:
This step is really based on your preference. I made a bow to match the color of my white and red holiday decor colors at the house, and inserted picks of white snowflakes. Zip ties are what I use to attach a hanger on the back.

Bow on the Left Side

Silver Snowflakes Added
All Done!
Here it is all finished and hung on my door. When my hubby arrived home, he said he liked it and that it smelled good too. And, when posted, many friends “liked it” which was very nice too – Thank you!

All Done!
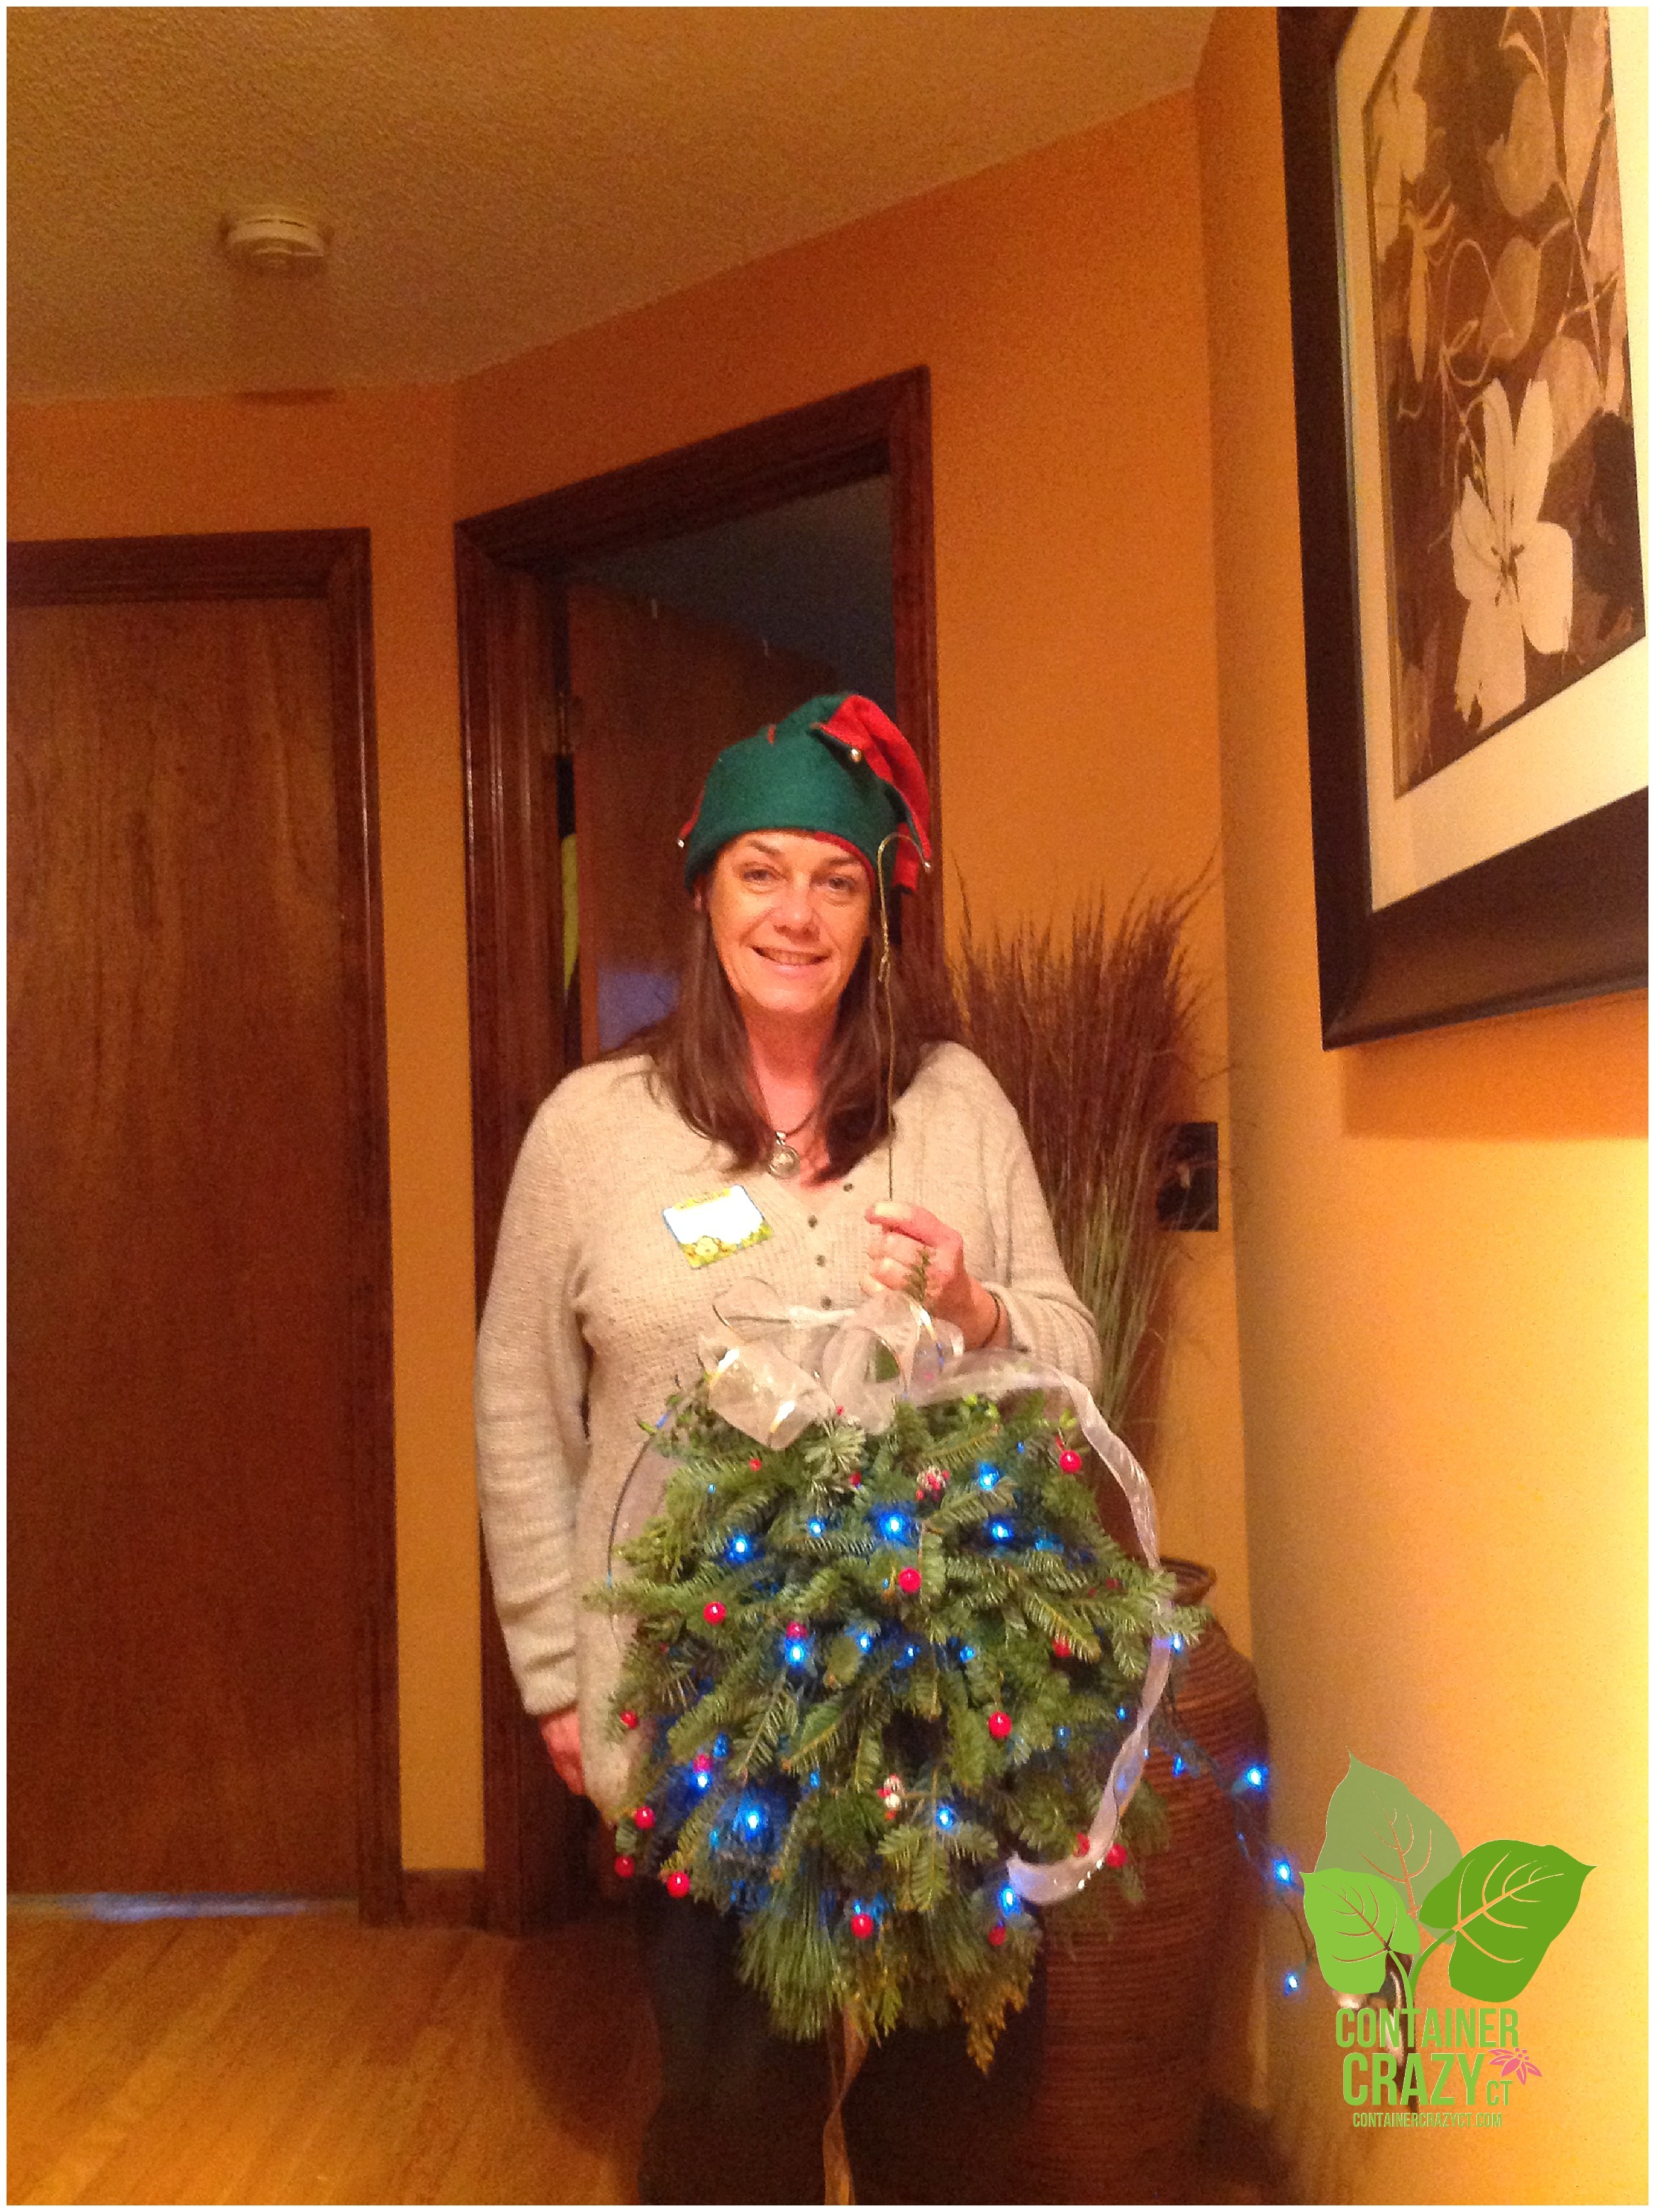
Want to Make Your Own ?? – Now’s Your Last Chance at Cathy T’s!
I’m holding a mini-session tomorrow, Saturday, Dec 13th from 9:00 am to 12:00 noon. If interested in attending, contact me via text or call: 860-977-9473 or email containercathy@gmail.com. Cost is $30-35 based on item you elect to make. Options: Kissing Ball, Candle Centerpiece, Round Wreath – or, of course, a Square Wreath!!! Location: Broad Brook, CT.
This will be your last opportunity to Make Your Own, but if you don’t have time, and need a decor element made for your home, custom orders are accepted.
TGIF Everyone,
Cathy Testa
http://www.ContainerCrazyCT.com
860-977-9473
containercathy@gmail.com
http://www.cathytesta.com
Visit Cathy T’s Pinboards on Holidays to see many, many inspirational ideas of working with evergreens! Click the Pinterest Icon on the right side bar of this blog.
To see examples of Cathy T’s Container Gardens Stuffed with Evergreens – See her latest posts and pinboards. Ho-Ho-Ho-Horticulturist!!!
41.926695
-72.551454