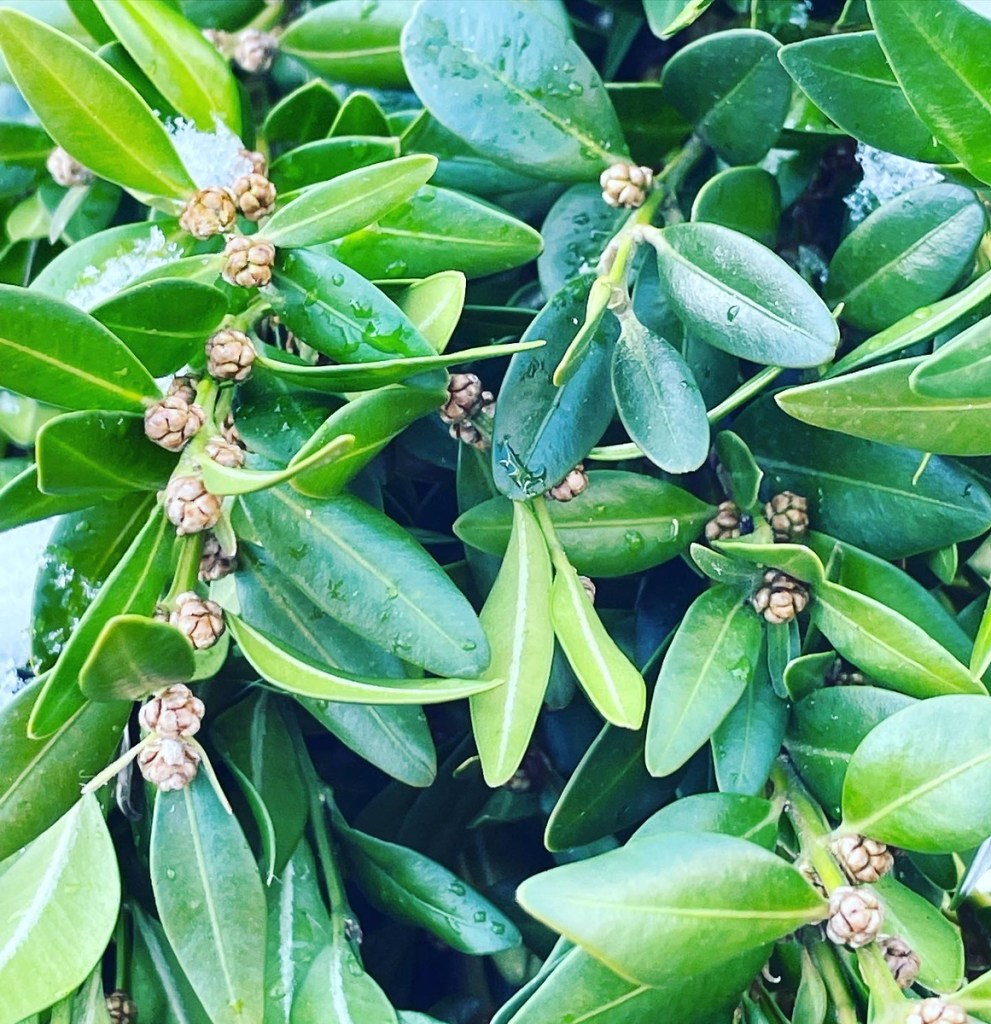
Do you know what the word Buxus is? It is the genus name for boxwood. It’s one of the easier botanical names to remember. Anyhow, boxwood evergreen shrubs have rounded or obovate shaped leaves, on slender green stems. It is a dense evergreen shrub used in landscapes and commonly available at nurseries. It is also a greenery available from floral suppliers or retail locations at nurseries during the winter to make festive arrangements such as fresh greens wreaths and holiday kissing balls.
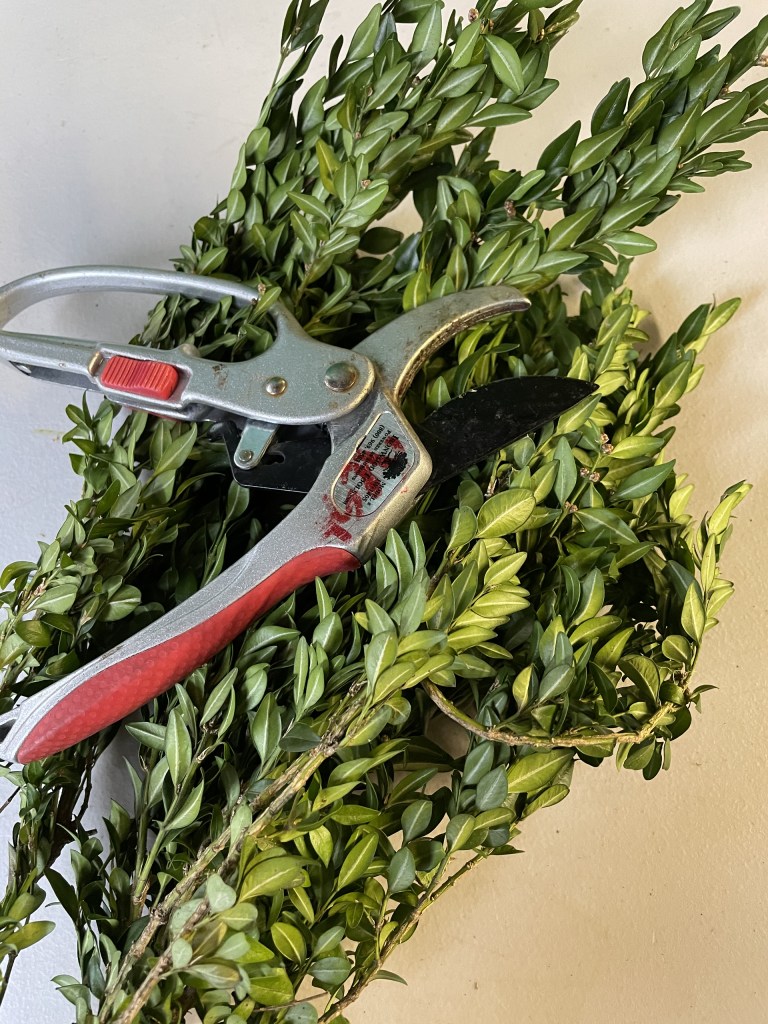
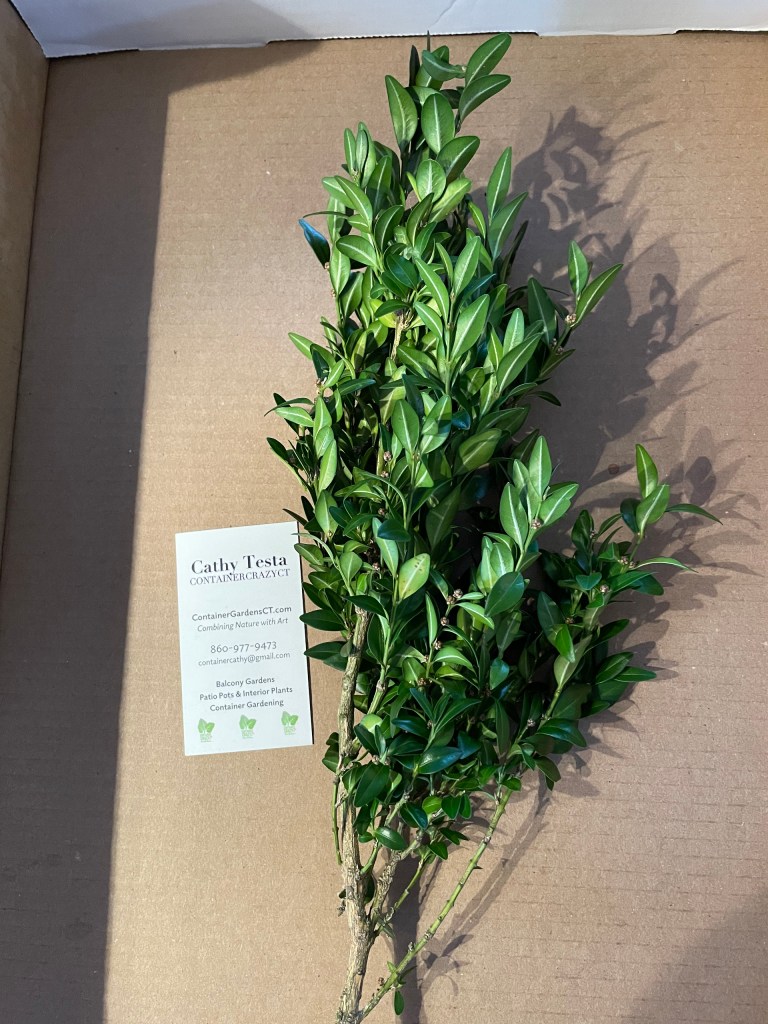
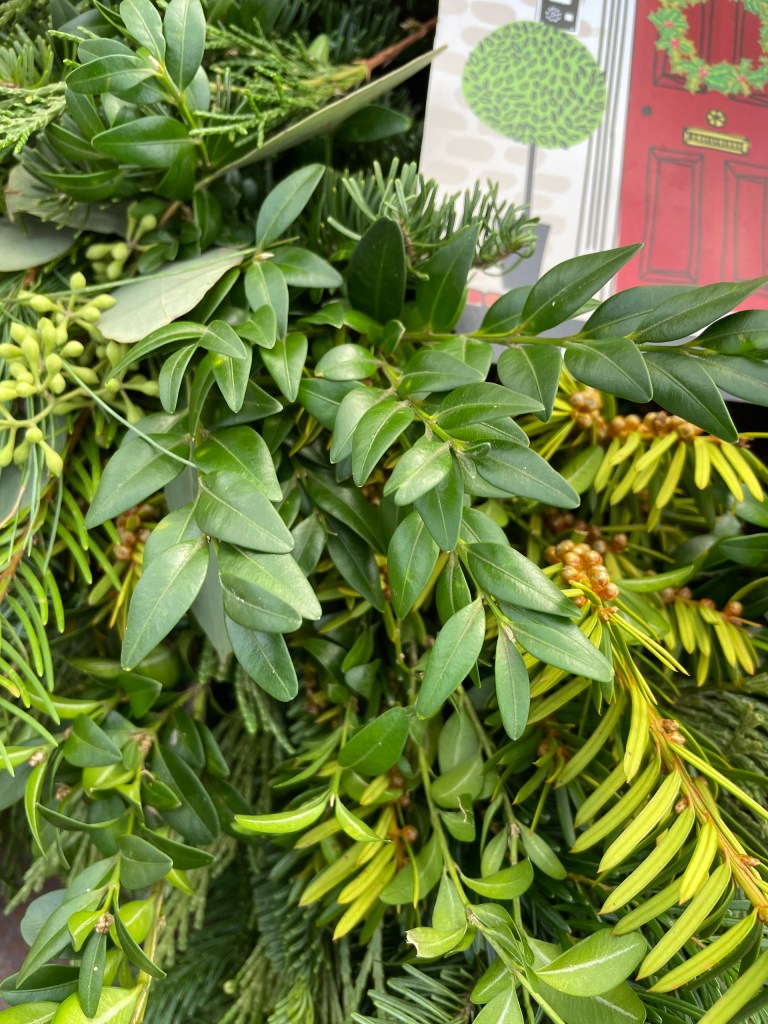
As with most evergreen shrubs, there are many varieties or cultivars available of boxwood. Some have more narrow leaves and others have oblong leaves. For example, common boxwood (Buxus sempervirens) has elliptic or ovate to oblong leaves. Because I am a plant person, I notice the differences in the leaf shapes on boxwoods more so probably than a typical person. The leaves are small and glossy on both sides of the leaves usually, and in arrangements for the holidays, the leaves retain their dark green glossy color very well. Boxwood greens add a nice textural and color element.
I’ve written about the benefits of using boxwood in wreath making before on this blog. For example, there is no sap to contend with as with balsam. After a while, your hands get very sticky when making many fresh holiday wreaths, so that can be a benefit. Also, the boxwood bunches or stems are light weight. I liked using them to make boxwood only holiday kissing balls because of this feature, as other kissing balls would get terribly heavy when I did a mix of greens to create them.
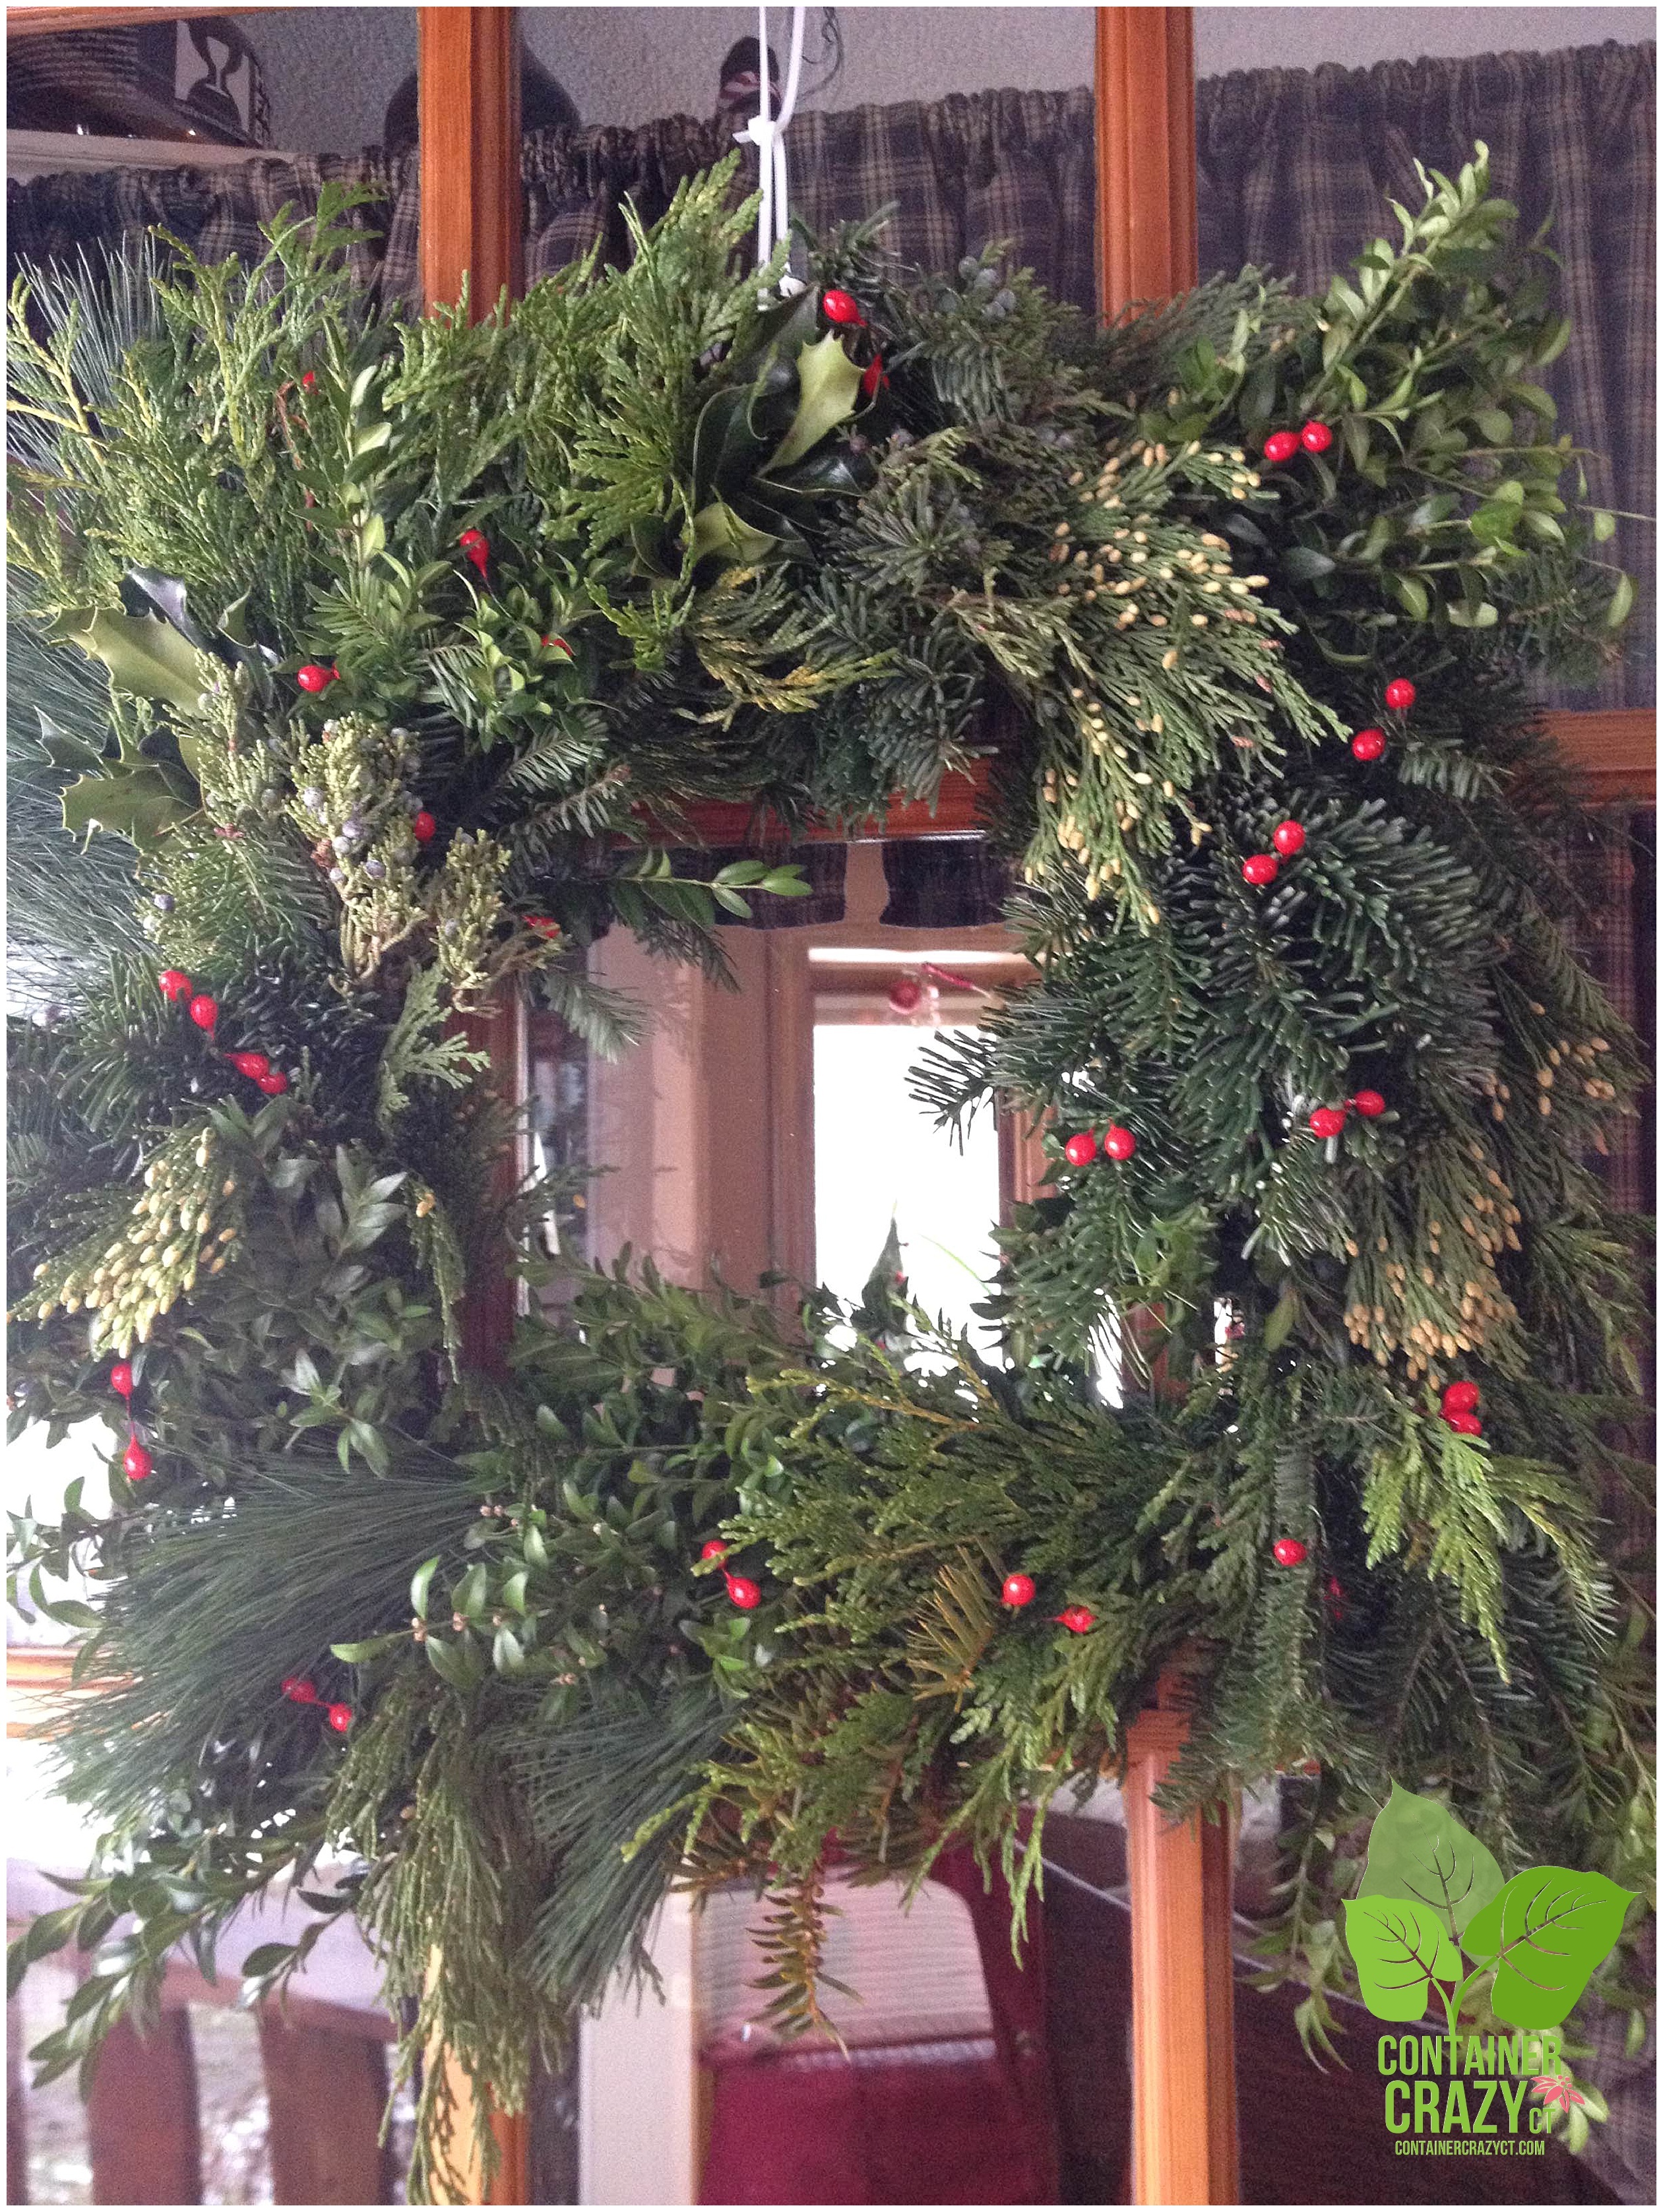
As far as a quality green, I like boxwood on the greens list. It tends to give a classy look to a wreath or kissing ball. Used alone or with a mix of other greenery, it works very well. In my mind, it is a nice benefit or not sure of the word, but a higher-end type of greenery to use and if you can afford it, I say do it!


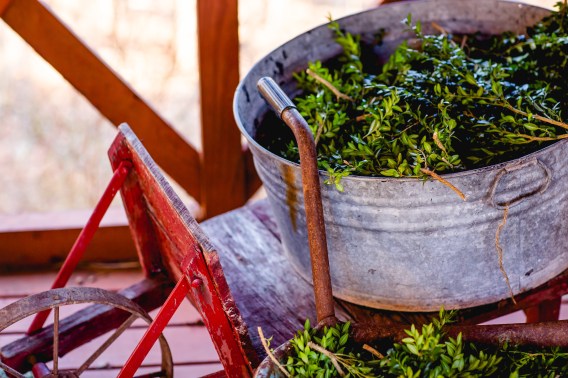
Typically, the boxwood I would order was packed in boxes or burlap bags, and they were always fresh and good looking. To keep them hydrated, if I felt they needed it, I would take a bucket or bin like the one shown above, fill it with water and drop the boxwood tips and stems into the water to soak them for a bit. Then I would shake off the excess water after they had a good soaking (maybe about 15 minutes or so). I would shake the bunch and then lay them on beach towels to somewhat drain.
As mentioned in my prior posts, the greens need to be kept cold. In the florist trade, it indicates the boxwood greens should be in a cooler at a temperature between 36 degrees F to 41 degrees F. Anyhow, I kept them in the waxed coated boxes or the burlap bags in an unheated garage. However, if I soaked them in water to rehydrate, sometimes I would just place them in a bin after the excess water was removed. Again, rehydrating them was not often needed.


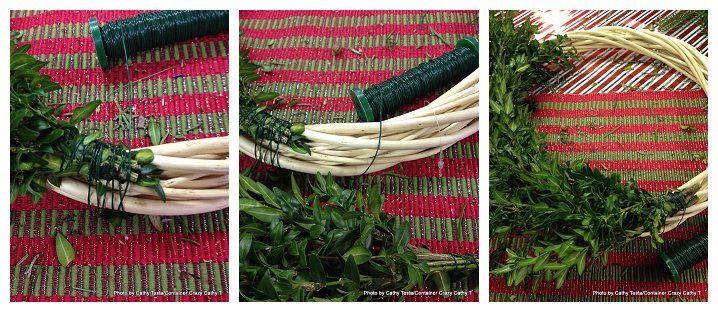
Another nice aspect about using boxwood is the stems are very sturdy. I would recut the stem ends to a bit of a point to insert into kissing balls center ball foam easily. BTW, you may also rehydrate boxwood before use by recutting the stem ends and inserting them into vases of water, but I usually did not do that or need to. As noted above, if there was a need to rehydrate them, I’d do the soak method in water in a tub for a bit then dry them out a bit so they would not be repacked soaking wet. Outdoor weather like snow or sleet did not bother the look of the greens either once they were in a wreath outside.
For a couple years, I offered boxwood in my box of greens mixes. These boxes of greens were for people who wanted to make their own wreaths at home. Included were many other fresh greens such as balsam or Douglas fir, Salal lemon Leaf (prior post), yew, silver fir, berried juniper, holly, and more. I never harvested boxwood from my own shrubs or others, but these shrubs are common in the landscapes, so if you happen to have a big enough shrub stash of them, they can be harvested from to add to your holiday wreaths. Typically pruning boxwood is done in the spring but taking some minor cuttings for your arrangements is usually harmless for winter decorations.

Of all the greens I would order, boxwood was usually the highest price on the list. Therefore, I did treat it as a quality green to use with a mix of greens, but if I had some left over or someone wanted a boxwood only wreath or kissing ball, I would charge accordingly. The price was worth it because boxwood is an elegant green that makes your arrangements look classy, in my opinion.

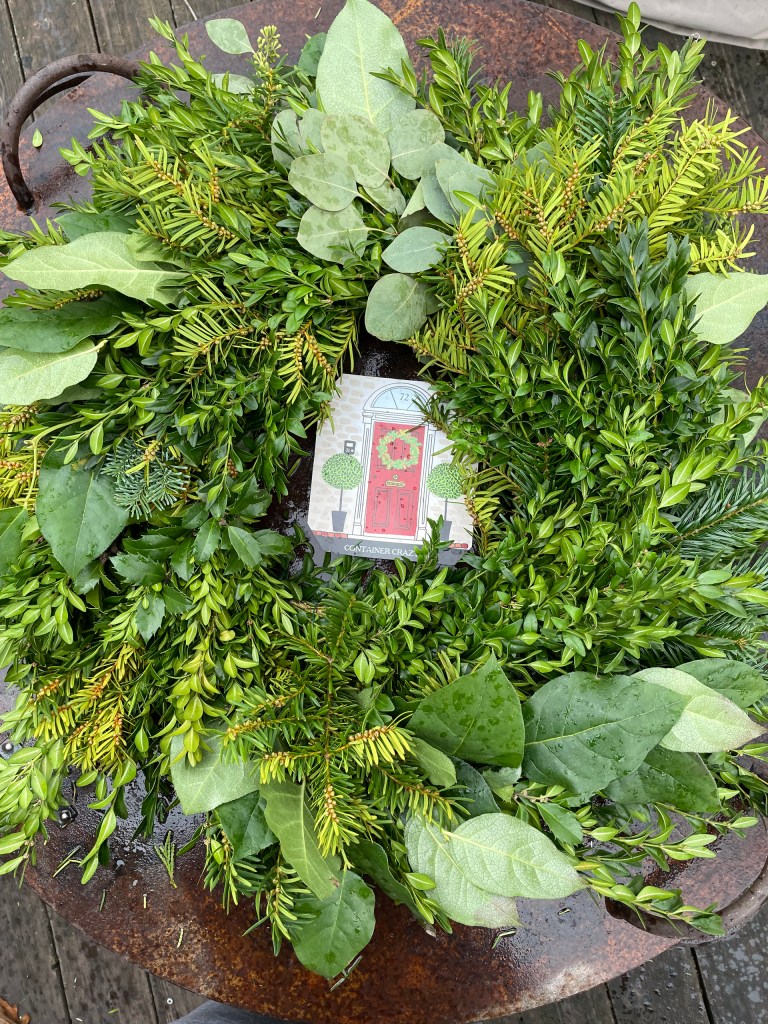

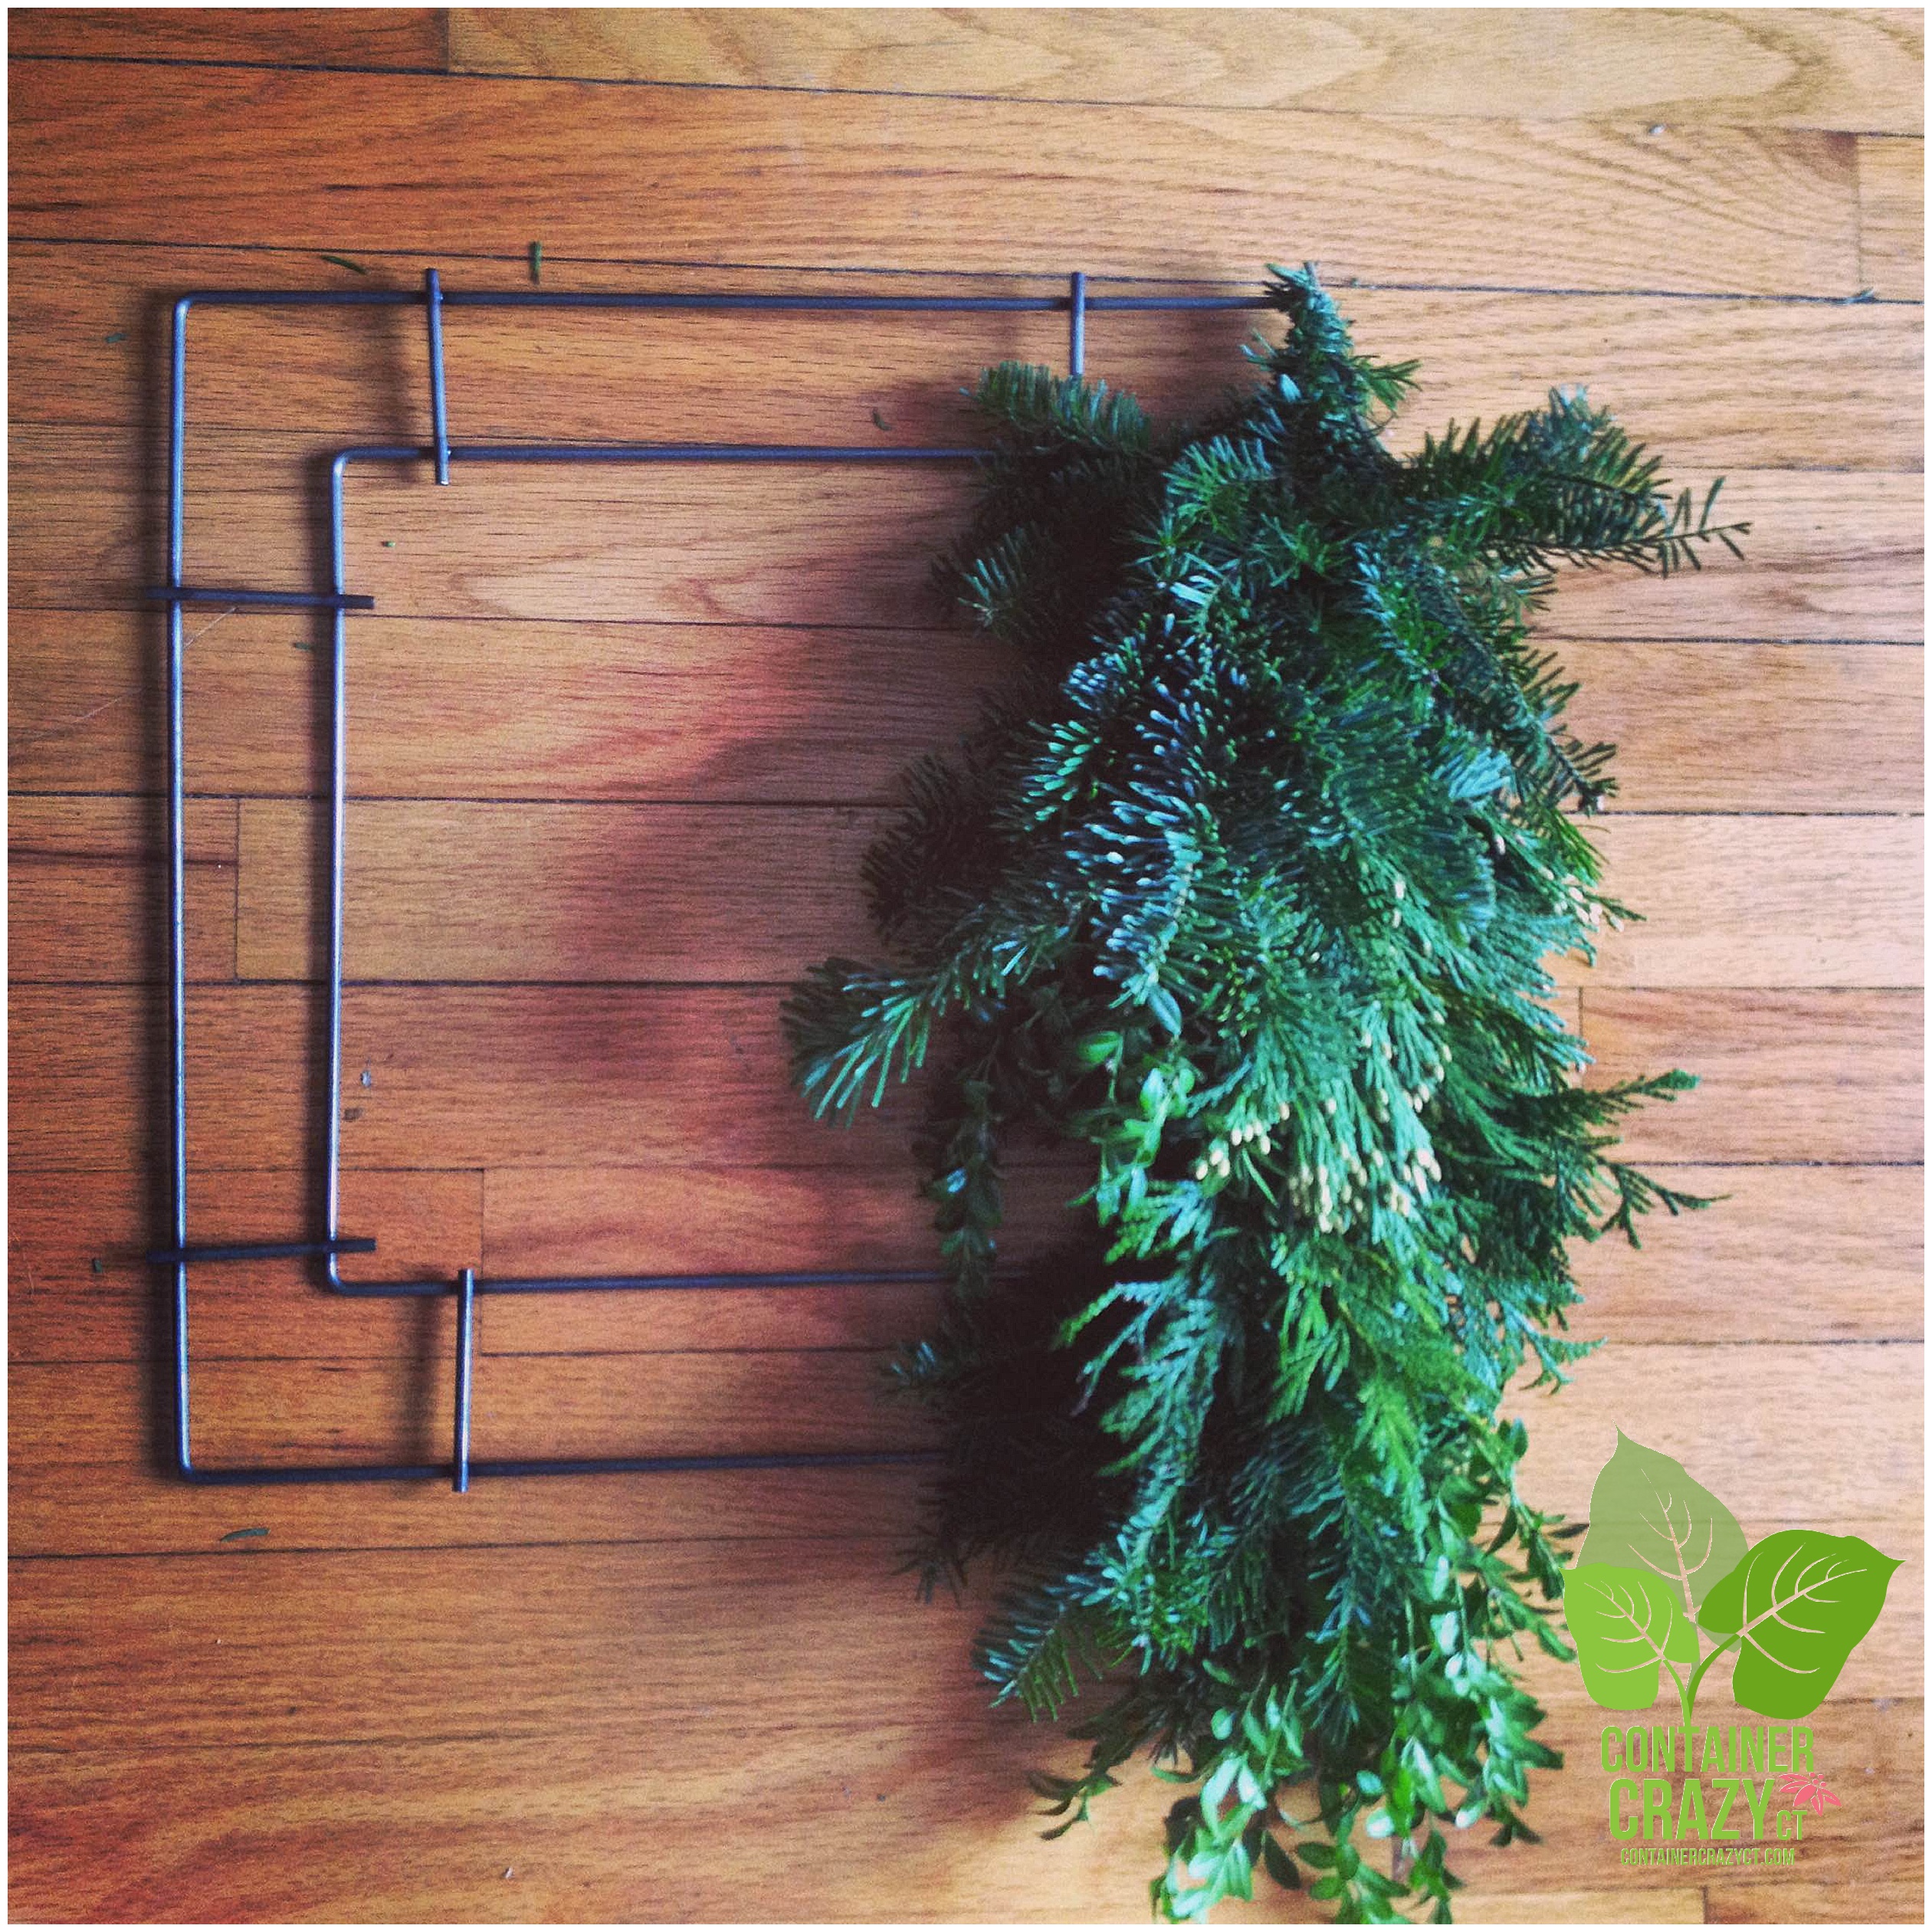
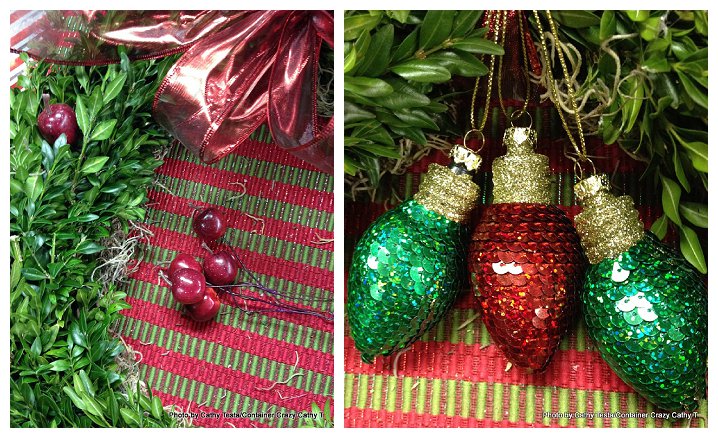
Another nice aspect of using boxwood is it was a faster assembly as shown above on this wreath with only boxwood. It would take a lot less time than bunching various greens together.

Snips and tips of boxwood greens are nice in vases or other holiday decorations. For example, if you wanted to make a snow scene in a glass bowl, the cuttings can be used in there and last a long time with no odd scent. And as mentioned good color retention. I really can’t think of any downfalls of using it. I would rate it higher as a good quality type of green to use and hopefully you will have the opportunity to do so in your own holiday arrangements!
Cathy Testa
Container Crazy CT
Broad Brook, CT