It’s Friday again!
And here I am, posting pictures from 2016 in the order of being downloaded to one massive folder.
Here’s the next 6 or so…

This photo is from the back side of my chicken coop. I attempted to have chickens here at my home 3 times, but it doesn’t work out due to predators in the woodland area around my yard.
The first time we got chickens, we attempted to let them free range in our yard after they were here for a while.
One night, after getting back from dinner, one of our chickens was roosting on the railing of the steps by our home’s entrance door. We were surprised to see it huddled by the corner of the house on that railing.
This was odd, and I suddenly remembered that we forgot to close up the chicken coop before going out to eat!
Steve carried the chicken back to the coop in our backyard, but unfortunately, he was greeted by a trail of feathers from the chickens which were not so lucky – or as smart as this one. A predator had gotten them all.
Every time I attempt to do another round of chickens, they get attacked or stalked. The chickens would go to neighbor’s homes to free range and this would frustrate me. I thought, “Why on earth won’t they stay in my yard? It is huge, there is a luxury pen for them, and what more could they ask for?!”
A farmer once told me it is because they feel threatened, and this made sense. We finally gave up on trying to have chickens here. Too many foxes and coyotes.
The chicken pen and adjoining enclosed coop have been empty, and I’m trying to think of what creative way to use the pen part – which is covered by two beautiful kiwi vines which produce a bit of fruit each season now (they require about 5 years to produce, and require a male and female plant.)
As far as the enclosed part of the chicken coop goes – it has become a storage shed.
The photos above are of that ‘now shed’ on the back side. I put an old pallet box I found there and filled it with left-over soil from containers or projects.
Last year, I plopped one of my elephant’s ears into the wooden box pot and somewhat forgot about it. When I take a leisurely walk through my backyard, I stop to take a look and snap some iPhone photos.
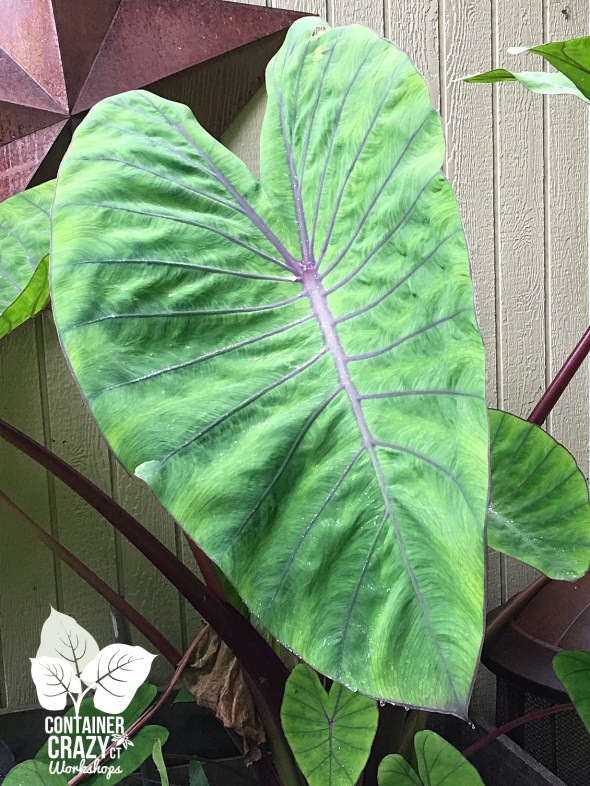
Colocasia ‘Blue Hawaii’
This elephant’s ear is Colocasia esculenta ‘Blue Hawaii’ from the Royal Hawaiian (r) Series. And it is one of my favorites of the elephant ear world – although I have many.
A zone 9-11 plant, not hardy to our CT planting zones but easily overwintered, is from “John Cho and the University of Hawaii’s breeding program.”
‘Blue Hawaii’ is named as such probably for the obvious reason that its veins on the leaves look purple-blue, and it is striking, to say the least.
I just love it. The two photos above of it were taken mid-autumn. Before or right after frost, I lift the tubers from the soil to store them for the winter because they are not hardy to our planting areas, but easily regrown in early spring inside the home and then transitioned to the outdoors when the summer temperatures are warm enough (same timing as tomato plants).
As you may know, I offer a demo day to show how I store plants such as these every Autumn. This year I’ve added a new date to provide a demonstration a bit earlier because people want to repeat the process at their own home, so this will give them time before frost arrives.
There will be three sessions on Sept 27, 2017 (early session), Sept 30th (early session), and again on October 14th, which is near when we will probably have our first fall frost.

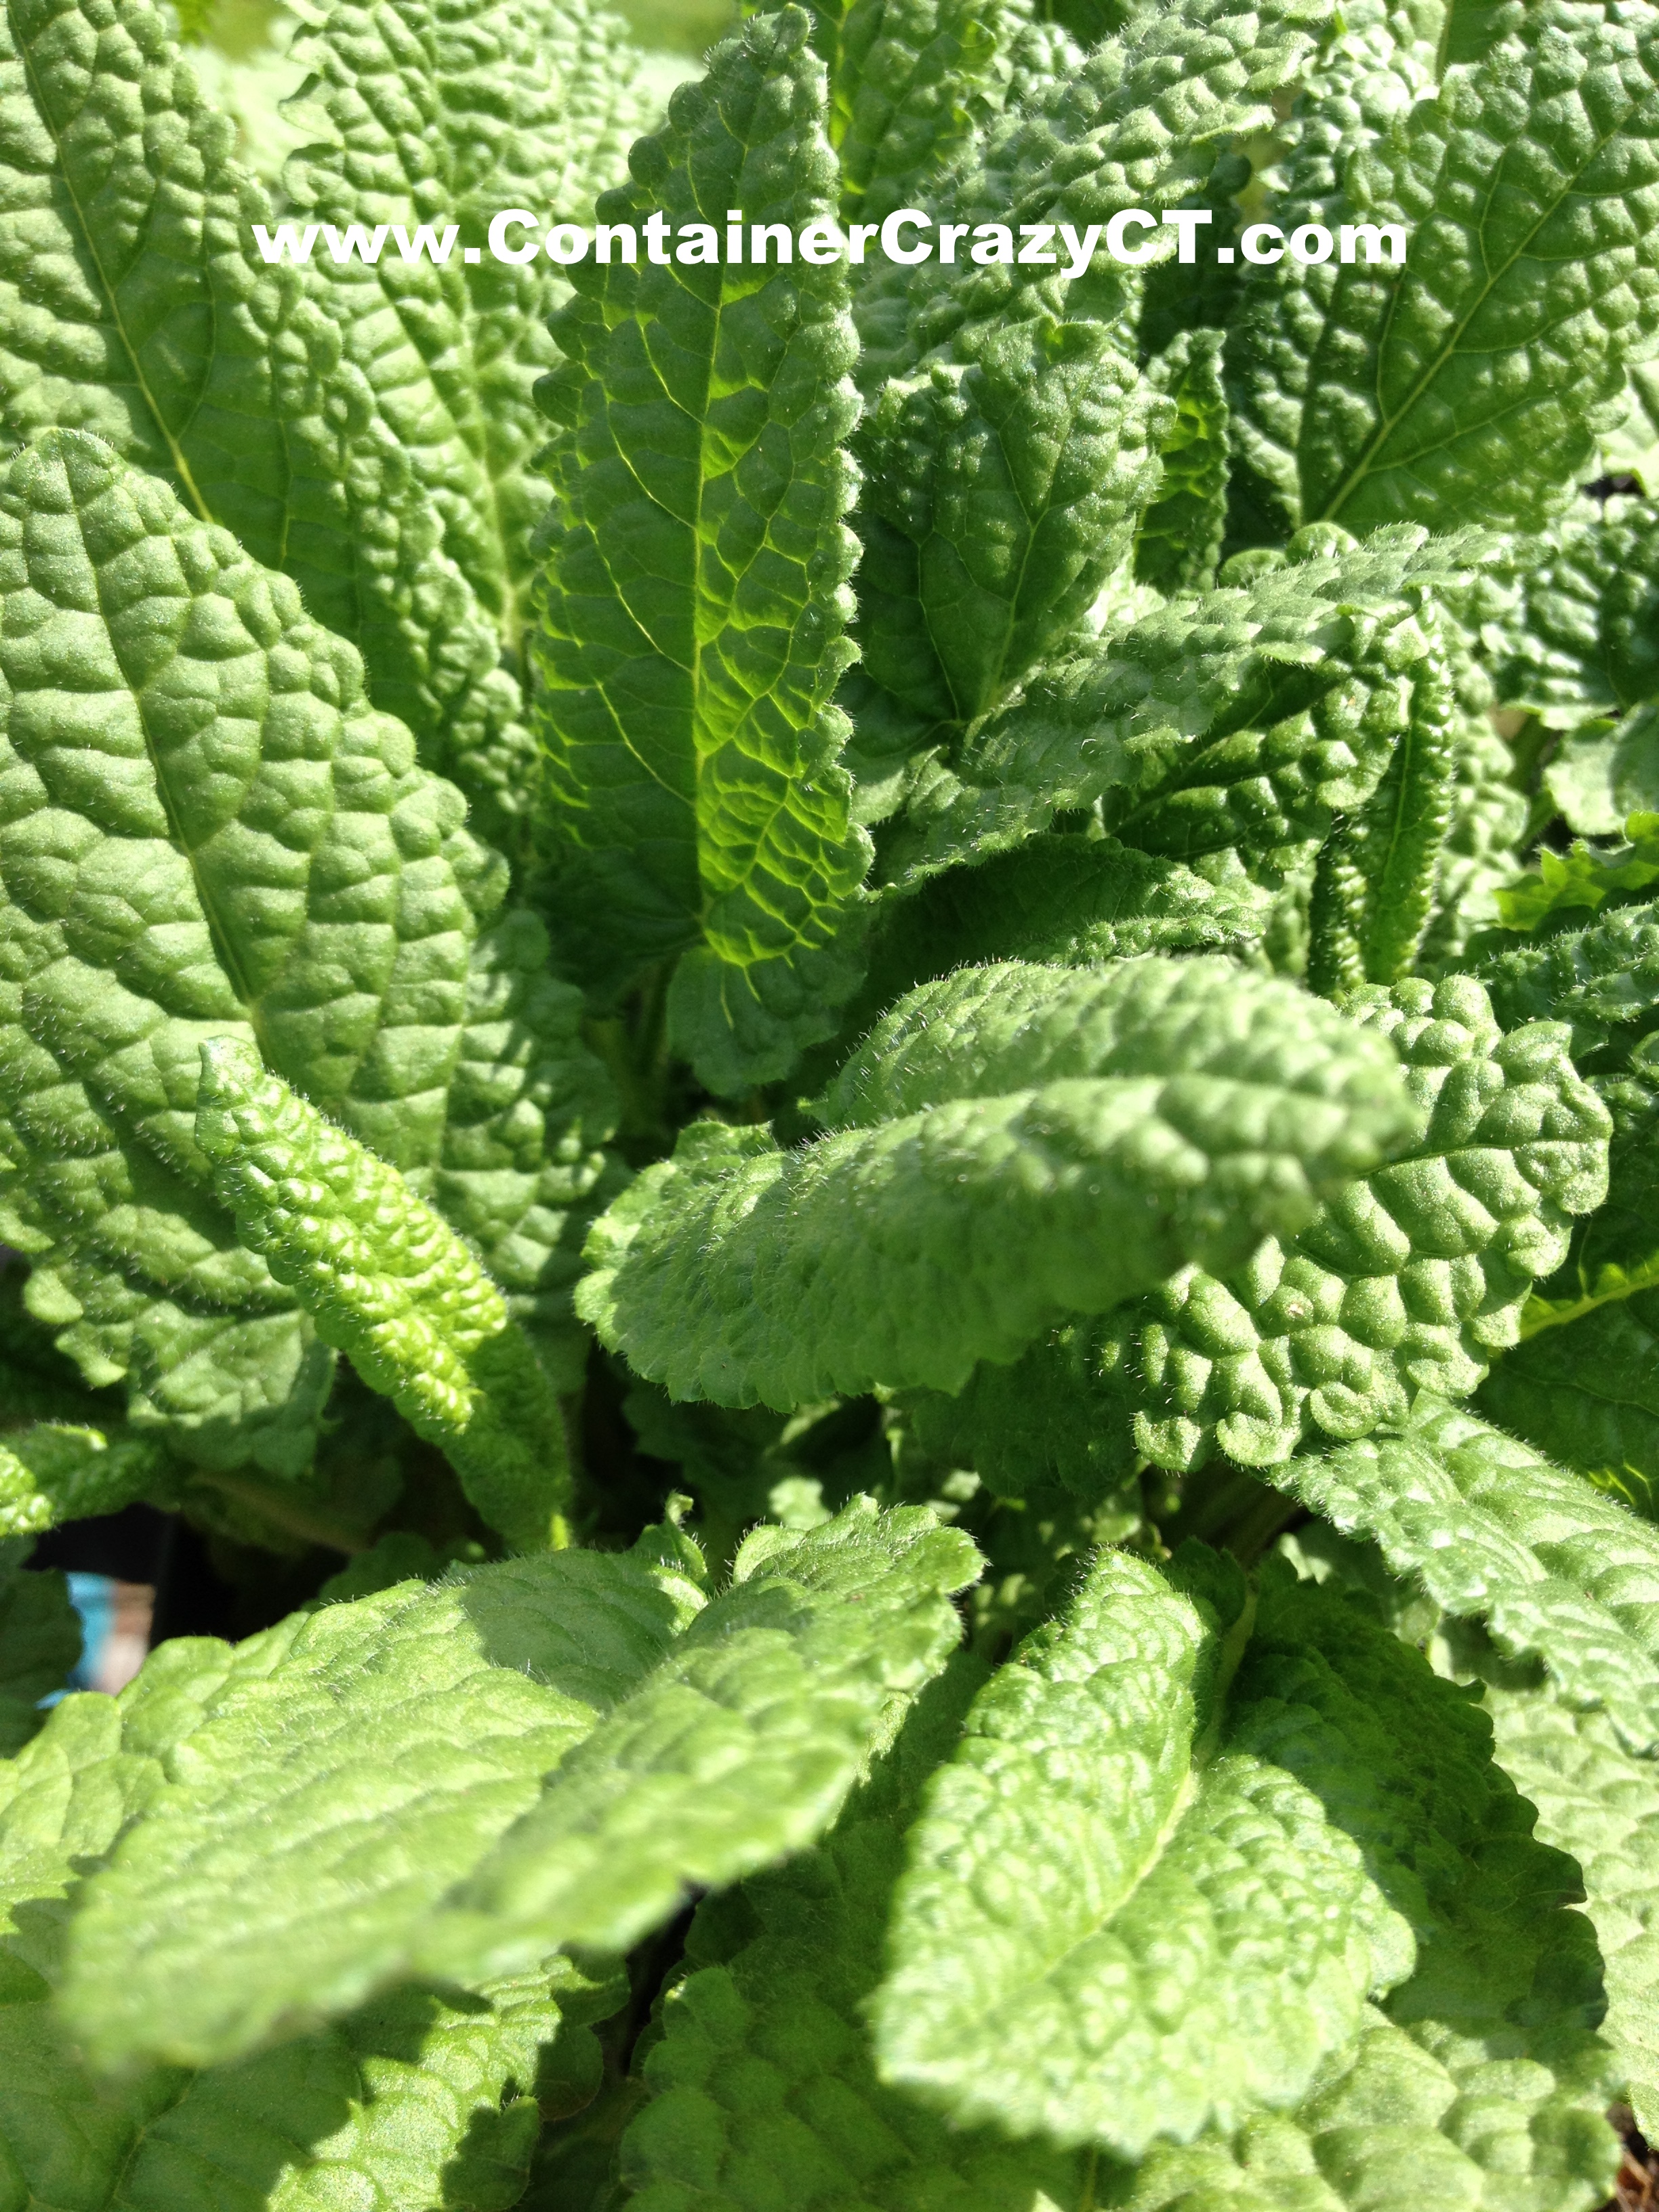
In front of the enclosed portion of the now-empty coop, well empty of chickens but filled with supplies and remnant smells of chicken poop, is a lovely Hellebore perennial.
I can’t recall which ‘cultivar’ this one is named from, but it is growing so well in this spot – which makes me especially happy – because I ordered a tray of these one year per a client’s request but never heard back from them when the plants came in.
No matter, I ended up selling them at a market and had one left over for here.
Hellebore
Hellebores are plants which I consider excellent performers in the foliage category for gardens, container gardens and patio pots.
They are reliable, long-lasting, have beautiful semi-evergreen beautiful coarse, solid, almost rubbery like foliage – the leaves are tough and thick – and deer won’t eat them.
In containers, they make long-lasting fillers and of course, they bloom, but the blooms on most species nod-down. When taking photos of the blooms, I need two hands so I can turn the flowers to face up to show their beauty. They are stunning – almost rose like.
Hellebores (Helleborus), a.k.a. Lenten Rose, are easy to grow in my opinion. I’ve started to slowly collect them over the years. They like part sun to part shade, full shade, and tucked in the right corner in sun with good part shade part of the day, they do fine as well. I have them in moist areas in deep shade, and areas with part sun – they seem versatile to me.
These plants have a certain elegance to them. I recommend them for use in both container gardens and gardens of the ground.
Oh, and by the way, they bloom very early in the season, sometimes even when there is still a bit of left over snow on the ground. There’s nothing like seeing a bloom in February or April when our plant world slowly awakens from a winter’s slumber.


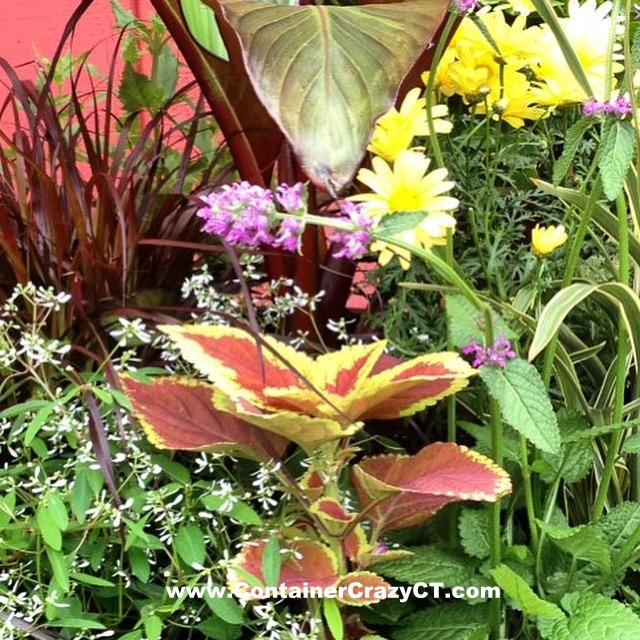
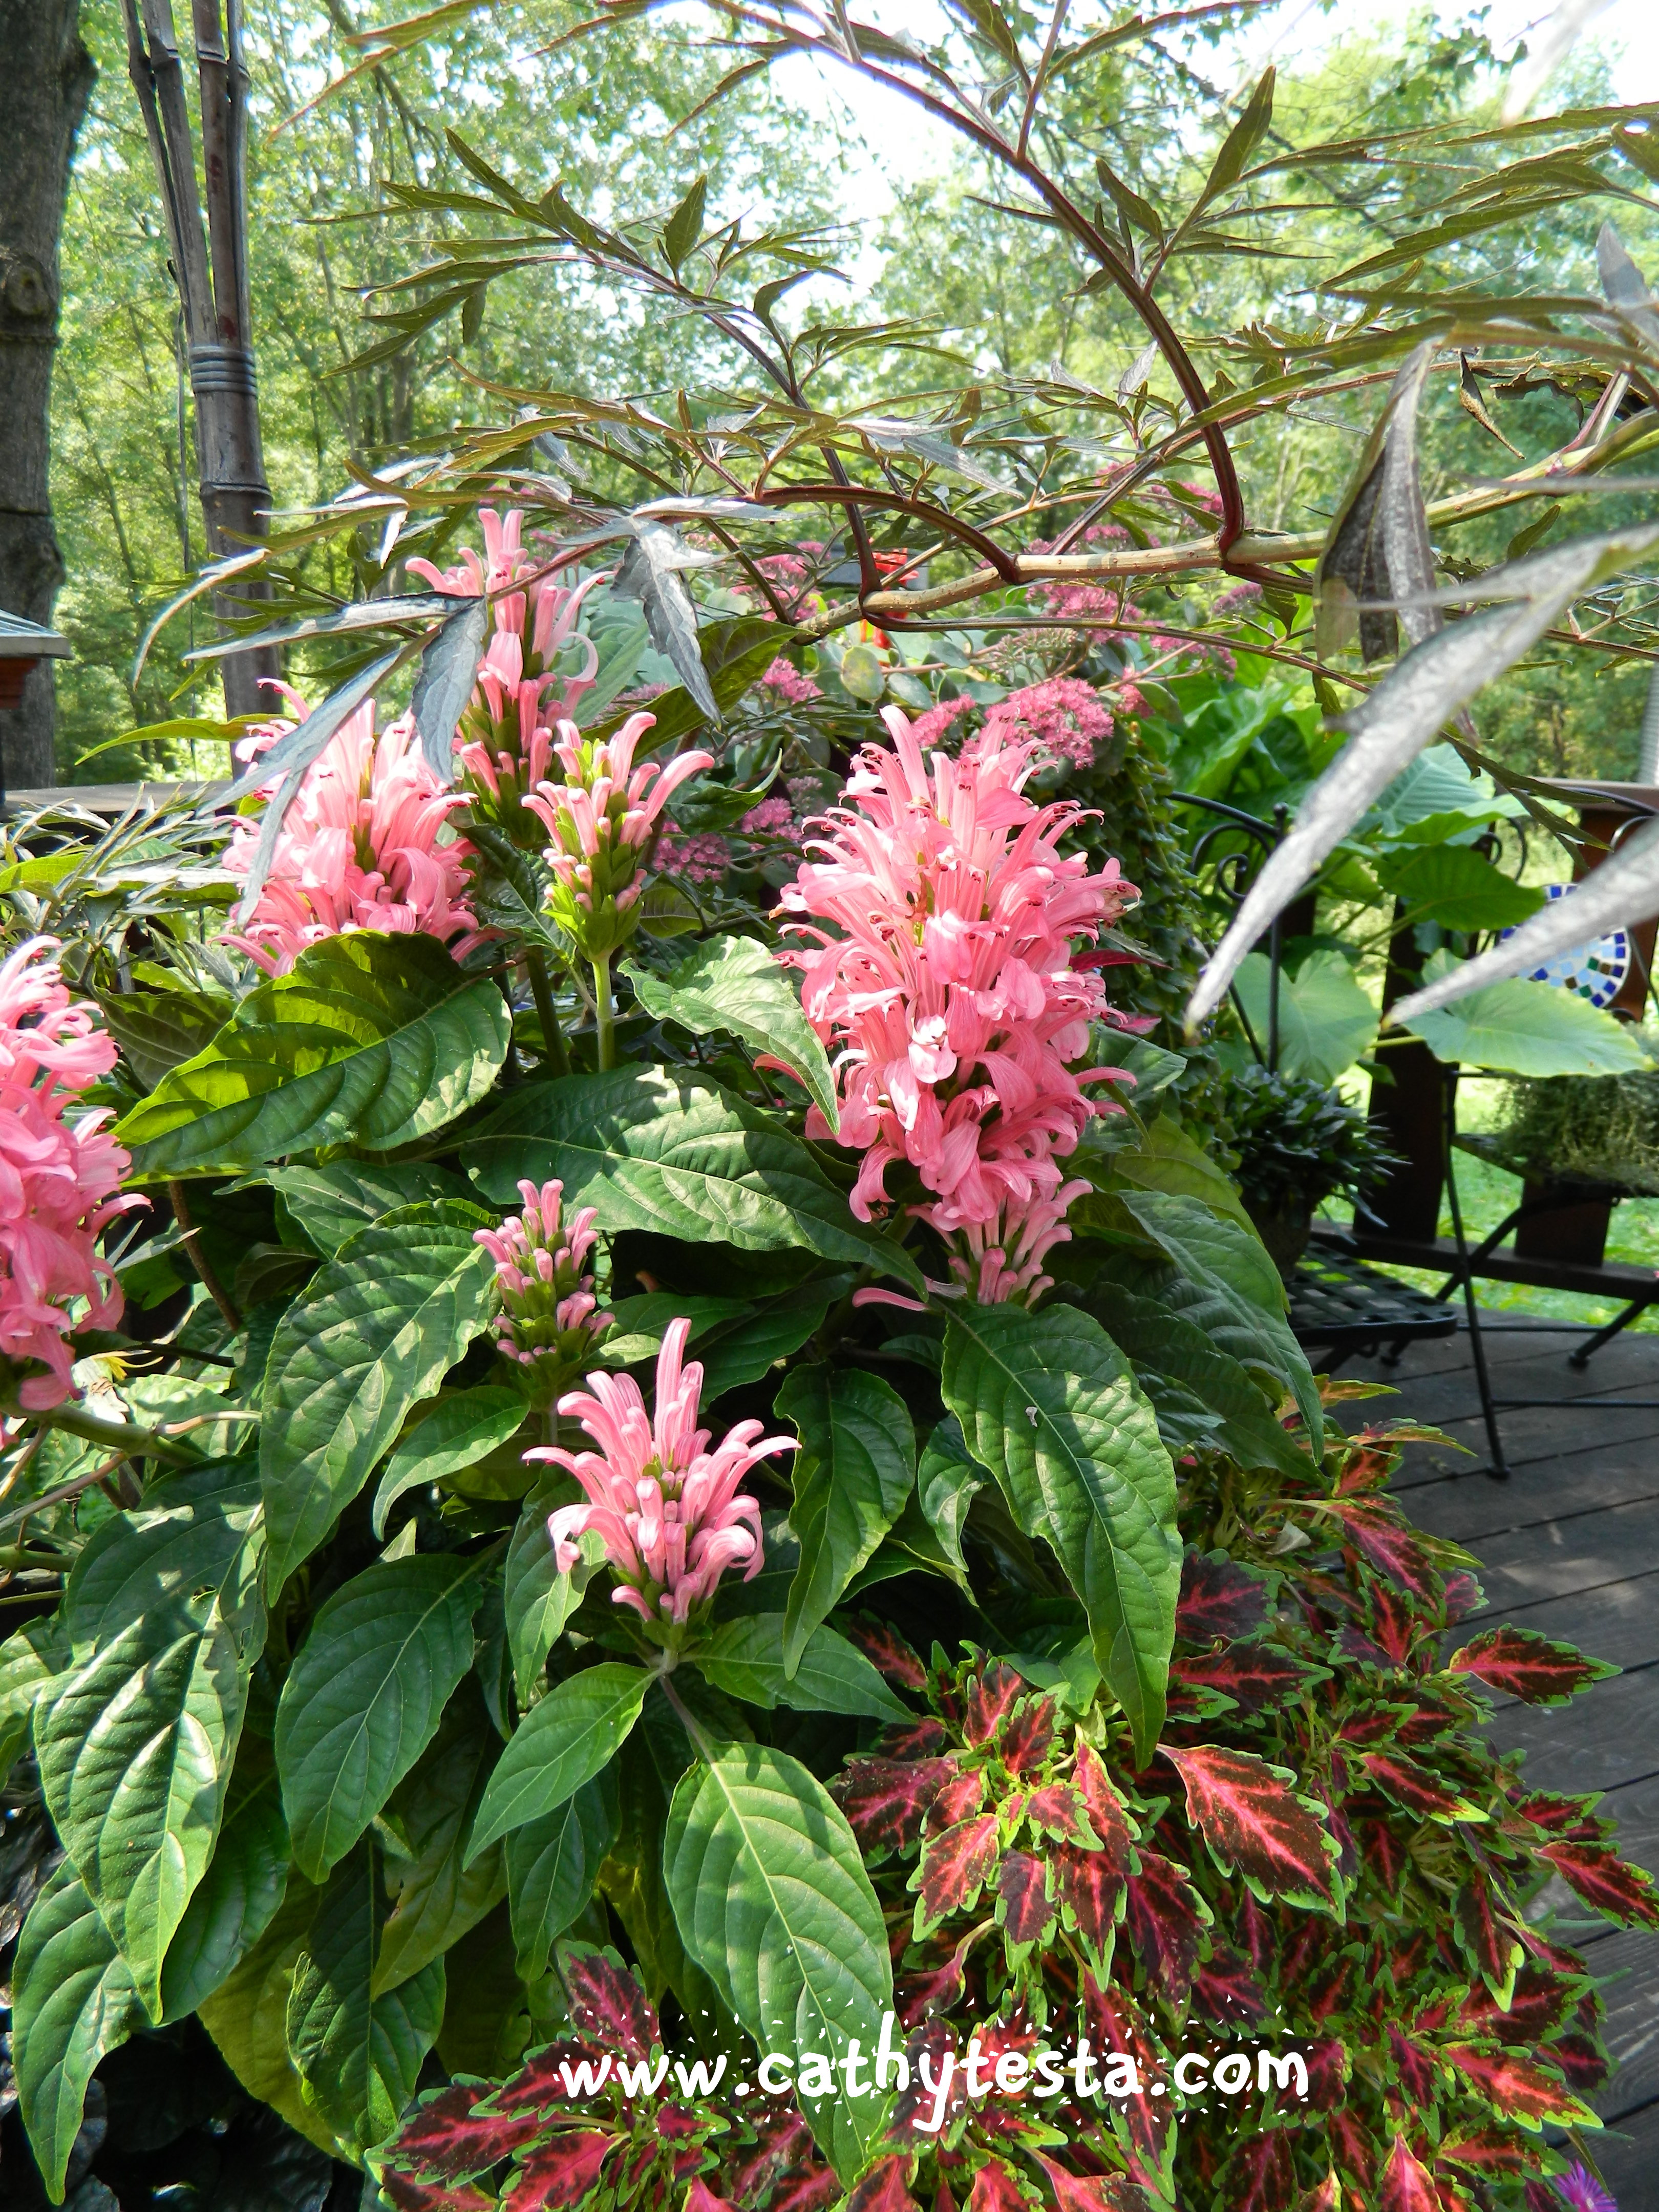
Quiet opposite of the Hellebore’s blooming time is the bloom time of Anemone (windflower), shown above, which blooms late in the season, not early.
Anemone ‘Margarete’
Anemones were in a big pot in my backyard which housed a big red banana plant (Ensete) and some other fillers. I had to wait a long time for the anemones to bloom because this cultivar blooms in September, but it was worth the wait.
This type of plant is what I refer to as a “welcoming” plant in your container gardens. It is the one people will be drawn to for its beauty and feeling of remembrance from when they used or are using the same plant in their gardens. Or maybe it will be a memory of their Grandmother growing them, but I feel they are welcoming and charming.
This one is a Japanese anemone, called Anemone x hybrida ‘Margarete’. Like the hellebore, it is deer resistant. It likes full sun to part shade and is hardy to our CT planting zone. I am expecting them to return in the pot which is rather large and filled with quality soil, and right now, in winter, covered with a board and tarps to protect it.
I selected this one for my container garden workshops because of the color and doubled petals. Oh, and the stems on this one grow very tall – up to 30″ – which made it a perfect candidate next to my big banana plant. If it were a short one, it wouldn’t have amounted to much in regards to structure and scale in the pot with the other companions.
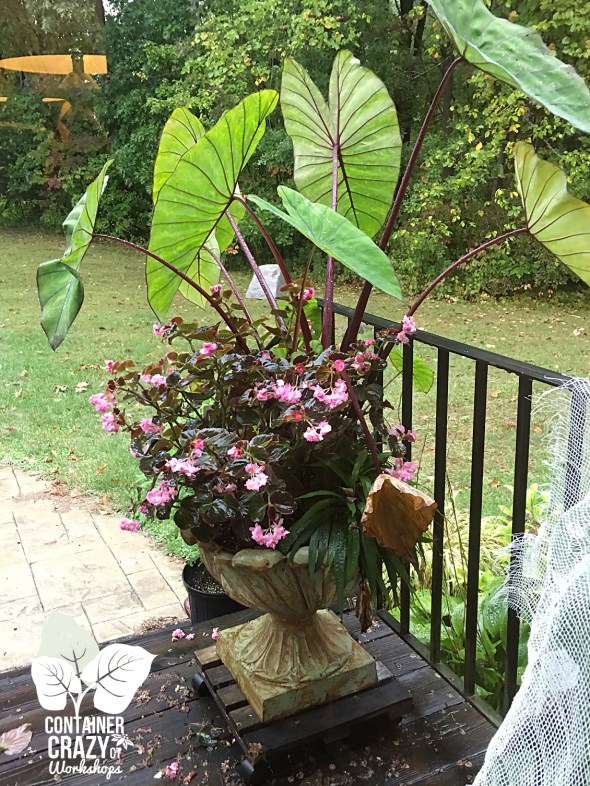

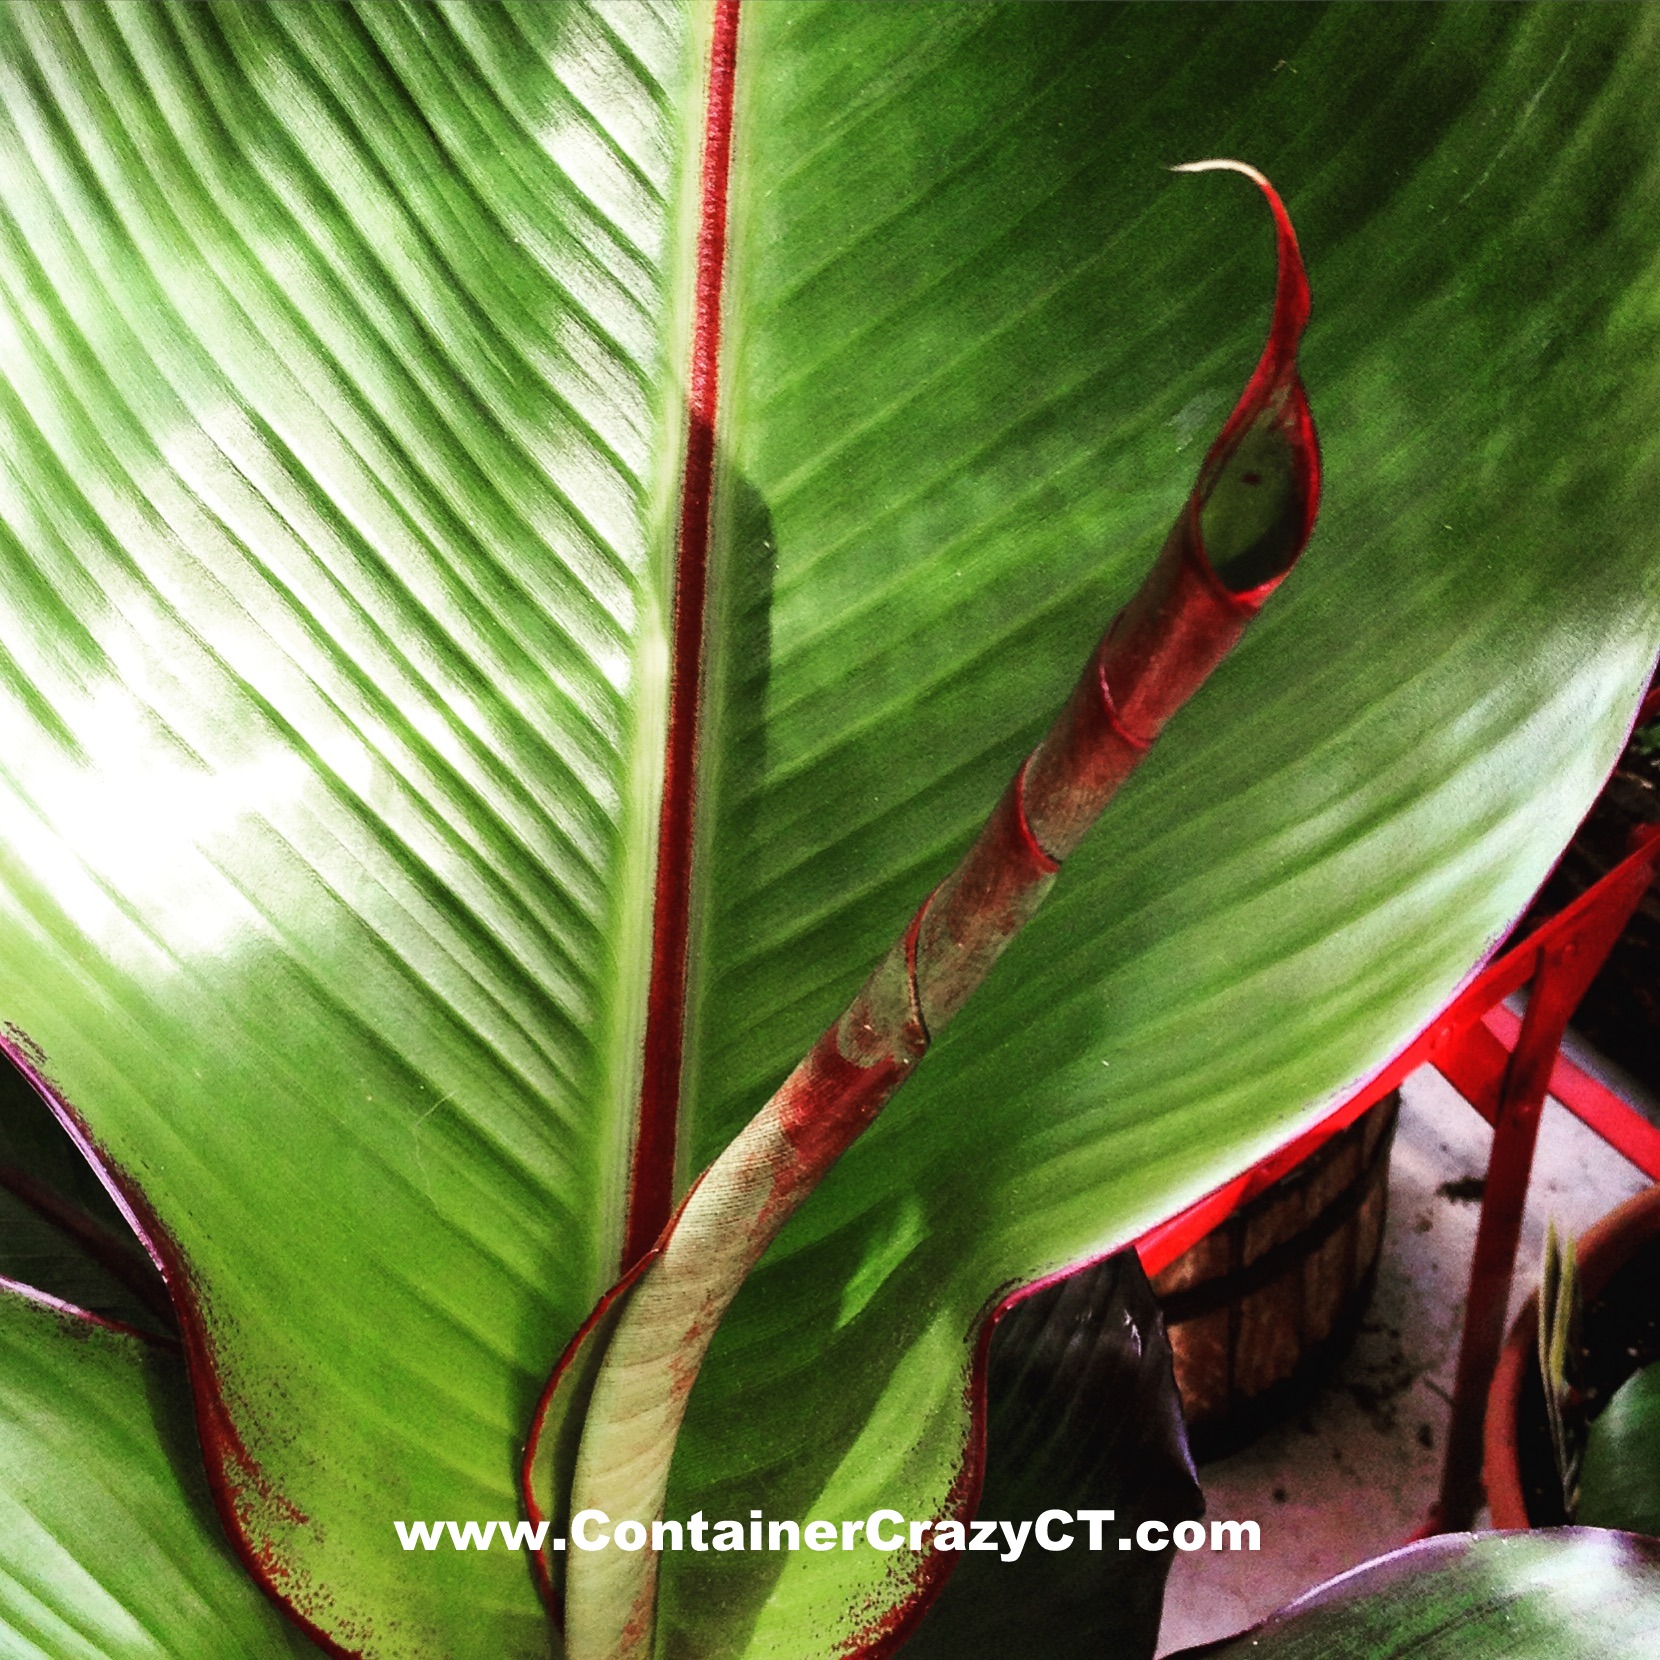
The last two photos in this Friday’s series of 2016 photos are not from near the chicken coop but by my house.
On the north-west corner, one photo of my red banana plant (2nd photo), that did pretty darn well. This photo was taken at the end of the season. It will be my next monster plant – year two on returning it from its winter sleep this year, or year three. I’m starting to loose track!
The other photo is of an urn I keep on my front steps year-round. Urns are great for that. They may be used all season and kept outdoors because they won’t crack and are tough.
Starting in spring with spring candidates in the urns, and even in winter with greenery for the holidays. I am happy I picked up these two urns a few years ago – each has a drain hole too which is required for plants to do well in container gardens.
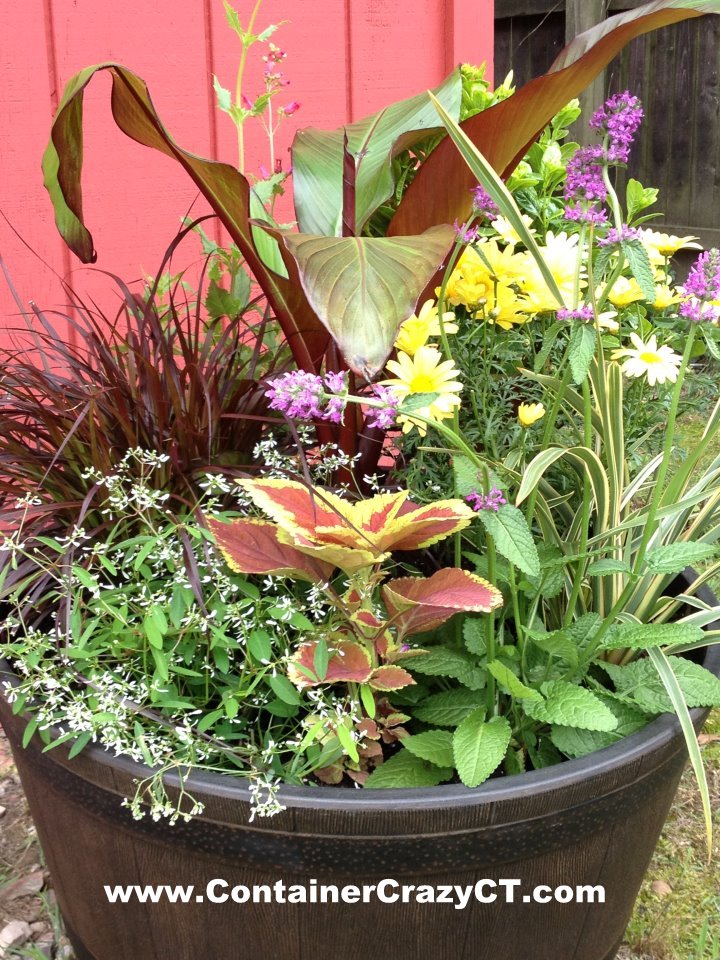
Begonia ‘Lady Francis’ and Ruellia
I was super-duper impressed with this Begonia ‘Lady Francis’ in the urn last year. I selected three types of begonias for last year’s container gardening workshops – and boy, I’m glad I picked this one, and the others as well (‘Gryphon’ and ‘Dragon Wing Pink’).
But ‘Lady Francis’ had something other than the typical beautiful (and welcoming) flowers all season long, typical on begonias – it has darker foliage.
Treated as an annual in our CT planting zones, this plant is a hybrid with bronze-dark mahogany leaves and lots of double, pink flowers – but the foliage was full and lush all season long, which impressed me. And it was easy to grow.
From a container gardening perspective, it is a beautiful filler.
Begonias really rock it in container gardens.
This urn is at the front of my house which gets mostly shade and stays cooler, but it did fine. I would roll the urns a bit to the edge of the steps to make sure it received some sunlight when, in late afternoons on the north side of my house, the sunlight hits that spot.
As I mentioned, the foliage is a bonus on this plant because it adds a dark tone to combinations in pots – something very useful when designing your combinations.
I want to mention also, the filler tucked in the corner was a different one which I really liked last year. Called Ruellia (false or wild petunia). It is not hardy, but easily over-wintered, so it may be regrown the following year.
Ruellia or false petunia has leaves that are blade like and produces trumpet-shaped soft purple flowers – at least this variety does. It can take full sun or part shade to shade. This one is compact so it stayed low and tucked in the corner. The flowers bloomed in late spring and mid-summer. I feel it did better than a typical petunia, it lasted a long time and the flowers looked great.
Well, that’s it for this Friday. I have a busy day ahead, and busy weekend.
Have fun during the Super Bowl too if that is your thing!
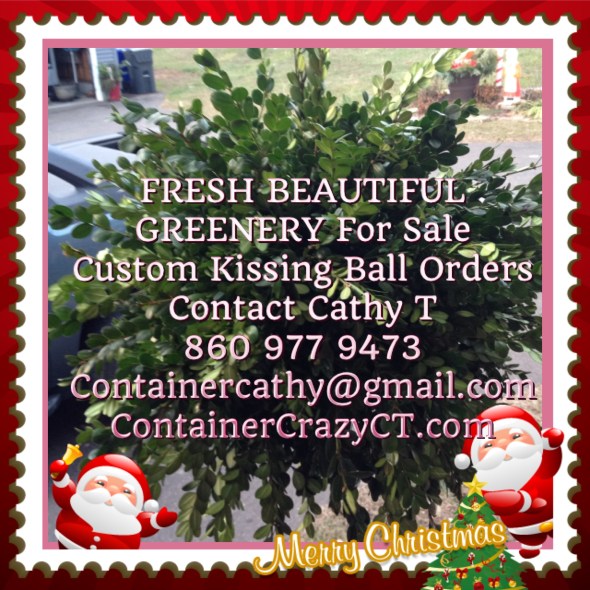
Cathy Testa
860-977-9473
containercathy@gmail.com
For information on the fall demo and our upcoming workshops, please visit www.WORKSHOPSCT.com.
Upcoming Activity:
Feb 8, 2017 – Wednesday – Down to Earth Garden Club Presentation
“Six Design Tips for Container Gardens”
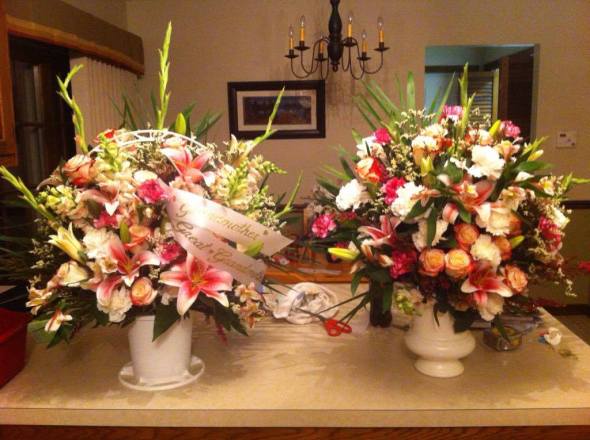
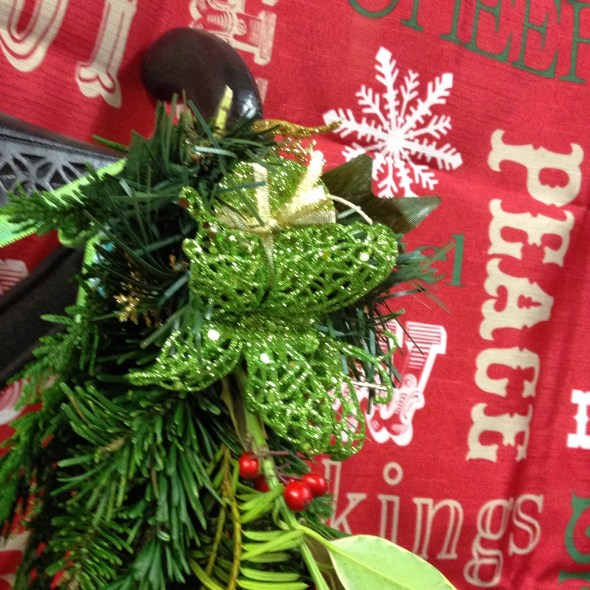
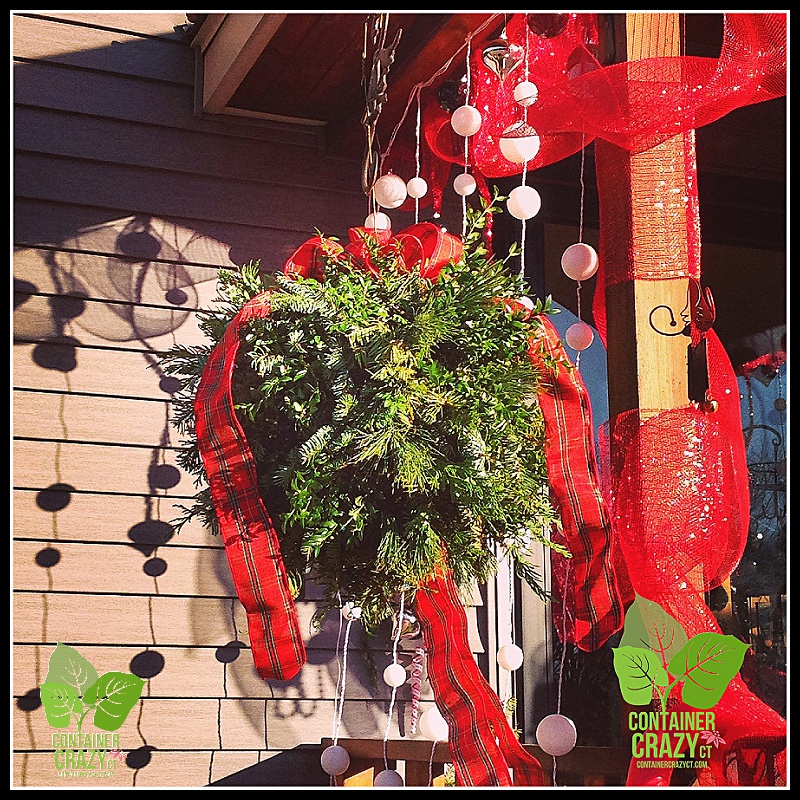
Feb 11, 2017 – Saturday – Floral Arranging Workshop
Broad Brook, CT by Cathy T and JEM’s Horticulture and Floral Design
Mar 18 and 22 – Sat, Wed – Botanical Living Wall Art Workshops
New this year! by Cathy T of Container Crazy CT
Stay tuned for more.
Thank you – Cathy T.


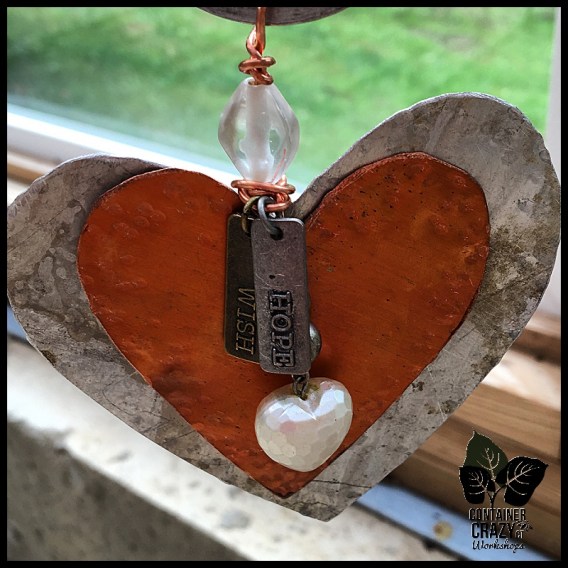
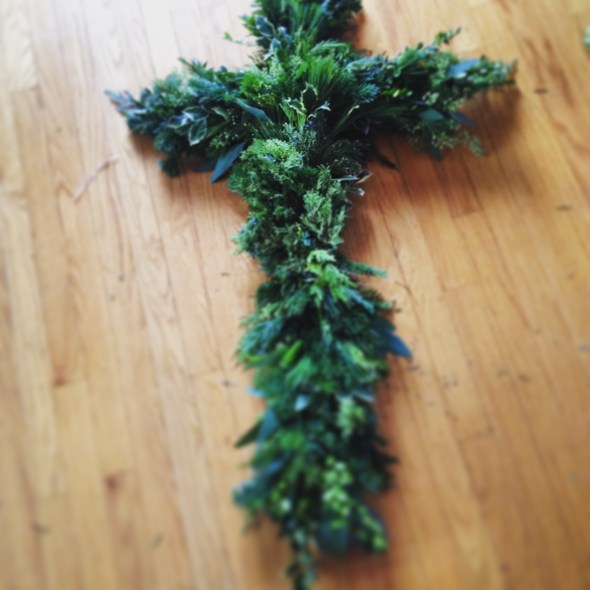
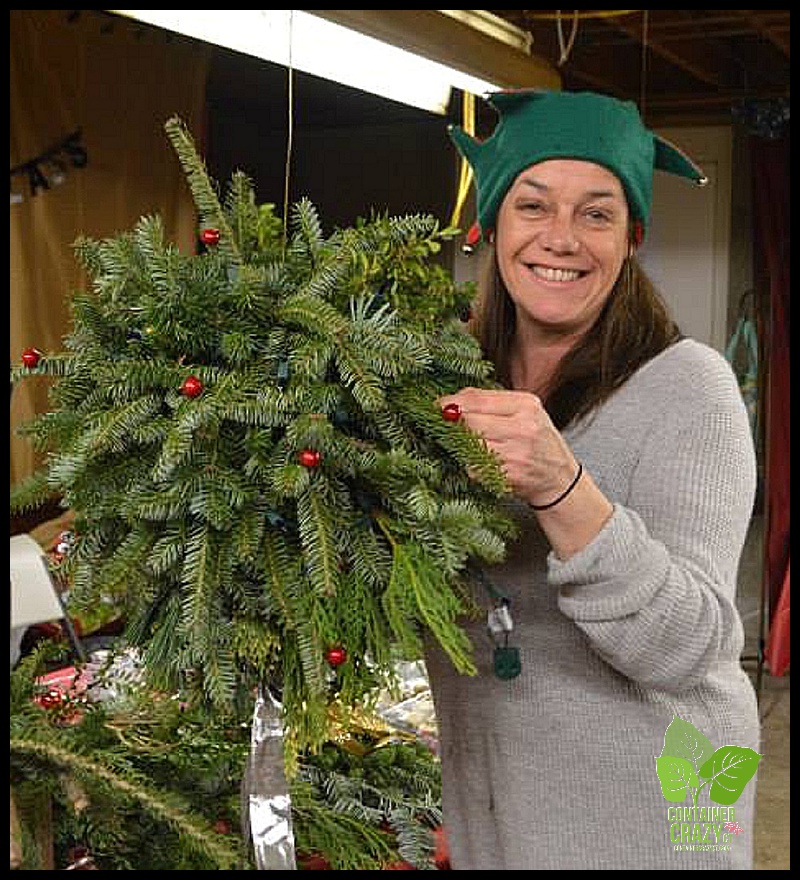
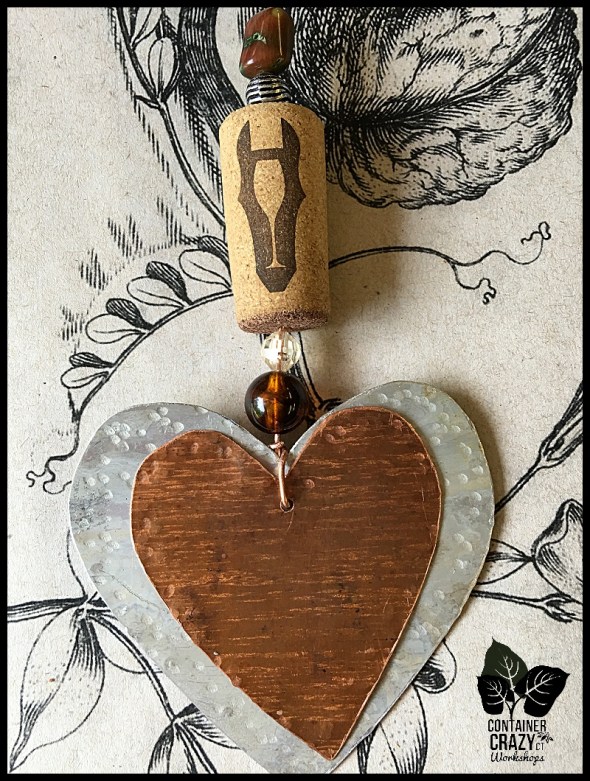
 Each creation had its own unique touches or embellishments which held a special meaning to the attendees.


")