John Viccellio from Stallings, North Carolina is the author of a blog titled, “A Walk in the Garden.” I never met John in person, but I’ve been enjoying his blog posts for quite some time.
He regularly posts photos of cut flowers collected from his gardens which are arranged in vases. Actually, I believe his wife is behind the vase selection and arrangements. He refers to her as his Arranger, and she does a wonderful job.
In addition to the various vase photos on his blog, John writes about plants growing in his North Carolina gardens. From time to time, I’ve admired the plants he is growing which I wish I could grow here in my Connecticut yard.
However, John’s planting zone is a tad bit warmer than mine. He is in a zone 7 area, and I reside in 6a. But not is all lost, as some of the plants he can grow easily in his area are candidates for container gardens or patio pots in mine if they are not winter hardy here.
Vitex agnus-castus (chaste tree)
One day, I spotted a gorgeous photo of a chaste tree growing in John’s gardens via his blog posting. He had them ‘arranged’ in a vase and the soft blue to violet colors of this plant, along with its long narrow blue-green leaves situated like fingers from a central point, caught my attention and admiration. I don’t know why, but plant lovers just fall in love with certain plants, and this is one I’ve always liked.
I don’t see this plant (technically a deciduous shrub which can grow to the size of a small tree) offered for sale here in Connecticut often. They are hardy to planting zones 6 to 9 (or zones 5-9 depending on which plant reference you look up), so they are considered, what I call semi-hardy in our planting areas because they do not hold up well during harsh winters.
If the winter is not harsh, I guess your chances are better. Also, where they are planted matters in regards to the soil and exposure because they prefer full sun and well-drained soils. Bottom line is the plant will die back (dies to the ground) in severe winters. Its roots may survive to regrow the following season if all goes well.

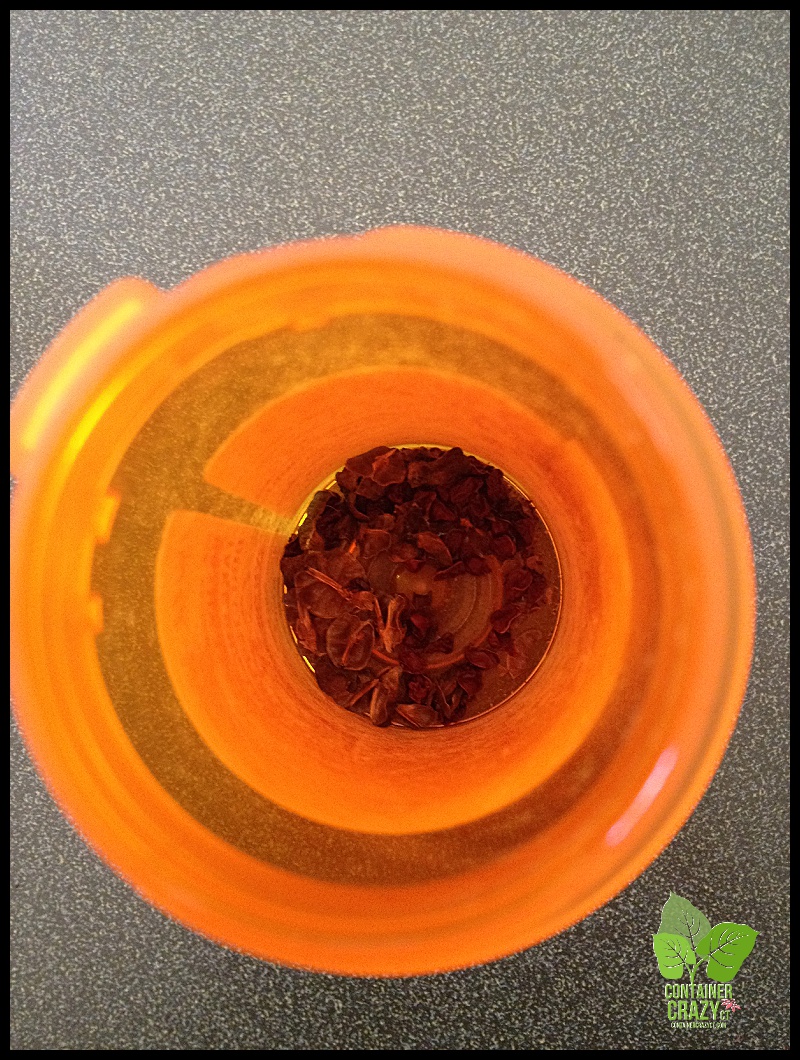
Chaste Tree Cuttings by A Walk in the Garden blog
The only other time I’ve seen a beautiful specimen of the chaste tree was when I toured a Connecticut garden via the Connecticut Horticultural Society’s programs. It was growing in Steve Silk’s amazing gardens amongst other trees and shrubs on his property in Farmington, Connecticut. Steve is a former newspaper photographer, travel writer and was managing editor at Fine Gardening magazine. He held the role of President for the society for several years.
Steve also has cool tropical plants in container gardens staged in various areas on his property, which is why I was happy to be seeing his gardens that day during the tour. But as I walked his yard, I remembered spotting the chaste tree and running my fingers along the plant’s foliage, again thinking how I wish I had one of these trees. I should have asked Steve how he managed to keep one growing in his garden due to it being a bit sensitive to our winter climate.
Of course, an alternative option, when desiring a specimen that is not totally cold hardy here is growing them for enjoyment in your container gardens during our summers and then overwintering them if possible in frost free places in the fall and winter. Many times semi-hardy plants will survive this way.
I can envision this chaste tree right now growing in a large container garden, and would pair it up with other plants showing off soft color tones, like pink, soft yellow, or other blue to violet flowering plants. If you browse John’s blog, A Walk in the Garden, you will see the other color of flowering plants he put near his chaste tree in his garden, some were hot pinks which worked well.
This deciduous shrub is a long summer bloomer, and as John noted on his blog post, it can be deadheaded for re-bloom later in the season, which he has done for twenty years on his plant. It was a grown from a second generation cutting from its parent at his Aunt Martha’s home in Chatham, VA.
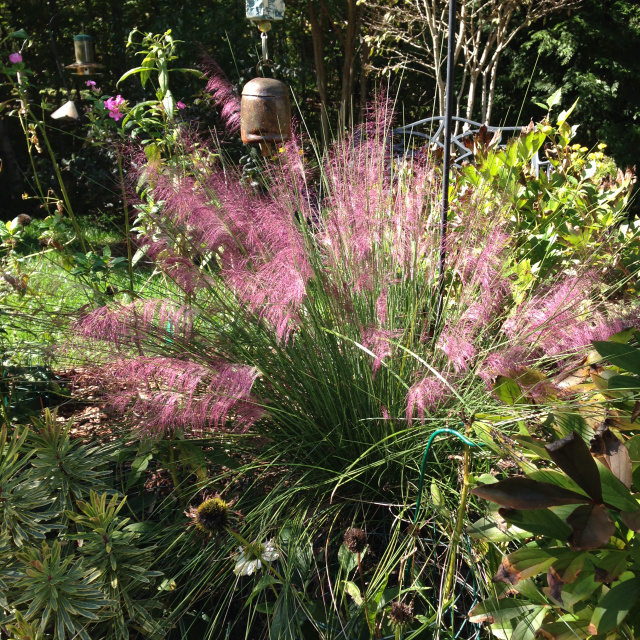
Muhlenbergia capillaris (pink Muhly grass)
Then there was another day when John posted the pink Muhly grass photo from his gardens. Oh my God, I thought. I just LOVE that grass, and wish I had one here. The photo was especially beautiful because of how the sunlight captured the bright to soft pink colors of this fine textured ornamental grass in his garden, and I especially like how delicate this perennial ornamental grass looks and feels. Again, depending on which source you look up this grass, it is hardy to zone 6 or zone 5.

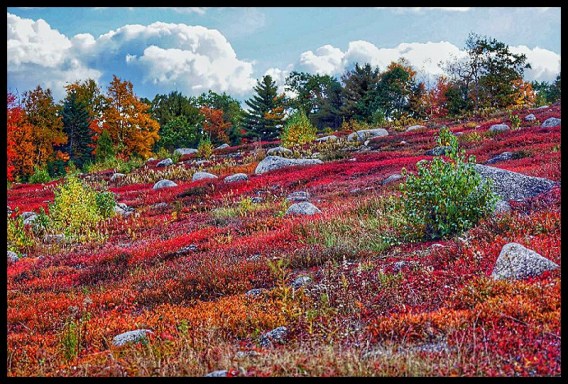
John noted that its a native, so his climate is ideal for its growth.”In October it was glorious,” he wrote, “…as the sun seemed to ignite its pink seed clusters.” I couldn’t agree more, it is electric – Just look at his photos!

Photo by John Viccellio
Ah, I thought as I read his words and admired the photos he posted, I can imagine this vision on a fall day. Selecting a spot where the sun would hit it would be ideal in the landscape or garden, or again – in a container garden or patio pot. I can envision it in a cobalt blue pot, can’t you?
One day, on a day which some bloggers call, “Wordless Wednesday” – John posted two photos of his pink Muhly grass with no words or text because, it was “wordless” Wednesday, and it was enough to see just the photos, let me tell you – this grass is captivating.
A Walk in the Garden blog shares beautiful photos of the grass growing in their gardens.
John has been kind to follow my blog, and I follow his – but I really don’t remember who discovered whose blog first. So, recently I asked him to answer these following questions as a fellow follower – and wanted to share his blog site with my readers so they may enjoy his gardens too.
Why do you blog?
“I started the blog almost two years ago coincident with my self-publishing of my first (?) garden book (Guess What’s in My Garden!) in hopes that it would spur sales of the book. Over time, however, I began to respond to a number of garden memes out there (and photography), and that has been pretty much the direction I have been going. It is fun, and am getting to know folks all over the world. I have been thinking a lot about how I can get more info about the book into the posts and perhaps spur a few more sales. I have spoken at several garden clubs this past year, and that has gained me some blog followers and a few sales. I love the involvement I have now with fellow gardeners and fellow bloggers around the world.”
What attracted you to Container Crazy CT’s blog?
“I was attracted to your blog for several reasons. I realize you are using it as a vehicle to support your business, and I have enjoyed seeing your business related posts. It’s just a bit far for me to sign up for some of your workshops. I also have liked your hands on posts (e.g., pot arranging, etc.). Your warm personality shines through what you write and present…I can sense your smiling.”
What is your favorite plant or way of gardening?
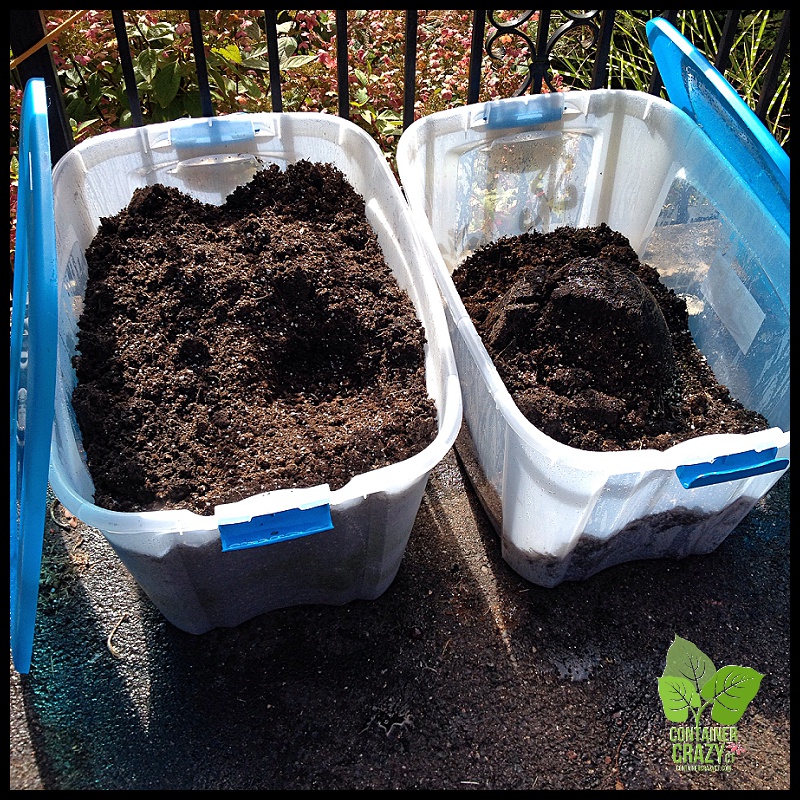
“I have lots of favorite plants…particularly iris, peonies and azaleas…but my favorite way of gardening (because of our soil) is raised beds. I also very much enjoy creating things for the garden…stone walls, trellises and clematis poles that I have designed and constructed.”
Thank You for Your Service
And by the way, John Viccellio is a retired U.S. Navy Veteran – so, in addition to thanking him for his online contributions, gardening style, and demeanor expressed on his blog regularly, I’d like to pass on a sincere thank you to John for his service to our country in honor of Veteran’s Day which was two days ago on Wednesday.
Cathy Testa
www.ContainerCrazyCT.com
860-977-9473
containercathy@gmail.com