
During the Dreary Days of Winter
If you read my blog, you saw I potted up two Amaryllis bulbs in early February. As the days moved along, I took several photos of the blooms, especially the white one, called Athene, because it grew far better than the red one. The red one was not at fault however. I put the red one by a north window which I knew wasn’t really warm enough and wouldn’t provide the sun it needed to really take off. It did grow and bloomed, but was not nearly as nice as the white one.
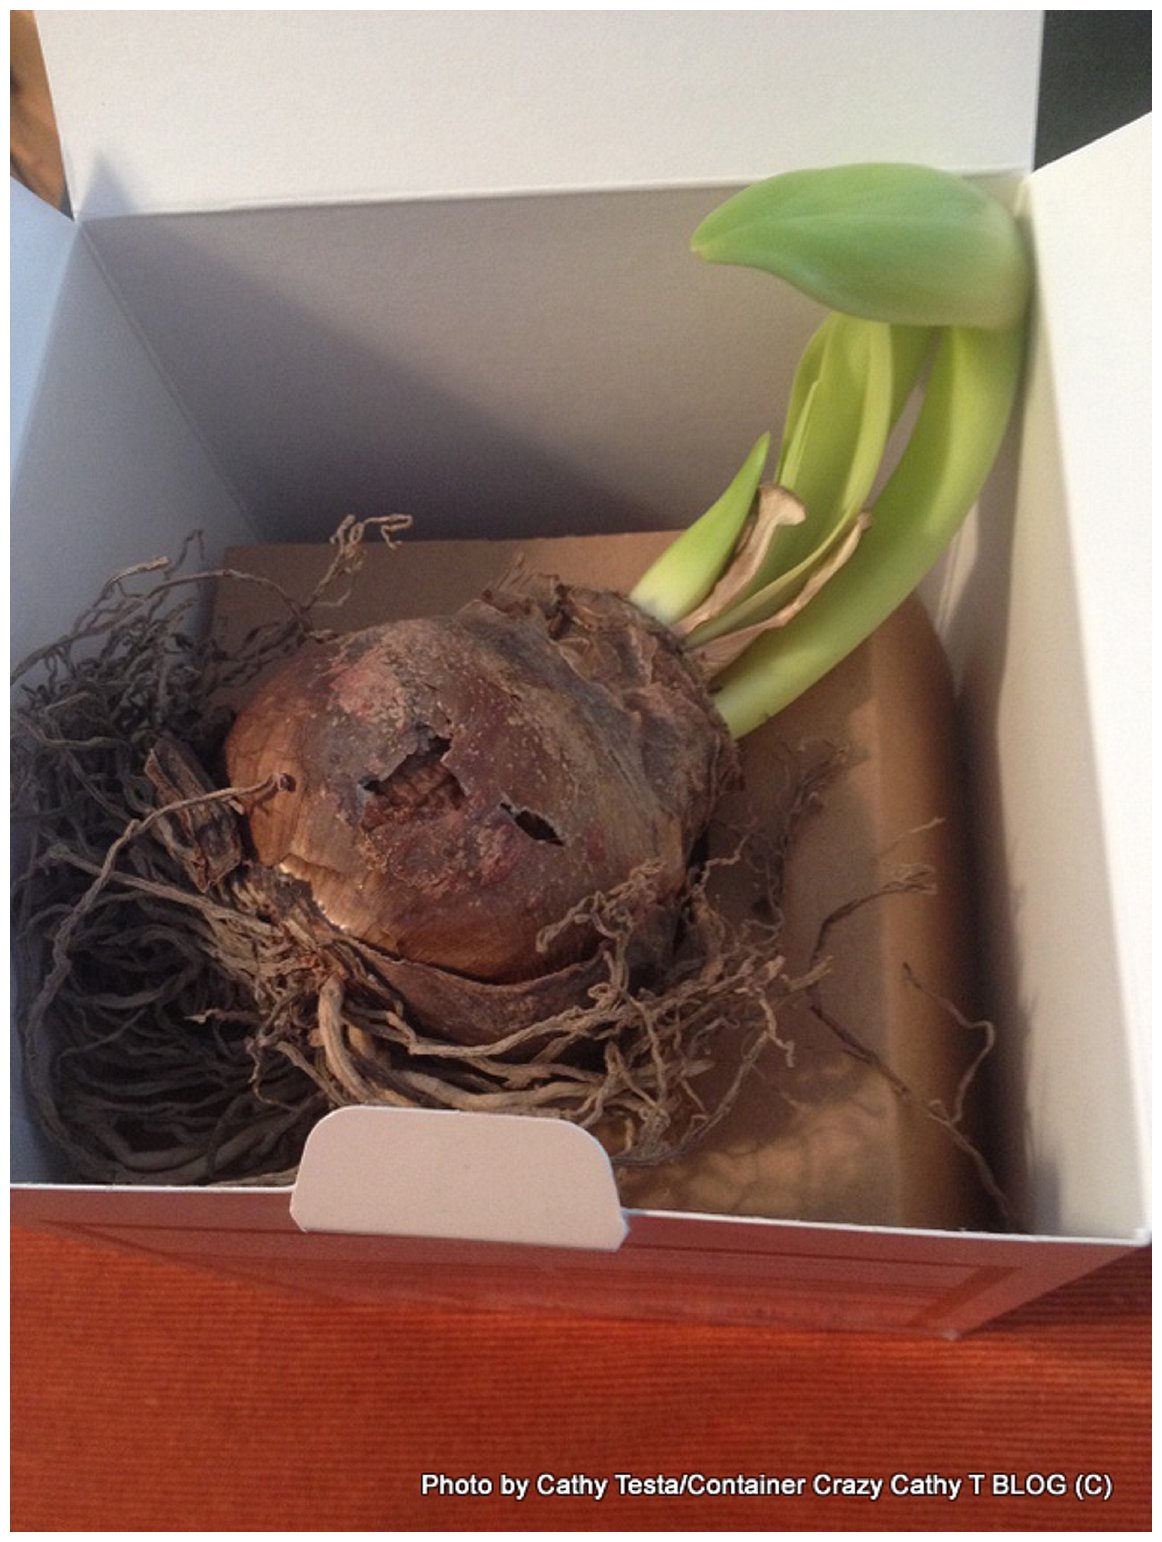
Red Amaryllis, Red Lion, in Box
When I bought the two bulbs on sale, they were already sprouting in the box, so they bloomed in about 3 weeks (rather than the typical 6 weeks) after planting. To see how I planted the red one in a glass vase with stones and water, see this post.

Red Lion in Glass Vase by North Window
When the red blooming (Red Lion) Amaryllis was reaching the end of its blooming period, I decided to pull apart one of its trumpet shaped flowers, and remove the pistil (shown in photo below – right side) and stamens (6 shown sitting to the side of the pistil) because it was just a curiosity thing. Each was attached at the base of a petal and it was a good photo opportunity. The pistil is the female part of the flower and the stamens are the male parts (a bisexual flower structure). The pistil is made up of a stigma (tip), style, and ovary (the ovary you can’t see in the one I removed because it hasn’t formed yet but it is usually found at the base of the female parts in the flower). Each stamen is made up of an anther (located at the tip) and filament, which is the stem like portion holding the anther at its tip.

End of Bloom
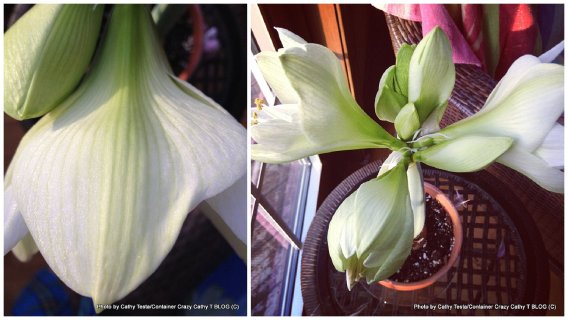
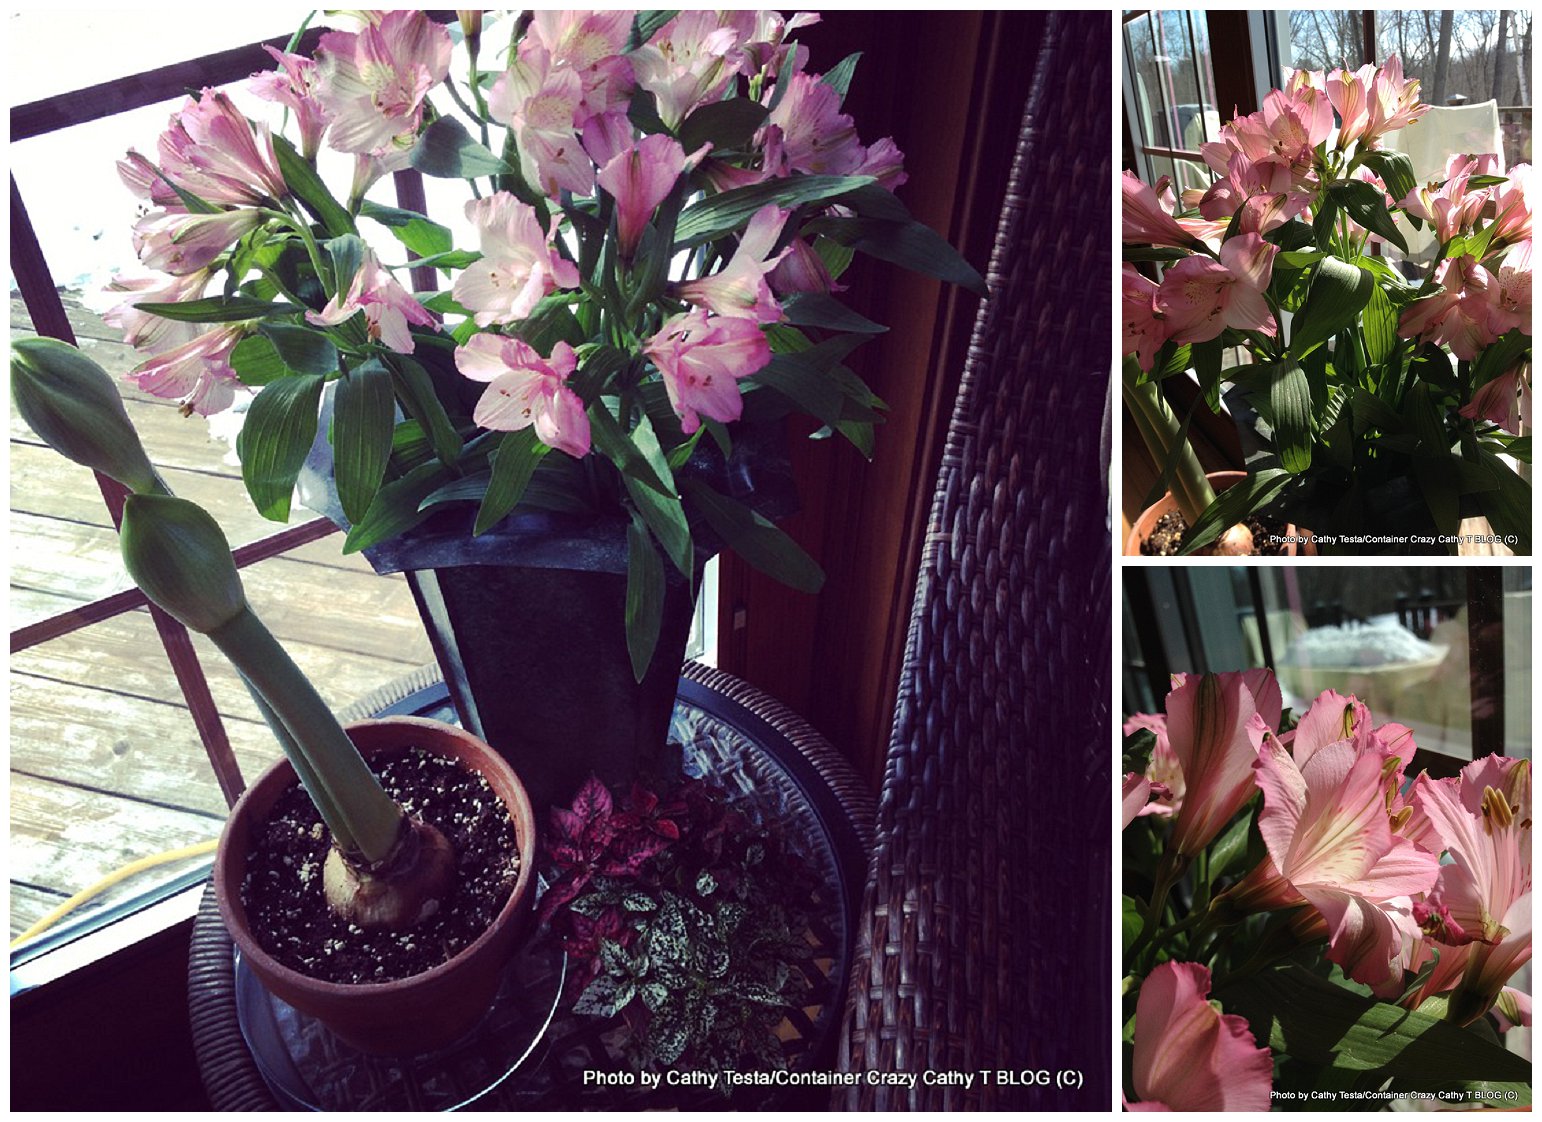
The white blooming Amaryllis Athene is shown in next photo below next to a vase of cut flowers (Alstroemeria). The flowers of Amaryllis are borne in groups at the tips of each tall stem. As the big bud opened, individual flower buds expanded outward. There were four (or six) at the tip of each hollow stem. When completely opened, the group of flowers formed a beautiful big white ball of funnel like flowers which were large and showy. (BTW, I included photos of the cut flowers because they were pretty and a good way to cheer up the dreary days of late winter as well. I recommend you buy a bunch for yourself and put in a vase, it makes things warm up a bit inside!)
White Blooming Amaryllis in Terracotta Pot
As you can see in the photo above, the white Amaryllis Athene was potted up in a small terracotta pot. As directions stated, about 2/3ths of the potting mix is below the bulb and the top 1/3 of the bulb remains exposed (uncovered by the potting mix) so it sits above the soil line a bit. It is best to place them in a warm sunny location and this one found its home by my south window. Watering lightly is key, you don’t want the soil to be soggy or wet, and it should drain well. The soil should be moist but not so much so that the bulb is in a wet and soggy situation where it can rot. And the pot should be fairly small as the roots like some restriction. A good gauge is if you can fit your thumb or two fingers between the edge of the bulb and edge of your pot, you have enough space and it is comfy. Additionally, if you skip a day or two of watering, this plant usually can take it well. It doesn’t need constant attention and is usually very easy to grow and take care of once you know how to do so.
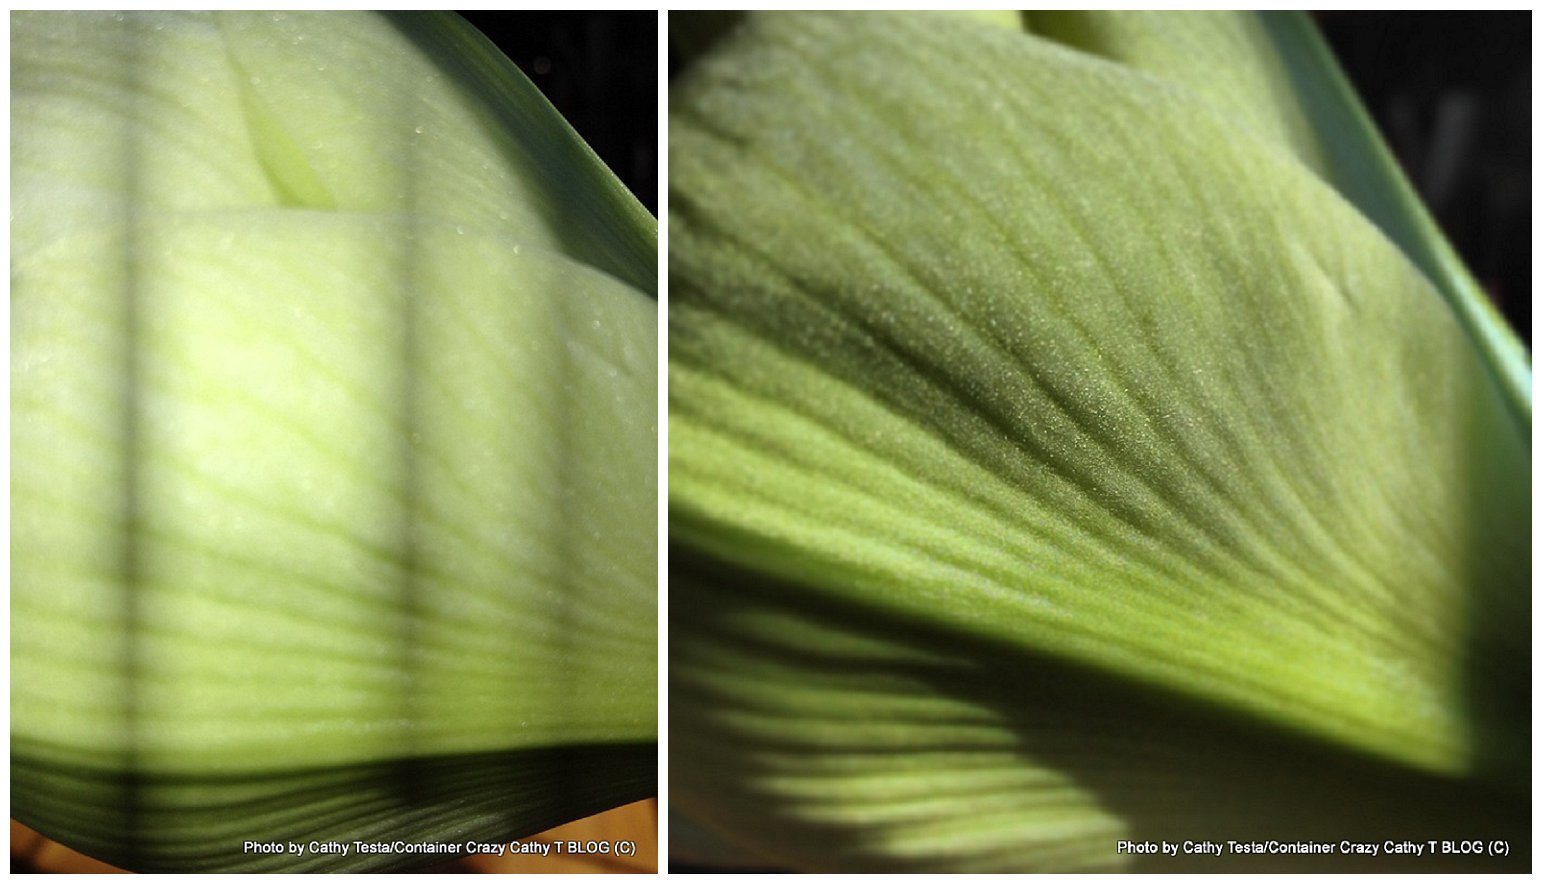
Back side of Flowers
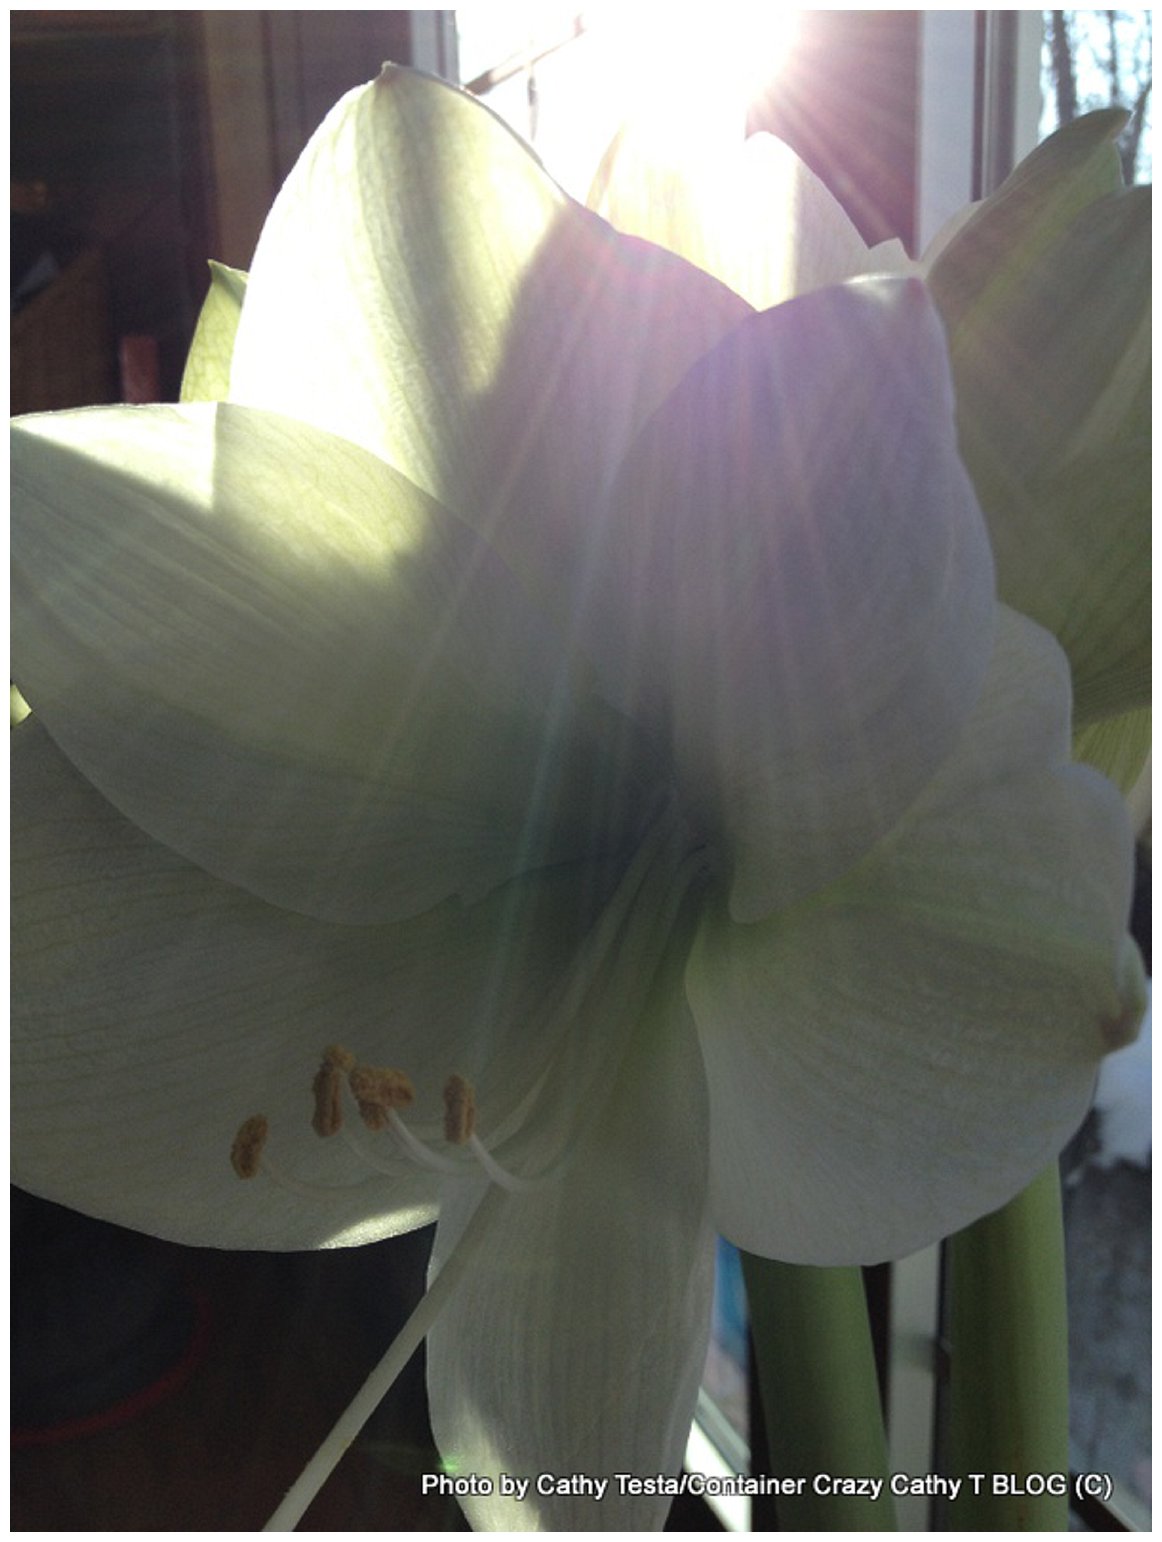
In the early mornings, as the sun cast through my southern facing slider window, I would take some more photos. I love the way the backside of the flower petals sparkled when you looked up close. It certainly was a nice distraction from the colder temperatures outdoors. It beat looking at the snow.

Rising and Opening
There were two stems, which are hollow, topped with several buds at the top. As they began to pop open, I decided to add some decorative glass stones and sparkly sticks to the pot. Just one of those things, playing around with it – since it was becoming so pretty. I thought about how pretty these would be in groups or as a centerpiece for a special occasion in the winter. You can see the leaves starting to come out of the base. After the flowers go by, the leaves will grow quickly, and should remain on the plant to store energy in the bulb during the summer months.

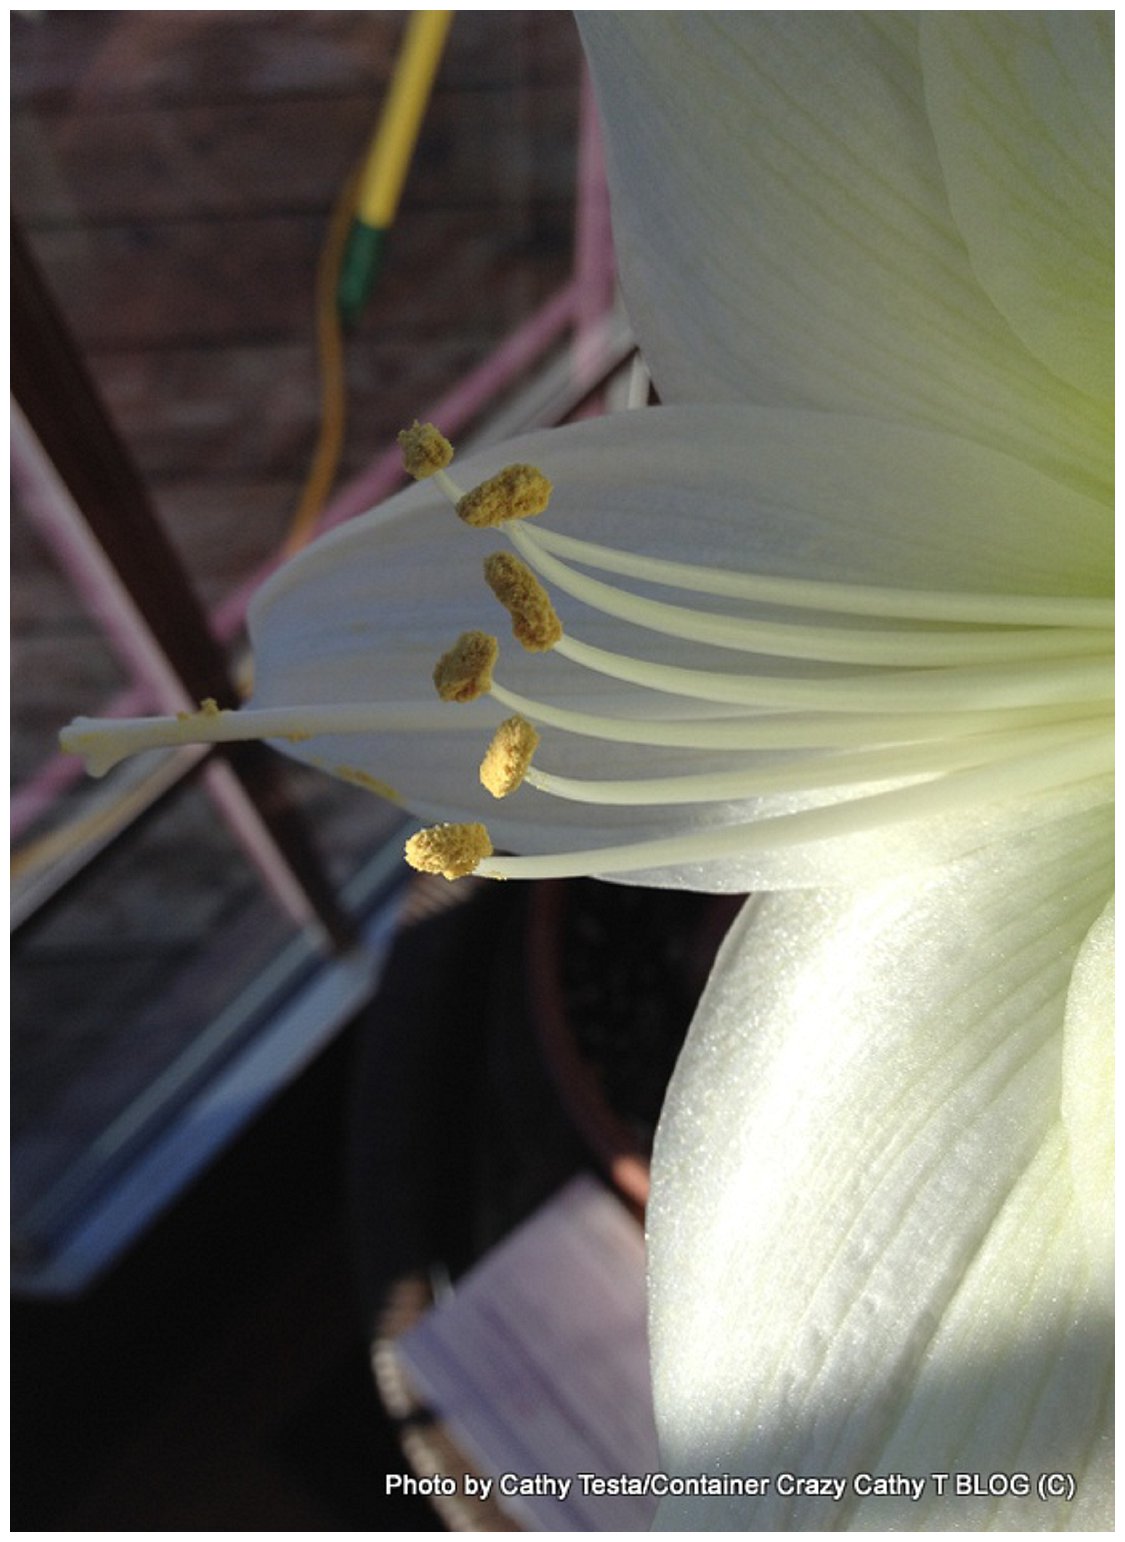
Pistil made up of Stigma and Style in the Center Photo above
In the center photo above, you can see the pistil (female part). When looking closely in the next photo, you can see pollen sticking to it from the anthers. The anthers are on the right and are the pollen bearing flower parts of the stamen, positioned at the top of individual filaments. In this case, you can see six filaments extending out. Filaments are the stalks that bears the anthers in a stamen (male part). Why you need six stamens for one pistil? Well, you know how males can be! LOL. The pollen will make its way down the pollen tube (part of the stigma structure) to the internal ovary in the base of the flower structure. It always amazes me how a tiny pollen grain can move down a pollen tube to continue the cycle of life in flowering plants.
Internal Parts
To me, the internal parts of a flower are just as beautiful as the flower buds and petals. With Amaryllis blooms, you can see them clearly should you want to examine them or use them as a teaching opportunity for kids. And if you want to learn how to pollinate your own Amaryllis by hand which is done to create hybrids (crossing with another variety) or to ensure pollination for seeds, see directions here by Amaryllisbulbs.org. There are some close up photos of how you can apply the pollen from the anthers to the stigma at the “right” romantic time. See also the video at the bottom of this post for more on how to pollinate Amaryllis.

Blooms Opening
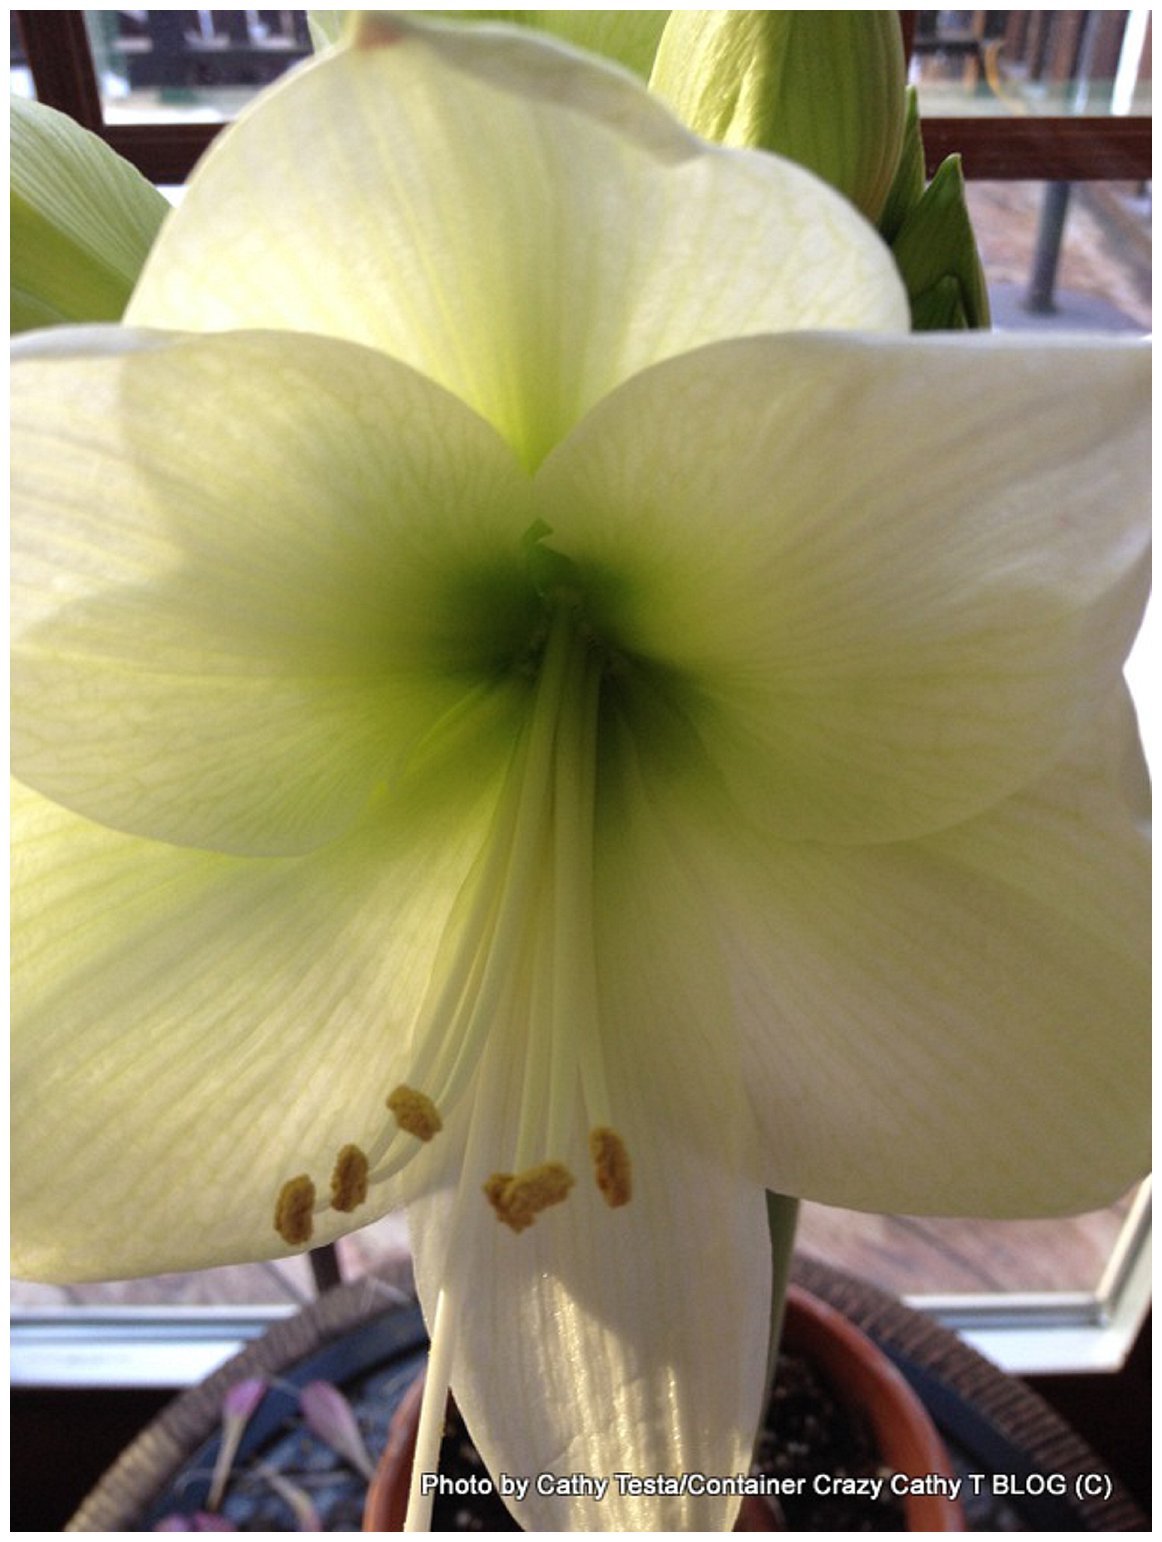
Soon enough, I was taking photos from every direction as all the flowers at the end of the two stalks started to completely open all around. With two stalks, topped with 4-6 buds, it was turning into a globe of white beauty. There was 8 fully open flowers at the end of its show. At one point, I swear there were more flowers, like 12 but not sure now, and should have actually counted. Let’s just say it was magnificent. The plant was about 20 inches tall and became a spectacular show in white. I rotated the pot occasionally so the stems would not lean in one direction towards the sun. It ended up being a very straight and tall specimen to enjoy through mid-February to mid-March. It was a great distraction during the dreary days of late winter.

Gorgeous Topped Blooms of a White Amaryllis
I started to post photos of it on Facebook and Pinterest to share. It was really taking the edge off of winter for me during the month of March. By the third week of March, the blooms began to fade, so I knew it would be time to say goodbye to quite a show.

One more shot
Here’s one more shot from the top. I wish I could have taken some professional photos of it because it was so pretty! The spot where this Amaryllis plant sat is near my sitting area for coffee in the mornings, which I love because the eastern sun rises and it starts to shine through the southern facing slider door window. I actually removed my kitchen table from this small area in my home to make it a cozy nook to enjoy when sipping coffee, reading, or just watching the birds on our feeders outside. We have a small kitchen island we use as our dining place now, and I can’t tell you how much more utilize the former dining space now that it is a sitting area. In summer, we tend to eat outside on our deck.

Sunlight
After all the flowers faded, I cut them off leaving the leaves and part of the hollow stems to continue growing. (FYI, if you want to try pollination, don’t cut them off and watch for the right time to move pollen from the anthers to the stigma; see the video below for more). See also the website noted above for information on pollination or video below.)
Green centers of white petals
In Summer:
I will move both plants outdoors in summer and let the long strap like leaves remaining on the plant enjoy the warm sun to increase in strength as they produce food by photosynthesis and store it in the bulb. If the leaves are so long they flop over, you can use a stick or bamboo pole in the center and put a piece of twine around to hold them up while outdoors during the summer months (or late spring after any danger of frost). At the end of summer, they will be returned indoors and be allowed to dry completely (no watering) and stored in a cool dry place (basement) to stay in a dormant state and rest until I feel the need to return them to warm temperatures again – probably next February when I will be needing some indoor inspiration again. Note: The plant doesn’t need to be re-potted for a long time because it enjoys restricted root system.
Cathy Testa
Useful Links:
http://www.clemson.edu/psapublishing/pages/HORT/HORTLF63.PDF (Clemons Extension Horticulture)
http://www.usna.usda.gov/Gardens/faqs/AmaryllisBloom.html (The United States National Arboretum)
http://www.saga.co.uk/lifestyle/gardening/masterclass/growing-and-caring-for-hippeastrum.aspx (Saga)
Video of How to Pollinate Amaryllis by Mr. Brown Thumb:
Sun casting thru
Other Info:
Amaryllis are bulbs of the genus Hippeastrum that are native to tropical and subtropical areas of the Americas. In Connecticut, they are popular around the Christmas holidays or during late-winter to force indoors as a houseplant. They are easy to grow and can remain in the same pot for years as they cycle through their growth and bloom periods. And they are guaranteed to add some cheer during the holidays or dreary days of late winter. You usually can find them on sale in February, after the holiday season has passed. Enjoy!
