Happy (or is it?) New Year 2022!
After waking up from the foggy mind, after our confusing holidays, I start to pull out my calendars from last year, which includes two (if not 3) wall style calendars, notebooks with key dates, reviewing my own blog posts from the past year for key dates, and going thru client binders to get my new 2022 calendars started.
Yes, I have all those various sources to track activity by dates. I want to remember the odd things that happened because it helps me to be prepared, or to try to plan ahead, and to remember, in the gardening world, lots of variables come into play (timing, weather, pandemics, etc.).
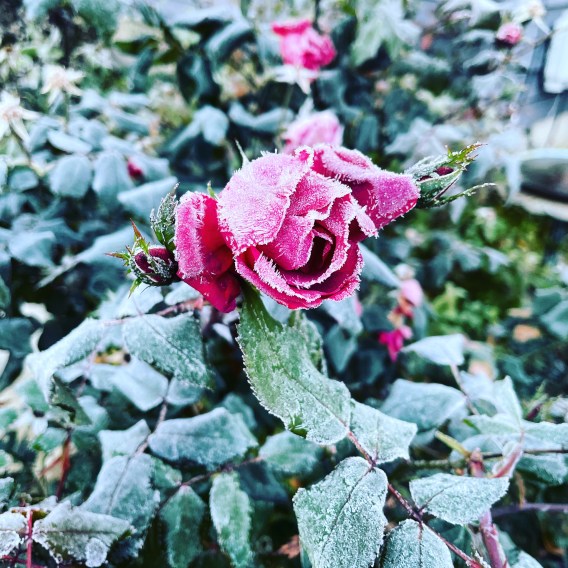
Unexpected Snow Fall in April?
For example, do you remember when we had a snow fall in April of 2021? I do. I purposely took a photo of the date scratched into the top of my fire pit cover, and I also noted the date on my 2021 wall calendars. The notations are reminders of things that can happen when you least expect it, or we should be expecting it, cause it probably happened the year before, or it may again…
Cold Rains on Memorial Day?
Like for example, do you remember the cold temperatures and crazy rain we had on Memorial Day weekend last year? It traumatized me because I literally finished planting a site the week before! I was so worried about the plants and how they would be impacted by the freak cold rain we got the whole weekend after I finished my job site. I went silent. My husband even asked me why I was so quiet as we drove out for a weekend at that time, and I told him, “I’m super disappointed in the weather we had over Memorial Day.” Then I stayed silent for the rest of the drive.
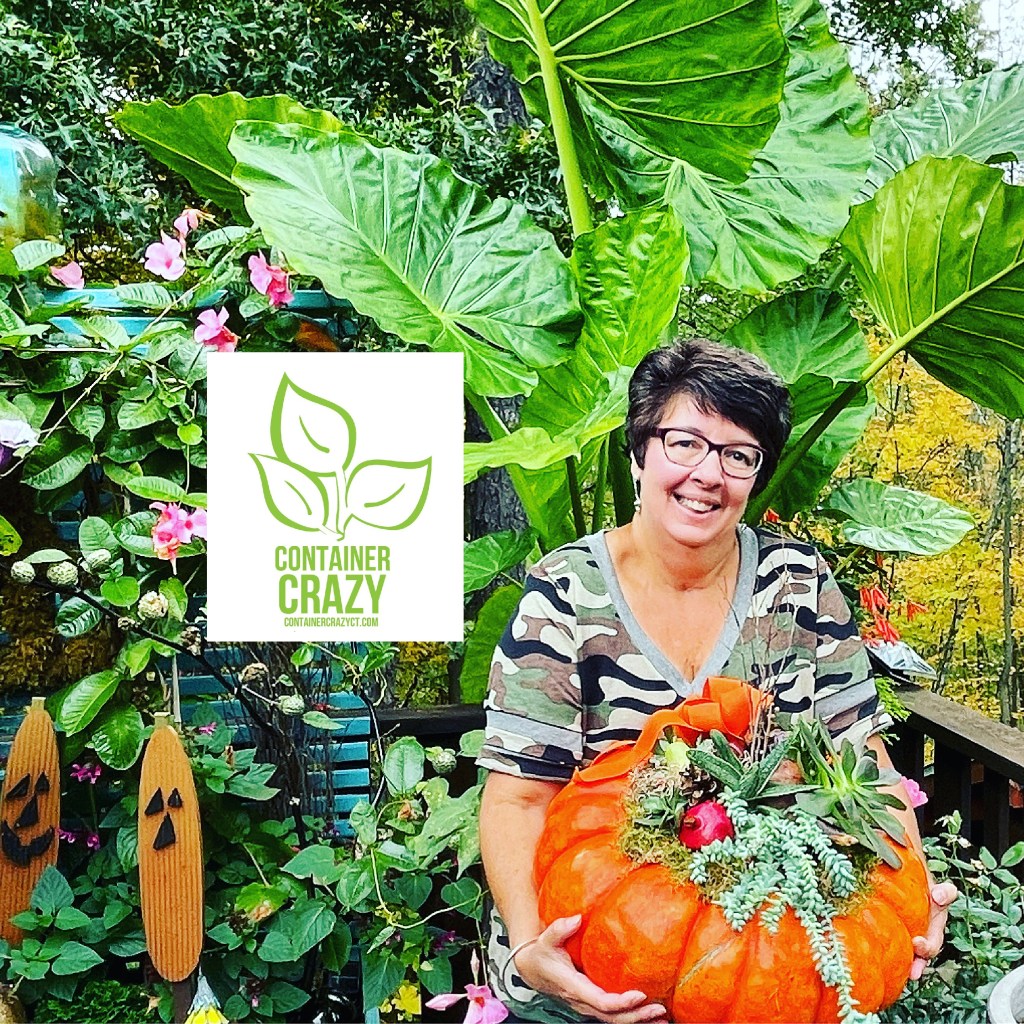
Flooding of Summer Fields…
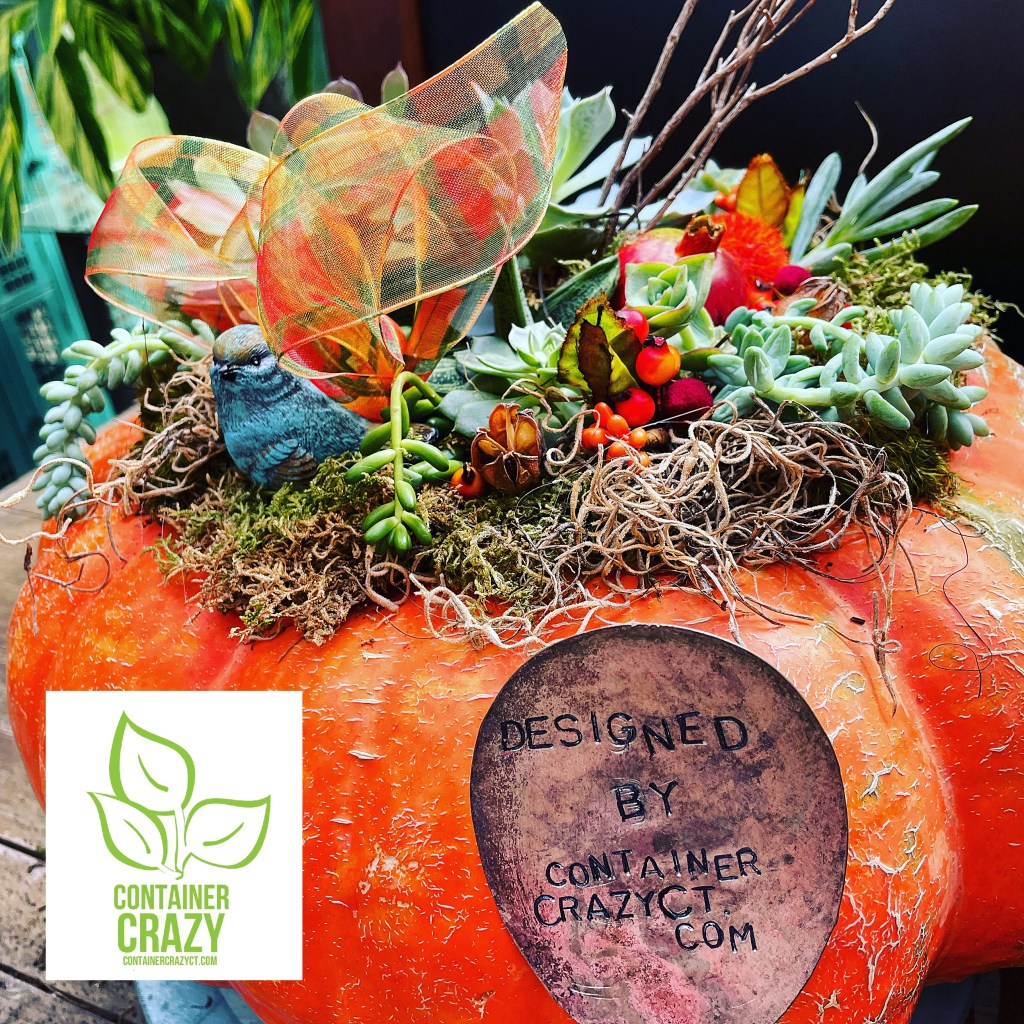
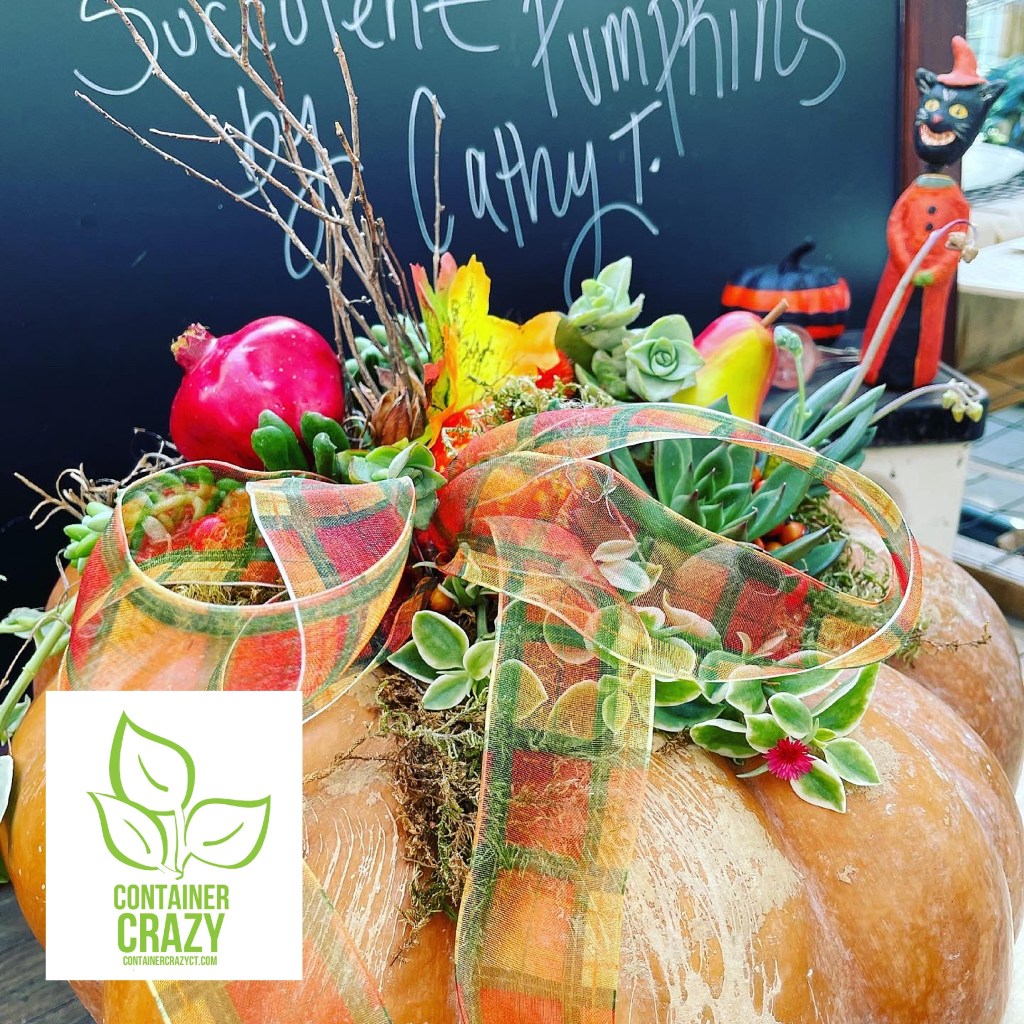
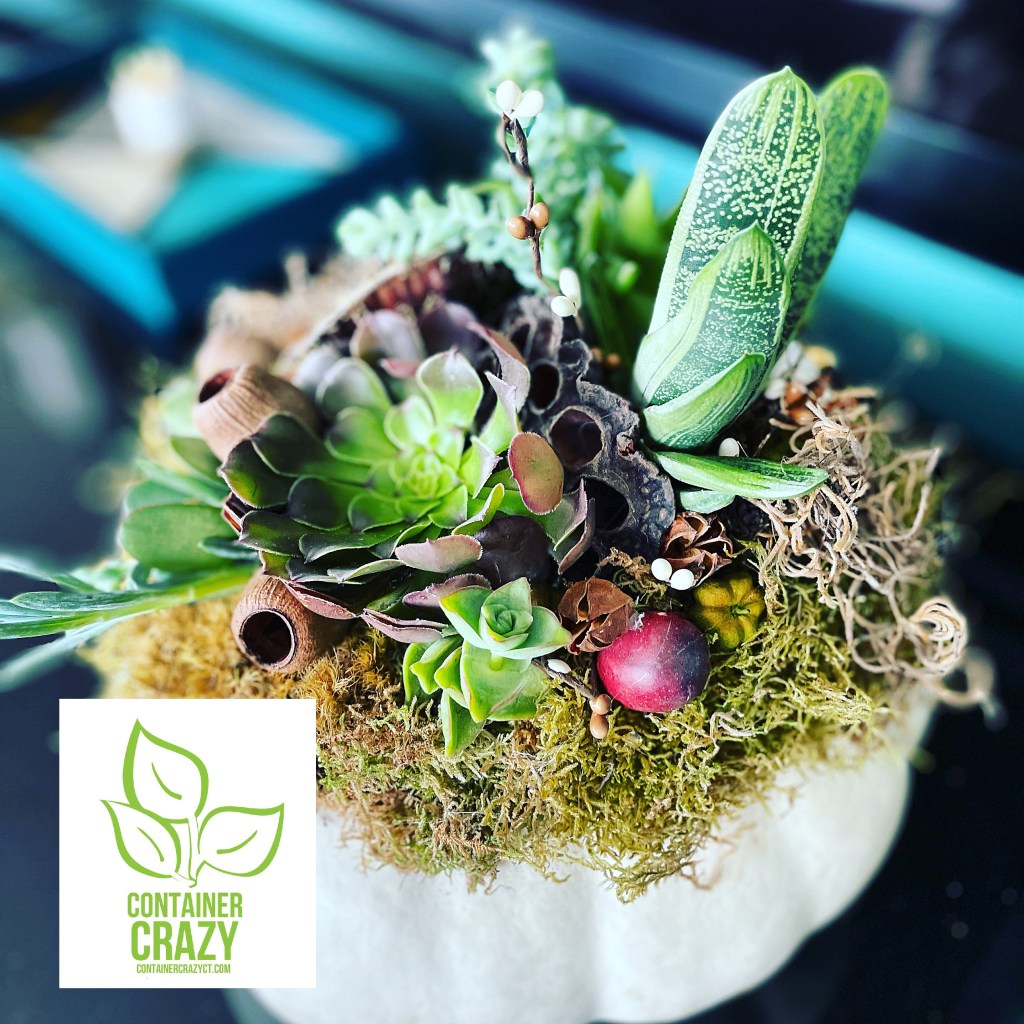
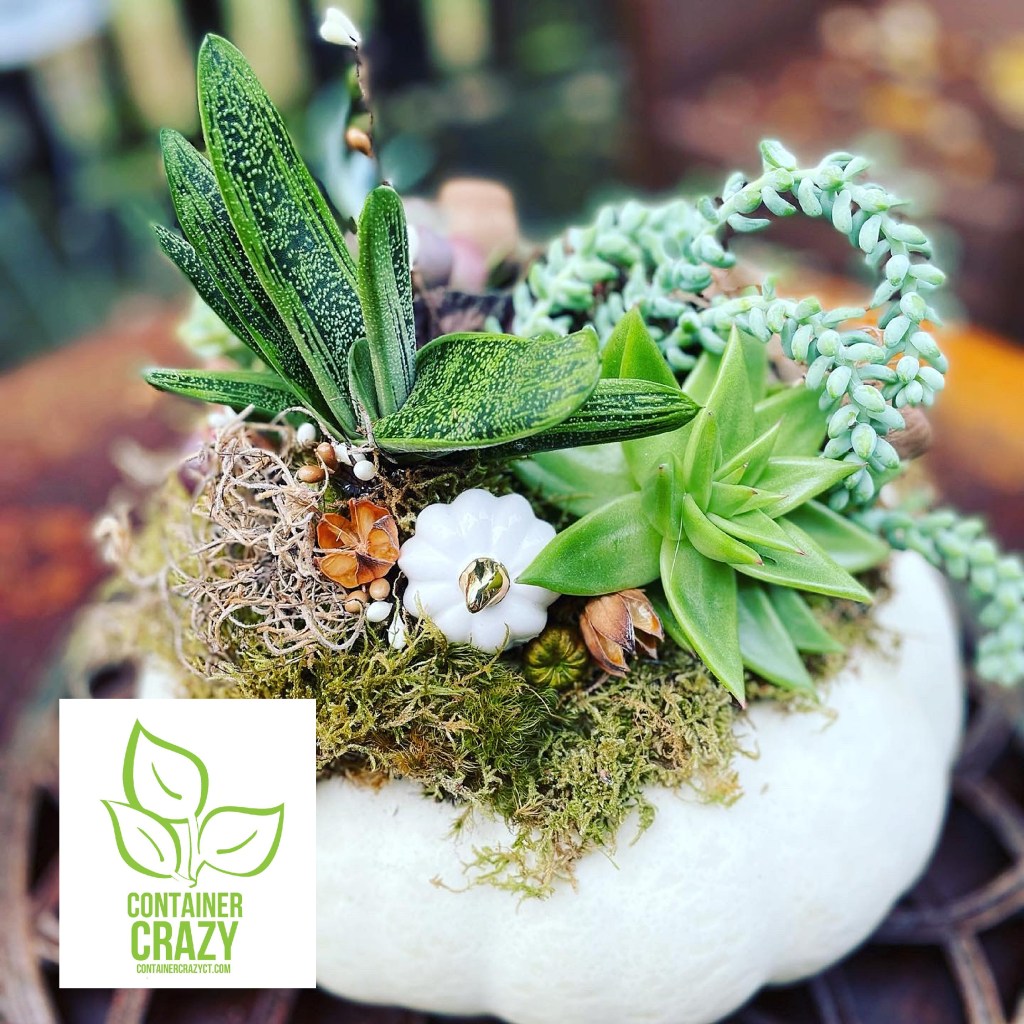
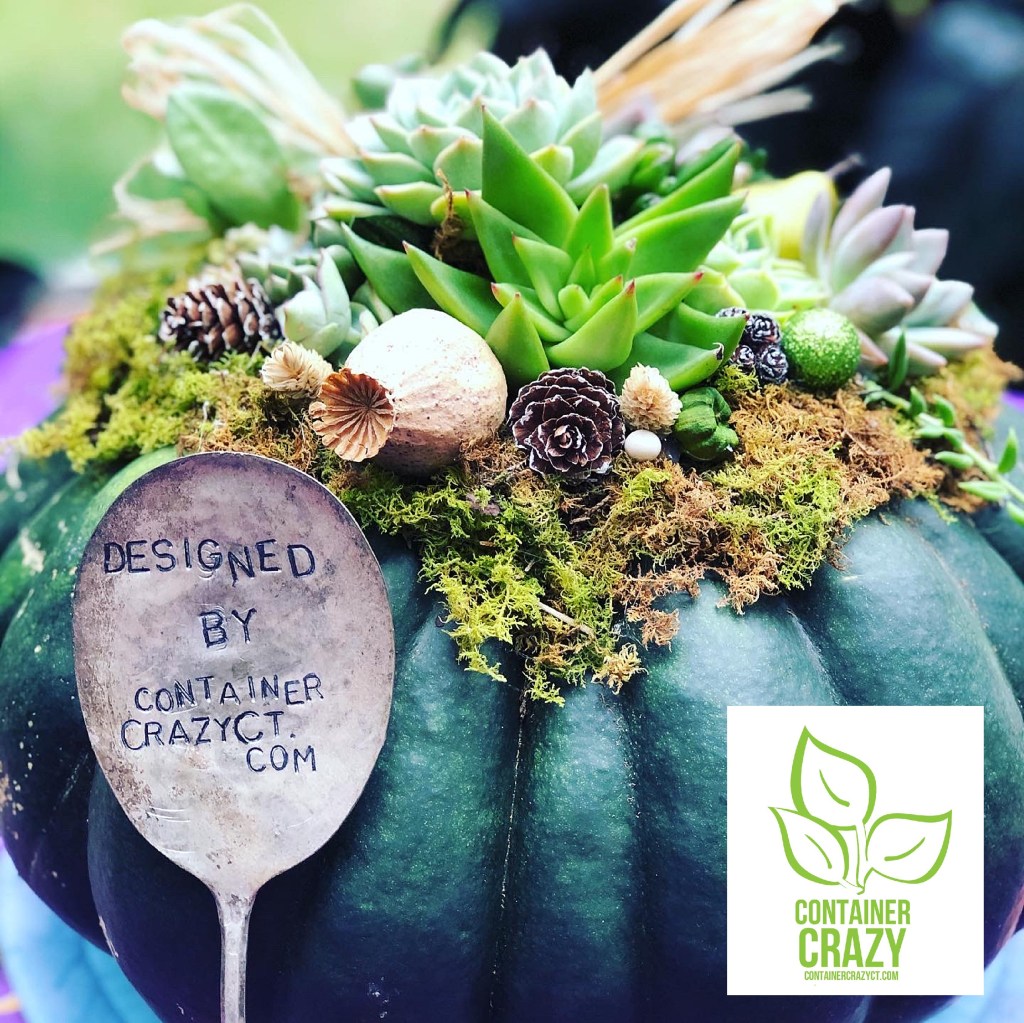
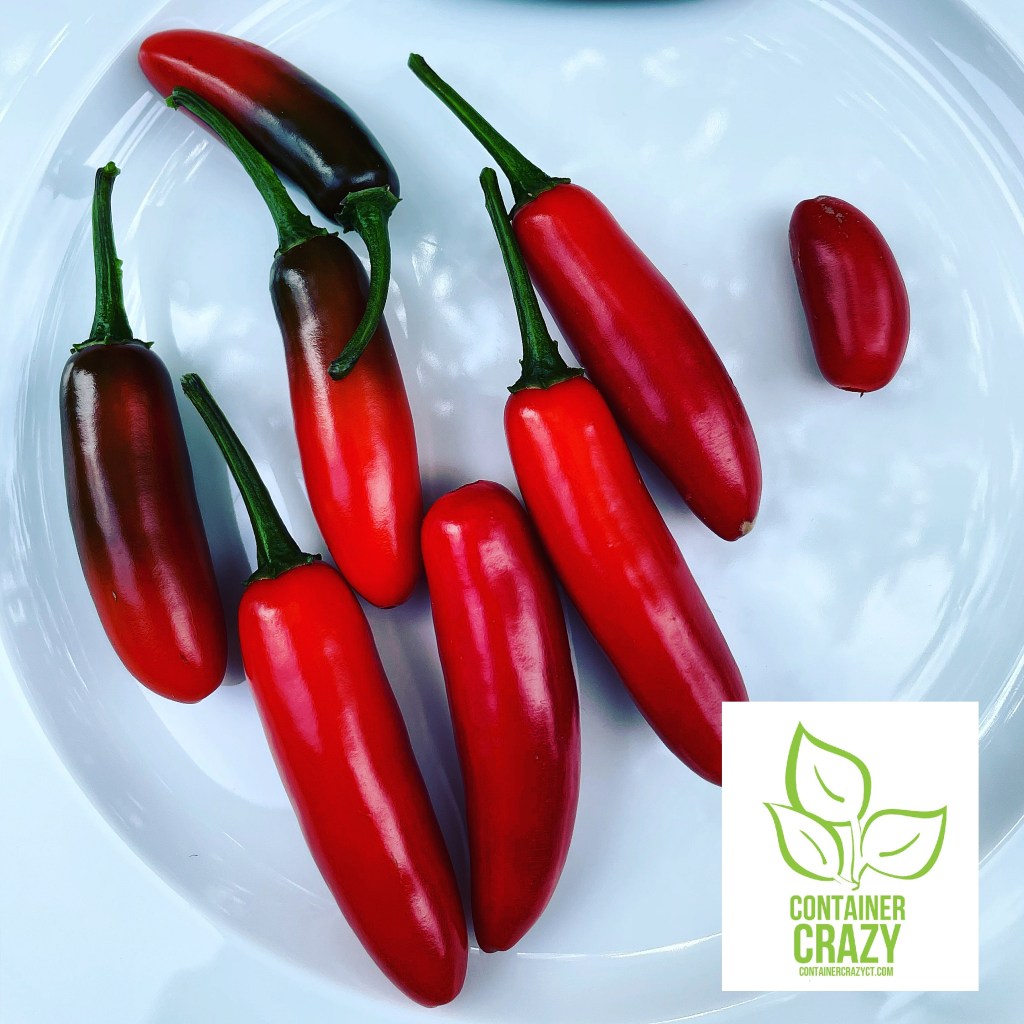
Also, what about the floods we had in farmers’ fields in 2021 during the summer months – which impacted the availability and quality of pumpkins I use when I make succulent pumpkins in October, and of course the rain during the summer that messed up the ripening of our tomatoes?! Need I say more…?
And dare I say it, Ugh, COVID. As my friend posted recently, “We all want to say bye-bye to Covid!”
The darn Covid world. It is everywhere it feels like. We never thought it would last this long or rebound, right? How many challenges must we face? Let’s not get into how it impacted everything, shipping, staff, uncertainty, availability, etc. And the very sad and depressing things, such as many people getting sick, hospitals overwhelmed, it just seems hard to rise up again. My blood pressure has risen. From the stress (or too many sweets over the holidays.)
In the world of gardening, you do face challenges. I told a grower once, “Every single year, it is different.” They agreed. It was very hard to plan and predict in our usual manner.
Global warming impacts us too. We see lots of changes in weather. It is so unpredictable. Thus, my calendaring routine is even more critical. Or is it? Because sometimes, its been difficult to take a deep breath at times, and start again. But alas, it is January, and I must start again.
Today, is January 6th, 2022. It will be sunny (thankfully, because I have to take down some outdoor holiday decor) and it will snow tomorrow, but then be clear on Saturday (unless that changes). I’ve started to come out of my holiday brain fog and started looking at key gardening and planning ahead dates.
Sowing Information
I remember that last year, around this time, people started searching about sowing information for their seeds. So I’m going to re-share the link below where shared some tips from last year around this time:
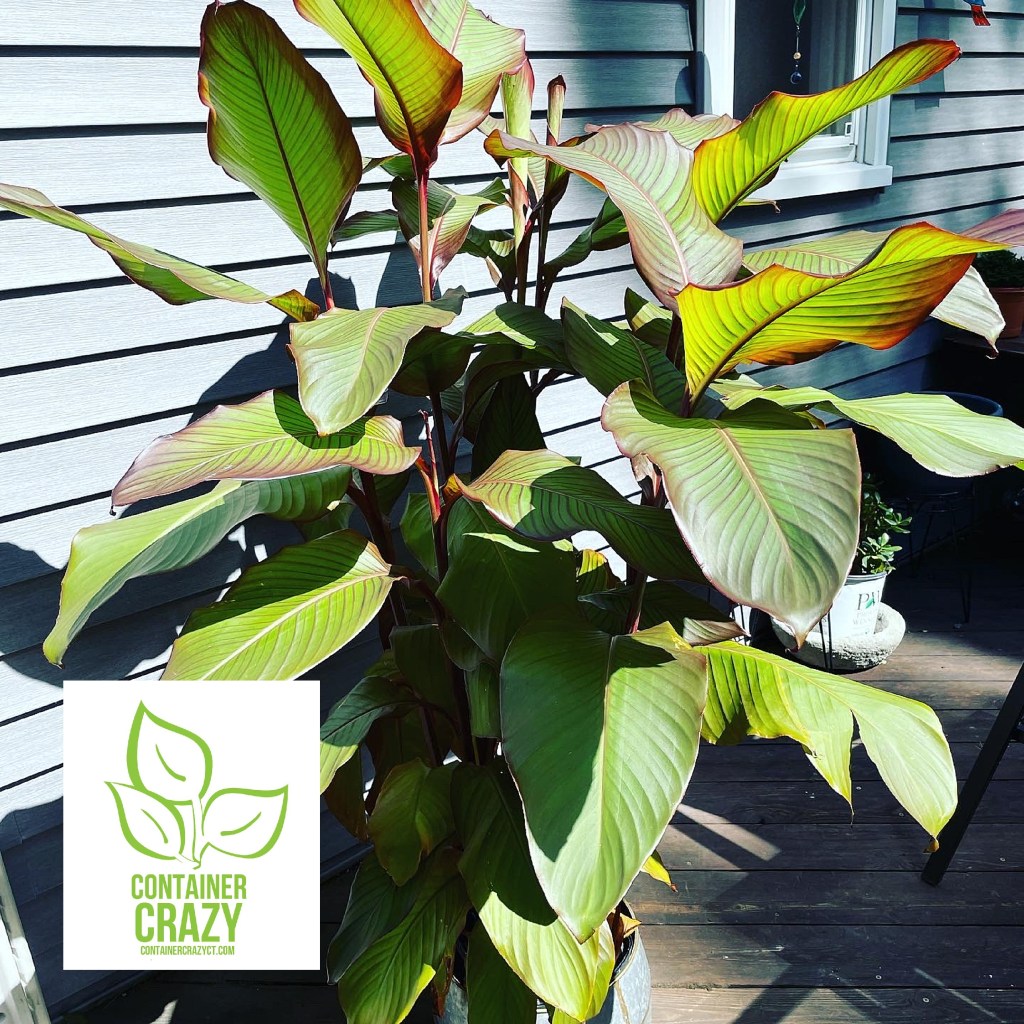
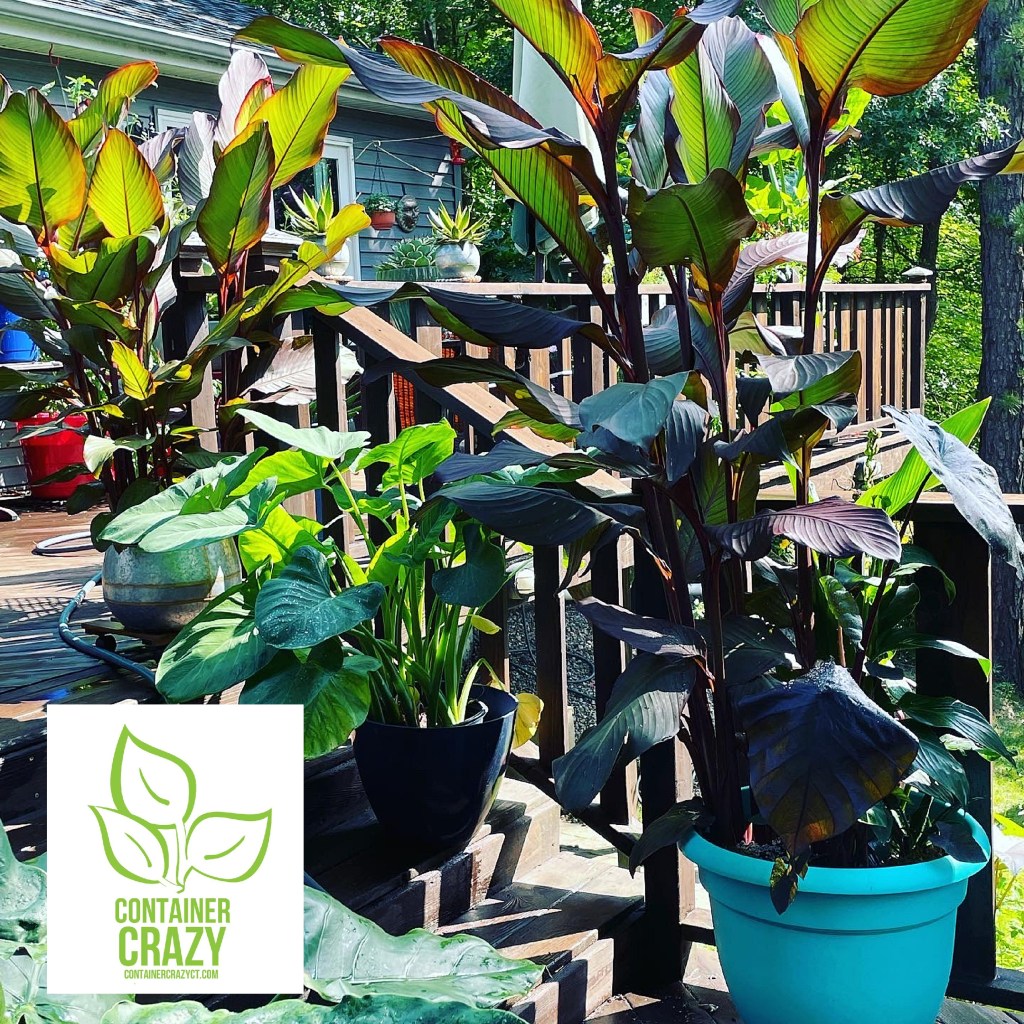
I have to admit, I’m still not done reviewing things, but I’ve started, and it reminds me of this: January is about “planning” and probably early ordering (at least for me), February is “ramp up” month, March is “sowing” month, and April is “growing month” which goes into May. And hopefully this year’s end of May will bring better weather when we are ready to put all plants outdoors for our vegetables gardens and tropical plants, etc.
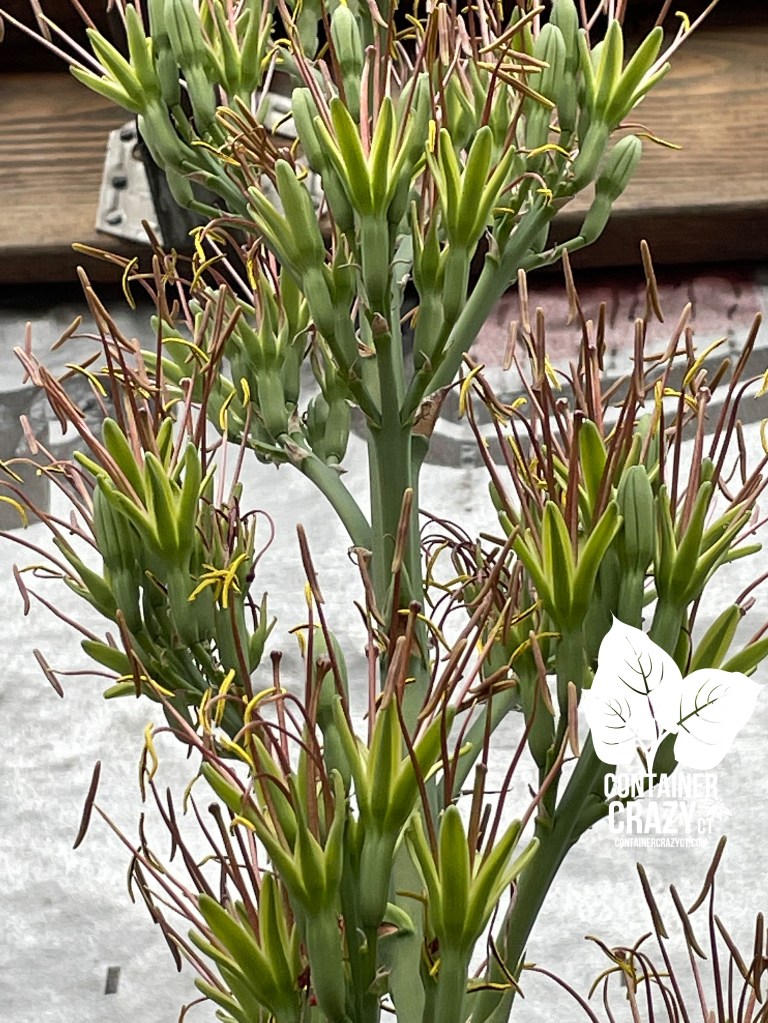
I know this post is a little choppy, but I needed to get it out there to let you know, I’m here and I guess I will take on the unexpected challenges yet again. Because when I’m in my greenhouse on sunny days in the winter, it revives me. I see the plants not giving up, despite being on the temperatures cool side in the winters, and some plants will even bloom. I’ve been witnessing, in fact, my Mangave plant blooming. It shot up a 10 ft tall stalk and the buds finally opened. They are still opening. The very top of the stalk is almost touching the roof. I have to step up on a ladder to get photos or look up as I did this this photo below taken a few days ago.
In the meantime, I hope this post is not too blah, because besides all the gardening challenges of last year, I still encounter enthusiastic plant lovers and I still am very passionate about plants – and it makes it all worth it. I think I’ll be ready to go at it again. Stay tuned.
Cathy Testa
Container Gardens, Plants, Plant Gifts, Seeds, and More!
860-977-9473 (texts welcome)
containercathy at gmail.com
See also:
www.WorkshopsCT.com
www.ContainerGardensCT.com
http://www.ContainerCrazyCT.com (you are here now).