Hi Everyone,
First, thank you to our hostess and guests!
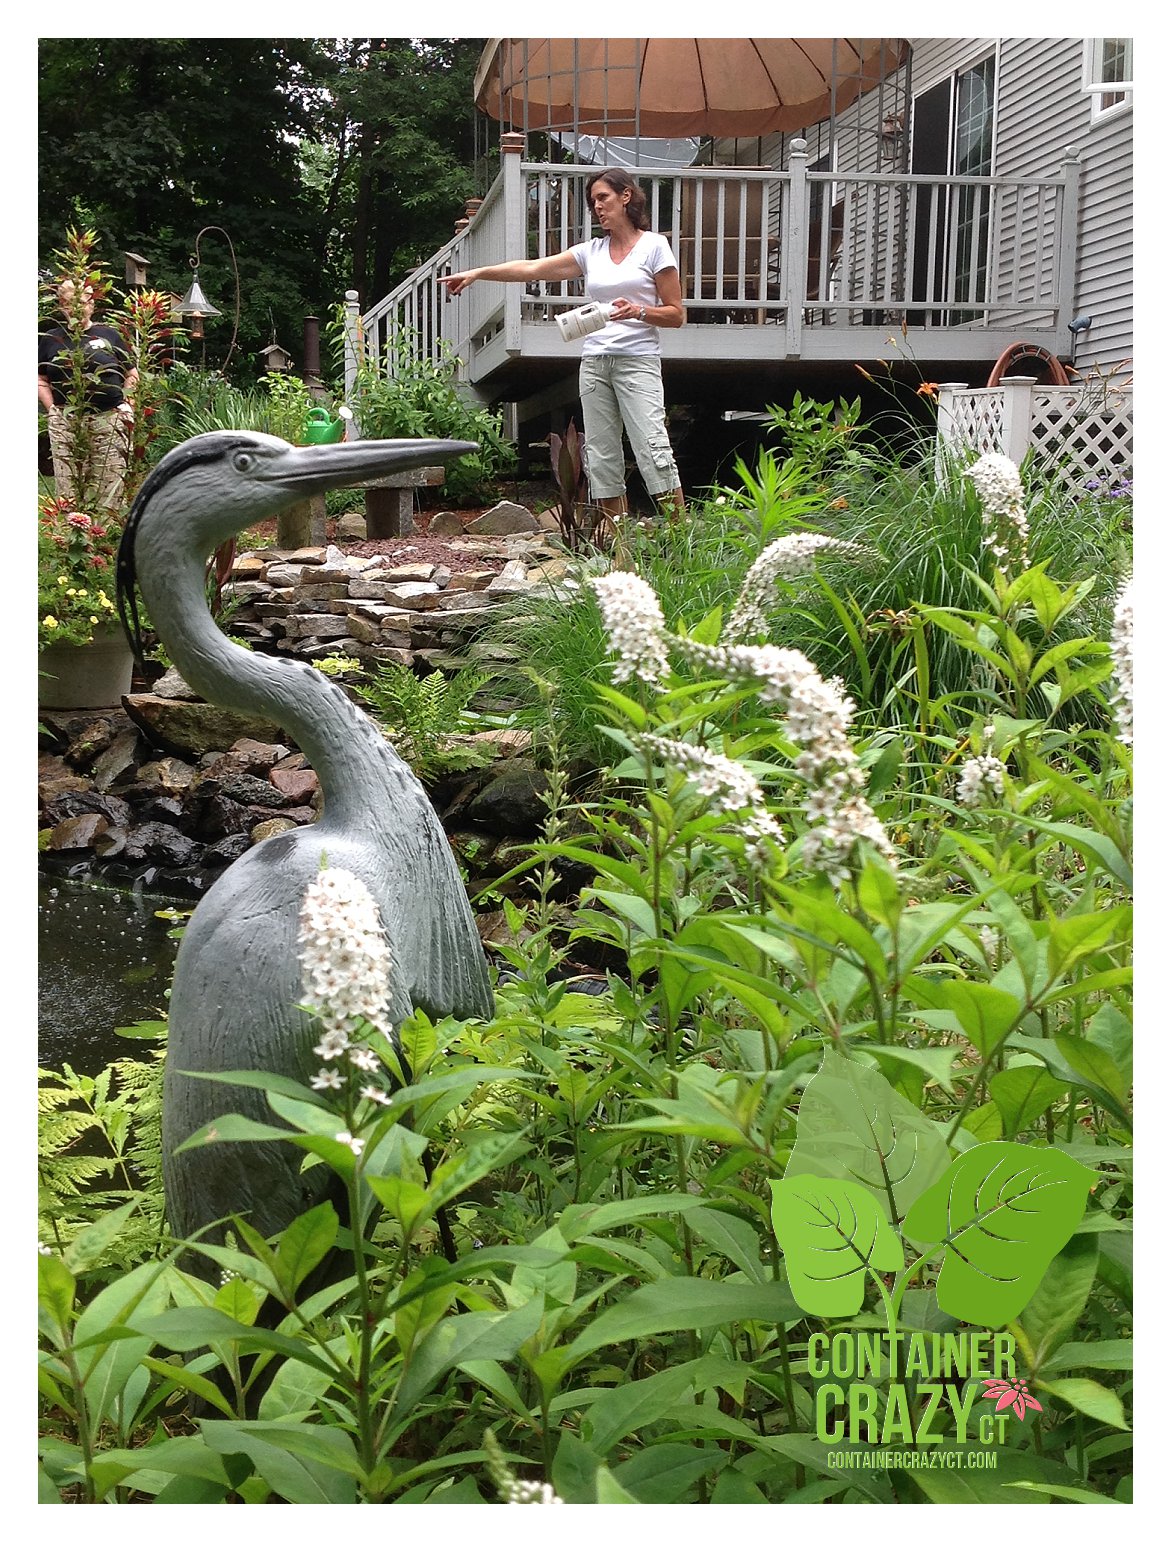
First, a great BIG thank you to our host, Rhonda Rafferty, for sharing her personal experience of starting her pond garden with one level, and then growing it by adding two more levels, as explained during our most recent “Walk and Talk” garden event, held last weekend.
Rhonda’s pond gardens are situated in her backyard, and they are visible from her deck patio area adjacent to her house. At the base of her pond gardens is a beautiful sitting area flanked with a pergola.

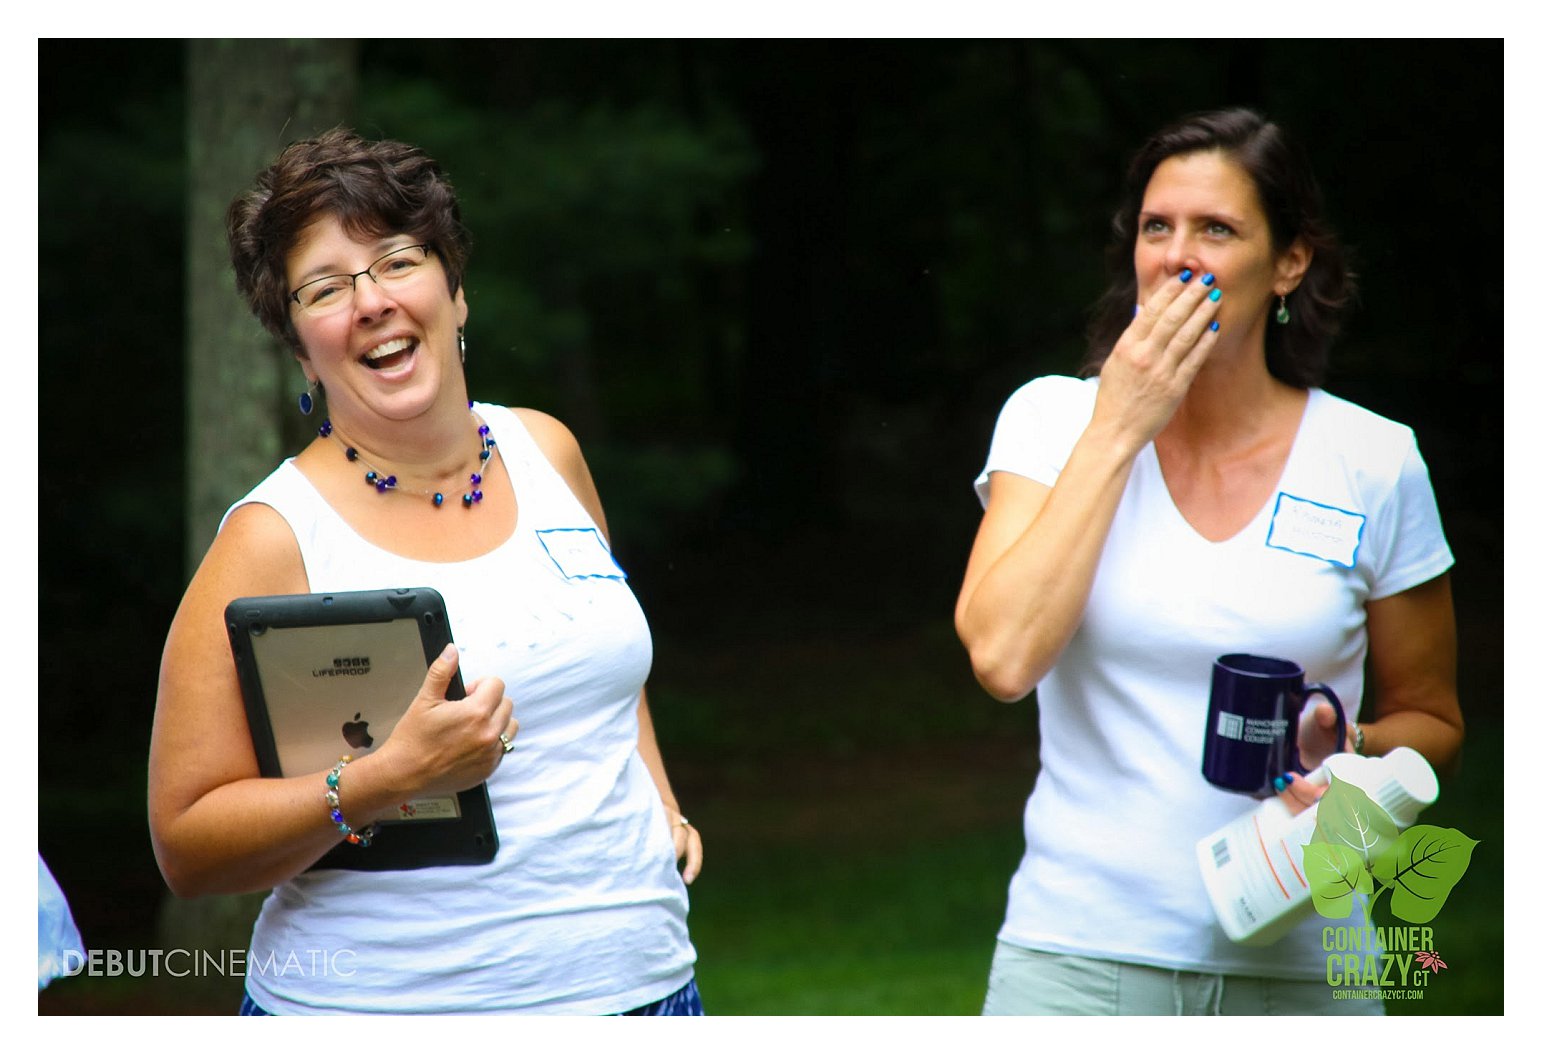
Cathy T and Rhonda’s reaction to a funny intro story!
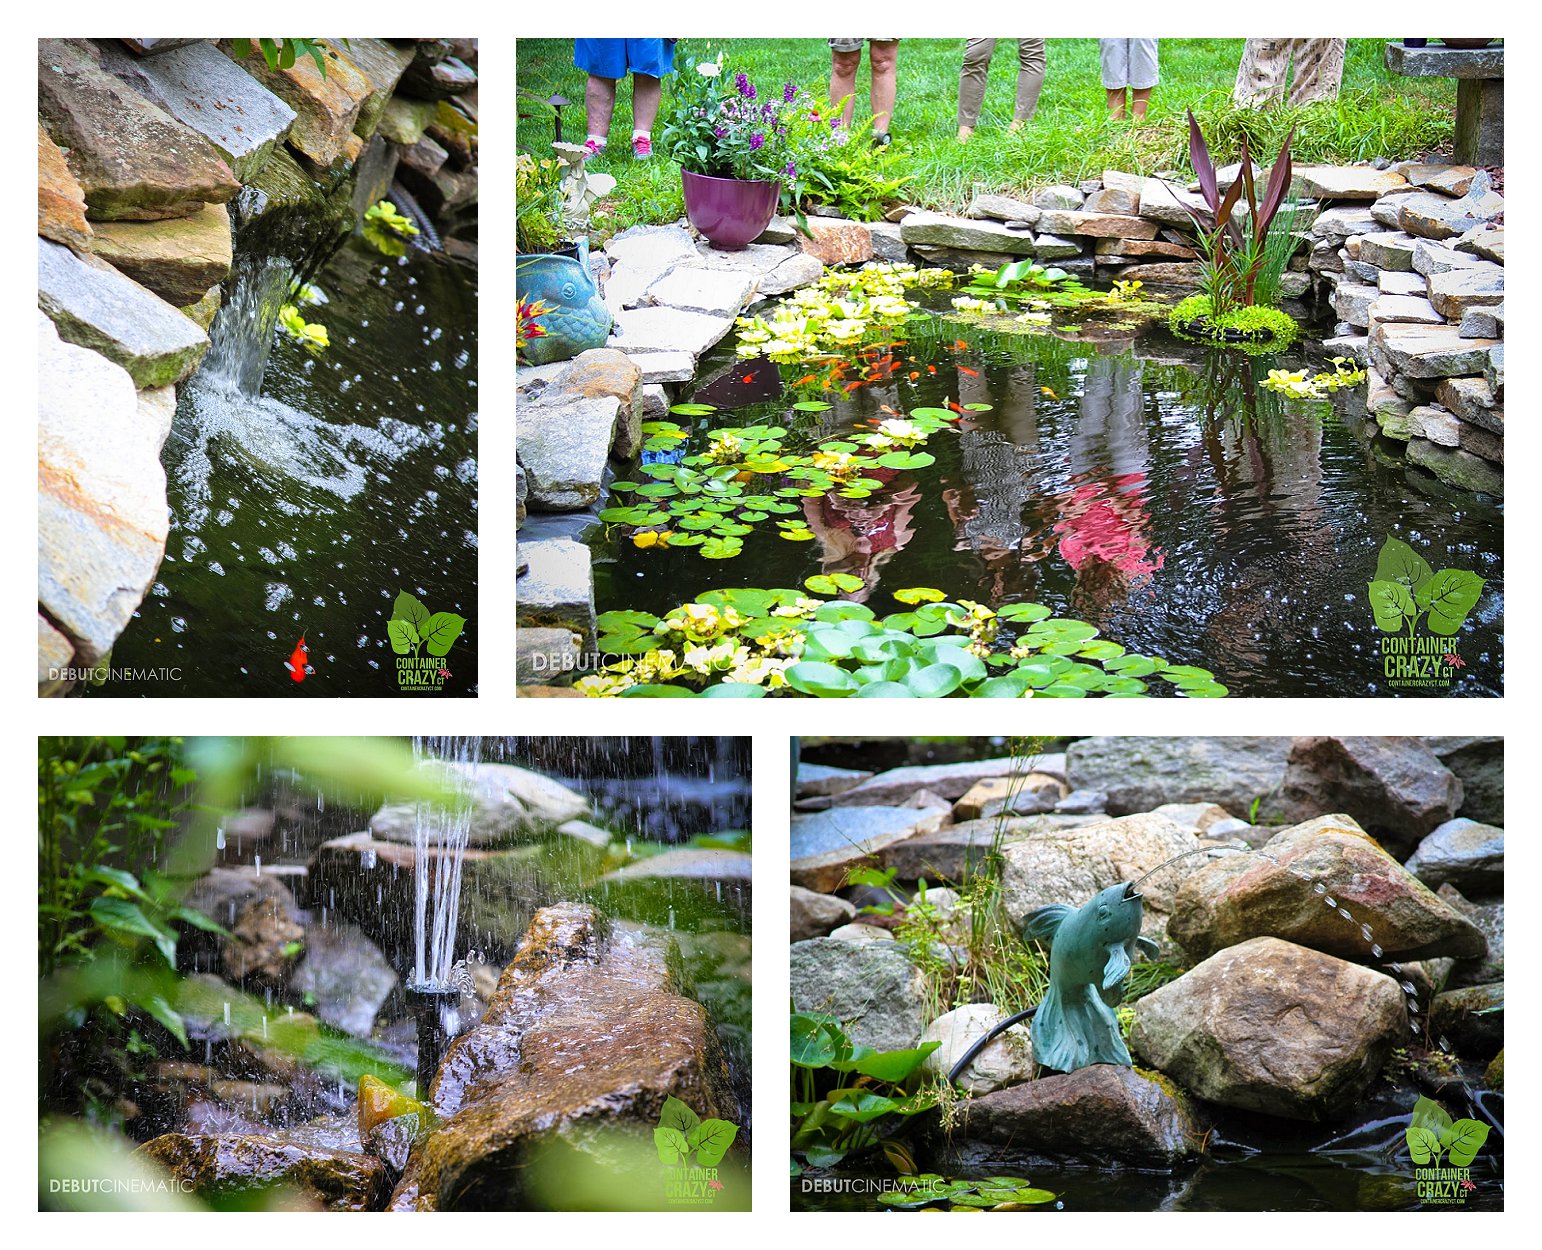
The sounds of the water trickling from decor spitting fishes and fountains in the ponds are enough to draw you from inside her home to the great outdoors in her backyard.
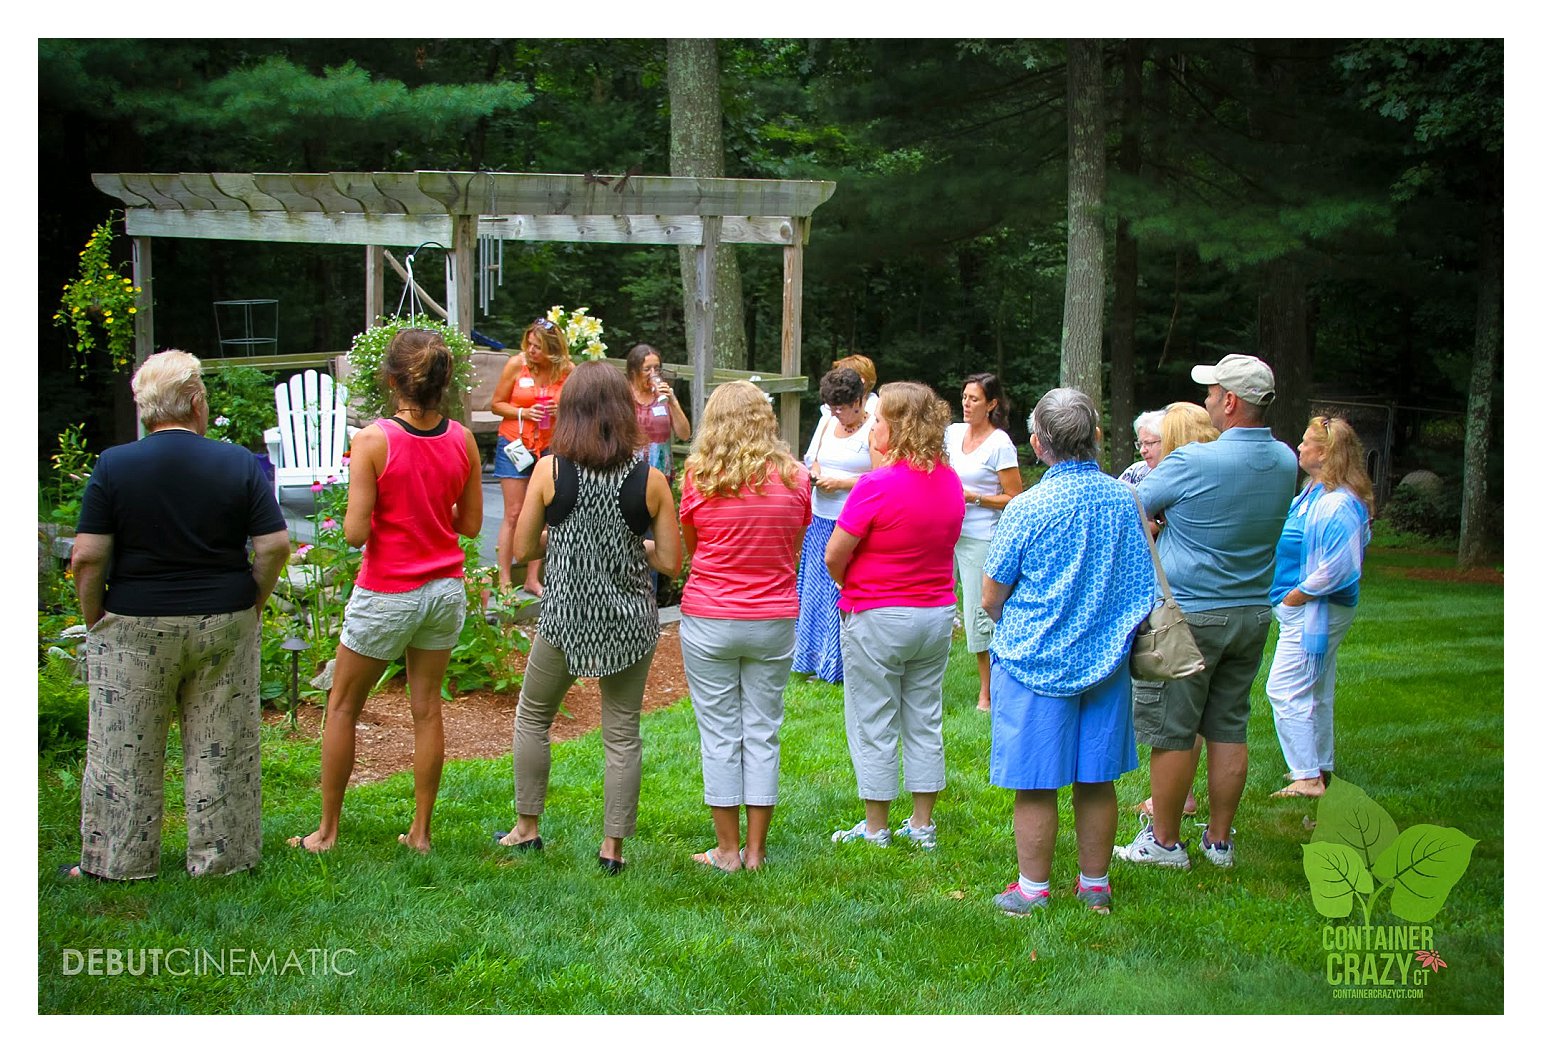
We had 15 attendees which made this tour a great success. Many of the attendees were from local areas, some folks from a new South Windsor church gardening group, and several attendees from Cathy T’s Classes.

Started with a kit, and built two more sections
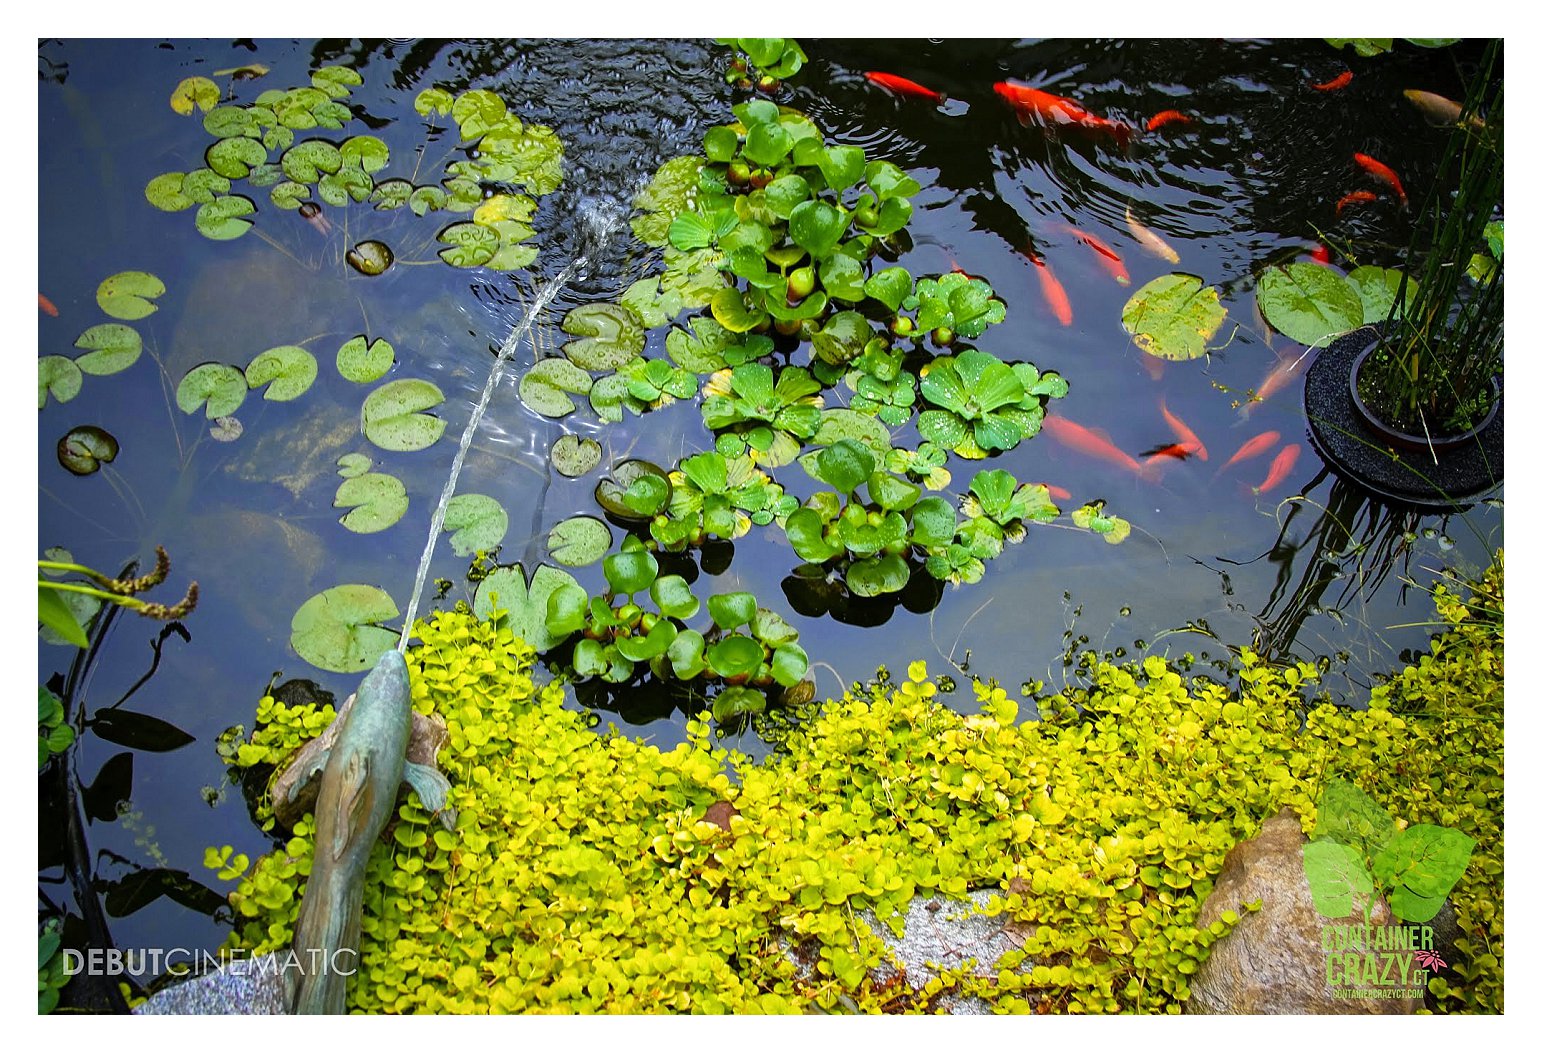
Rhonda explained how she started her adventure with pond gardening by using a pond kit to build level one, or the very first tier of the current 3-tiered pond garden area in her yard. As soon as it was ready, her husband bought ten goldfish and put them in it, and of the ten, seven goldfish survived. All of the other goldfish in her ponds today, hundreds of them, are the offspring of the initial seven goldfish.
When Rhonda had shared pictures prior to the tour of her pond gardens, I had assumed the fish were Koi fish. They are rather large and very active in all three levels of her pond gardens, rising to the surface quickly and swimming around rapidly as you approach the water’s edge.

Rhonda explained the first level of the pond garden is rather shallow but the middle level is approximately 5 feet deep and 20 feet long. Each pond section is structured a little differently, and they are not connected but adjacent to each other in a three-tiered pattern.

Attendees Listening to Talk by Rhonda
Spring and Winter Cleanup Routines
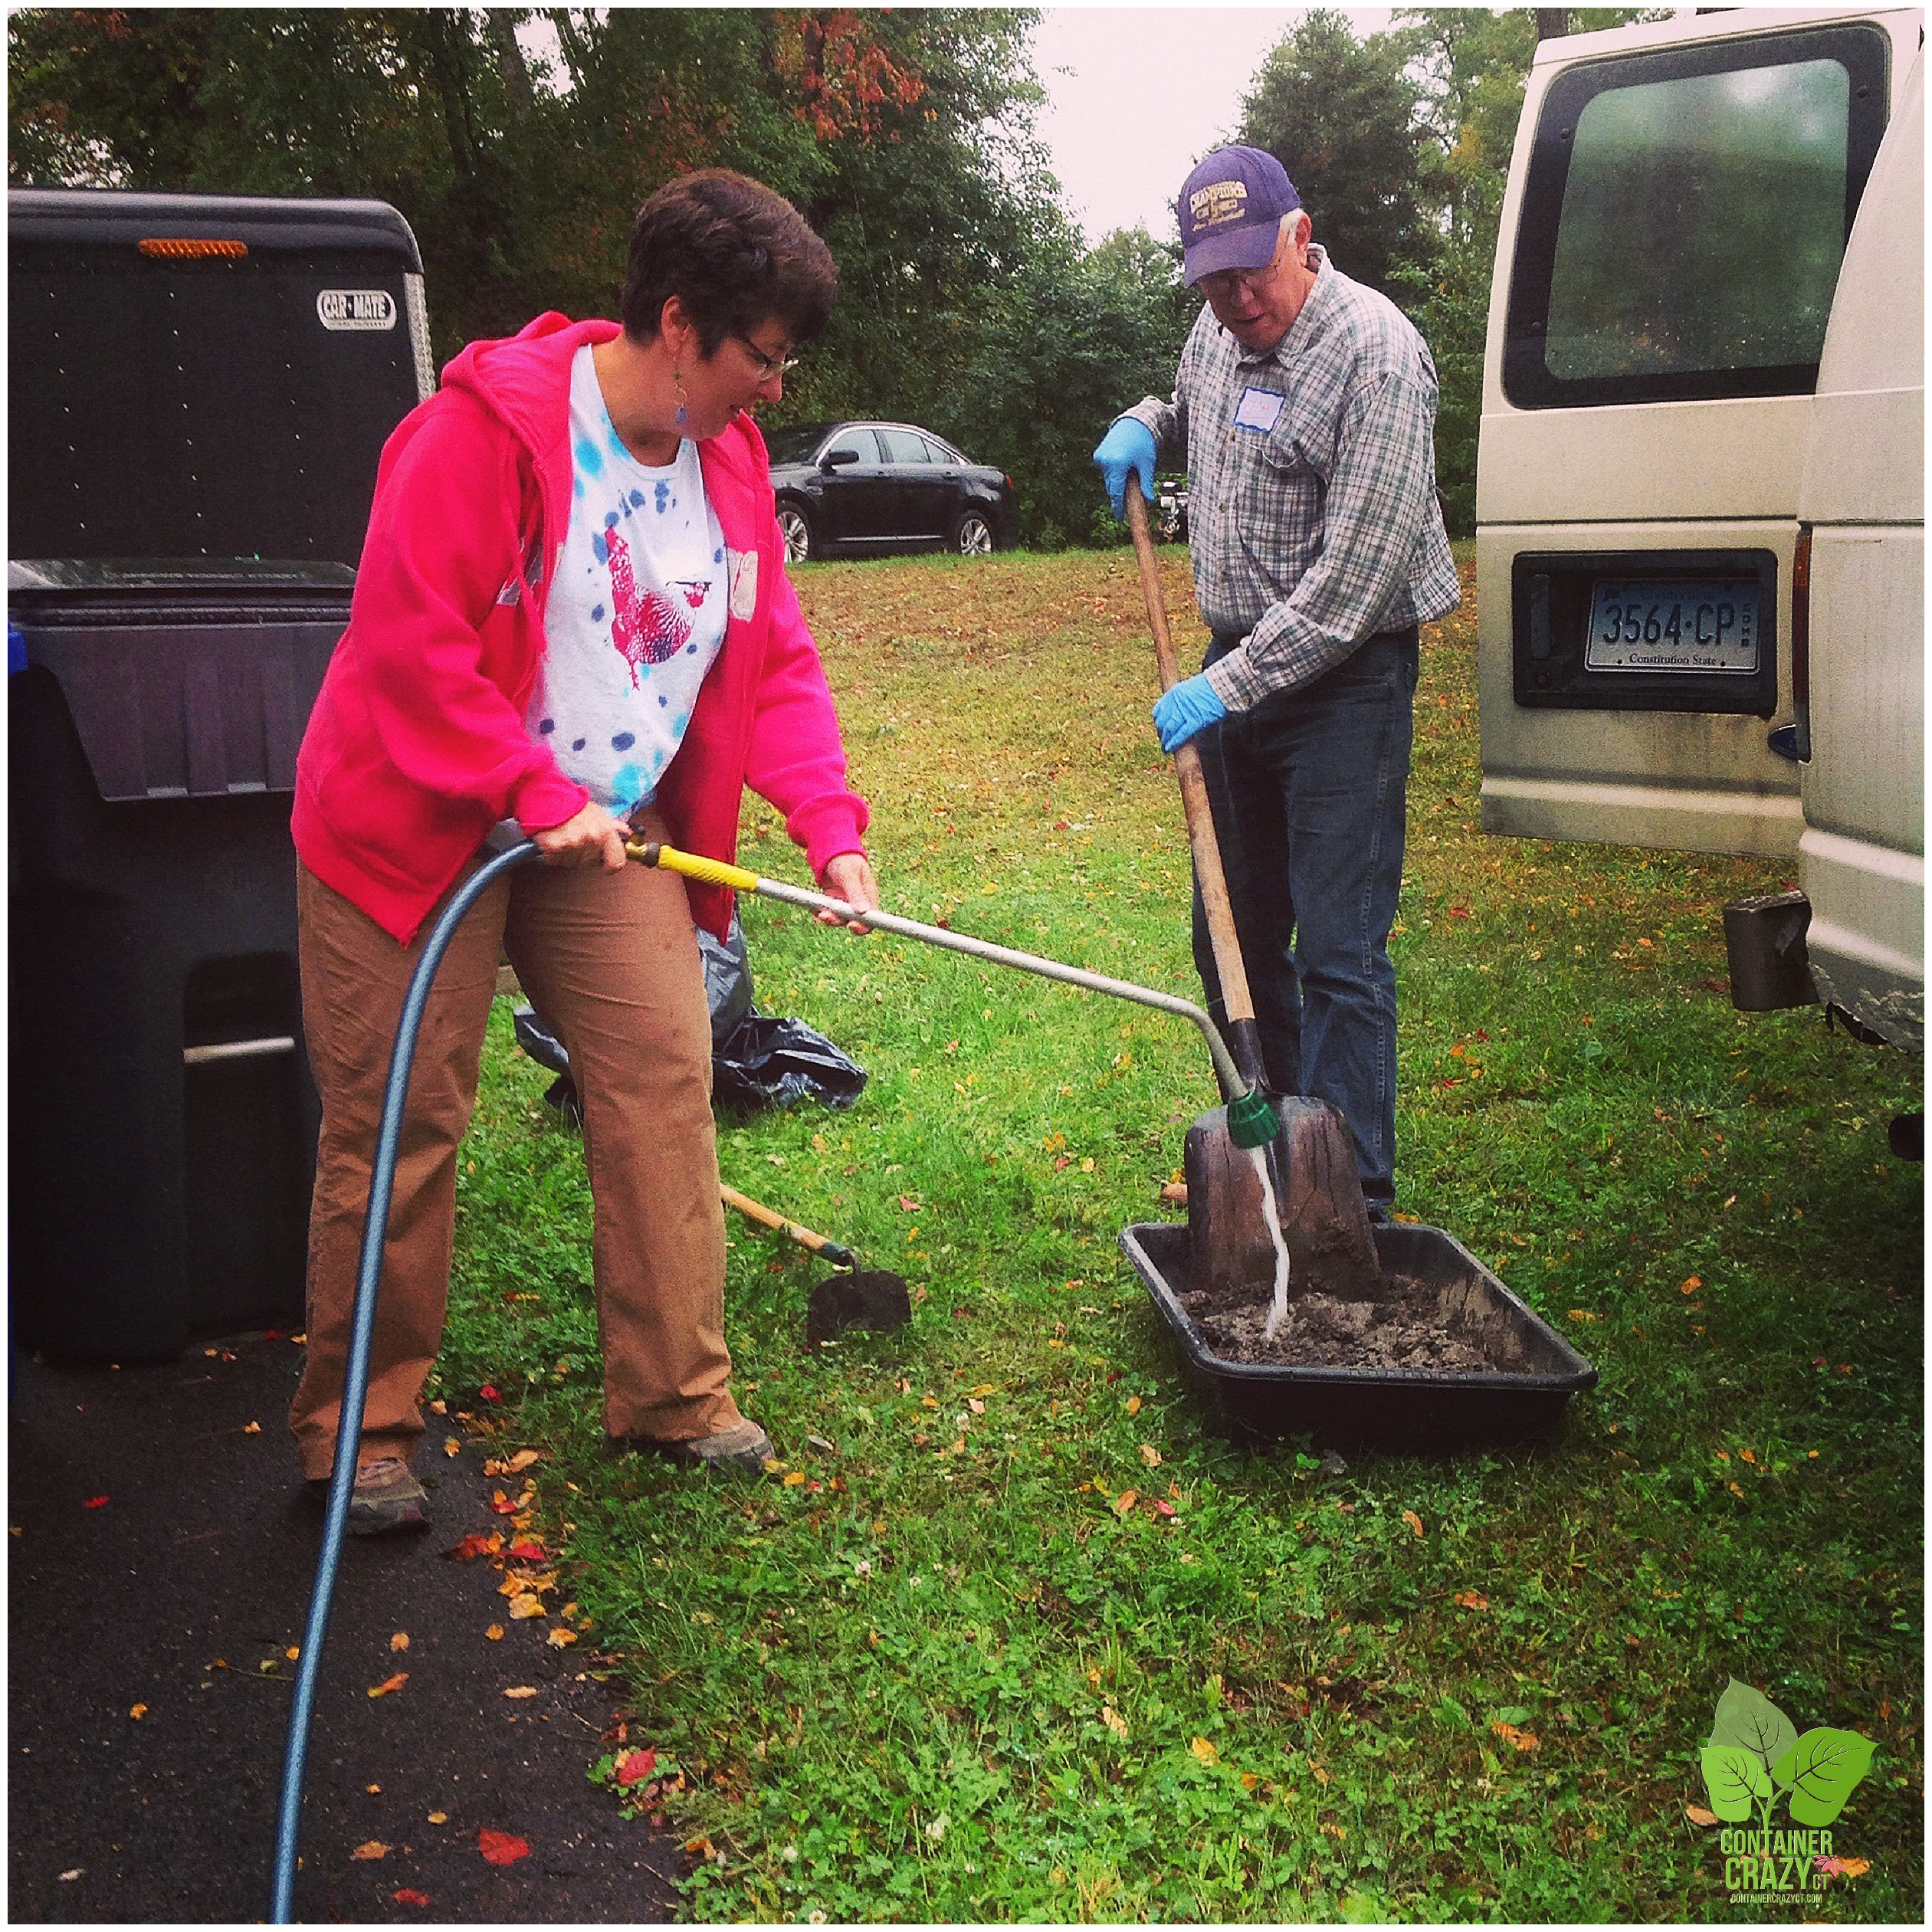
For maintenance, Rhonda drains the ponds completely in the spring.
The goldfish (which stay dormant in the winter months in the bottom of the ponds) are relocated to a 100 gallon horse troth until she’s done performing spring clean-up activities.
Easter is when Rhonda usually opens the ponds if the weather is warm enough. She can tell when the lilies start growing that it is time to get moving and working on her ponds.

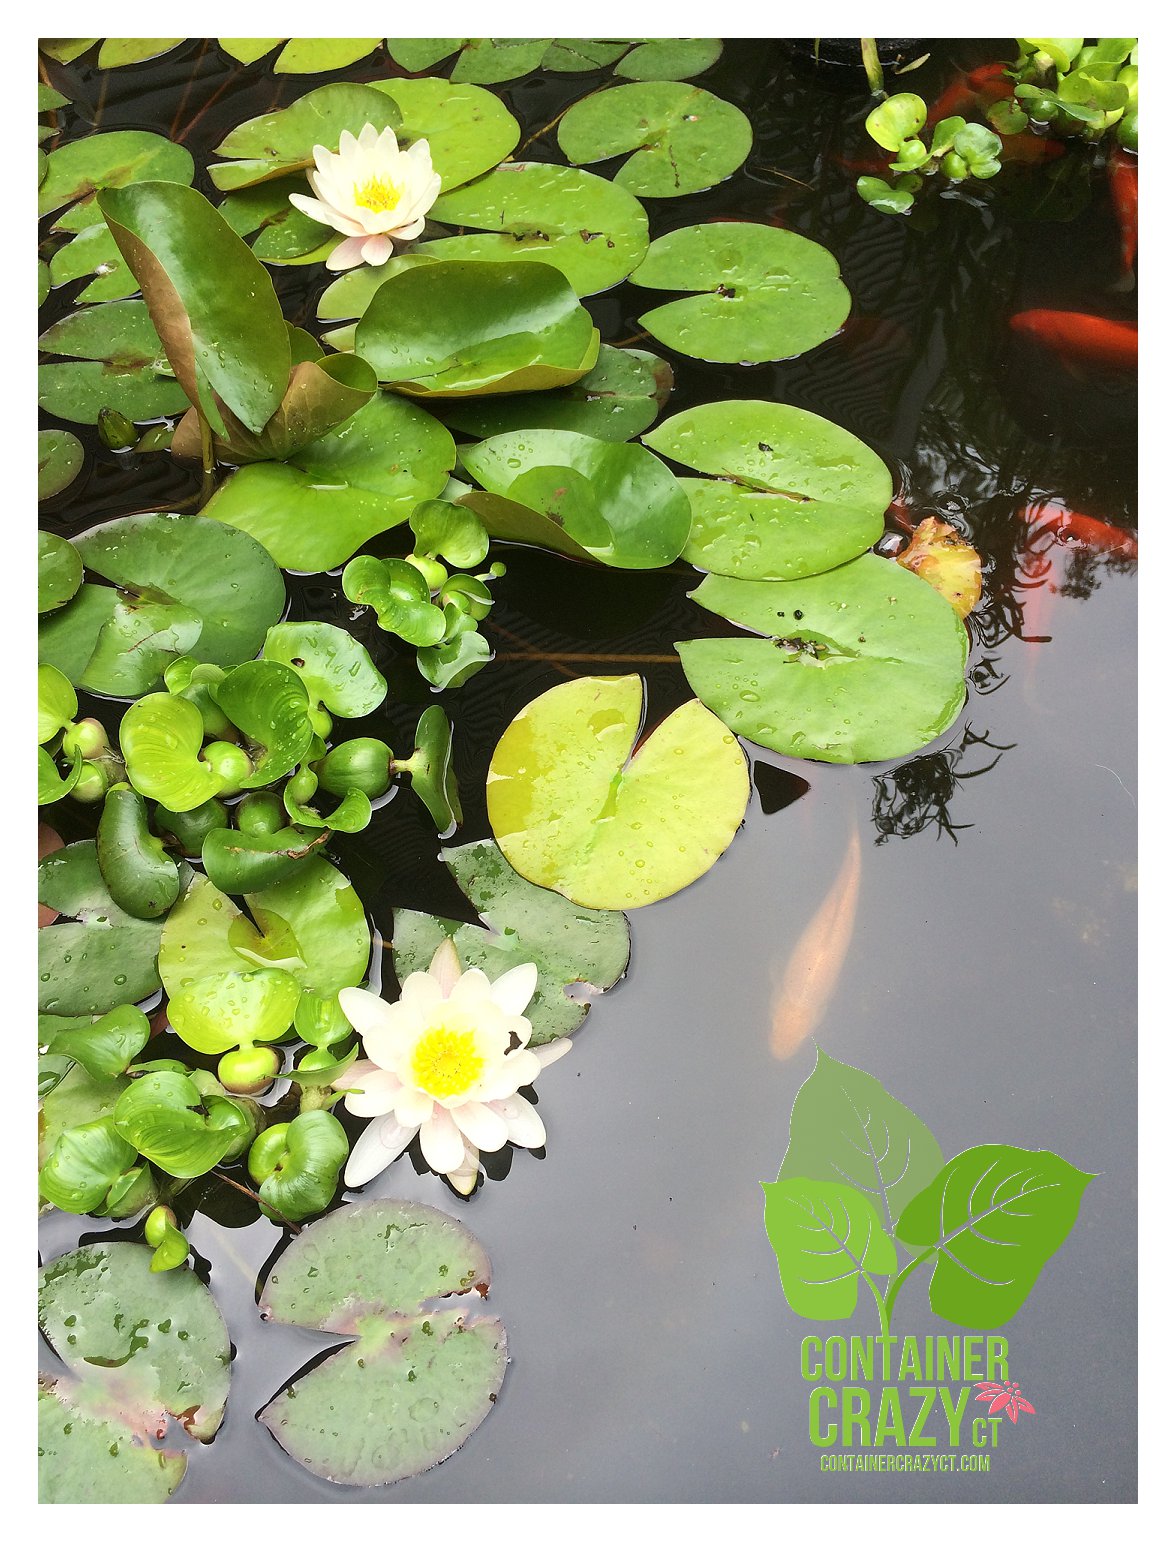
Water lettuce, Lilies, and Lysimachia near goldfish
All the muck, which built up and decayed in the bottom of the ponds over the winter, is removed with a special muck vacuum she purchased because her ponds are so large.
Also, Rhonda noted using ‘Microbe-Lift‘ in the water filter to add good bacteria to the water. This will keep her pond healthy throughout the season.

At one time, Rhonda used a power washer to clean the liner, but she no longer uses a power washer because she wants to keep the algae growing on the liner, and the power washer was removing it – so she uses a garden hose instead.
The algae helps the natural ecosystem get established after a complete water change, and provides food for the fish because you can’t feed them until the temperature of the water reaches a consistent 55 degrees.
There is a special ‘Spring & Fall’ food for cooler temps of approximately 55 – 75 degrees.
However, once the temperatures reach 75 degrees, Rhonda changes to feeding the fish a summer staple food. Rhonda also noted she uses special UV filters to control bacteria so that the water stays clear during really hot temperatures in season.
During the fall season, the food is changed again when it gets cooler outside, and she stops feeding at 55 degrees. She also turns off the filters when she stops feeding for the fall and winter months.

Standing at Level One, Rhonda talks about products used to keep water healthy; Photo by C. Testa
In the winter, she leaves all the water in the ponds, but will remove the filters and clean them for storage. She basically washes them down with water because she avoids getting any chemicals in the filters. She also cuts back all the hardy water lilies and plants, and sinks them to the bottom of the pond in her deepest tier. A small low watt pond deicer, which floats on top of the water for the winter, is used. This will create a small patch of open water in the ice to allow gases to escape in the winter.
Water Plants, Floating Plants, Perennials and Tropicals
Rhonda has a mix of plants in and around her pond gardens, and she noted, many have appeared on their own. Some self-sowed or got there perhaps by bird droppings of digested seeds, and even a few ferns arrived to her garden naturally. It is as if the plants know this is the right spot for them.

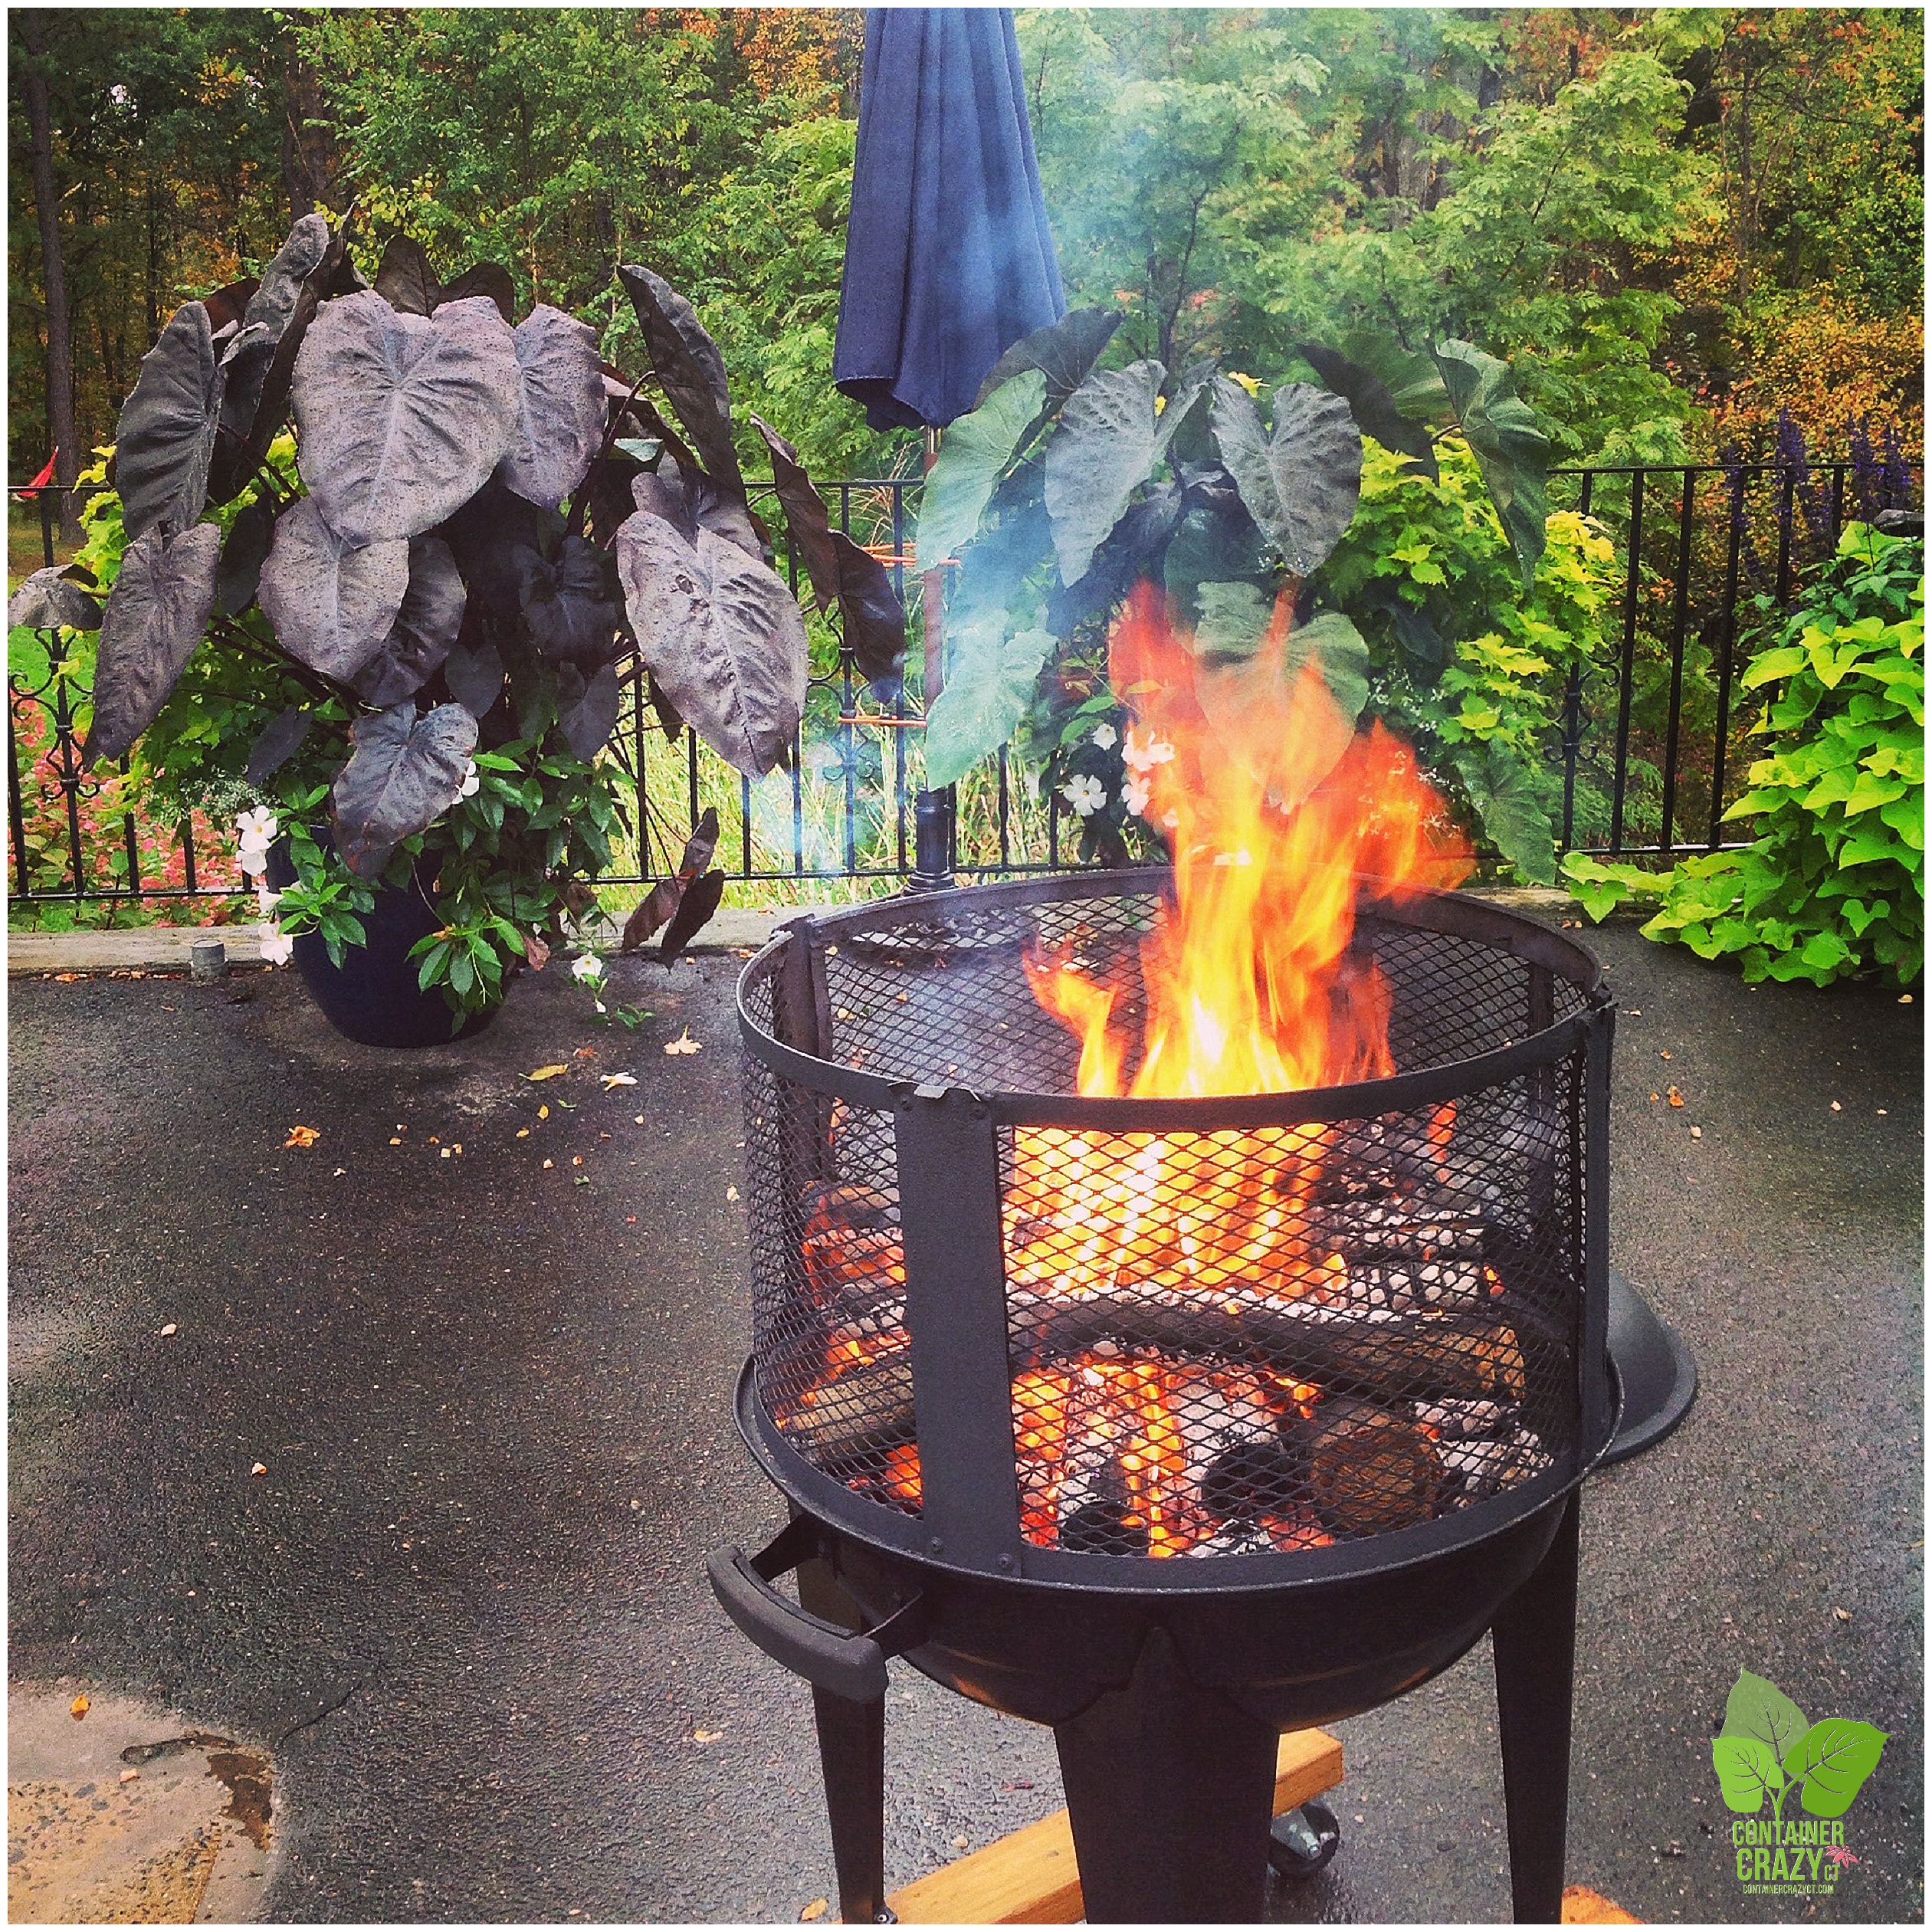
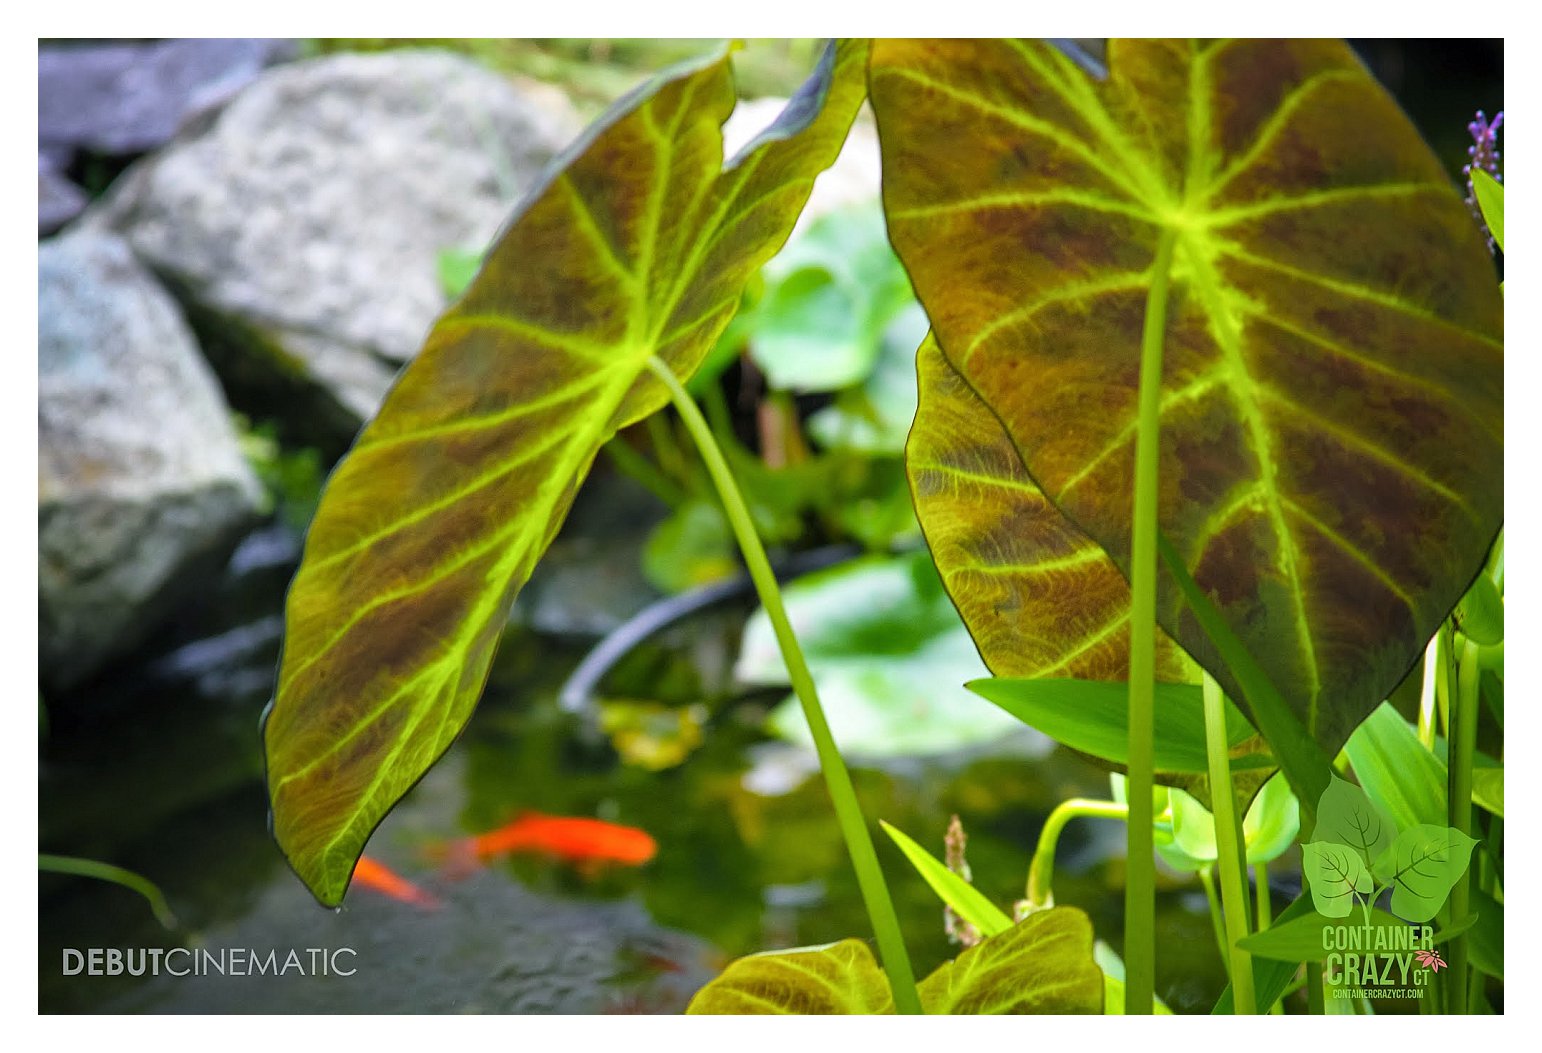
Elephant Ear (Colocasia)
In the water of her pond gardens, she has water lettuce, elephant ears (one showing off a bloom on it during our tour) – Colocasia esculenta ‘Illustrious’, canna plants, hardy water lilies, papyrus (herbaceous perennial), and mosaic plants (Ludwigia sedioides, an aquatic perennial grown as an annual).
Some of the plants she overwinters by placing them in a fish tank in her home, and others are stored by division of rhizomes or corms, such as done with the canna and elephant ears, or by saving off-sets. And some are allowed to sink to the bottom to decay or regrow the following season if hardy (as she noted above in maintenance comments.)
Rhonda mentioned Garden’s Dream in Enfield, CT as one place she purchases plants from because they started carrying water type and aquatic plants.
Other plants and bees
There is no doubt the bees are enjoying the plants, for not only could we hear water trickling, see fish moving, there were also many bees visiting the blooms of her coneflowers and other plants surrounding her pond gardens.

Perennials, such as Echinacea purpurea (purple coneflower), and various ornamental grasses are planted in the ground near the ponds, and one plant many attendees noticed planted in a pot sitting on a rock in the center of the pond was Amaranthus tricolor, an edible annual with bright red and yellow foliage, which grows rather tall and is showy.

Plant with red and yellow foliage in pot seen in background -Amaranthus tricolor
When everyone asked me what it was, I drew a blank on the plant name, but Rhonda said she got her first plant of this variety from me a couple years ago and loved it – fortunately, she remembered the name of it. Rhonda said she’ll never forget seeing this annual at my home in a container garden because she uses Amaranth flour as one of her gluten-free ingredients in her recipes at home.

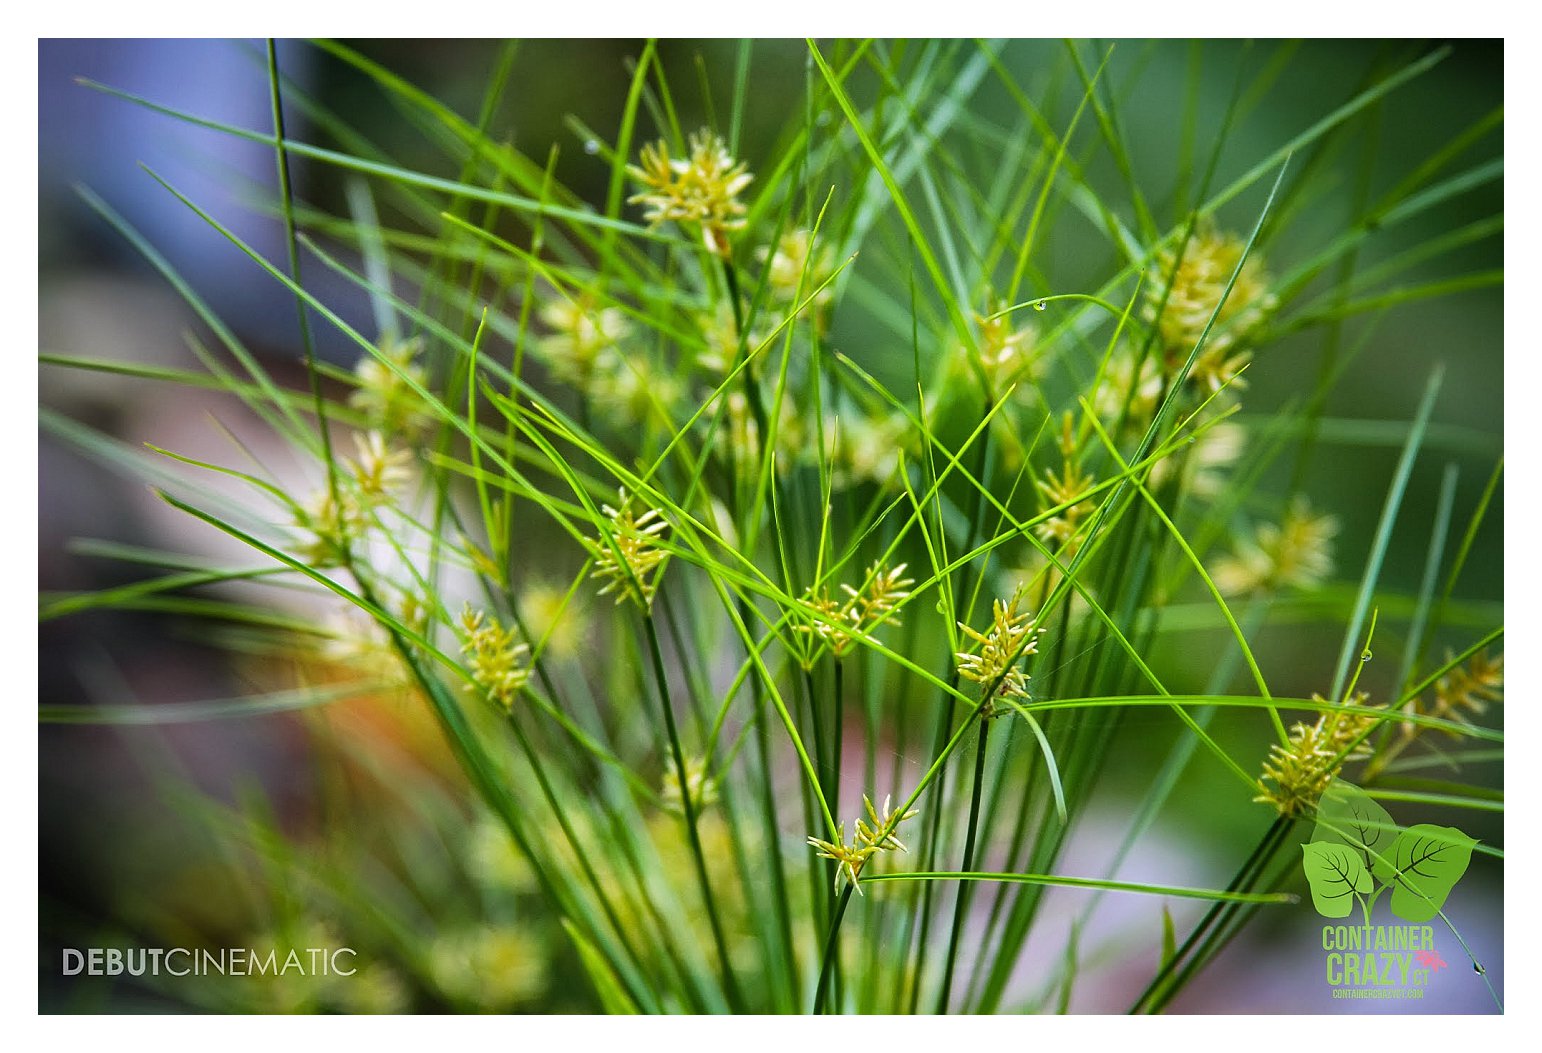
Papyrus
Other plants in the pond gardens, as noted above, were the elephant ears (can sit in water), papyrus (not technically a water plant but also can sit in boggy like water or on water’s edges in pots), and the aquatic water lettuce, hardy water lily, and more. One we all found fascinating, and is relatively new in Rhonda’s pond gardens, is the mosaic plant (Ludwigia sedioides). It is an herbaceous perennial (winter hardy to Zone 10) which floats and rests somewhat flat on the surface of the water and has a pretty mosaic like pattern to it.

Mosiac Plants – Photo by C. Testa
Root Mass Demonstrated
Another surprise is when Rhonda reached into the water to pull up a huge mass of hardy water lily plants bound together by one root system, explaining how quickly plants grow in her water gardens.

Root Mass of Hardy Water Lilies
She also noted another plant found by her husband in the wild, upon with, I gave a little caution to the attendees to be very careful with water plants or any plants you may find out in the wild if you do not know what it is. There are invasive species in the wild or in natural ponds, which you should never relocate to your pond or home gardens by mistake, especially if it can run off to another water system nearby your home. So just a note – know what you are planting, and if you decided to get rid of a rampant plant growing your gardens because it became out of control, and don’t know what it is, toss it in the garbage and not in the woods where it could potentially spread. This is something I learned more about as a kayak-er, where you must be careful to not accidentally bring home an invasive aquatic plant after visiting a lake with your kayak or boat, as discussed in a previous blog here.
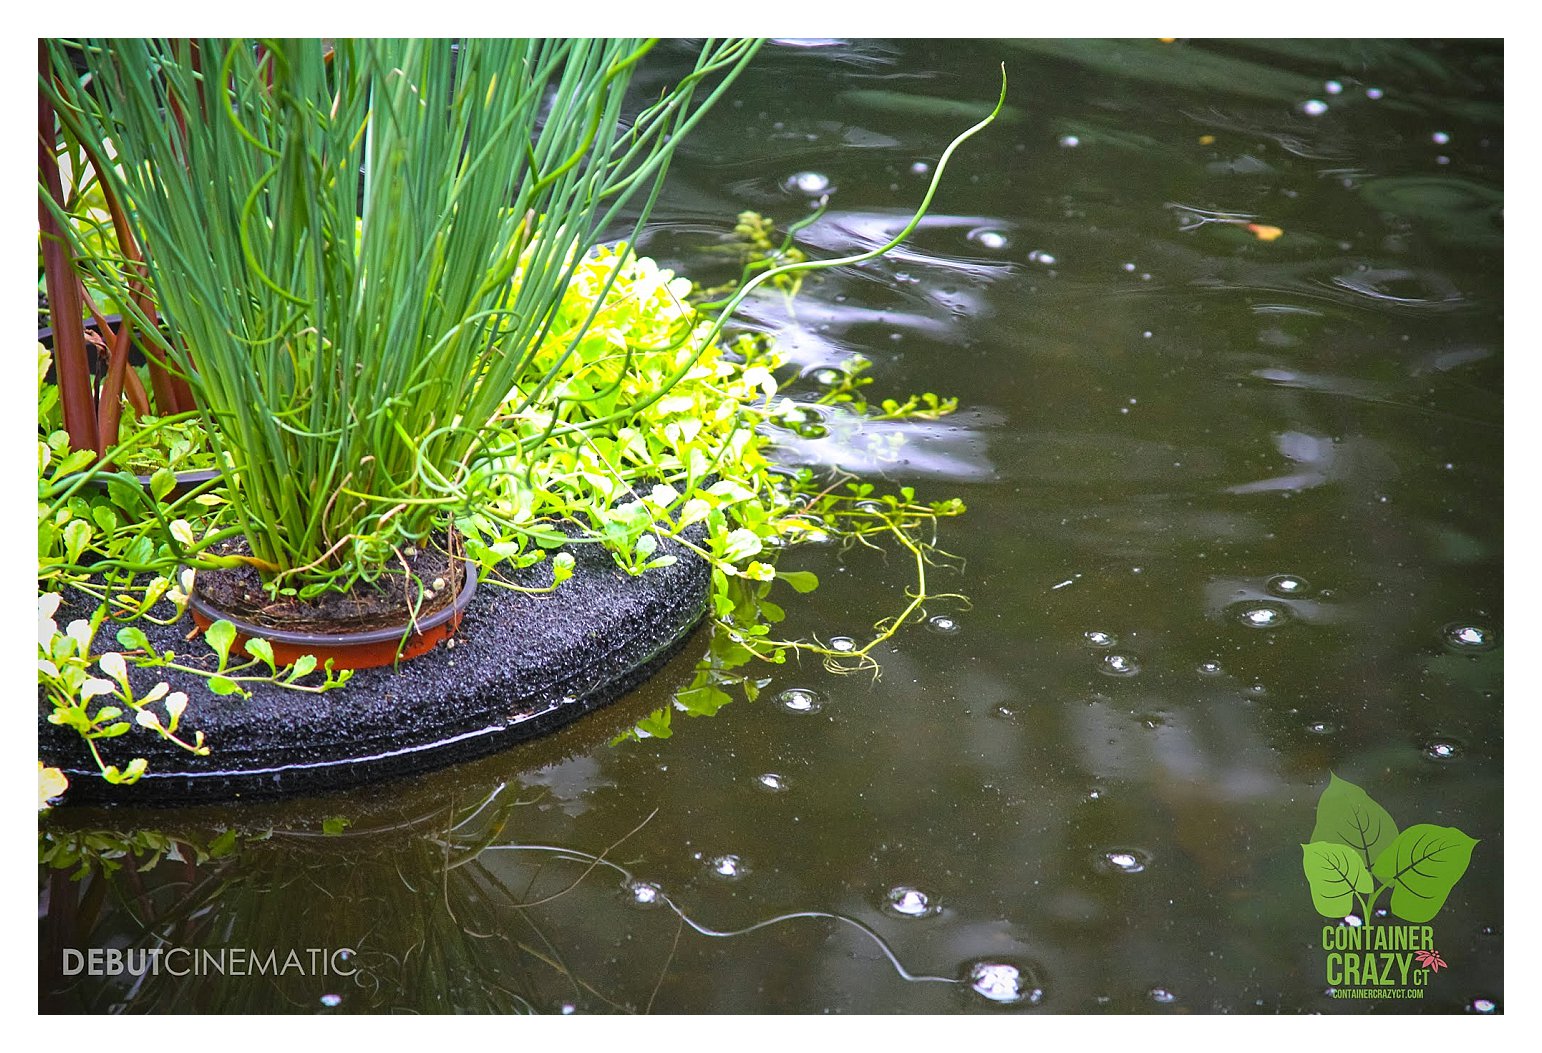
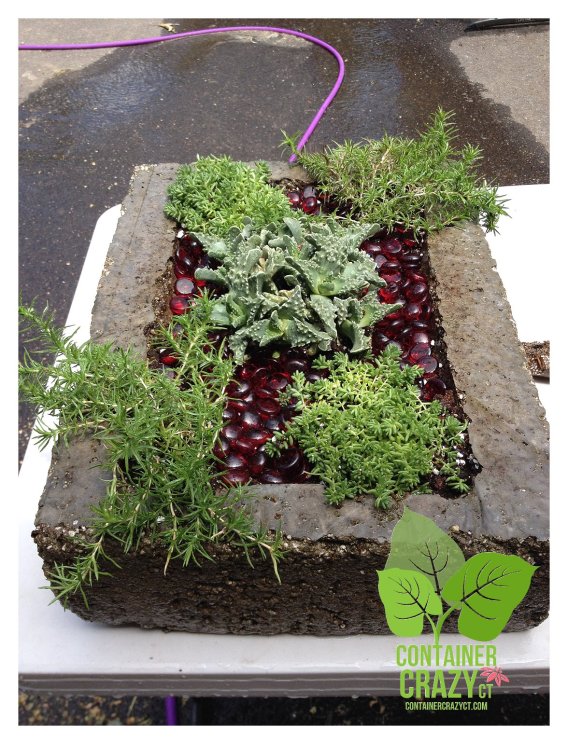
Floating Containers – Another Big Surprise of the day
I’ve written about all types of containers to use in and around the gardens, but have never considered the type Rhonda had in her pond garden. There was one container floating around in the pond garden, moving here and there gently in the water, and without hesitation, Rhonda lifted her floating container out of the water to show our attendees. It is made of a black Styrofoam base with individual open sections where pots may be inserted easily.


Garden Art is wonderfully displayed around her pond garden — this little pig in the corner, spitting fish here and there, and other surprises as you look and observe.

It is an adventure to spot them. We all could imagine the days or evenings when she and her family has sat there to enjoy all the hard work put into the pond gardens at her home.

Sources for Pond Supplies
AZPonds.com is an online source Rhonda uses to order supplies. She gets her liner, filters, pumps, and water treatments from them. Shipping is pretty fast. Orders arrive within 5 business days.
Rhonda started her first pond garden 12 years ago, and continues to learn and expand it.
We all could appreciate the amount of effort but how her efforts also equals the relaxing moments by the pond gardens enjoying nature, goldfish, and sounds.
Pond Gardening is Not for Weenies
Water or pond gardening is not for weenies – it takes some effort to get it cleaned and prepared every season, but the payoff is grand. And if you were wondering, one of the reasons we were laughing in the above photo is because I shared a story of how Rhonda and I met during our corporate days – when we decided to take a motorcycle riding course together, and how we would ride into work side by side on our Harley Davidson motorcycles. Rhonda still rides today, I, however, gave it up so you can see – she’s no weenie! Makes sense to me that she manages to maintain such a diversity of plant life, fish, and more in her pond gardens.

Hostess Rhonda; Photo by C. Testa

Also, as for pH of the water, Rhonda noted she doesn’t monitor it – she lets nature take its course. That sounded good to us – and fits the overall rule of the ‘Walk and Talk’ Garden events – it doesn’t have to be perfect for us to enjoy hearing and seeing what any homeowner has created in their backyards.
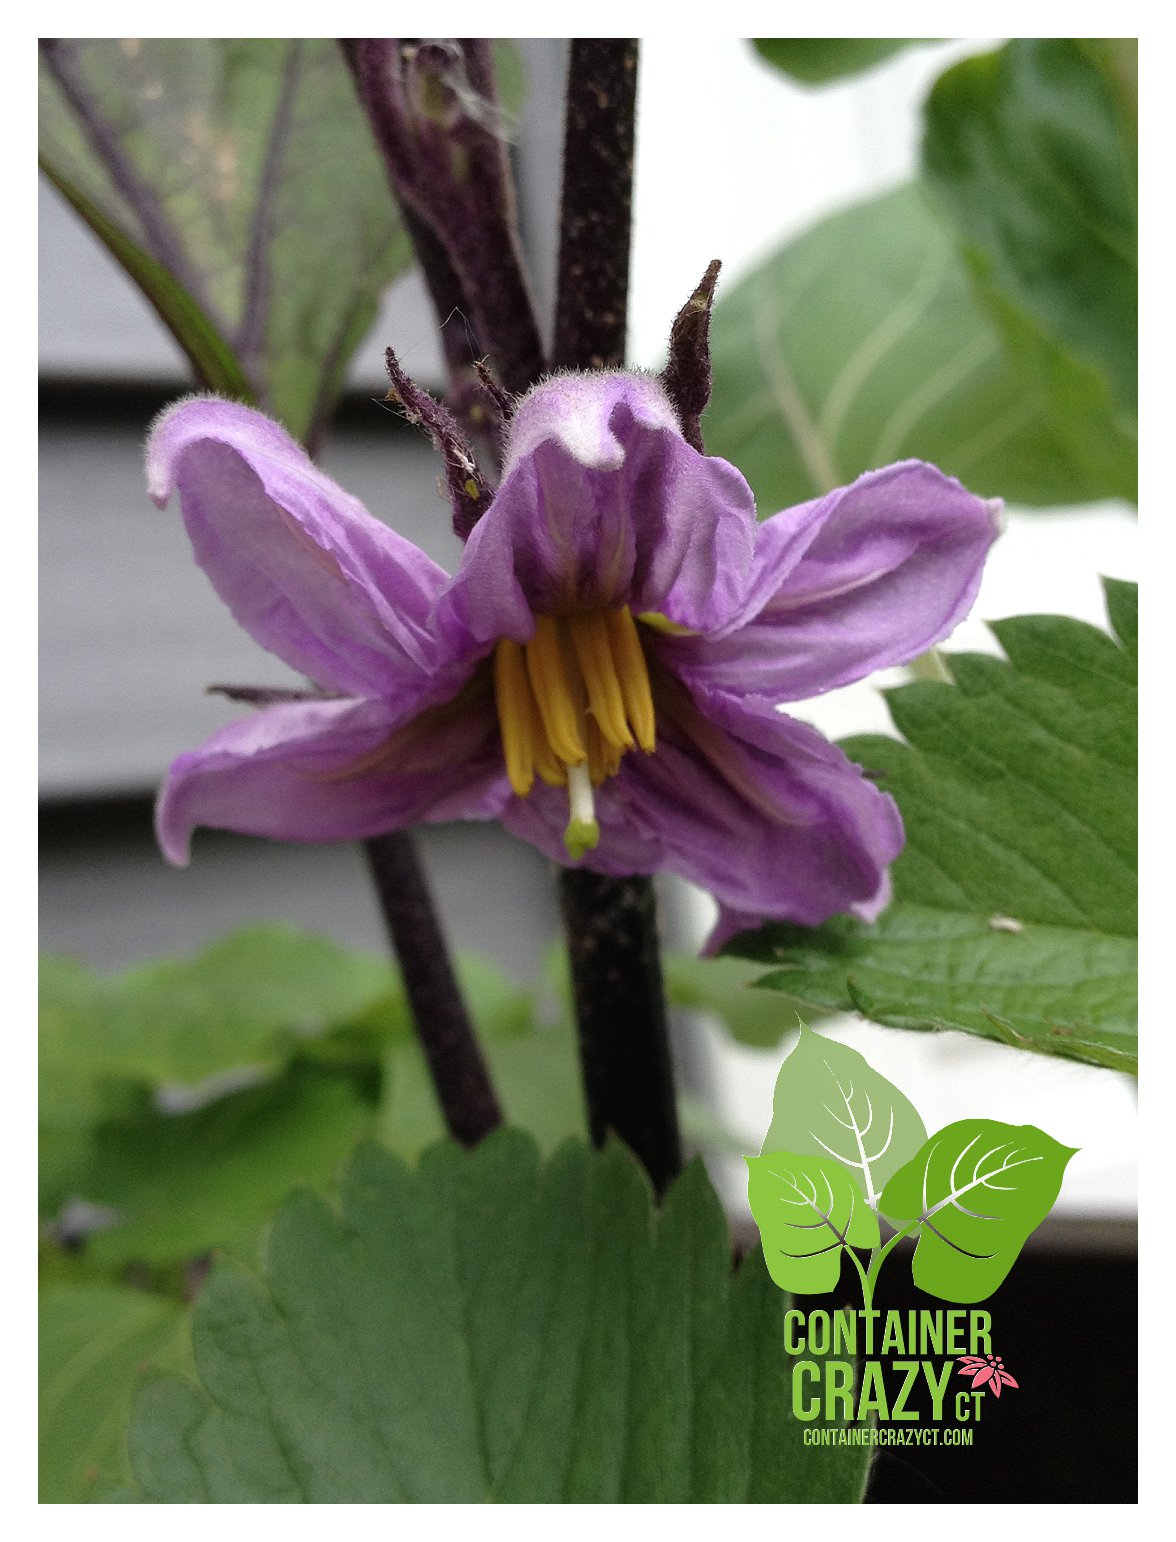
Pesto and Passion Flowers
The last big surprise of the hour was the handing out of freshly made pesto by one of our attendees — Thank you Linda C.

What a treat, and additionally, we all saw, on the way out for the day, Rhonda’s beautiful blooms on her passion flower (Passiflora) vine located at the front of her home. She said it returns every year via self-sowing (or perhaps she has one that is noted to be survive winters, Passiflora incarnata.) It certainly looks like it!

Passion Flower; Photo by C. Testa
She has seen fruit growing after the flowers pass, but wasn’t aware it is passion fruit until we discussed this fascinating flower further.
See here to also learn about this plant’s religious significance, which I looked up via my iPad and pointed out to everyone – each part of the flower has a special meaning – and is believed to represent symbols of Christ’s passion and cross.
Next Walk and Talk
Our next ‘Walk and Talk’ event is scheduled on August 16th in East Granby, CT at 10:00 am. This one will feature a sunny hillside garden where the homeowner will share her experiences on what thrived and what didn’t when it comes to the plants she has tried in a very informal, loose and spreading garden on a full sun hill which receives lots of heat in the midst of summer, and wind. As per our rules, the garden is not perfect but a great place to learn directly from a home gardener with a particular passion.
For more information on planting aquatic plants, check out this post by thegardengeeks.com.
Thank you,
Cathy Testa
http://www.cathytesta.com
860-977-9473
ContainerCrazyCT.com
P.S. If interested in showcasing your home garden on our Walk and Talk tours, please feel free to contact Cathy Testa, author of this blog, and coordinator of these events.
Special note of thanks to Professional Lifestyle Photographer, Karen Ladany of Debut Cinematic, for attending to take various photos of the gardens. She is currently located in East Windsor, CT.