On this windy day, I decided to post some general pictures taken as I goofed around with my camera outdoors this weekend. I got more accomplished than I had planned on which is good news.
We got our new Rhode Island Red chickens moved into our chicken coop finally, I cleaned up some perennials, and even raked up some leaves and moved out some container gardens and pots.
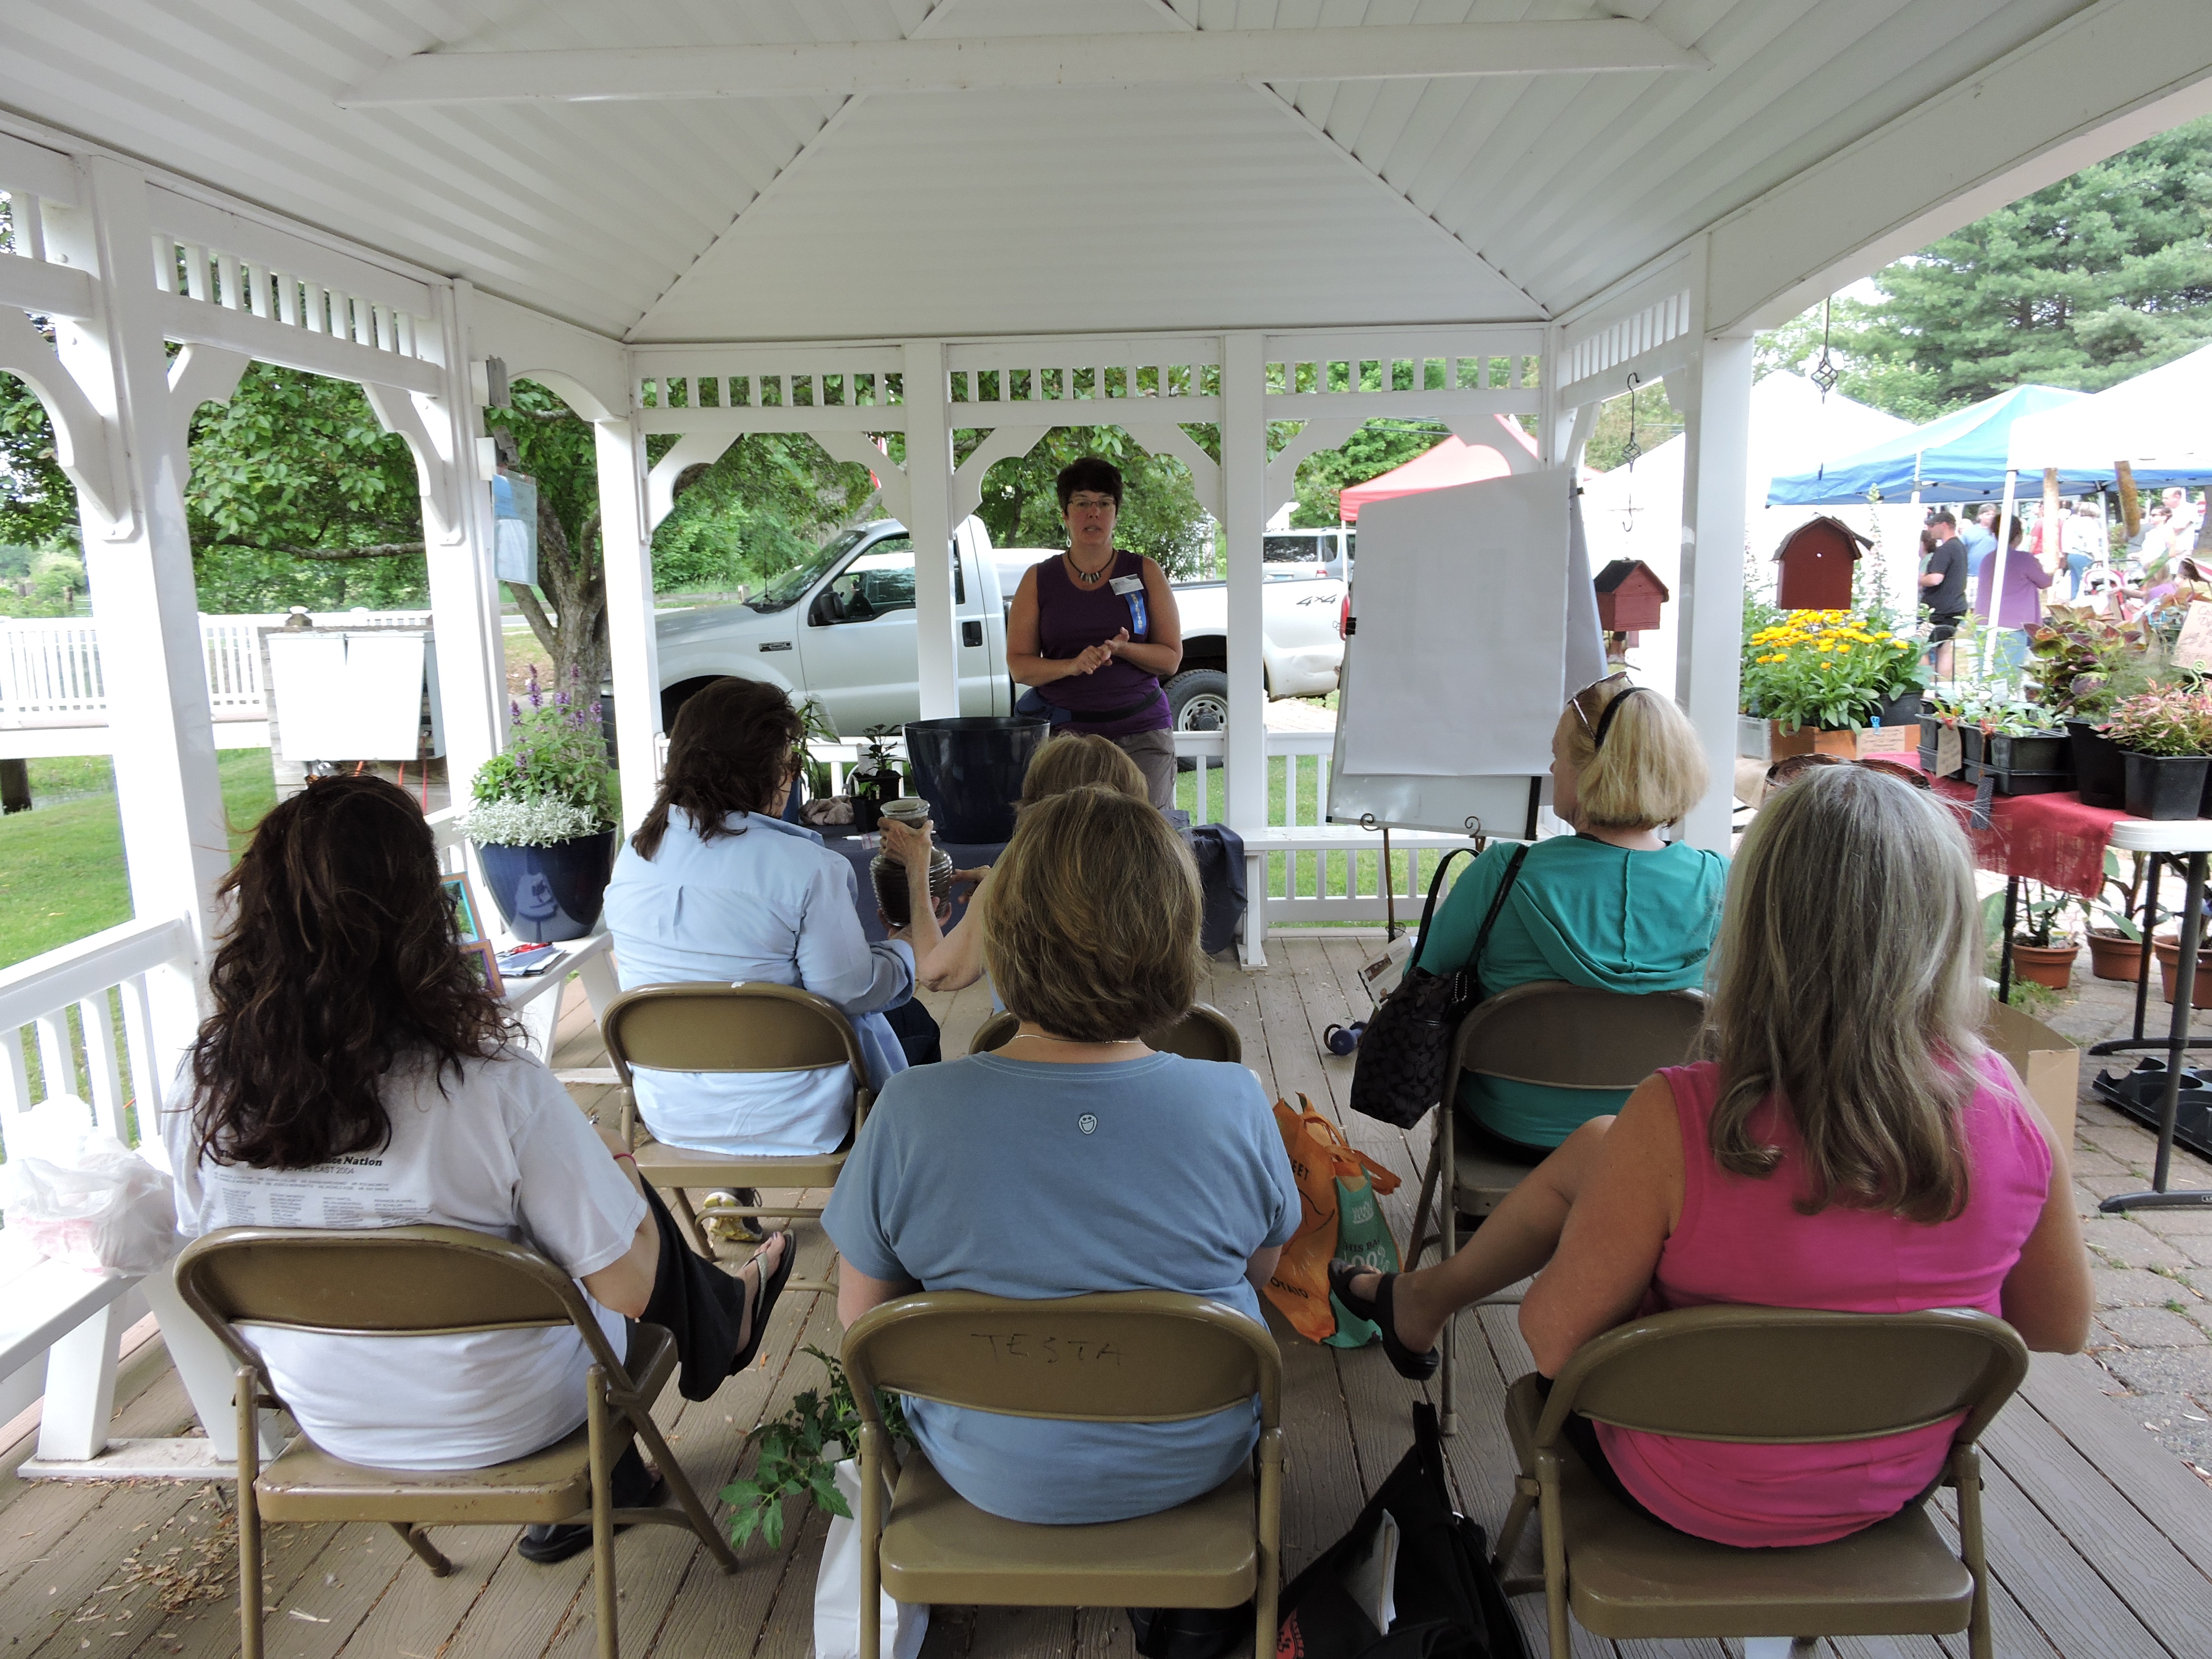
This was all accomplished after I held my first garden talk of the season on ornamental edibles in Broad Brook at the Pride Fitness building. A small group from South Windsor attended, and they were very enthusiastic. They are thinking of forming a new garden club at their church so we had lots to share about edibles and gardening on Saturday morning during my presentation.
So back to “Goofing Around with My Camera.” Here are some photos taken as I worked and played outside during the first weekend of May 2014.
Perennials Rising

Perennials Rising
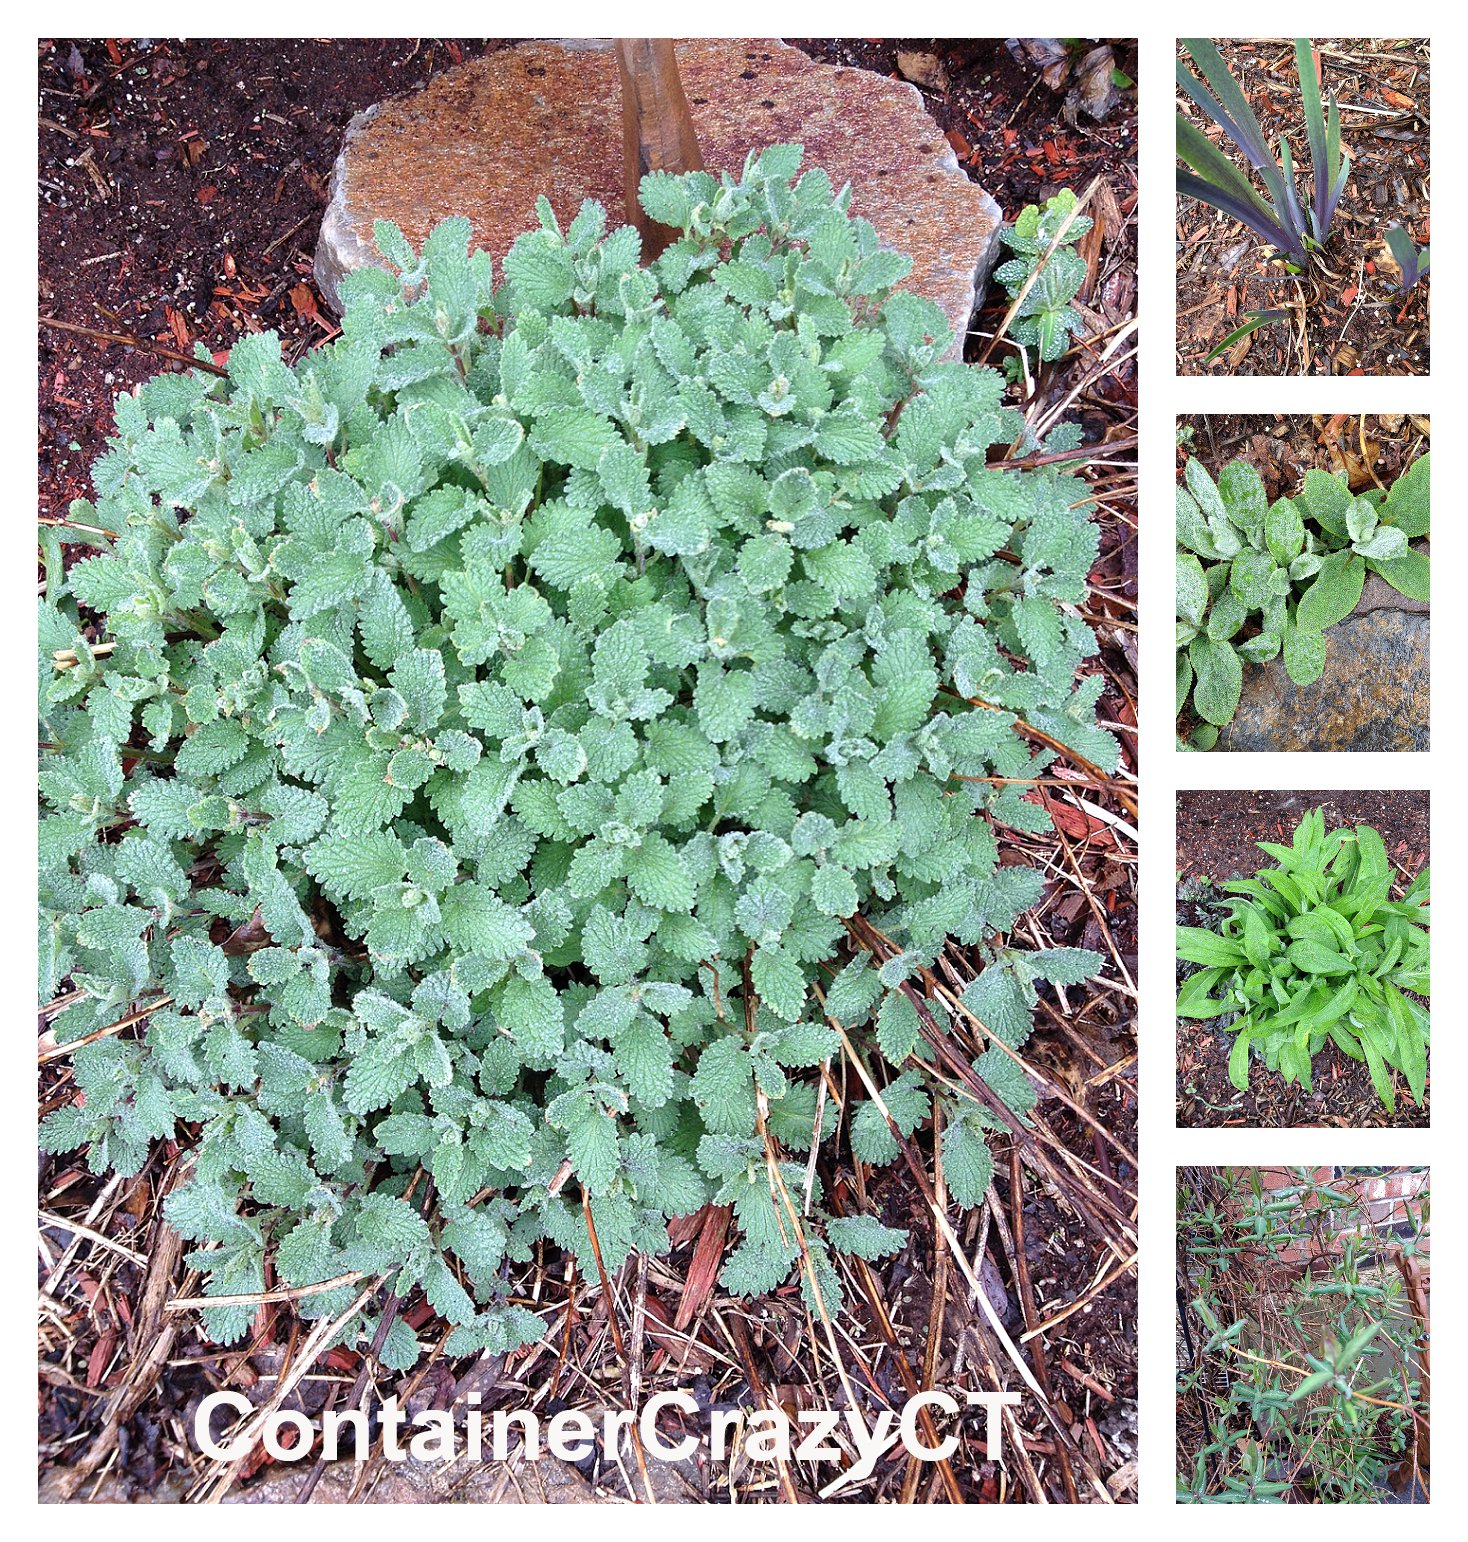
These are photos taken of perennials finally rising up from the soil and showing some initial growth. On the left is Nepeta (catmint), which is such an easy full sun perennial to grow. The cats love rubbing against it from time to time. It is super easy to clean up in the spring and can be pruned up or sheared anytime actually if it gets overgrown. Using sharp hand-pruners, I removed the old stems around the edges of this plant.
On the top right of this photo grouping is the leaves of an Iris with purple leaves, and then next a lamb’s ear (Stachys) perennial. Lamb’s ear always starts off slow, showing only a few leaves, but by early summer, it is much fuller and gently spreads near itself. I basically did not need to do anything to clean the remnants of last year’s lamb’s ear; it was looking fine right now and starting to grow. On the Iris, it did not bloom, and I suspect it is because the soil is too moist there or not enough sun, or it was planted too deep, it will be moved later.
Below the photo of the lamb’s ear perennial was one where I experienced a CRS moment. I could visualize the flowers in my head, as I looked down on the foliage coming out of the ground, but after months of dormancy for me and the plants, sometimes we have mental blocks.
When I took the photo, I was struggling to remember the name – but here it is Cornflower (Centaurea), also known as Bachelor Button to some gardeners. It grows showy violet-blue flowers in early summer (June-July), and I adore this perennial. Like its neighboring Nepeta and Lamb’s ear, it enjoys full sun conditions and can be kept on the dry side. Butterflies and hummingbirds like the blooms too.
And on the bottom right of the photos above is a Honeysuckle vine with leaves coming out now. I put a small garden bench near this area and kept smelling something sweet in the air when I took a break to sit. I thought, could it be the Honeysuckle? There are no blooms yet, but I leaned in to take a whiff and I think it was coming from the tips where the buds are beginning to form – amazing!
More Shade Loving Perennials

Ligularia, Peony, Bleeding Heart
Around the corner, on the north facing side of my house are a couple Ligularia plants (top left photo). The leaves are just beginning to come out and expand. This plant is very showy in regards to foliage, which are round, large, and other cultivars have leaves with bronzy-green to plum colors and purple colors. The blooms rise above in summer (around August) on tall spikes, usually showing off yellow flowers on dark stems. It is a great shade plant, likes moisture, and is easy care. Using my hand-pruners I cut away any old stems from last year – easypeasy cleanup.
The Peony is on the bottom left of the above photo. They are starting to come up now, so I put my big round wire frames around them. I spray painted the wire frames first with green cause they looked a bit rusty. I should have taken a photo of them – made by my father, they are round and fit around them well, and as soon as the foliage grows, you can’t see the wire frame which supports the blooms typically heavy and sometimes bending down from rainfall.
And of course, a bleeding heart (Dicentra spectablis) is on its way up with little flowers already appearing. Every time I witness this plant I think of the day my husband weed-whacked one down many years ago. Let’s just say that I got him to stop when I explained accidentally cutting down a plant of mine is like if I went up and accidentally scratched his motorcycle paint. He got it.
But he explained his fault, indicating it looked like a weed – and you know what, sometimes it can at first but once those flowers drip down heart-style, you can mistake it is a flowering perennial perfect for early spring and into May. No cleanup was needed but later it will be cut down because it will go dormant earlier than many perennials and turn yellow.

Polygonatum, Ferns, Thalictrum
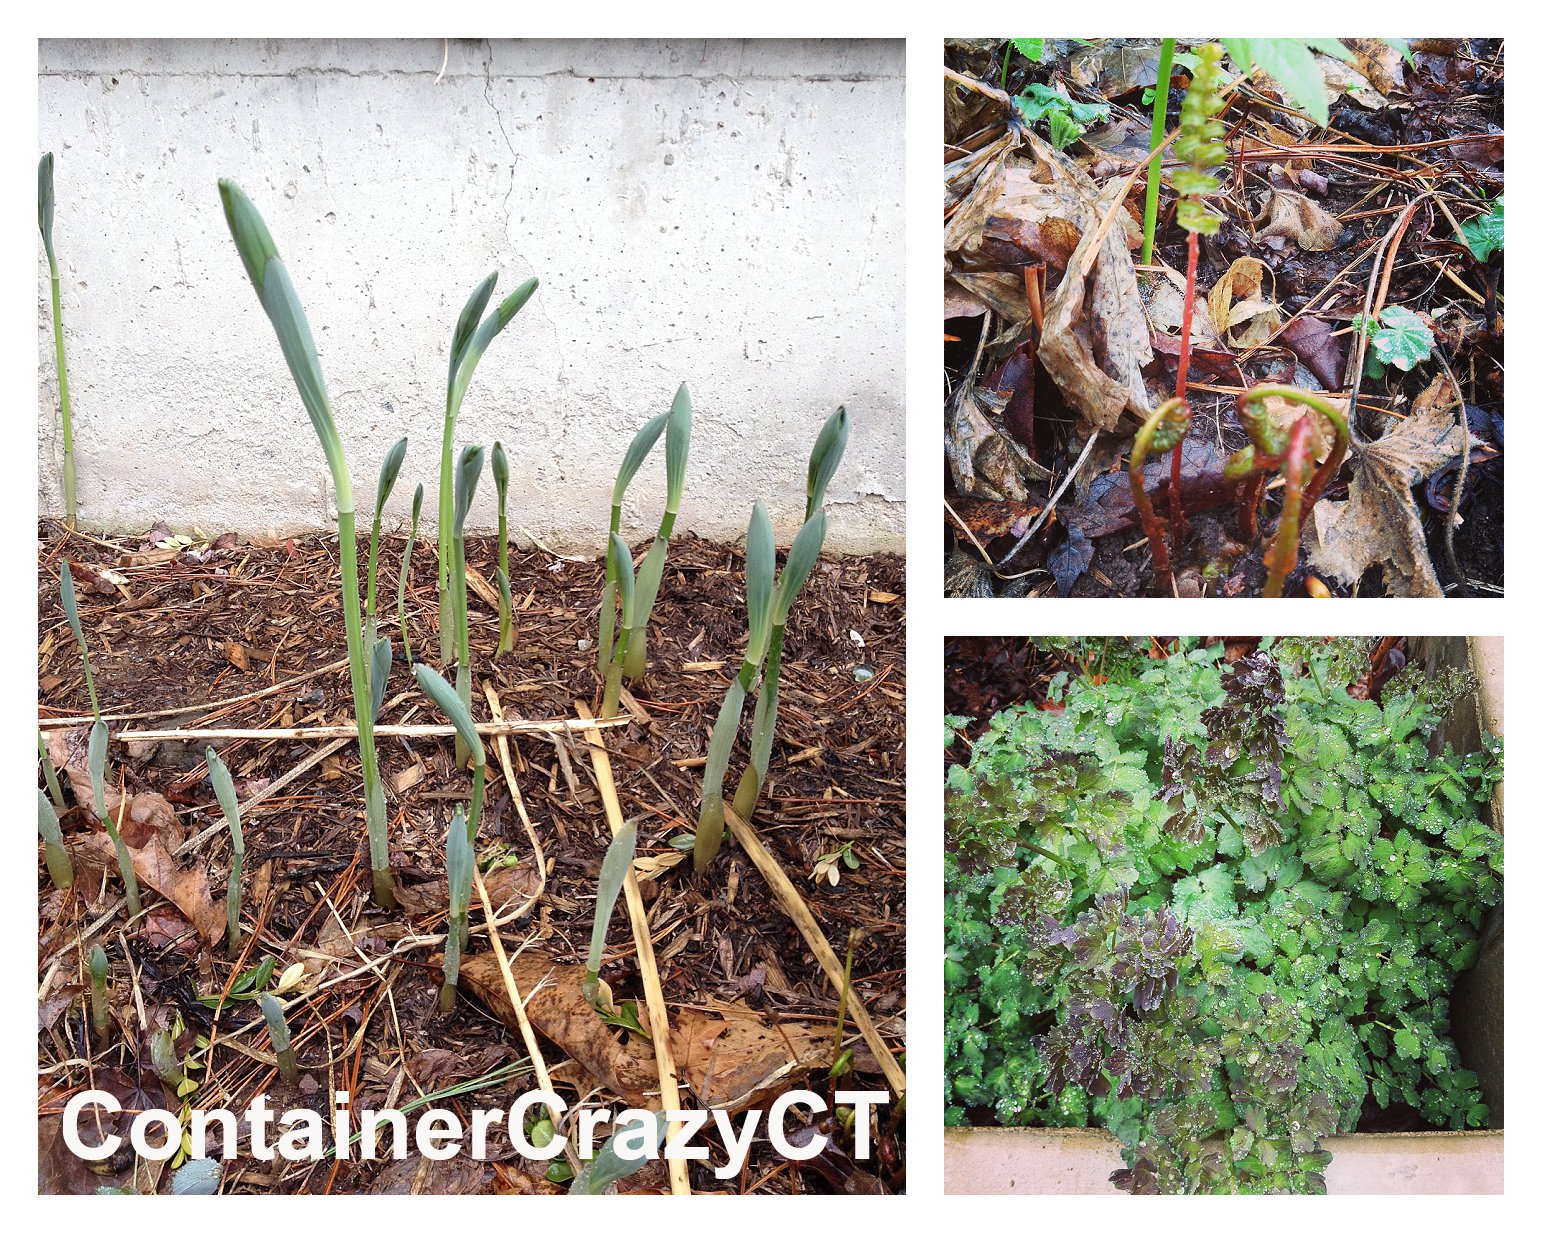
Further down the bed, under a Japanese Maple tree, are my Polygonatums (Solomon’s Seal). I love the way the stems come out of the ground like graceful little – well, I don’t know what – they just look interesting before they grow more. The leaves rise along the stems while little white flowers will dangle off the length of the stems, plus the stems will arch at the tops. It makes a great woodland-like plant for part shade. It prefers good moisture and rich soil too. When you buy these at the nursery, sometimes the single plant doesn’t look too impressive at first – but over time, these keep rising up more plants (as seen here) and when you have a nice stand of them, they are pretty impressive. On the top right is just a picture of some native ferns unfurling. Any nature lover gets why this is striking to look at – and I just grabbed a quick photo of that.
On the bottom right is a plant in my big cement planter around back of the house – can you guess what this is? You might think Columbine (Aquilegia) at first because its leaves are similar, but this plant is called Thalictrum aquilegifolium (Columbine Meadow Rue). The specific epithet (2nd part of the Latin name) means columbine leaf.
Anyhow, I love this perennial because it shoots out stems that reach 2-3 feet tall! Right now the leaves are coming out of the soil and they are tinged from the cool temperatures with some burgundy tones. But in early summer, this plant will show off fluffy flowers in pink colors on very tall thin wiry stalks above the foliage below. It is another woodland like plant and I love the height of it.
Hellebore Galore

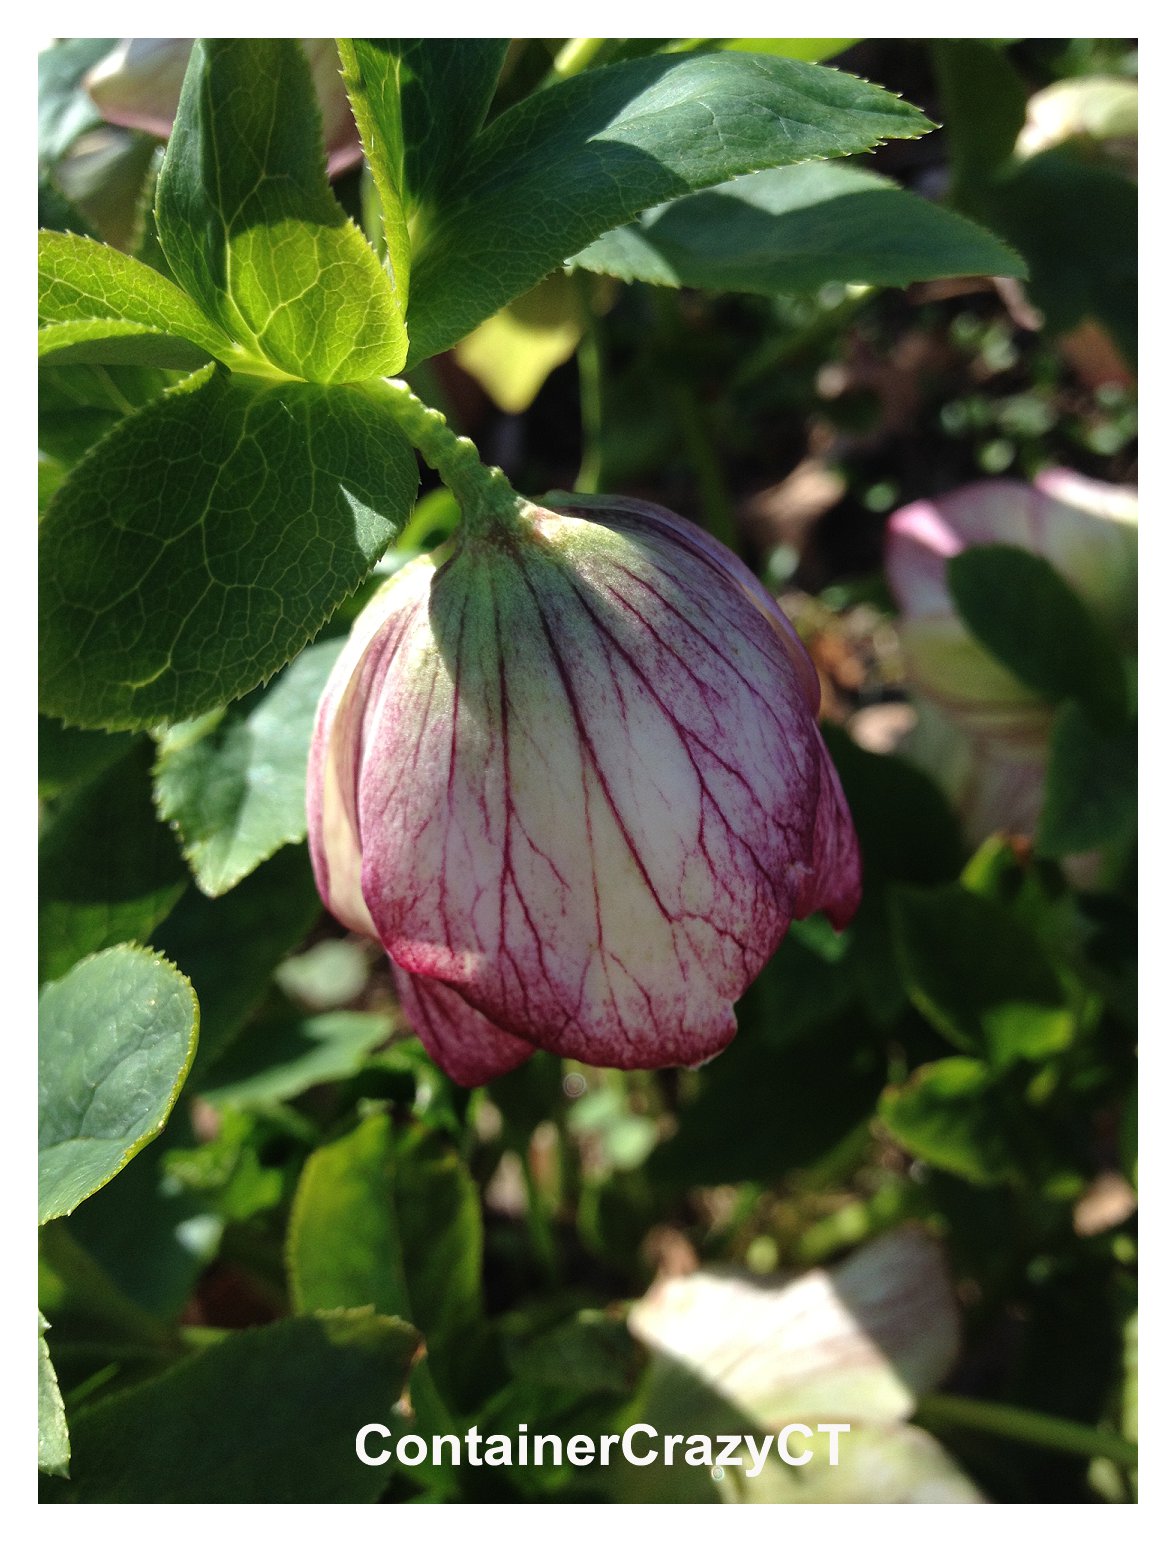
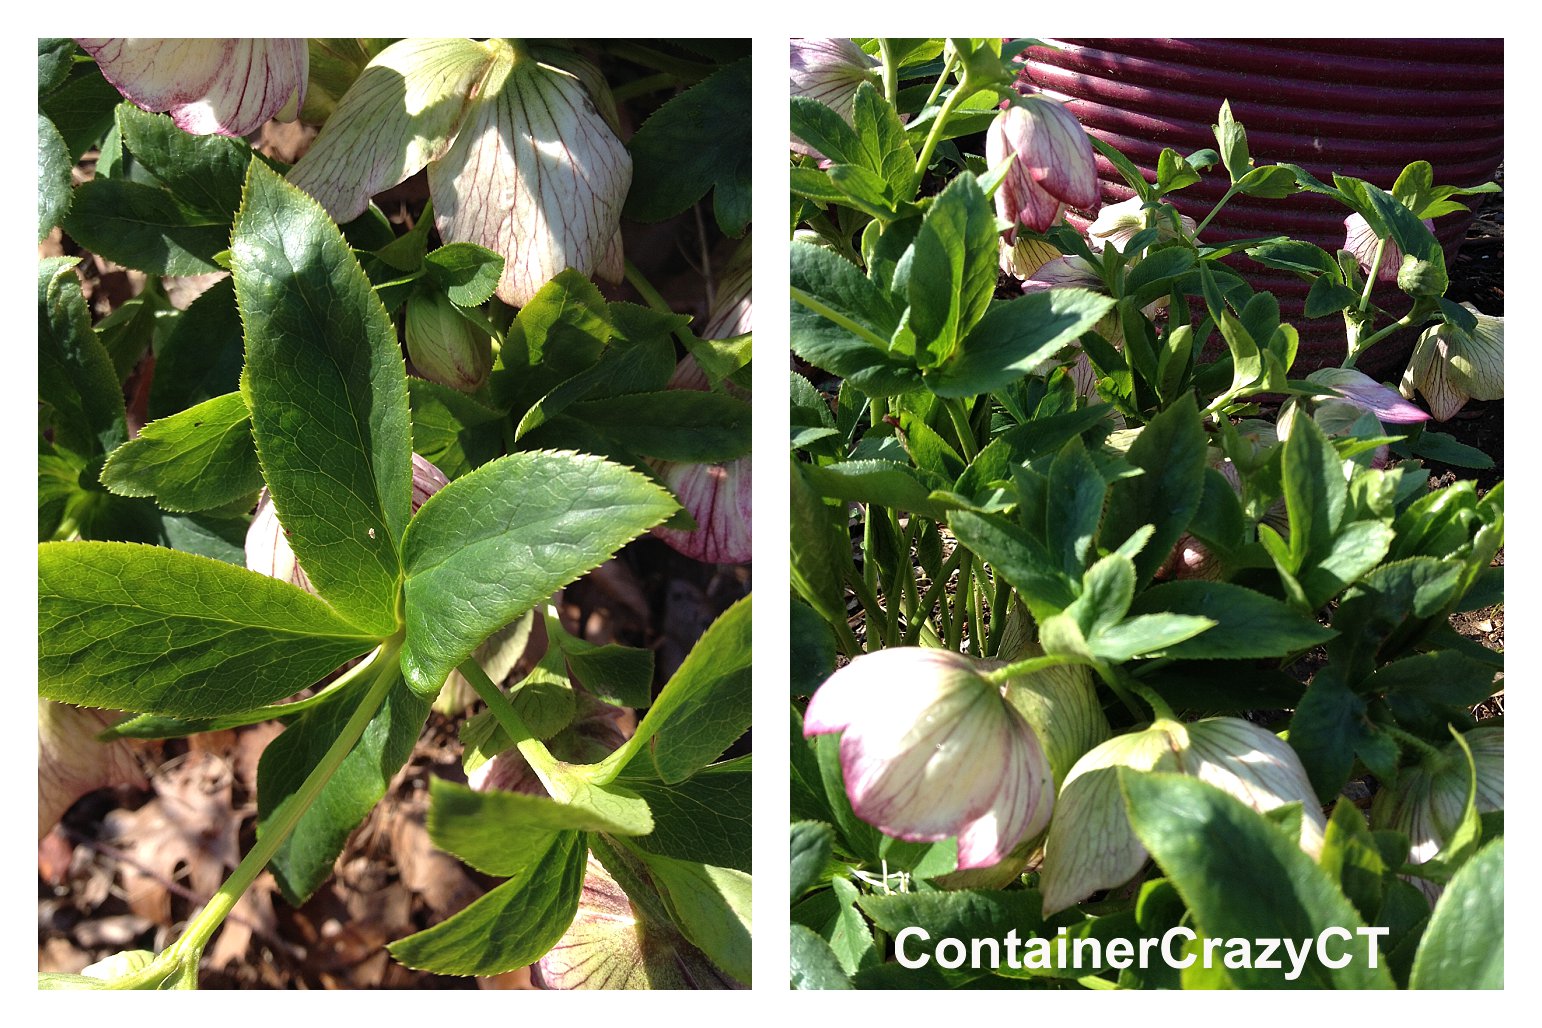
Helleborus perennial
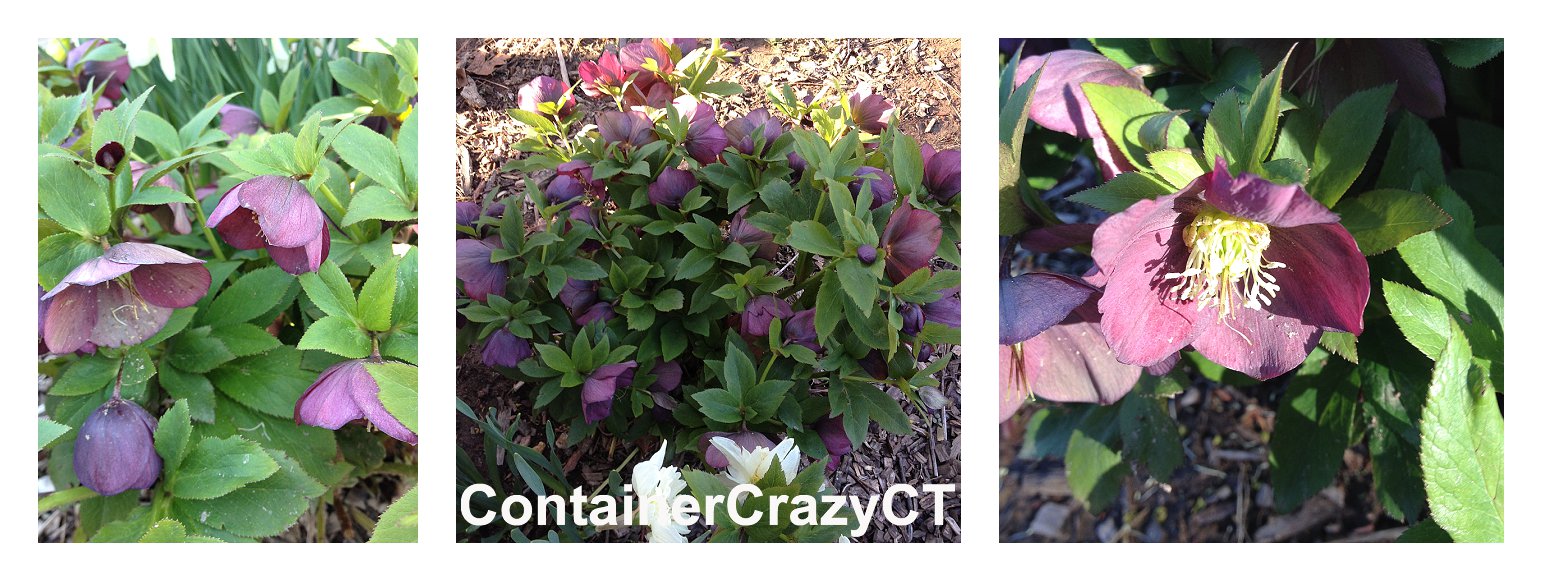
Because I was near the chicken coop this weekend moving in the new chicks and fixing some damaged parts of the pen, etc – I took time to notice my beautiful and full flourishing Heleborus perennials. I will have to dig through my notes to remember the cultivar name of this one, but it was flushed with blooms – all dark purple toned. Unfortunately, the blooms nod downwards, but if you gently tip one up you can see how the insides look – stunning.
I can’t say enough about Helleborus perennials. The leaves are tough and long-lasting, semi-evergreen, and easy to snip off any left overs on the plant from last season with hand-pruners. These plants take partial shade (and can take full sun) in a well-drained soil, but they seem to do better in shade in my yard. They are known as Lenten Rose and if you don’t have any, I recommend you get them – the deer don’t eat them by the way which is a bonus. (Oh and I will have some for sale at my upcoming Big Container Garden Party on May 24, 2014.)

Helleborus perennial
Here is another one I have near the coop. Fascinating how the veins appear in the leaf petals. Both of these stands of my Helleborus plantings are doing very well in their locations. I had chickens in this pen before and the soil is very fertile. In fact, when I was digging in the bed near these, worms were everywhere – a nice healthy sign of a living soil. As I found them, I scouped the worms up to give to my new chickens. They were ecstatic. They really like the treatment they are getting at their new dwellings, the little Testa ranch.
New Rhode Island Reds Arrive

Newly Arrived RI Reds!
Here they are, we got six Rhode Island Reds. We added a perch and four of them hopped up there right away, and I also put a box on the floor because they were hiding behind the feeder, so I realized they were a little “chicken” so I got them spots to hide by putting a box in there.

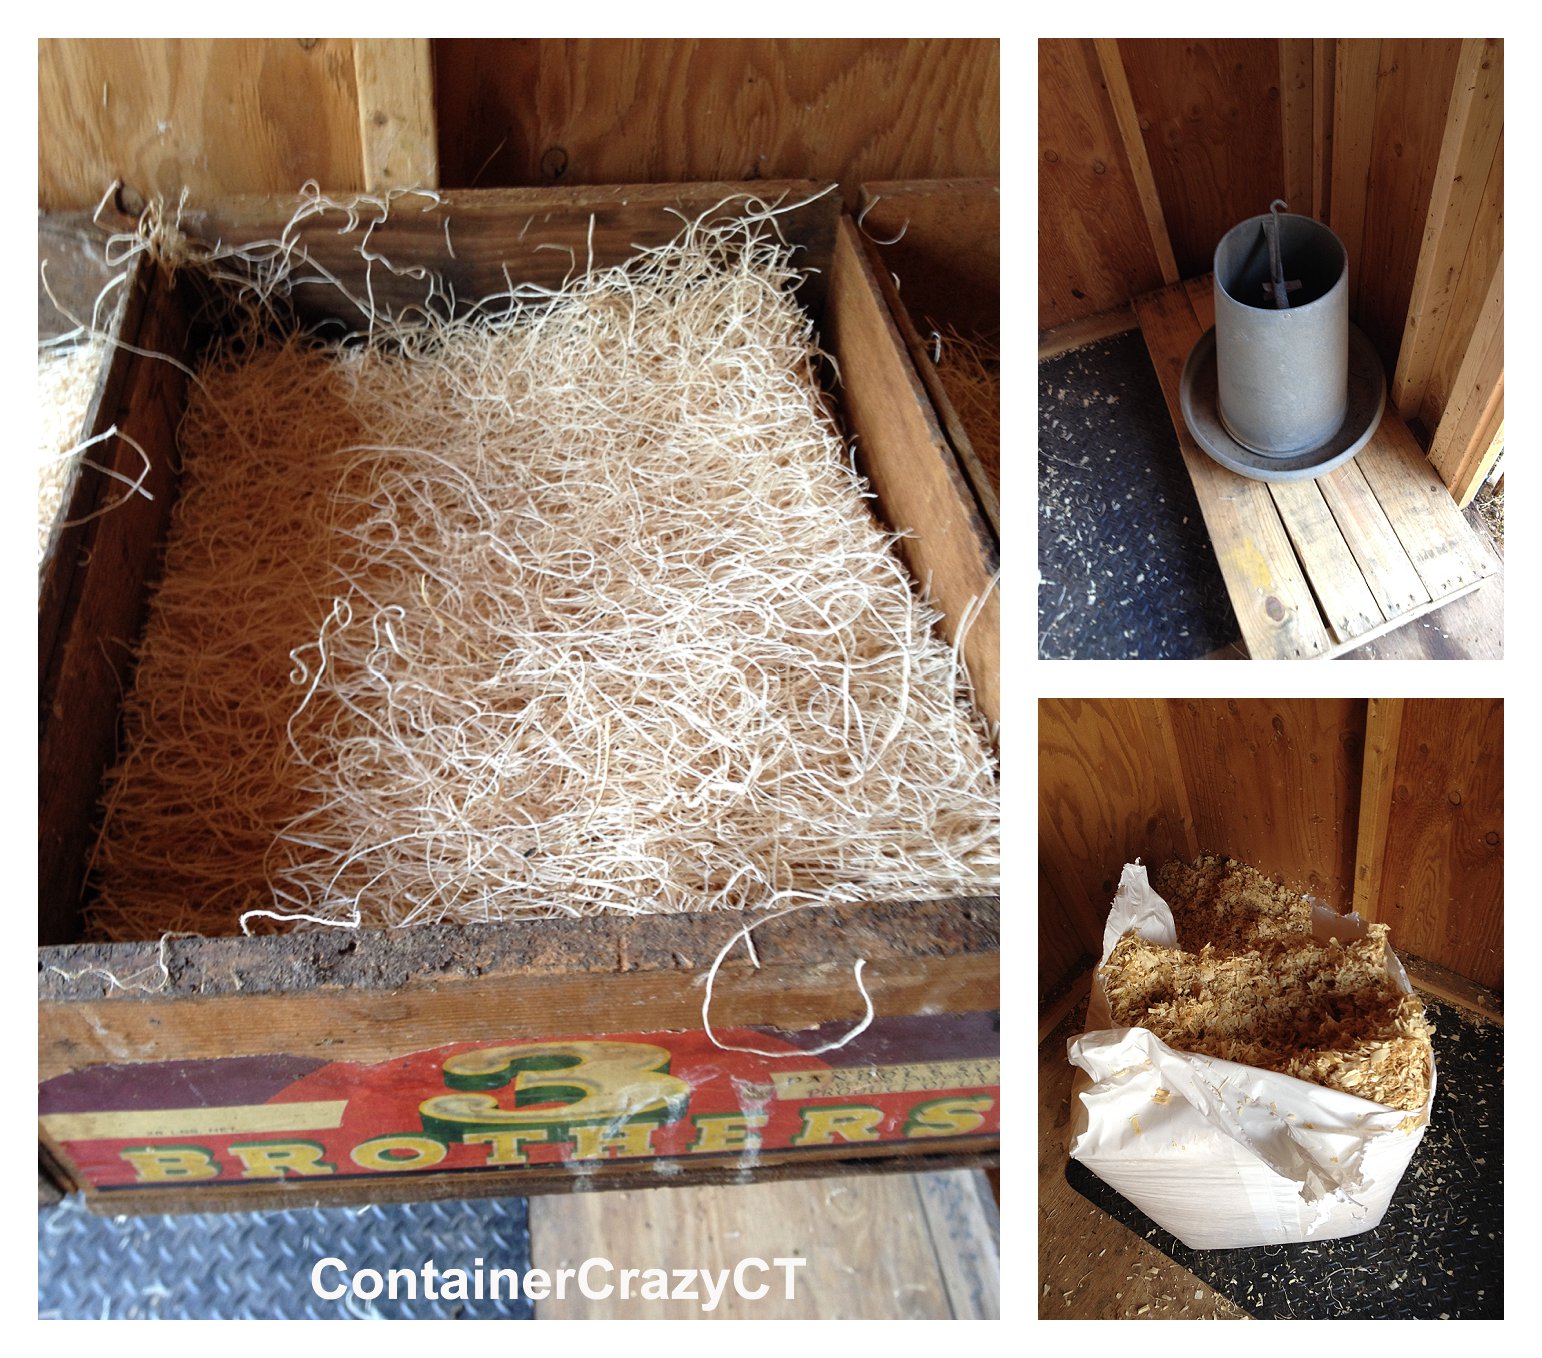
Chicken Coop Accessories
You are going to think my chickens are spoiled because I bought these perfect fit nest box pads to put in their future laying boxes. The boxes are a find of antique shipping crates and we are going to add side walls to the boxes so they have their preferred privacy when they lay eggs, expected by September. I also got a big bail of pine shaving to put in the bottom of the coop, and have a galvanized antique chicken feeder given to us by a friend. I put the feeder and water container on a pallet, raised off the ground, so they won’t poop in it as much as if it were level to the floor.

Soda Bottle Converter Kit
Soda Bottle Converter
Another nifty thing I ordered was a soda bottle converter kit which easily attaches to a bottle to drip water out for the chickens, but they have to be trained to use it. How? I’m not sure, but I set it up in the outdoor pen area. They are still a bit chicken to walk outside into the pen, but they started poking their heads out to look around. Both the nesting pads and bottle converter were purchased from My Pet Chicken online. I also bought a galvanized hanging poultry feeder and waterer, but they were much smaller than I expected. However will be handy and were hung outside in the pen for later use.

Incubator
Incubator of Sorts
My brother, Jimmy, kept the baby chickens in his home-built incubator until they were large enough to move into our chicken coop. I appreciated this very much because I did not have to setup a heat/warming place for them, and they are fine now to go without heat. But I had to show his set-up here. He got two shipping crates, attached them together with a door, and they had a nice warm and cozy home before coming to our house. Oh, I spotted his cat hiding behind the coop – she was probably waiting for a moment to get them, no luck my dear. LOL. But I guess raising chickens is in our blood. My father had them when we were growing up and my sister also has chickens now in an urban setting no less. She has pretty ones, with feathers on their feet and they are smaller – of course, CRS Again! I can’t remember what they are called, the breed. Hmmm, will come back to me.

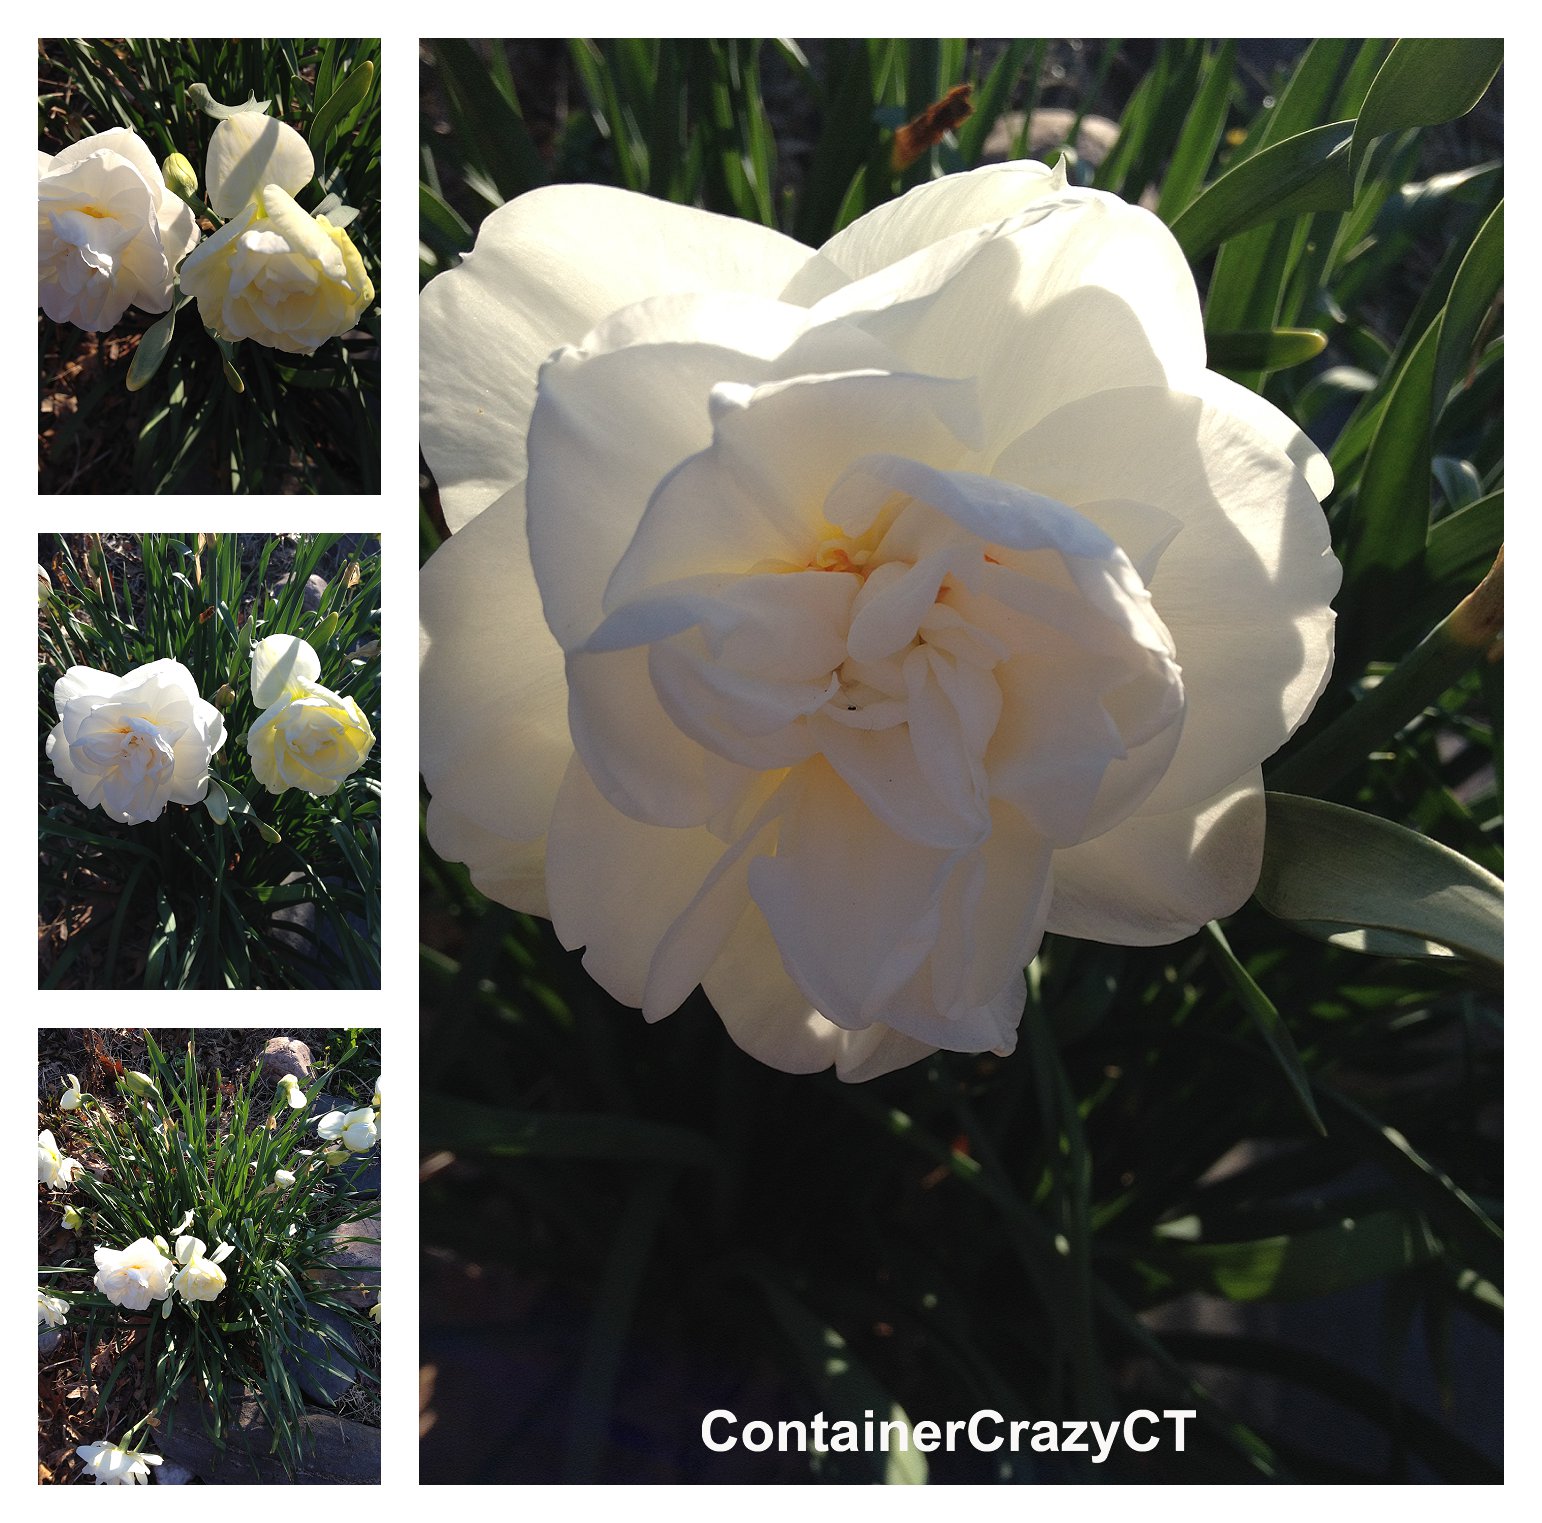
Daffodils
I couldn’t help but admire my daffodils around the coop. I prefer the type of daffs with multiple flower petals. Again, CRS, can’t remember the exact names of these types but they are just beautiful. The healthy organic soil there is really making them bloom a lot this year. And they don’t get eaten by varmints, unlike tulips. I will have to remember to add more in the fall to this area.
 Another one of my favorite daffodils is this one – name, I’ll let you know when I remember! But I bought the bulbs at a Connecticut Horticultural Society meeting several years ago and despite the location being clay, this one puts on a show every spring. The soil is well-drained there however because this location is on a slope, not near my chicken coop. The blooms smell lovely too! I let the foliage of my daffodils stay on as long as possible after the flowesr fade so it can build up energy via photosynthesis.

Poking Out Slowly
First Attempts to Go Outside
The chickens poked out just a little but didn’t stay out – they are still testing the area and are hesitant, and it was windy so they may have been a little chilled. However, it will be no time before they scratch and dig in the soil there for insects. In fact, what was so funny was the minute I set them in the coop, they pecked at tiny insects on the walls – amazing – they were literally cleaning house.
My cat, Hunter, followed me to the coop this morning. I didn’t seem him there, but he let out one of his big MEOWS. “Get back,” I said – these ladies are your new friends! I still haven’t named the chickens yet – right now, I refer to them as No 1, No 2, No 3, etc.
There are six of them, so I count them when I open the door to make sure they are all there. Even though we checked every part of the coop walls, etc., there is this fear of a predator trying to get in to snatch them. In fact, we plan to setup our outdoor motion sensor camera to see which predator shows up first to investiage. I am sure they can hear and smell the chickens in the coops already.

Weeping Larch (left photo)
Weeping Larch Coming Out too
On the left of the photo grouping above is a close up of a Weeping Larch (Larix decidua ‘Pendula’) located by my house entrance. Everyone who sees this tree usually points and comments on it. It is especially pretty just when the needles start to come out of the branches. It has a twisted curvy trunk and will grow rather large. It may outgrow its space but I like it there for now. I will show more on this plant later.
And on the right of this photo grouping above are more various perennials coming out of the soil now. I managed to get to most of them to clean up any tattered growth from the previous year, so now they are ready for a mulch refresh.

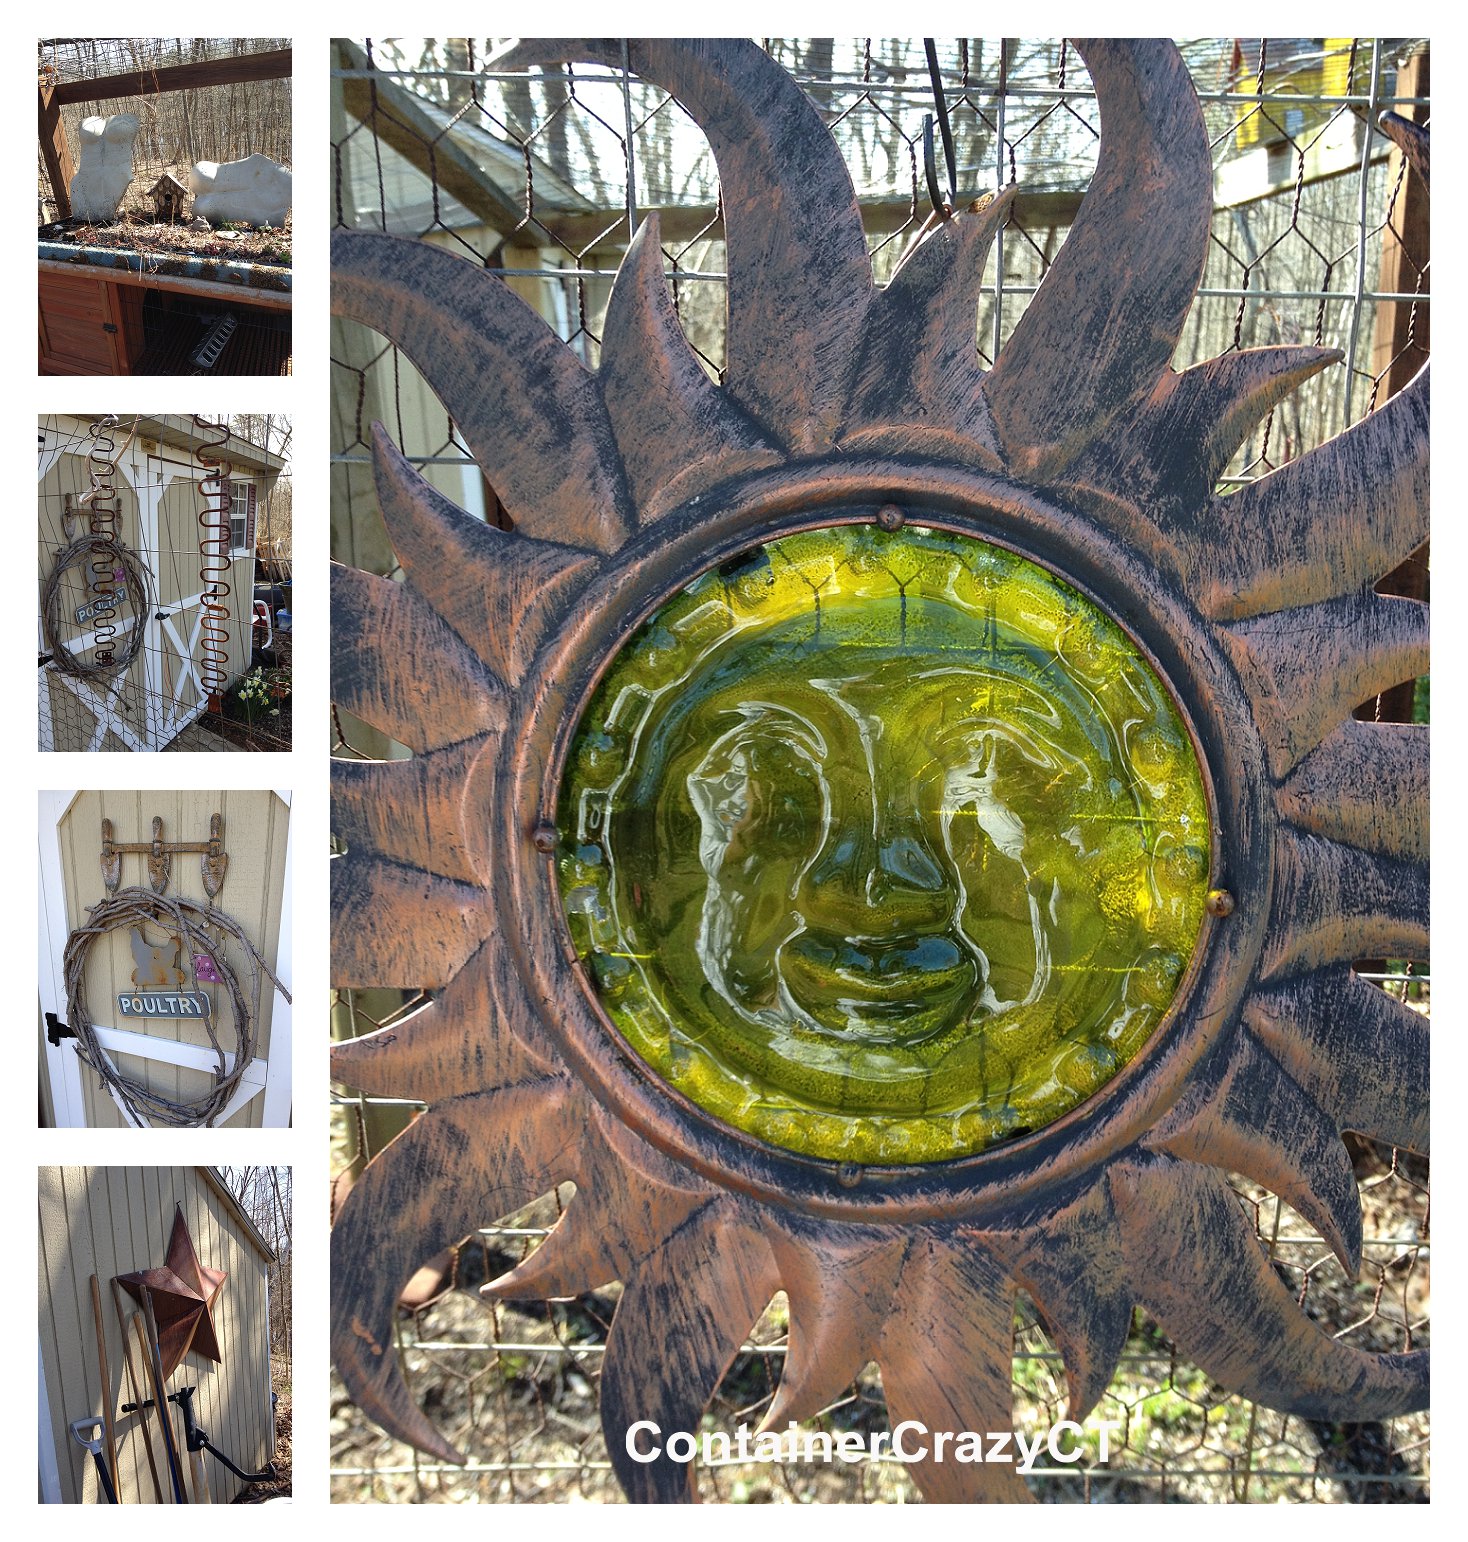
More of the Helleborus
Here is some funky garden type art I put around my pen. My next step is to edge all the beds with low stone walls, planned this season. It will look much better then.

Funky Art
More flower photos…


That’s it for now for my informal photo goofing around. Enjoy your week everyone, and enjoy the rising of your perennials too. It is time to come out and enjoy spring.
Written by Cathy Testa
http://www.ContainerCrazyCT.com
http://www.cathytesta.com
ContainerCrazyCT@gmail.com
41.925986
-72.555545