Hello Visitors,
Every year, several tropical plants from my container gardens and patio pots are overwintered. In this post, you will see how I helped a client, Laurie, who attended my May container garden workshops, dismantle her pots in September. She did an amazing job with watering and care all summer. Her plants grew very large and were extremely healthy, and now she knows how to store the root bases to attempt regrowing them next season. By the way, she wanted to dismantle her pots early because she was ready for the fall season and putting out mums on her deck. This process can be done much later however (end of October or early November) depending on how you wish to overwinter the plant.

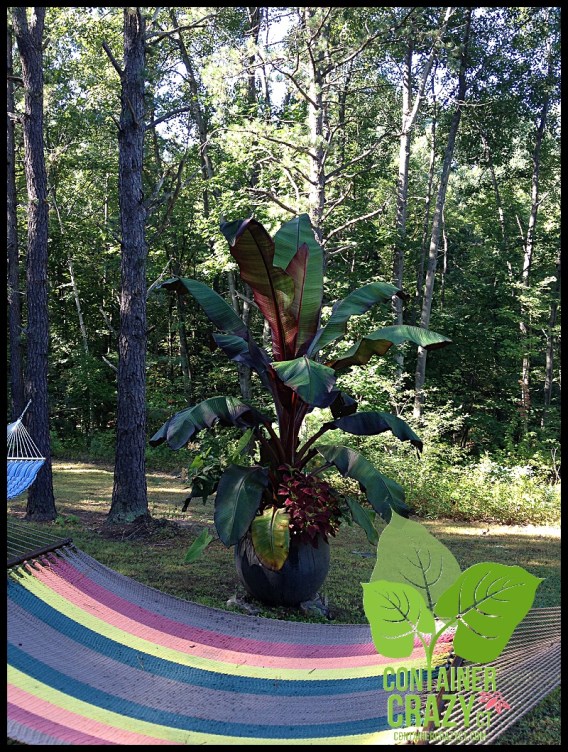
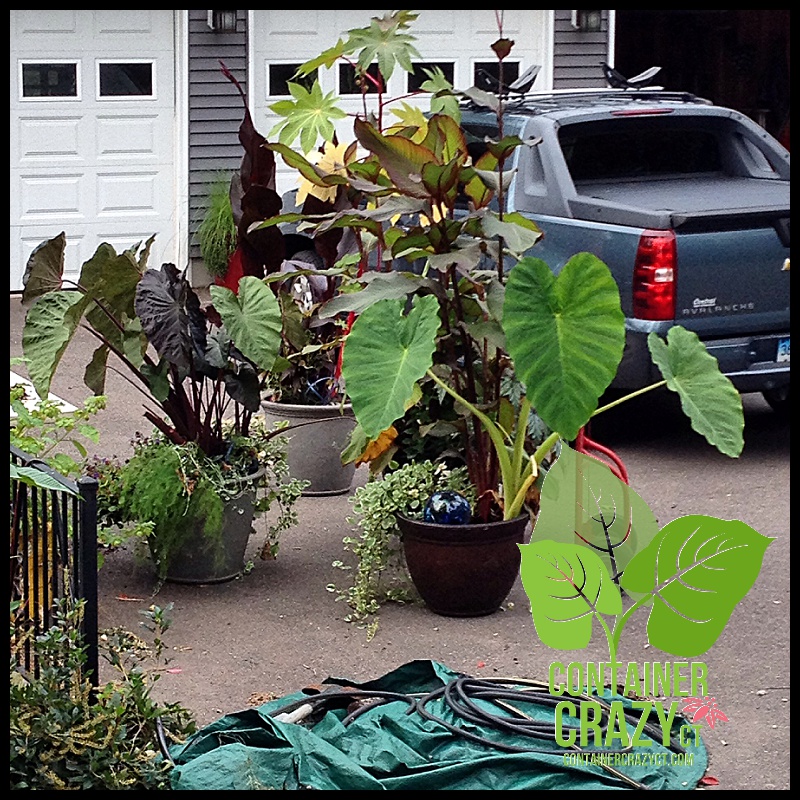
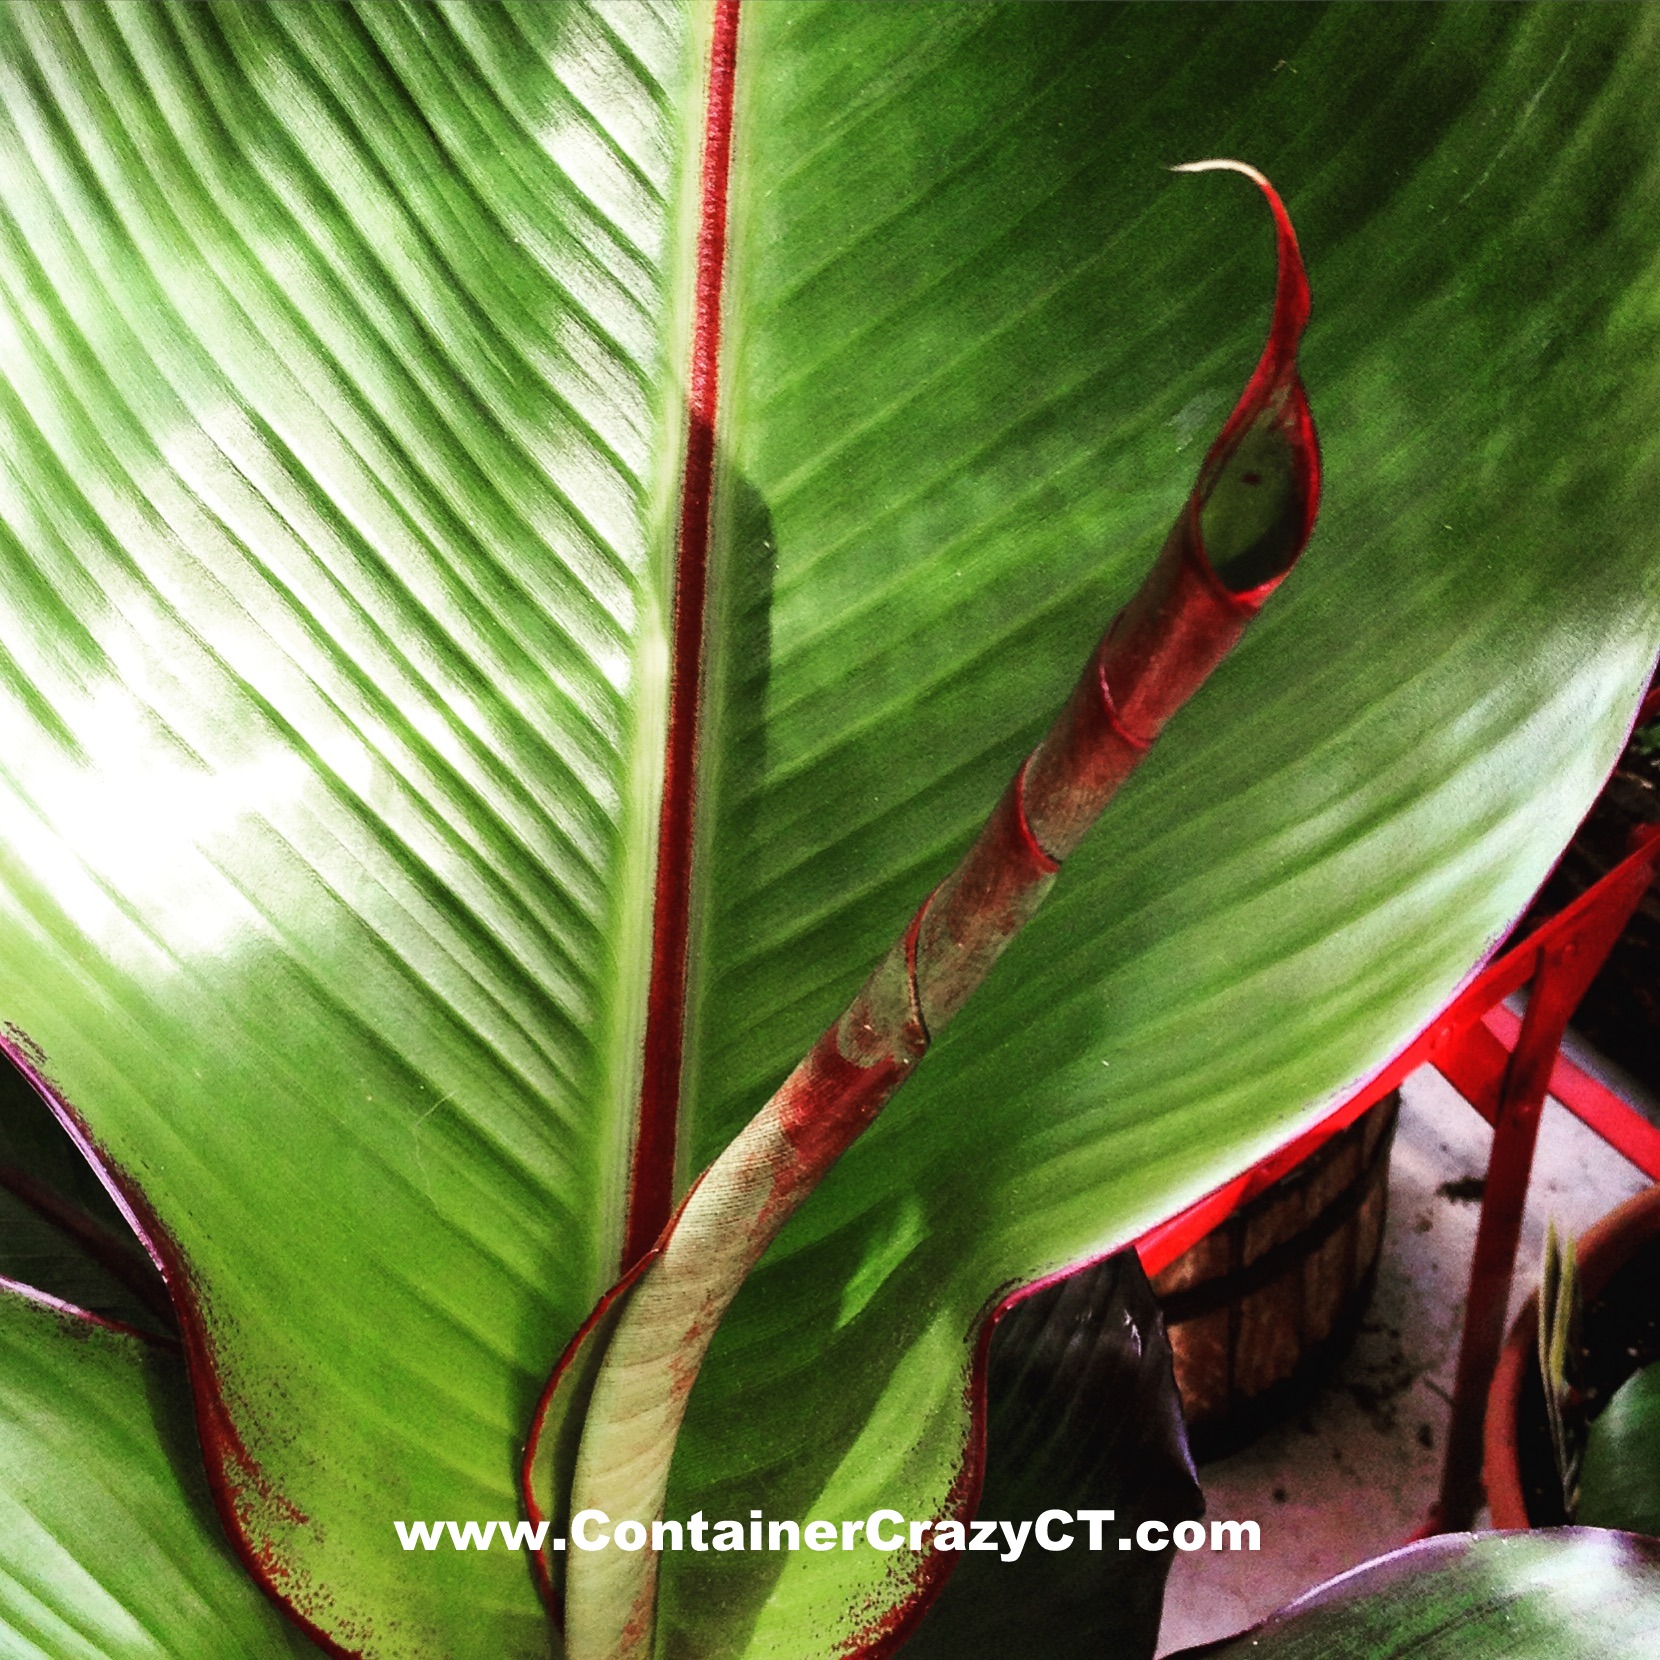
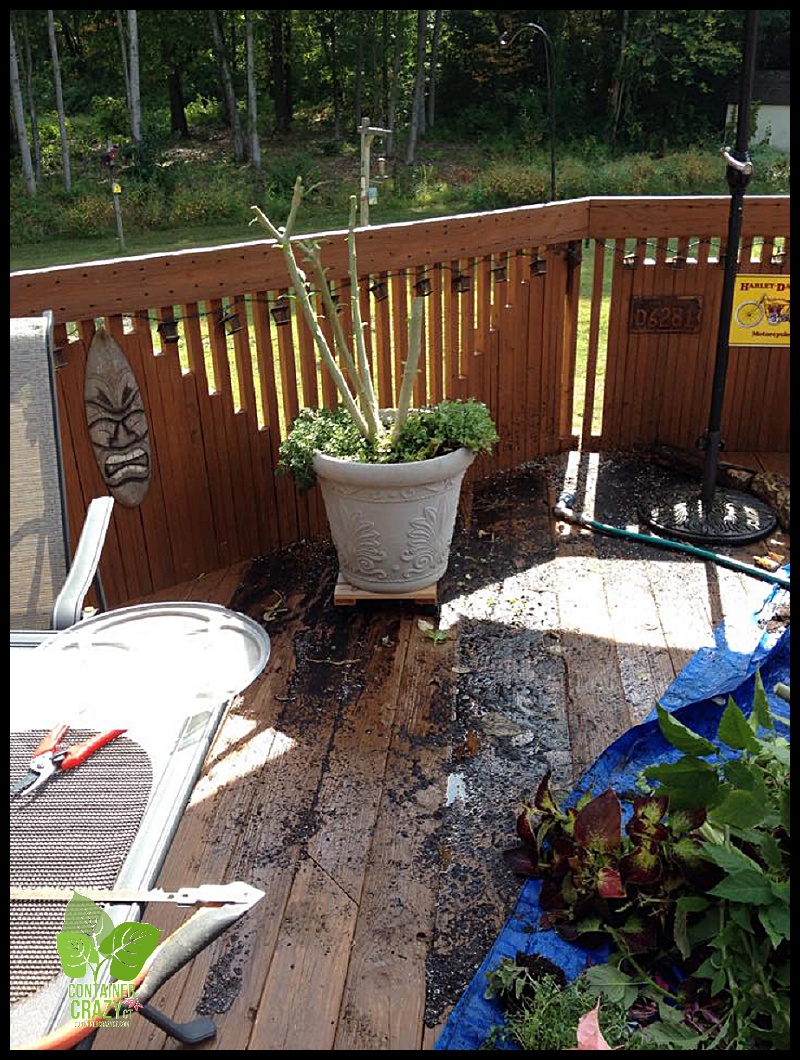
A Client’s Container Garden with Red Banana plant as a thriller
As you can see, her red banana plant in this pot grew quite large. It started as a small plant in May. This is a plant for planting zones 9-10 so it is not hardy in Connecticut but it is a great specimen to grow in pots – it grows large fast and the root base can be stored over the winter.
Take note the other plant on its left side is an Asclepias (Butterfly Weed) and during the summer it bloomed orange red flowers next to the rich red coloring of the big banana plant. The height of the butterfly weed worked well next to this very big red banana plant.
By this time in September, the Asclepias formed seed pods. The blooms on this plant are a major source of food for Monarchs.

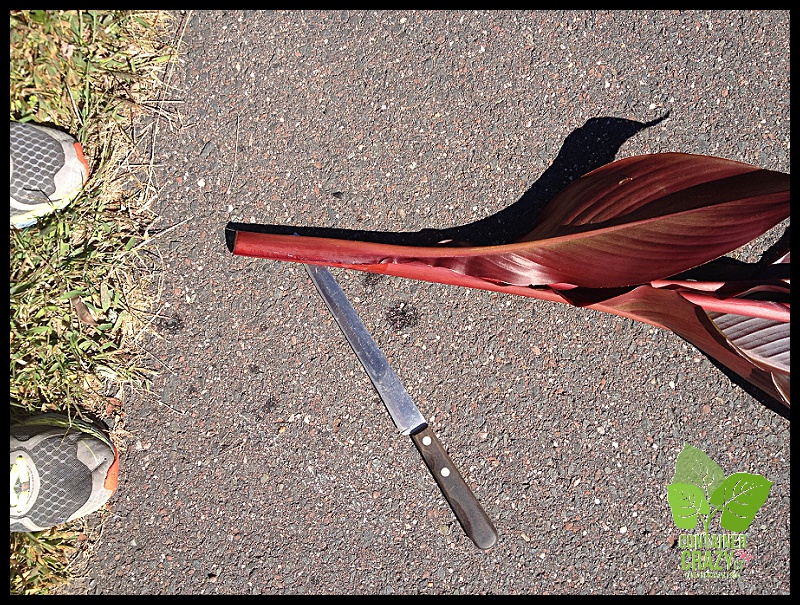
Cathy T uses a bow saw to say “Timber!”
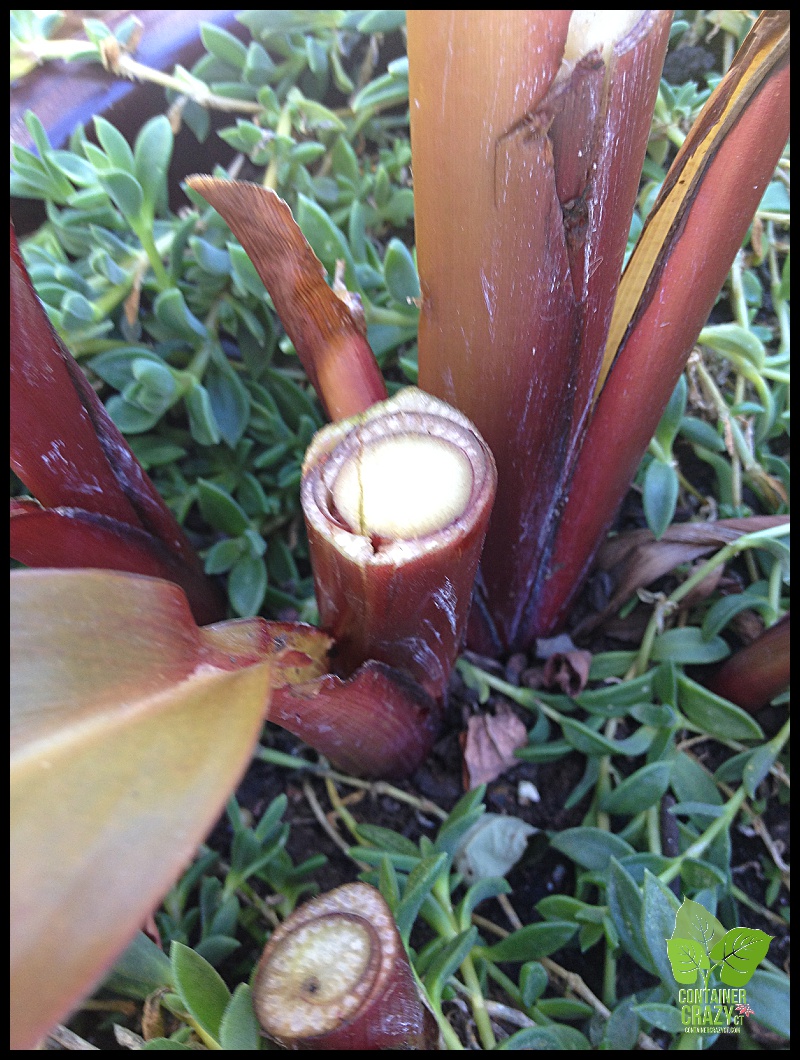
You will see how I used a bow saw to cut off the top of the plant. It’s pretty straight forward, make a clean cut, do it about 15″ from the base, and let it fall. The hard part is making the cut because the plant is so beautiful. A bow saw works terrific for this – it slices thru just like you would a giant stalk of celery which is how this plant grows, pushing through new shoots/stalks of leaves from its center. Don’t cut it down too low – this can damage that growing center. Some people will make the cut even higher, more on that in the Oct 17th demo (see info below).

Top Removed
Even though I am smiling for the photo, my client was not. She cringed. I asked if she was okay and she said it is so hard to see it taken down. I don’t blame her. She did a great job of watering and watching her plants.

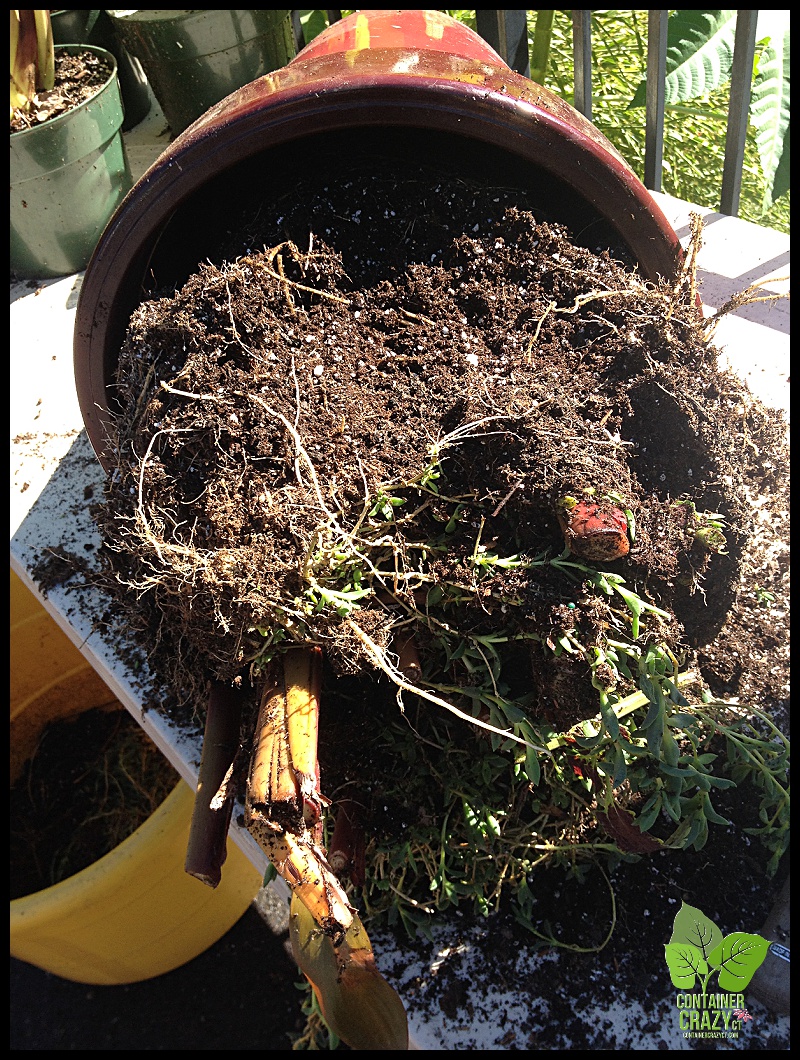
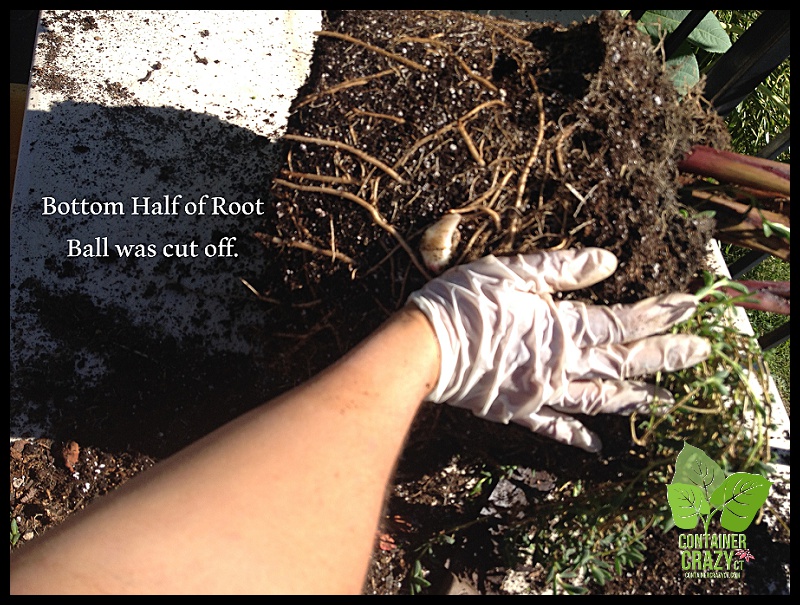
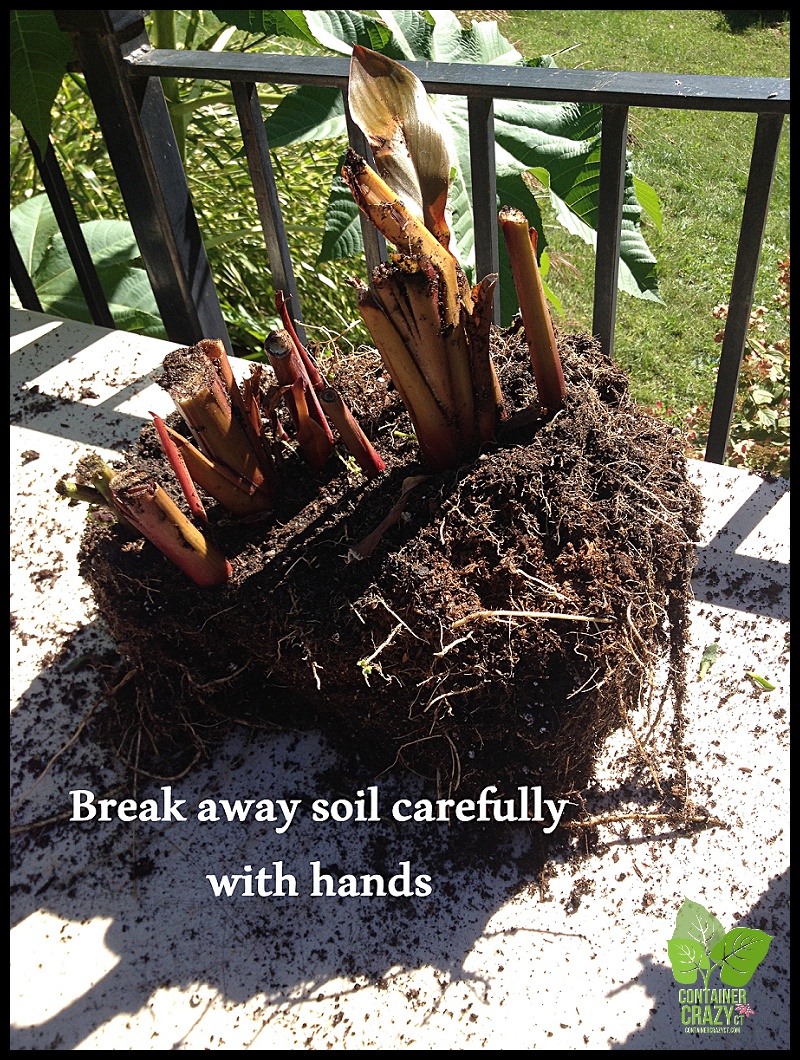
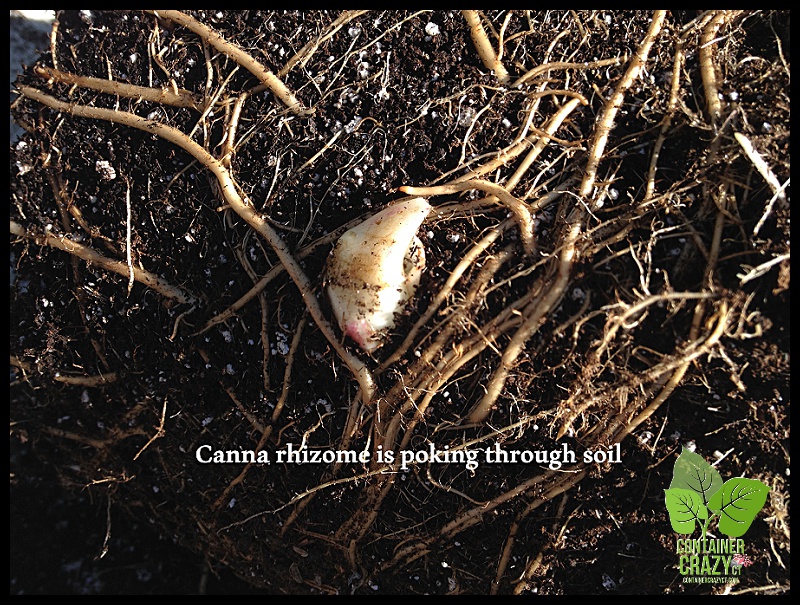
Red banana root base
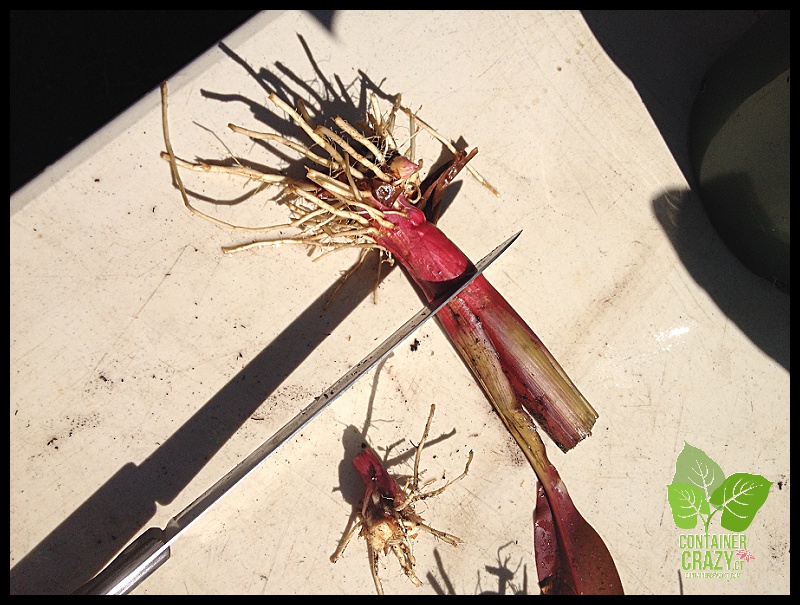
Can you guess what this is? It is the root base of the red banana plant. It was a bit of a job to get it out of the soil but after we did, we put it upside down to allow excess water to drain from it. The water collects in the center, and this root base is quite fleshy too. You want to air dry it a bit (few hours or 1/2 a day) to get a lot of this moisture drained out – but you do not want it bone dry either. Then it gets stored in peat in a box. More on that to be shown later.

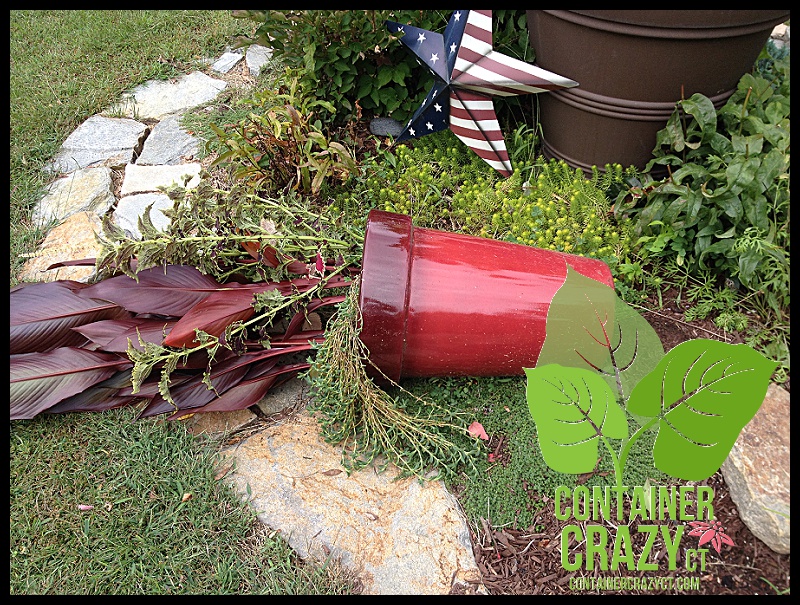
Laying down a tarp or old blanket is a good idea when you do your work of dismantling your container gardens because there will be a lot of foliage to take away to your compost bin.
Brugmansia (Angel’s Trumpet)
Next was the Brugmansia (Angel’s Trumpet) which is another beautiful, fast growing, showy tropical plant with 6-10″ gorgeous trumpet shaped flowers, also hardy to zones 9-11. It must be dealt with “before frost” in the fall. However, as noted above, the red banana plant may be left out until frost hits it if you store it as shown above.

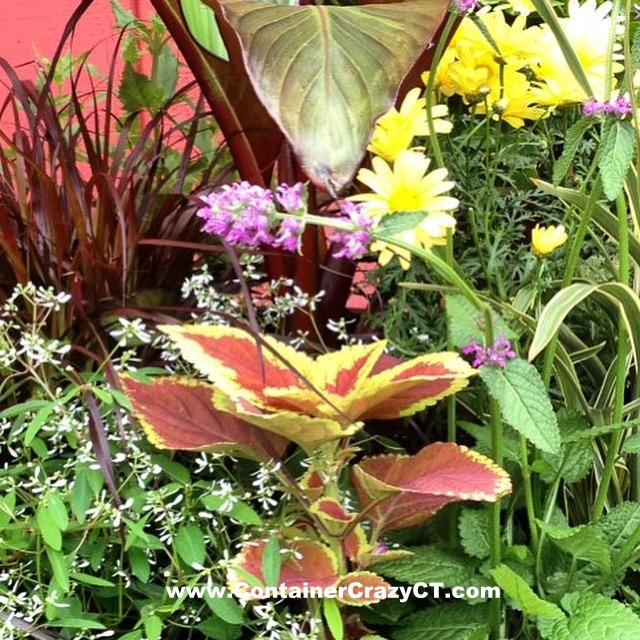
Brugmansia with Coleus
This picture doesn’t do it justice. For a first time container gardener, my client did an amazing job with this plant too. She and her husband enjoyed the highly scented pink trumpet shaped flowers in the evening. You have a few choices with this plant in regards to overwintering it in Connecticut. You may take it inside (if you have space) and treat it as a houseplant. Or you may store it in your unheated basement that remains cold but not below freezing. It will drop leaves and look unsightly, but rest assured, when you take it back out next season, it will boom again. You may also cut back this plant hard too if you wish to reduce it in size for space considerations. However, if you leave it tall, you have the added bonus of it being much taller next season. We decided to cut Laurie’s back a bit.
Brugmansia trimmed back with loppers
Brugmansia (Angel’s Trumpet) is a plant which can grow to the size of a small tree in the right conditions in the ground. It will bloom all the way into November if you wish to keep it going. It will grow a bit smaller in containers, or a big bigger in really big pots. It’s a keeper on my plant list.

Canna on deck
Next was the beautiful pot of two Canna plants on her mini deck. Her husband graciously carried the pot to a better working location for us after we cut back all the stalks. Again, Laurie whimpered as we did so. The next photo shows what the pot looked like after all was cut off.

Canna with tops off
Her blooms were rising so high which is something Laurie commented about as we worked. She was impressed, and did see hummingbirds visiting the blooms this summer. And again, the plants were stunning. It was sad to see them go but the plus side is after storing the rhizomes, they will be ready to be regrown next season.

Rhizomes removed from Canna pot
Here’s a test for you? How many rhizomes do you see above?
I count 17 at least – this means she now has 17 new plants from one potting!
Private Sessions
It took some time to dismantle three large container gardens but we enjoyed every minute. This service of showing you how the process is done and working with you is available up until our frost date, so if you wish to hire me for a private take down session, send me an email soon at containercathy@gmail.com or fill out the contact form below (private sessions are $25 and held at your home).

Castor Bean at End of My Driveway
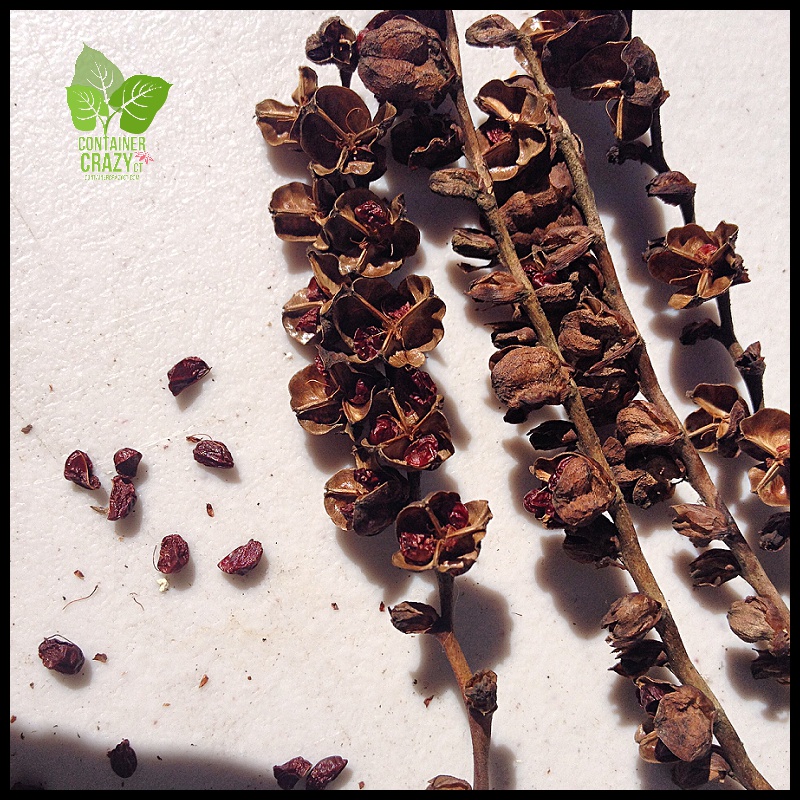
To close today’s post on overwintering plants from container gardens and patio pots, I’m sharing a photo of my castor bean plant at the end of my driveway (noted in yesterday’s post). It is Giant Zanzibariensis and provides quite a show – it grew to a monster size. The seeds are collected as a way to regrow it next season. More on that later.
And lastly, I wanted to share a photo of my Crocosmia since I referenced it yesterday and planted it into the ground this week from my blue pot. The best thing about this plant is how the hummingbirds visited it often. They loved the red blooms and would chirp away. It was replanted in a very large container which is almost the size of a smaller garden bed for next year’s enjoyment – so this year on the deck, next year in the garden – recycling the good way.

Crocosmia
Overwintering Demo
On October 17th, Saturday at 10:30 am, the overwintering process will be demonstrated. If interested in attending, see the links on this blog under the “Nature with Art Programs.”
Workshops and Classes
Every season, Container Crazy CT offers workshops and classes. Some are plant related, some are arts related. This spring, we had a wonderful windchime making class. This May was repeated Container Garden Workshops. And every winter is the annual Holiday Kissing Ball and Evergreen Creations workshop where you may learn how to make them with fresh evergreens! Don’t miss out – we are always adding programs.

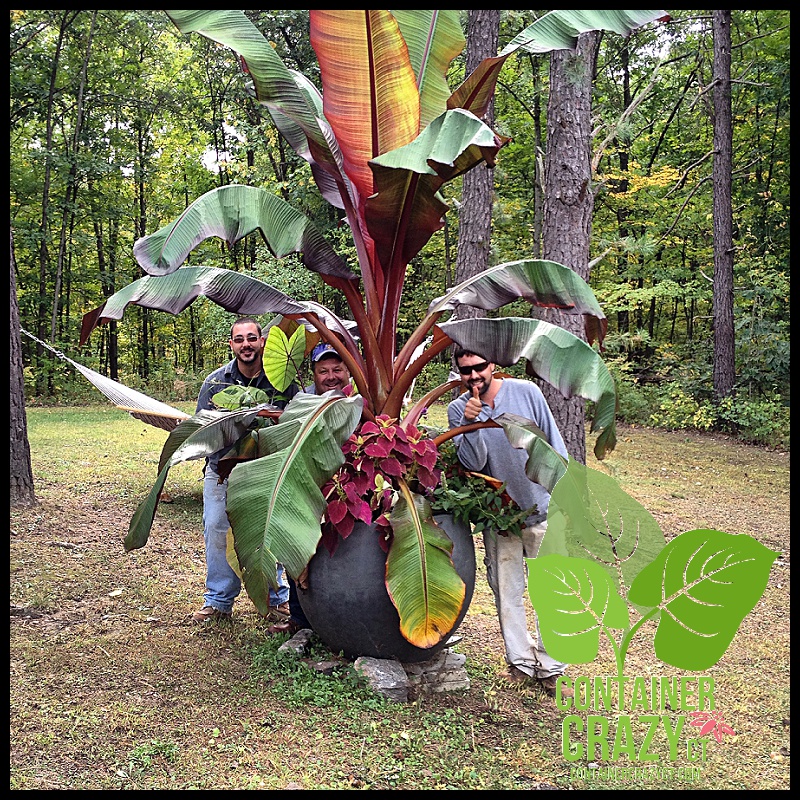
Red banana plant in my backyard
Cathy Testa
http://www.containercrazyct.com
860-977-9473
containercathy@gmail.com
About this blog:
Container Crazy CT is about sharing the passion of growing plants in container gardens and about combining nature with art. Cathy Testa offers classes and workshops and regularly shares information about growing plants in pots. She is located in the Broad Brook section of East Windsor, CT. To learn more, click the tabs on the top of this blog site. Cathy Testa also speaks at garden clubs, women’s groups, farmers markets, and special events. See Garden Talks above if interested in having her speak to your group.