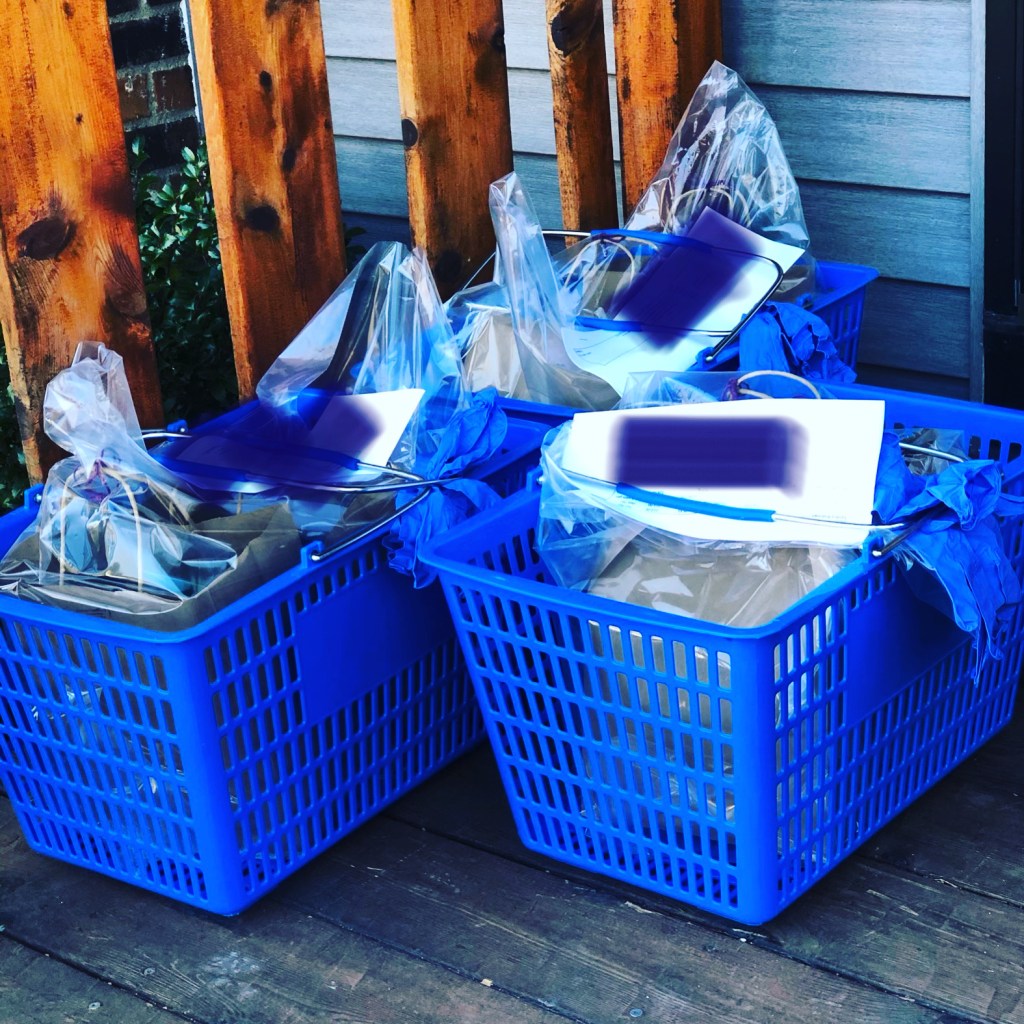
I have been reflecting on how I was very much into seed starting a few years ago, and wow, during COVID, it was a big time to sow seeds as well. In fact, I remember selling out on seed packets I had in my stock and some seed starter kits I had assembled, because people were having difficulty getting seeds mailed at that time. Everyone wanted to start seeds and drove over to my house to pick up their seed packets with masks on and I had a basket was sitting on my driveway that was cleaned for every pickup due to COVID. We’d wave to each other through my kitchen door window.
Anyhow, there were some seeds I had started in seedling trays for indoor growing a good 10 weeks before our last spring frost date of mid-May. You see, I always used May 12th as my estimated last spring frost date here in my area of Connecticut, and some seed packets would indicate to start seeds 6 to 10 weeks or 8 to 10 weeks before the last spring frost date. Examples were Pica Chile Mix Peppers, Chives, Salad Savor, Oxheart Tomato, and Lemon Drop Peppers. So yes, in March, I was starting “some” seeds to get an early start on the whole process. Then continue in stages based on seed types, like some are sown much later.
That seems so early to start seeds in March, right? But these plants required that much time. You could pick any time between those 8 to 10 weeks for example, and 10 weeks was March 3rd, or is March 3rd. Anyhow, this would require getting my greenhouse ready with seed starting supplies out, and things like that.

This year I am not into sowing seeds, and I probably would only do some pumpkins which isn’t required till later to start those seeds. They don’t require as many weeks before the last spring frost date. I don’t do as many now cause I’m technically retired and I don’t plan on being home all the time to monitor everything like I did before. Remember, seeds cannot be left alone for weeks at a time, even days, they must remain monitored, watered, warm, etc. You have to watch for problems too. If you are not tending to them, forget it.
Anyhow, seeds in the seed packets remain viable for 3 to 5 years in general if stored appropriately. There are some exceptions like parsley. So, I still do have some seed packets in my stock, but some are getting a little older. I gave some seed packets as Christmas gifts this year to family. I always had certified organic seeds in beautiful seed packets which were art packets really. I also selected easy to grow types too.
It’s important when you buy your seed packets to have information, and the seed company I used always provided detailed information in their seed packets and on their website. But I also created lots and lots of helpful seed starting charts with calendars and documentation to anyone who got seeds from me.
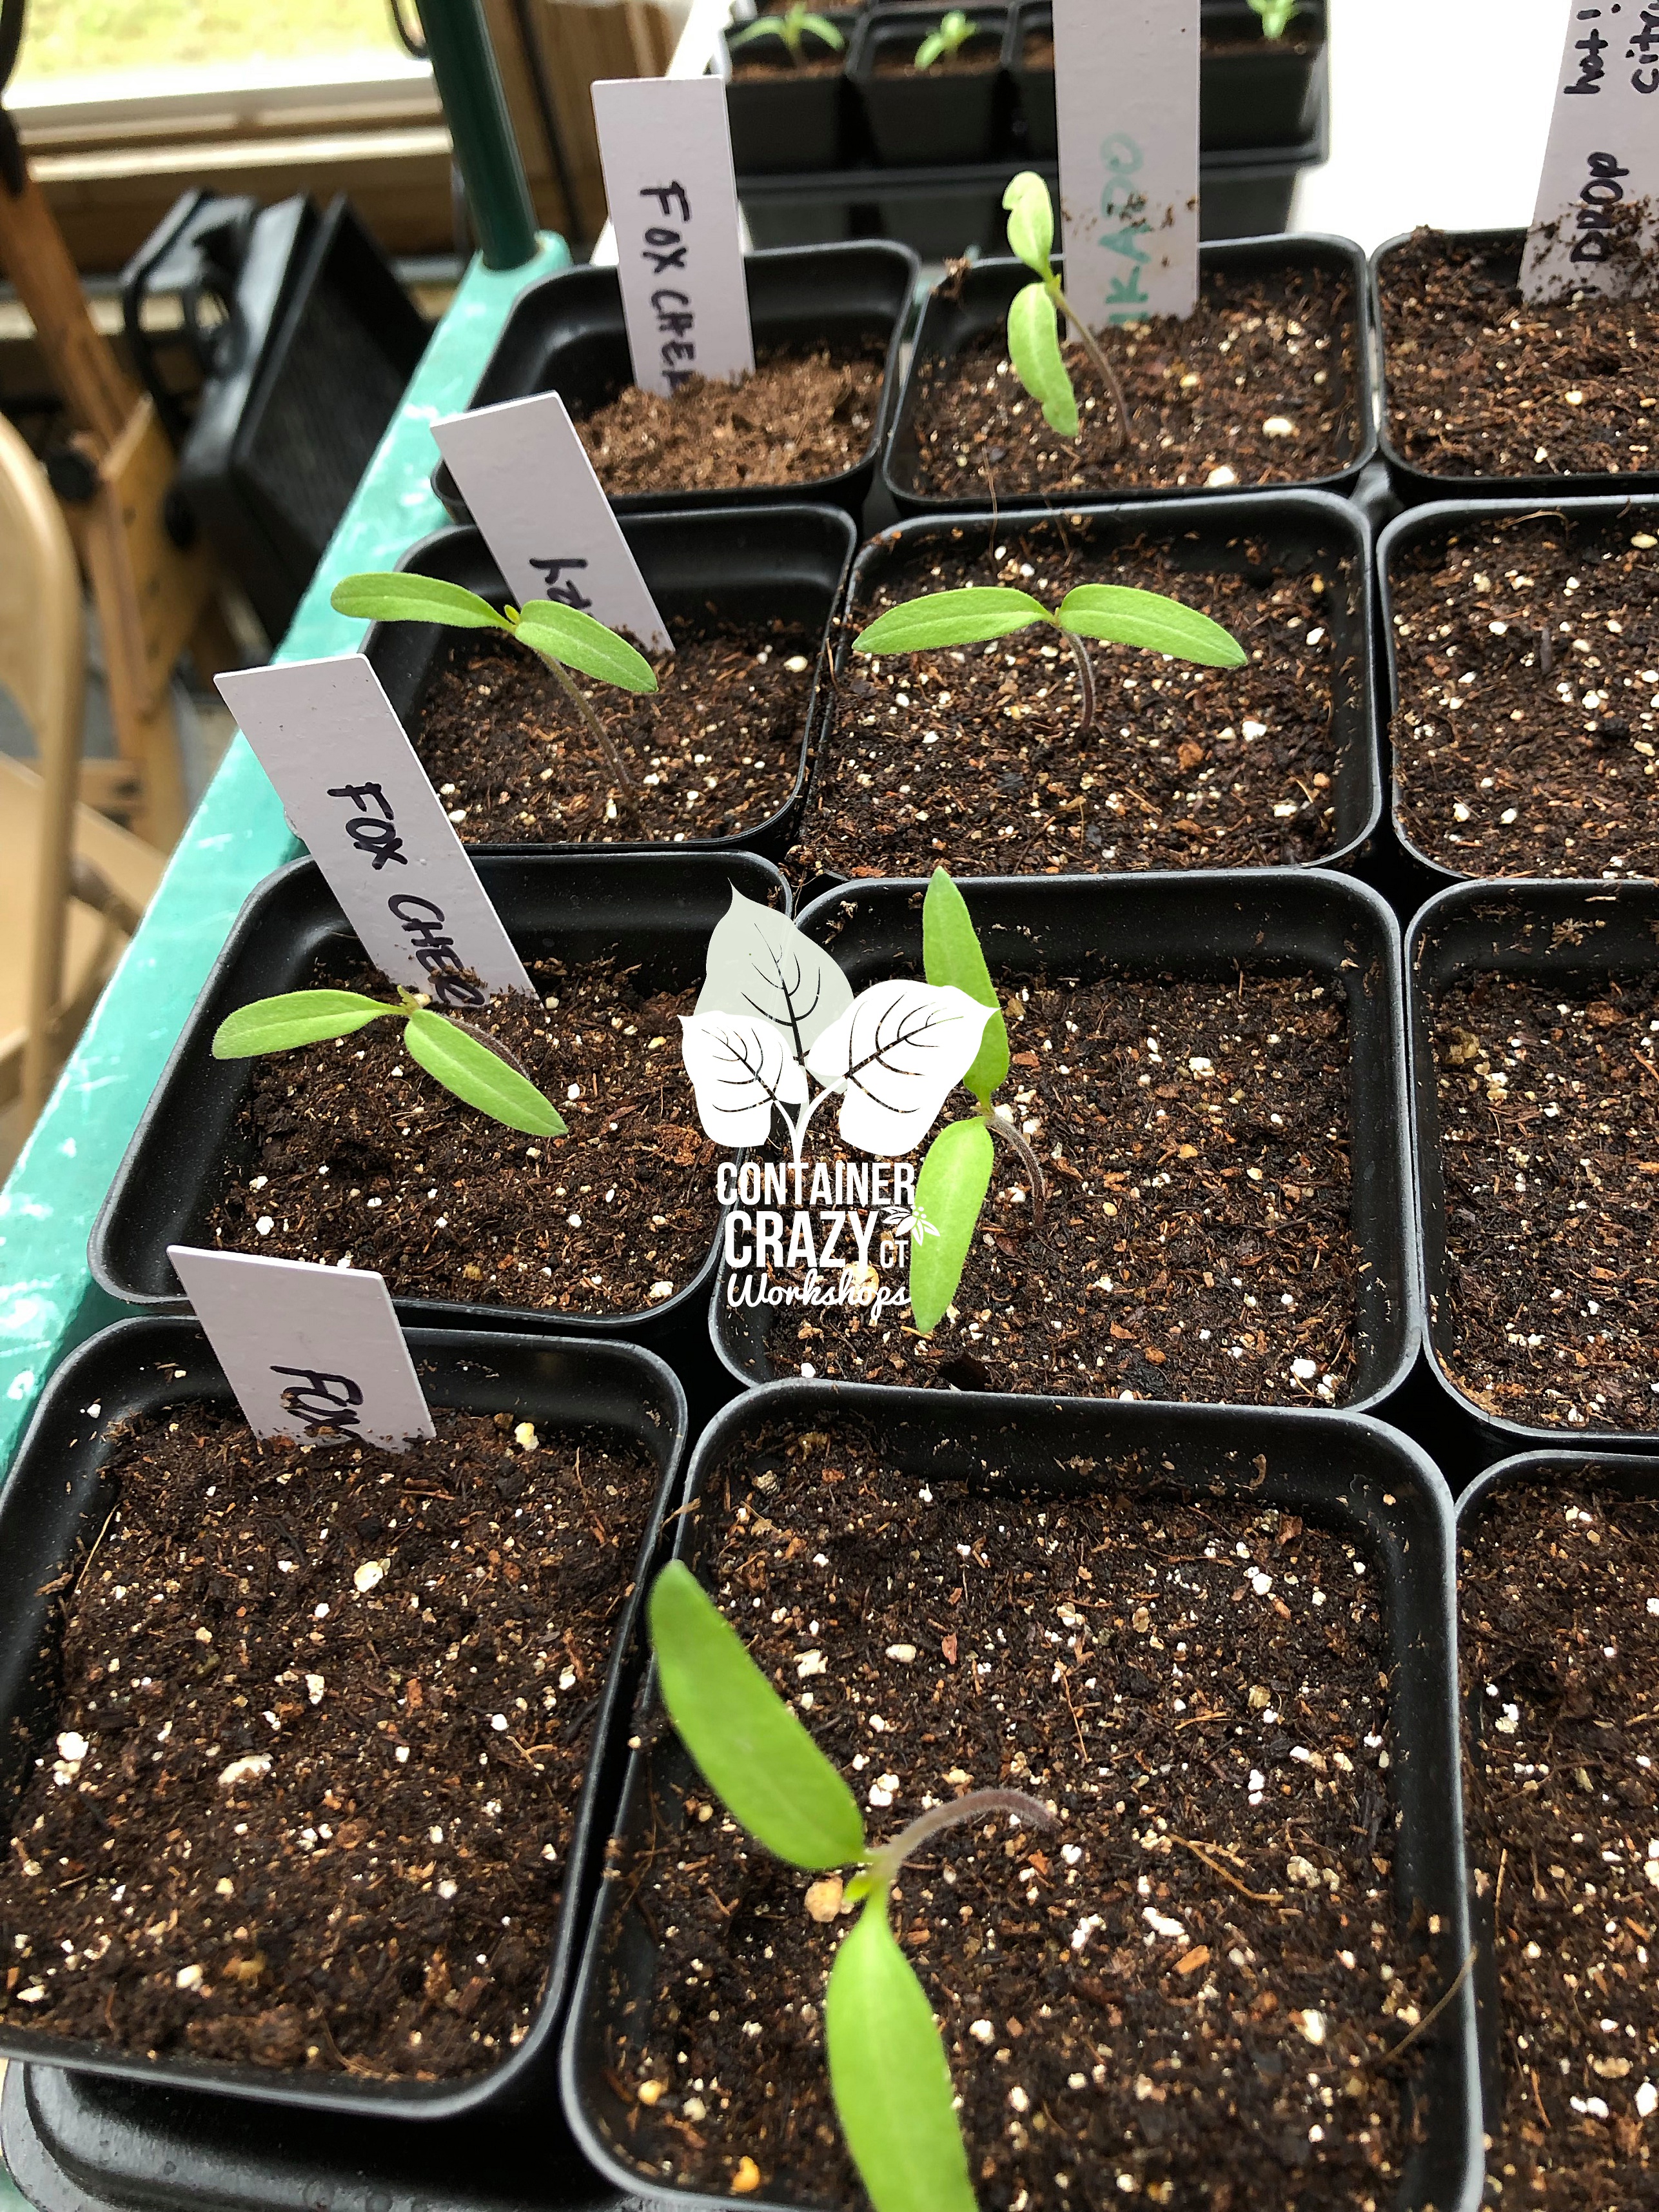
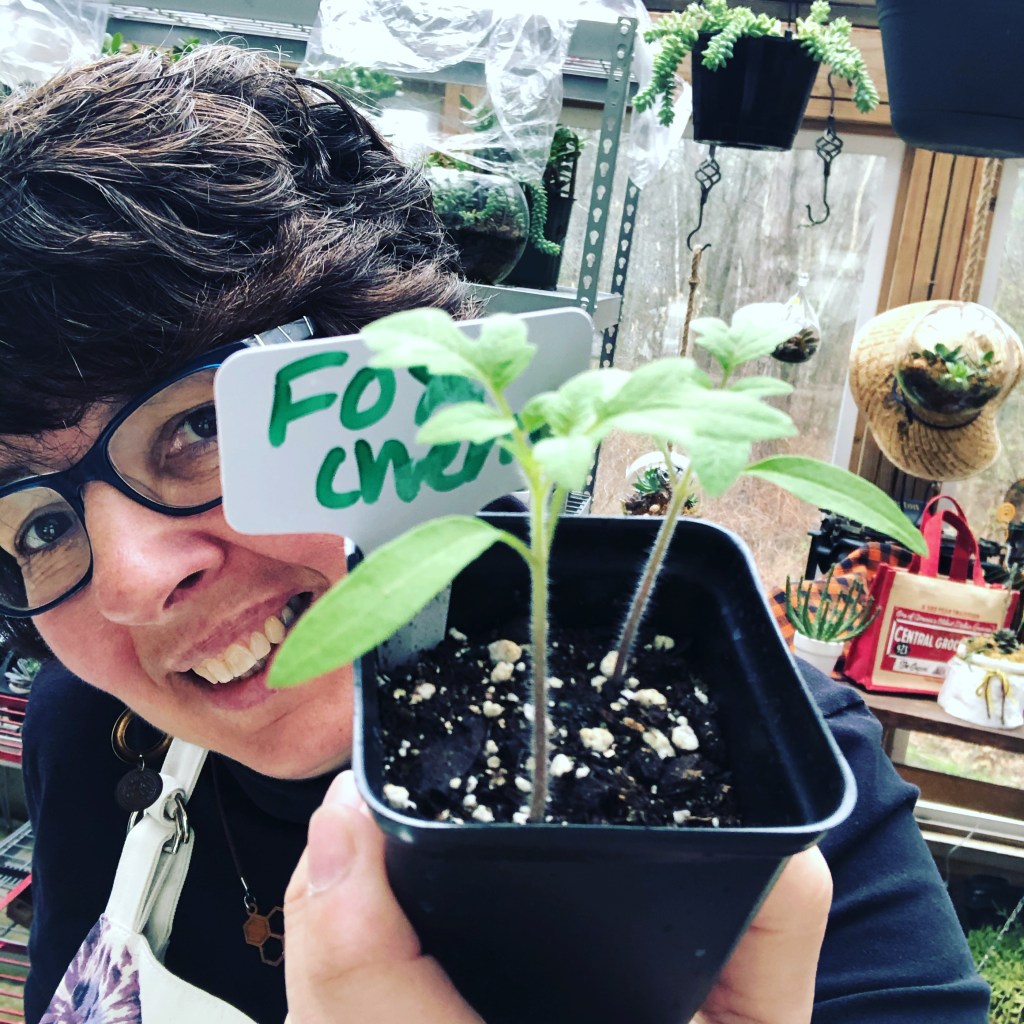
Some of the seeds which I sowed that were required in the 6 to 8 weeks before the last spring frost date were: Goldie Tomato, Cherokee Purple Tomato, and Bumble Bee Cherry Tomato – yum! Also, Mandurang Moon Tomato, Matchbox Peppers, Stone Ridge Tomato, and a big favorite was Fox Cherry Tomato! So those were sown between 3/31 to 3/17 usually.
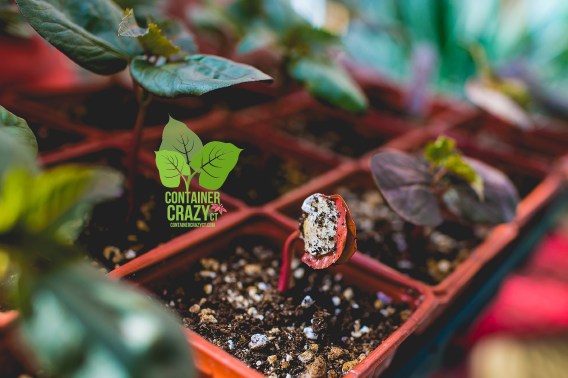
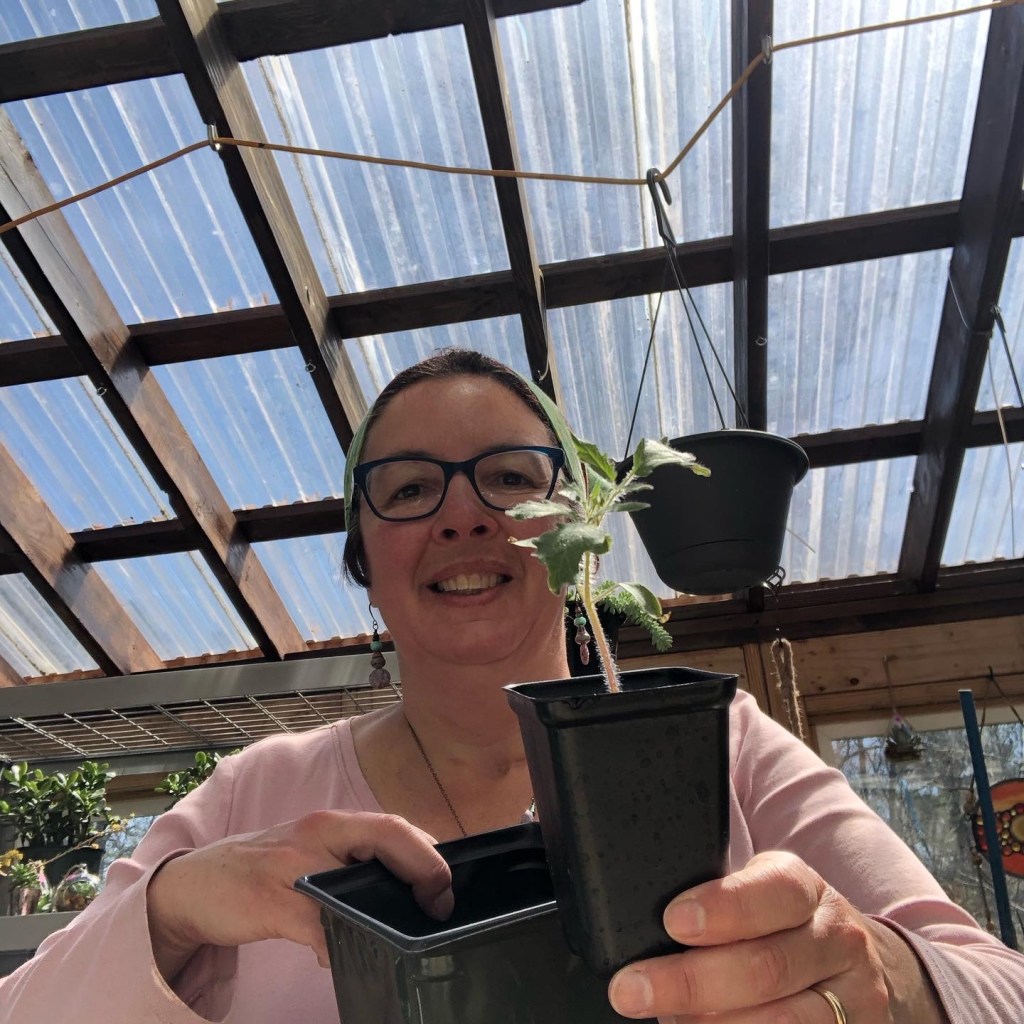
Sowing seeds kept me busy – that is for sure. Because I worked from home, I was constantly checking on their progress, making sure the soil (seed starter mix) was at the correct moisture levels, watching the grow lights, heat mats, and greenhouse temperature. One year, I grew 400 tomato plants! Wow!

I got a lot of exercise when the plants were large enough to go outside after May’s last spring frost date would occur. Hardening off plants to acclimate them by taking them outside for a few hours each day, but I also monitored them, if it got windy, I’d check if I should move them back into the greenhouse. One day I set up a time lapse camera to show me going back and forth with my tomato plants. It was comical.
For a while, I had just the bare ground to put them on but a few years later, my husband built a small wooden deck floor for me so I could work better and not fall on my face as I did one year when I took a misstep carrying a tray of tomato plant seedlings. Boom on the ground I went.

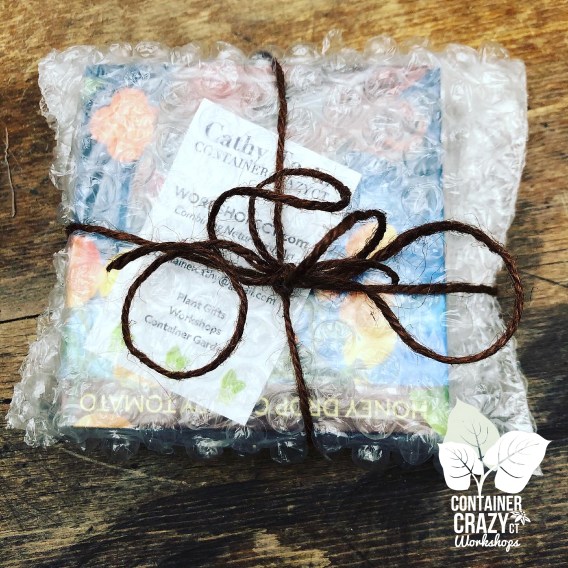
At the 4 to 6 weeks before the last frost date, I sowed Paul Robeson Tomato, Honey Drop Cherry Tomato, Mikado Tomato, Sacred Basil, and Shishito Peppers. That was around April 14 to March 31 for sowing period. The Honey Drop Cherry Tomatoes were to die for. Everyone loved their sweet flavor. Those were addicting.
Anyhow, the sowing periods continued all the say till 3 weeks before the spring frost date, so the three weeks before was around April 21st. That is when I would sow some Tiny Tim Tomato and New Yorker Tomato seeds into the trays. By the way, I’m referring to showing seeds in the seed starter trays indoors to grow inside the greenhouse on heat mats until they sprouted, got a little bigger and then under grow lights.
I didn’t use grow lights initially when I started my sowing adventure and was successful but then I decided to invest in a grow light to make things grow better and stronger. It helped. As I always told everyone, remember the sun is hidden a lot during winter months by clouds, so you need that sunshine. On very sunny days, the greenhouse could get very warm, but the sun was lacking at times for sure.
There were many more examples. It kept me busy in the winter months of March, where we do start to feel a bit better after January and February are over! This year I’m not into this cold weather. I tried to embrace it – even went to Quebec City for the Winter Carnival! We had a fun time freezing our butts off, but when I got home, I’m like I’m sick of the cold weather. That was enough fun freeze time for moi.

Isn’t it funny how things change? Here I was a few years ago, full blown seed starter woman, and now I don’t do them except talk or write about it here. I’m sure once the weather improves, I’ll go thru my pile of left over seed packets and see if I should try one, get some seed starter mix, and place a seed into soil once again.
Here are a couple of photos of us trying to embrace winter before seed sowing season starts:


Thanks for visiting!
Cathy Testa
Date of this post: 2/25/2025
By the way, as soon as I got home freezing in Quebec City, I caught a cold. Ugh. So that was a period of feeling awful, coughing, etc. It is really going around quite a bit here in CT. Come on better weather – we all need you!
More Tips:
Use fresh quality seedling mix
Read the directions on the seed packets
Look at the calendar now – some start in March
Count back the weeks from the last spring frost date in CT to know when to sow (based on packet instructions)
Watch and monitor your soil moisture and temp
Pray for warmer weather soon