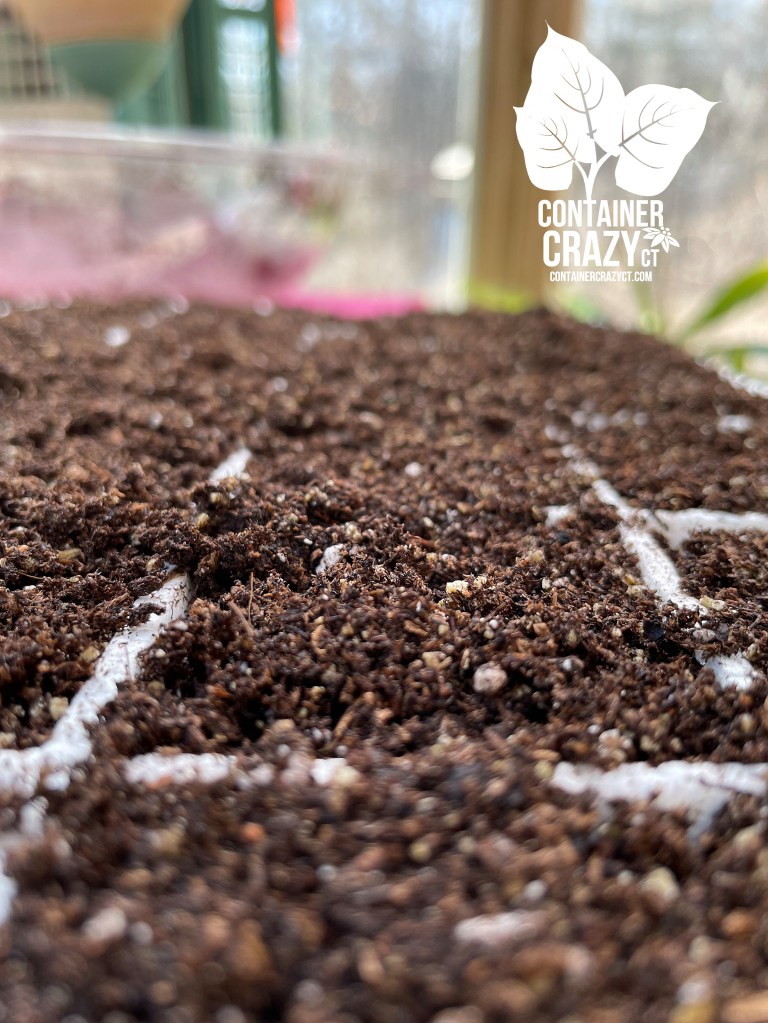
This winter, I didn’t heat my greenhouse so I’m sitting here thinking, should I start tomato plants from seed this year, or not? Sometimes I start seeding some as early as March in the growing trays. But March requires some heat in the greenhouse. Some tomato seeds however may be started in April. Waiting until April reduces my need for any heat or maybe that is when I will start up the heater again just to keep it warm enough. Usually, I start my seeds on heat mats inside my greenhouse too – and that is fine up until the germination starts and they get larger. Once they germinate, I need to keep the heat consistent inside the greenhouse as best as possible or avoid freezing of course!
The first big question is which last spring frost date to use? I always use May 12th here at my location, in Connecticut. That is a good guide. However, last year, we had a slight frost a couple days later. Not a biggie because usually May 12th is when I would be hardening off (transitioning the plants in and out for about a week or so to acclimate them from indoor growing to the outdoor environment). They wouldn’t actually be planted immediately after the 12th. They are put outdoors and returned indoors for a week or so, and I watch the weather forecasts or use my weather app on my iPhone to keep an eye on the expected temperatures. Usually, I plant them outdoors on Memorial Day.
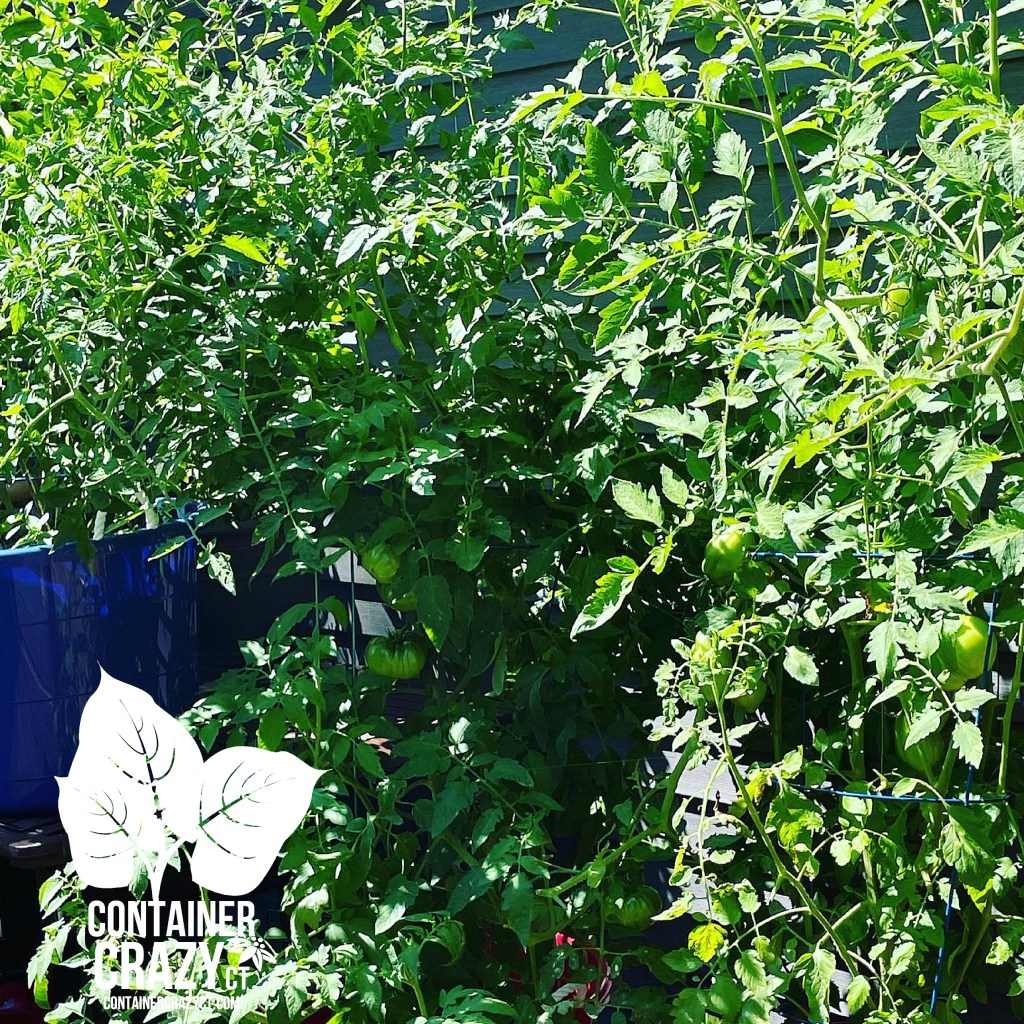
I have also thought about if I should just buy some plants and grow them inside the greenhouse this year, test that out. I always grow my plants outdoors in container gardens but inside the greenhouse, they would receive protection from wild animals. However, the animals only show up when they see bright red tomatoes, so putting them outside in planters is fine up until you harvest later in the summer. And plants do grow better outdoors with the fresh air and sunshine (and natural insect predators). A greenhouse would need venting and lots of watering if it got hot, etc.

It’s ironic that after I perfected my whole tomato growing process for years, I am adjusting it to a new routine of seeding and timings. That is the way of growing plants, learning plants, experiencing plants – it always, always changes each year. It seems for me anyhow. Experimenting can be part of the fun or part of the headaches too. This year, I’d like to save a bit of money. It is not too expensive to start seeds but keeping them growing as you pot up and such does require some good quality soil mix and tasks to monitor and water, etc.
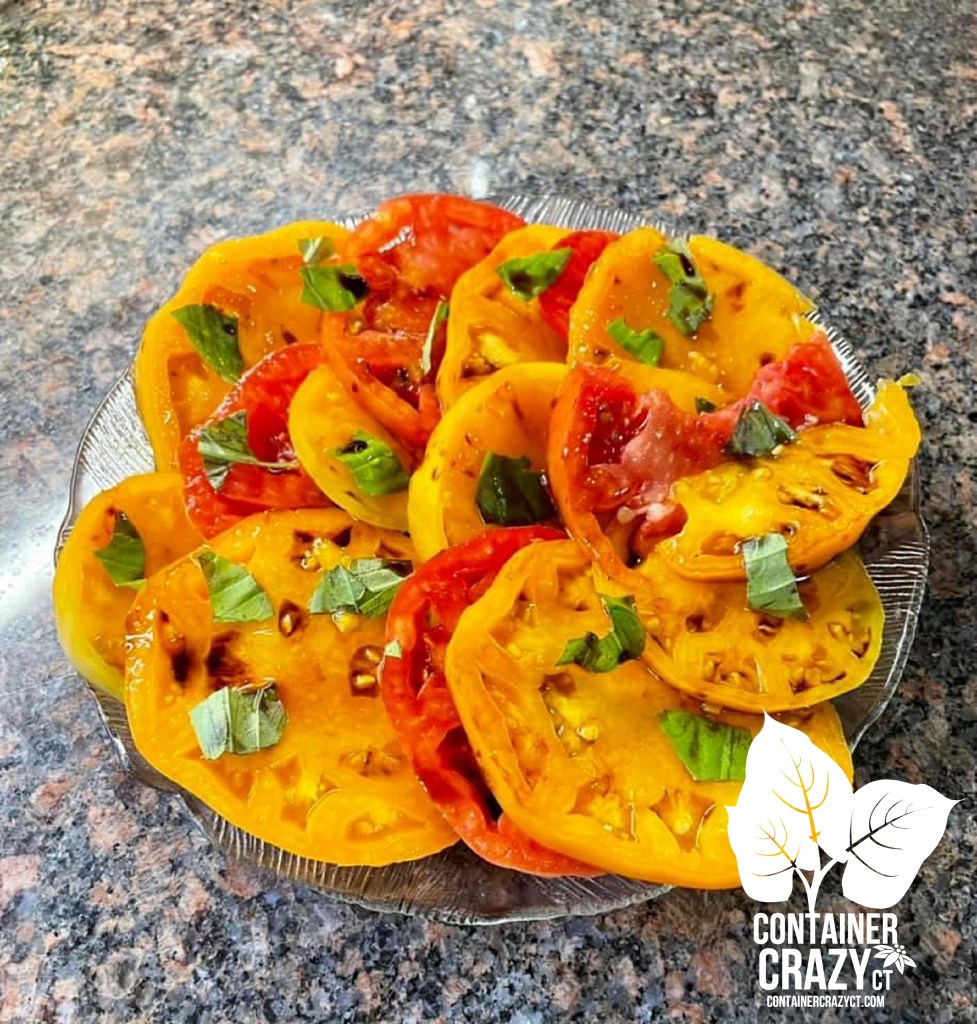
For years, I grew many heirlooms and other interesting tomato plants. Some of my favorites have been Oxheart Tomatoes (huge, 3 lbs), Goldie (heirloom so flavorful and pretty yellow), Cherokee Purple (self-explanatory!), Bumble Bee or Fox Cherry Tomatoes (prolific and delicious)! The list goes on.
The thing is Oxhearts may be started anywhere from 6-10 weeks before the expected (or estimated) spring last frost date, which I noted above, I go with May 12th each year. 10 weeks before the frost date is early March, but you can wait till 6 weeks before. Anyhow, probably what I will do is stick with the varieties I can start 4 to 6 weeks before the frost date. Some are Paul Robeson tomato, Honey Drop Cherry (another unbelievable sweet as honey cherry tomato), Mikado (heirloom). Or maybe I’ll be lazy this year, and just go buy some!

Many people start their tomato seeds in early April (6-week mark). You sow and grow them and then once May 12th comes around, carefully watch the weather. They are not planted out until Memorial Day (safe in the ground or in pots usually). Also, May 12th happens to be Mother’s Day this year, so write on Mother’s Day that is your expected last spring frost date. Then look at your seed packet and see where it says how many weeks before the frost date to start the seed in seed trays. Each type of tomatoe is different for the “weeks before” to start them. If you start too early, the seedling plants may get too large, if you start too late, they won’t be ready to fruit in time in the summer. So just look at the packet on when to start sowing your seeds.

Another thing – is cost of all the materials. From seed starting mixes to and mixes to pot the seedlings up to and all of that. I do have all the trays and plastic pots in stock but the mixes and such costs extra (rather than just buying some from a local nursery). However, I would miss out on the fun of growing them from seed and utilizing my greenhouse. So, the debate continues in my mind for now.

I also like to grow basil. Basil is started two to four weeks before my last spring frost date. Basil is kind of a must if you are growing tomatoes! But they do need warmth and do not like cold temps, thus the greenhouse heating thing again comes up. And of course, it should be warmer two to four weeks before our frost date, mid-April ish. Decisions Decisions.

One of the things that usually drives my decision is looking at all the wonderful tomato photos which are already starting up in Facebook feeds – oh gosh, a homegrown yummy tomato is the BEST! I actually can’t eat tomatoes as much due to a health issue – seems my body is not liking them as much (acidity). Maybe I ate too many but my husband, Steve, loves tomatoes, so if anything, I grow them for him and also because I love plants all around on my deck, including creating a tomato jungle. And I love making sauces or apps with tomatoes.
Well, there is still time to ponder all – but it is not a bad time to look at the calendar and my planning charts to remind me of timing. I just wrote down May 12th on my calendar to remind me that is my last spring frost date estimate, and I also counted back to 6-8 weeks before to make a notation to start seeds if I decide to do so. At a minimum, I have glanced over all and now may ponder this some more.
Have a nice weekend,
Cathy Testa
Container Crazy CT Blog
Broad Brook/East Windsor, CT
Zone 6b
Date of this post: 1/26/2024