Salvias are definitely a favorite by the hummingbirds visiting my surroundings at home. I have 2 male hummingbirds and I’ve seen one female hummingbird so far. Every evening, one visits my Salvia blooms between 5 and 6 pm.

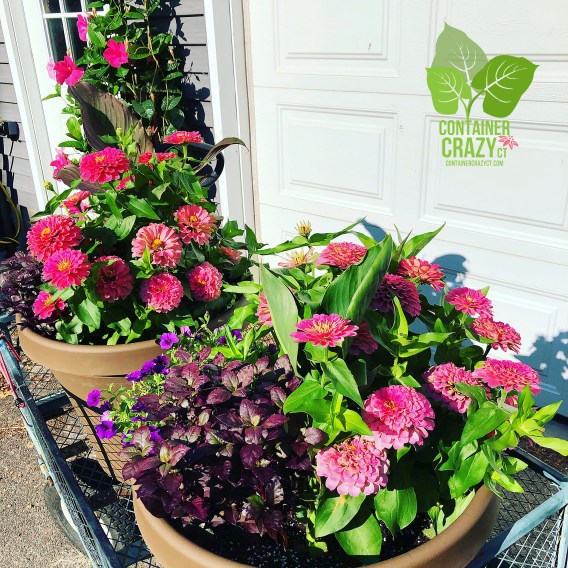
This one with the fuchsia-colored blooms seem to be his favorite. A male hummingbird pops by it and bounces from bloom to bloom. This one I don’t have the plant tag for but the darker Salvia in the taller planter is Salvia Rockin’ Deep Purple.

The Rockin Deep Purple hybrid is a bit shorter than the other one. I’m not sure if the other one just bolted more due to weather conditions. Rockin Deep Purple Salvia reaches about 30-40″ tall per the plant’s tag.

I didn’t have a tag for this one, but it has the most beautiful vivid deep fuchsia color to its blooms. They all have an upright and vertical habit and bloom till end of the summer season here in Connecticut. They are treated as an annual here in Connecticut as well.

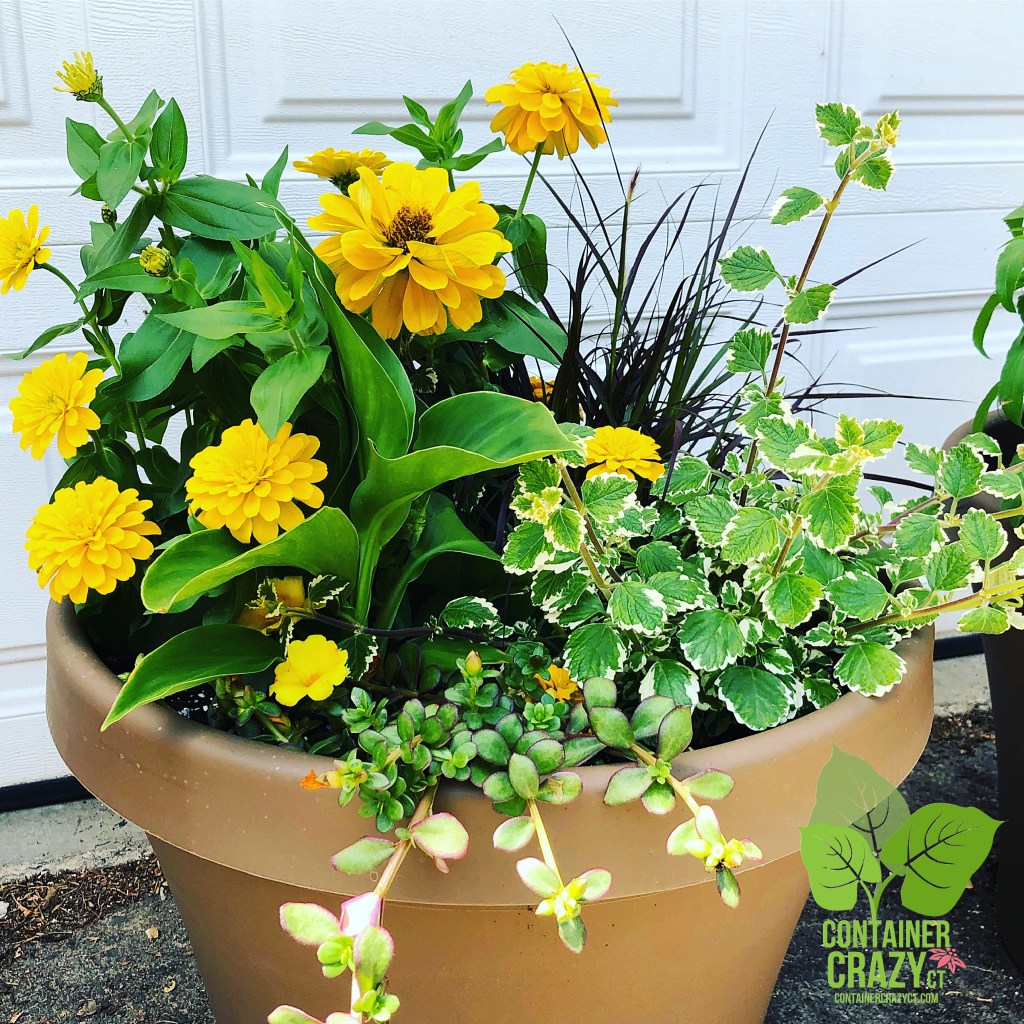
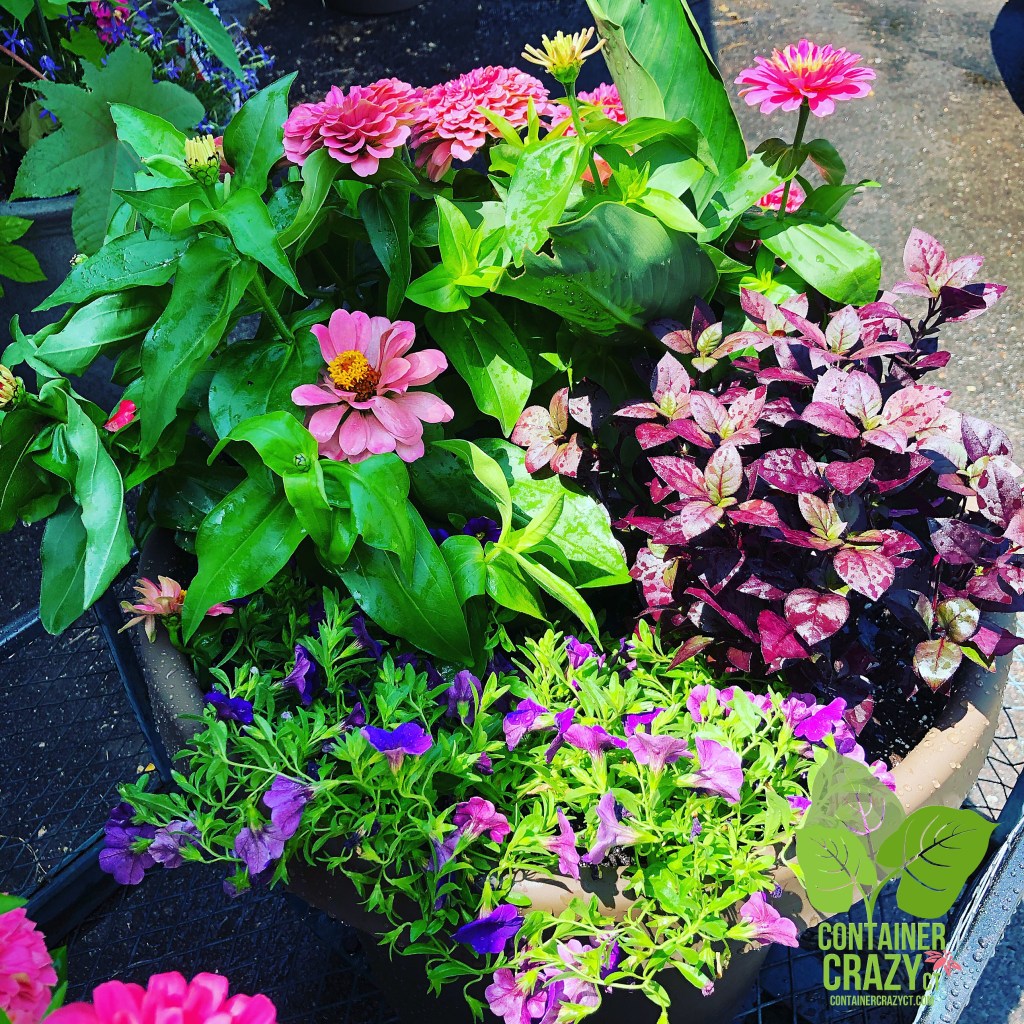
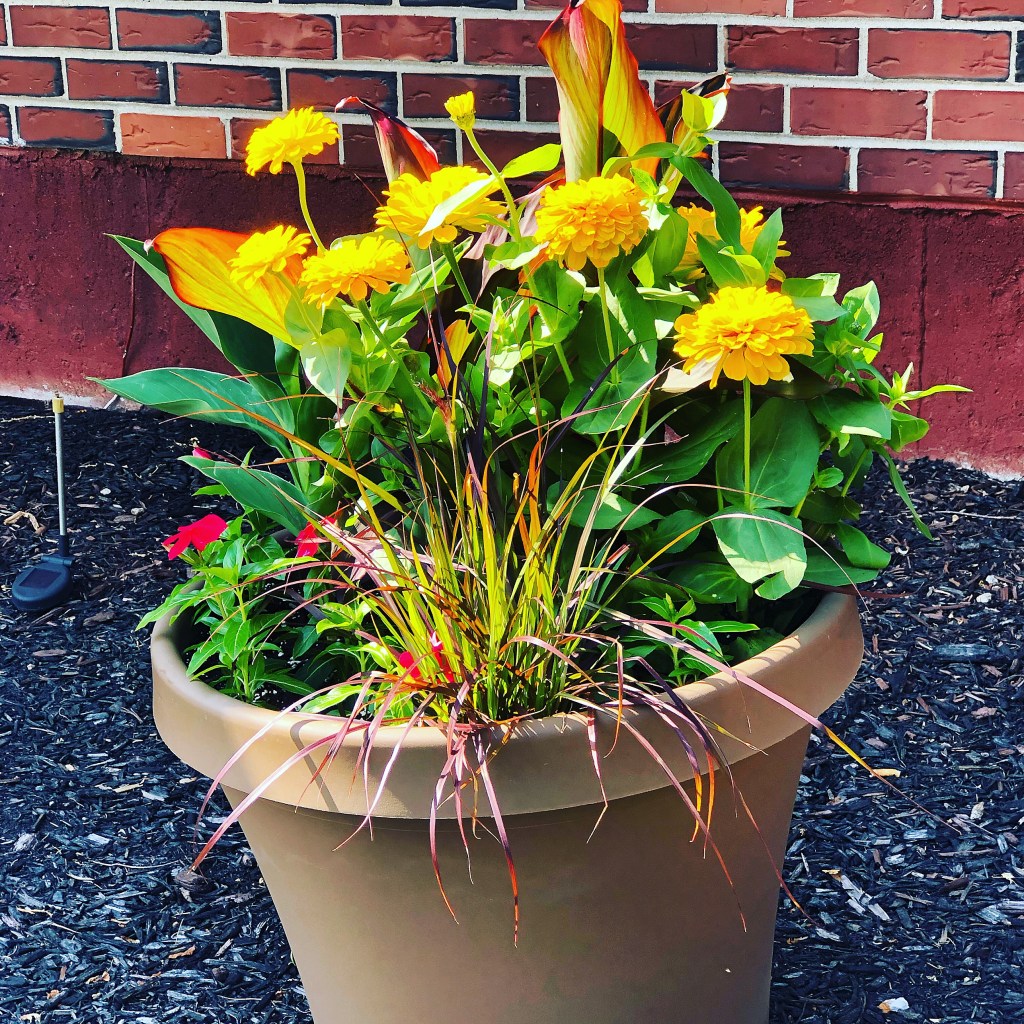
I wanted more color this year in my planters to attract the hummingbirds and butterflies. Although I’ve witnessed butterflies going by my trees near my house often this year, I still haven’t managed to catch one on a bloom. The Sky Petunia annuals really add a nice pop of color. Although, I tend to love big foliage plants, I decided to add these along with the Salvia plants. The hummingbirds do not feed from the Petunias (yet). I’ve seen them look at them, but they do not feed for whatever reason.
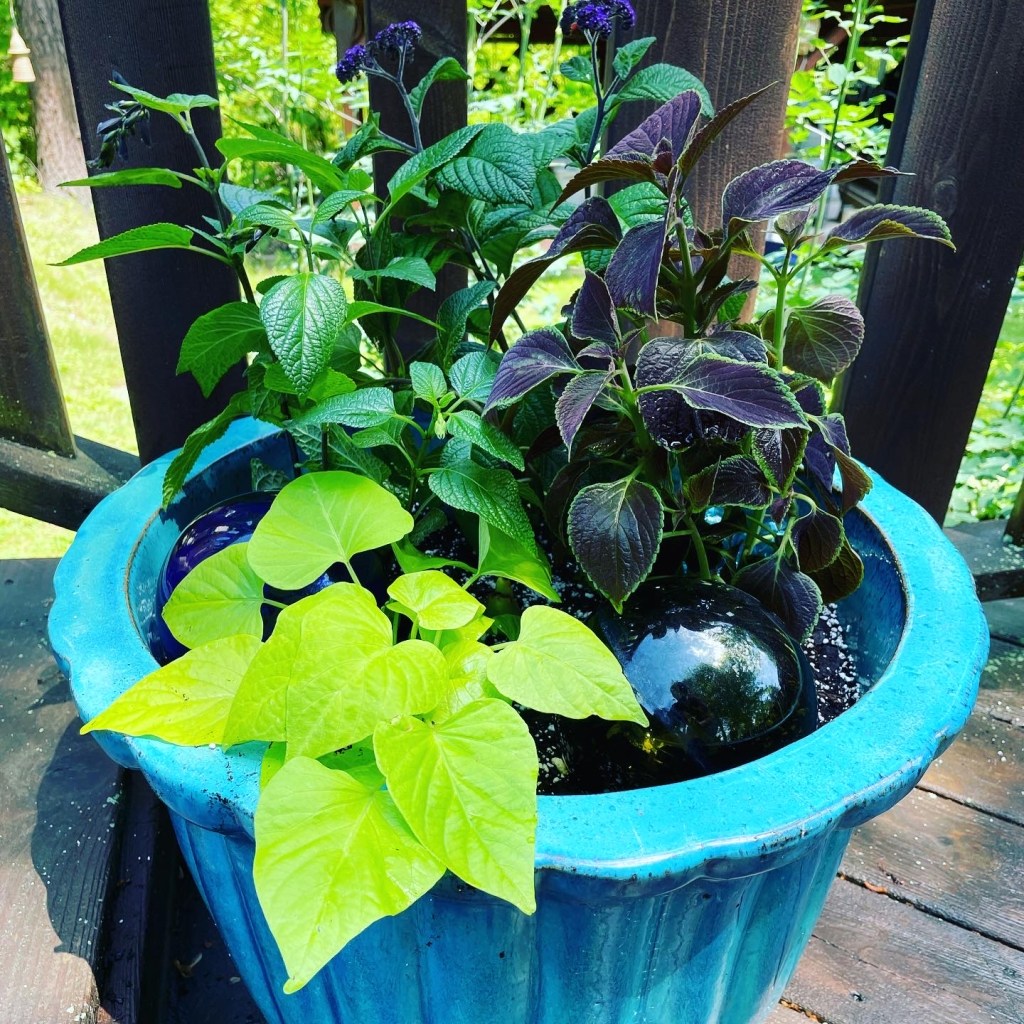
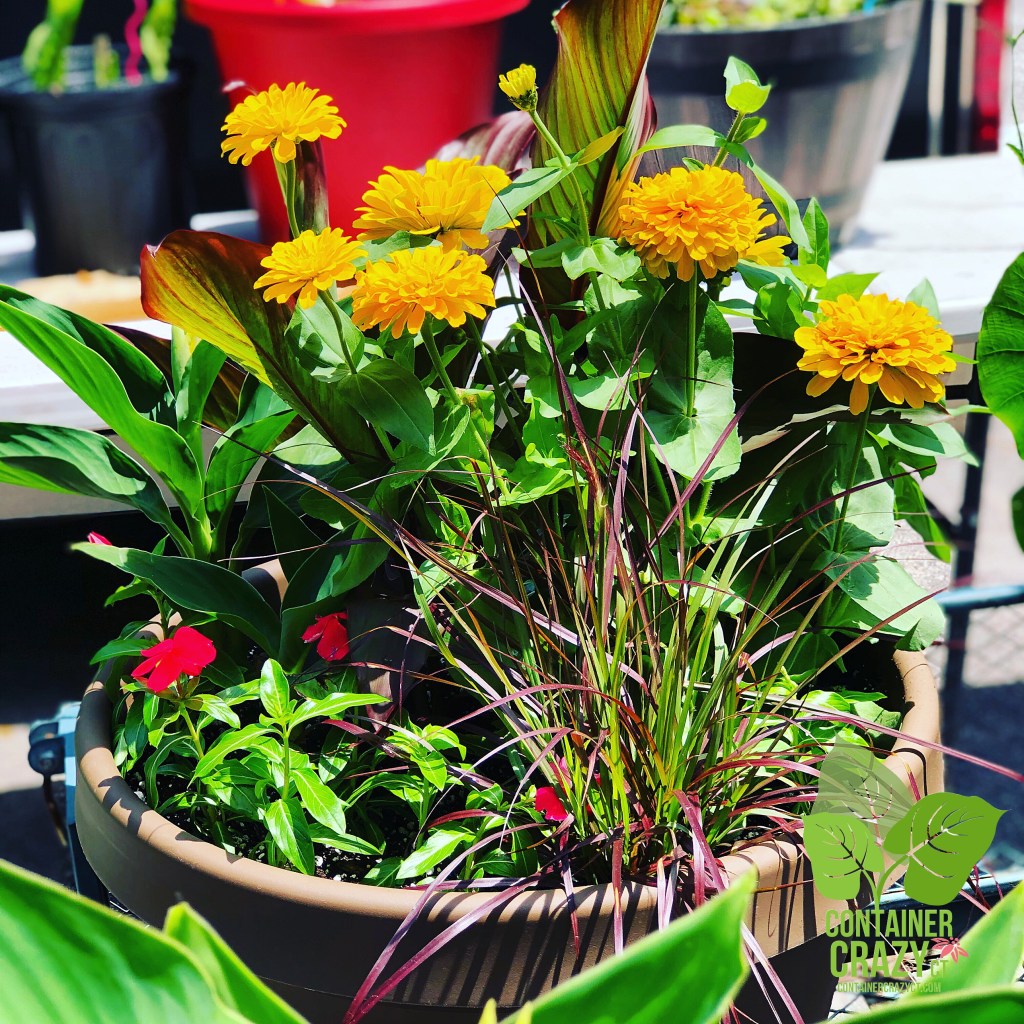
My sister-in-law gave me this nice big blue glazed pot because she moved into an apartment and there is no place for outdoor gardens. She generously donated this pot to me. So, yesterday, I wanted to again add color around my deck and got a Salvia Black & Bloom to plant with these other annuals.
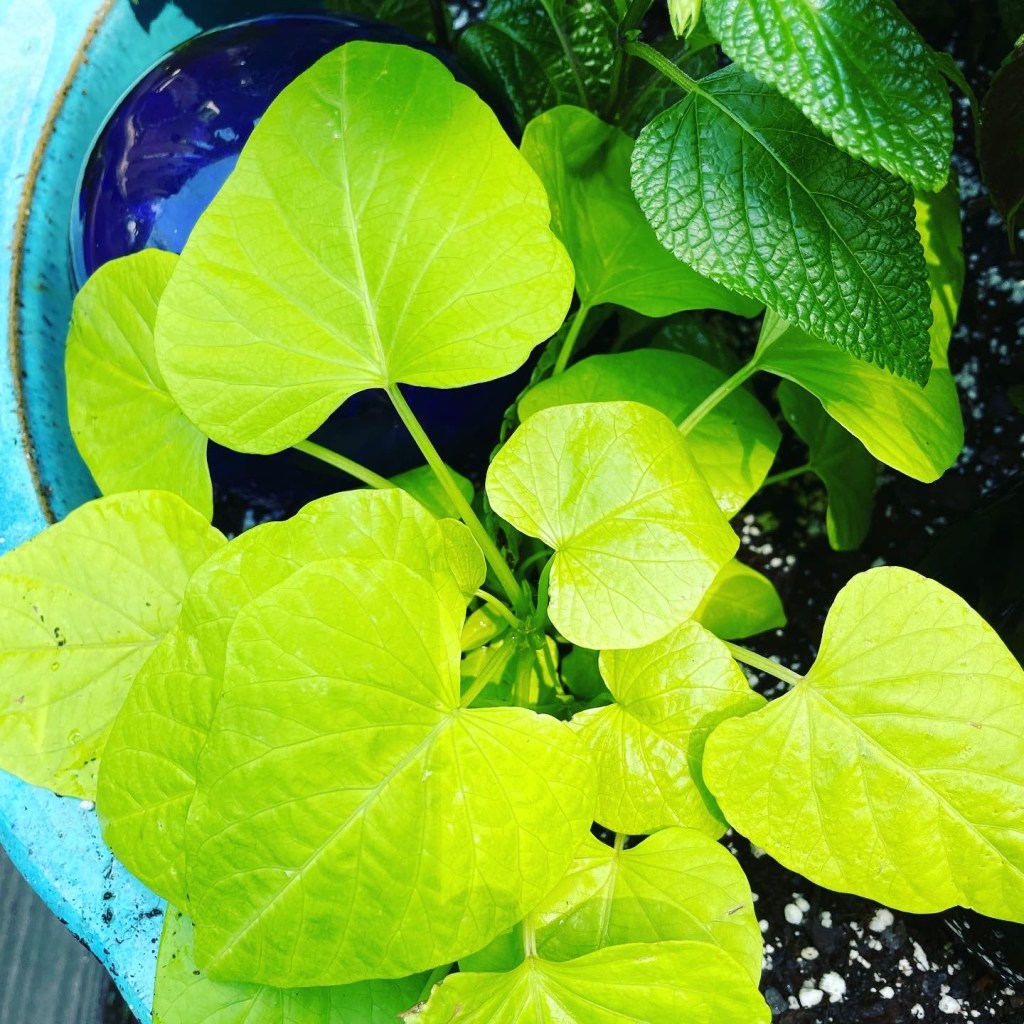
I added a Sweet Potatoe Vine with a bright light green color to give an additional contrasting pop of color. I felt like I hadn’t planted a sweet potato vine in years. It was like being reunited with an old friend. This one picks up on the colors of the Coleus in the planter which has edges in a similar color. Sweet potatoes vines are vigorous once they get established so it will spill over the pot’s edges eventually.

I swear I had no idea this cultivar was called Coleus Vino! LOL! Contrast is so key and the darker tone next to the bright tone of the potatoe vine would work I thought when I grabbed this Coleus. The edges are perfect to pair.
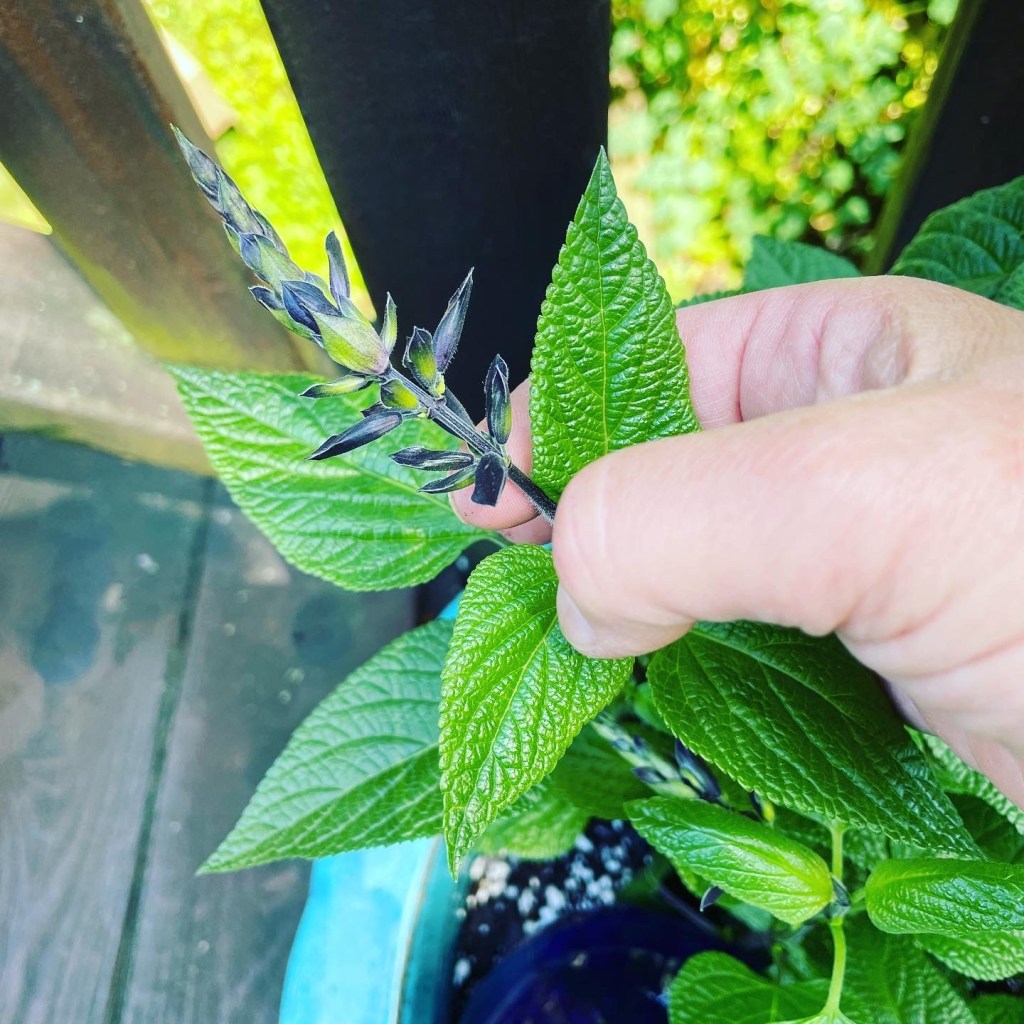
This one has many flower buds about to open. I think this one is popular and I’ve seen huge plants of this one before many times. It reaches 24-36″ tall and blooms spring till fall. I’m hoping my humminbird friend will spot this one as well soon.
The Salvias like full to part sun, and the Coleus likes full sun and/or shade.
In the center of the blue planter, I put an upright Alocasia that is just starting to push its top growth out of the soil. Hopefully all will look splendid together this summer as the planter fills out.
Tucked in the back is a Heliotrope. A purple bloomer.

I think I saw Heliotropes for the first time when I worked at a small business in Grandby. The owner liked these and used them a lot. They are low-maintenance, just like Salvias, in my opinion. However, I felt they were (the Heliotropes that is) a bit old fashioned looking for my taste. I must be getting older cause I like them now, but my overall goal was more color in my container gardens.
As for the hummingbirds, I am always thrilled to see and hear them around me. I put out feeders with the sugar water and one trick I do to make sure the sugar water remains fresh is I don’t fill the feeders all the way. I usually put about 1/3 of the mix in there and it forces me to refresh it often. Sometimes sugar water goes sour and that can make the hummingbirds sick or may even die. It is also good to keep sugar water out of full sun and wash the feeders between refills. I would never want to hurt a hummingbird as they are far too precious.
About two weeks ago, I witness a hummingbird do a u-shape pattern by my honeysuckle perennial plant in the ground. They like honeysuckles too. But back to the dance he did, I witnessed that same thing a few years back. I read it has to do with a mating dance. As noted below on Princeton’s website, they dive up and down (to me as a u-shape) and it is a super-fast motion. Very cool to witness!
I also have seen a hummingbird perch on the power lines to the corner of my house. Every evening, around 6 pm, there he is perched. He looks left to right up and down for about 5 or so minutes, takes off, comes back and does it again. I started to wonder if he/or maybe it is she, has a nest nearby in my front landscape.
“Hummingbirds are no exception when it comes to snazzy performances, as males of many species perform spectacular courtship dives. Broad-tailed hummingbirds (Selasphorus platycercus) fly up to 100 feet in the air before sweeping down toward a perched female, then climb back up for a subsequent dive in the opposite direction. At the Rocky Mountain Biological Laboratory in Gothic, Colorado, home to a population of breeding broad-tailed hummingbirds, researchers from Princeton University have been investigating how hummingbirds combine speed, sound and color in their displays. Their work appears in the Dec. 18 issue of the journal Nature Communications.”
—
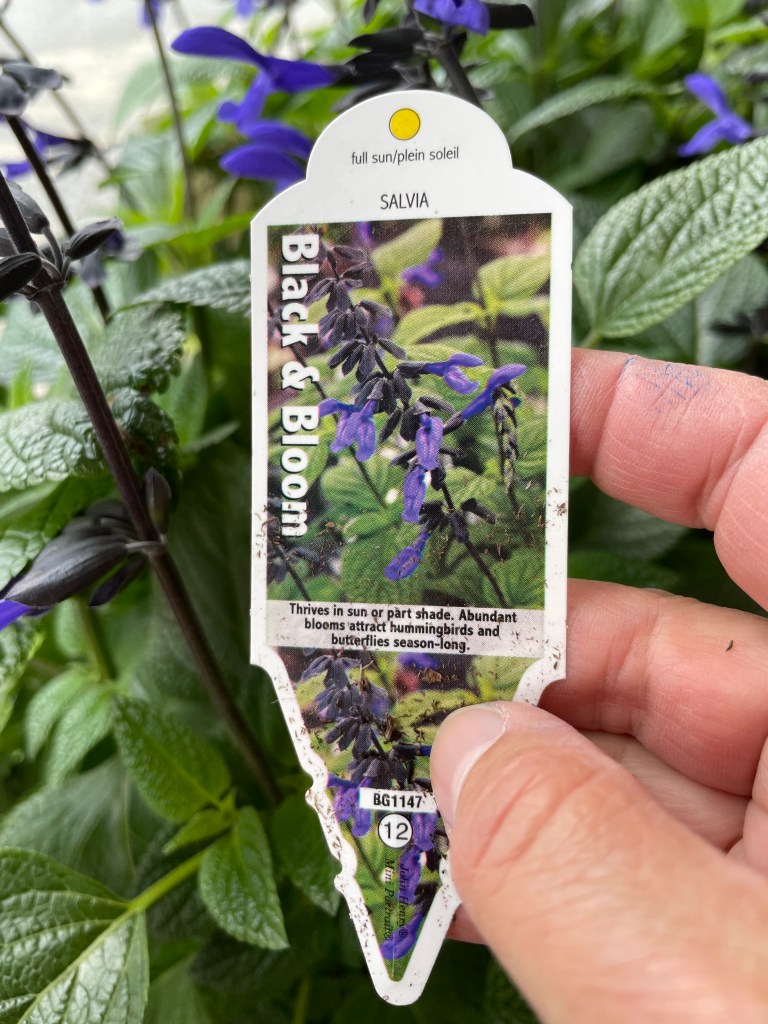
Lastly, above it the Salvia plant label. I spotted some yesterday at Dzens garden stand, and you could probably find these at The Garden Barn in Vernon, CT or at Revay’s Garden Center in Broad Brook, CT. However, some of the local nurseries are already low on stock and/or appear to be closing. I think June 14th is way too early to close shop, but I realize patterns dictate. However, us plant junkies do need our plant fixes all summer long. If you see some good Salvias and want hummingbird visitors, I suggest you grab them fast. They really do attract hummingbirds!!
Happy Hump Day,
Cathy Testa
Container Crazy CT
Zone 6b, Connecticut
http://www.ContainerCrazyCT.com
http://www.WorkshopsCT.com
http://www.ContainerGardensCT.com
Find me on Facebook and Instagram under Container Crazy CT
Don’t forget – I’m offering Watering Services again this summer! It will get very hot eventually. Contact me at 860-977-9473 if you are local and have the need. Thank you – Cathy T.