Mandevillas are amazing flowering tropical plants for full sun locations in the summer in container gardens and planters, and I always enjoyed looking at them, but for some reason, I didn’t plant them very much at my own home location, until a couple years ago, when a clients’ needs to cover a wall with flowers lead me to paying attention more to mandevillas.
Perfect for walls, trellises, arbors and more…
If you have an area to grow a beautiful flowering plant upwards, such as a wall, trellis, lamp post, arbor, stair railing, fence, mailbox, or in a pot with a support trellis, these plants are perfect candidates. In Connecticut, mandevillas will bloom profusely on upward growing vines with big dark greens leaves when provided enough sun and heat, and appropriate growing conditions. They work very well in containers, planters, patio pots, and don’t even require super huge pots to thrive.
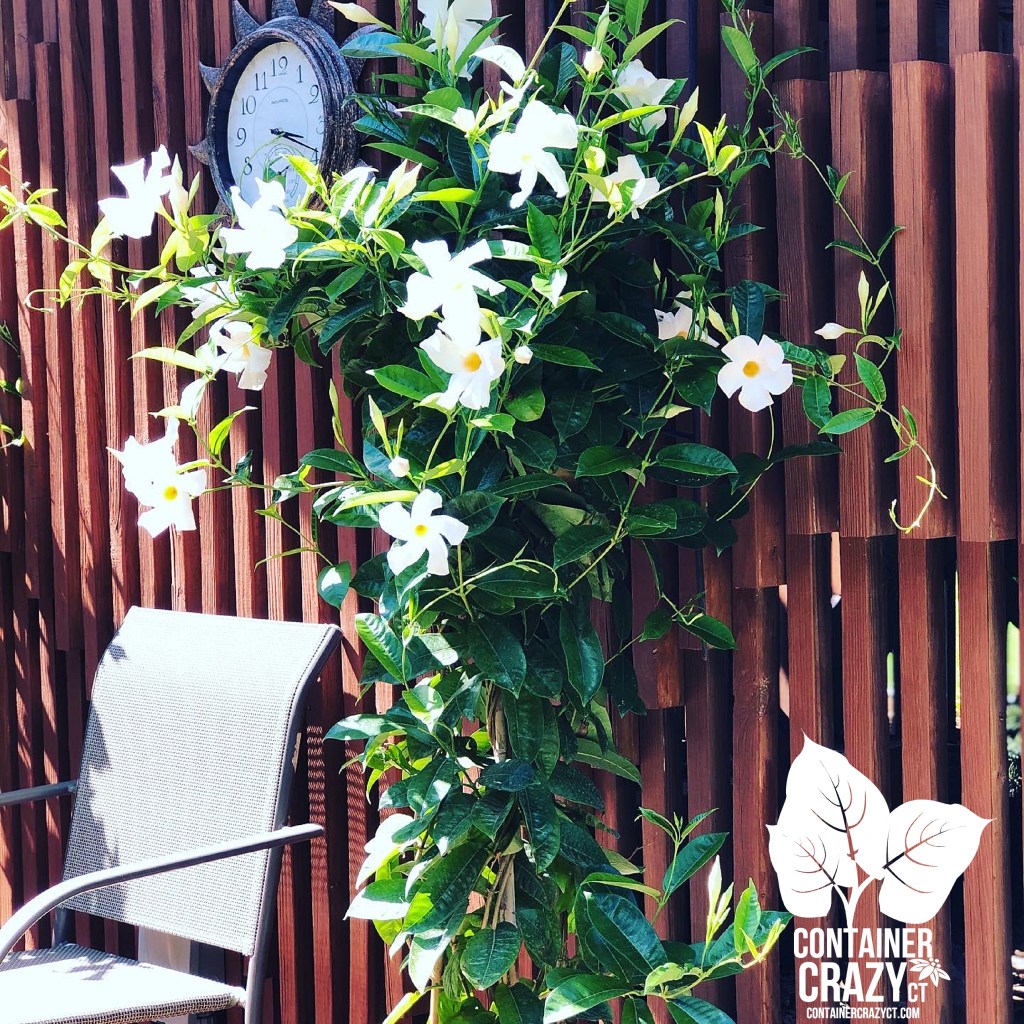
Above is an example of a wall located below an upper deck. The white blooming mandevilla vines were very lush and full, growing from a planter about 24″ diameter and just as deep. It was facing the sun most of the day, and it looked absolutely fabulous, reaching the top of their deck that year. These plants will twine fairly quickly onto supports with many funnel formed flowers opening over the course of the summer to fall season in Connecticut. They must be taken in before fall frosts or overwintered immediately after being touched by frost. See my “Overwintering” posts for more information on that aspect.
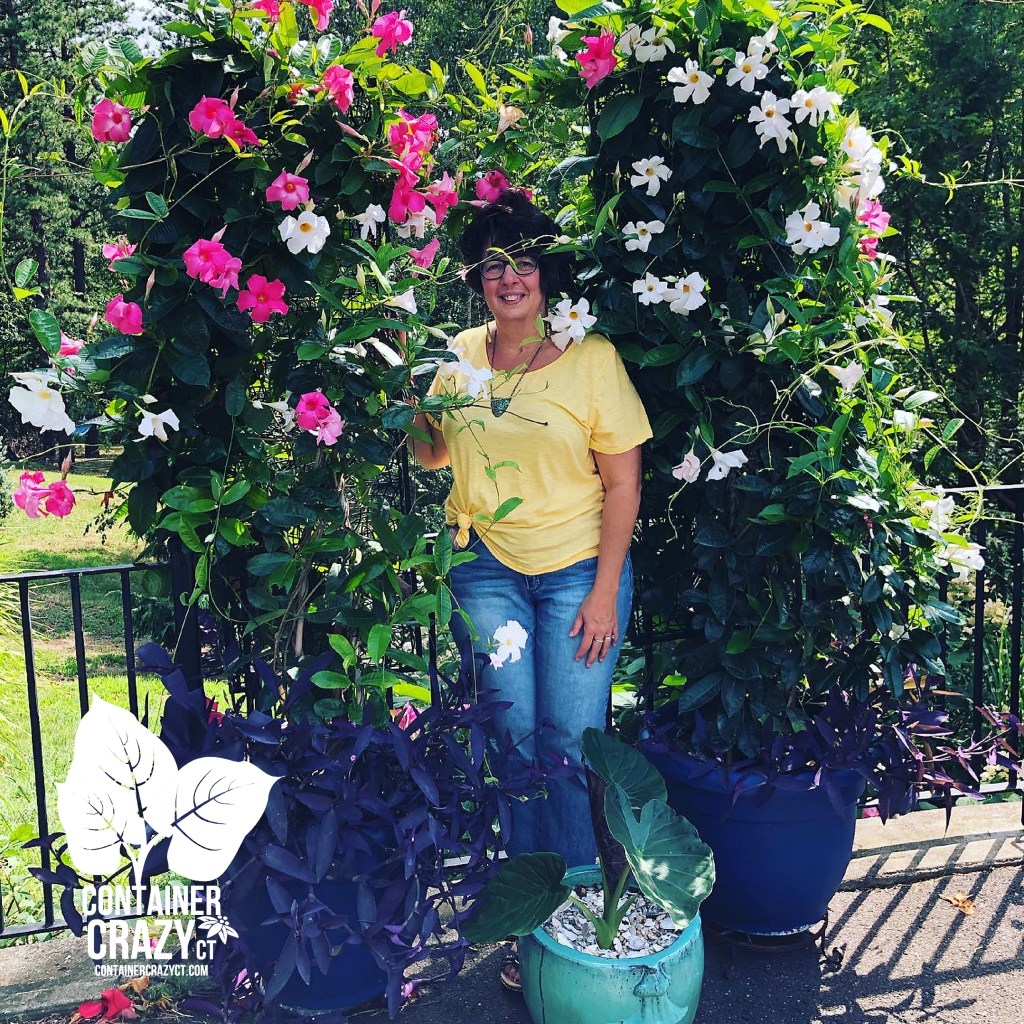
In the next photo, here I am in between two plants in blue pots at my home. The base plants (serving as fillers) are Tradescantia pallida ‘Purple Queen’ (annuals in CT). I put really tall trellises in each pot along this wrought iron fence, which is on the driveway where the plants got full sun all day and my watering hose was easily accessed. You will see they were growing taller than me and if the trellises were higher, they would keep growing up and up and up.
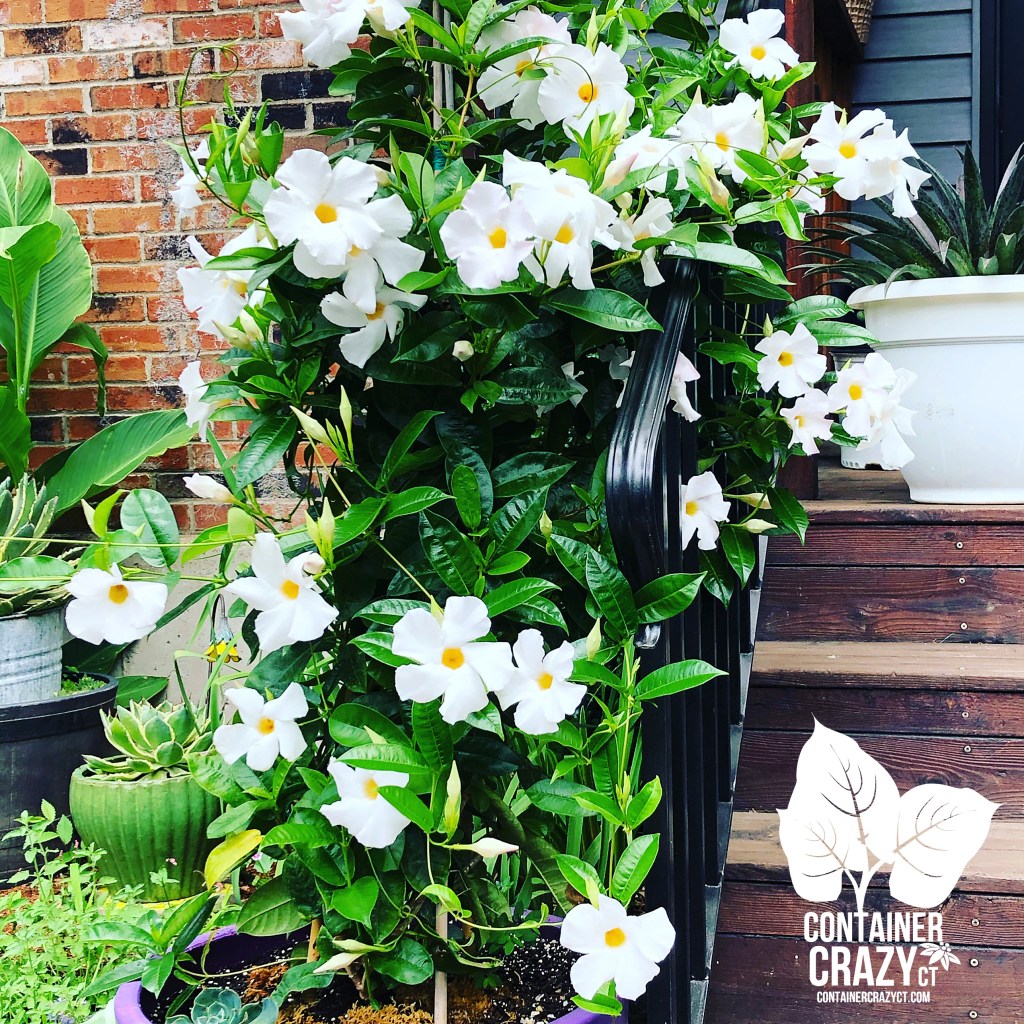
And I wanted to grow one up my stair case railing to reach the overhead arch, it almost made it to the top. It helps to use garden twine to guide it along and give the vines something to reach and attach to as it twines up. The purple pot below used for it is probably about 2 feet deep, but you may grow these plants in even smaller pots. More on that later.


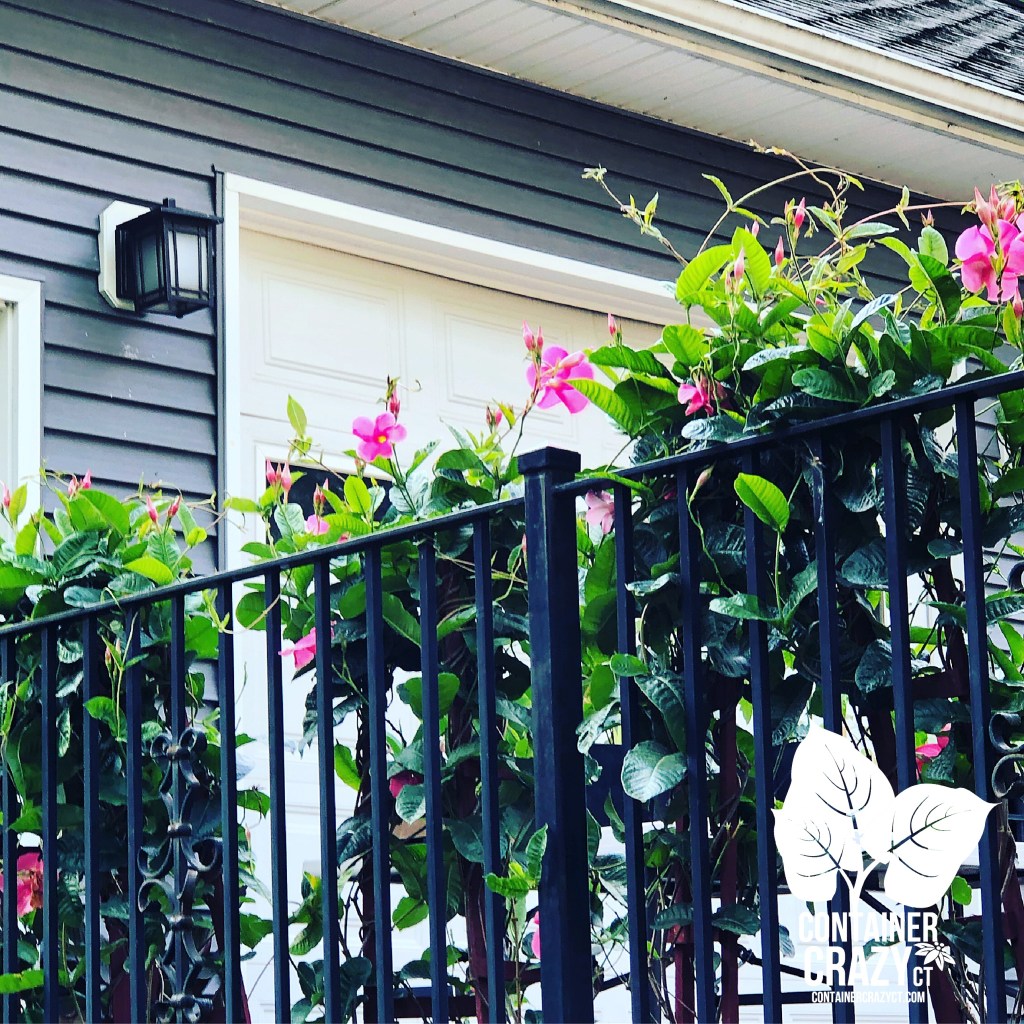
And here is a photo of me with the mask on, primarily because I wanted to show the timing of this photo, of a wall I just planted. It wouldn’t be long for the plants to produce more blooms. It does help if you start with taller plants if you are looking to gain the affect of covering up something like the wall in this city photo. They will grow as high as the support system they can attach to. If I had a higher wall here, it would keep growing up all summer. They don’t grow as fast as morning glories, as an example. The growing pace is moderate, so if you want to get one to really show off, get the taller specimens to start with. They may be a pricy but so worth the display and enjoyment you will get by using one or more in your outdoors spaces.


Moderate climbers that keep on growing up…
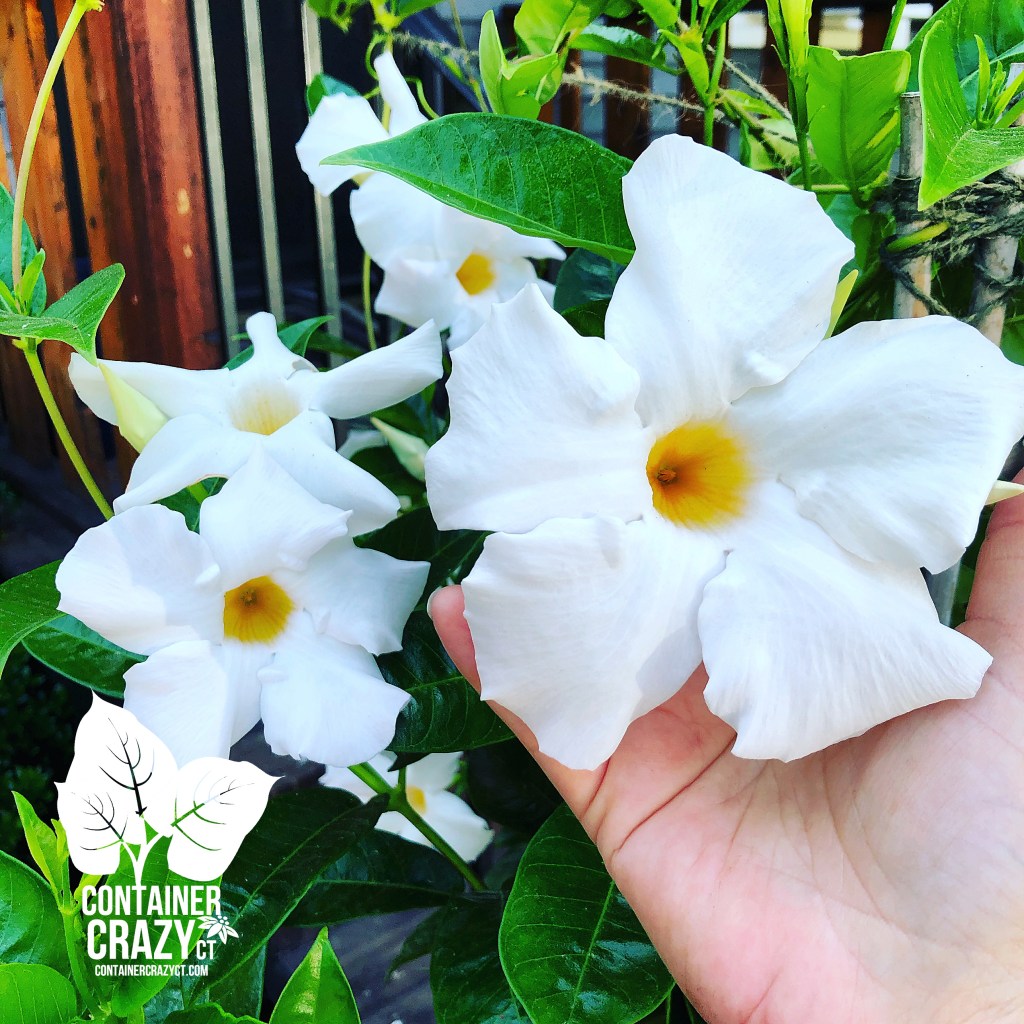
Mandevilla vines will reach to the heavens, if you allow them to – they seem to never stop wanting to reach up into the skies. If you are able to acquire taller specimens to begin with, it is worth it in my book. They come in white, pinks, and reds for bloom colors. I haven’t grown the red ones yet, maybe this year will be the year.
Inspecting the leaves
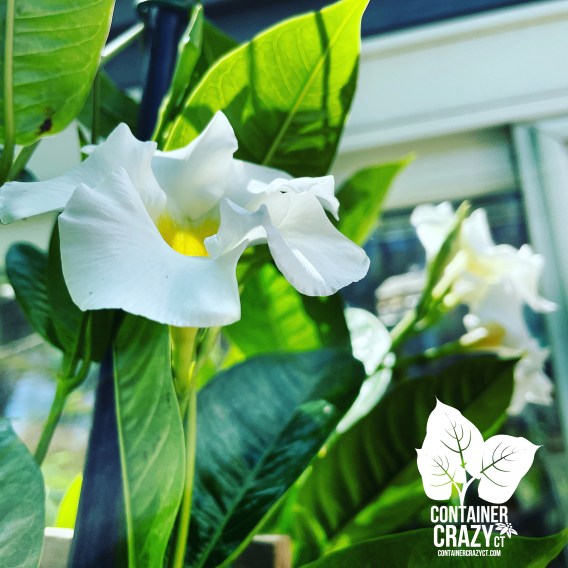
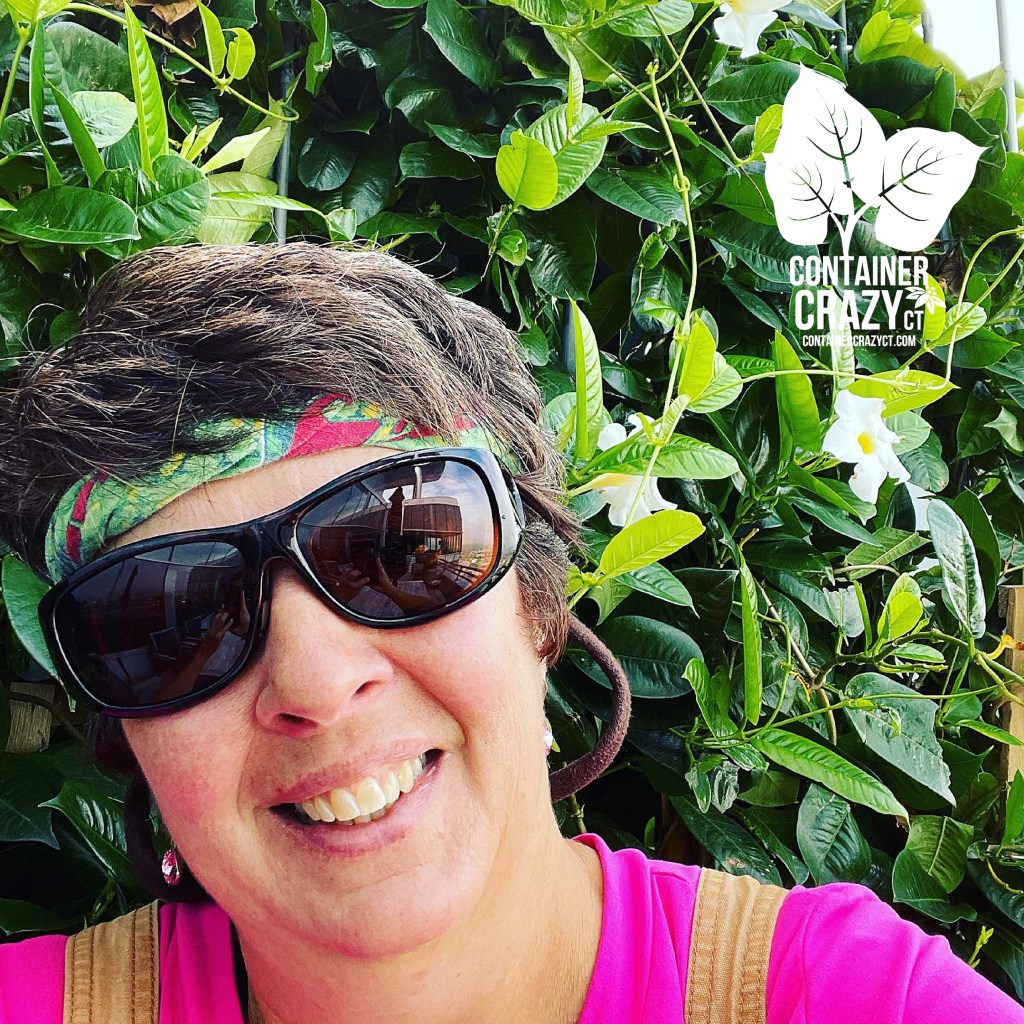
Some of the varieties have glossier leaves than others. The leaves on the white blooming one, in my photos, were about 4-6″ long. A good tip is to inspect the foliage when you are looking for one during out Connecticut container gardening growing season, and although you might experienced a stressed leaf or two based on when they arrived in Connecticut (cause most of them are shipped here from warmer states), they usually bounce back quickly when potted up and provided the right soil environment and sunny conditions in your planters. It is not to say they don’t suffer some minor issues, but a good tip, again, is to inspect your plants. See a healthy tall one – don’t hesitate to grab it.
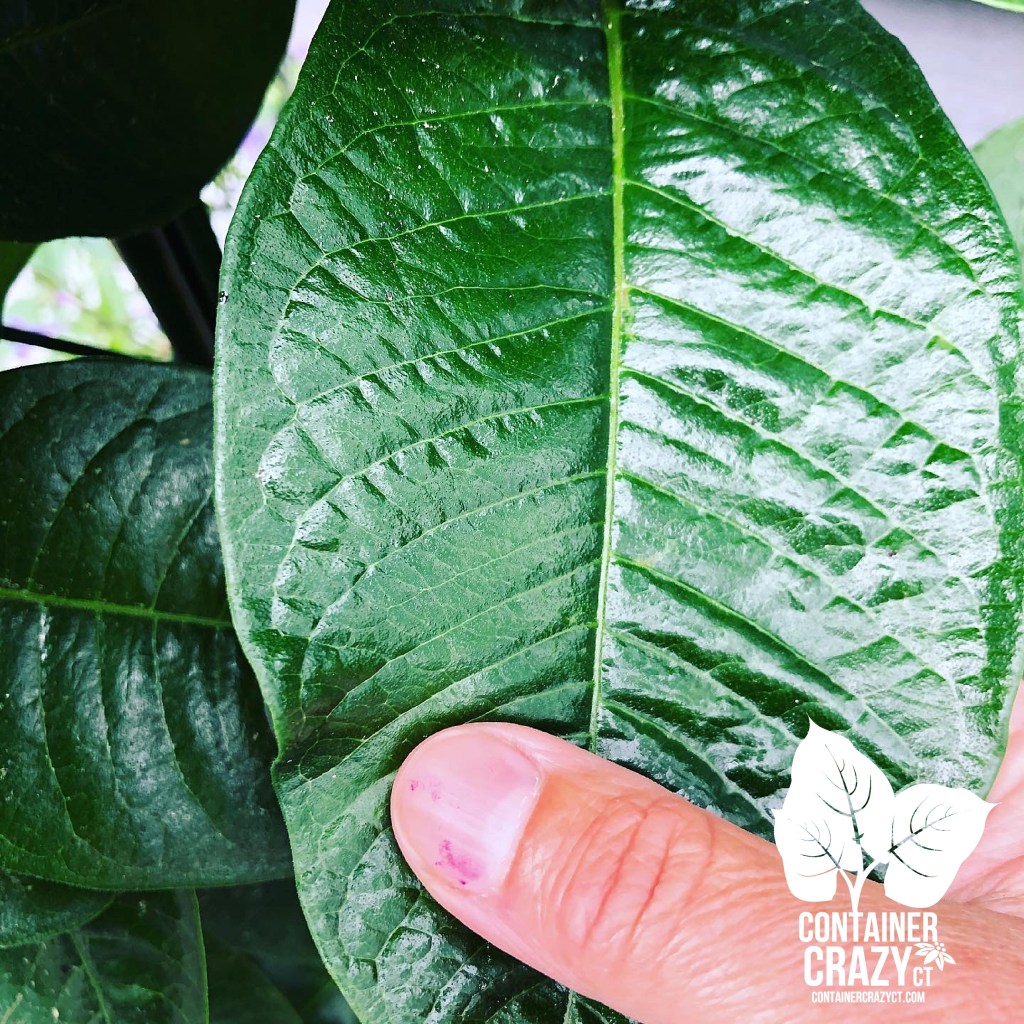
Sometimes I admire foliage of plants more than flowers, especially when they look almost perfect. Not always achievable because we are not plant Gods, but the leaves on this plant that year, wow, so shiny and healthy. To achieve good results, be sure to have well draining soil, use pots with drain holes (see my 5-Must Do’s for Container Gardening), and inspect the plant from time to time. Sometimes, during inspections, I may discover nice insect visitors, like bees, lady bugs, butterflies, and moths.
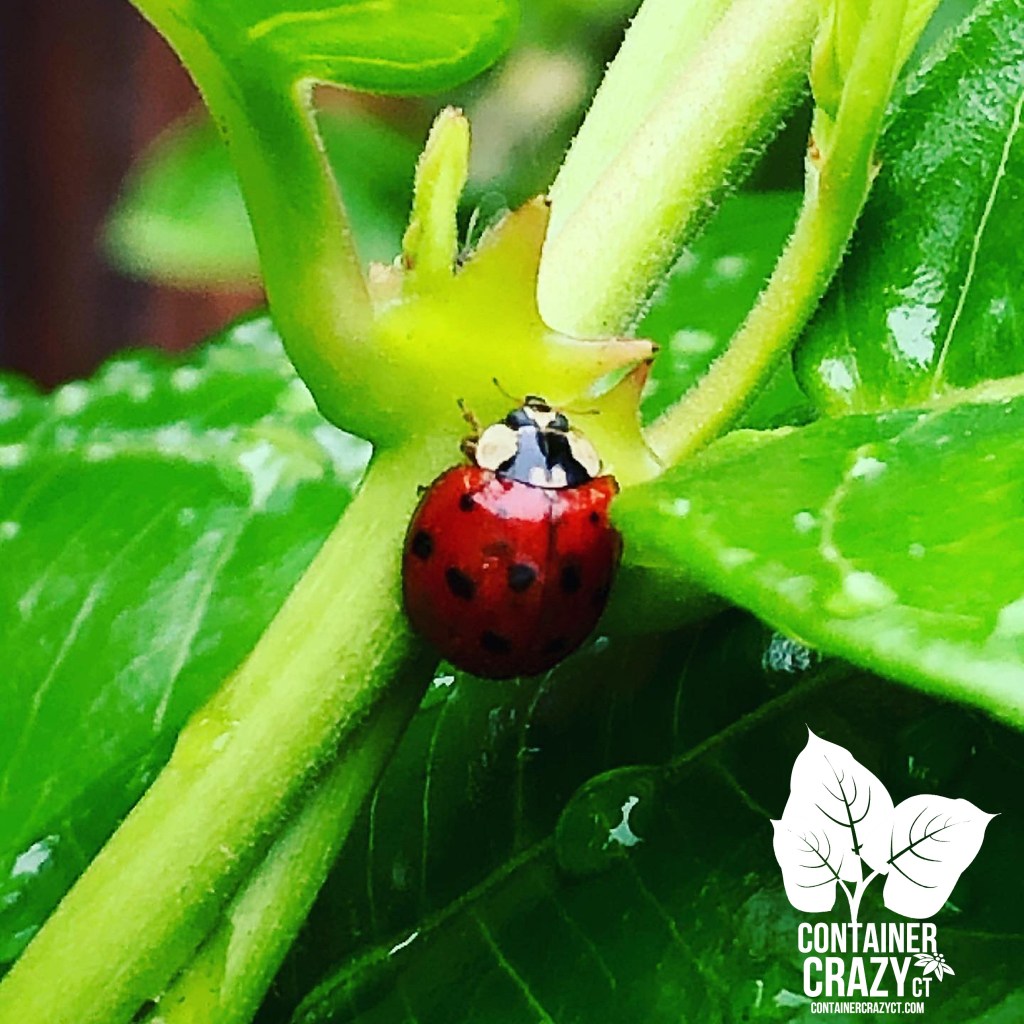


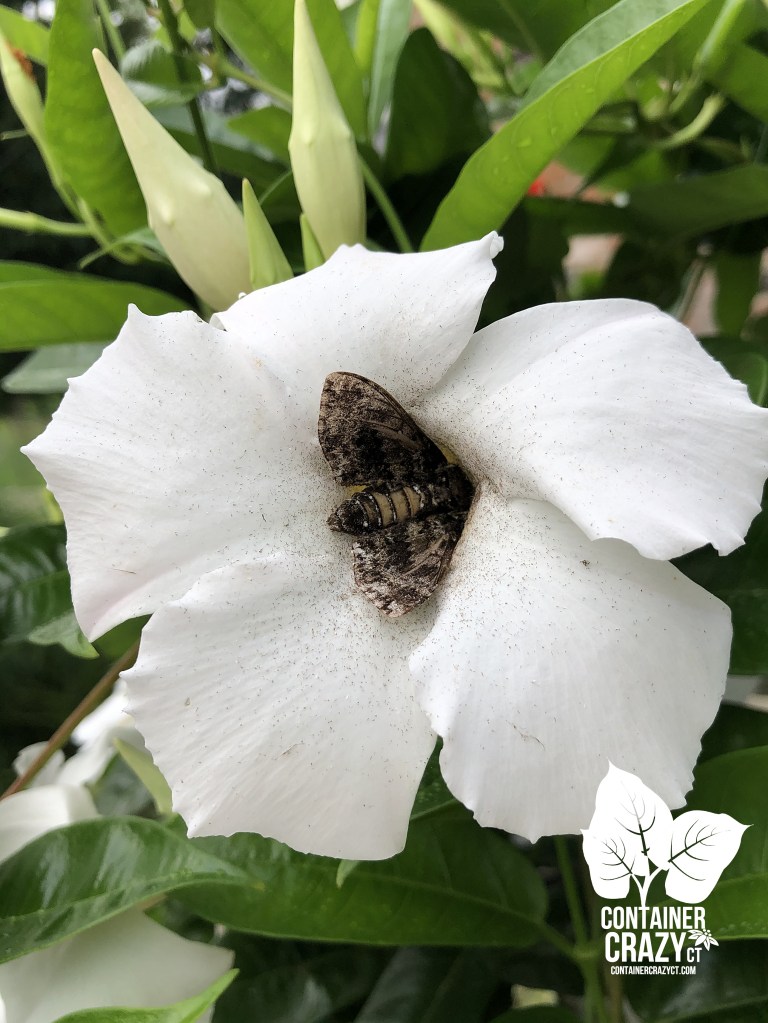
Moth – Awakening from His Night Visit
Not damaged by serious pests, but bothered if conditions are not right…
So far, I have not encountered serious pest (bag bug) problems on mandevilla plants, but I do think they don’t like “inappropriate environmental stress” and things like too cold of temps, or too much wind, or neglect from not watering regularly. Those aspects will weaken them, and you should also avoid areas with high salt (maybe road side). Do not plant them in containers or your patio pots in Connecticut outdoors till well after all chances of spring frosts. So, you would plant them around the same time as you put out your warm season vegetables, like tomato plants.
Heat, sun, and well-draining soils…
The plants want heat and sun, well-draining soils, and appropriate watering. These are tropical vining plants and they don’t like the cold, so remember that on your timing in spring time. They want warmer temps at night so even if the an early spring day feels okay, the cold temps at night are not good for them in early spring before frosts. Also, for more blooms, get some bloom booster liquid or water soluble fertilizer and fertilize a couple times a month in the summer after the plants are established if you feel there are not enough blooms being produced on your plant. It is a good idea, like most tropical plants or plants indoors over the winter, to acclimate them to outdoor summer conditions.

One year, I had to pick up my mandevillas orders earlier than normal, so I literally moved them in and out of my greenhouse during the later part of April into mid-May before planting them at a location. I didn’t want to subject the plants to cold temperatures of the evenings, but I also wanted to give them natural sunlight during the days (on good early spring days). It was a “Mandevilla Workout!” As noted above, do not plant them until around Memorial Day in our area of Connecticut (Zone 6b). They are from areas of warmth, sunshine, and moisture – so remember these 3 environmental conditions for your mandevilla plants. If temperatures drop or if you put them out too early, your plant will experience stress, leaf drop, and potential diseases later, so be sure to protect them from the cold in early spring before frosts if you pick any up early in the container gardening season in Connecticut. An occasional drop in temps in the summer is fine however if we get some freak cold (like we did last year in 2021 on Memorial Day weekend!), they should bounce back from the heat of summer, which mine did that year.
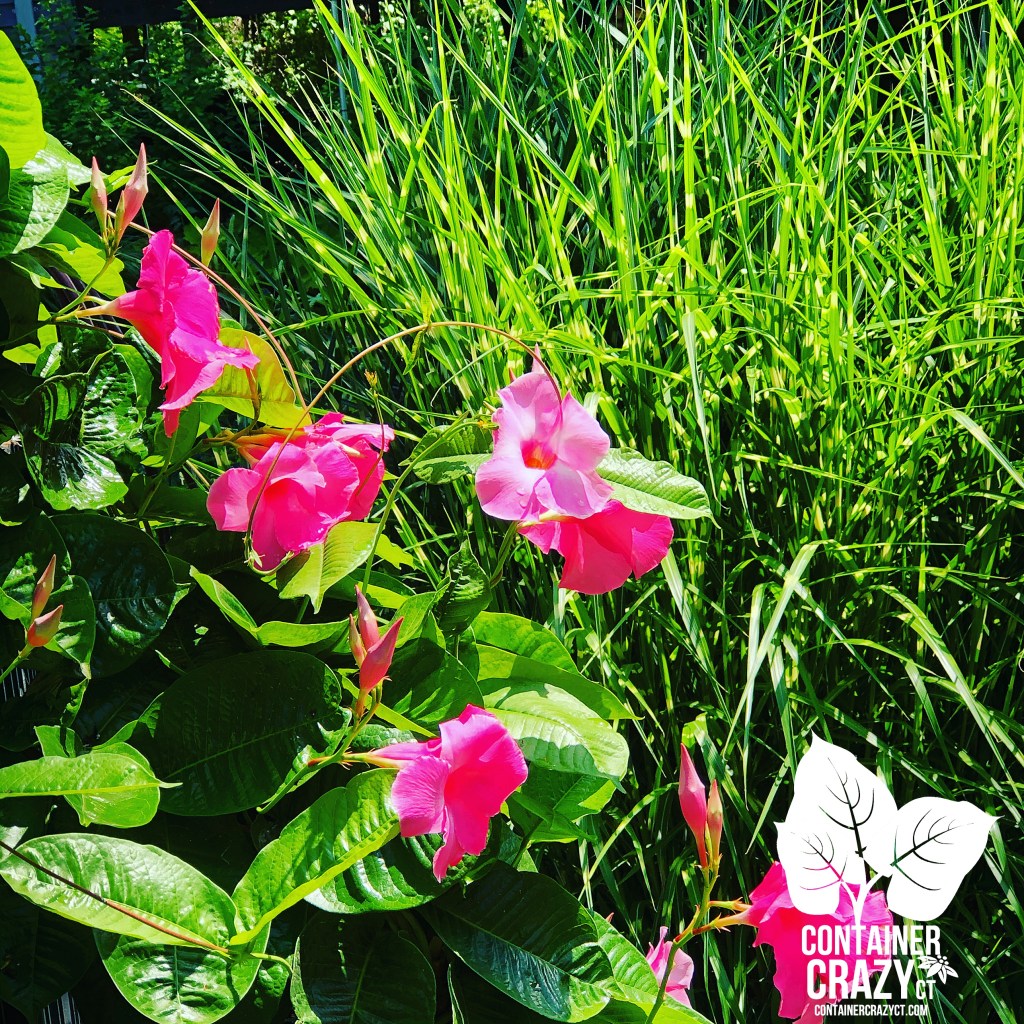
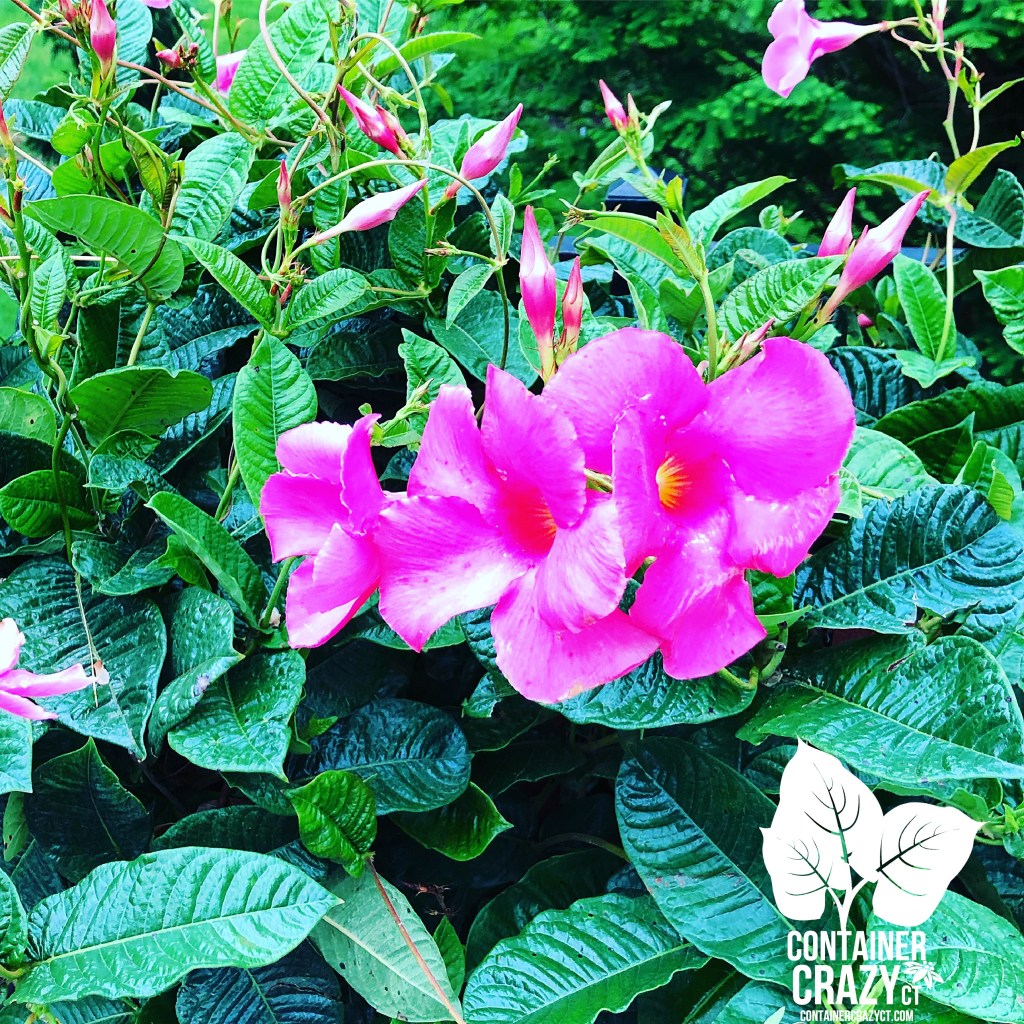
Of course, you may plant them into the ground but I typically do not do that. In this photo above, the pink mandevilla is in a pot below my driveway climbing up and an ornamental grass is in the background, which I thought looked lovely together as a combination.
As you can see, mandevillas make me happy. I love planting them and watching them grow all summer long. They turned into a plant I barely gave a second glance to, to one I can’t stop admiring now. I hope you will admire them too.
Pots don’t have to be really big…
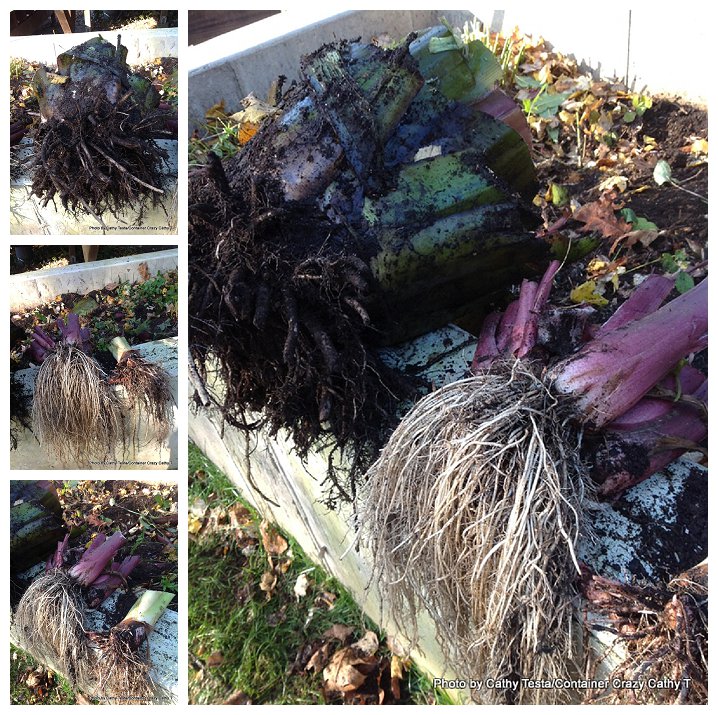
And I noted you really don’t need big pots. Sources will say keeping them in smaller pots will force the plant into growing the top part of the plant more rather than focusing on growing roots for Mandevilla. In my experiences, I’ve done both, repotting into a 22″-24″ diameter planter or inserted the nursery pots into a larger planter, but be sure to allow draining in either scenario from the base of the pots. And the soil is best on a organic side. I have amended the soil with aged compost in pots with potting mix. I tend to space them right next to each other when creating walls in big planters. However, in gardens, it is recommended to space them apart by 8″. Probably the best maintenance tip is to water them regularly and not let them dry out too much. They have thick chunky root systems, so if the pots is smaller, you may see the nursery growing pot expand as the roots are trying to move around, pushing against the sides. In those cases, I’ve used a razor knife to cut the pot off the root base before planting them.

Cathy Testa
Container Garden Designer
Broad Brook, CT
Zone 6b
All photos are taken by Cathy Testa
See also:
www.WorkshopsCT.com
www.ContainerGardensCT.com
P.S. I plan to get more mandevillas this year, if local, e-me!