

This is part one – showing my process of disassembling my largest elephant’s ear plants from containers or planters. I purchased the tubers in 2019 for this Alocasia, which I refer to as an “upright elephant’s ear” because the leaves point upwards towards the sky. It is often referred to as a Giant Elephant’s Ear, Giant Taro, or Upright Jumbo). Official name is A. macrorrhiza. They grow from 71 to 96 inches (6-8 feet tall) from summer to frost and prefer partial shade. The leaves are very dark green, glossy, and impressive! It prefers partial shade but will do well in more sun with appropriate moisture. In my zone, it must be stored, but warmer zones, I suspect you may keep them outdoors or protected somehow.
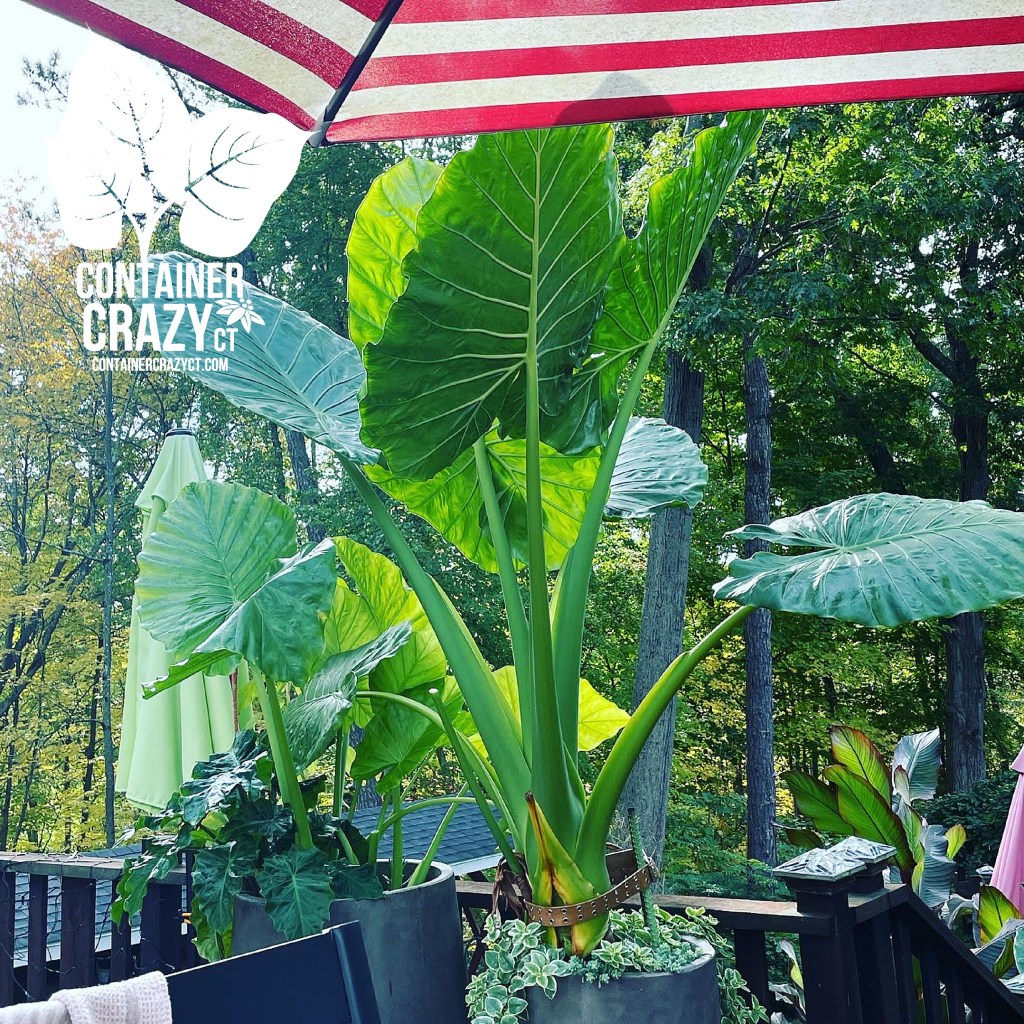
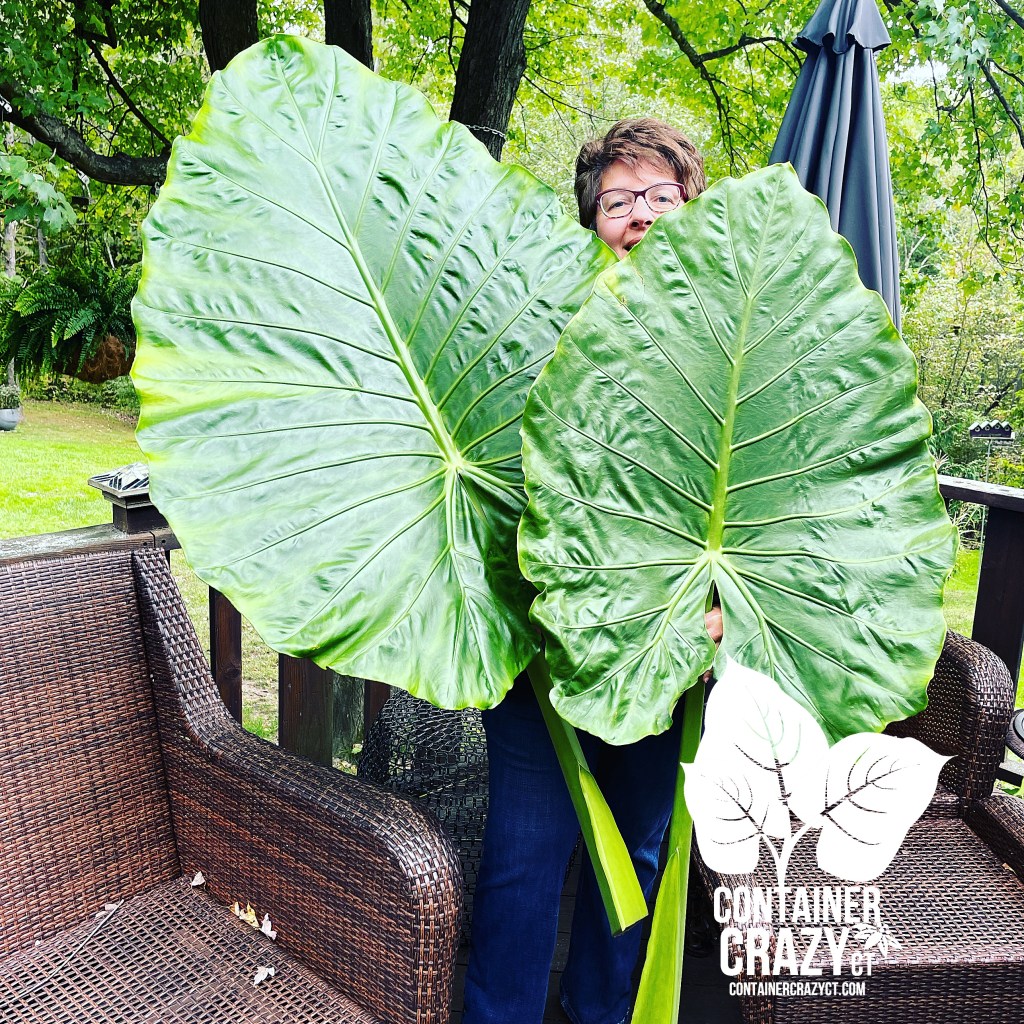
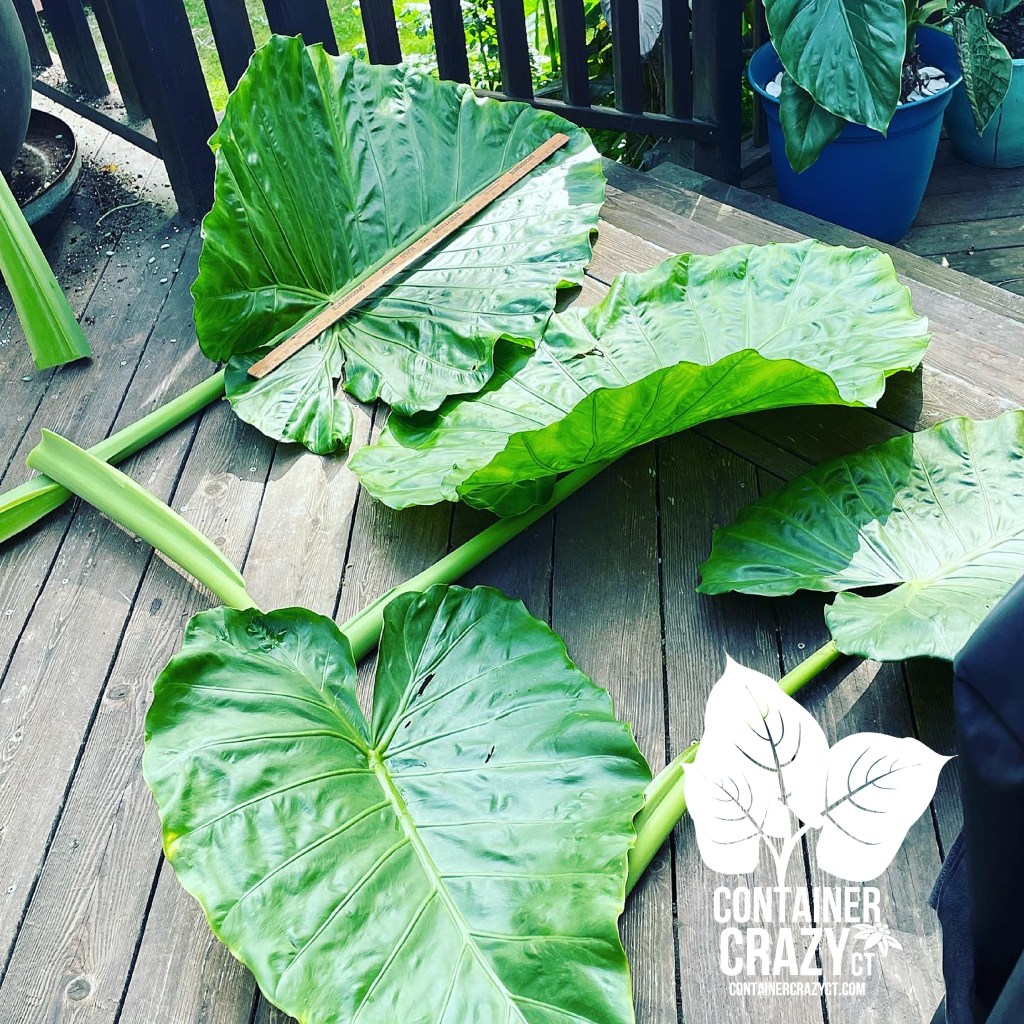
As you see here, I’m peaking behind two of the leaves. The leaves are at least 3 feet long with the stem an additional 3 feet as well. They tower above me in my planters and put on quite the big tropical show in summer. Now, on to how I disassemble them in preparation for our Connecticut winter months:
TOOLS
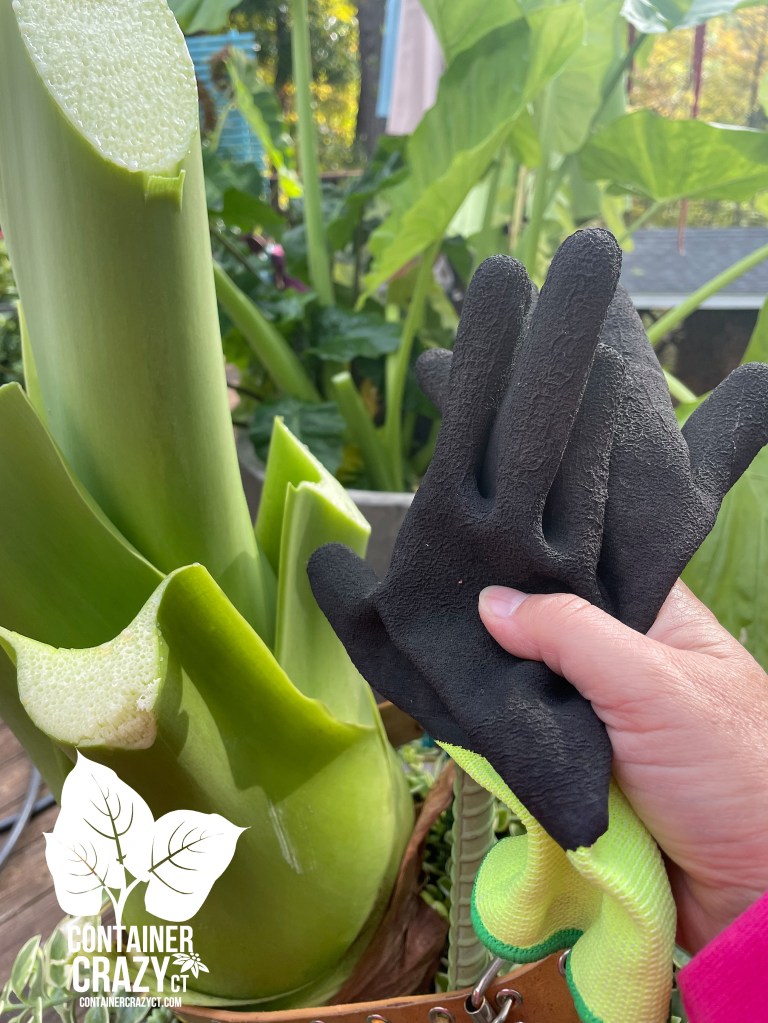
Gloves: Definitely wear garden gloves. These plants release a sap that will make your hands itchy – believe me, I regret when I don’t wear them. Even digging around the soil, I found my hands will itch later.
Hori hori knife: I really like this tool, heavy duty, serrated edge, perfect for cutting the roots in the soil around the base of the plant to release it. I find this to be one of my most useful overwintering tools.
Bin: A clean bin to put all the tubers and root bases in to let dry outside if it is pleasant weather, or inside if it is rainy.
A Large Kitchen Knife or Machete: I couldn’t find my machete, so a long, clean, sharp knife is a great back up.
Clean Up Tools: A leaf blower works to blow away dirt that will fall everywhere.
Ruler: Yes, measure those babies!

Cut away all the foliage by using the knife to slice each stalk off individually at the base of the plant. The main thing is to cut away from the plant so the angle of the slices are able to drain away excess moisture. At least that is how I do it. I’m also very careful to not nick surfaces with my knife tip – always avoid any damage while I work.

As you slice off each petiole at the base, be sure to do a clean cut, avoid tears or anything which would allow entrance of mold or insects later on. A clean cut is recommended. If you mess it up, cut it again below where you just cut it.
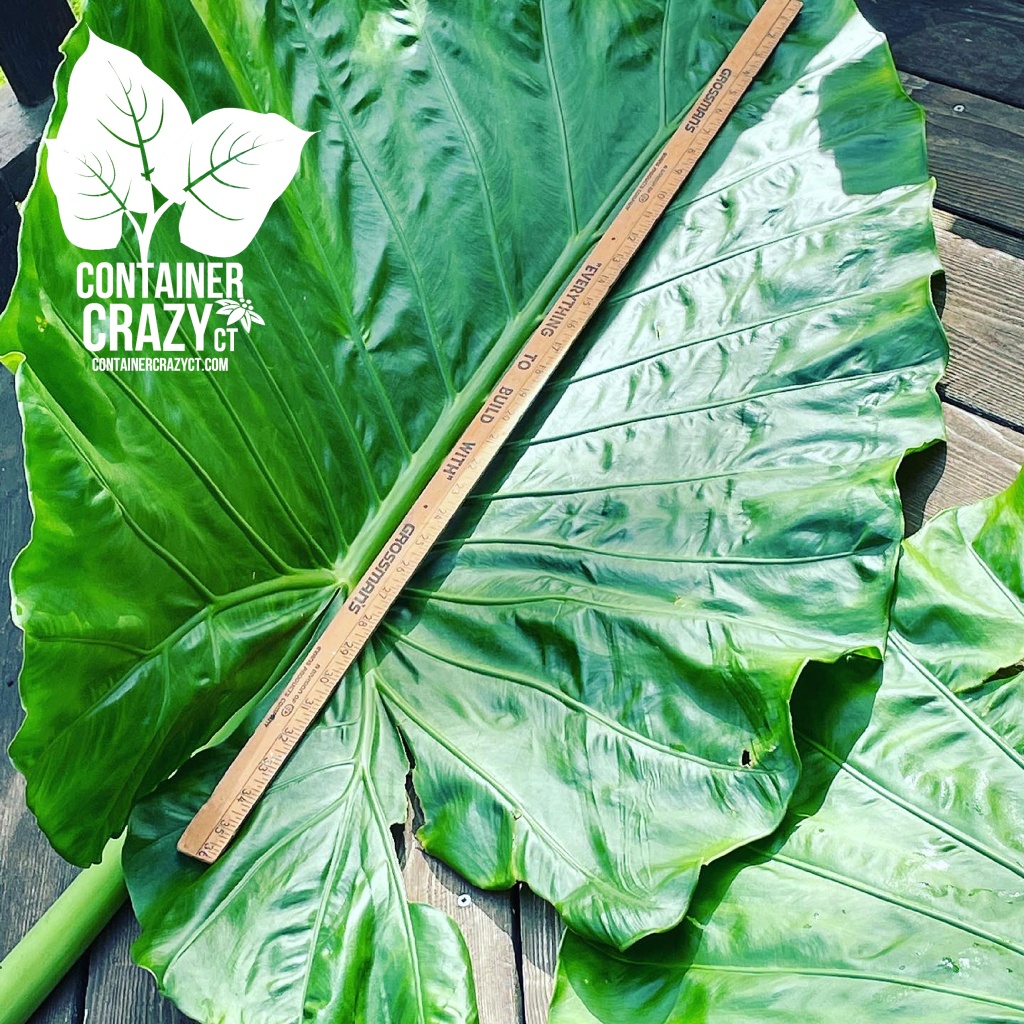
I always measure so a ruler is handy, or measuring tape, and then take photos. Because sharing is caring – LOL. Everyone loves to see how massive these leaves get. It is fun to Instagram the photos!

Here are two of the biggest leaves above. It is too bad I am not set up to make leaf castings of these babies, they would make impressive art for the garden!

As you can see, the slice is downwards and away from the center of the plant. I slice each stalk individually and pile the leaves to the side.

After removing each stalk, I use my Hori hori knife to cut around the base of the “stump” in the soil. As I push the knife around in the soil, I hear the crack of the roots being cut. Then I will push on the stump back and forth to help loosen it. Once I feel it is ready to be “delivered” from the soil, I start to pull it out – It always makes me feel like I’m a doctor delivering a baby – hahahaha. I have quite the imagination at times!
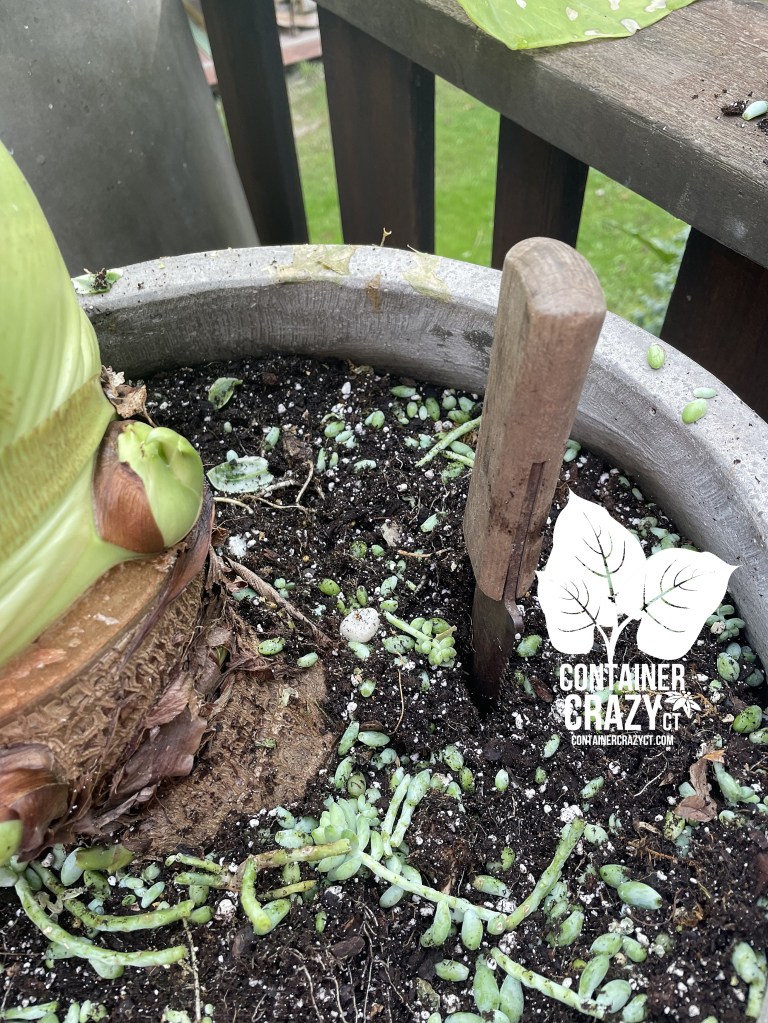

I will put it in the clean bin and trim the roots with clean sharp pruners or cutters, and slice the top off a bit if it still too big to fit into the bin. Leaning it upside down, or on the side to help drain excess moisture is helpful as well. Some folks may recommend not trimming the roots but I always have. New roots grow when it is replanted. My theory was less “fleshy” material the better. Fleshy material has the tendency to rot sometimes over the winter months.


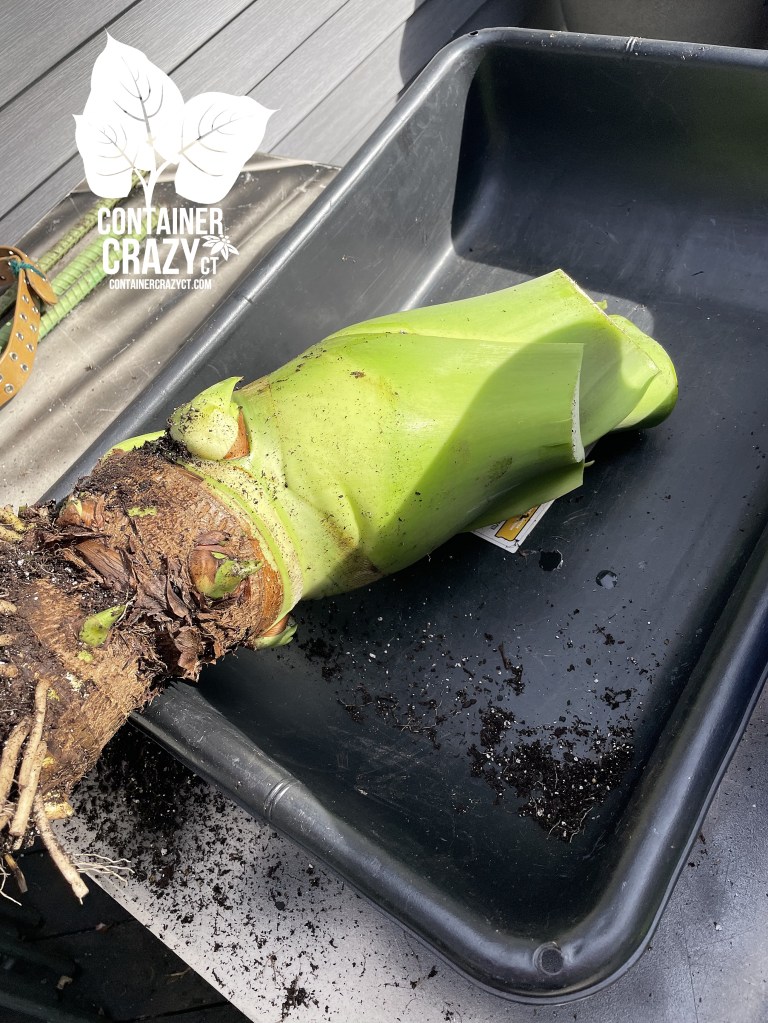
After I got the massive big base out and laying out to dry, I worked on the planter next to it which had more off sets from the same type of Alocasia. I then let this dry in the house for about 6 days. Oh, I also removed as much soil as possible from the tuber areas. I used my gloved hands and kind of just rubbed or pushed off the soil. You may use a garden hose with water blast but that will only make the tuber wetter, so I didn’t do that. In the past, I have used a soft painters type brush to get soil off.


TIMING
In Connecticut (my planting zone is 6b) you may do this process either before or after we get a fall frost which could happen anytime now, but sometimes I like to start this while things are dry and temperatures are not too difficult to work in, so I started on these two planters last Thursday (9/29/22). It was a cool, breezy, day with little sunshine but that would be better than the rainy cold days expected the days following. The date if this post is 10/4/22 and no frost yet, but there are some talks it could happen this weekend, I hope not, cause I have lots more to do!
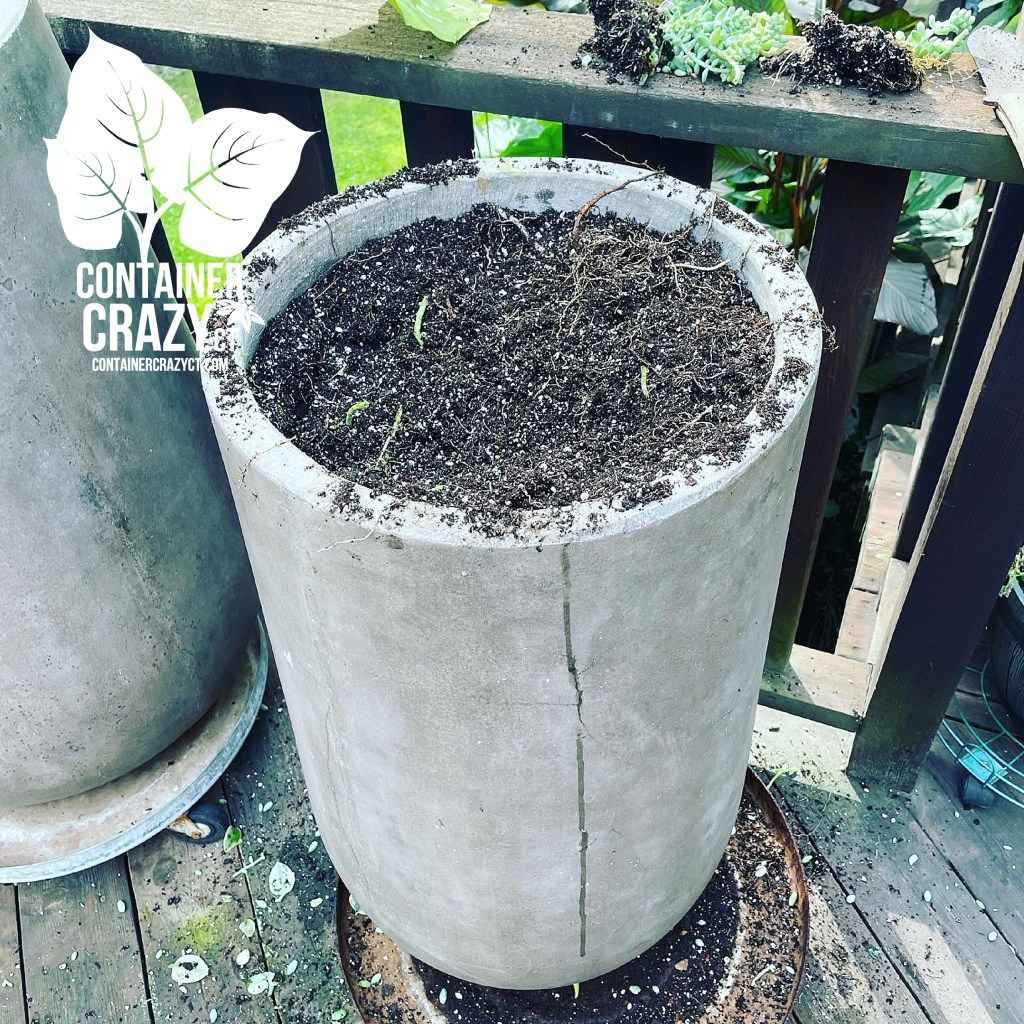
I placed the bin in the house for a few days and then moved it to a table in my basement. The next phase is storing them. For years, I stored all my tubers, rhizomes, corms in peat in bins with air holes drilled on the tops. But this past spring, I had rot on portions of my tubers. This year, I plan to store them dry in paper bags for some at least. I will most likely test the paper bag process and see the results. I will post photos of this soon. I also saved some mesh netting bags (like those used for Avocado’s in grocery stores) to put some tubers in.
Oh, when I took these apart last week from the gray planters, they had NO ROT anywhere on the tuber areas (brown area at the base) which is good news. No rot means they won’t have rot as they dry for a few more days. When I store the tubers, I will share it here as well.
The tubers need to be sored in a cool, dry place. I use my basement which does not drop below freezing but is unheated so it stays cool. It is recommended that you do not store them in plastic bags which would only trap moisture. If stored in a paper bag, make sure it has holes for vents. Again, for years, I stored them in peat moss in bins, but had rot issues this year in spring, and I didn’t want to loose these tubers of this super big Alocasias, now that I’ve regrown these plants each year. These particular tubers were from 2019 so it has been replanted 4 times now. A definite pay back from the investiment!
PLANT IN SPRING
Next year, after all danger of spring frosts, I will replant these Upright Elephant’s Ear tubers to grow again. Many tropical loving plants may be handled this way, such as Canna Lilies. For years, I stored my big red banana plant, Ensete, the same way as shown above. In fact, here is the link to the Ensete post if you are searching for it on my blog site: https://containercrazyct.com/2013/10/31/storing-my-big-red-banana-plant/. Unfortunately, I lost my big red banana plant this year in 2022. It was the first time it rotted too much.
NEXT OVERWINTERING PROJECT
Ack, I have to dig all of these up soon – anyone want to come help me?!

Cathy Testa
Connecticut
A Container Garden Designer
Also make custom orders, grow tomatoes in spring time, make succulent pumpkins now in fall season, wreaths during the holidays! Thank you for visiting and your support.
DIASSEMBLY ALOCASIA QUICK STEPS:
Get your tools ready (knife, gloves, bin, hori hori knife, cleanup tools, etc.).
Cut away each leaf stalk at base cleanly.
Cut around base of plant in the soil area to break free roots with hori hori knife.
Pull out stump (base with the tuber) out of the planter, and let dry for several days to a week.
Store in an unheated, dry, cool area that does not go below freezing in winters.

Pingback: Checking in on My Alocasia Corms and Tubers | Container Crazy CT