So It Can Return Again Next Spring

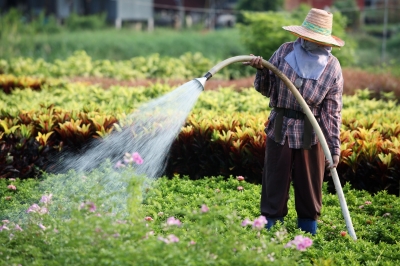
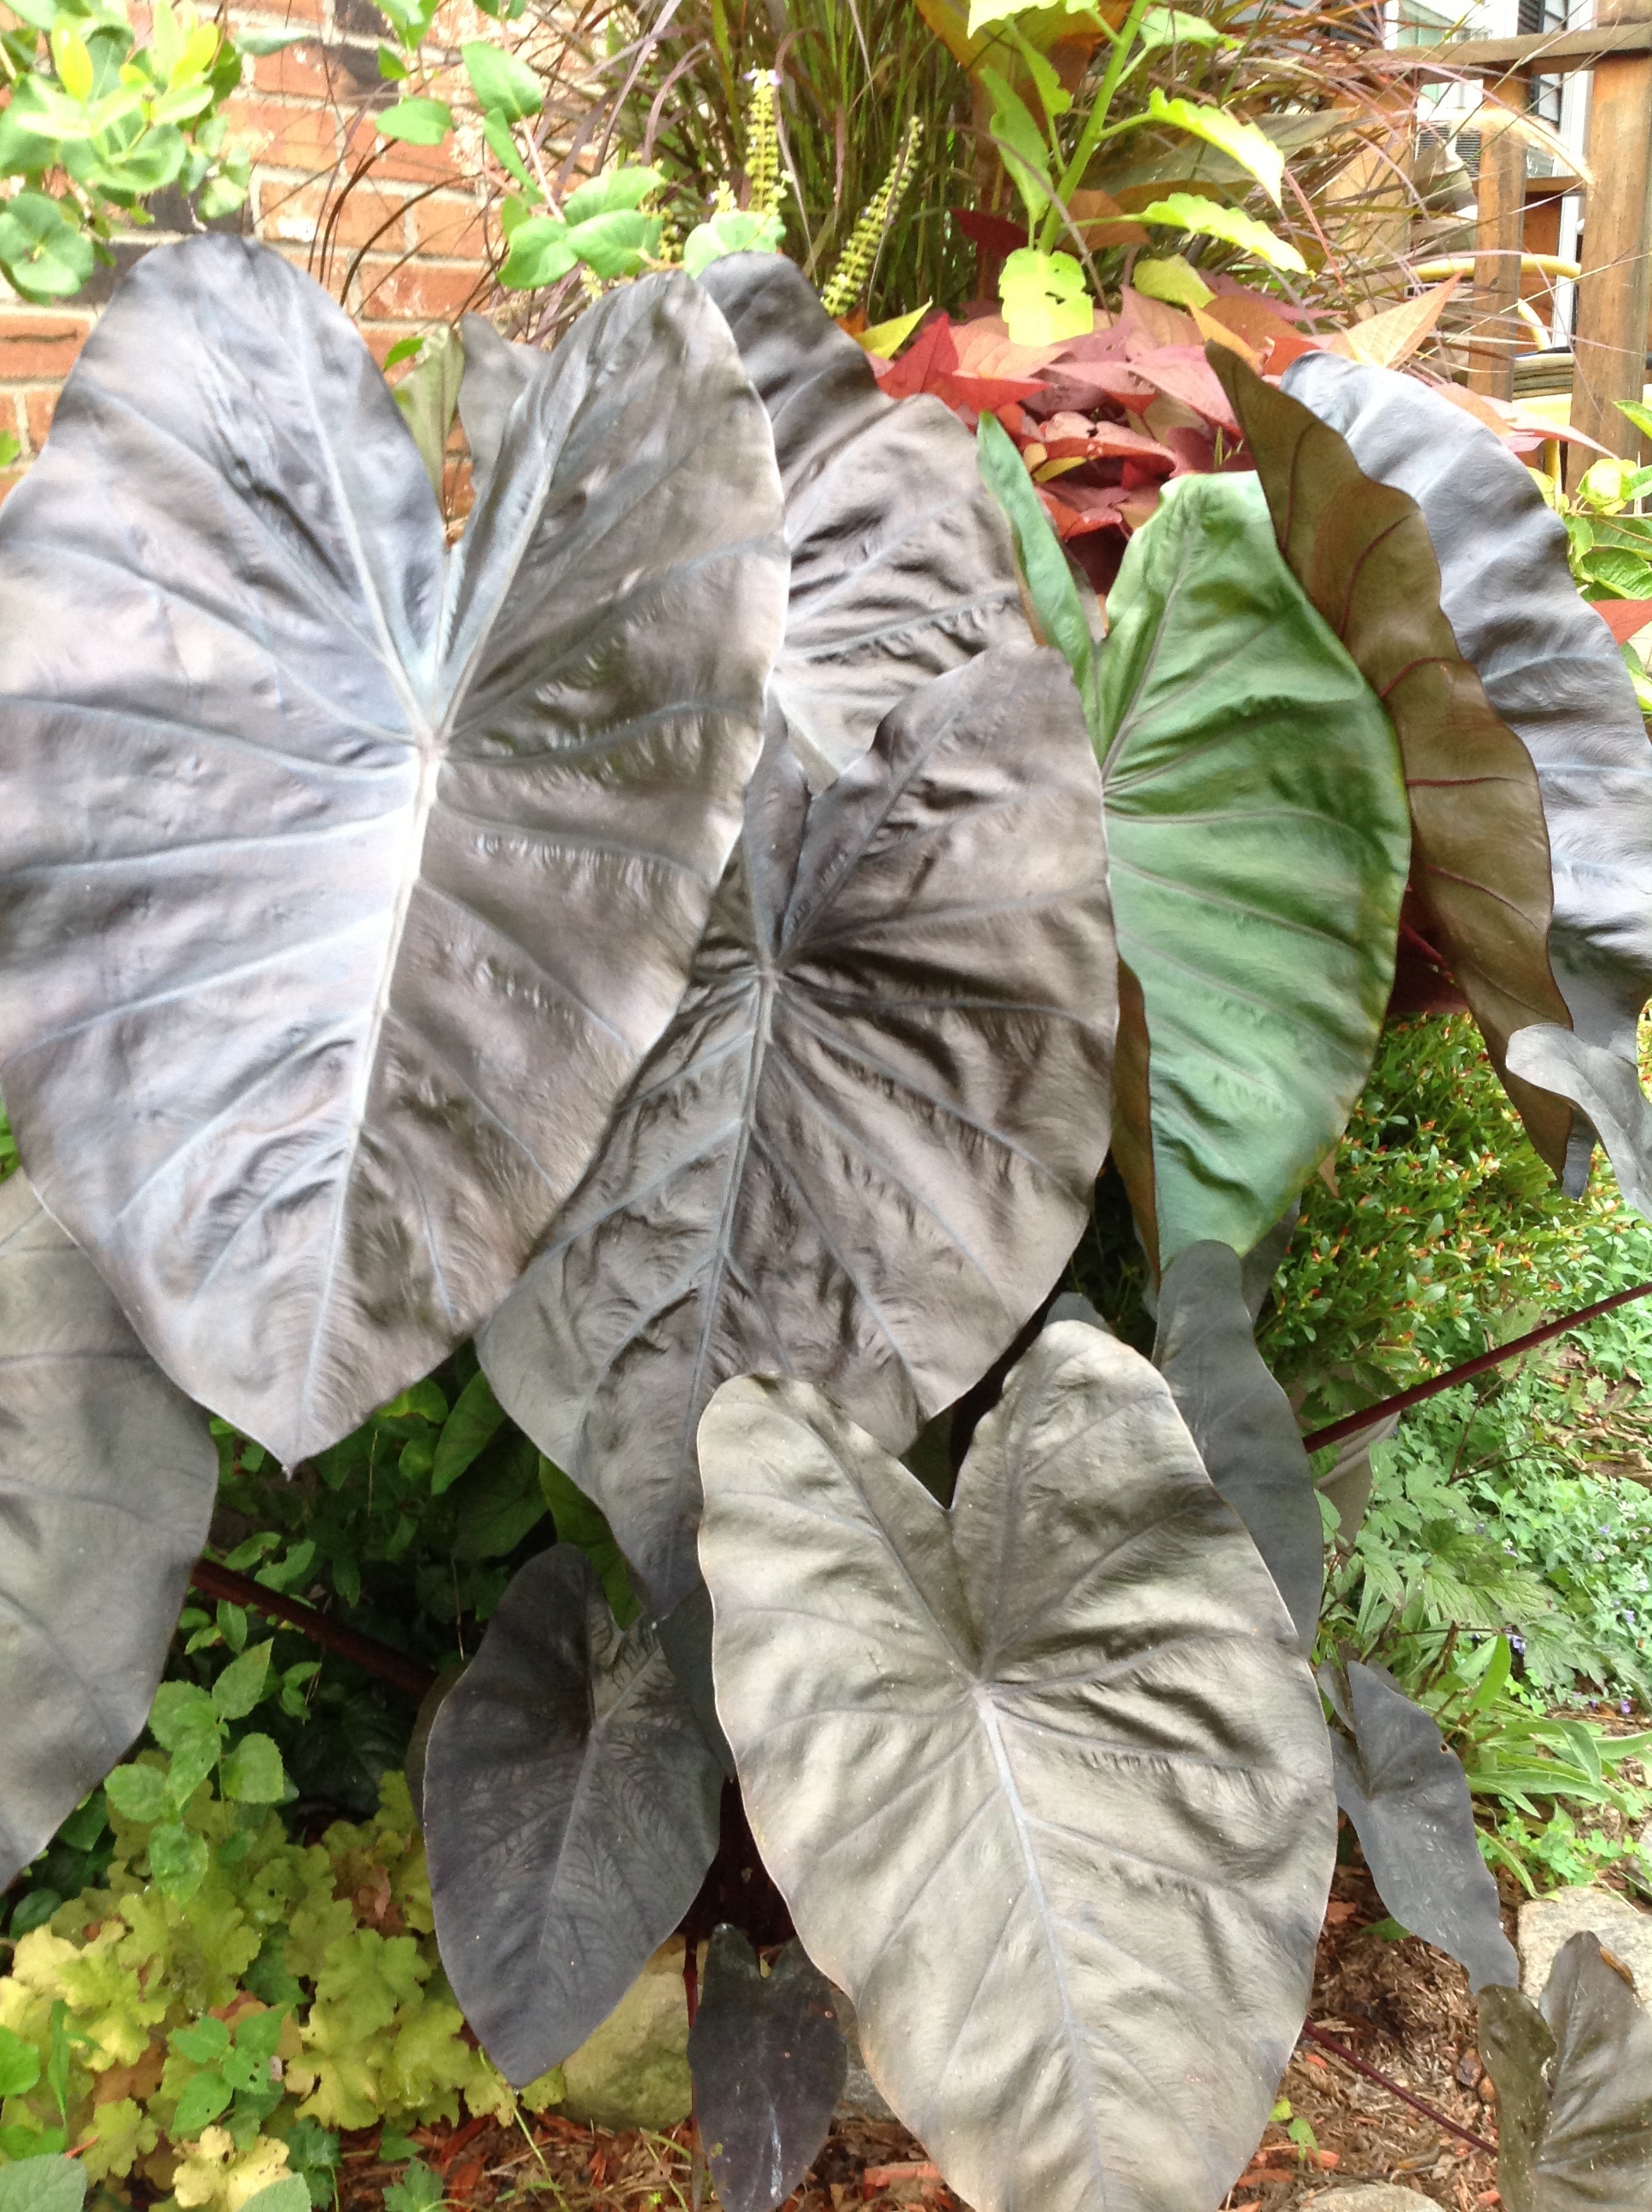
Ensete ventricosum ‘Maurelii’ is a return visitor at my home. I have fallen in love with this tropical red banana plant for so many reasons, but what has impressed me more than anything else, is how large it grew this year in my monster cement planter.
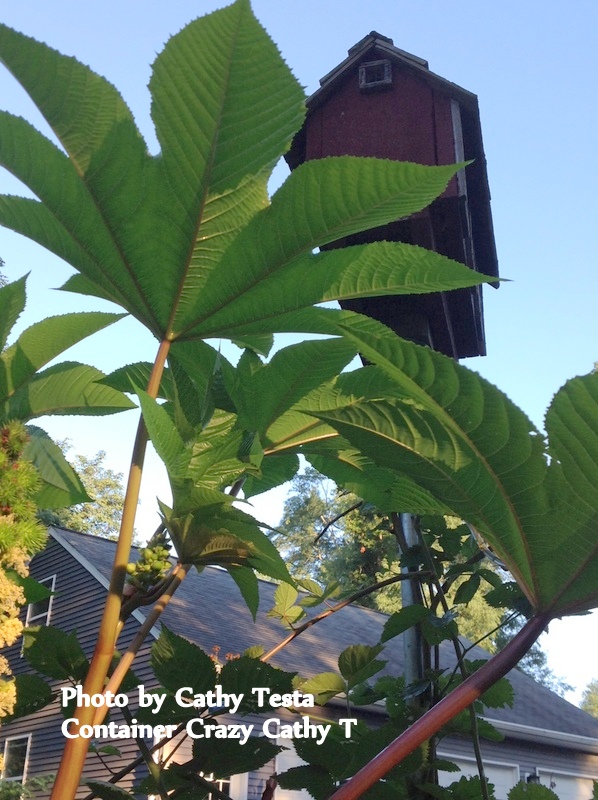
Although I’ve included this type of red banana plant in my container gardens before, I’ve never seen one grow this big so fast. It reached a height of 8 feet tall with large leaves growing to 7 feet long and 1.5 feet wide. It was at proportions I didn’t expect, but was very happy to witness.
As each new leaf grew and unrolled from its center throughout the summer, and even into early fall, I was in awe of its massive presence – and ability to stand so tall. By the end of October, the plant had a large fleshy trunk of a 1 foot diameter.
Planted on the eastern side of my home, the morning sun would rise to greet it every day. By noon, dappled shade cast down upon it from the forest trees nearby. And by late afternoon, its large showy tropical leaves with red coloring were wonderfully backlit by the afternoon’s setting sun. I am not sure which part pleased me most, but each stage was worth taking pause in my day to enjoy.
There were so many times I took photos of my big red banana plant in the planter that it became a bit obsessive. Even though it was difficult to get a good shot because of the glares and shadows – and its sheer size, I still clicked away taking as many as possible throughout the season.
I showed my big red banana plant to my family, visitors and unexpected guests when they were here. Heck, I even made them pose in-front of it for more photos.
Later in the season, I finally broke down and did what I pondered doing. I hired a professional photographer to take a few good shots. The sounds of the camera clicking furiously made me feel as though I gave the ultimate red carpet attention to my plant.
Alas, the plant got hit by our first frost of fall on the evening of October 25th. The next morning, I knew my guest would be leaving for a long winter’s rest. It was time to take it down and store the root base so it could return to visit again next spring.

STORAGE STEPS FOLLOWED
First, a quick and easy haircut. All of its gorgeous long leaves, now darkened by the frost and wilted, were cut off with large pruning shears and tossed in a pile.

Second, using a bow saw large enough for the wide stump, I placed the blade about 12” from the base and began to zig-zag across. “Timber,” I said, as the top portion fell to the ground with a loud thump. (To see a video of the cut, visit my HOW TO VIDEOS page.)

Next was the careful removal of the root base from the soil. Using a shovel to go around the root mass and cut the roots in the soil, I carefully lifted the large base with a couple of firm tugs.
Hand-pruners were used to trim the long roots as a way to eliminate additional soft fleshy material that may have the potential to rot in the storage box.

With a soft brush and my gloved hands, I cleared away the final soil residue on the root base, making sure it was fairly clean and ready for its next step. I also re-trimmed the cut end to be level and clean.

In a nice sunny spot, I turned the root base upside down and placed it on a milk crate to drain of excess water for one solid day.

Then was the box selection – a new home. Inserting a light weight plastic bag into it, filling it with bedding material of peat moss, I then carefully laid the heavy root base in the center on its side.
Finally, covering it almost completely with more peat and loosely closing the bag. I shut the box and labeled the outside with the date, plant type, and a smiley face.

The last step was moving the box to a cool dark place in above freezing temperatures in my basement. And then I said a little prayer. (You know, because it doesn’t hurt.)
THE STORAGE PRAYER
Oh Banana Plant – You were so sweet
So now I lay you down to sleep
Please come back or I will weep
Enjoy your restful place of keep
Until I reawaken you in twenty-six weeks

STORAGE PRACTICAL TIPS
Be careful to not dent, cut or nick the root base. These can create wound places, serving as an invitation for mold to set in.
Take measurements so you will have a record of how large the plant grew and can compare notes in the following years.
Use clean, disinfected tools during the process to avoid transmitting any diseases to the plant.
Try to do the breakdown job before significant rainfall if possible. It makes it easier to move from the soil.
Don’t wash the root base with water to remove soil. It only makes it wetter. You want the base to be slightly moist but not soggy because this can rot in the storage box.
Reuse the peat moss every year – it last a long time, and is an excellent material to store root bases. It holds moisture lightly and helps maintain a balance of air too.
After removing the root base, turn it upside down to allow water to drain out before storing it, but don’t let it get too dry.
Use a cardboard box with vents or spaces to allow some air circulation to set in. You don’t want a box to seal tightly and leave moisture inside where it will rot the root base.
Select a plastic bag that is very light weight, like those used in grocery stores. Close the bag lightly. Do not tie it off – allow some breathing room.

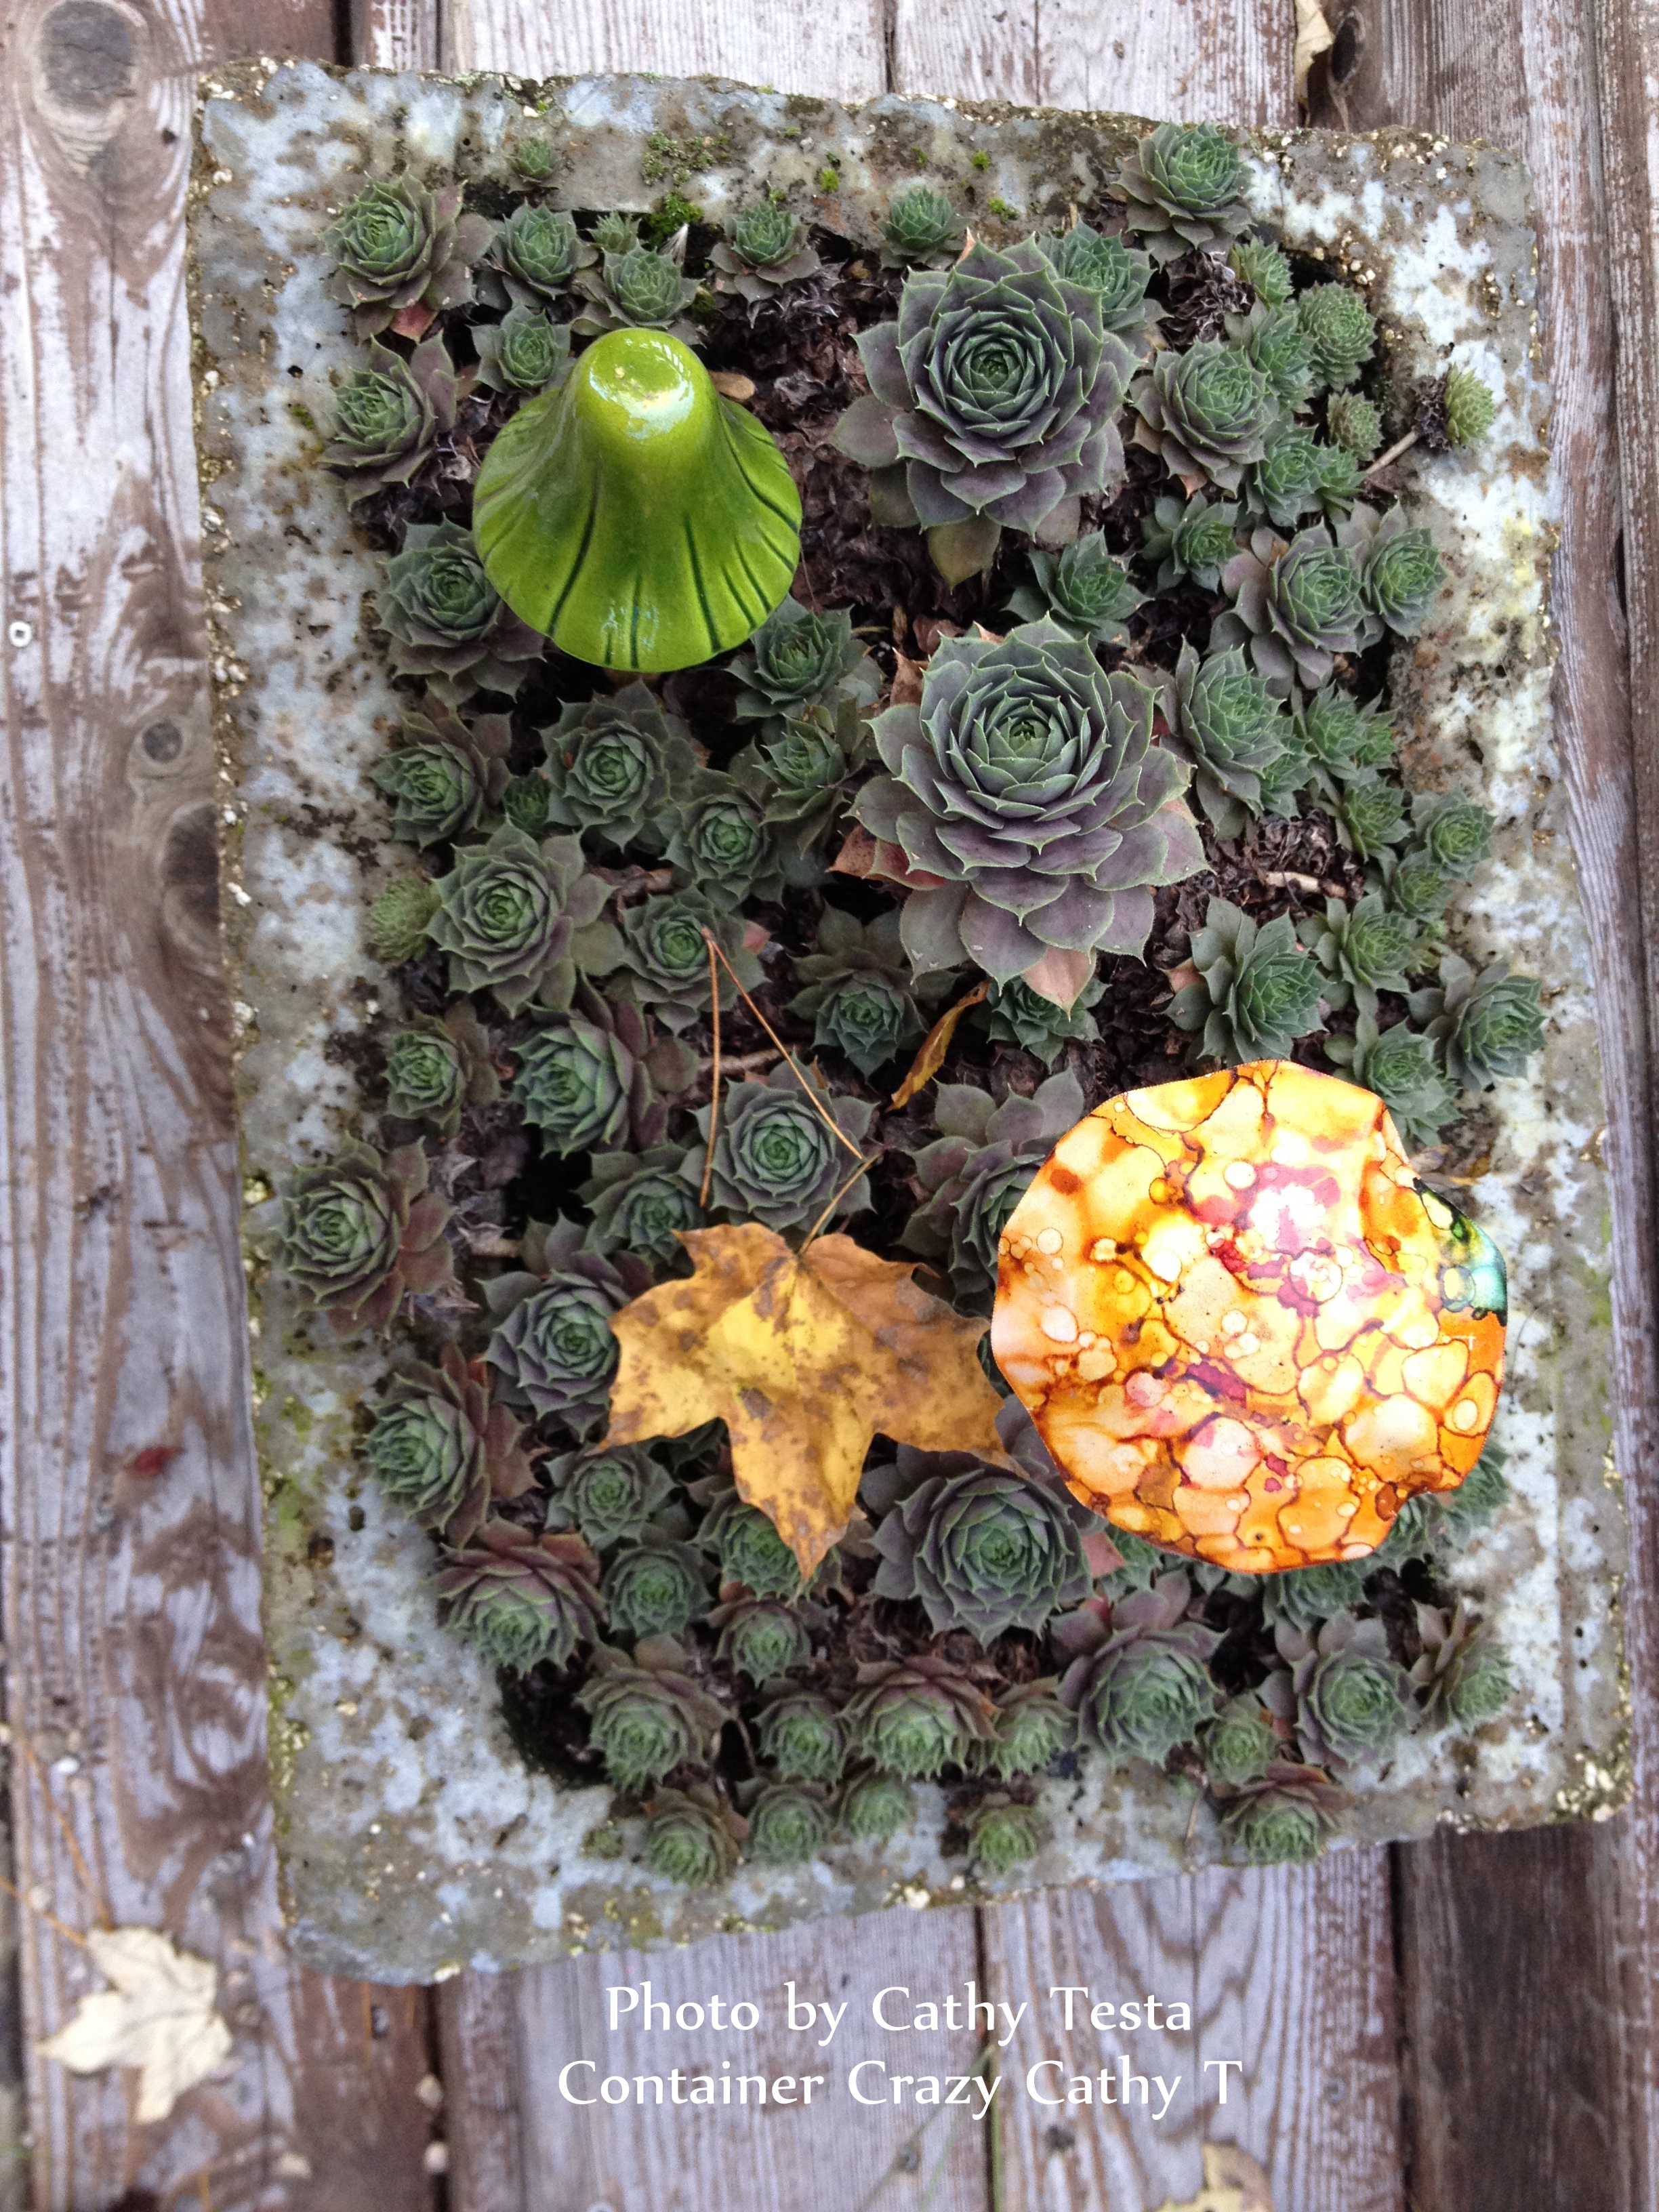
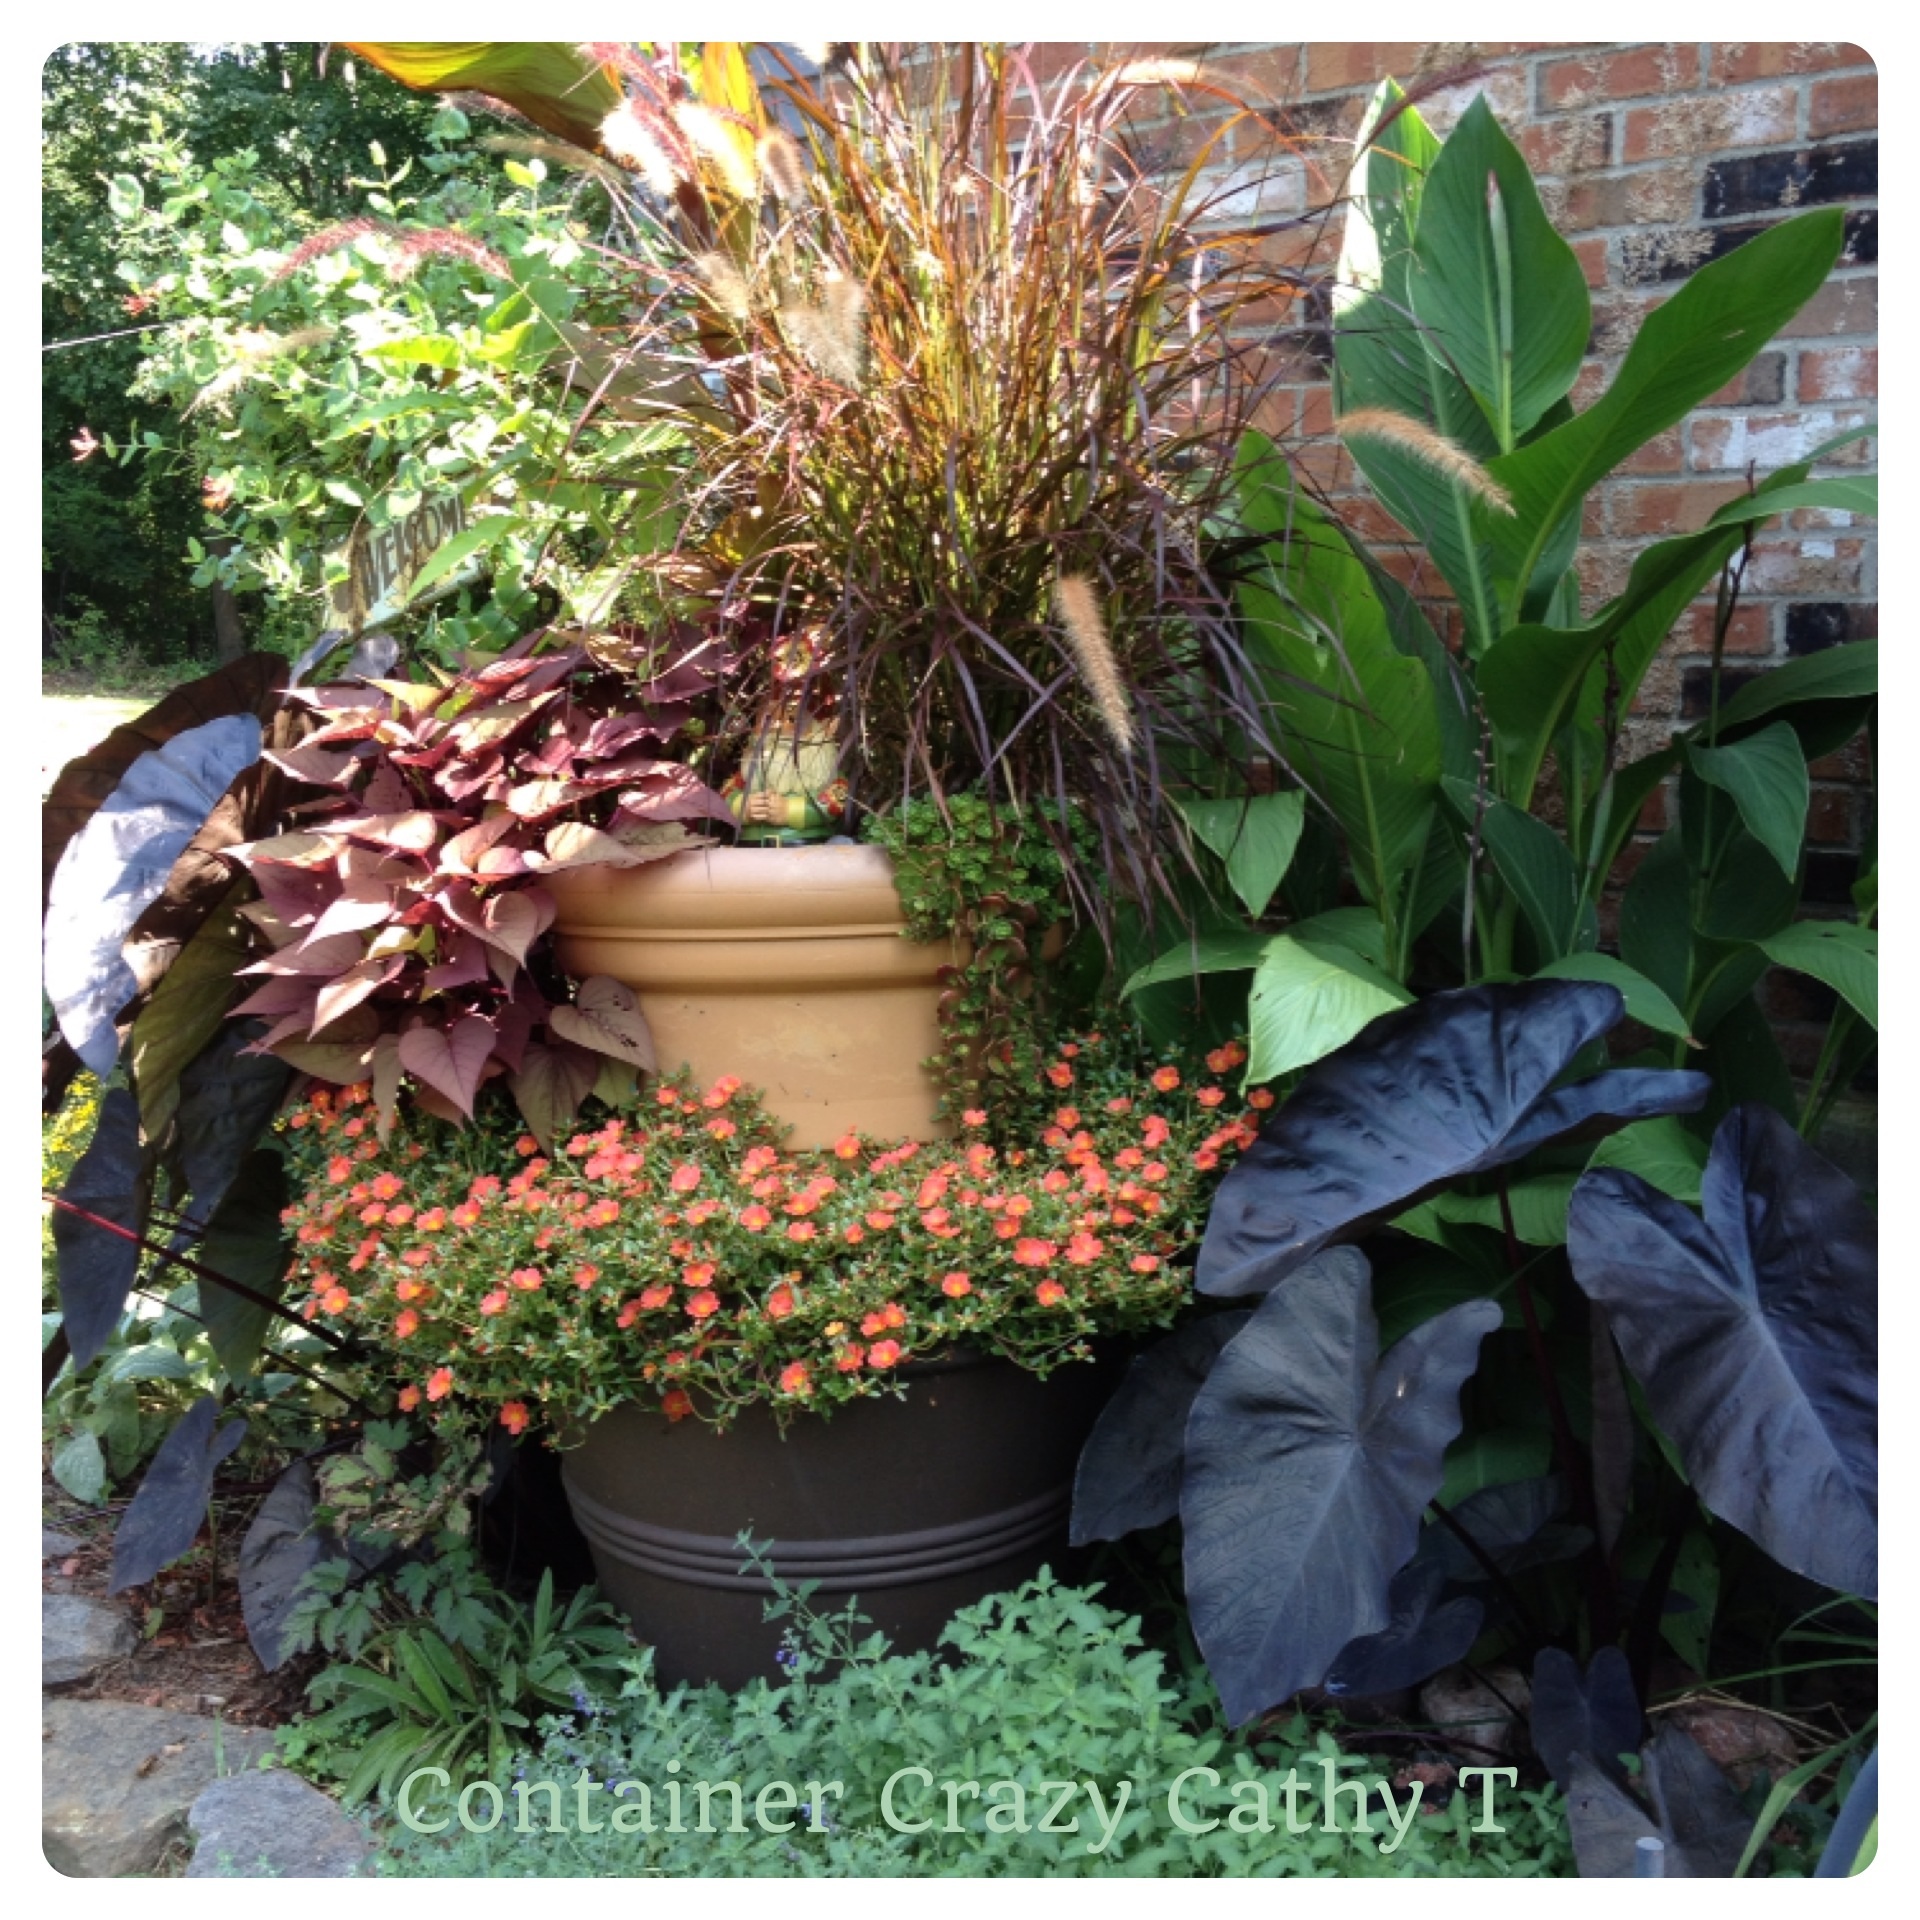
Red Banana on Left with elephant ear corms on Right
THE STORAGE LOCATION
You want to find a location where it remains cool, but not below freezing. Some references indicate a temperature range of 35° to 45° F. I put mine in the basement by the door where it is coolest, but I also place the box on a bench so it is not in contact with the cold cement floor where condensation can possibly cause the box to get wet and then stay too damp. If it gets frozen, your root base is going to die. If it gets too warm, it will start to grow again. You want to make sure it is just right. For me, that spot in the basement seems to be the sweet spot.
FINAL NOTE
The storage prayer is optional, but I believe this helps. And when you open the box next spring, you will hear the angels singing when you see your banana plant made it just fine to be your return visitor in your container gardens every season.
Written by Cathy Testa
P.S. More will be shared about my big red banana plant (highlights, professional photo shoot, guest visitors, companion plants, and more). This is to be continued…Stay Tuned.