Back in 2019, I received a voicemail from a gentleman, and he was looking for a gardener for his balcony. I immediately felt a certain tone in his voice. Something about the phrases he used and his professional manner in his voicemail to me made me feel this would be a call worth returning. And, my friends, it was.
It led to quite the adventure of planting not only one but two high rise balconies for five years, located on the very top floor of a building in Hartford, CT. It’s a good thing I do not fear heights, because if you did, you would not be able to look over the railing at the scenes far below. It can make a person with a fear of heights queasy.
There’s something special about working in a high-rise urban situation. The background city sounds are constant, but they are not the typical sounds I hear at my home, which is filled with birds and maybe a slight sound of road traffic. On a high-rise, you hear sirens, distant constant highway background noises, an occasional high-flying hawk, and air sounds. I liked that. It is not overpowering, just there and didn’t bother me. In fact, because I have tinnitus, I rather liked the background city sounds. It drowned out my tinnitus and also the enjoyment of working in this special place, made me not focus on tinnitus either! Plus, the views were enough to not even think about the background noises.
I also liked how you are up there overlooking the world, and no one knows you are. It is a really neat and inspiring situation. One time, when working on their planters, two helicopters flew right near there, as if a pair flying together. I thought, can they see me here, and I even wondered if it was the president. I had read he visited an area in CT that day.
And after a few rounds of plantings, I started to see bees. Usually, a solo one or two. One time, the client heard a tree frog in the planters. They could not locate it, but they were amazed, and so was I! He either hitched a ride on one of my nursery pots, or could it be possible he climbed up that high?! The balconies are 38 floors up! I always liked pressing that PH button in the elevators, I have to admit.
I thought, gee, I so wish I landed this opportunity when I was younger. I was very excited to work for these clients and their balcony gardening projects, and yes, it was all very large planters the full length of the balconies. Fortunately, they referred me to another couple in the same building, so had two wonderful sets of clients and wonderful planting scenarios.
Probably the best part of it all was the upmost appreciation for my planting work and craft by these clients. I was told often that I was an artist. Can you imagine how that felt? It was wonderful and meaningful to me. And their flexibility, as they fully understood this planting situation is unique and has special challenges. They were always, always polite and understanding because things unexpected can happen on a high-rise situation with plants. I knew it would be challenging yet extremely fun and rewarding for a plant person. Plus, I liked their style. Both had their own unique style, and it was fun to think about how to best meet their needs in that regard as well.
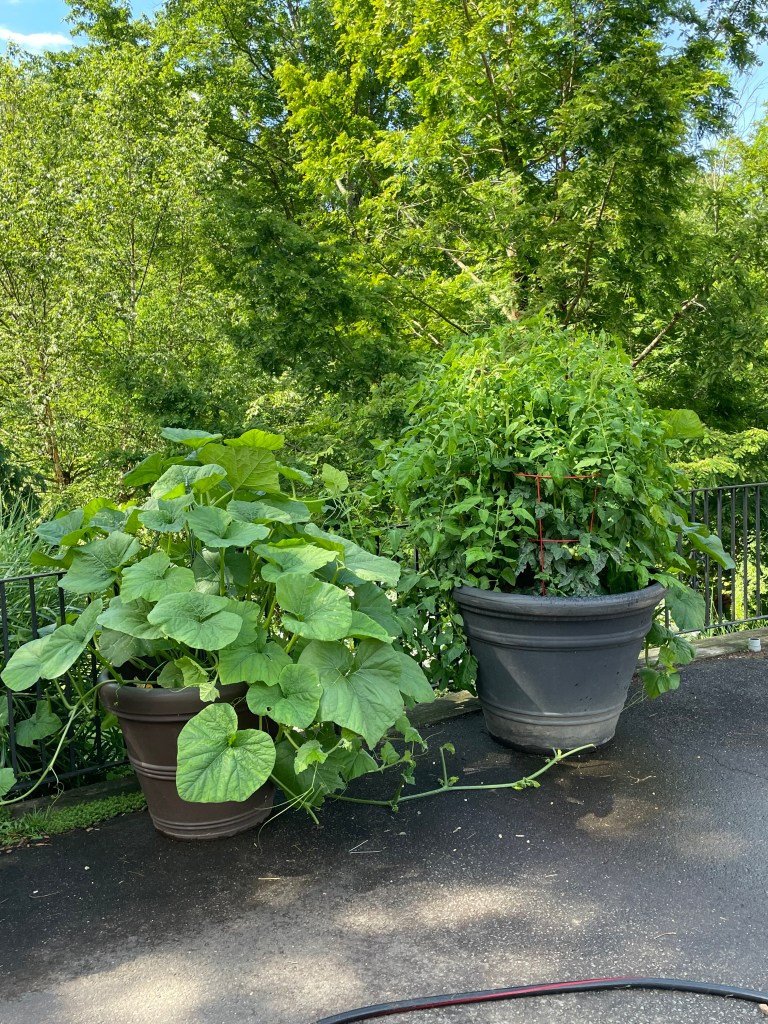
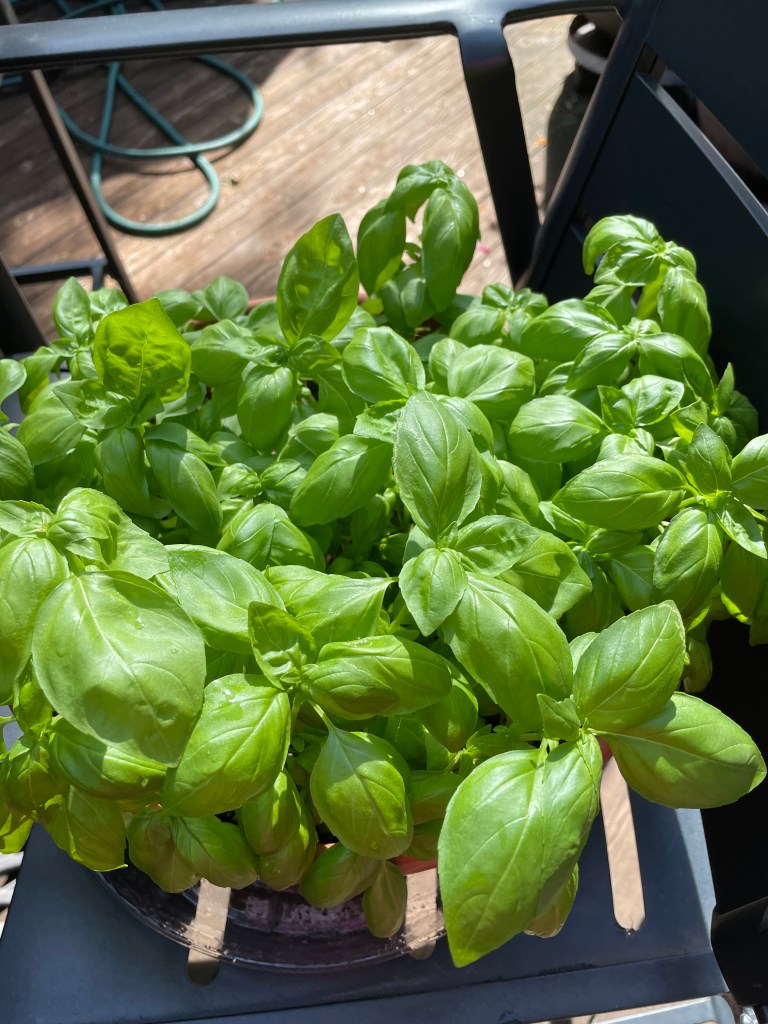
Working on a high rise has many challenges. Try – no water sources outside. Extreme winds that will shred plants. Cold temperatures when I did winter installs. And in the summer, extreme heat. I had a lot to learn and research. And, not to mention, going up and down constantly in an elevator. I am lucky I am a thinker about organization because you have to organize all to be efficient in those situations. And I got to witness how plants respond differently in a high-rise balcony situation in planters, pots, and spaces. Plant colors are different when experiencing extreme heat, they grew to amazing large sizes in some cases, which blew me away. I would plant a small herb and it would reach the size of a shrub by the end of summer. It would shock me sometimes, like wow, they love this sunshine and heat! I read somewhere you could not grow tomatoes on a high-rise, NOT! You sure can and they were wonderful.
I thought it would be a great idea to talk about the plants which worked well in these situations and what didn’t work so well on a high-rise. And write about my high-rise balcony gardening adventures. I actually had trouble finding good books on balcony gardening. I could write one of my own I guess, but I choose to use my blog, here on Container Crazy CT, to write about scenarios I encountered in a series of posts.
It begins today!
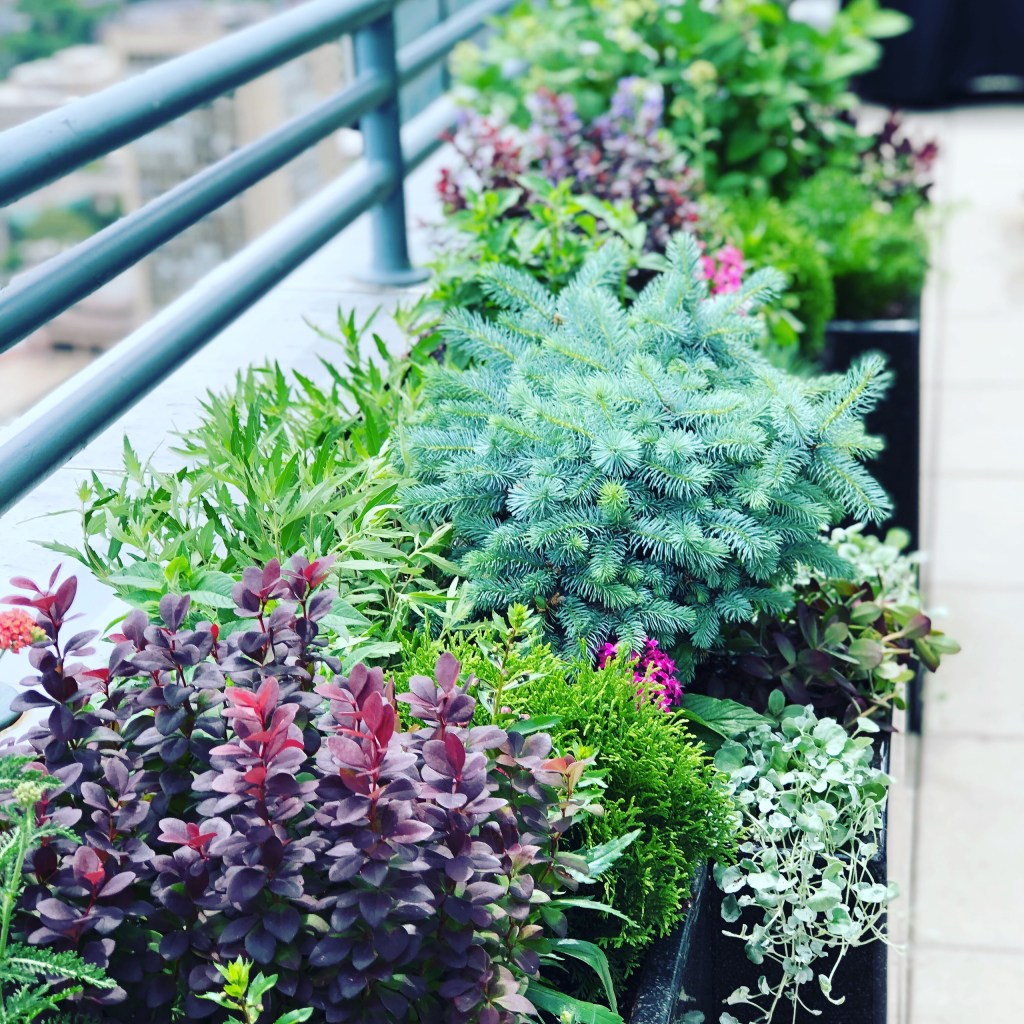

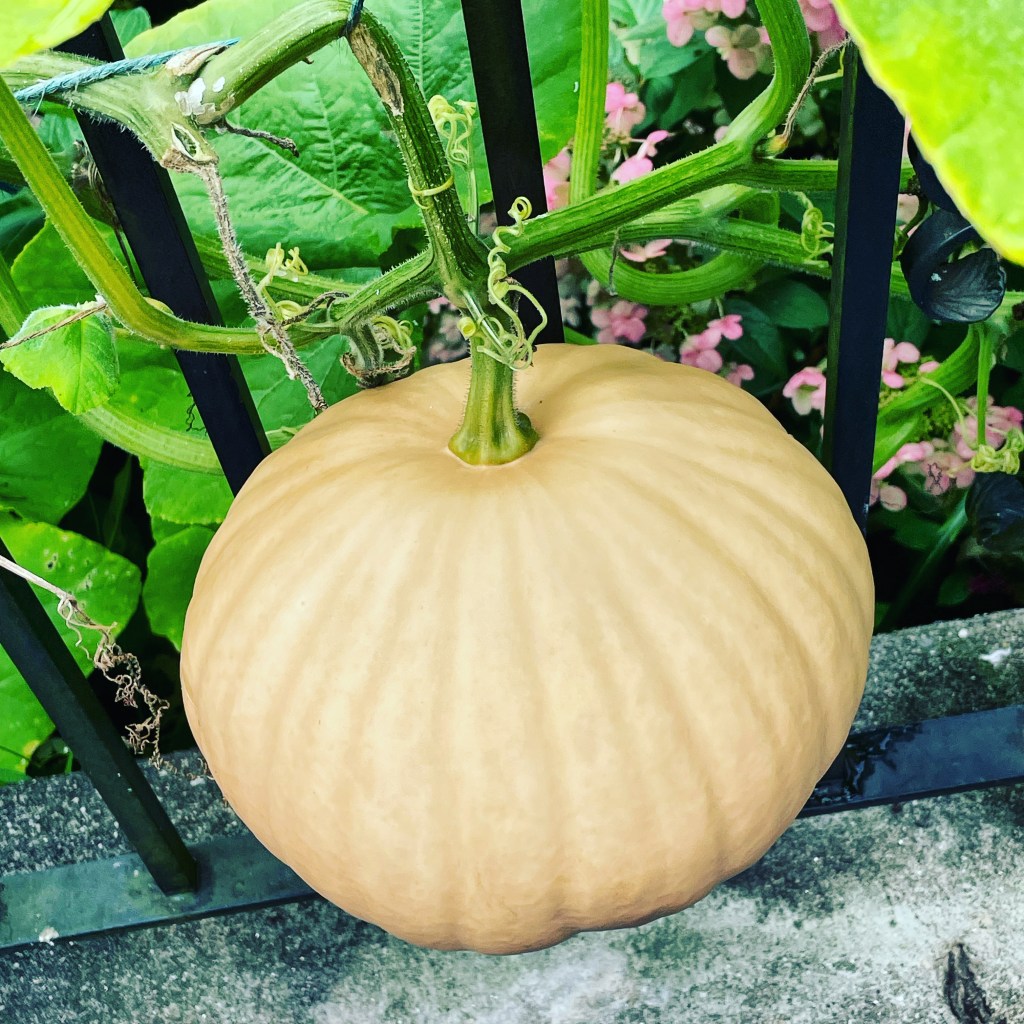
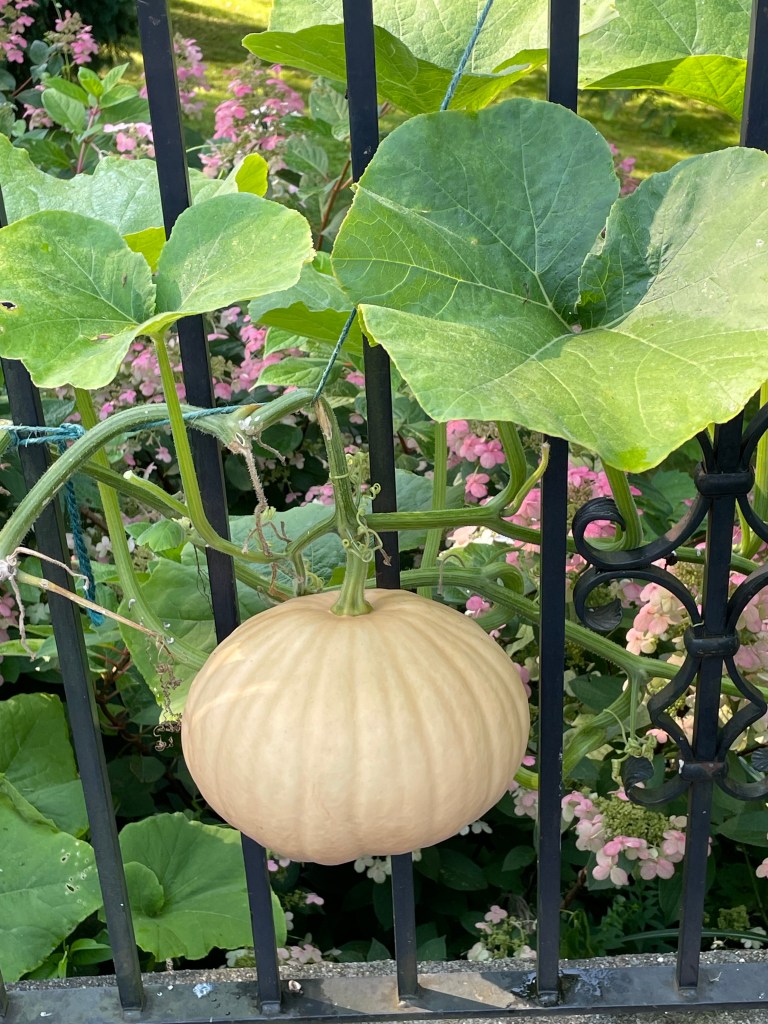
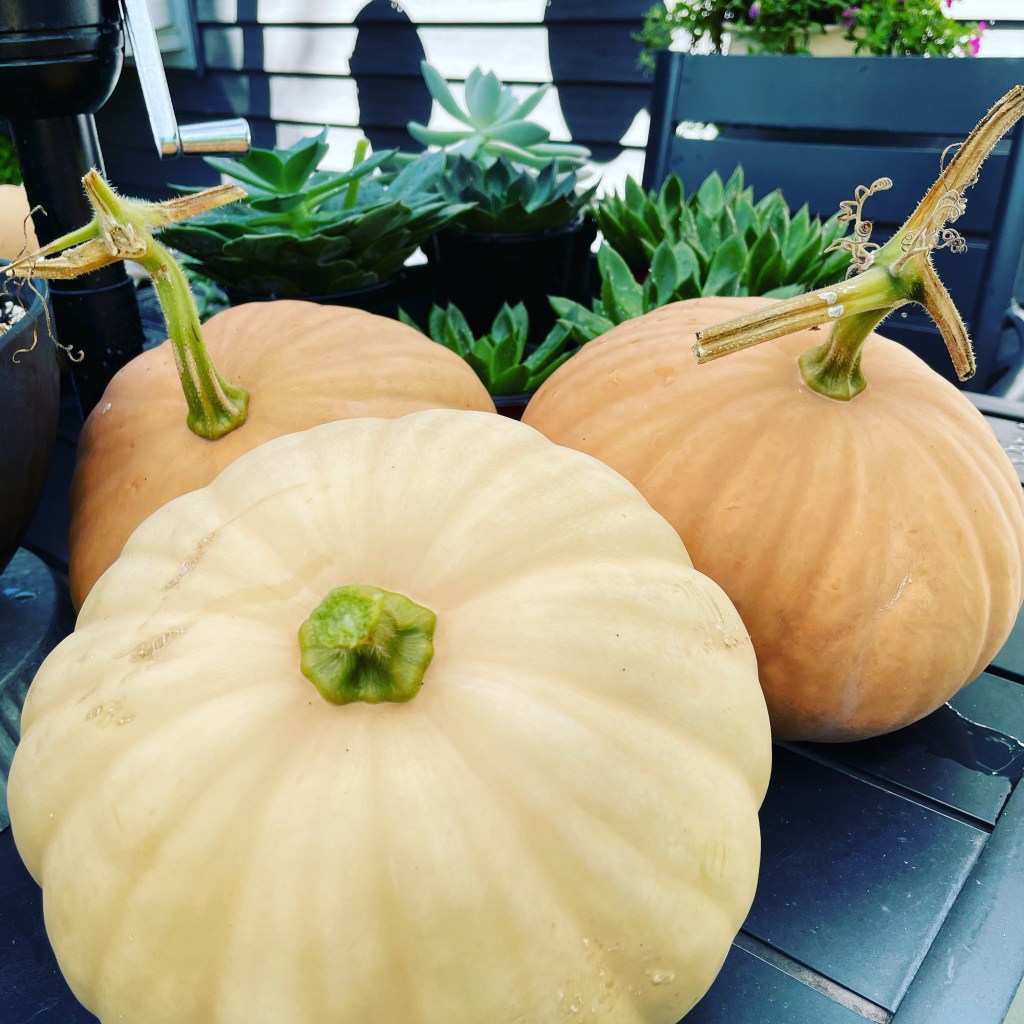
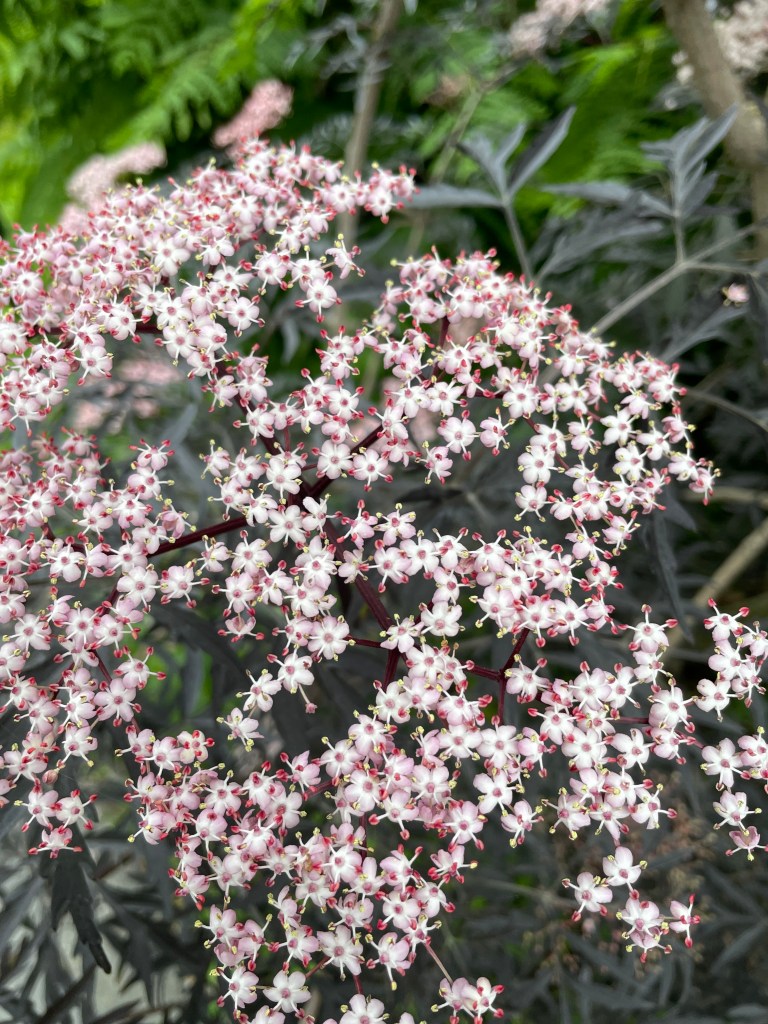
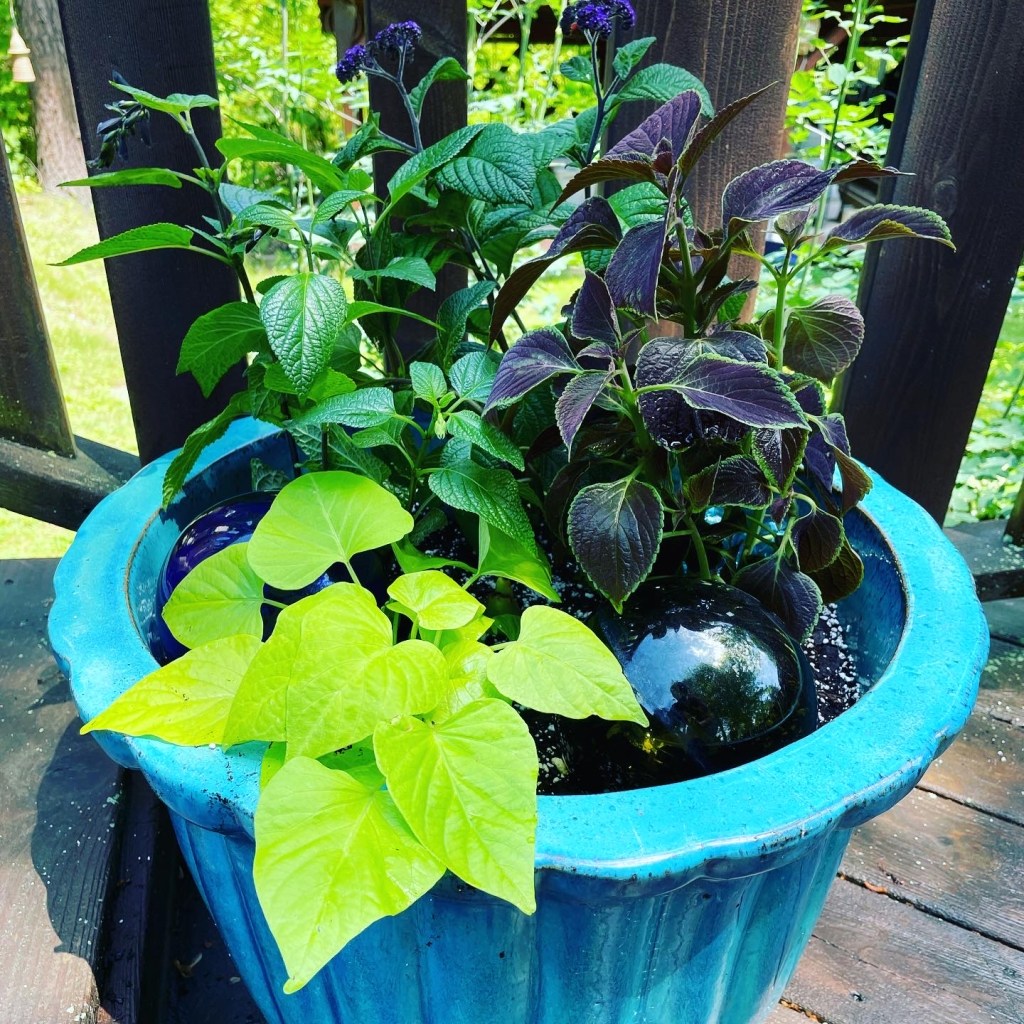
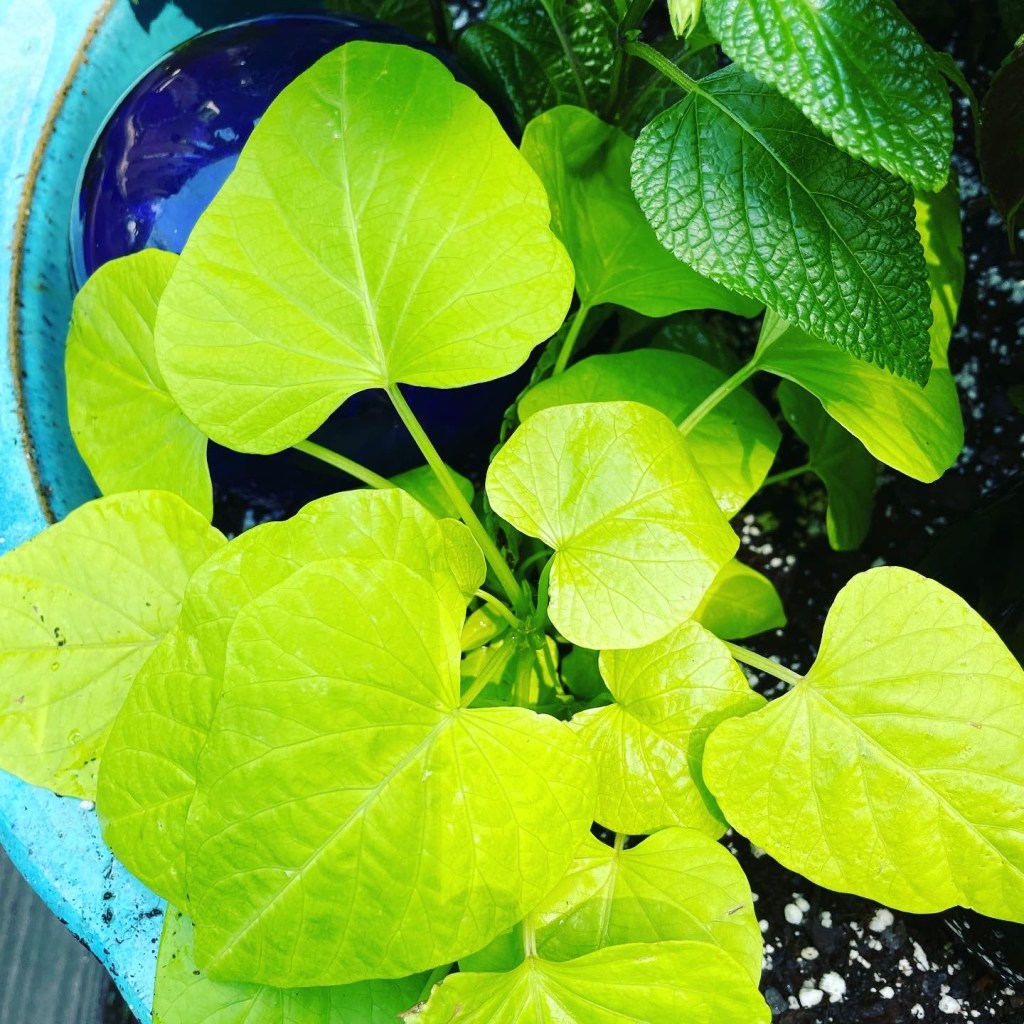
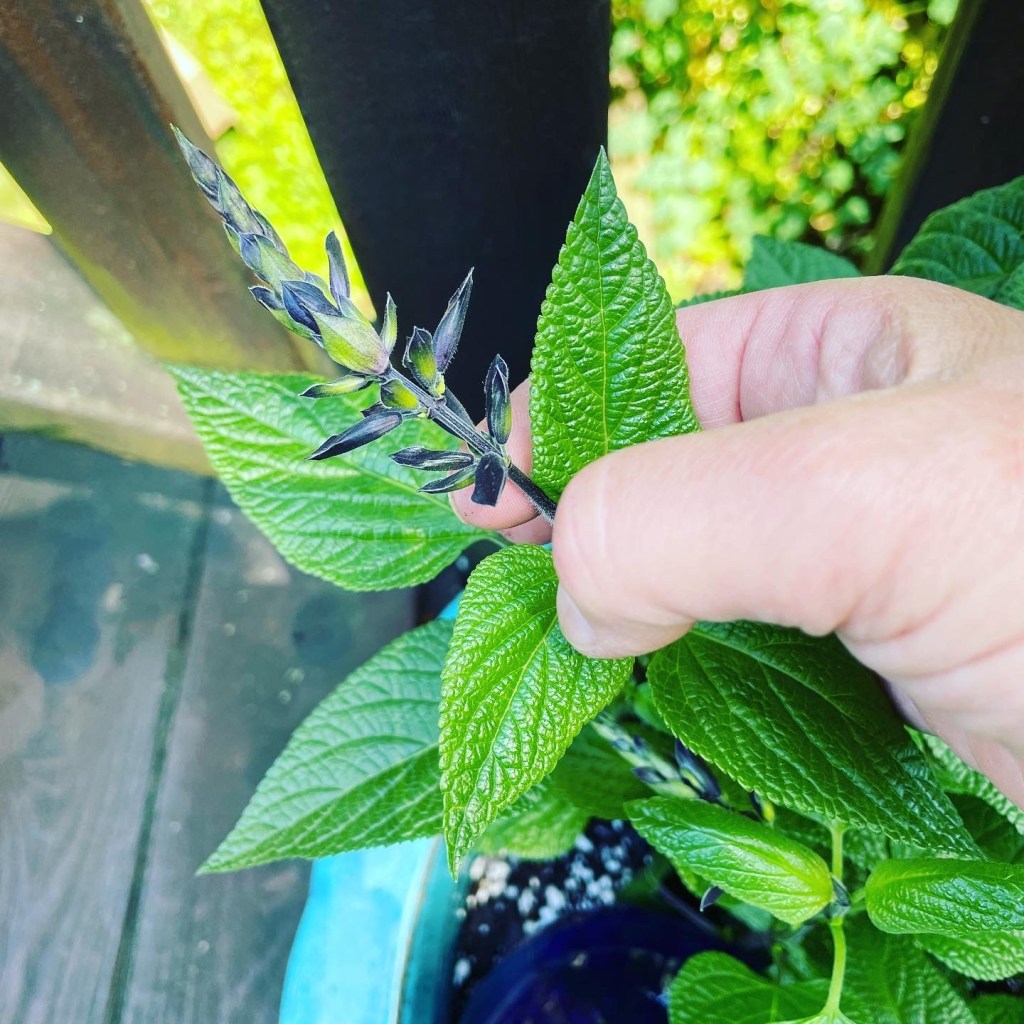
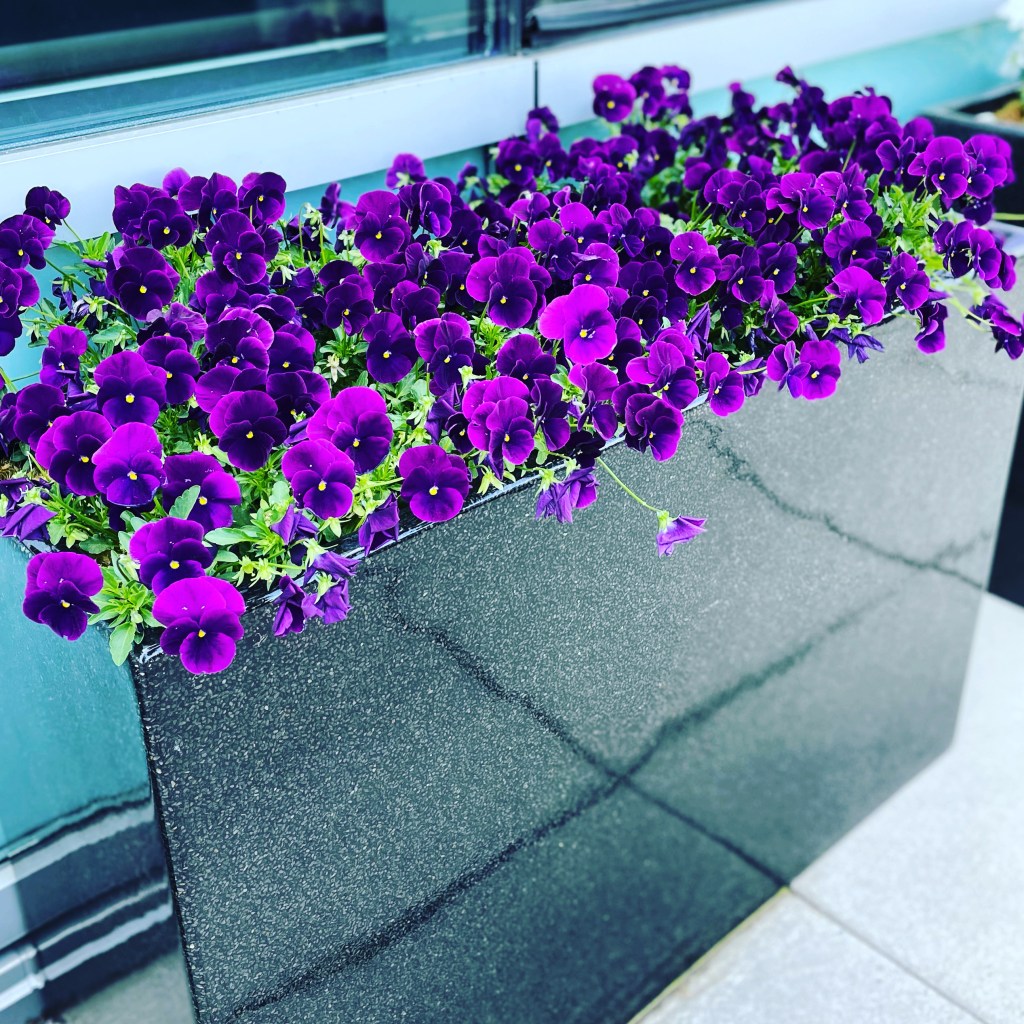
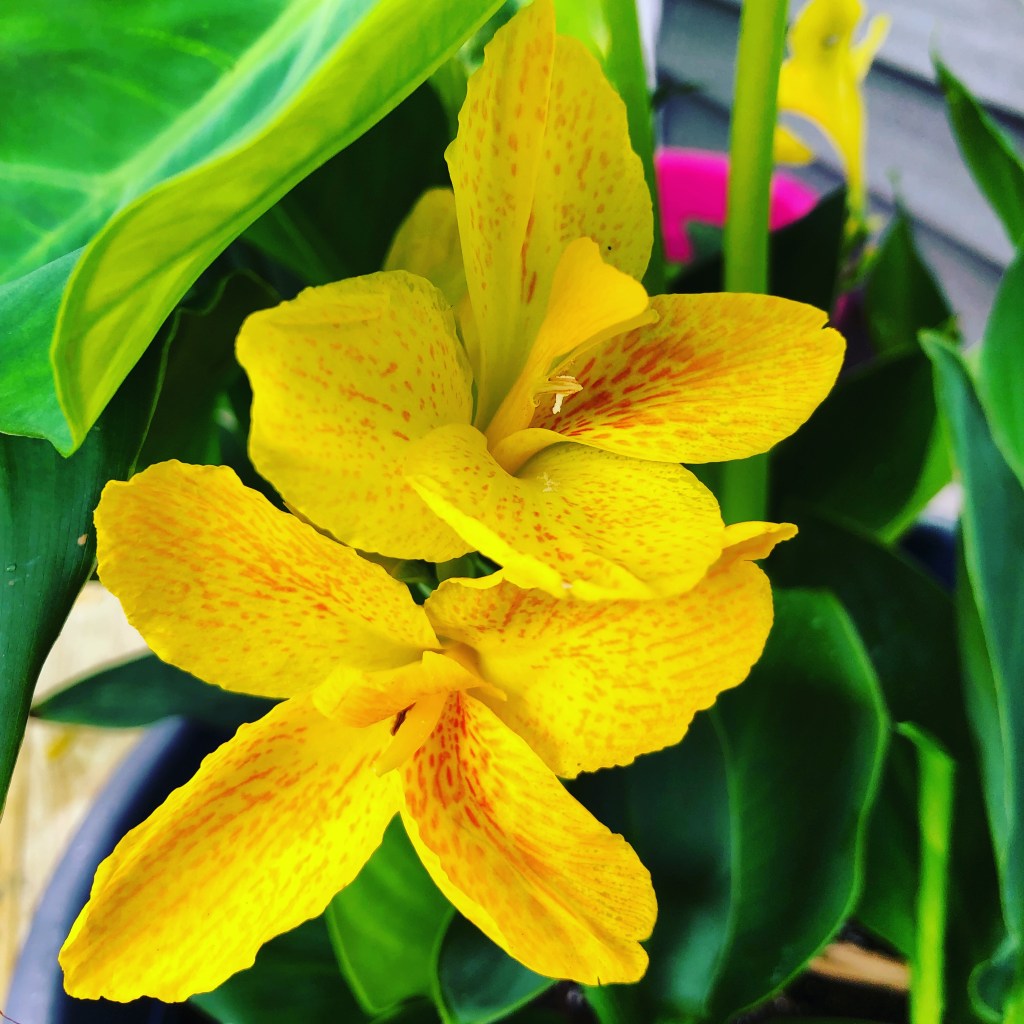
I’m not sure exactly where to start but these two images above are sneak peeks of two of the many planters. The first is client number 1 and after much thought and questions, I ended up putting together a mini garden and I loved how the deep plums accentuated it. And for the other photos, it was a mix of succulents. Some grew two to three sizes larger in one summer. It was amazing. I will write about these and many other planting arrangements as I do my series of posts upcoming!
More later!
Cathy Testa
Container Crazy CT
Date of post: 9/12/2023
Location of Photos: Hartford, CT
My Location: Broad Brook, CT