Growing Tomatoes Sucks

3 Comments

Ha! Ha! April Fools!

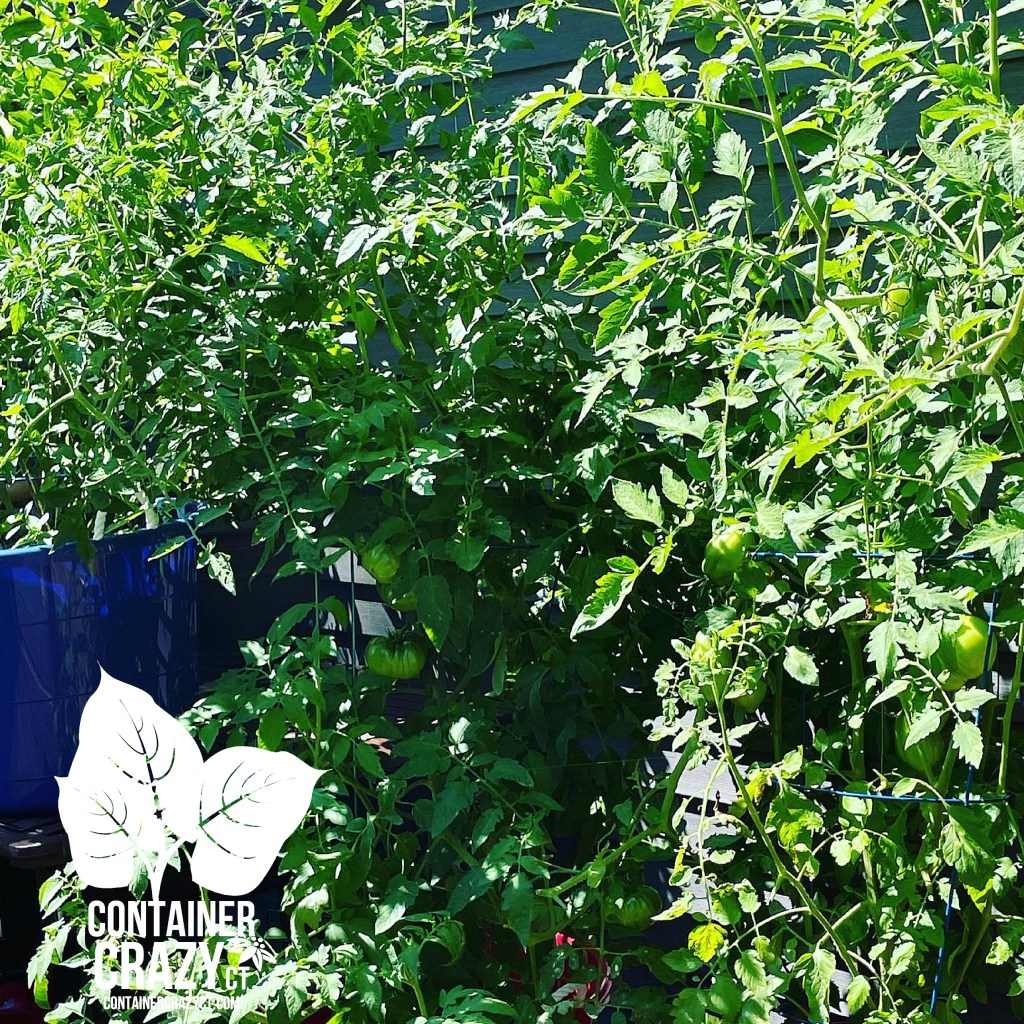
Growing tomatoes definitely does NOT suck. It is one of the most rewarding aspects of summer container gardening!

I’m in the early stages of seed sowing this year, and here are some photos to share with basic tips, with all kidding aside! 🙂

Pre-Moisten

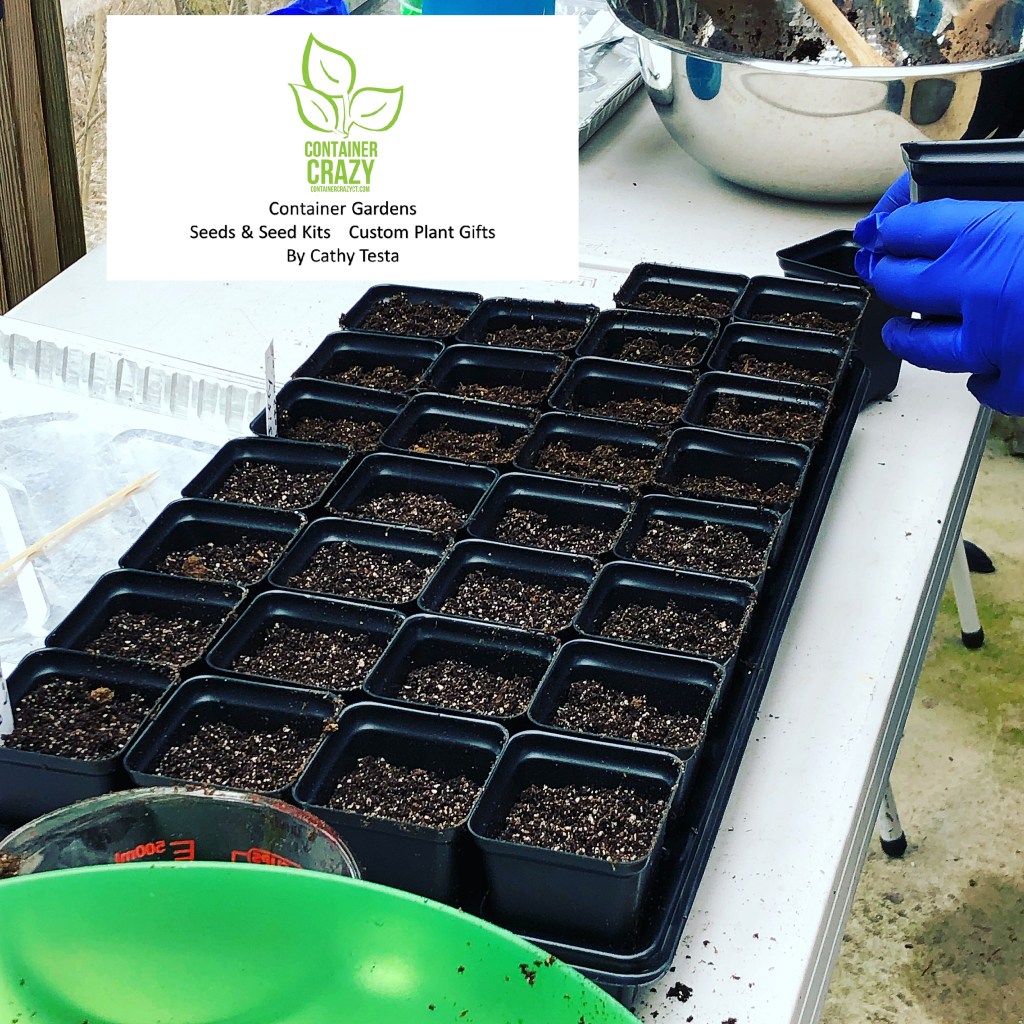
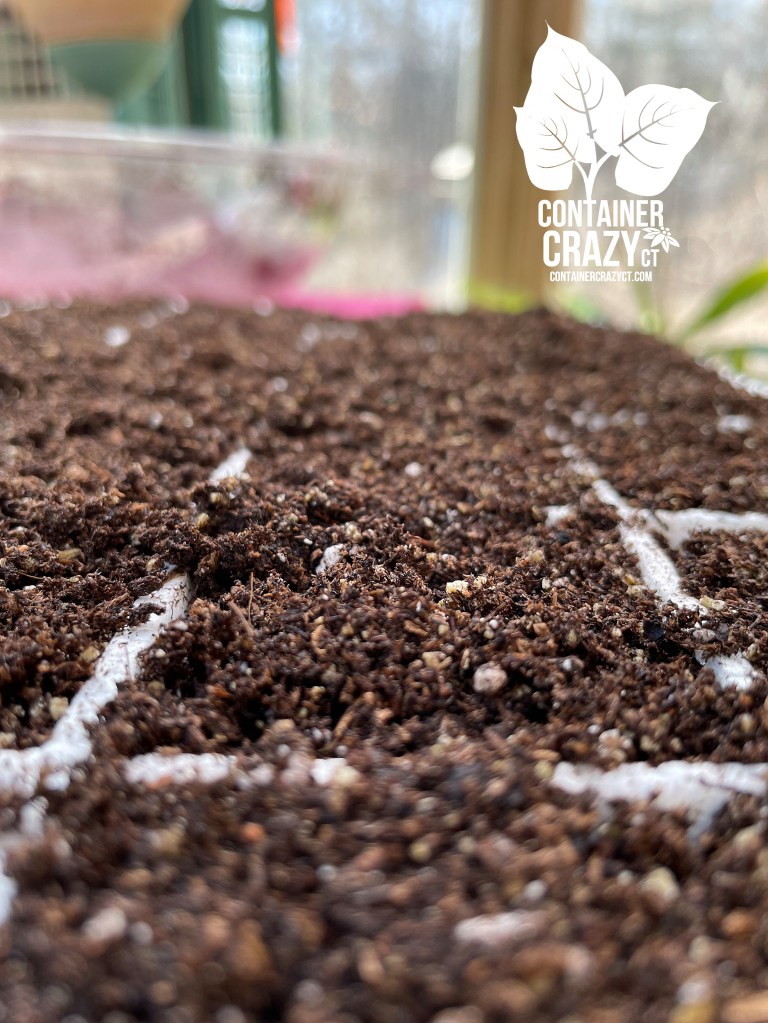
Tip No. 1 – Pre-moisten the seedling mix

I use a clear bowl and pour a small bag of “seedling” mix into it and then add water from my watering can. Using a clean and sterilized small scoop or utensil, gently stir the mix. It is best if you are able to do this a night before to allow the mix to absorb moisture, but a few hours before is fine as well, but this step is crucial. Allow that mix to take up a bit of moisture so it won’t float out of your seed tray and also the mix sometimes needs to rehydrate before use.

Close Up of the Seedling Mix in a Tray
Make a little hole

Tip No. 2 – Use a clean tool to make a tiny hole

Sometimes I have used a bamboo skewer, or you may just use your hands, I guess, but I prefer to make a tiny hole with a tool and then drop the seed into the hole with tweezers. You have the option of one seed per cell or a few seeds (and separate them later), but I tend to do one per cell in most cases. Again, make sure the tool you use is clean and I avoid reusing them unless they are easily cleaned. What I mean is after one tray, I may toss out that little plastic straw I used or put it in a recycle bin for use other than seed sowing. Be careful not to transmit things from tools. I’m referring to sowing tomato seeds in this post (and some of the hot pepper seeds).

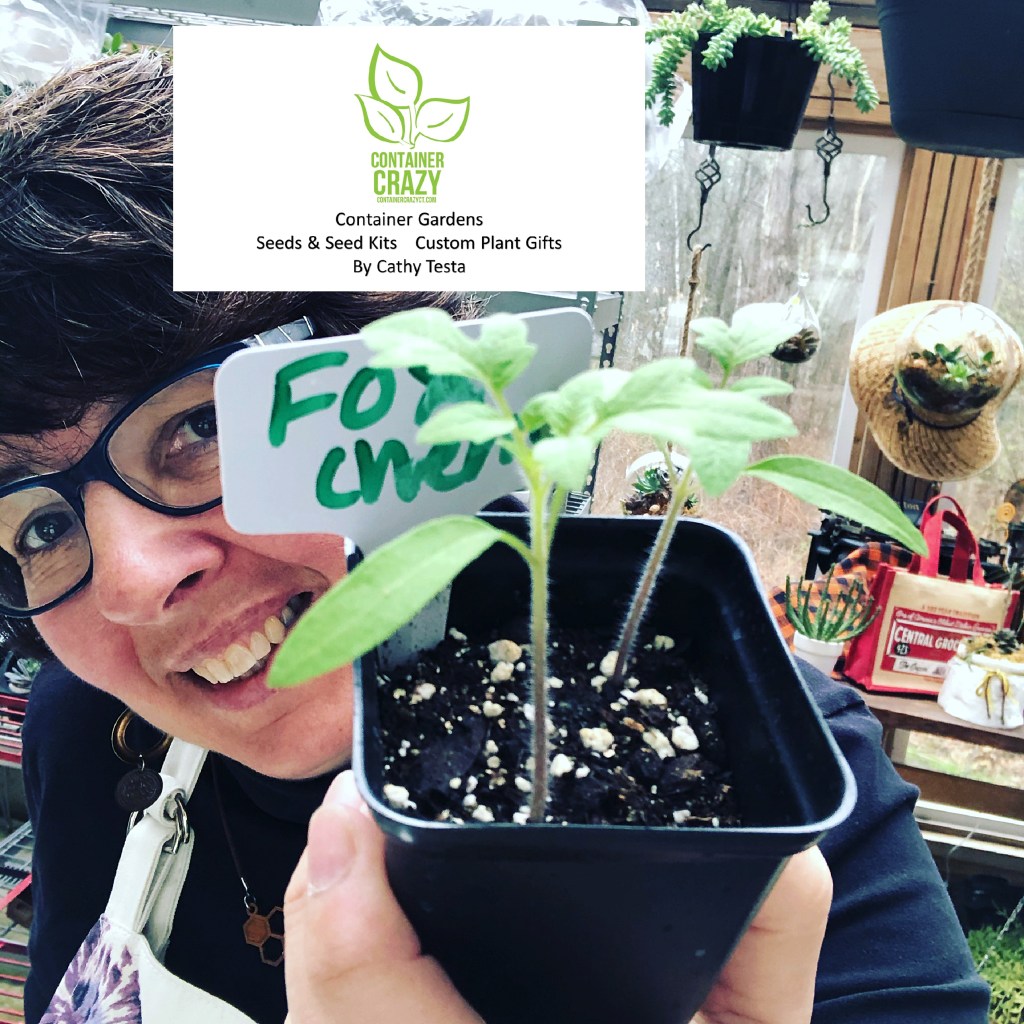
Tip No. 3 – Seeds In Hand

Pour some seed into your hand or a paper cup as you work to drop them into the seedling mix – guess this is not really a tip but I have a good pic of me with some tomato seeds in my hand. Make sure if your hands happen to be wet to not to put an unsown seed back into your seedling packet because you will transfer some moisture from your hand to the seed to the packet. If you don’t use all of the seeds in your seed packet, store the packet in a cool, dark, dry place away from hot sun, temp flux’s, or moisture or damp conditions. And know how long seeds last for whatever you are sowing. Some seeds last 25 years, others last 2 years.

Seeds in Hands
On Seedling Heat Mats and Under Grow Lights

Tip No. 4 – Use a Grow Light

This is the first year I am using a high output energy efficient high bay fixture grow lamp. My trays are in my greenhouse BUT we get lots of cloudy days when I start to sow seeds in my area of Connecticut (usually starting in March thru May). On the cloudy days, I’ve been turning on the light. It hangs over the trays with a pendant chain which I am able to lower and rise the position of the lamp fixture by taking the chain and an S-hook to adjust it. I do not have it on a timer, I turn it on in the mornings on cloudy days, and turn it off by dinner time. It is only needed when the seeds germinate and are showing above the soil. This is a fluorescent lamp style. Tip is to watch it carefully as the seedlings grow so you do not burn the foliage as they grow higher.

Covers – Natural Sun was Hitting them in this photo one morning

Tip No. 5: Use clear covers to help maintain moisture of the seedling mix until they germinate is very much recommended, however, I tend to not do that – because I work from home, I check the trays every day at least twice a day. I look to see if some cells have dry soil (lighter in color, touch top to feel moisture if need be), while others are still are moist. I literally will carefully water only the ones that are dry, so because I am home and a plant addict, I check them often. If I was not home all day, I would be concerned about them getting too dry and go with the clear dome covers instead to help retain moisture during the phase of waiting for the seeds to germinate.

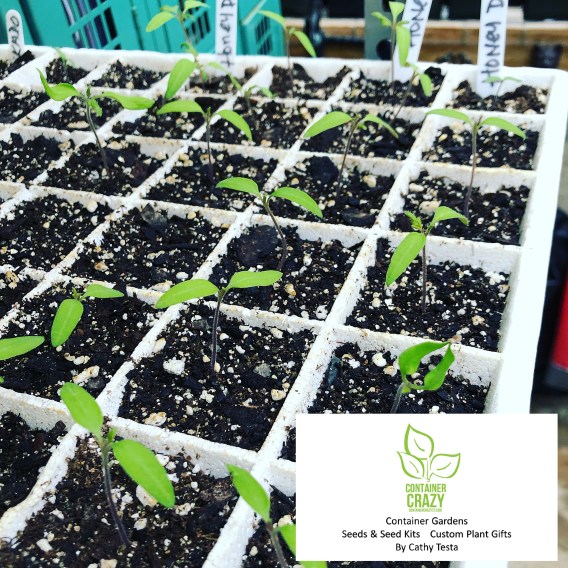
Tip. No. 6 – All same type of seeds in a tray

I made one minor error, I put tomato seeds in the same big tray in several rows and in the same tray, some hot pepper seeds in adjacent rows. Pepper seeds take a lot longer to germinate (3 weeks) because they really like very warm soil and air temperatures, while the tomato seeds germinated in five days! So now I am like, ah, I have to put the tomato side under the light. Next time, I will avoid that scenario. They only need the light when they rise above the soil. Hopefully this is making sense, LOL.

Other General Tips for Sowing Stages:

Don’t sow too early. Don’t sow too late. Know the timing. I’ve discussed in prior posts.
Visit trays twice a day to monitor watering, as noted above unless using dome covers.
Take photos, its fun and it allows you to see adjustment ideas for the next season.
Label seed packets with a Sharpie marker if seeds are still in the packet (I put a dot on the back if I used only some of the seed and a check mark on the back if all seeds were used.)
Record the date sown on the plant label and on a wall calendar or notebook. When the planting season arrives, you will get too busy. Taking notes is important.
Remember that in mid-May (for CT zones), you have to harden off the seedlings outdoors for a while before you actually plant them in patio pots, grow bags, raised gardens, etc.
Watch the weather forecasts.
Target your weeks before based on the expected last spring frost in May (usually mid-May).
Target your planting time when safe to plant outside (usually around Memorial Day, usually).

Types of Lights

I did minimal research on lights to be honest. There are several types of artificial lights for the greenhouse world. You do not need lights when the sun is shining in a greehouse for seedlings of this type, and the heat rises in a greenhouse quickly on sunny days, so you may need the alternate – a fan, or small gentle fan for your trays. Using a light should help the strength of my seedlings this year. As I’ve noted above, for many years, I did not use grow lights at all and I was successful. There are incandescent lights, high intensity discharge lights, fluorescent lights (the type I got), and light emitting diode (LED). All of these I will research when I have time I guess! LOL. Some are more expensive than others and some are hotter than others. Note: Some fluorescent fixtures are not good enough for other types of plants, but they work for seedlings with the right T strength. It is too complicated for me to go into and I’m still just learning about them so not much more I can offer on that for now, but if you do get lights, be sure you consider the placement, how you will adjust the height of them or the trays below. I read someone said they use books to raise the trays, rather than lower the light fixture but I also have a heat mat below. And I don’t want to bring books that may get wet into my greenhouse and keep dampness below the trays. Yes, I’m an*al that way – I over think it. Do research on the lights first if you have never used them, there are lots of neat setups now for indoor home growers. I just read of one that is a small shelving system perfect for apartments with lights already installed, etc. Many options out there.

My Tomato Jungle Last Year (2021)

And tomatoes do not s*ck – I was just kidding – it was a joke. Don’t slap me. Sorry, couldn’t help it.

Have a GREAT weekend!

Cathy Testa
860-977-9473
Container Garden Enthusiast
Zone 6b
Connecticut
Dated: 4/1/2022 April Fool’s Day

Tomato Seedling Stages

1 Comment

One of the rewards of taking so many photos of my plants is being able to look back on them when I am getting ready to write another blog post. I was thinking about showing some photos of what my tomato seedlings looked like in various stages and in different seedling trays or pots.

Bumble Bee Cherry Mix Tomato on the left

These two tomato plants certainly look healthy. They are in 5″ square plastic black pots. I actually got the pots many years ago and they held perennials at the time, but I kept them because I liked the size and shape. I clean them with mild soapy water every year and store them to reuse. It is important to wash any re-used pots as they may create disease problems the following year. Often recommended is sterilizing them by soaking the pots and/or trays in a 10 percent solution of household bleach and water. Soak them for a few hours, rinse well, and let air dry. I do this the prior year because washing pots is easier when warm outdoors than in winter when we start seeds in March. The 5″ square pots are the perfect size for growing my baby seedlings “after I prick the plants out of their prior seedling trays” when I transplant them from the seedling flat trays into these square pots. Eventually, when they reach a decent size as shown above in the 5″ square pots, I will move them up into one-gallon pots after they’ve been growing in these 5″ square pots for a while if necessary.

Bumble Bee Cherry

By the way, the Bumble Bee Mix Cherry tomato is a favorite. It has multi-colored fruit (striped) and are sweet flavored. I start them early indoors in seedling trays and keep them growing till they are ready to harden off. I have seed packets available of this type again this year. The two plants shown above are the bumble bee type.

Outdoors late May hardening off the plants

In this photo, I’m holding one of those 5″ square pots and was placing them outdoors for a few hours daily around mid-May (after any chances of frost) on non-windy days, under some shade to protect the new tender leaves. When moving a bunch of tomato seedlings or tomato starts (some people call them that) from the greenhouse to the outdoors daily is when I get plenty of exercise going back and forth. It should be into an area protected outdoors, for a few hours every day, until they may be permanently planted in container gardens, patio pots, fabric grow bags, or gardens of the ground later in May.

3-3.5″ Cell Trays

The above photo show them before they get moved into the 5″ square pots. I like using the type of trays shown above as my seedling trays. Each cell is about 3-3.5″ diameter and deep. I tend to do one seed per cell in these because I like giving each plant it’s own undisturbed growing space but you may sow more seeds per each cell (to save on soil), and then prick them out carefully to another pot when they get larger to un-crowd them. Many sources will say to prick out seedlings (whether it is one or more seeds grown per cell) at the sign of the first set of true leaves. I don’t always move them out (prick them out) that soon. I sometimes wait until the plant seems sturdier and has maybe 2-3 sets of the true leaves. The true leaves are the ones shaped like a tomato leaf, where if you look closely you can see the seed leaf below those (shaped more oval) in the above photo. The seed leaf, called a Cotyledon, is the food storage structure of a seed and it is the first leaf to appear above the soil when the seed germinates. It will feed the plant initially, then the true leaves form. Once your seeds have germinated and are starting to grow, you must give them plenty of light and you may also remove them from a plant heating mat if you used one below the trays.

Fox Cherry tomato

By the way, it is Fox Cherry Tomato growing in the photo above. Another favorite variety I have grown the past couple years. It produces cherry tomatoes that are rather large, all orange and red color, and great on skewers on the grill. I didn’t get new seed of this type this year but still have some packets from last season, so I’ll probably grow a couple rows of these to offer.

Cathy Testa holding a 3.5″ seedling pot

You can see here I was holding a cell that had two plants in it from seed. You may prick out one by very carefully removing it from the soil with the soil around the roots intact as much as possible. I sometimes use a tiny bamboo skewer as a tool. I will insert the bamboo stick (like a skewer or tooth pick size) under the root area (placing it in the soil and under, going to the bottom of the soil to release it), and push it up, rather than “tugging” on it from the stem, which could damage the delicate tiny seedling. You have to handle them gently at this stage when you prick them out of any growing trays to move them into a bigger pot, otherwise, you will damage them. When I move the baby seedlings into larger pots (1-gallon at times if they get really large), I will use a coarser potting mix and add some slow-release fertilizer prills, but usually only for those tomato plants which are large enough for a one-gallon pot and that is usually when we are closer to hardening off the plant outdoors after frost.

Good photo of the trays

These 3.5″ cell trays shown above are a type I got a couple years ago and I really like them because the bottom holding tray is thick and sturdy. Each tray holds 32 plants (cells). This photo was actually from a seed starting session I held a couple seasons ago. Each person sowed a full tray and we used various types of seedling mixes. I wrote about our experiences with that in a prior blog post. When we fill them with seedling mix, it is to about 1/4″ from the top and sometimes I will gently tap the little pot on the table just to level the soil but you should not press down the potting mix as this would reduce the fluffy-ness and air to it and also would compact it. We use a small bamboo skewer to make a tiny pin-hole where the seed is placed. Some people will fill these cells to capacity with many seeds, but as indicated above, I usually do the one seed per cell.

Upstate Oxheart Tomato seeds

In my session that year, I handed out the seeds in these tiny paper like cups. You can see here the seeds of Oxheart tomatoes (which I wrote about in my prior post). The Upstate Oxheart tomatoes grow huge (giant) tomatoes! Sometimes we used tweezers to pick up one single seed to insert into the soil where we made a tiny divot hole in the seedling mix using the skewer. It is amazing that tiny seeds, made up of a seed coat (technically called a Testa), Endosperm, which is food storage tissue in the seed. Then there is a layer called the Aleurone layer, and a radicle which is an embryonic root. The root gets pushed into the soil first when the seed germinates and the top part of the plant, the Epicotyl, is the portion of the embryonic stem attached to the cotyledon(s) I mentioned above. The cotyledon (a seed leaf) is the food storage structure in the seeds and the very first leaves to appear after it germinates from the soil. All from a tiny single seed, which eventually grows into an amazing plant.

Oxheart in a Styrofoam Cup

One year, I came across these tall Styrofoam cups and thought I will use them to move them up from the 3.5″ cell trays but later, I decided I didn’t really care for these cups. First, they are not biodegradable, although cheap to find. And secondly, they toppled over easily, but they were doable. I used a nail to poke a bunch of drain holes in the bottom before pricking out a baby seedling to move into these Styrofoam white cups. Also, the shape being round doesn’t save shelf space as do the square 5″ pots shown behind them. The square pots are a great way to capitalize on space on the shelves in my greenhouse.

1 gallon Pots

Sometimes the plants grow rather tall and large before it is warm enough outdoors to plant them, and I will use either brand new one-gallon sized plastic pots typical in the nursery industry, or I’ll reuse a pot from a plant, always being sure they are thoroughly cleaned. And they must have drain holes. Here in these Monrovia pots are my nice looking tomato plants. I believe these were the Oxheart tomatoes which I mentioned in my prior pot have droopy leaves, which is normal for this variety of plant and its habit.

Empty Seedling Tray with the 3.5″ square cells, 32 cells per tray

As you can see, there are a few phases of seedlings. First is the smaller 3.5″ cells, then up to a 5″ square or maybe the Styrofoam cup idea, and then if the plant gets rather large, it is repotted again into a 1-gallon pot. This has been my typical process. So, you should bear in mind, the trays, seedling mix, and time it takes to do all and to have a space with sufficient sunlight or do all with grow lights indoors in your home. Seedlings are very much like tending to little babies requiring attention and care along the way. You can’t leave them totally unattended because you must monitor their growth and progress. You need to ensure they have appropriate moisture and air along the way. Sometimes you can place a very small fan to create a gentle breeze around the seedlings when they are larger (5″ pot size stage of pot or above, 1 gallon pot size) as this helps them to grow stronger and the air circulation reduces any chances of rot problems.

On Seedling Heat Mats

I would recommend the seedling heat mats. They gently warm up the potting media or seedling mix you used while you await for the seeds to emerge. The heat mats last a few years and are easy to store and clean up each season. I leave them on the whole time until the seeds emerge and look sturdy, then the trays get moved to other shelves in my greenhouse to continue growing. They are not kept on the seedling heat mats after they are growing well.

Speedling Trays – The stage where the Cotyledon has emerged first

Someone on a farm recommended this white seedling tray to me about 4 years ago. I do like them very much, the shape of the cells are v-shaped and it grows a strong root system, but I can no longer find the place where I had ordered them online, but I have seen them listed as hydroponic trays (they float). However, it seems the price of these are much higher now. It is a great long lasting tray, light weight, and easy to clean. The seeds grow well in these, but I’m not sure if I would pay the price for them now. In this photo above, you can clearly see the “cotyledons”, the seed leaf which is first to appear.

5″ squares with peppers and tomato

Here’s another clear photo of some plants in the 5″ squares growing along well. I put them on a white chair that day. I’m always taking photos – it is an addiction, a true problem, LOL. There is a tomato on the bottom left and some hot pepper plants.

New Yorker tomatoe seedling on left

This is a good photo above because it gives you an idea of the size of the 3.5″ cell pots (left) which I use when I sow the seeds initially, and then the 5″ square (right pot) which I use to move the seedling up into when the baby seedlings are a good size. This has a New Yorker tomato plant in it. I’m always trying out new varieties of tomatoes. It is part of the fun of tasting flavors later!

What the seedling looks like when it first appears!

Nothing beats that wonderful feeling when you see the seed has sprouted up from the soil! Here is the tiny seed leaves which emerges first. As soon as I see these, all the seedlings are carefully monitored to make sure the soil stays slightly moist. If you have a humidity cover over your seeds or over your seed trays, it should be removed at this stage. If it condensates too much, it will promote rotting of the very tiny delicate stems. Don’t over water either, if soaking wet all the time, this may lead to rot.

Other things you need to consider

You may use practically anything for containers to sow and grow your seeds. Anything with drain holes that will hold the seedling mix will due, however, be sure all is clean if reusing anything. The seed sowing trays (or flats) shown above are my favorite, specifically the black plastic tray with 3.5″ cells/pots, because they are sturdy, pathogen free, easy to place on shelves, and these plastic cell pots keep the soil evenly moist. It is important to pick the right sized flats because you don’t want to put a seed in too deep of a pot (cell) or in one too larger either. Each type of seed has a recommended cell size to be enhance germination. Anything from 2″-3″-4″ is usually a good average size to use for tomato and pepper seeds.

While waiting for the seeds to germinate, you need to always consider having the correct temperature (70-75 degrees F), and to keep the potting mixed used warm, a heat mat for plants/sowing gently does so – and I think the mats are worth the investment. Then you should watch the seedling mix to make sure it maintains moisture and humidity. You need to check on your trays daily. A clear cover over the seedling trays or flats helps with the humidity. All must be balanced and not stay or get soaking wet or totally bone dry. You can’t just forget about them. For example, if you decide to leave for a few days, they will dry out so you need to ask a friend or family member to monitor them. Once they germinate, light is a critical factor. Using fluorescent lights or growing them in a greenhouse is best. A greenhouse is not a typical thing for gardeners to have so investing in a grow light is a good idea if you want to improve your strength of the seedlings. However, I’ve seen it done by sunny windows inside the home and it can work. And one last thought, do not forget to put the labels in the trays or cells. You will totally forget. Add a date to the label on the backside of the label, which will help you determine when you sowed them should you not see them come up later. Most packets will indicate how many days till they germinate. If they don’t come up, you can at least look at when you sowed them. Some seeds are a little slow to germinate, like hot peppers. Tomatoes tend to germinate faster.

Well, folks that’s it for today!

Thank you for visiting again!!

Cathy Testa
860-977-9473
containercathy@gmail.com
Broad Brook, CT