I thought it would be fun to share some of the search terms which were received last week on Container Crazy CT’s blog. Search terms are words or phrases people use on search engines like Google to find posts on my blog. The terms are not visible to the general public but can be seen via stats and such on the blog’s background pages by the blog owner only. I would never reveal anything private and luckily all of the searches are directly related to plants and, as you can see, decorating for the holidays which is appropriate for this time of year.
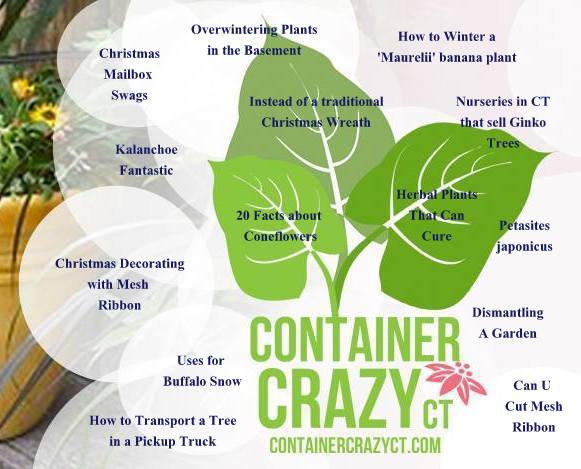
People are definitely searching for holiday decorating ideas, and many are asking about how to use mesh ribbon. Then there are the plant related searches, and last week, people were looking for information on Kalanchoe ‘Fantastic’ and Petasites japonicus, for example.
Some were looking for information on gardening techniques, such as “how to dismantle a garden” or “where to find Gingko trees in Connecticut” and information about “overwintering plants in the basement.”
Hopefully, they found what they were looking for, but if not, I thought I’d add some additional information here on some of their specific search terms:

The “mesh ribbon” search
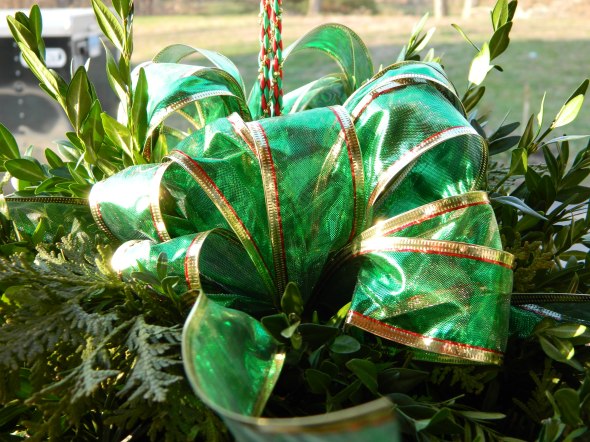
As you can see, many folks are looking for information and ideas on how to use mesh ribbon.
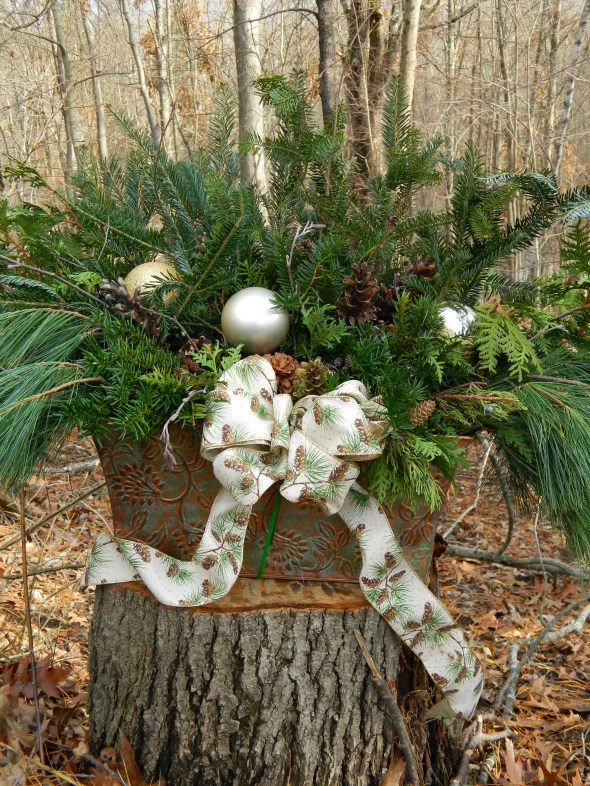
Mesh ribbon has become super popular for its ease of use in the decorating world. It can be used to make a big, puffy, large show on a variety of crafting projects. With a couple of twists and turns, mesh ribbon makes quite the festive creation as it is added to wreaths, arches, and anything you can think of. I love using it.
I think the only downfall with mesh ribbon is when exposed to sunlight over a long period of time it fades. Otherwise, it is perfect and reusable each year so it doesn’t get wasted or tossed out – it can be disassembled as easily as it can be assembled and stores well in boxes after the holiday season is over.
Mesh ribbon comes in a wide variety of colors and patterns and can be found practically anywhere. It comes in every color imaginable. I’ve used it on the Fourth of July, Halloween, St. Valentine’s Day, and St. Patrick’s Day – it is easily attached to container gardens to add some bling.

One person searched the question on “if you can cut mesh ribbon?” And yes, you certainly can but be sure to use a very sharp pair of scissors.
For assembly to wreaths, I use zip ties to gather and pinch sections of the mesh ribbon together or you may use green florist wire. You may see how I did this on the following posts:
Three Easy Ways to Use Mesh Ribbon
This post above has been viewed quite a lot this month. People new to mesh ribbons are searching on how to use it, how to attach it, and looking for creative ideas.
You should also check out how I use zip ties to attach mesh ribbon to various crafting projects. Remember to use green or a dark colored zip tie so it doesn’t show between your decor, etc.
Using Zip Ties to Attach Mesh Ribbon
This post shows how I attached the ribbon on wreaths and other holiday decorative items. I find gathering it in spaces between each puff is easily attached when using zip ties. They are so handy on crafting projects and I attempted to show what I mean in the post above.

The “overwintering plants in basement” search
I hope the person looking for this information was able to locate it on my blog because I’ve written and spoken about how to store tender tropical plants many times, but I think maybe the general nature of the search term words used implied they may be looking for what is needed in a basement to keep your plants there over the winter?
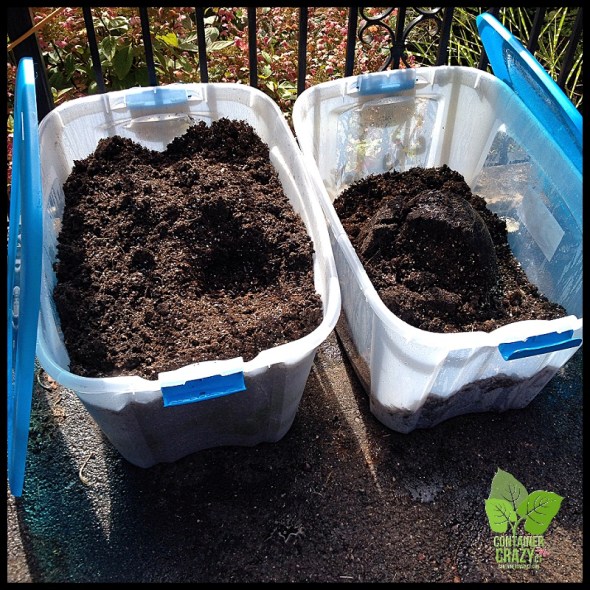
For starters, most basements are dark with very little natural light, so for plants that go dormant naturally in pots, a basement is a well suited location to move your plants in the winter. Canna and Colocasia (elephant ear plants) may be allowed to go dormant in their pots, and may be moved to the basement if your basement is frost free, stays cool, and you have some space to put them.
If you have plants which require a period of dormancy in order to bloom, along with some darkness and reduced watering, such as Clivia (which comes to mind because a nurseryman gave me one recently) or Amaryllis (Hippeastrum species) which is sold around this time of year and forced into bloom in time for the holidays, the basement is a good place to place them for their resting/dormancy period.
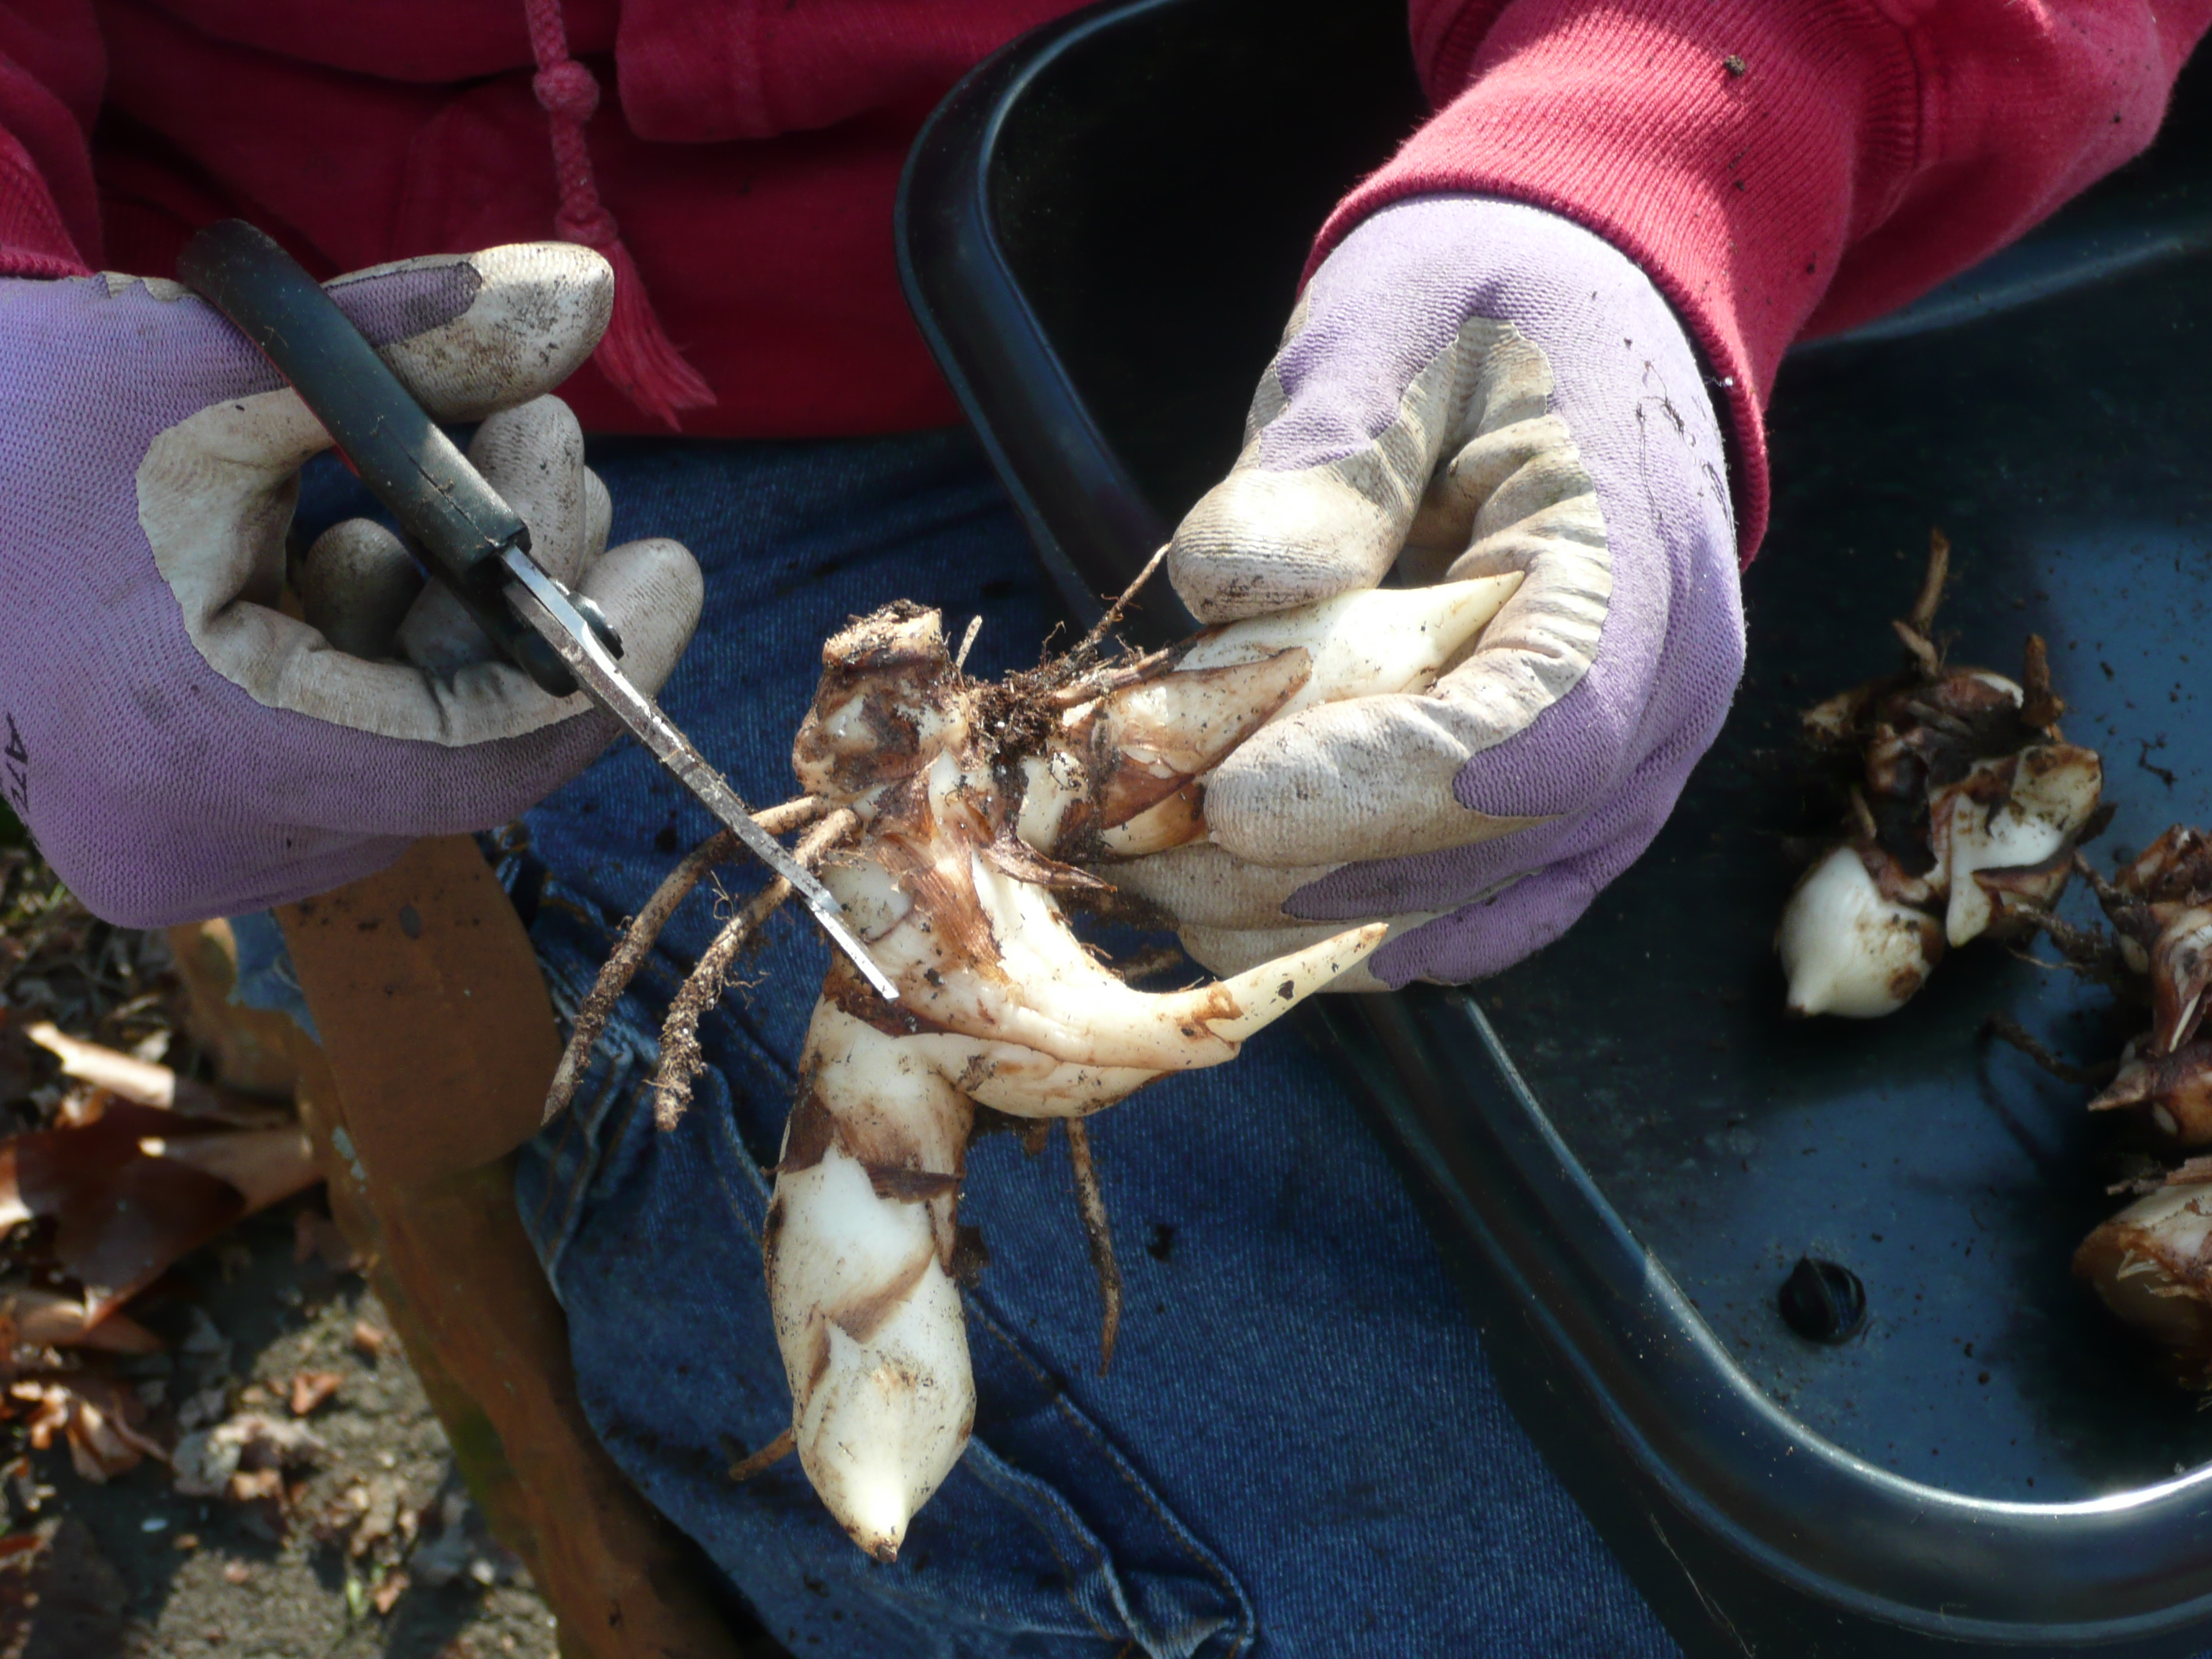
In addition, some bulbs, corms, tubers store well in dark, dry areas of the basement. It is important to note some underground storage organs like conditions a bit on the damp side, while others like it dry. Look up your type of storage organ (Dahlias, Canna, etc.) for which you are storing in the basement to determine which they like – dry and dark, or damp and dark.
By the way, Amaryllis do not technically require a resting period in order to bloom, but to control the blooming, many people will bring the plant inside after the summer season and store them in the basement. The plant should not be watered, as is with the case of Clivia, for a period of time before you bring it back out into a warm sunlight area in your home. So basements are perfect for plants like these two examples.
Basements typically remain cool but do not go below freezing which is another reason why they are so handy for plant storage. I put my boxed up Canna rhizomes by the basement door corner area on shelves and they seem to like this spot best (the sweet spot). Also, if you heat your home with a woodstove which is located in the basement, this can make the basement too warm for storing conditions, so bare this in mind. Or keep the boxed up underground storage organs far away from where your woodstove is located.
In the fall, I showed my workshop attendees exactly where I stored my boxed up storage organs so they got a feel of what I mean – each home is different, so you need to determine what you have and work with that (such as a cool basement, a cool closet or room in the home that is not heated fully in winter, a sunroom that is not heated, maybe your garage, garden shed, etc.). They need to be a place where it does not go below frost but is not too warm for growth.

The “how to winter a maurelli abyssinian banana” search
Oh gosh, I hope the person searching this topic found what they were looking for on my blog because I’ve documented the steps I’ve used which have been successful for many years on storing the Ensete ventricosum ‘Maurelii’ plant (red banana). Here are the links where you may find this information:
Storing My Big Red Banana Plant
This post above has the step by step process with photos. Storing takes place in late October or early November.
Overwintering Red Banana Plants
Red Banana Plant Revived Again
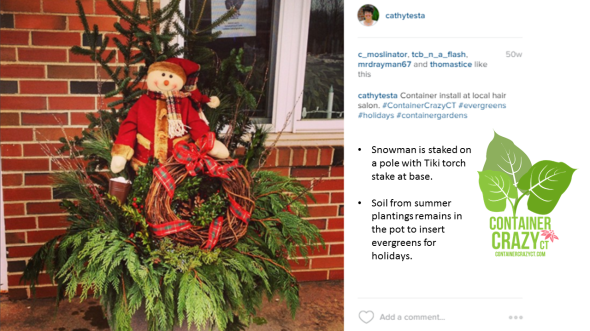
What should I do with my Container Gardens and Patio Pots?
In the fall season, workshops on the ‘how to’s’ are offered in my area of East Windsor, Connecticut. Each steps is demonstrated and step-by-steps workshop handouts are provided, especially useful for the attendees of my May Container Garden Workshops as a follow-up when the season comes to a close.
Plant Searches
It was interesting that Kalanchoe ‘Fantastic’ showed up twice in the same week. I’ll have to look around to see if the nurseries are offering it right now – This could be why there has been an interest in learning more about this plant known as a paddle plant. This variety has a fantastic coloring pattern to it of light green, creamy off white, and pink. Maybe folks are seeking it out because it is so pretty inside the home, and this plant makes a nice houseplant because of its look, easy care, and light watering routines, especially this time of year in winter.
Other plant searches were on Petasites japonicus, which is one I’ve written about due to its huge round leaves which are very showy in container gardens, and by the way, it can be overwintered in a shed. I’ve done it many times by moving the pot with a Petasites in it into the unheated shed before winter with success. This is a perfect plant for container gardens because they are a nuisance in the ground – aggressive spreaders. So in containers they are contained and controlled, plus their tough nature makes them easy to overwinter – they make it in an unheated shed every year. See Troublemakers Turned Stars post for more about aggressive plants which are stars in containers and patio pots.
The other plant searched for was a Salix (willow) which I don’t believe I’ve written extensively about on this blog – looks like it is time to do.
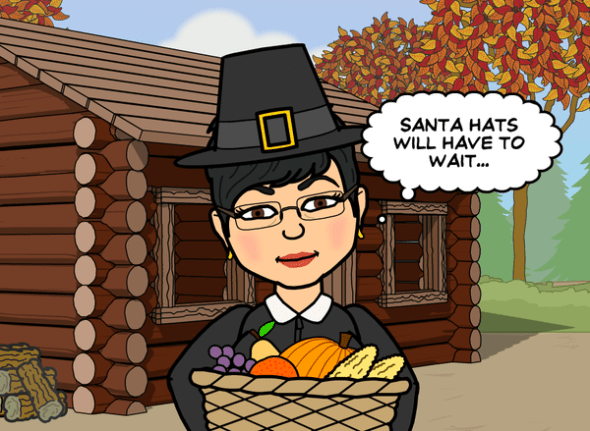
Of course, as I mentioned above, I would not share any searches which seemed private in nature. There was one odd one, and let’s just say, I’m glad it was not about me! It had the words: Crazy + Cathy. I’m crazy alright but only crazy about plants, container gardens, art, and of course – holiday décor this time of year. It is time to deck the halls…
Enjoy your week everyone,
Cathy Testa
www.ContainerCrazyCT.com
860-977-9473
containercathy@gmail.com
The Complete Search List from Last Week as typed by the searcher:
- How to transport a tree in a pickup
- Salix purpurea ssp. Lambertiana
- Cans recycle garden
- How to use mesh ribbon
- Meshribbonrubanemaille
- Dismantling a garden
- Christmas decorating with mesh ribbon
- Kalanchoe thyrsiflora fantastic
- Can you cut mesh ribbon
- Uses for buffalo snow
- Christmas mailbox swags
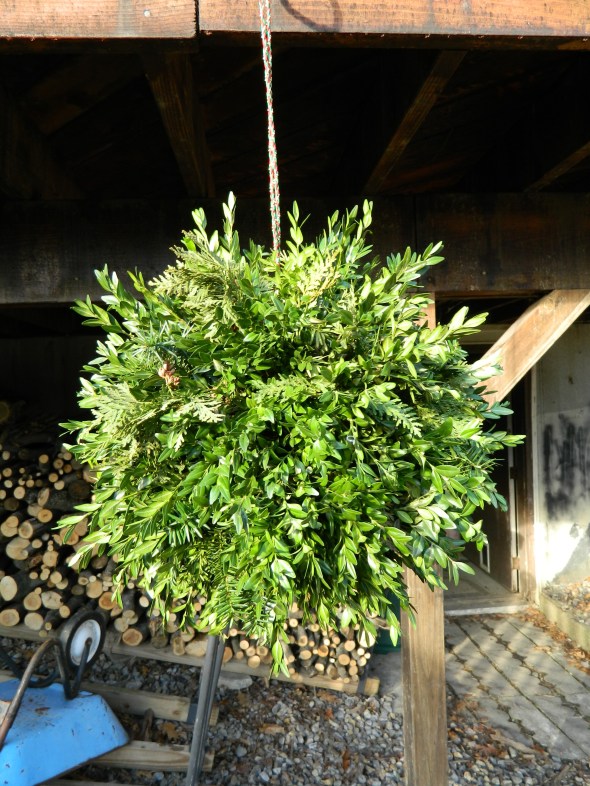
- How to assemble a fresh herb wreath
- How to decorate with mesh
- How to decorate a Christmas wreath
- Instead of a traditional Christmas wreath
- Overwintering plants in basement
- How to make barbed wire wreaths
- Fantastic kalanchoe
- How to winter a maurelli abysinnian banana
- Decorating with mesh
- Nurseries in CT that sell ginko trees
- Petasites japonicas
- 20 facts about the coneflowers
- What is the herbal plant that can cure
- Decorating with wide ribbon
- Petasites japonicas
41.925986
-72.555545