I have tons of gardening and plant reference books in my home office on tropical plants, succulents, landscape designs, perennials, woody trees and shrubs, vegetables, herbs, fruits, container gardening, and more plant related topics, but I do not have many reference books specifically about annual flowering plants (such as sunflowers, zinnias, or marigolds). I guess that is because my passion with plants started with mostly large showy tropical plants, and annual flowers have always been somewhat of a staple plant to me in Connecticut, thus they are not typically the unusual types of plants I enjoy. I use annuals rarely and only when I want that pop of color in a container combination in the summer. I find annual flowers typically look tired towards the end of summer because they are fast growers and push out lots of flowers, exhausting lots of plant energy, whereas tropical plants and their flowers last well into the autumn season here in Connecticut.
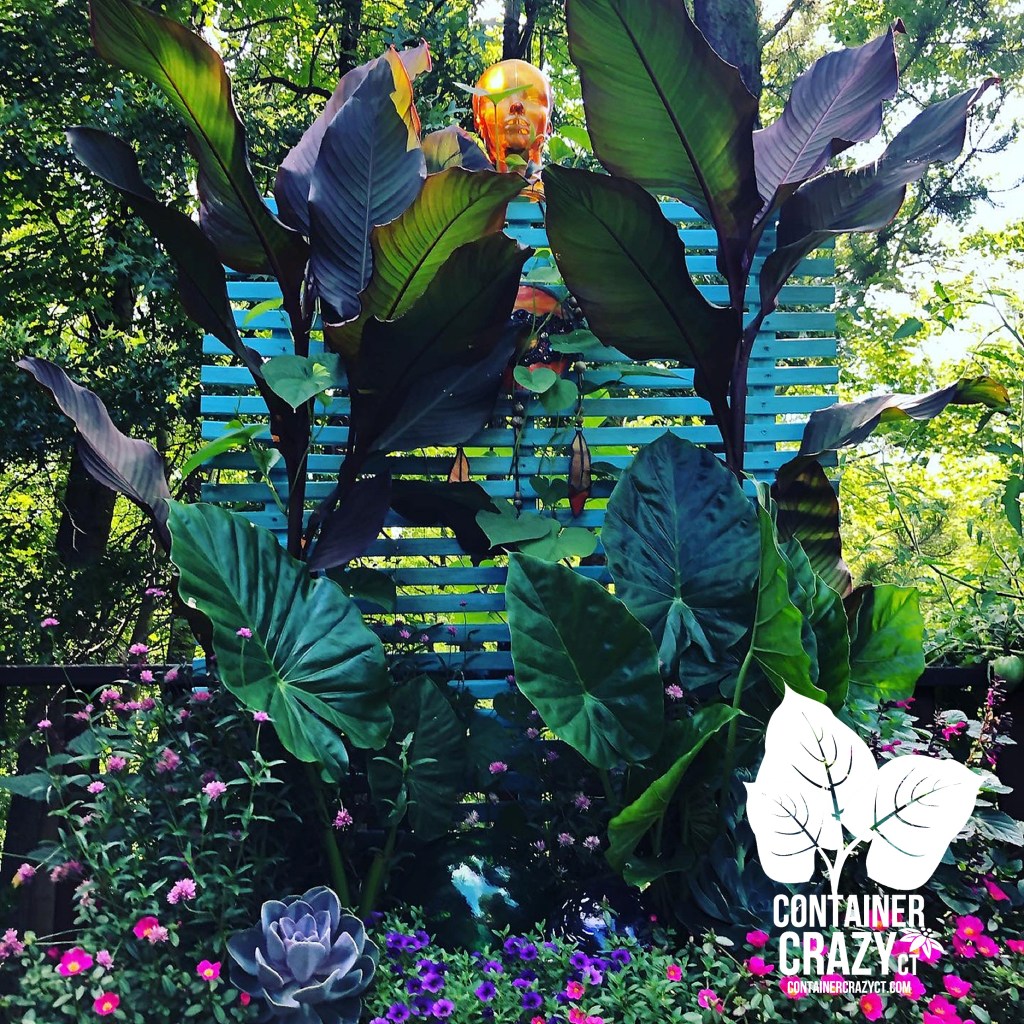
However, I discovered upon researching amaranth annual flowers (herbaceous ornamentals or a short-lived perennial in some climates), a particular species caught my eye last year in a seed catalogue. What I read in one of my books is that they are plants from the “tropics” of the Far East (per the one book I have on annuals, which is an old book!). The book indicates they are “brilliant, heavy-looking plants, reaching 3 to 5 feet tall” and grow in rich or poor soils. Another website indicates they are native to India, Africa, and Peru. In some ways, they are similar to the tropical flowering plants I already enjoy; plants from warmer regions. This is why I picked them as a candidate to sow from seed last year, plus the species I selected is a variety that grows much taller than normal, very tall, reaching 48″ tall. This would be perfect as a specimen plant with my other large showy tropical plants such as canna lilies, elephant ears, castor bean plants, or banana plants in my container gardens and patio pots.
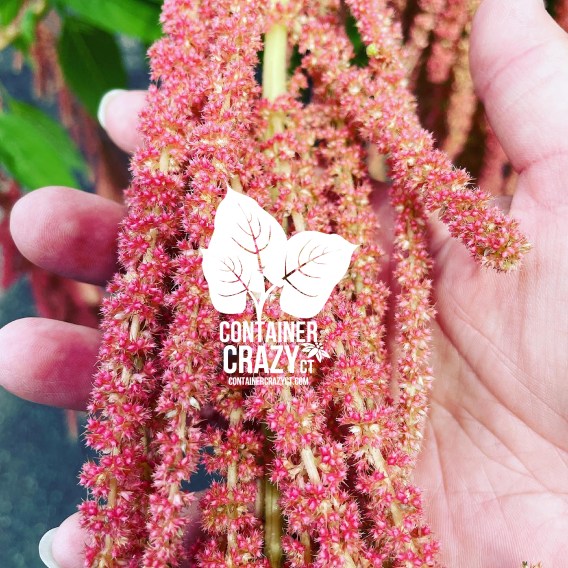
Coral Fountain Amaranth (Amaranthus caudatus)
Love-Lies-Bleeding, Amaranth, or Tassel Flower
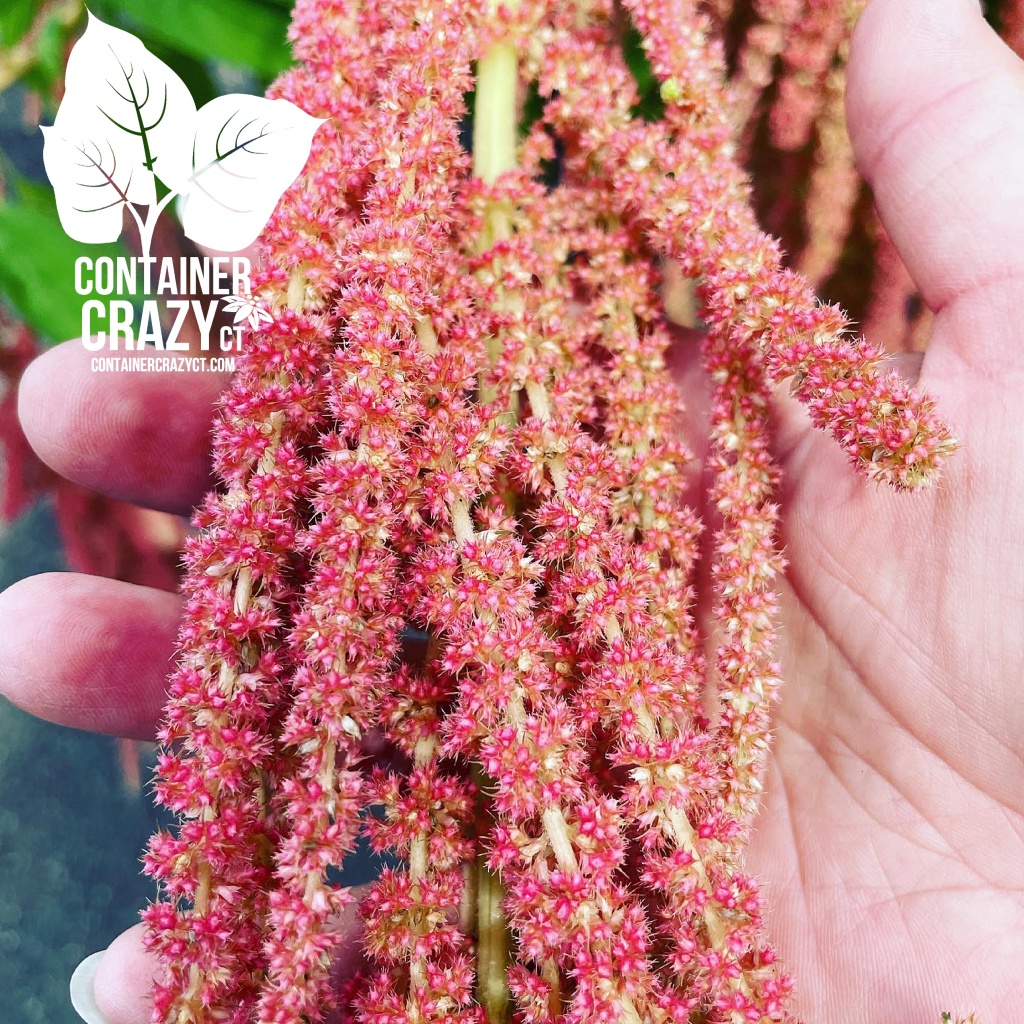
Of all the common names or flower descriptions of this plant, I guess tassel flower represents the flower form the best in my opinion of this species I selected. The plant’s large plumes (technically called inflorescences) dangle down in clusters of coral colored tassels as if they are fastened at the top of tall stalks. The flowers are fuzzy, clumpy, and resemble dreadlocks (another great word to describe their form and appearance!) They are chunky and petal-less. They resemble fountains or waterfalls in form, and may be used in wedding bouquets, as cut flowers in vases (long-lasting), and in container gardens where you wish to present a dramatic unexpected showy element. The foliage is not very large, and are a lime green lighter color on this type of amaranth, and I read the leaves are edible, but I did not experiment with that aspect, yet. After admiring the interesting aspects of this flowering annual with cool attributes, I decided to sow some seeds last year and give them a try.
When to Sow the Seeds
The seeds should be started indoors either at the end of March of middle of April based on our weeks before our typical spring frost timing in Connecticut (or use the appropriate 4-6 weeks before your last frost of your planting area). You may also direct sow these seeds in the ground after the threat of frost has passed (frost threat ends mid-May usually in Connecticut – check your weather and seed sowing charts). The seeds take 75 days (or about 2.5 months) from the time you transplant them to produce flowers. Starting them earlier will give you more time to enjoy the flowers which last well into the end of summer. The seeds are tiny and the packet has up to 250 seeds. That’s a lot of amaranth sowing, so use caution when sowing to not over do it.
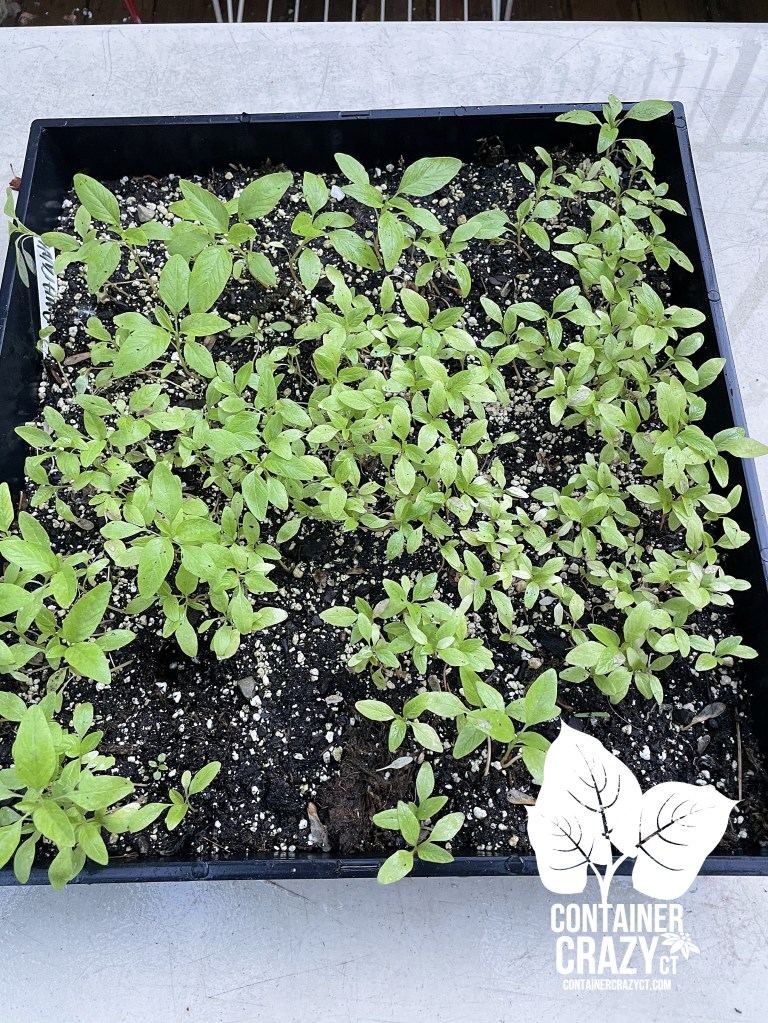
Some Sowing Problems I Experienced
However, I experienced some problems when I sowed them. I did a whole flat tray of them, and they seemed to not be really pushing growth a while after germinating, so I painstakingly put them in 2″ round mini pots one by one and thought I’d wait to see if that would help. It did, but one day I left the tray of the mini pots outside by my greenhouse and a rain gutter above rushed water down on them during a rain fall that day – pretty much destroying them all. All the tiny seedlings got stressed and the potting soil completed washed out. My bad – I’ll remember there is a gutter above problem next time, but I did manage to salvage a few seedlings and decided to put them in planters later when they were large enough to transplant after all chances of frost. I think the reason they may have been slow to grow from seed initially is because seeds germinate best at 75-80 degrees F and they need a night temperature of at least 65 degrees F after transplanting. Maybe my night temps at the time in my greenhouse were not warm enough but I am not sure.

Exposure Full Sun or Some Shade
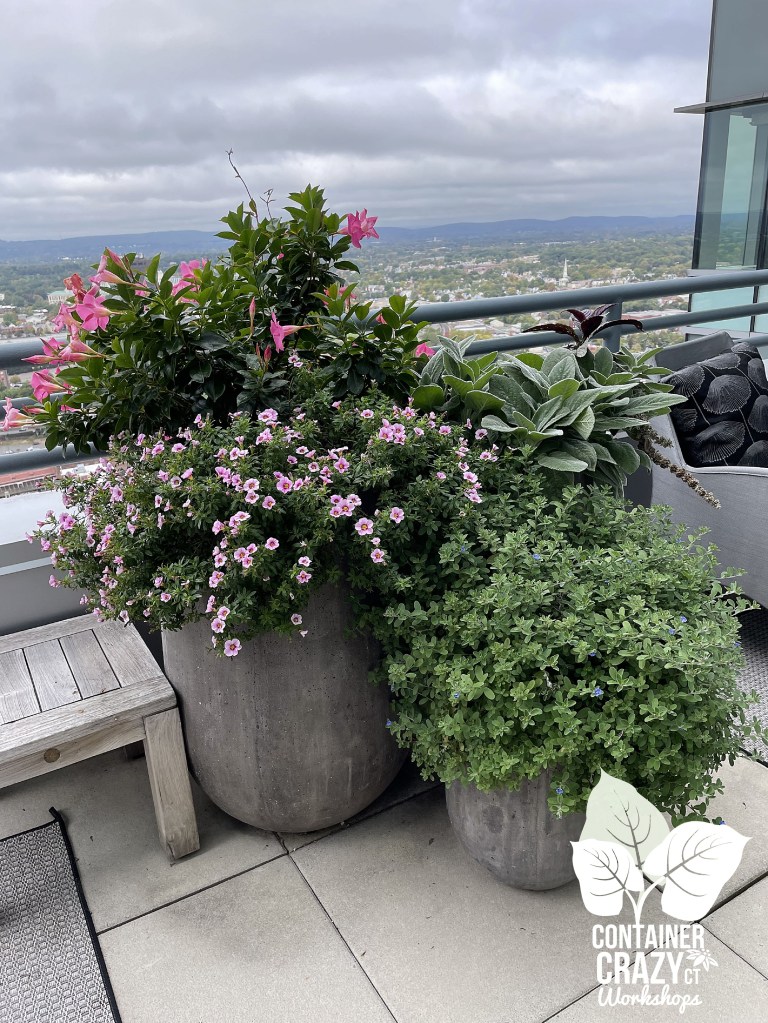
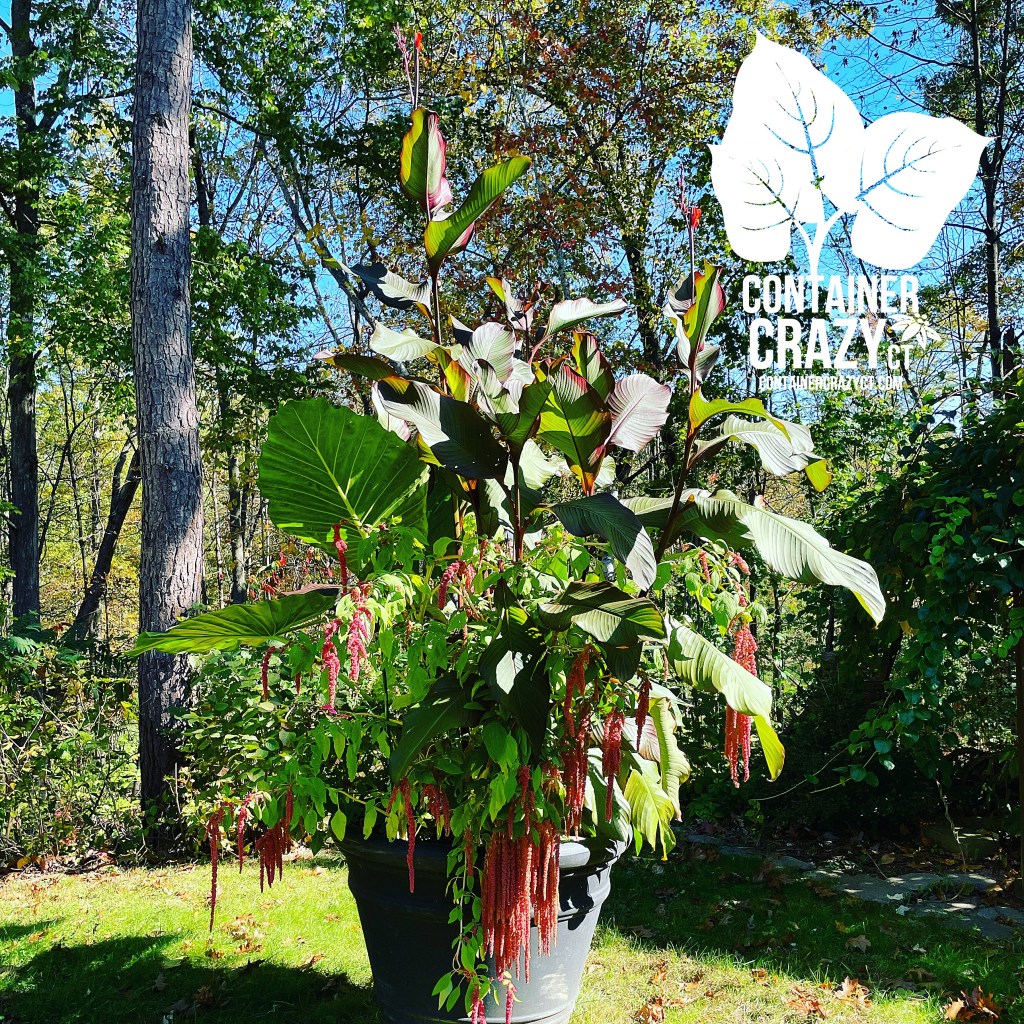
One of the containers I planted them in is a rather large round black container in my back yard (probably at least 3 feet in diameter and about 4 feet tall). I put canna lily plants, elephant ears plants, and some of the amaranth transplants I managed to salvage in it. The seed packet indicated the plants like dry, hot conditions in full sun but will grow in partially shaded areas. The large black round pot is on the east side and gets shade part of the day. The packet also indicates the plants are drought tolerant (and may get root rot in poorly drained soils where is stays wet in the ground all the time, which was not a concern for me since I do all in patio pots and container gardens with sufficient drain holes). A drought tolerant plant is beneficial for container gardening, however, as you don’t have to worry about dragging the watering hose or watering can out there too often in the summer to water it. They are very easy to grow and tolerate poor conditions once the plants start to grow and get established, in fact, you may want to use caution with not overwatering it once it is doing well. Wet soils for this plant may lead to root rot per various sources.

Use Large Pot Sizes and Sturdy Stakes
Because this species of amaranth grows very large and tall, place this plant in an area where you enjoy witnessing them cascading at the corners or edges of your patio pots. Consider taller upright planters because of how the plumes will descend down in big chunks towards the ground level. You want to be able to enjoy how they flow downwards like a waterfall without them hitting the ground. Fortunately, that was the case of my big round black pot in the backyard. As I started to see them progress, I thought about the wild and unusual form being a real show stopper if they were staggered in huge garden. The plums grow so long and become top heavy thus a good support stake is recommended when they start growing flowers. I used thinner bamboo poles which would be hidden against the stalks in the pot. The weight of the flower plumes becomes substantial as they start to grow well and large into the summer months.

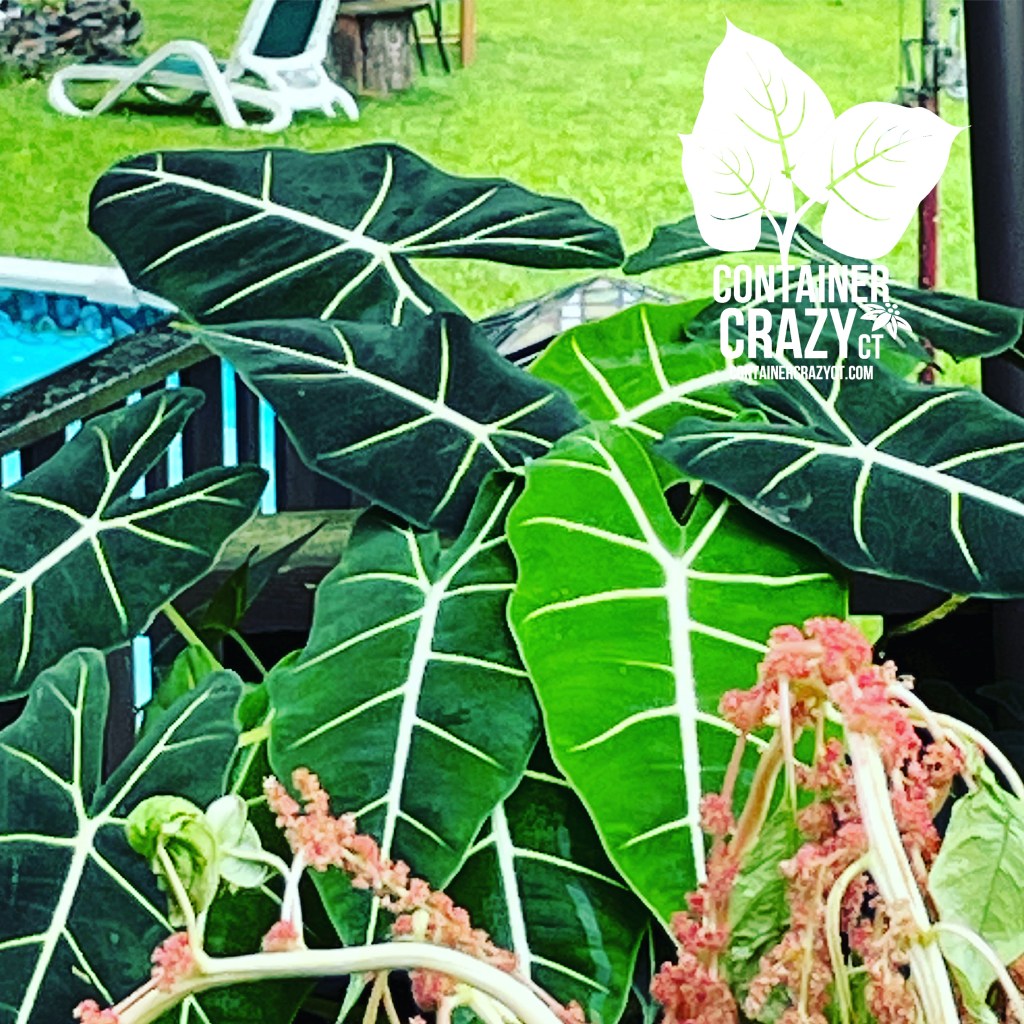
Companions with Darker Foliage
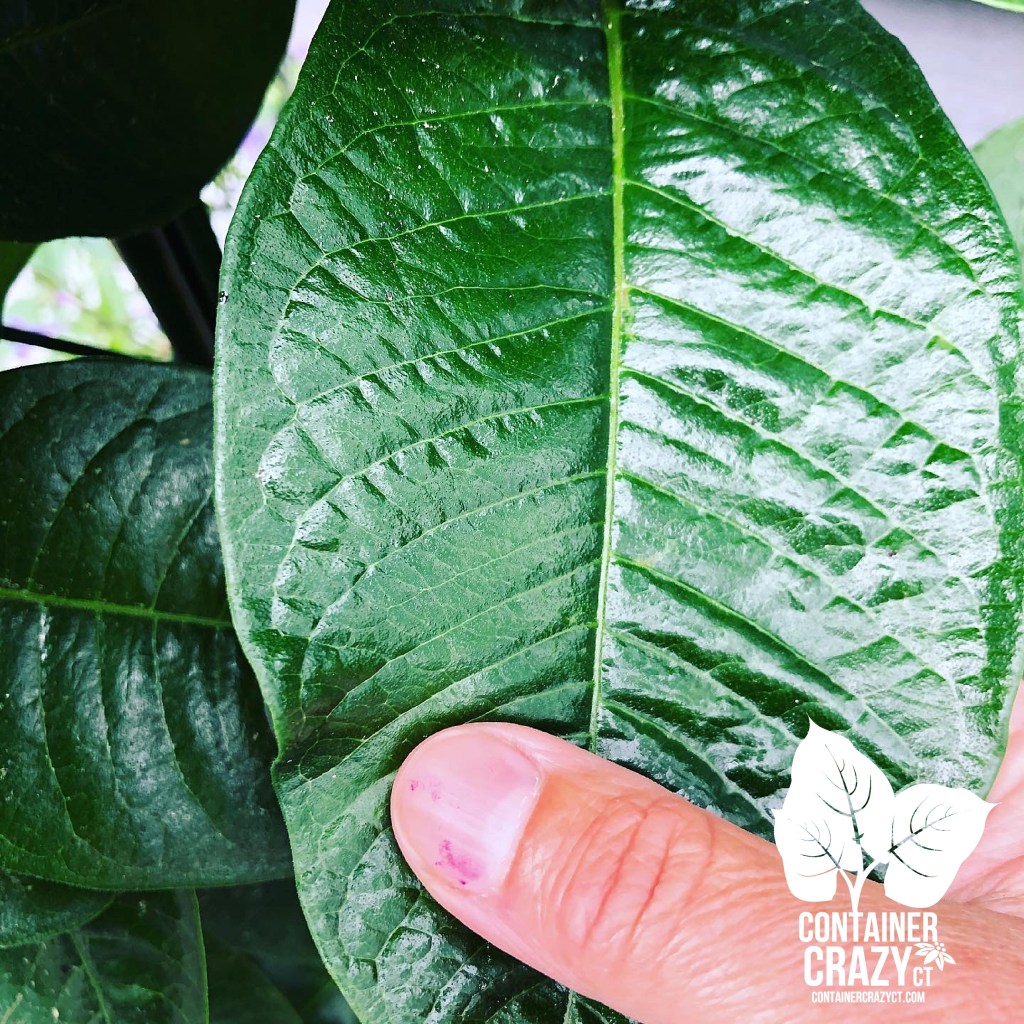
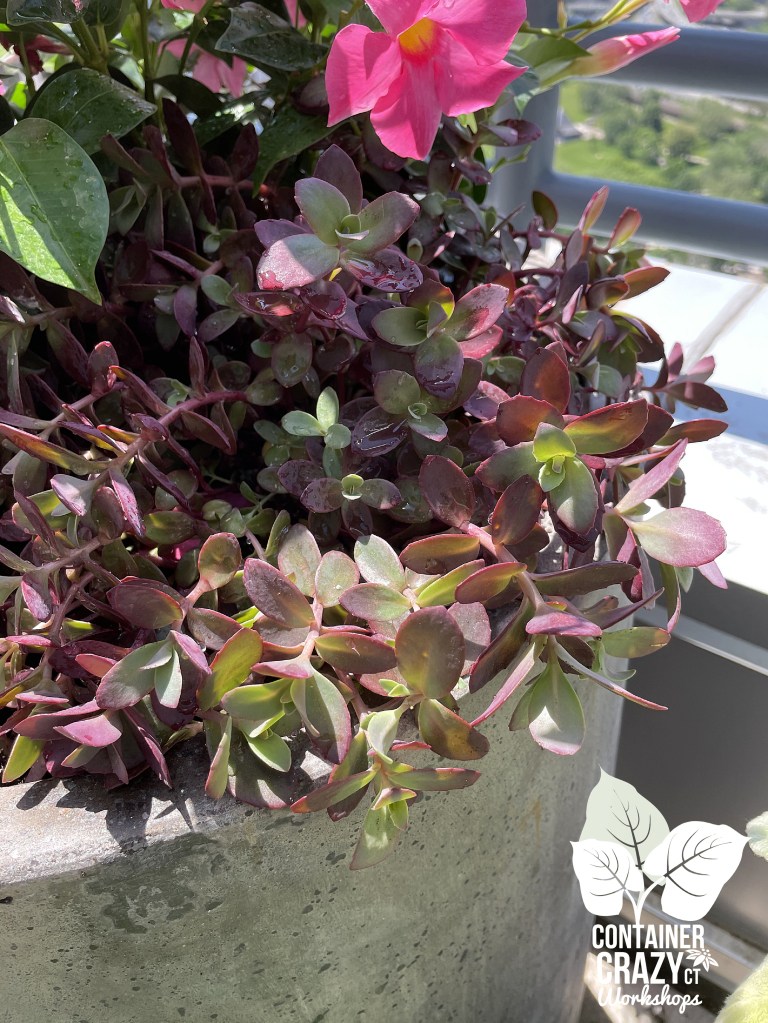
Consider pairing it up with plants with darker foliage and use tall plants too. The color of this amaranth’s leaves are a light lime green with an oval shape, and the flowers are a light coral color. It will show up more against a darker foliage plant, like a canna lily with plum colored foliage or a castor bean plant with the darker foliage. And consider pairing them up with other plants which are mid summer bloomers so you will get a mix of bloom colors for the look you wish to achieve in your patio pot or container gardens. I noticed hot pinks looked great with them too for contrast. Think hot pink canna lilies.

Used in Floral Arrangements for Weddings
I started to create a board on Pinterest last season to show what the flowers would look like, but this board is of other photos of various Amaranth plants. I discovered quite a few photos where the flowers are used in wedding bouquets and arrangements, but the only consideration I had on that is when the flowers reach maturity, they tend to drop tons of tiny little seeds. When I placed some in vases last year, it dropped lots of seeds on my outdoor patio table. I wondered how they work with those as cut flowers for floral arranging to avoid that problem (the potential mess it makes), and realized that would take some more research. I now realize you would have to harvest the flower tassels before they mature to avoid the abundant seeds in them later. The flowers plumes bloom from July to frost, and mine were full with flower plumes towards the end of the summer here in Connecticut. If you wanted to grow some for a wedding, you would want the wedding to be a summer wedding and again, harvest them before maturity so you don’t get a situation of tiny black pepper sized looking seeds falling down your wedding aisle runner. The plumes also look great in tall vases and provide a rather exotic interesting vibe in outdoor spaces. They may be used as fresh flowers or in dried flower arrangements. In fact, I saw some in a floral shop this winter and I kicked myself for not saving the plumes of my own last summer.

Food for You or Pollinators
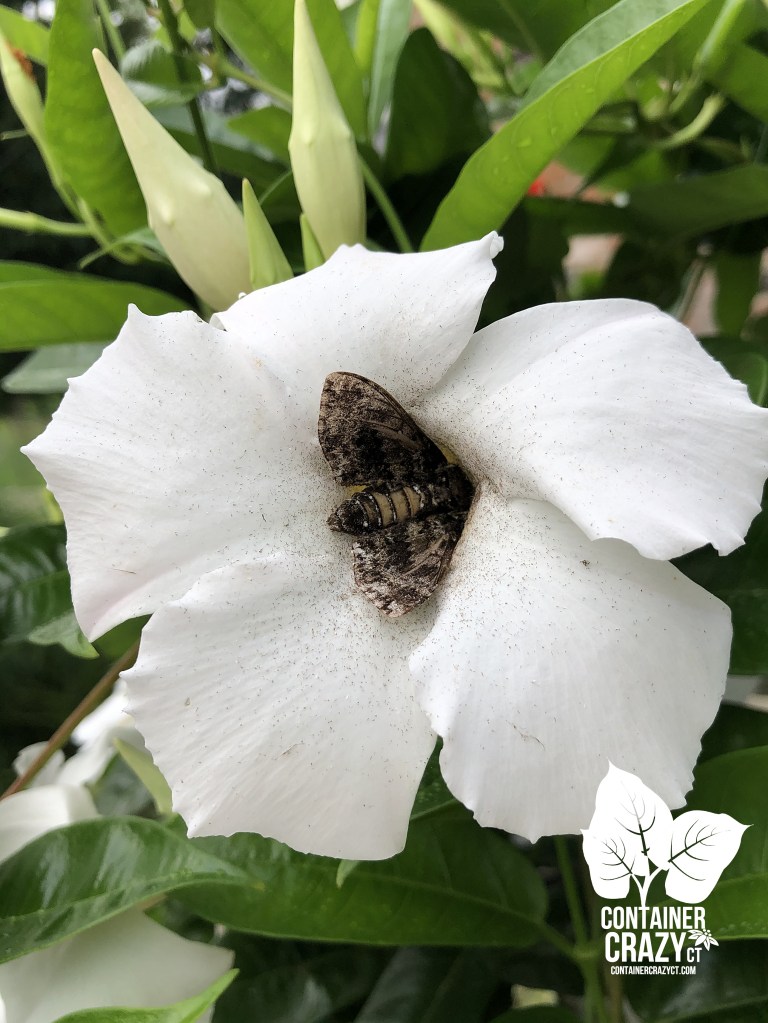
Some reference books indicate they are favored by bees and that is true, I did see lots of bees visiting the tassels of its petal less flowers and took photos, and at times I would witness a bird perch on the tall thick stalks. Additionally, there is some information about how parts of the plant are edible and seeds may be used in porridge. I didn’t really look into that much however. Maybe this year when I grow them again, I will do so. The seed packet indicates amaranth are one of the most nutritious of the ancient grains. This turned out to be a stunning plant, which friends and family noticed, when they visited. I had one by my entrance stairs, and one day, my brother shouted out as he was leaving, “That plant is cool!”
Amaranthus definitely have a cool vibe!
Cathy Testa
Container Garden Designer
Broad Brook, Connecticut
Zone 6b
860-977-9473
containercathy at gmail.com
See also:
http://www.WorkshopsCT.com
http://www.ContainerGardensCT.com