Last season, I grew about 5-6 tomato plants in 20 gallon black fabric grow bags along one side of my upper deck. The end of the deck, where we lined them up, is the east end and I put the plants along the deck’s wooden railing on the south side, opposite the wall of my house.
Each grow bag had one individual tomato plant in it and the grow bags were spaced out about 3 to 4 feet apart. I also put the grow bags on caddies with wheels (plant saucers) so I could turn or re-arrange them as needed. Each had a square tomato cage placed around the plant for support. I prefer the square cages, they fit perfectly in the fabric grow bags and remain stable.
This is what the plant looked like in the grow bag, but it gets over grown quite quickly in summer, with the tomato stems reaching up and over the deck railings, thus harvesting the tomatoes later in the season was getting a bit tricky.

No worries, my husband, Steve, loves tomatoes so much, he quickly grabbed a ladder from our garage and carefully climbed up to pick the cherry tomatoes which were unreachable from the deck side. We grew a few different types of cherry tomatoes in these fabric grow bags, but hands-down, one of my all time favorites is the “honey drop cherry tomato.”

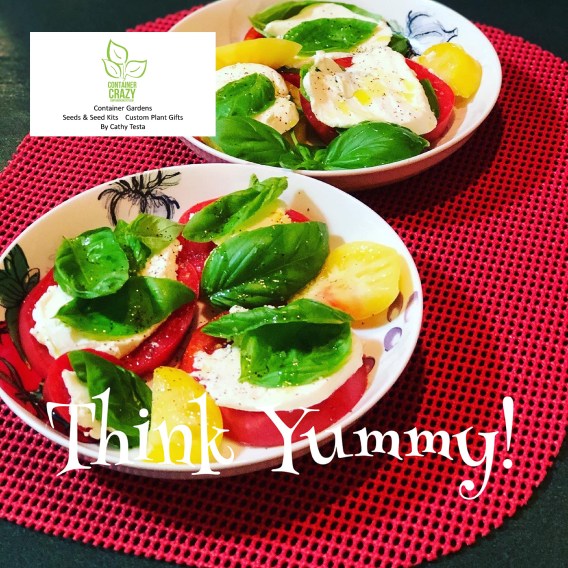
We, my husband and I, snack on these delicious cherry tomatoes all summer long. In fact, sometimes I have to remind Steve to leave some for me when we get a basket full. He gobbles them up quickly.
AS CLOSE TO A HONEY TASTE AS YOU CAN GET
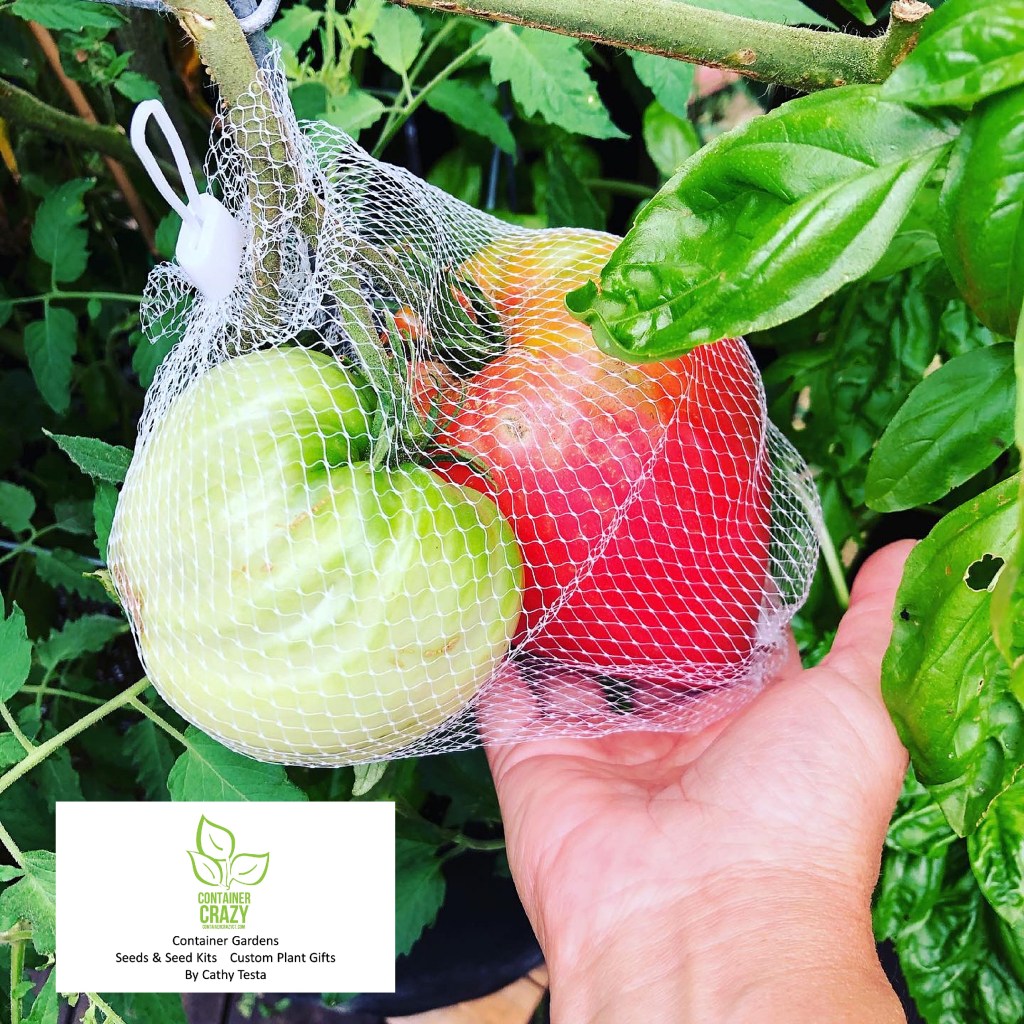
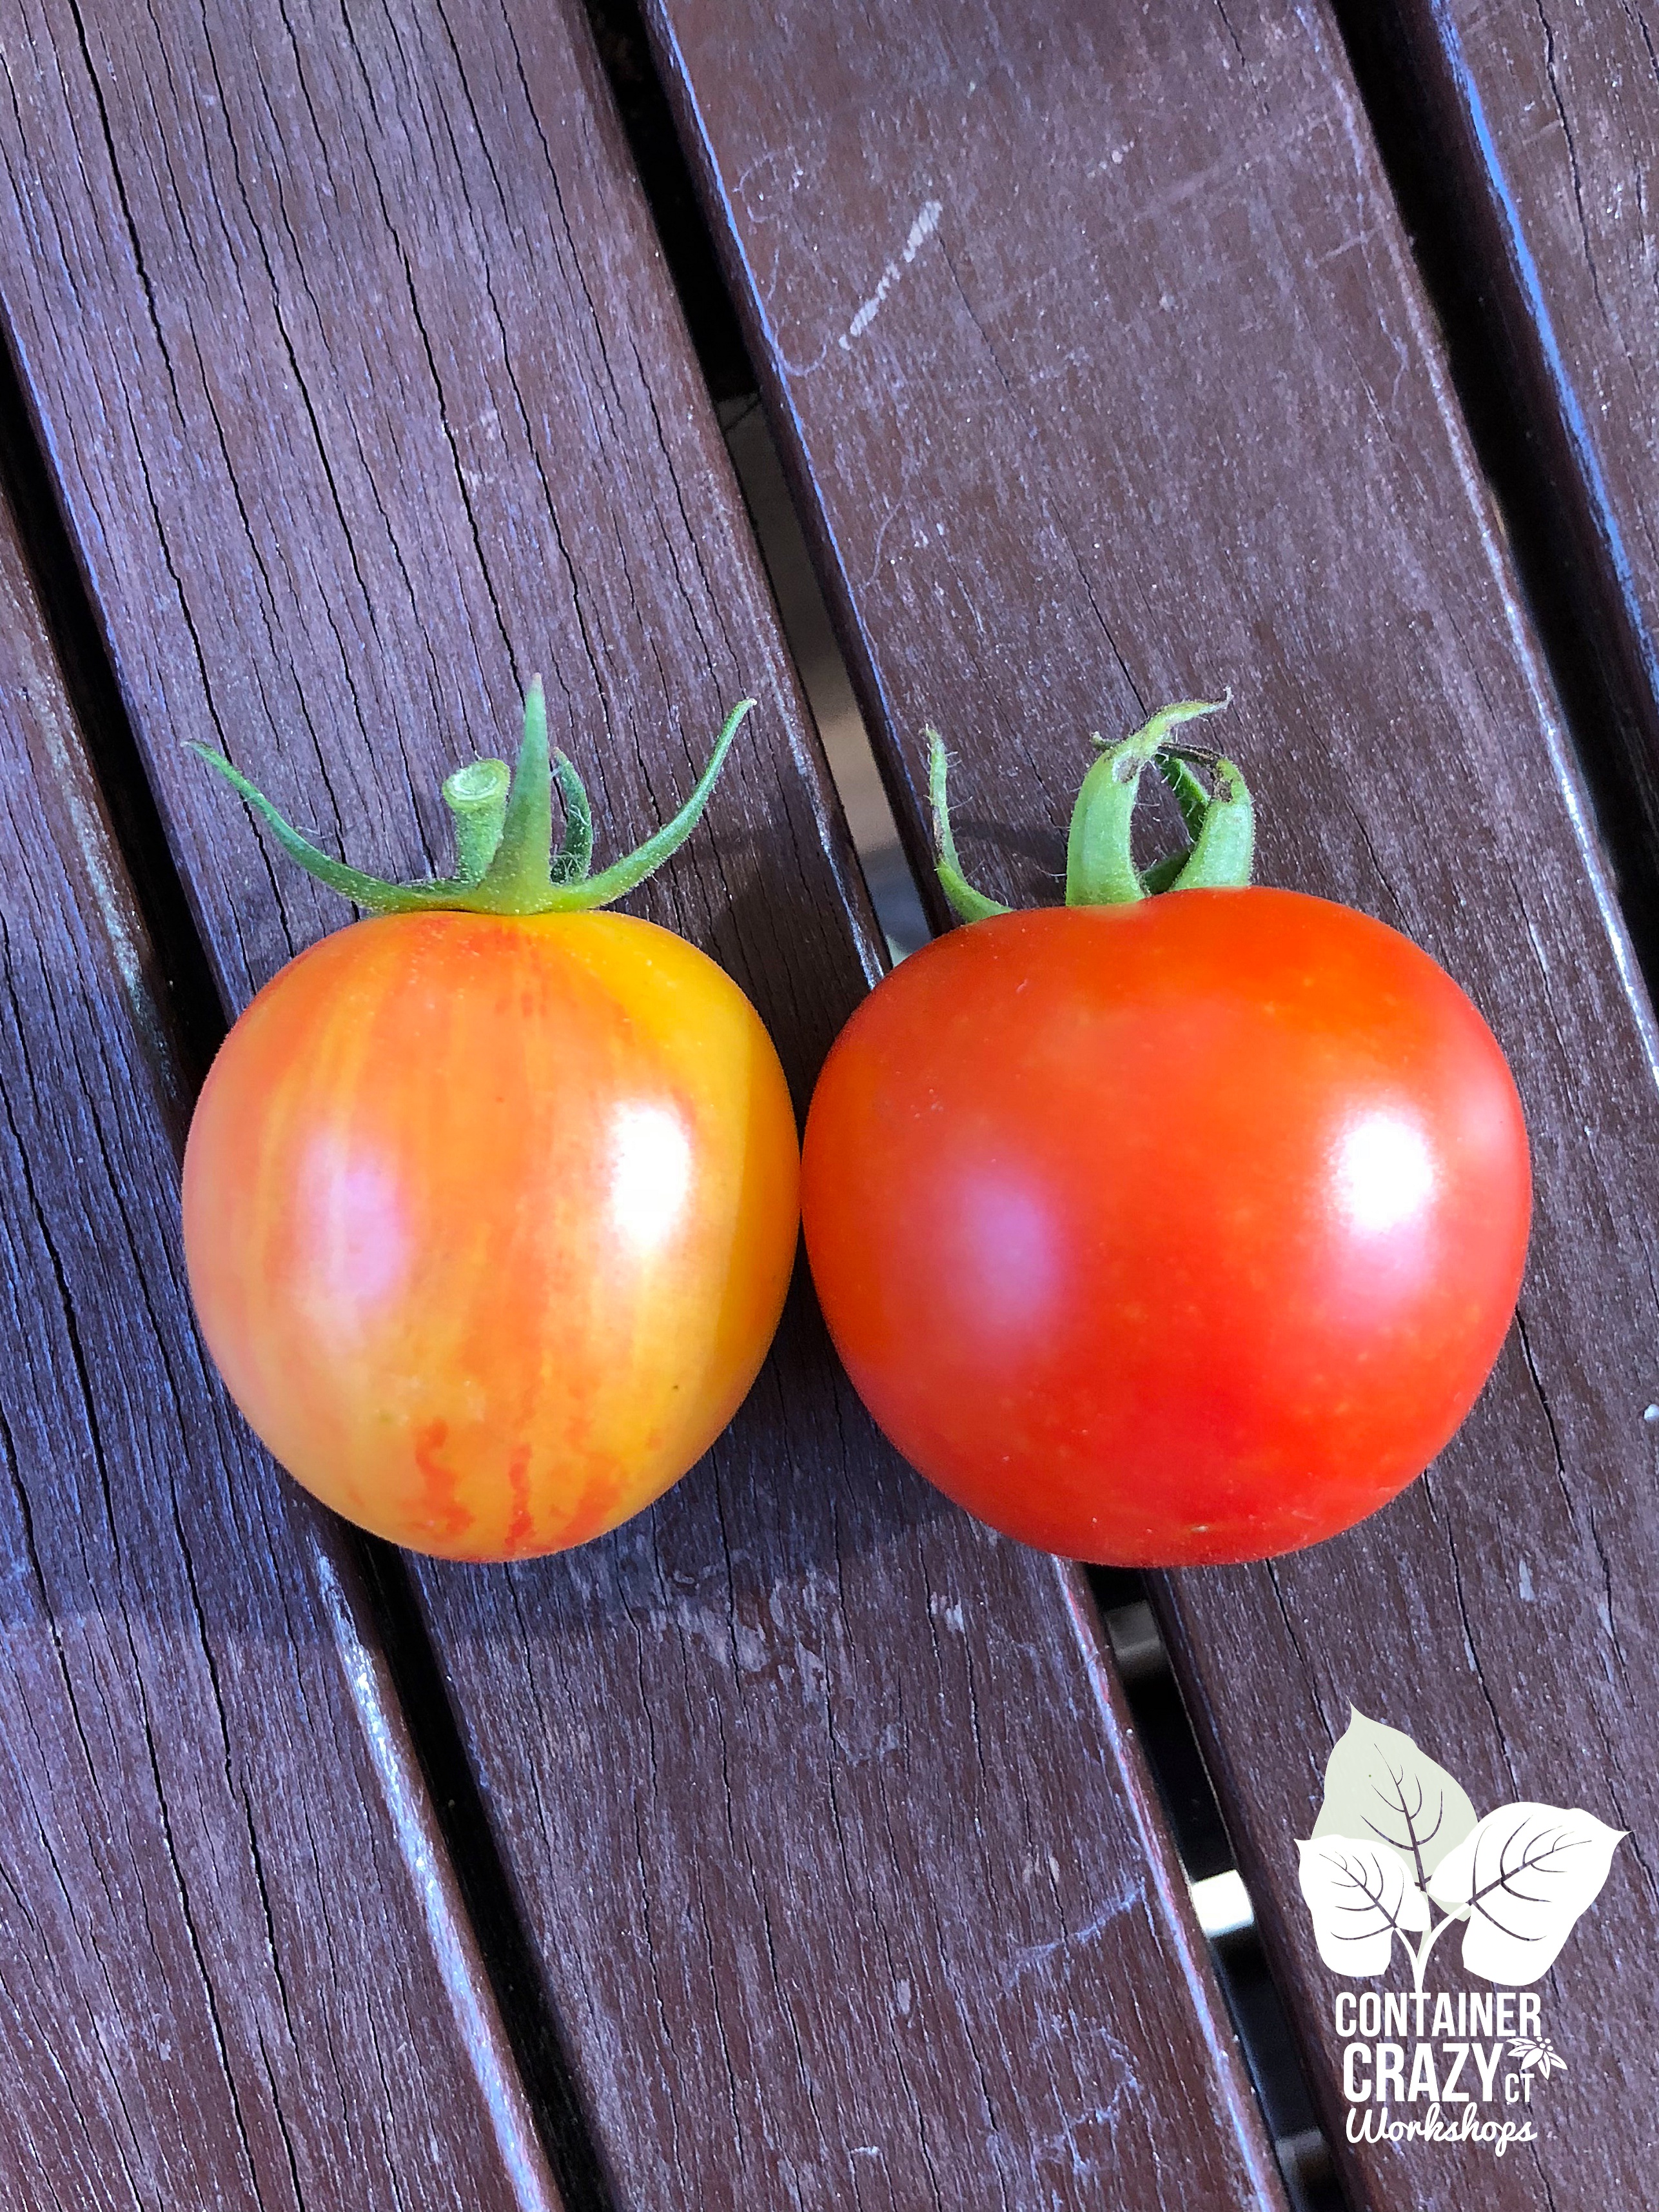
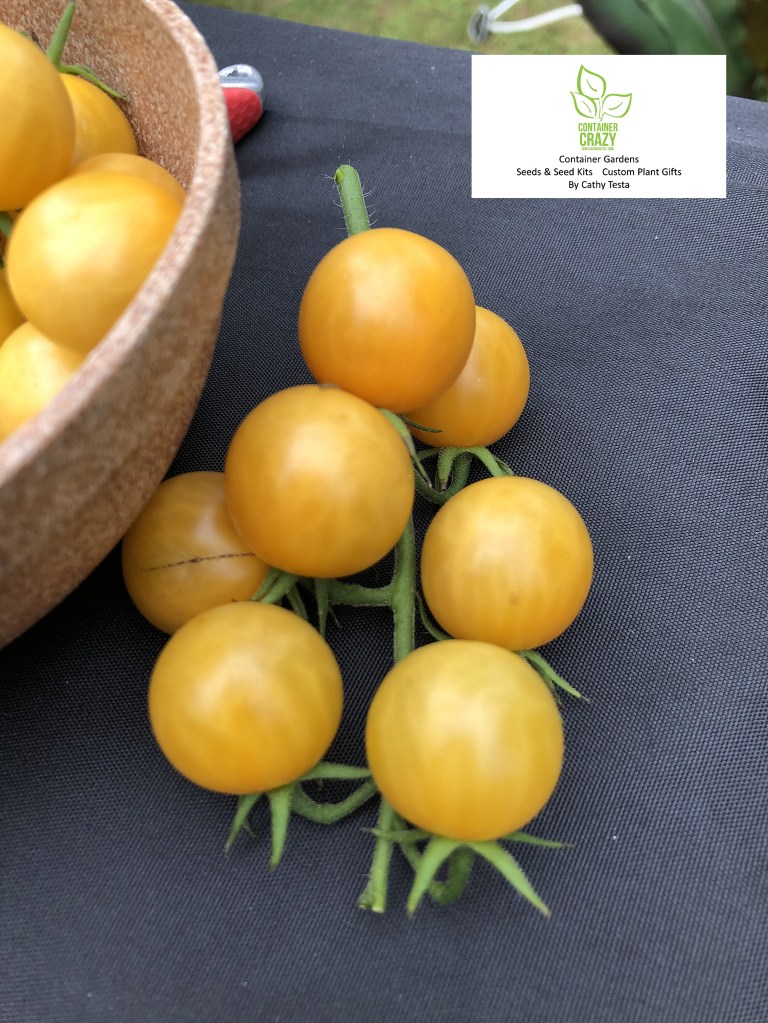
The honey drop cherry tomatoes are a beautiful golden color and are very sweet. The seed packet shows a bear going for the tomatoes, and this makes sense to me. They are as sweet as honey. And my honey, Steve, harvested them often for us (or for himself!).
The name of this cherry tomato is perfect because if you ask me, the flavor of them is as close to honey as you could get. It is like eating a piece of honey candy without the guilt. Thus, the bear on the seed packet, again makes sense. I’m not sure what else I can say about how yummy these are!

When Steve was gathering them for us from the ladder, of course, I was saying, “Be careful – don’t fall down.” I’m so happy he enjoys tomatoes immensely because I certainly put the effort into growing them (and I enjoy the whole process from start of seeds to the first and continuous tasty bites in summer), and I grow all my plants in container gardens. It is worth the effort for both of us.
FABRIC GROW BAGS ARE HANDY
I find the fabric grow bags work wonderfully on the deck, for many reasons. Such as they are light weight to set up initially, easy to order and store, they have handles attached, so I roll the plants around easily by tugging on the handle (in the beginning phases when I set them up), and the air is able to breath through the fabric which offers many soil and root benefits, yet, we know, or you may not know, depending on how often you visit this blog, that watering is required because the soil in the container gardens (grow bags in this case) dry out much faster than they would in the ground. Drainage works well through the fabric, thus no drilling of drain holes in the bottom of the pots (as done with plastic pots) is required. Also, when the season is over, and I cut all the tops of the plants off, Steve and I each grab one handle and carry the big root ball down to the driveway for when I do my clean up phases in the fall.
OTHER TYPES OF CHERRY TOMATOES
These cherry tomatoes are a nice size, but another type I’ve grown, Fox Cherry Tomato, is a bit larger, and you see some of those in the photo above (the reddish ones in the basket which Steve is holding). The location on the deck is pretty good from the standpoint of receiving full sun most of the day and the area is easy to water. We have a garden hose at that end of the deck always ready to do my routine of watering all plants in containers on our deck – which I rather enjoy, so it is not a bother to me. I find watering therapeutic. When I water my plants, at least daily in the heat of summer, I enjoy looking at the plants, seeing the cherry tomatoes ripen, and I may even have a hummingbird come by to investigate the plants near my cherry tomato plants, or I will watch the bees visiting the flowers earlier, things like that – I just don’t mind it.
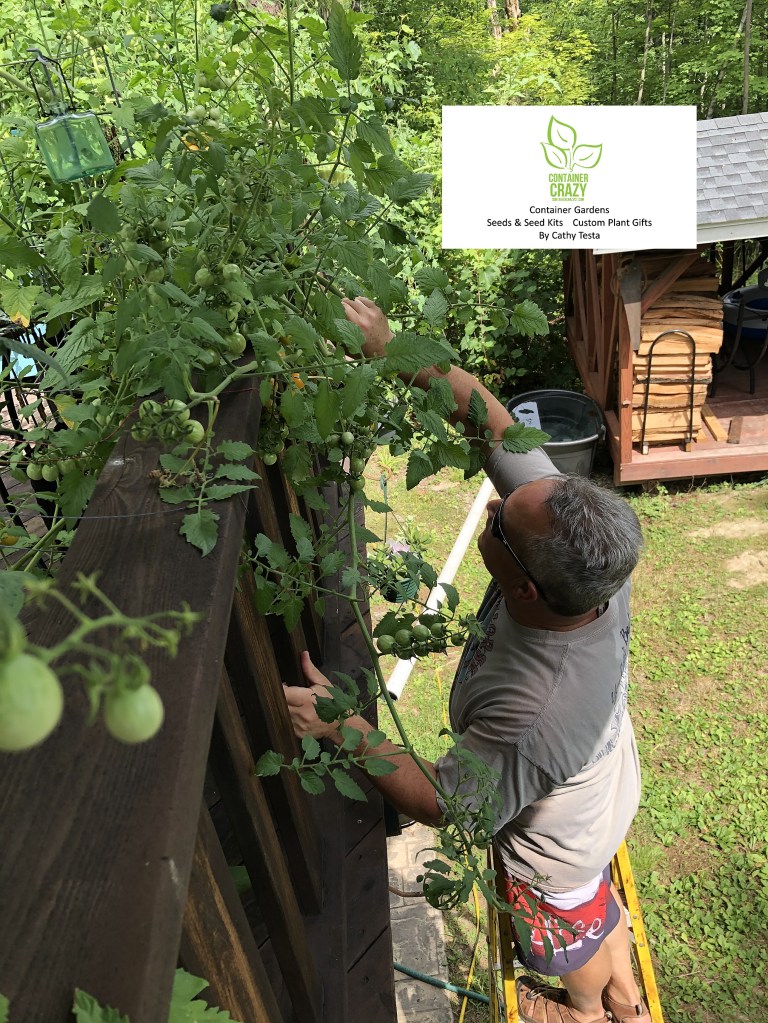
You can see all the many clusters on this plant, hanging from above, and the plants seemed very happy indeed to keep on growing this way. In fact, it allowed some nice air circulation around the stems hanging to avoid any potential issues. Poor air circulation around tomato plants may lead to disease problems later. As noted in the prior post, a squirrel did find a tomato or two but overall, we managed to harvest them for ourselves. The squirrels could not really reach the clusters hanging so that was a nice benefit too.
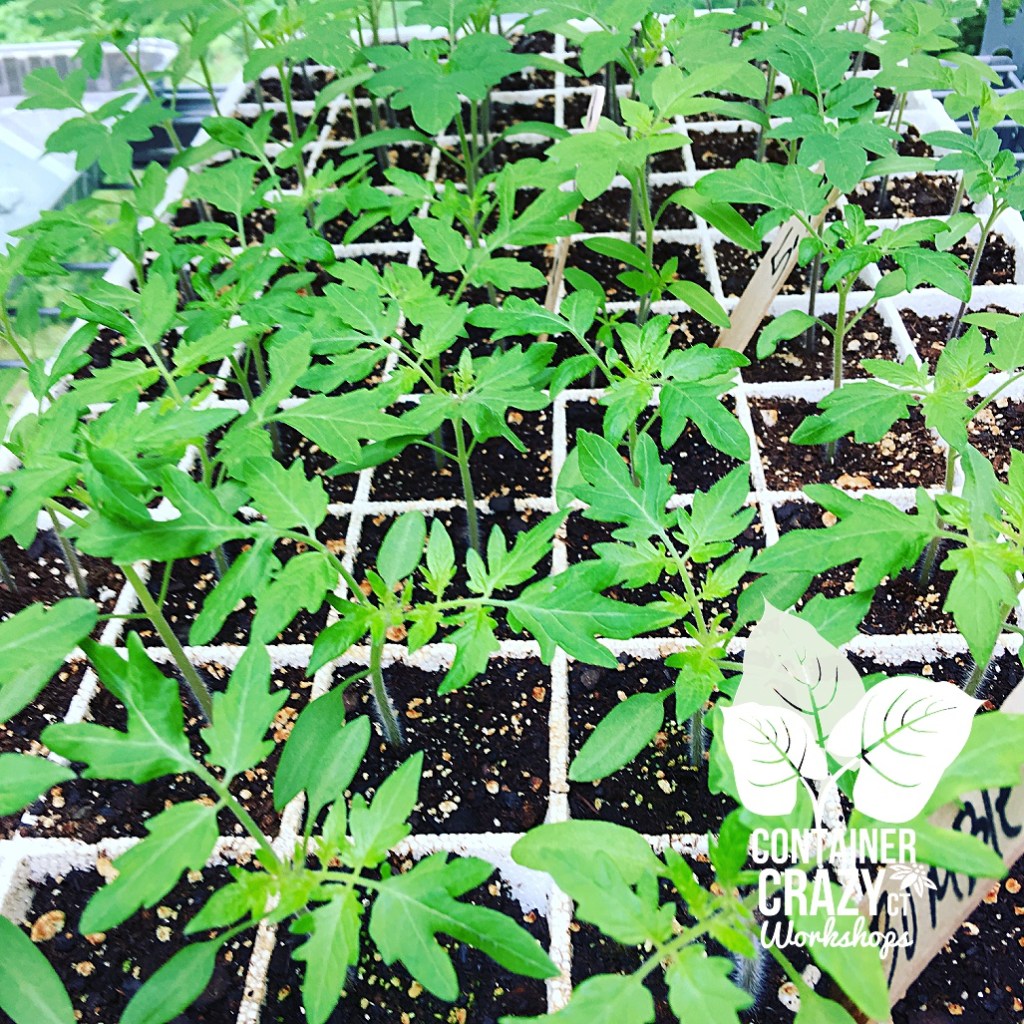
WHEN TO SOW THE SEEDS
These cherry tomatoes are started indoors 4 to 6 weeks before our last frost date in Connecticut. They need a warm bright spot indoors (if you sow them in your home). I start my seeds in my greenhouse on heat mats and had no issues with these types of seeds sprouting easily and growing until I could harden them off outdoors later and before they are grown outdoors in their permanent locations. They were a popular selection when I sold the seedlings because those of you who bought them the year before discovered how amazing the flavor is and it is a vigorous grower. You can expect to start picking cherry tomatoes from it about 70 days from the time you transplant the seedlings into your containers, grow bags, or the gardens. In fact, I think if you are new to sowing seeds or starting vegetable plants, cherry tomatoes are one of the easiest to grow and you get a huge harvest, so it is very rewarding.
A FEW SEED PACKETS AVAILABLE
I have a few seed packets of the honey drop cherry type remaining from my last year seed orders, and I have other cherry tomatoes on the ready to grow this season. The Fox Cherry is another favorite, but for flavor, I have to say, I think the honey drop were the best last year – well, we can’t say that can we? Cause all fresh home-grown tomatoes taste amazing! I guess the main difference with the fox cherry and honey drop is the fox cherry tomatoes are larger. I also like to grow the Bumble Bee Mix Cherry tomatoes, which I will blog about soon. I got more of the bumble bee type (new seeds) because I ran out of those seeds last year. They are somewhat a striped color (pink, yellow, and sometimes a slight purple tone, also super tasty). The bumble bee type need to be sown earlier than the honey drop however, but no bother, I can’t wait to start sowing seeds.
By the way, the honey drop cherry tomato is indeterminate, with a vining habit (versus bushy) and keeps growing and growing giving you a steady supply of fruit until the fall frost kills the plants. I don’t pinch or sucker the plants. When they get a bit unruly because of so many stems growing, I may cut off some of the stems with clean pruners to give the plant more air circulation as needed. Otherwise, I let the ramble all around. I have taken a small round table to prop up some of the stems on the deck side as needed. I know it may seem silly, but it is all worth it to me and to Steve. We love these cherry tomatoes, and so will you if you decide to try them.
Thank you for visiting my blog. Please comment by clicking the link below or the red comment box (if viewing from a laptop), I’d love to hear from you. Let me know, what is your favorite cherry tomato to grow in your gardens?
Cathy Testa
860-977-9473
containercathy@gmail.com
http://www.ContainerCrazyCT.com
http://www.WorkshopsCT.com
http://www.ContainerGardensCT.com