Hello Fellow Blog Visitors,
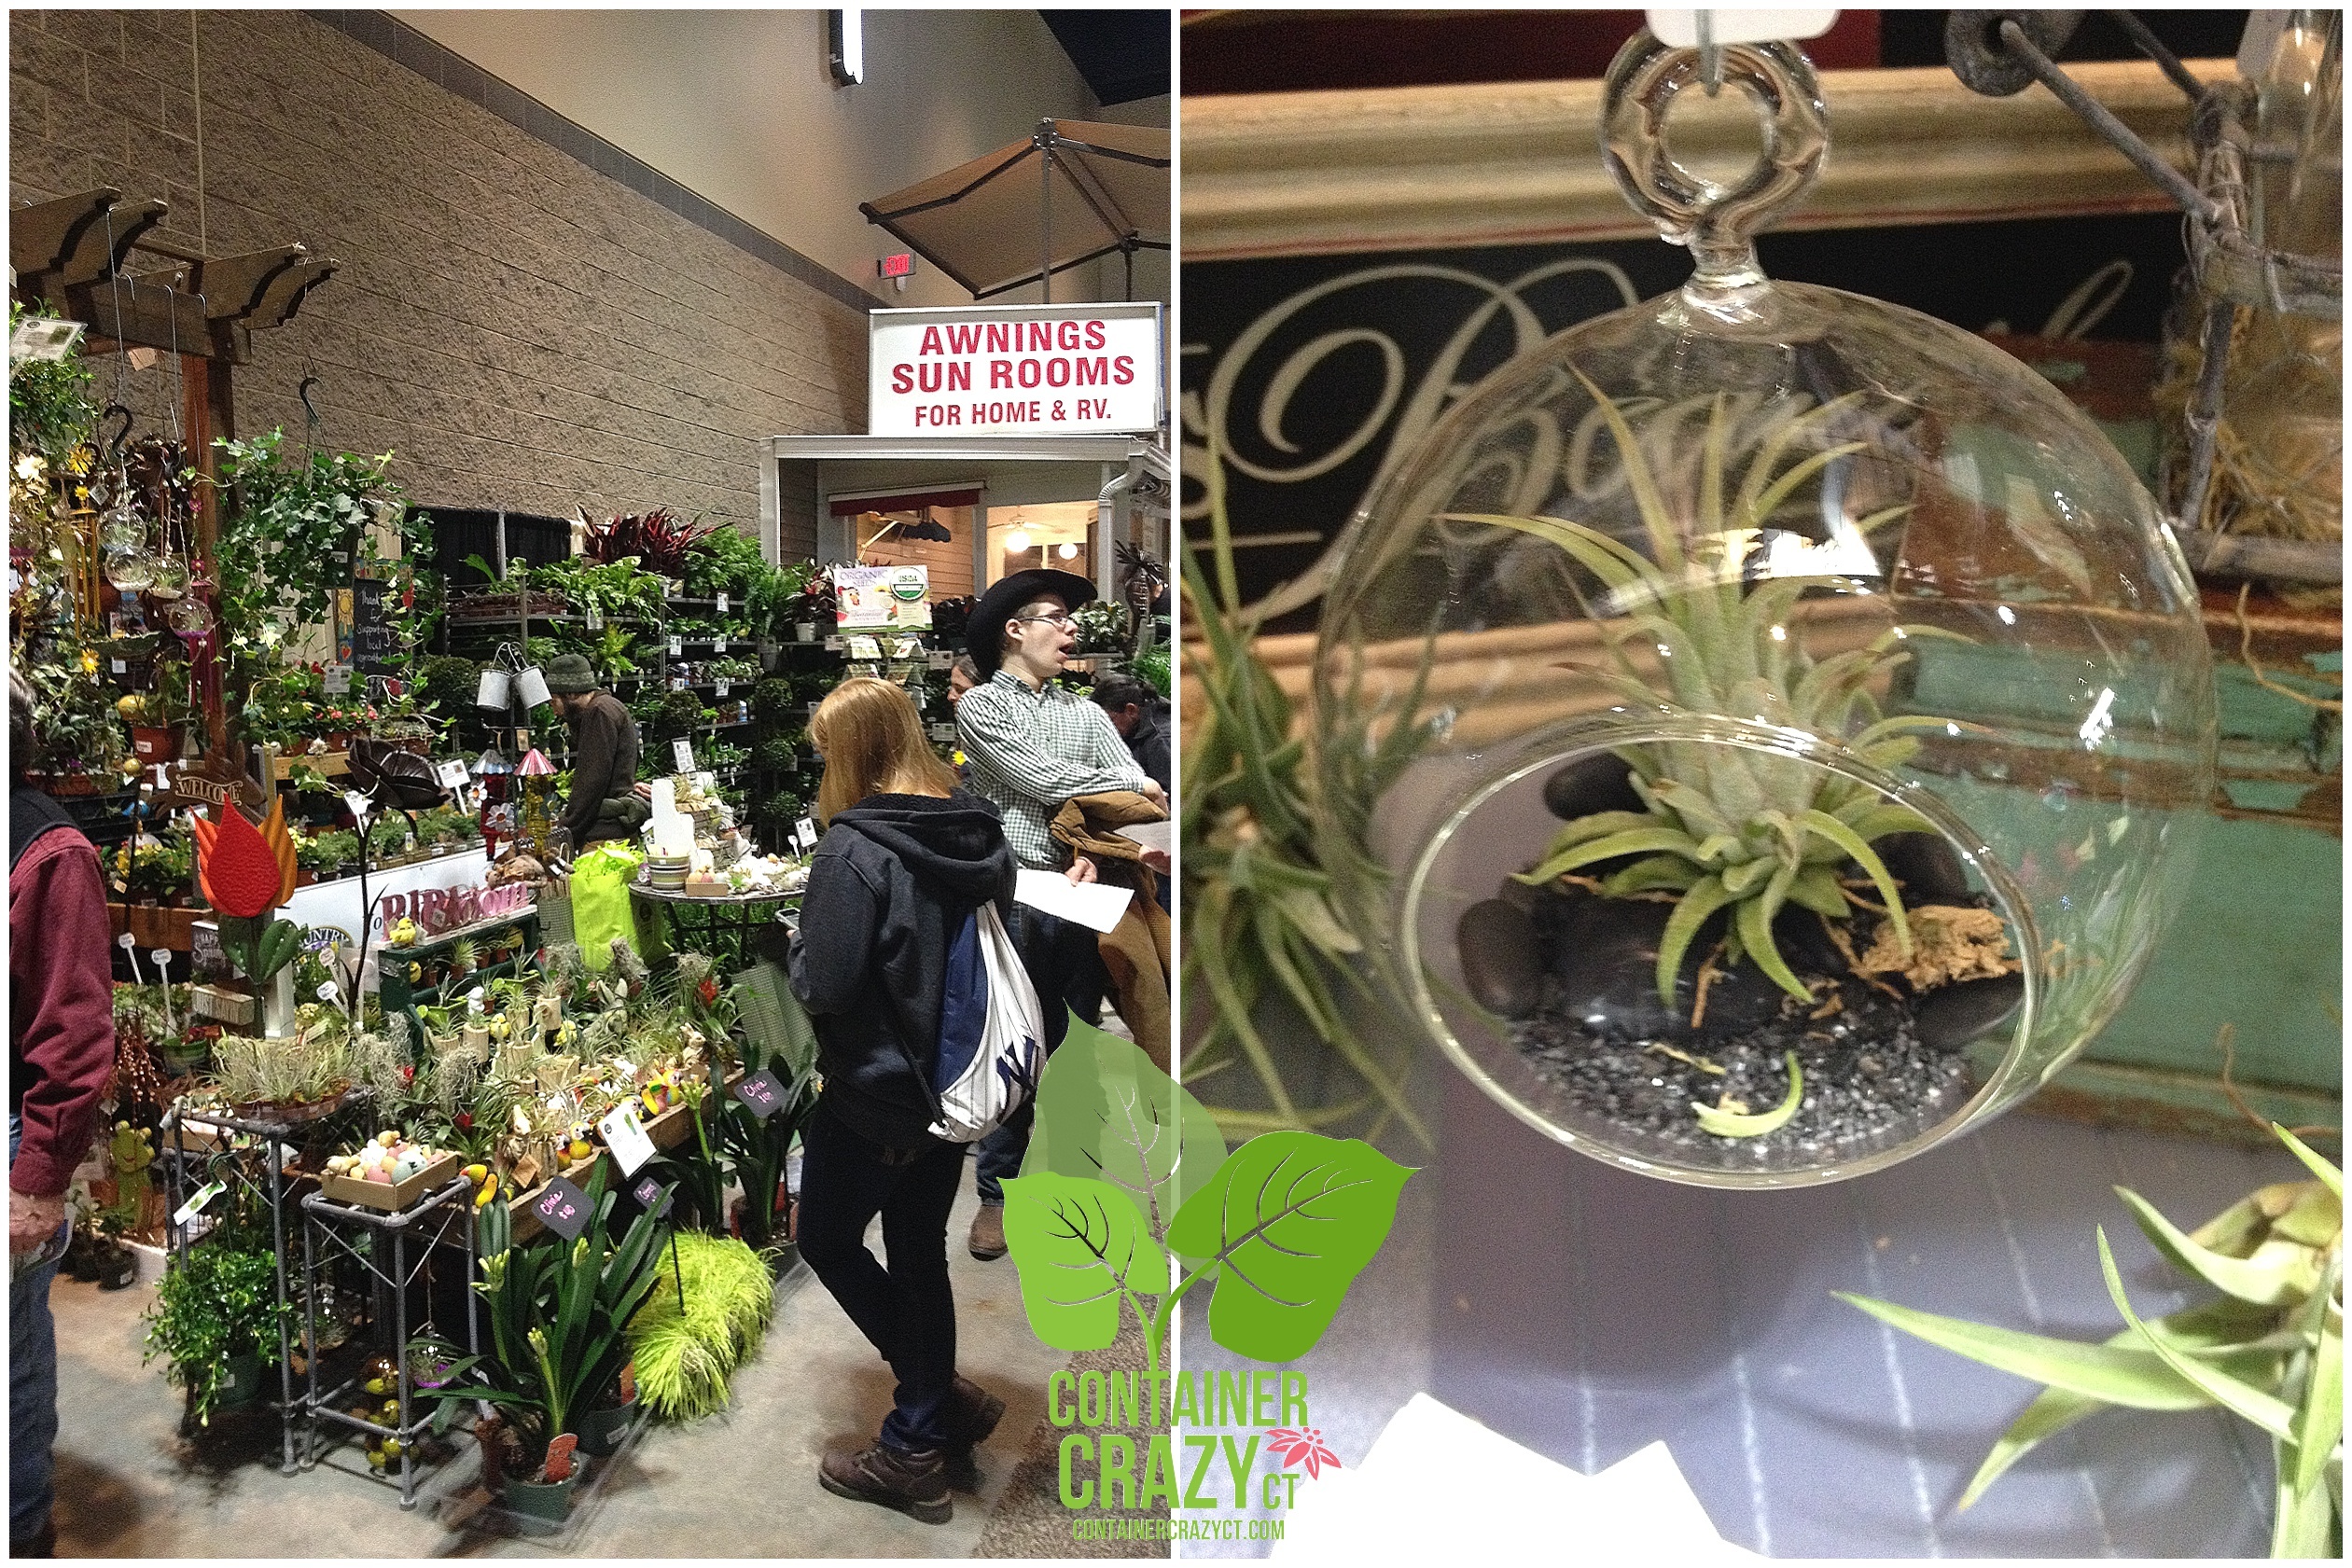
In case you didn’t make it to the CT Flower and Garden show last week in Hartford, here are the photos I quickly snapped from my iPhone. The funny thing is I thought I may not take as many photos as usual – but it didn’t take long for me to do so – There were so many wonderful photos to capture of landscape displays, garden art, handcrafted items, and more.

First Landscape Display Seen at the Show
VARIOUS LANDSCAPE DISPLAYS BY LOCAL DESIGNERS
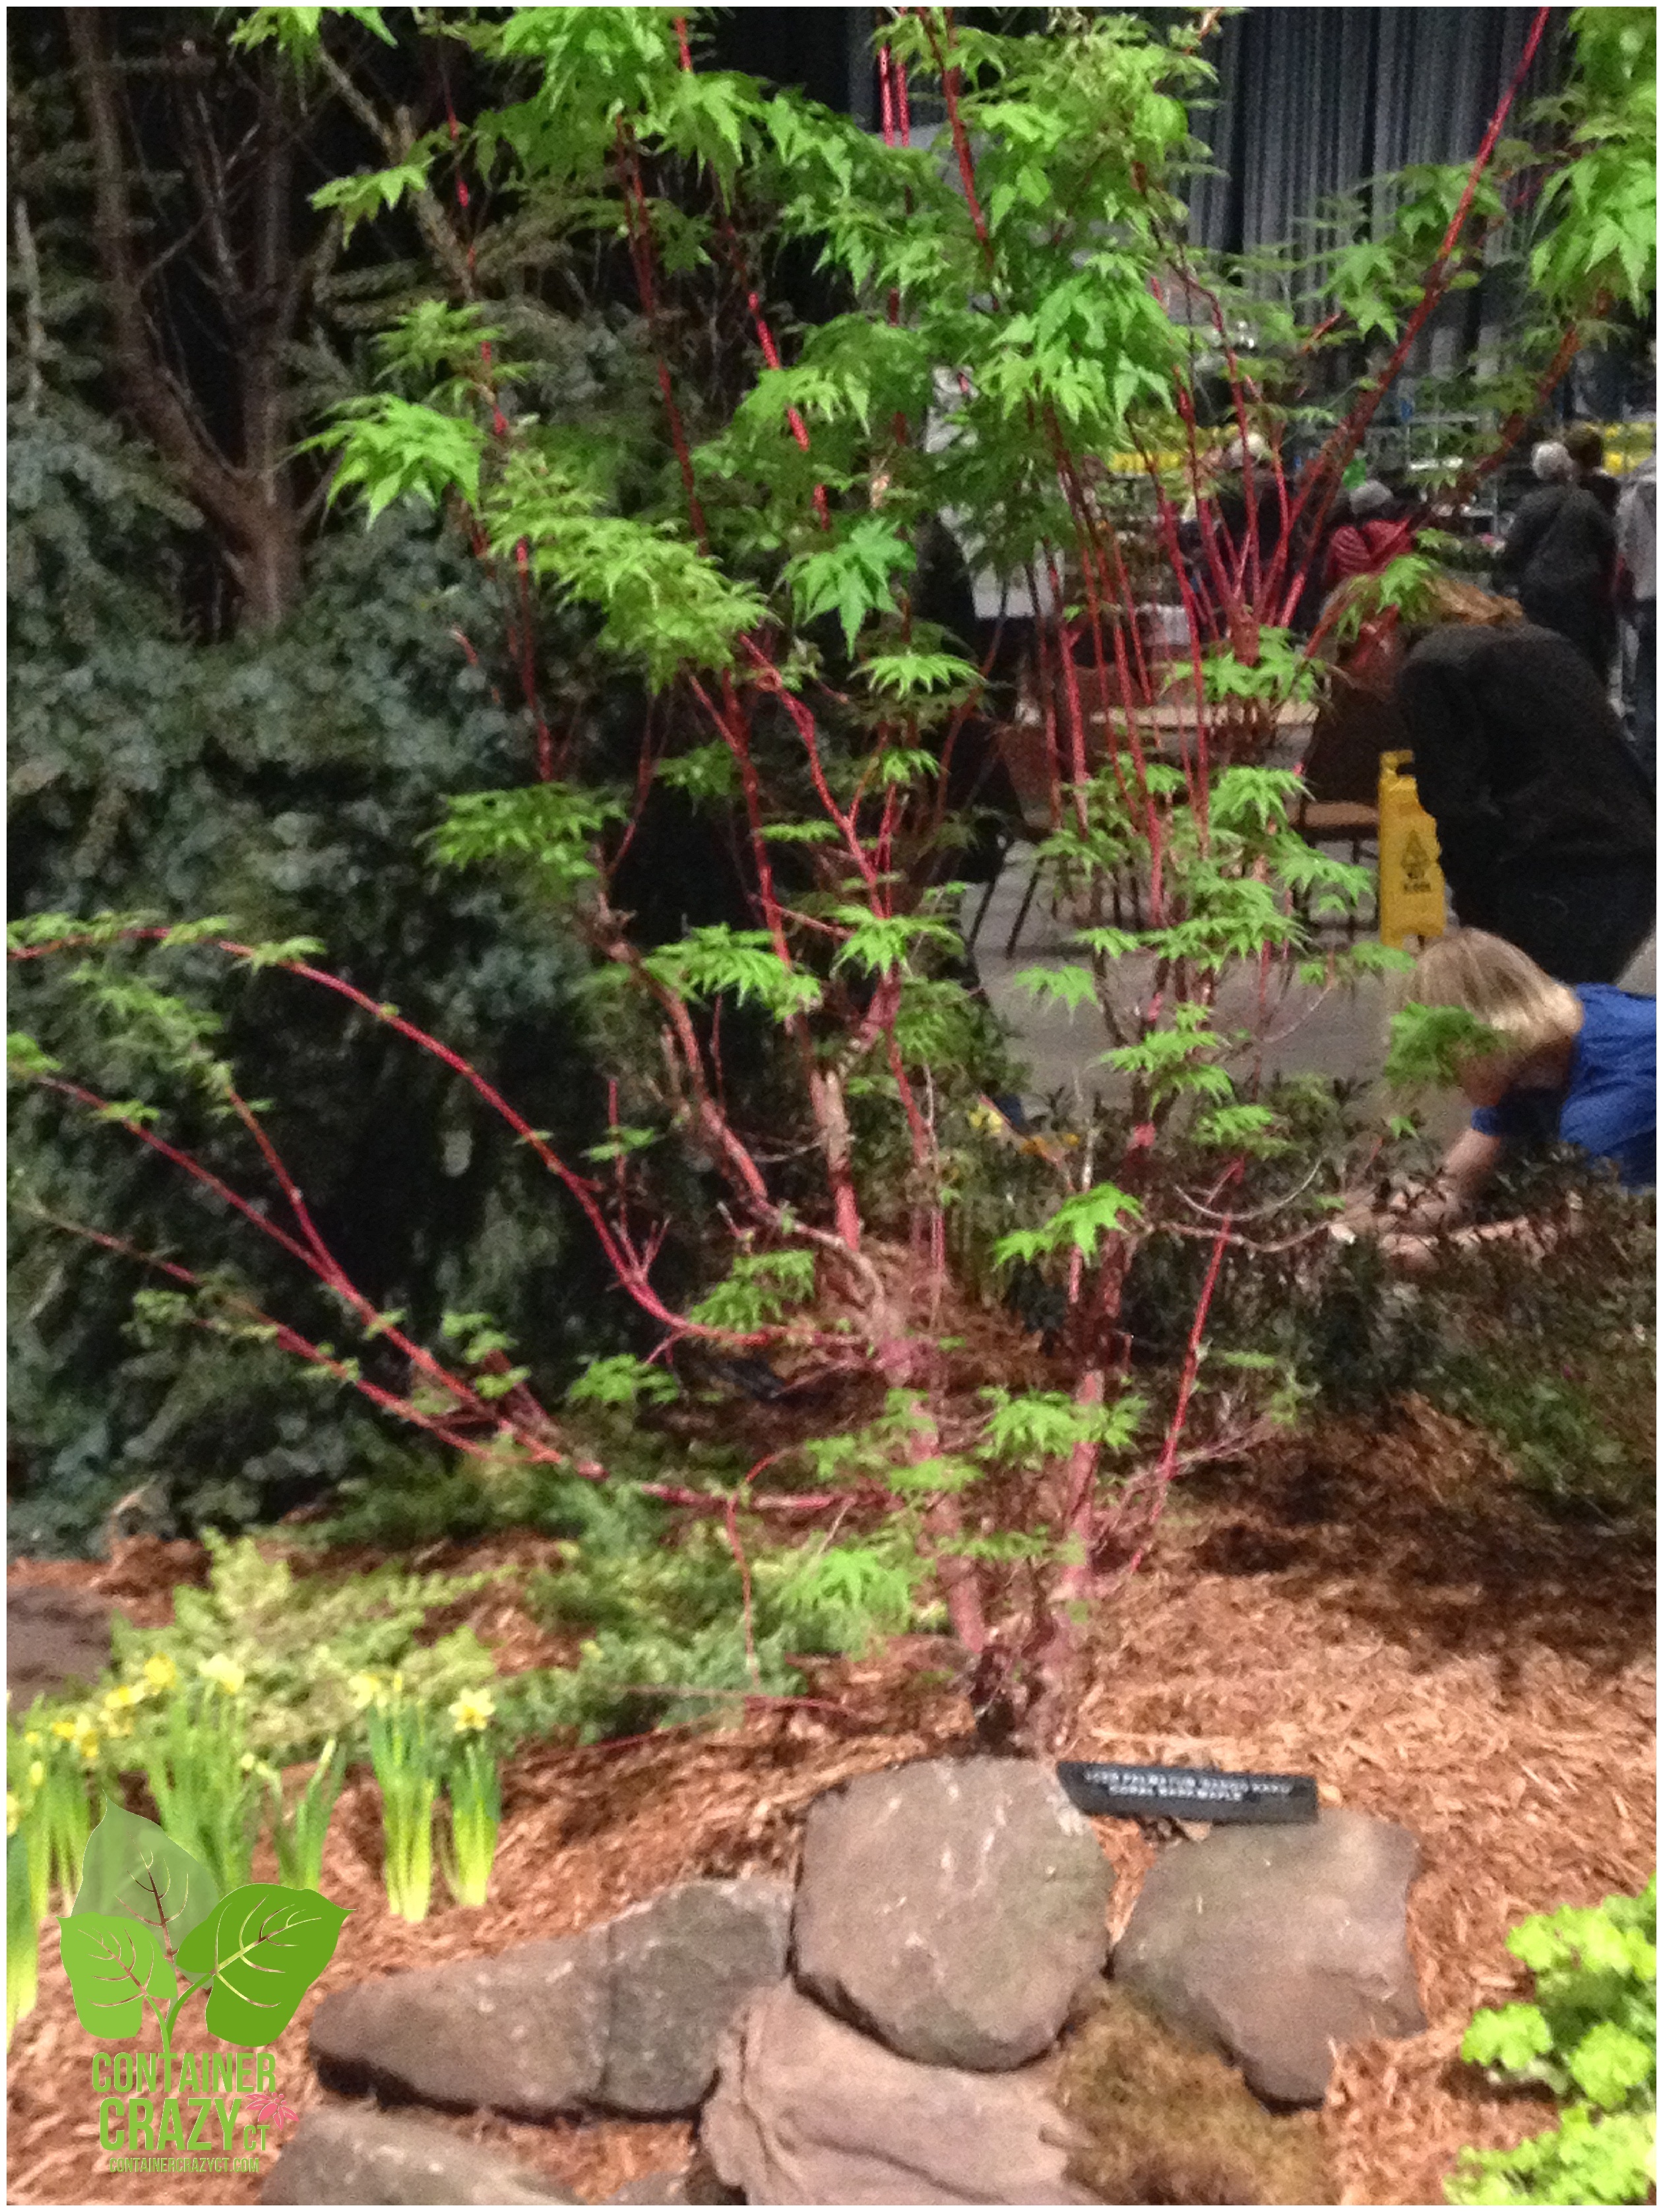
The first landscape display we saw was by “Supreme Landscapes.” I enjoyed the wooden structure, the clever fountain made with an old rusty re-purposed gardening item, and the large boulders edging the beds, which I reached down to touch to see if they were real – and they were. Amazing what they truck in and place at these displays.

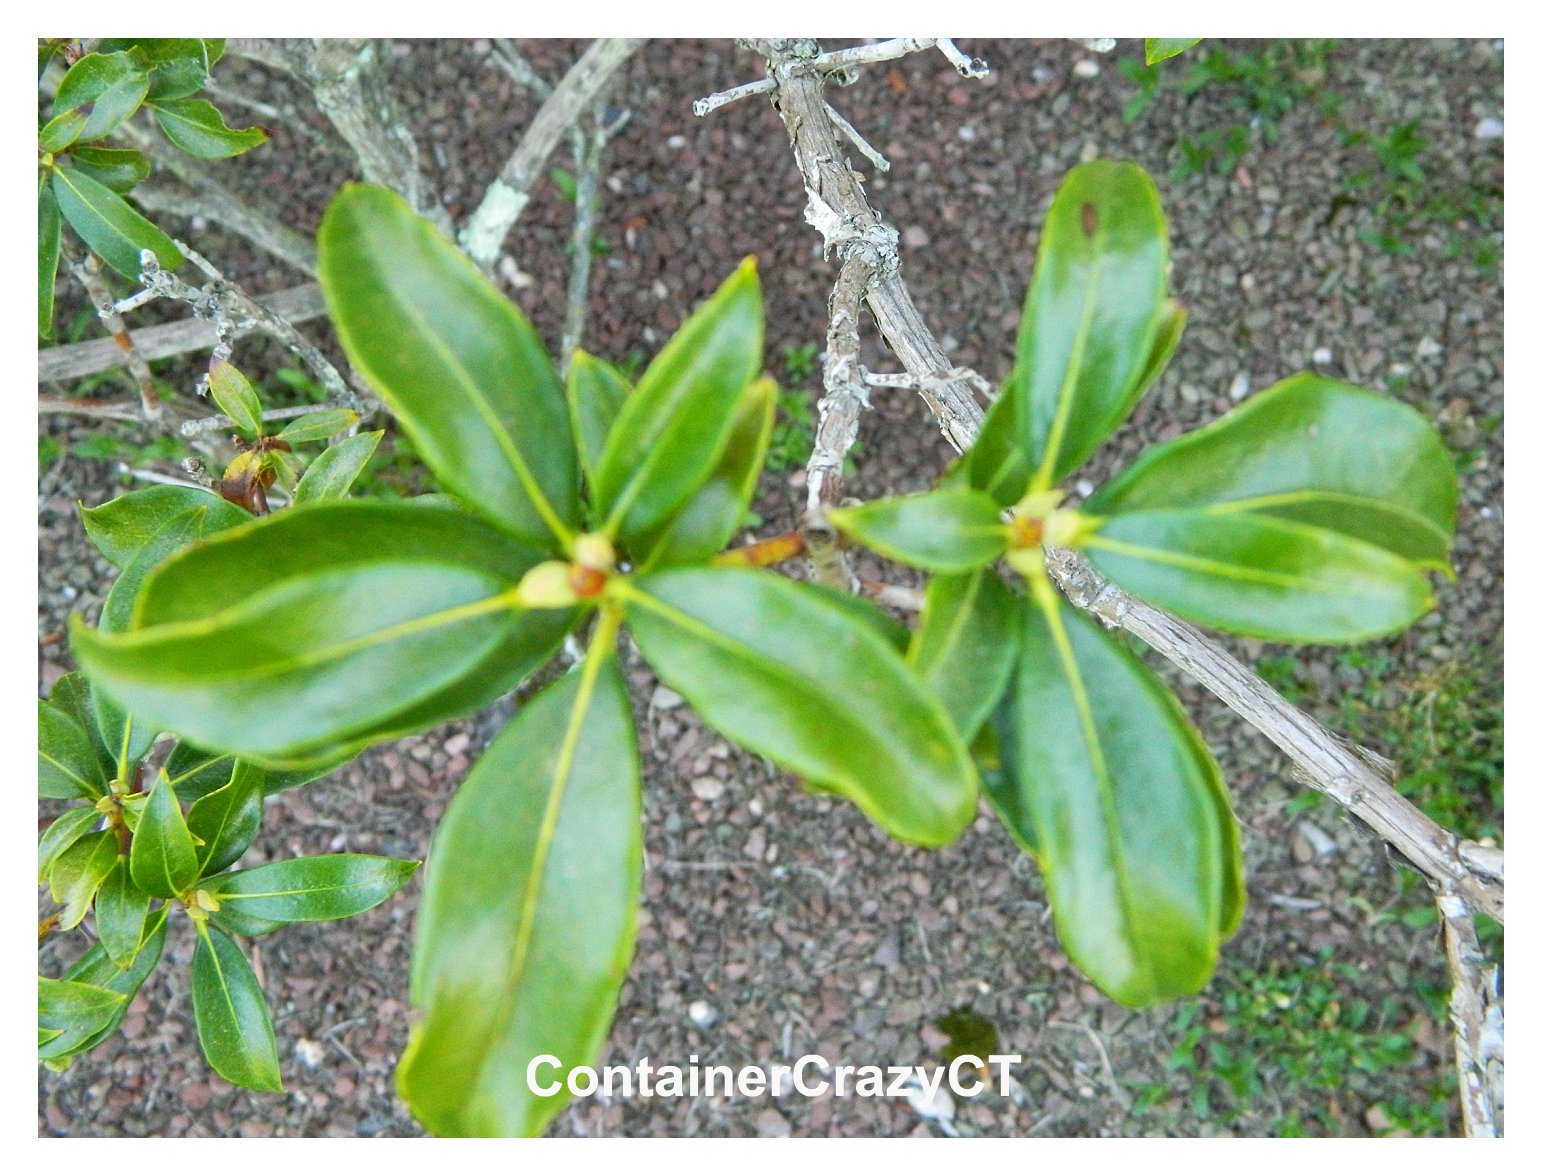
‘Sango-Kaku’ Japanese maple in a display
Supreme Landscapes began their landscape written description with the words, “…a staircase jumps out inviting you to go up to the rustic hideaway…”
And I couldn’t agree more. The staircase led your eyes up to a little wooden cabin, a place you surely would want to visit if you found it surrounded by flowering plants and gentle sounds of water falling from a nearby fountain. It was a wonderful scene to greet you as you entered the main landscape area at the show.

Landscape Display Aqua Scapes of CT
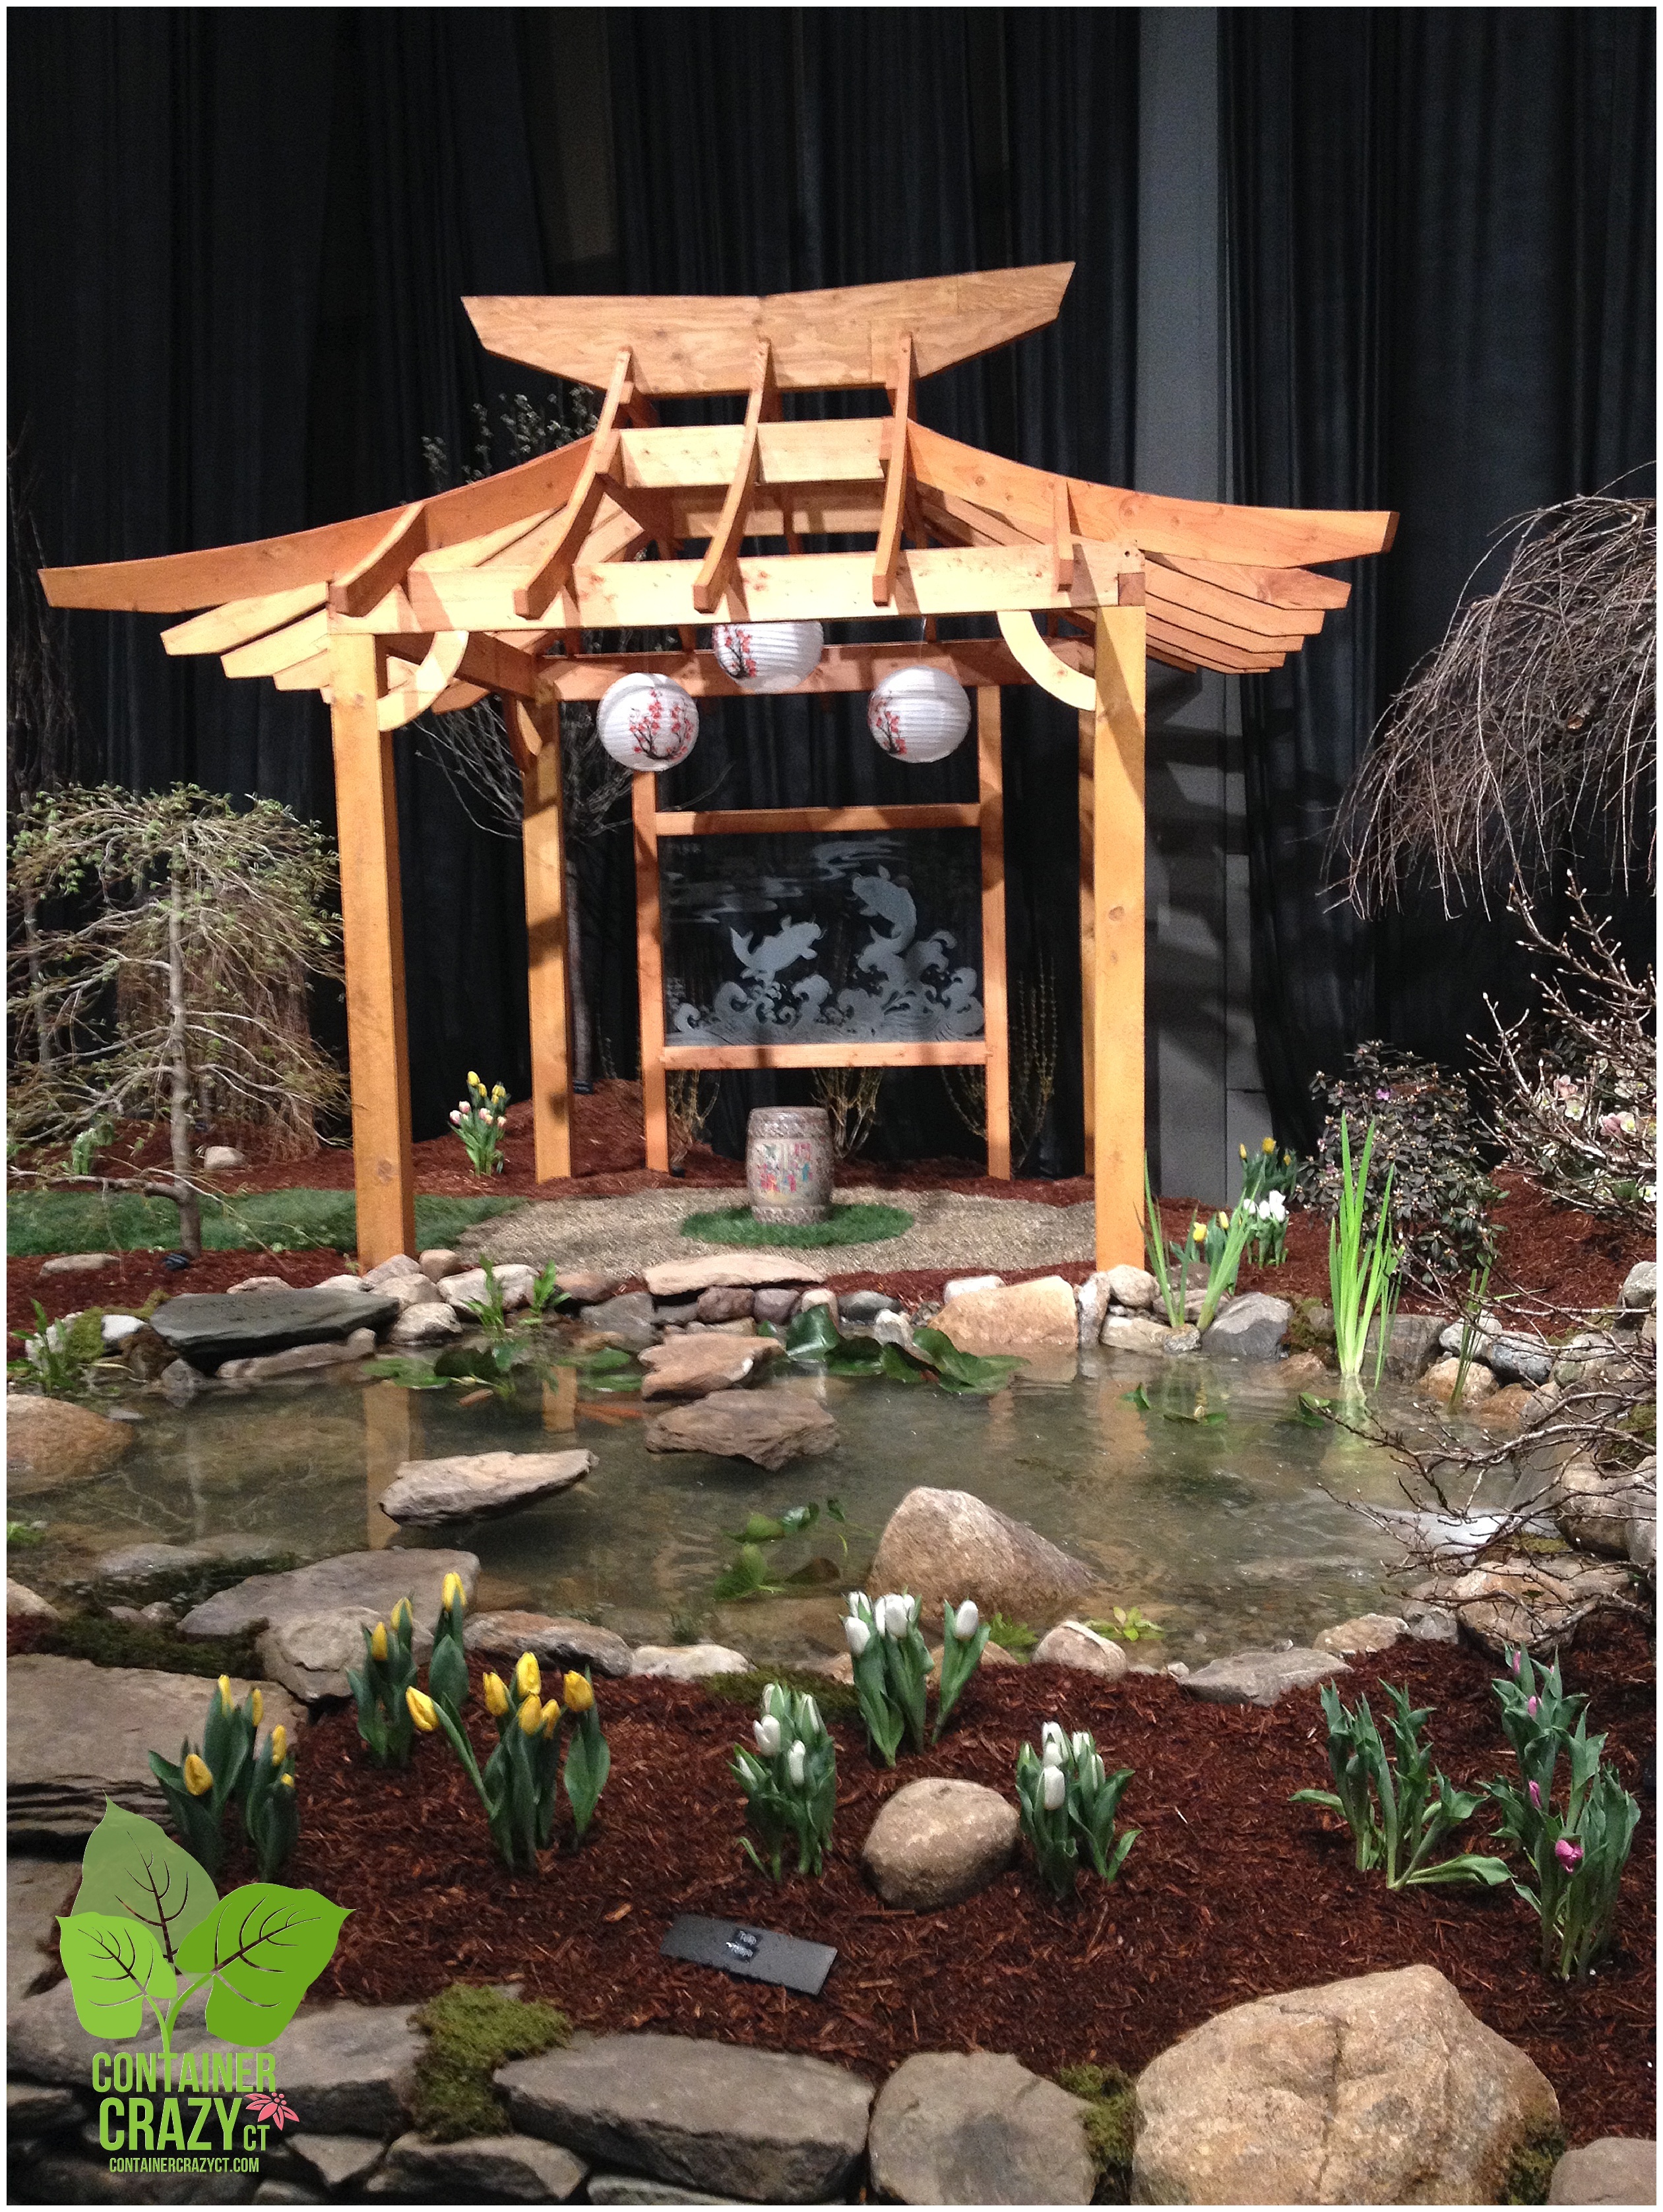
Around the bend, we came across “Aqua Scapes of CT” – Talk about a pagoda!
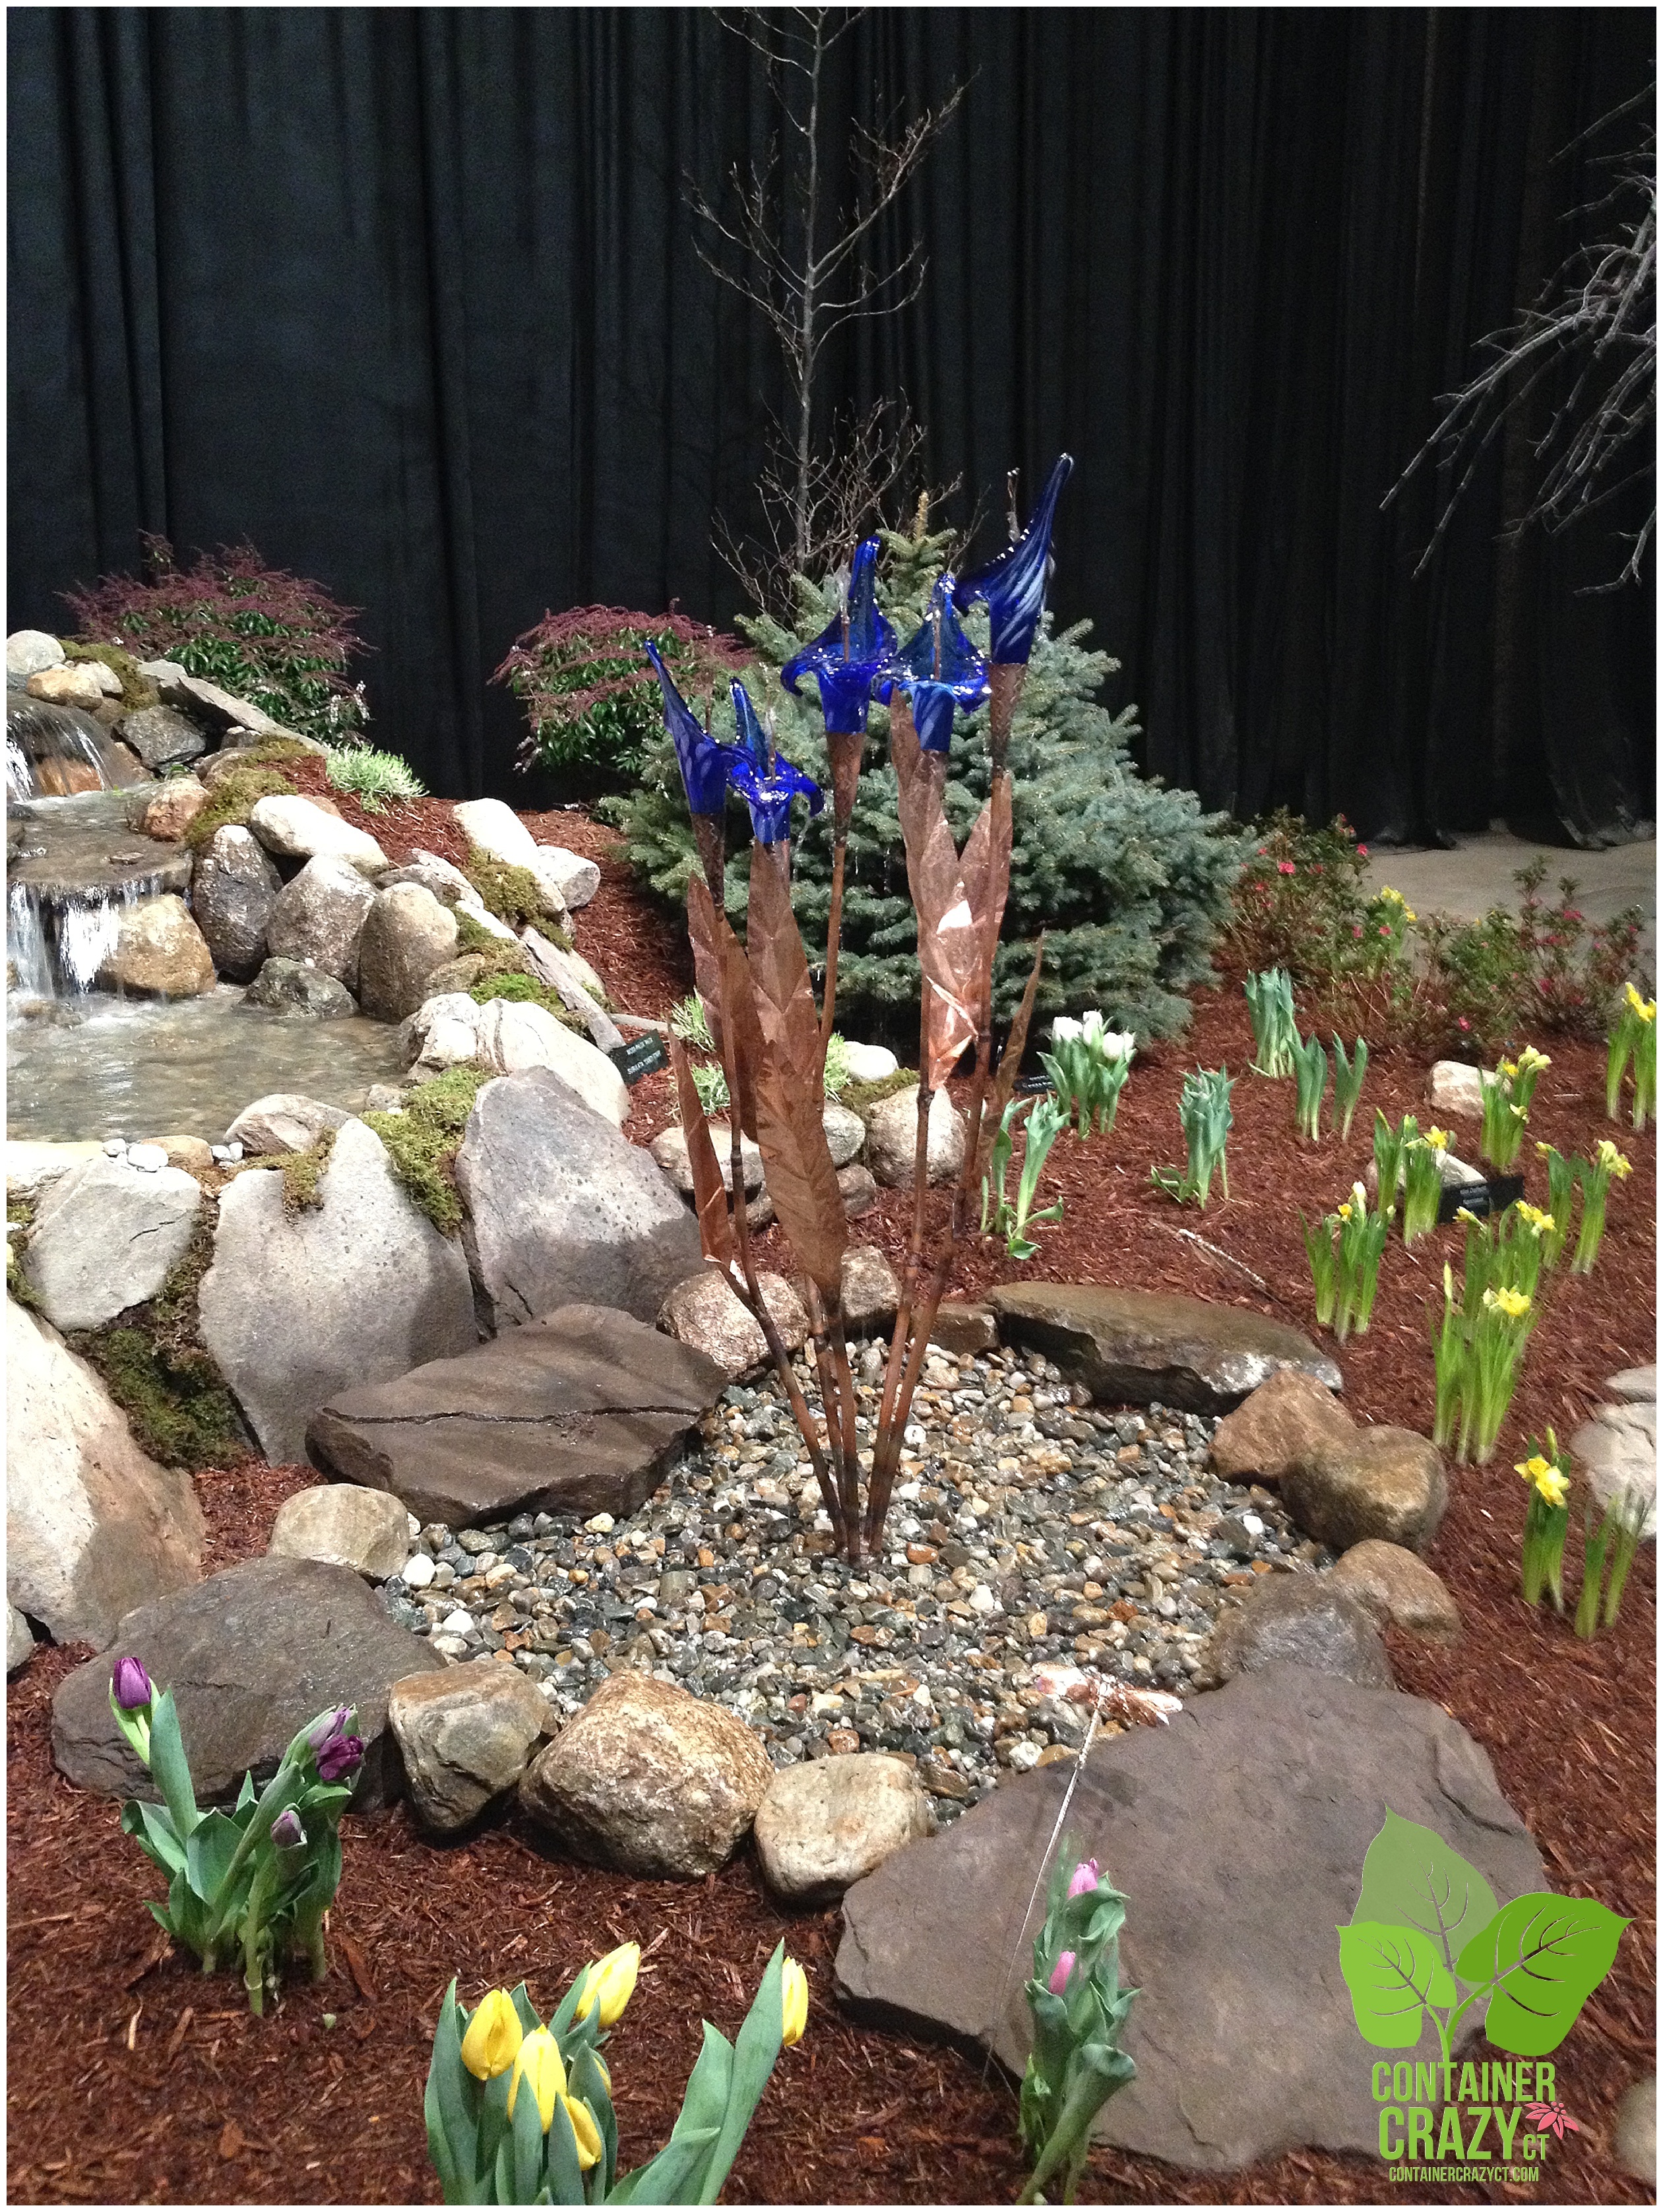
The main features at this display were all about water scenes, waterfalls, ponds, koi fish, and copper water features.
Here we were greeted by Mark Zinni of WFSB Channel 3; he noticed my small suitcase, and asked if I was coming from the airport.
When I explained I brought a suitcase along to pack my garden nick-knacks to be purchased at the show, he interviewed me along with my friend, Linda. It was aired later that evening.
And I loved what my friend, Linda, stated, “We need it, we need it to have a boost-because it is the light at the end of the tunnel…spring is around the corner.“

Aqua Scapes’ Display – Copper Garden Art among the Tulips and Daffs

Encore Landscaping Display
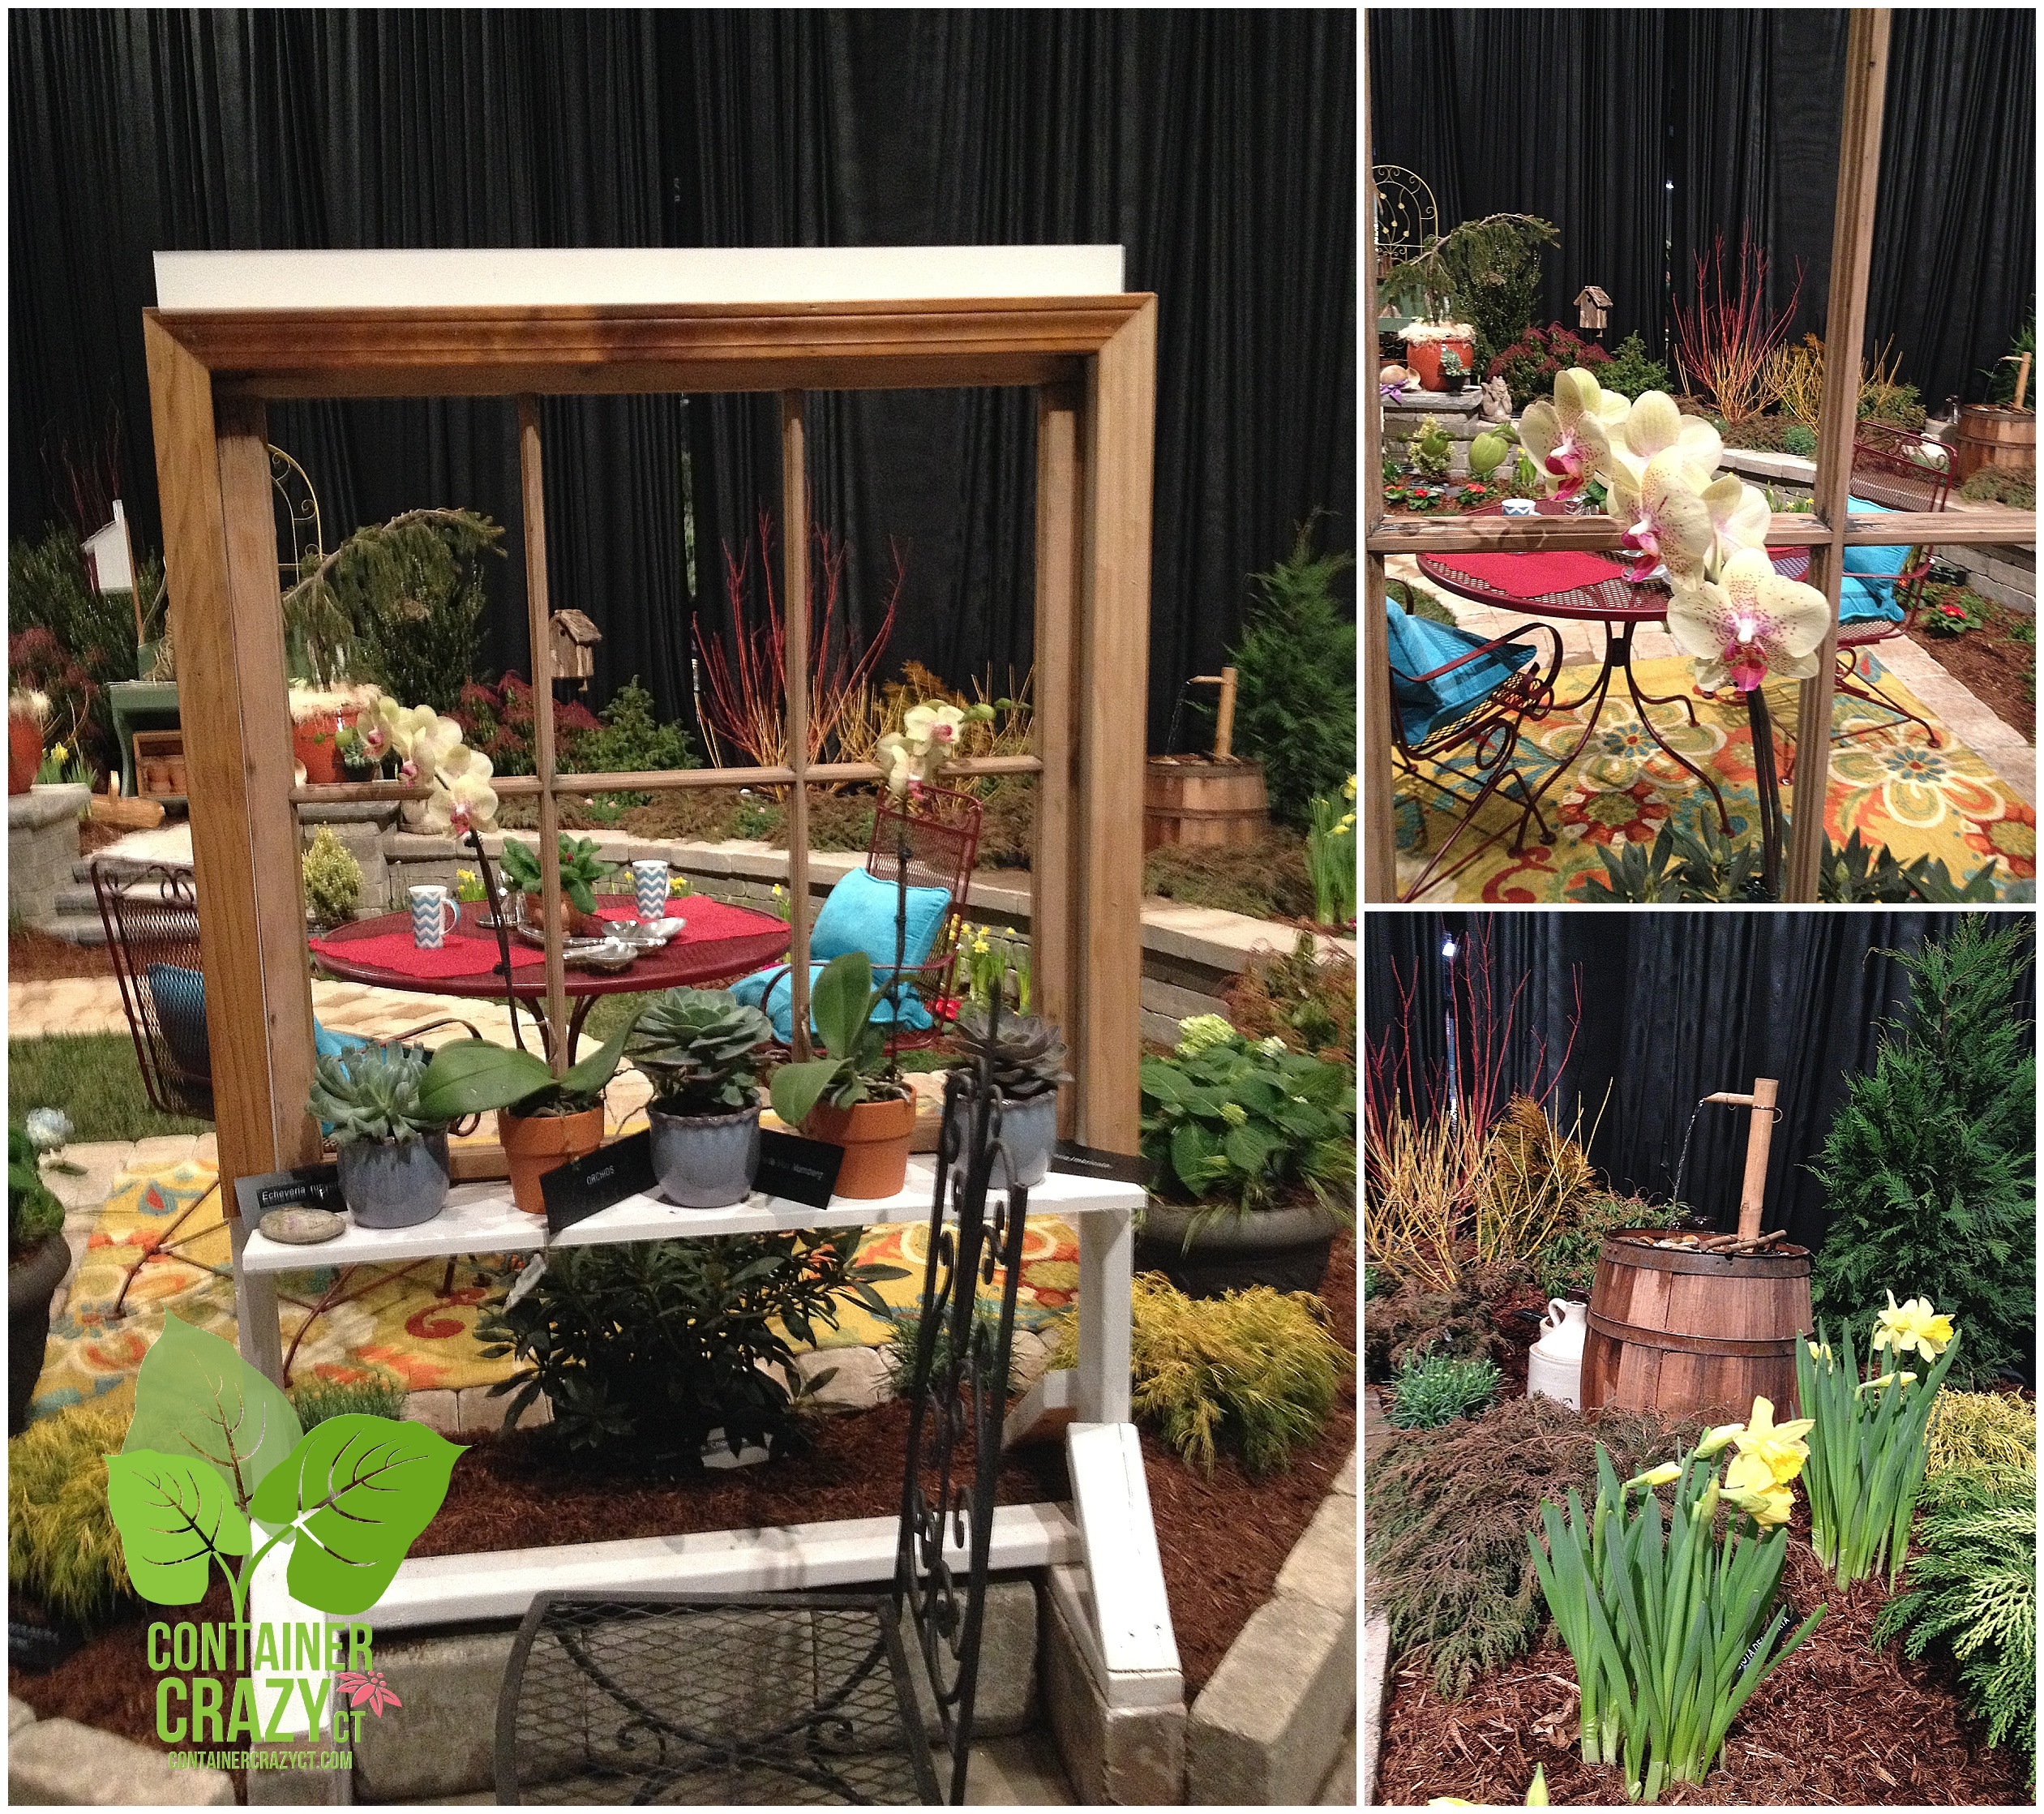
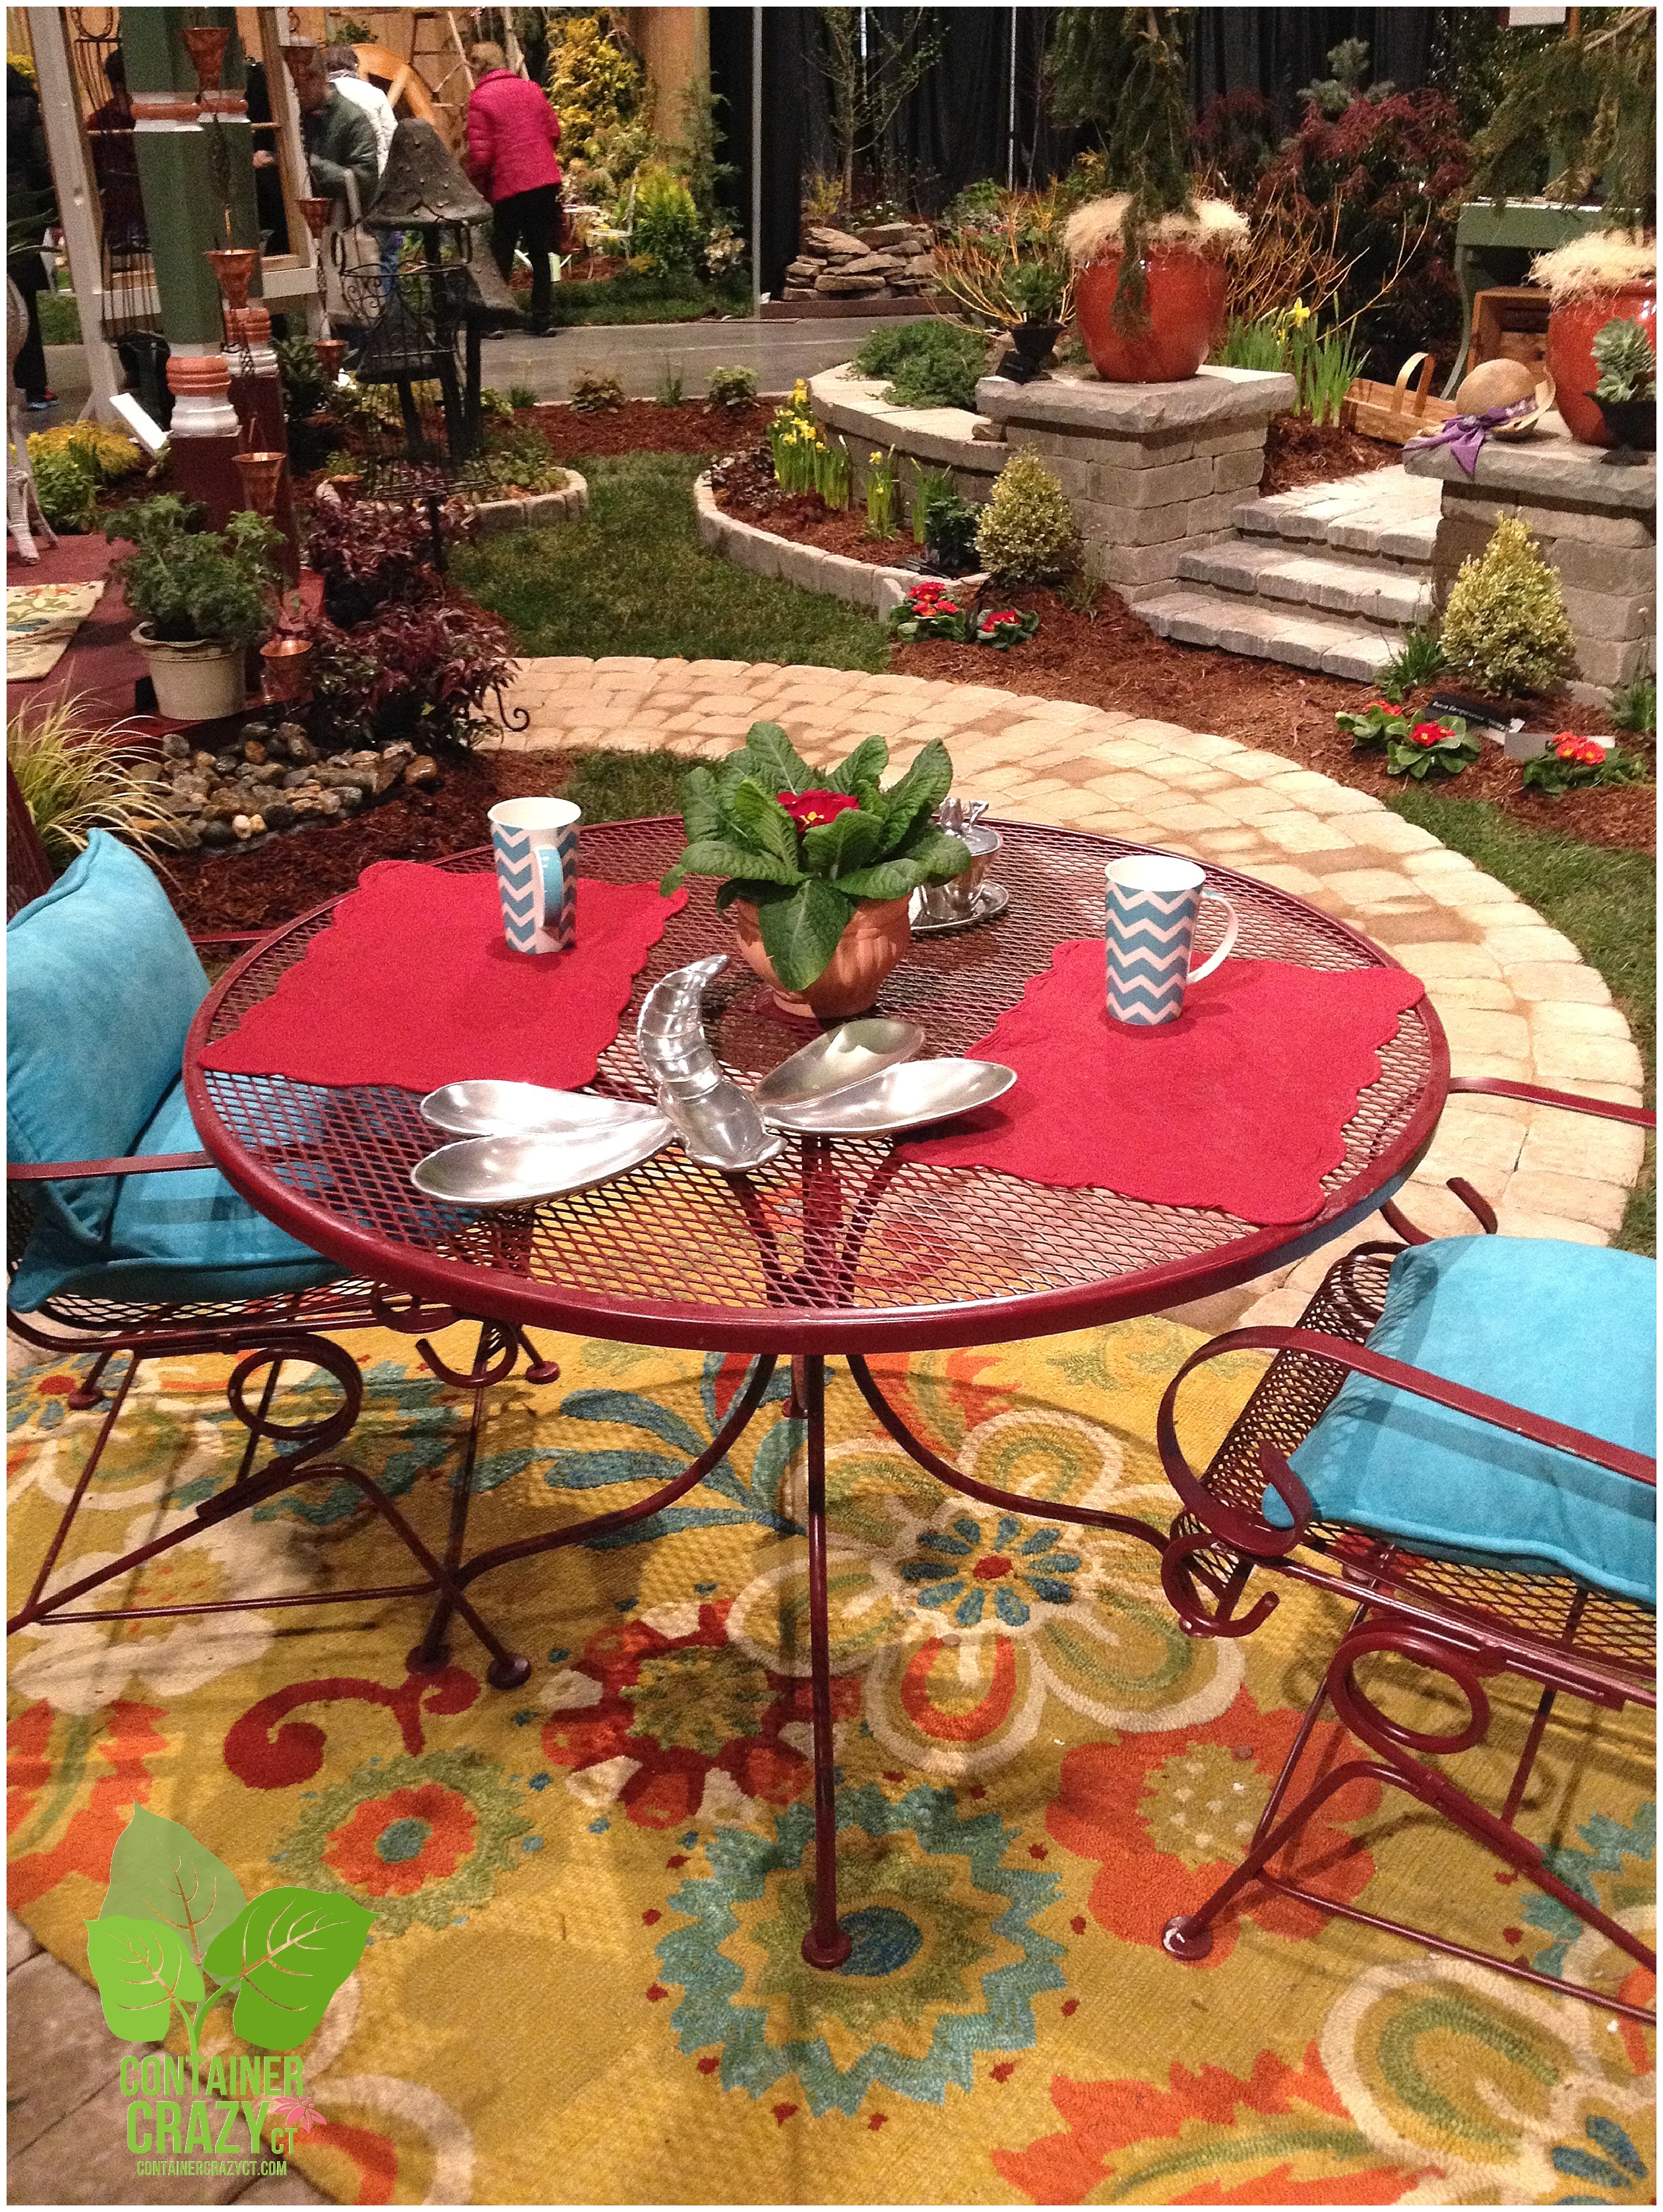
The next display which caught my eye – and was my favorite of the landscape displays – was by “Encore Landscaping.”
As I approached this display, it was the special touches which impressed me most – The window frame with decor, container gardens situated just perfectly to frame areas, a little sitting area with table and chairs, etc.
But as I browsed more of the various features, I could not find the sign to indicate which designer it was. Linda looked it up for me in the garden show book, and it was a pleasure to discover all was designed by a friend, Diane of “Encore Landscaping.” She and I have chatted about design in the past.
Encore Landscaping described their landscape display as a “…sunny and warm day in spring, with the promise of even warmer days soon to come.“

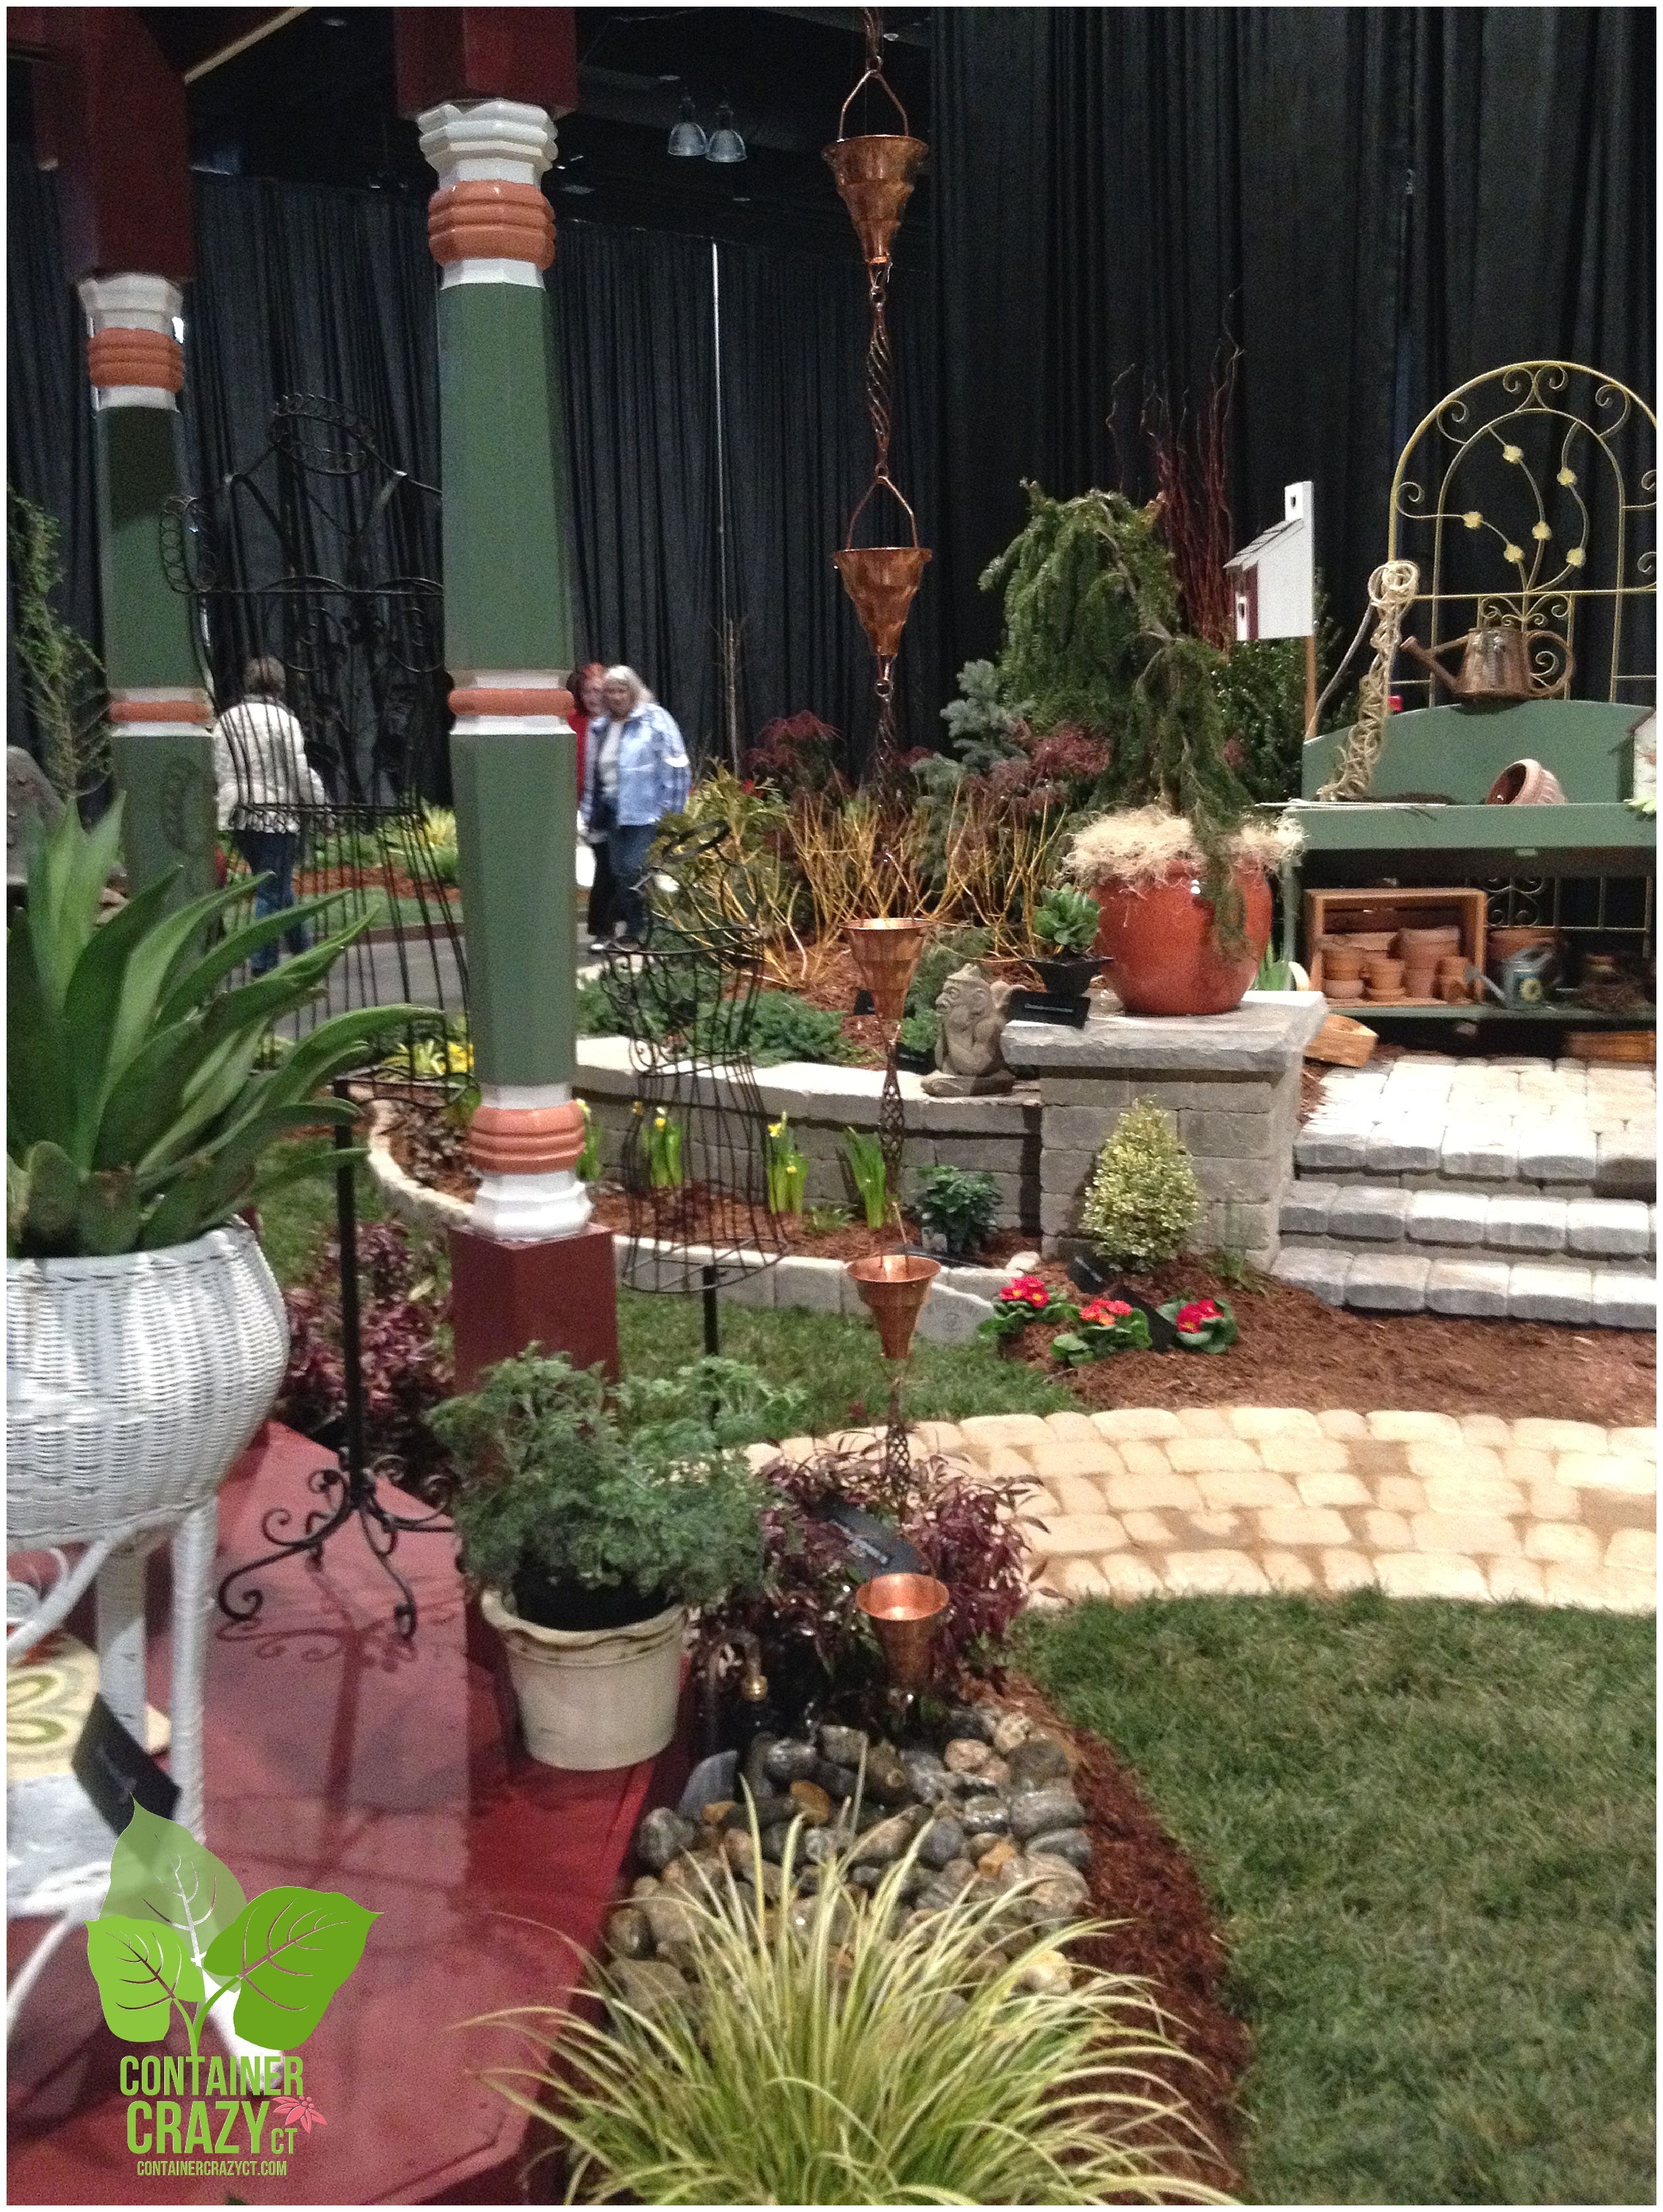
Encore Landscaping

Encore Landscaping

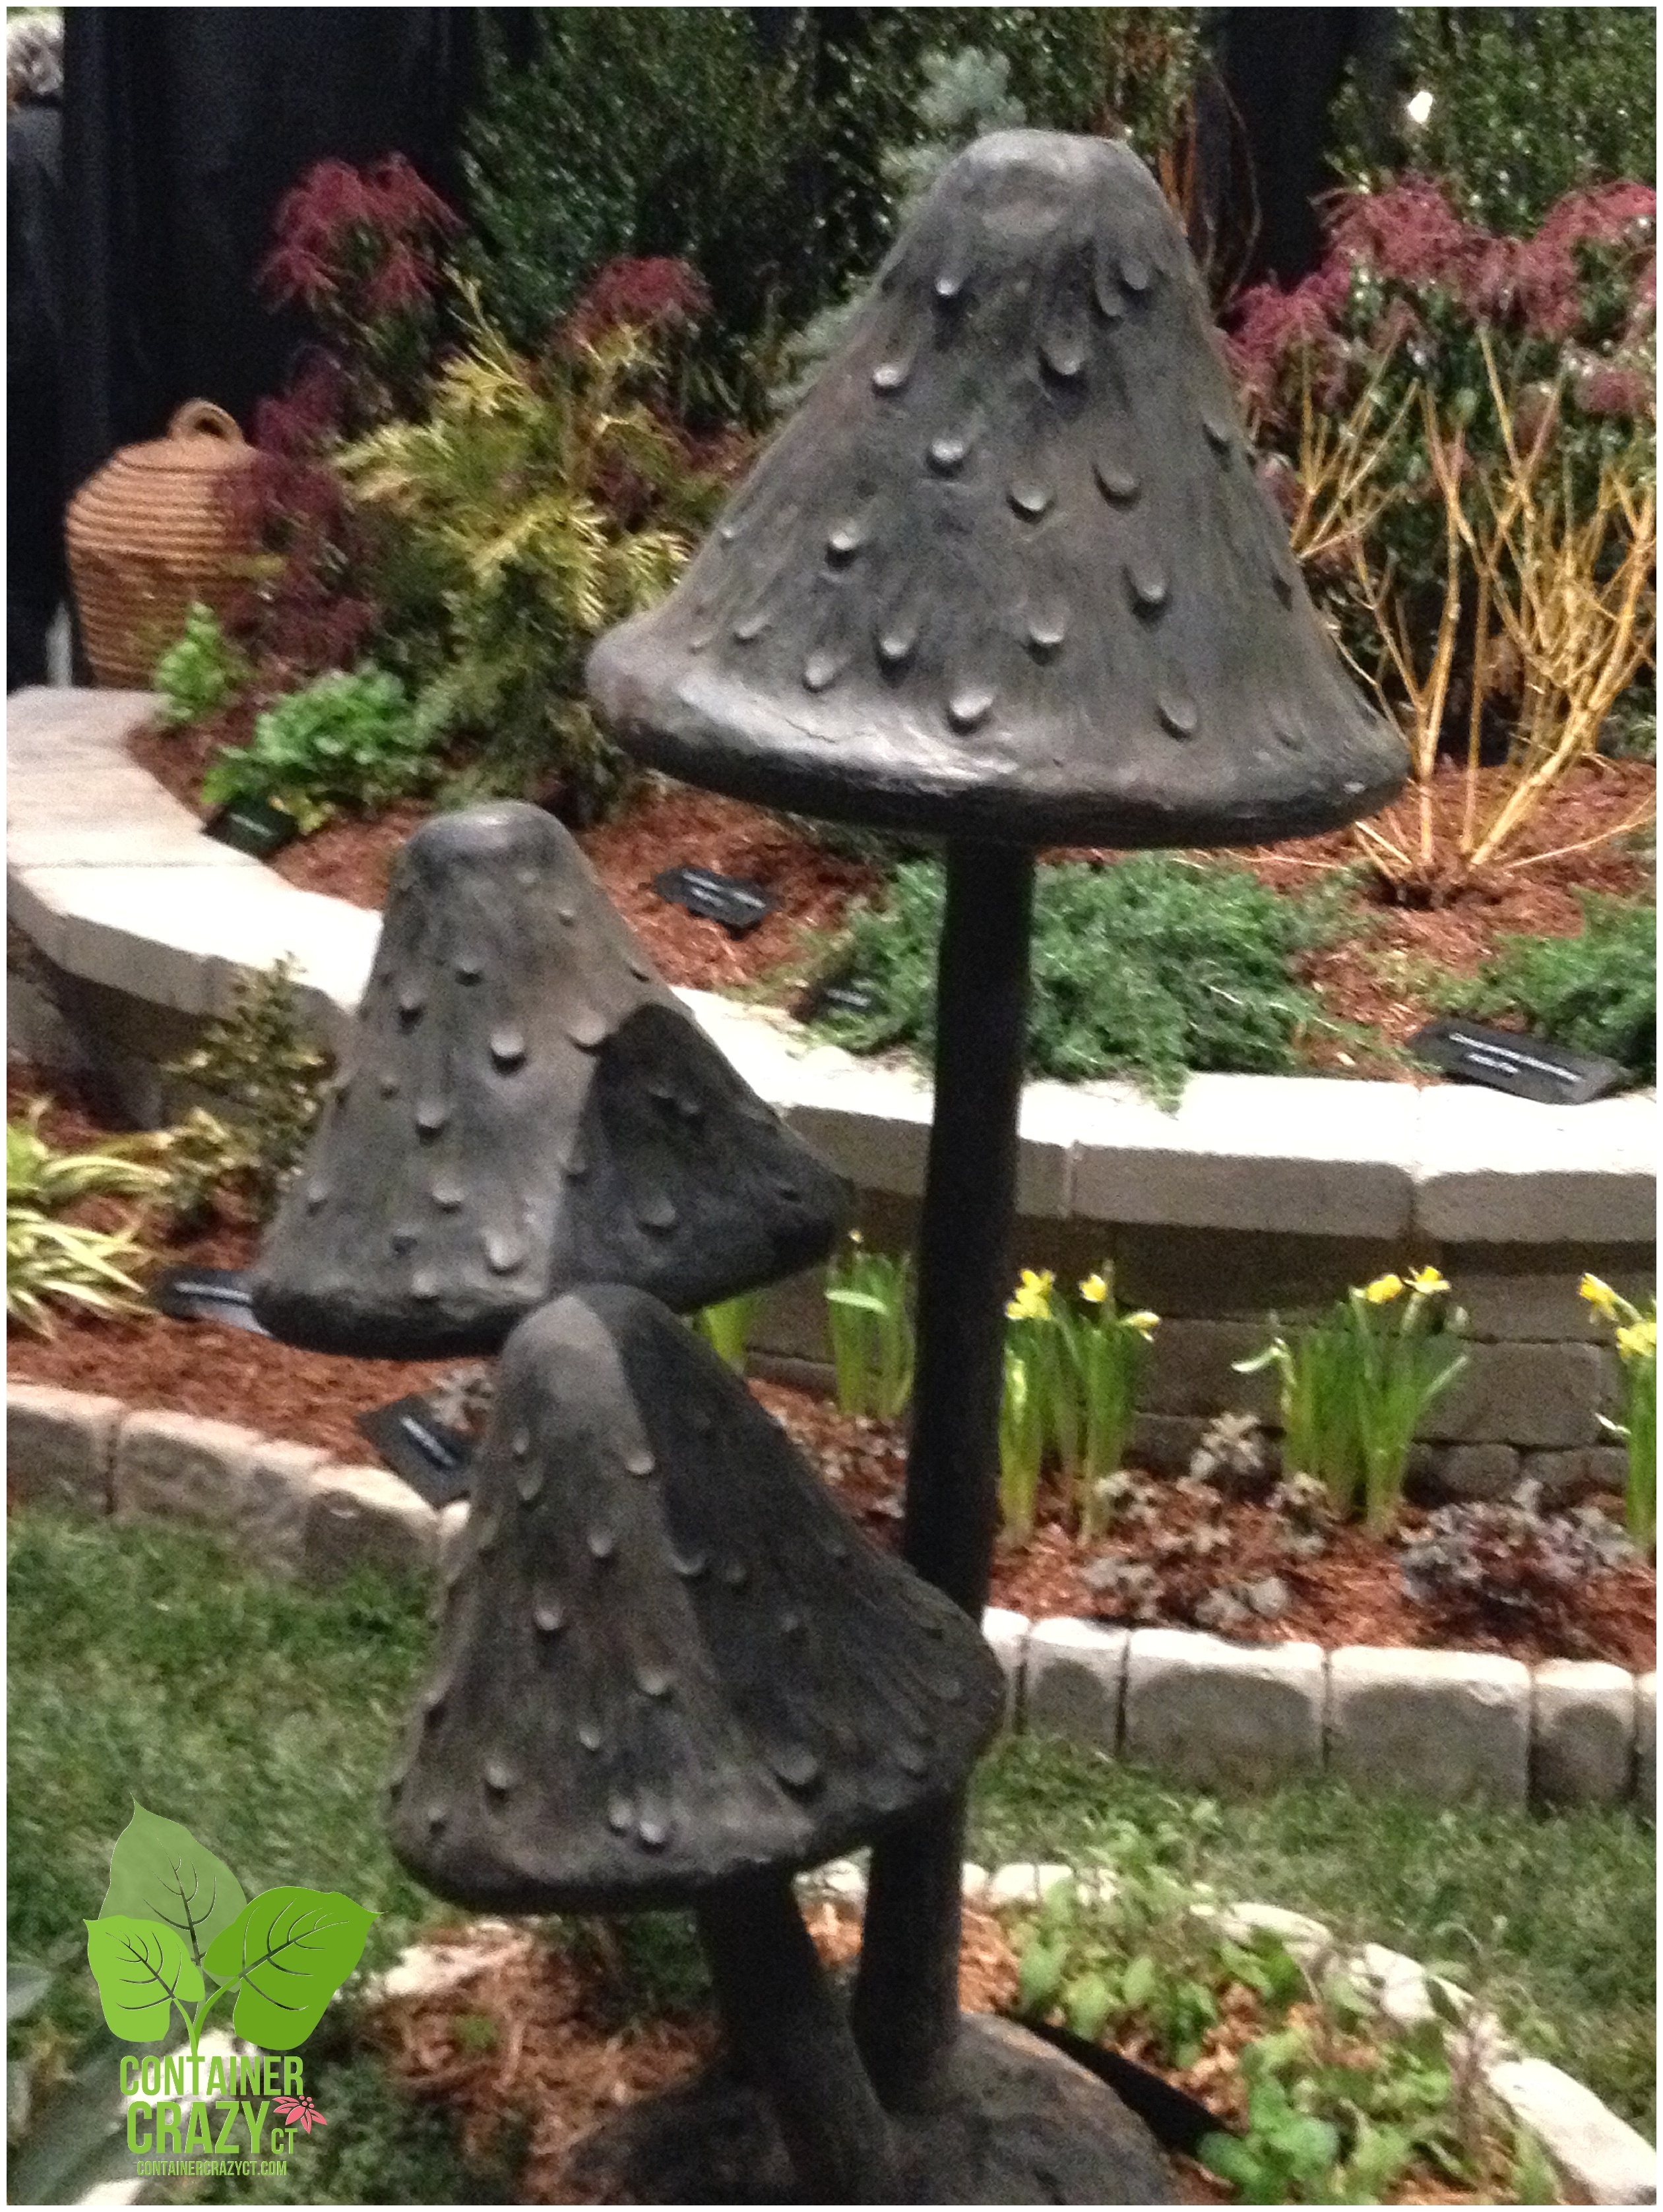
Encore Landscaping – Love those mushrooms
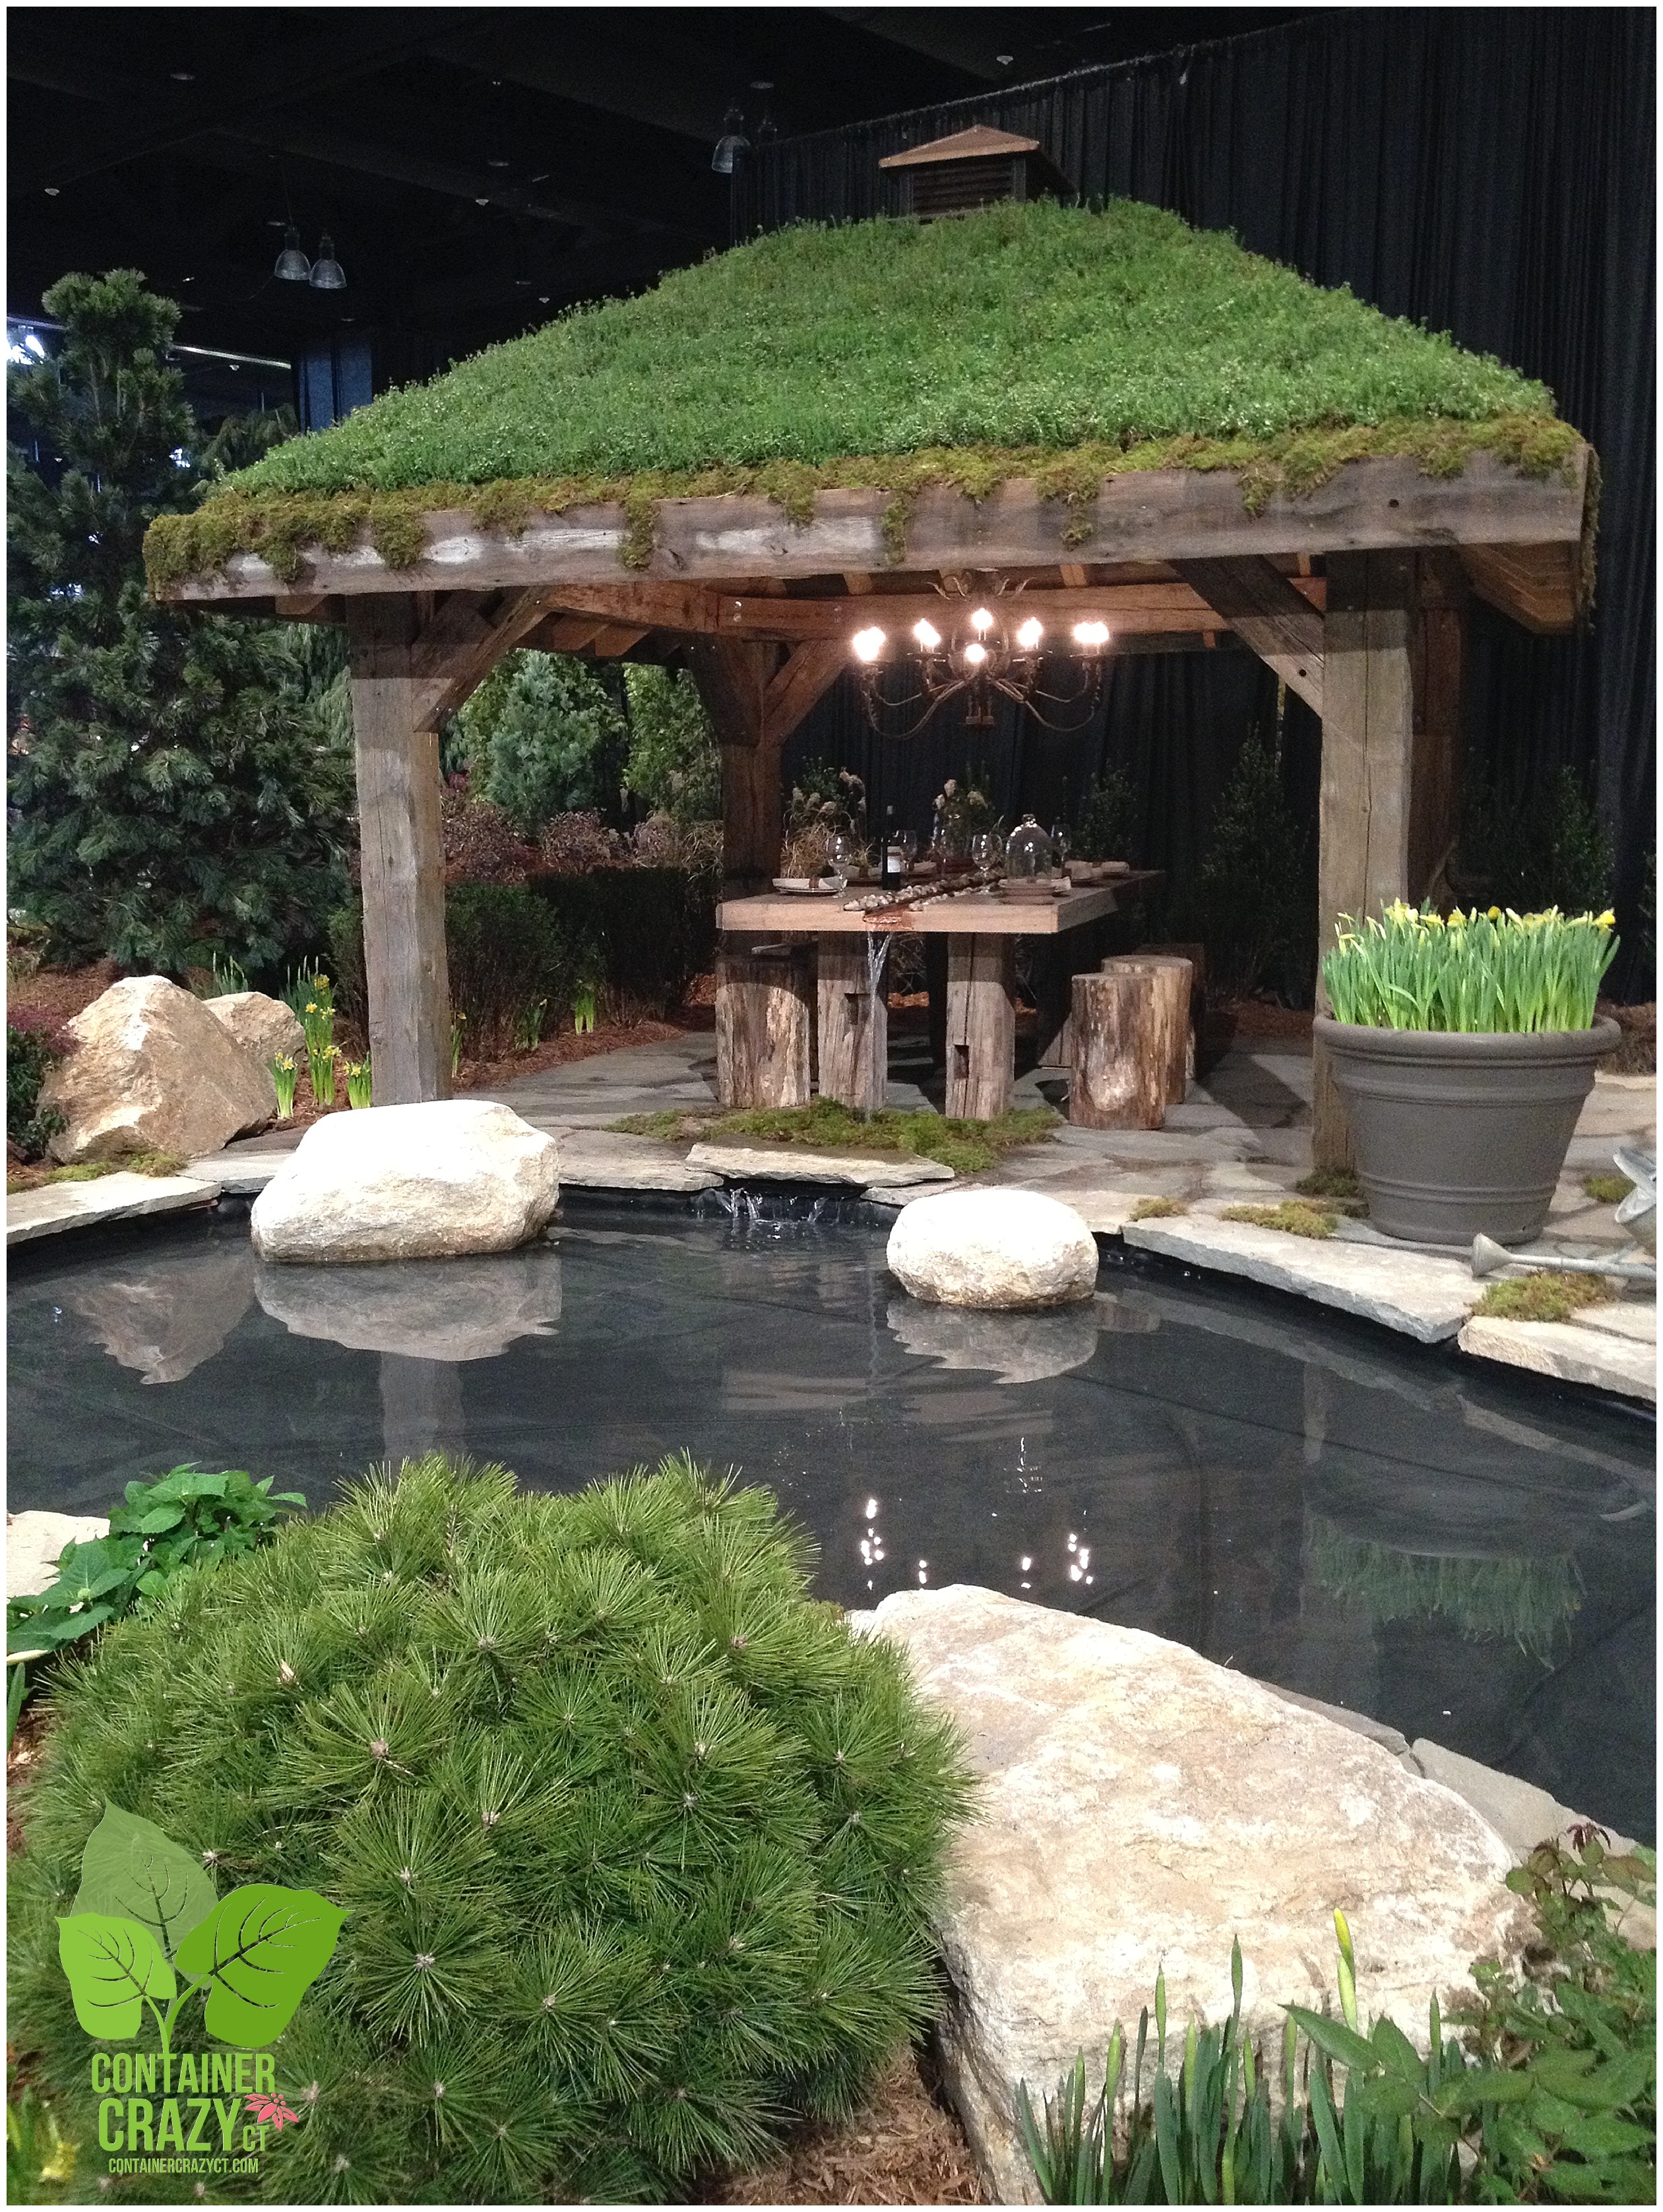
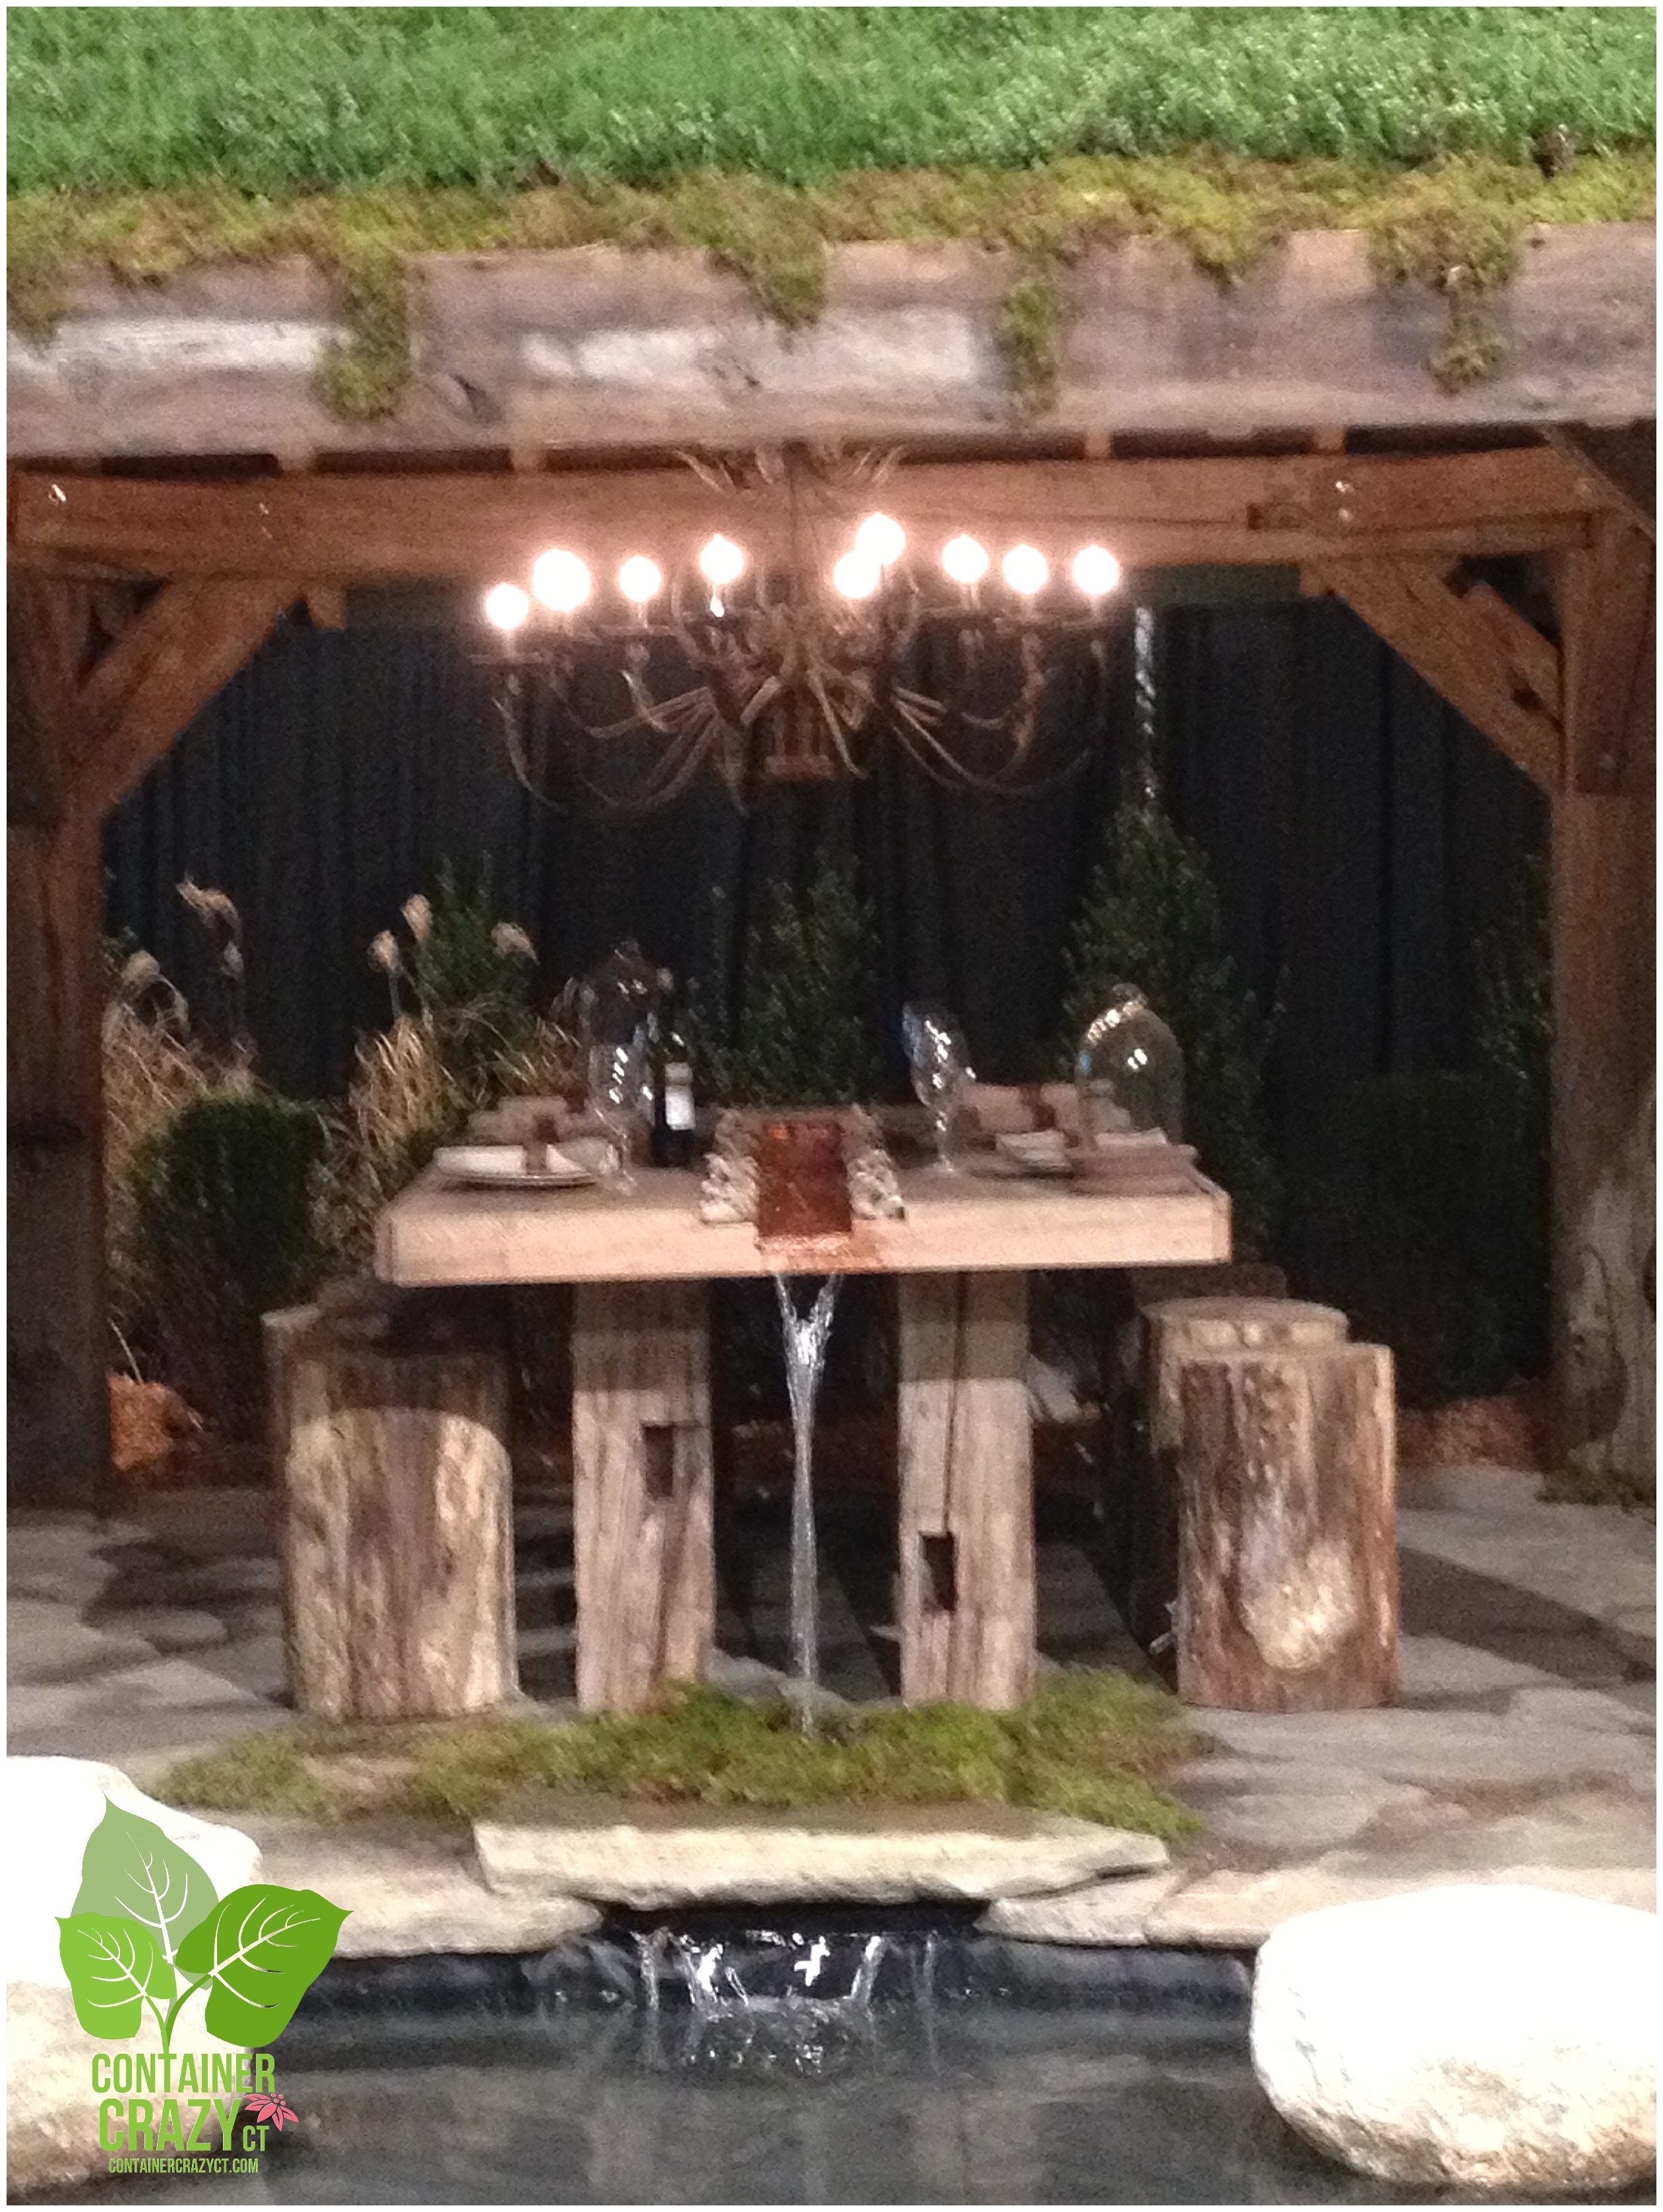
And who could not fall in love with the next landscape display by “Creative Contour Landscape Design.”
The greenroof, dining table with running water spilling down the ends, and the water features were spectacular.

Creative Contour

Creative Contour Landscape Design

Creative Contour Landscape Design
If I remember correctly, this was the far right part of their design – but you see so much, as I browse the photos – I have to rethink – but pretty sure it was. Loved the big pots here and there, the sitting area, etc.
When I spoke to the designer, Jennifer Noyes, she quickly asked if I would like to be on her consultation list – and I thought – “Yah-right -would I?! But it is not in my budget this year.”
Who wouldn’t love that scene above tho – I would dine at that table every night during the summer – even if I was eating alone.
Creative Contour described their display as, “...cascading waterfalls into a “Spring” fed reflection pool…“

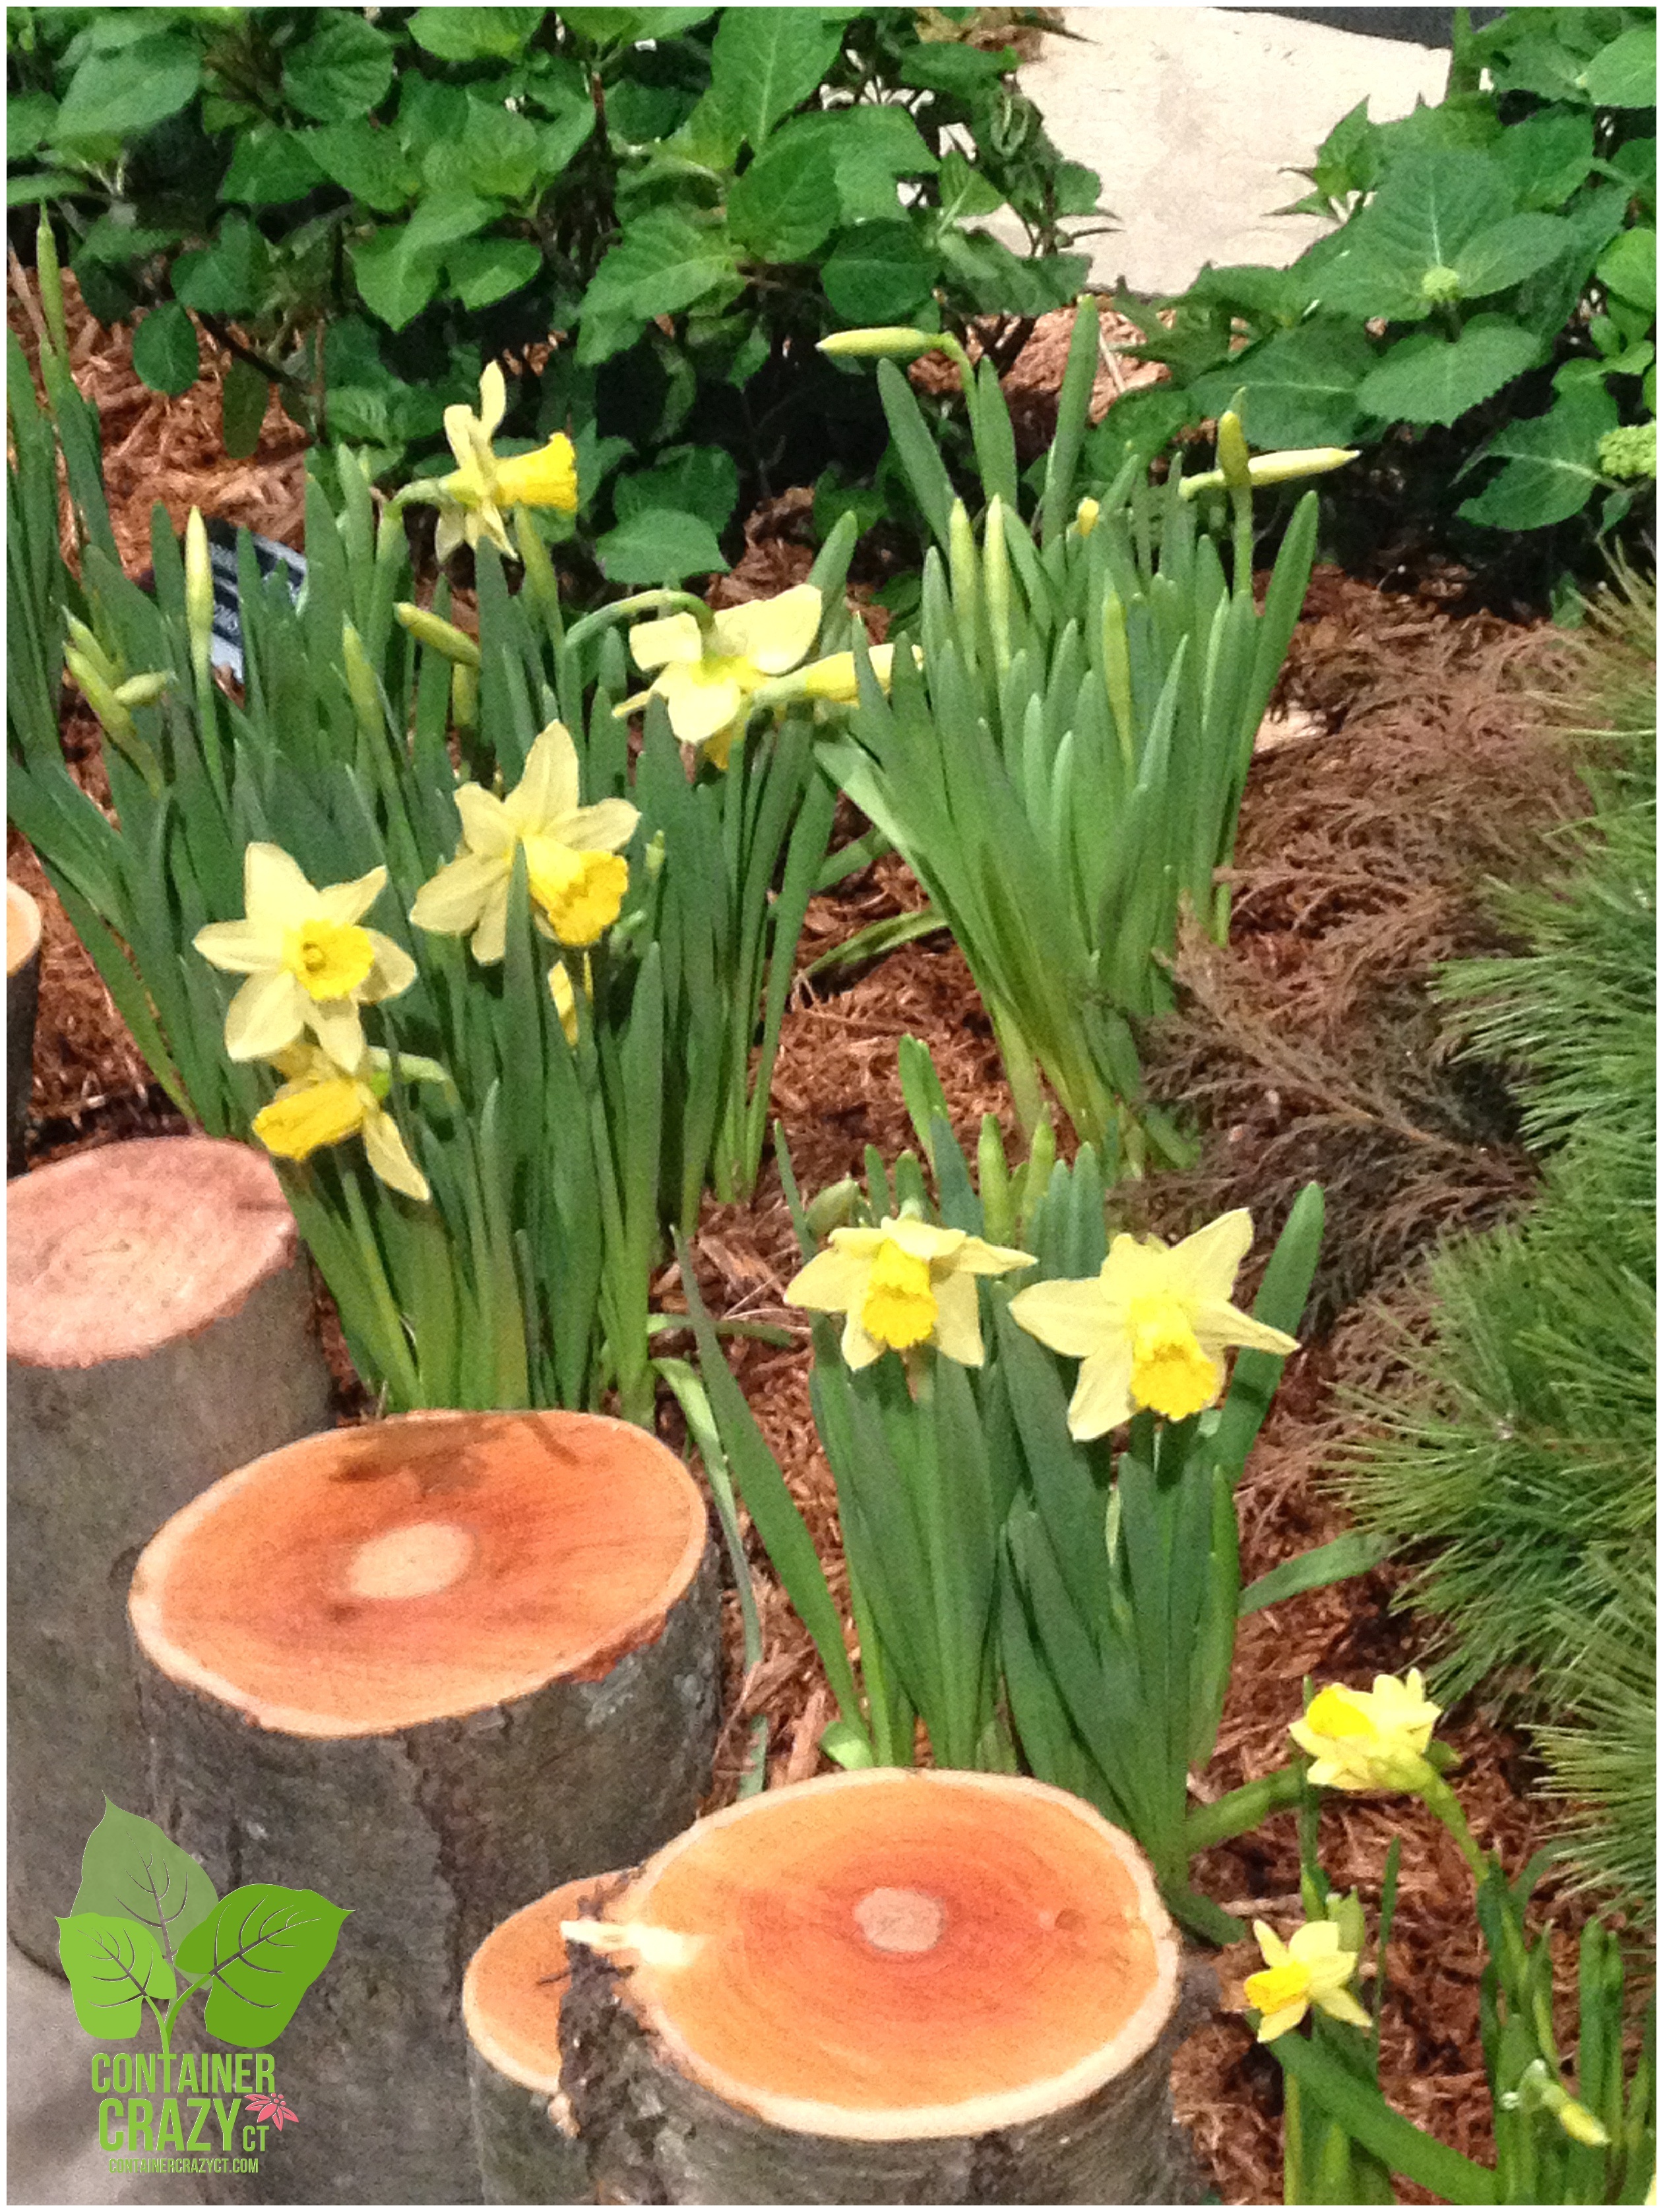
Wood Edges
Again – it is hard to remember exactly which display this was above, but I like the wood log sections and how they carefully placed them as a border’s edge.

Display at the CT Flower and Garden Show 2015
I apologize for not noting the name of this display – but wow – they think of everything!
PLANTS FOR SALE BY GREENHOUSE GROWERS ASSOC.

Greenhouse Growers Assoc. Area

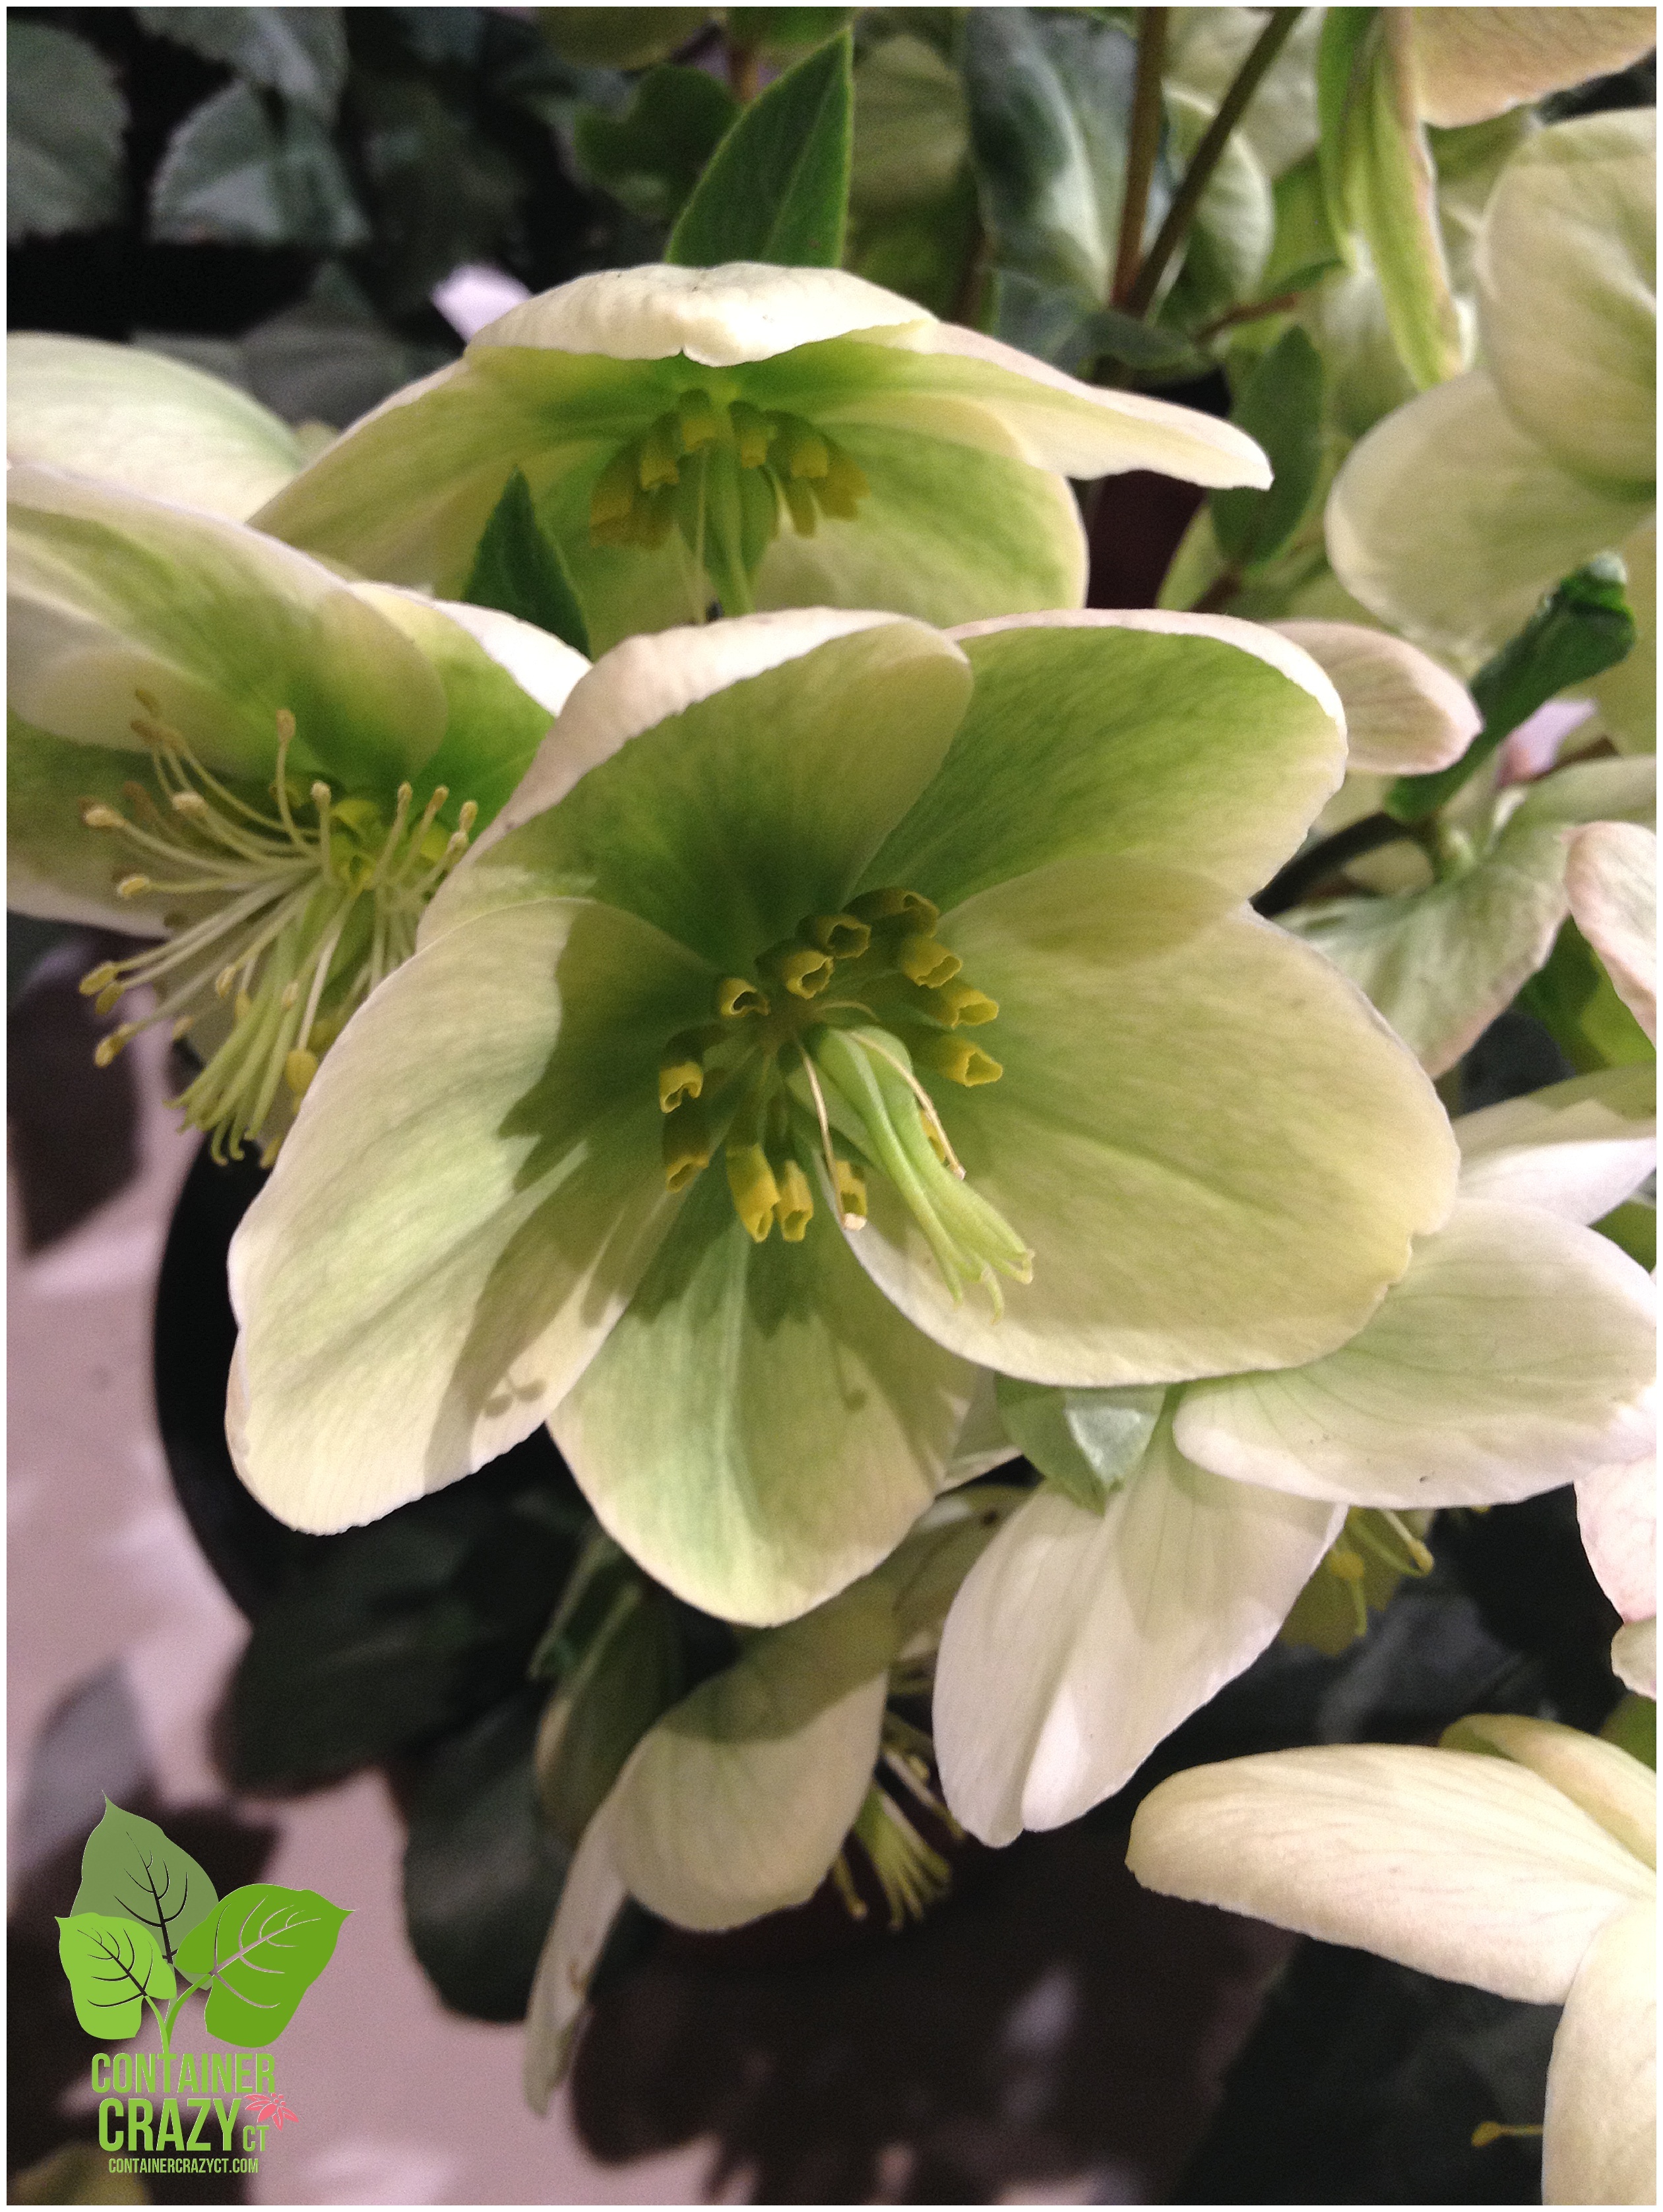
Hellebore at Greenhouse Growers Assoc.
Mentioned previously in a blog post about the upcoming show, there are plants galore you may purchase at the show. One area showcases several florists and this is where I got a close up photo of an early blooming perennial, Hellebore. This will be the first one to show its blooms and foliage after our abundance of snow melts in the spring – sometimes this perennial pops up while there is some snow left standing on the ground too.
The CT Greenhouse Growers Association is a trade organization representing the interests of this state’s 150-plus greenhouse growers.
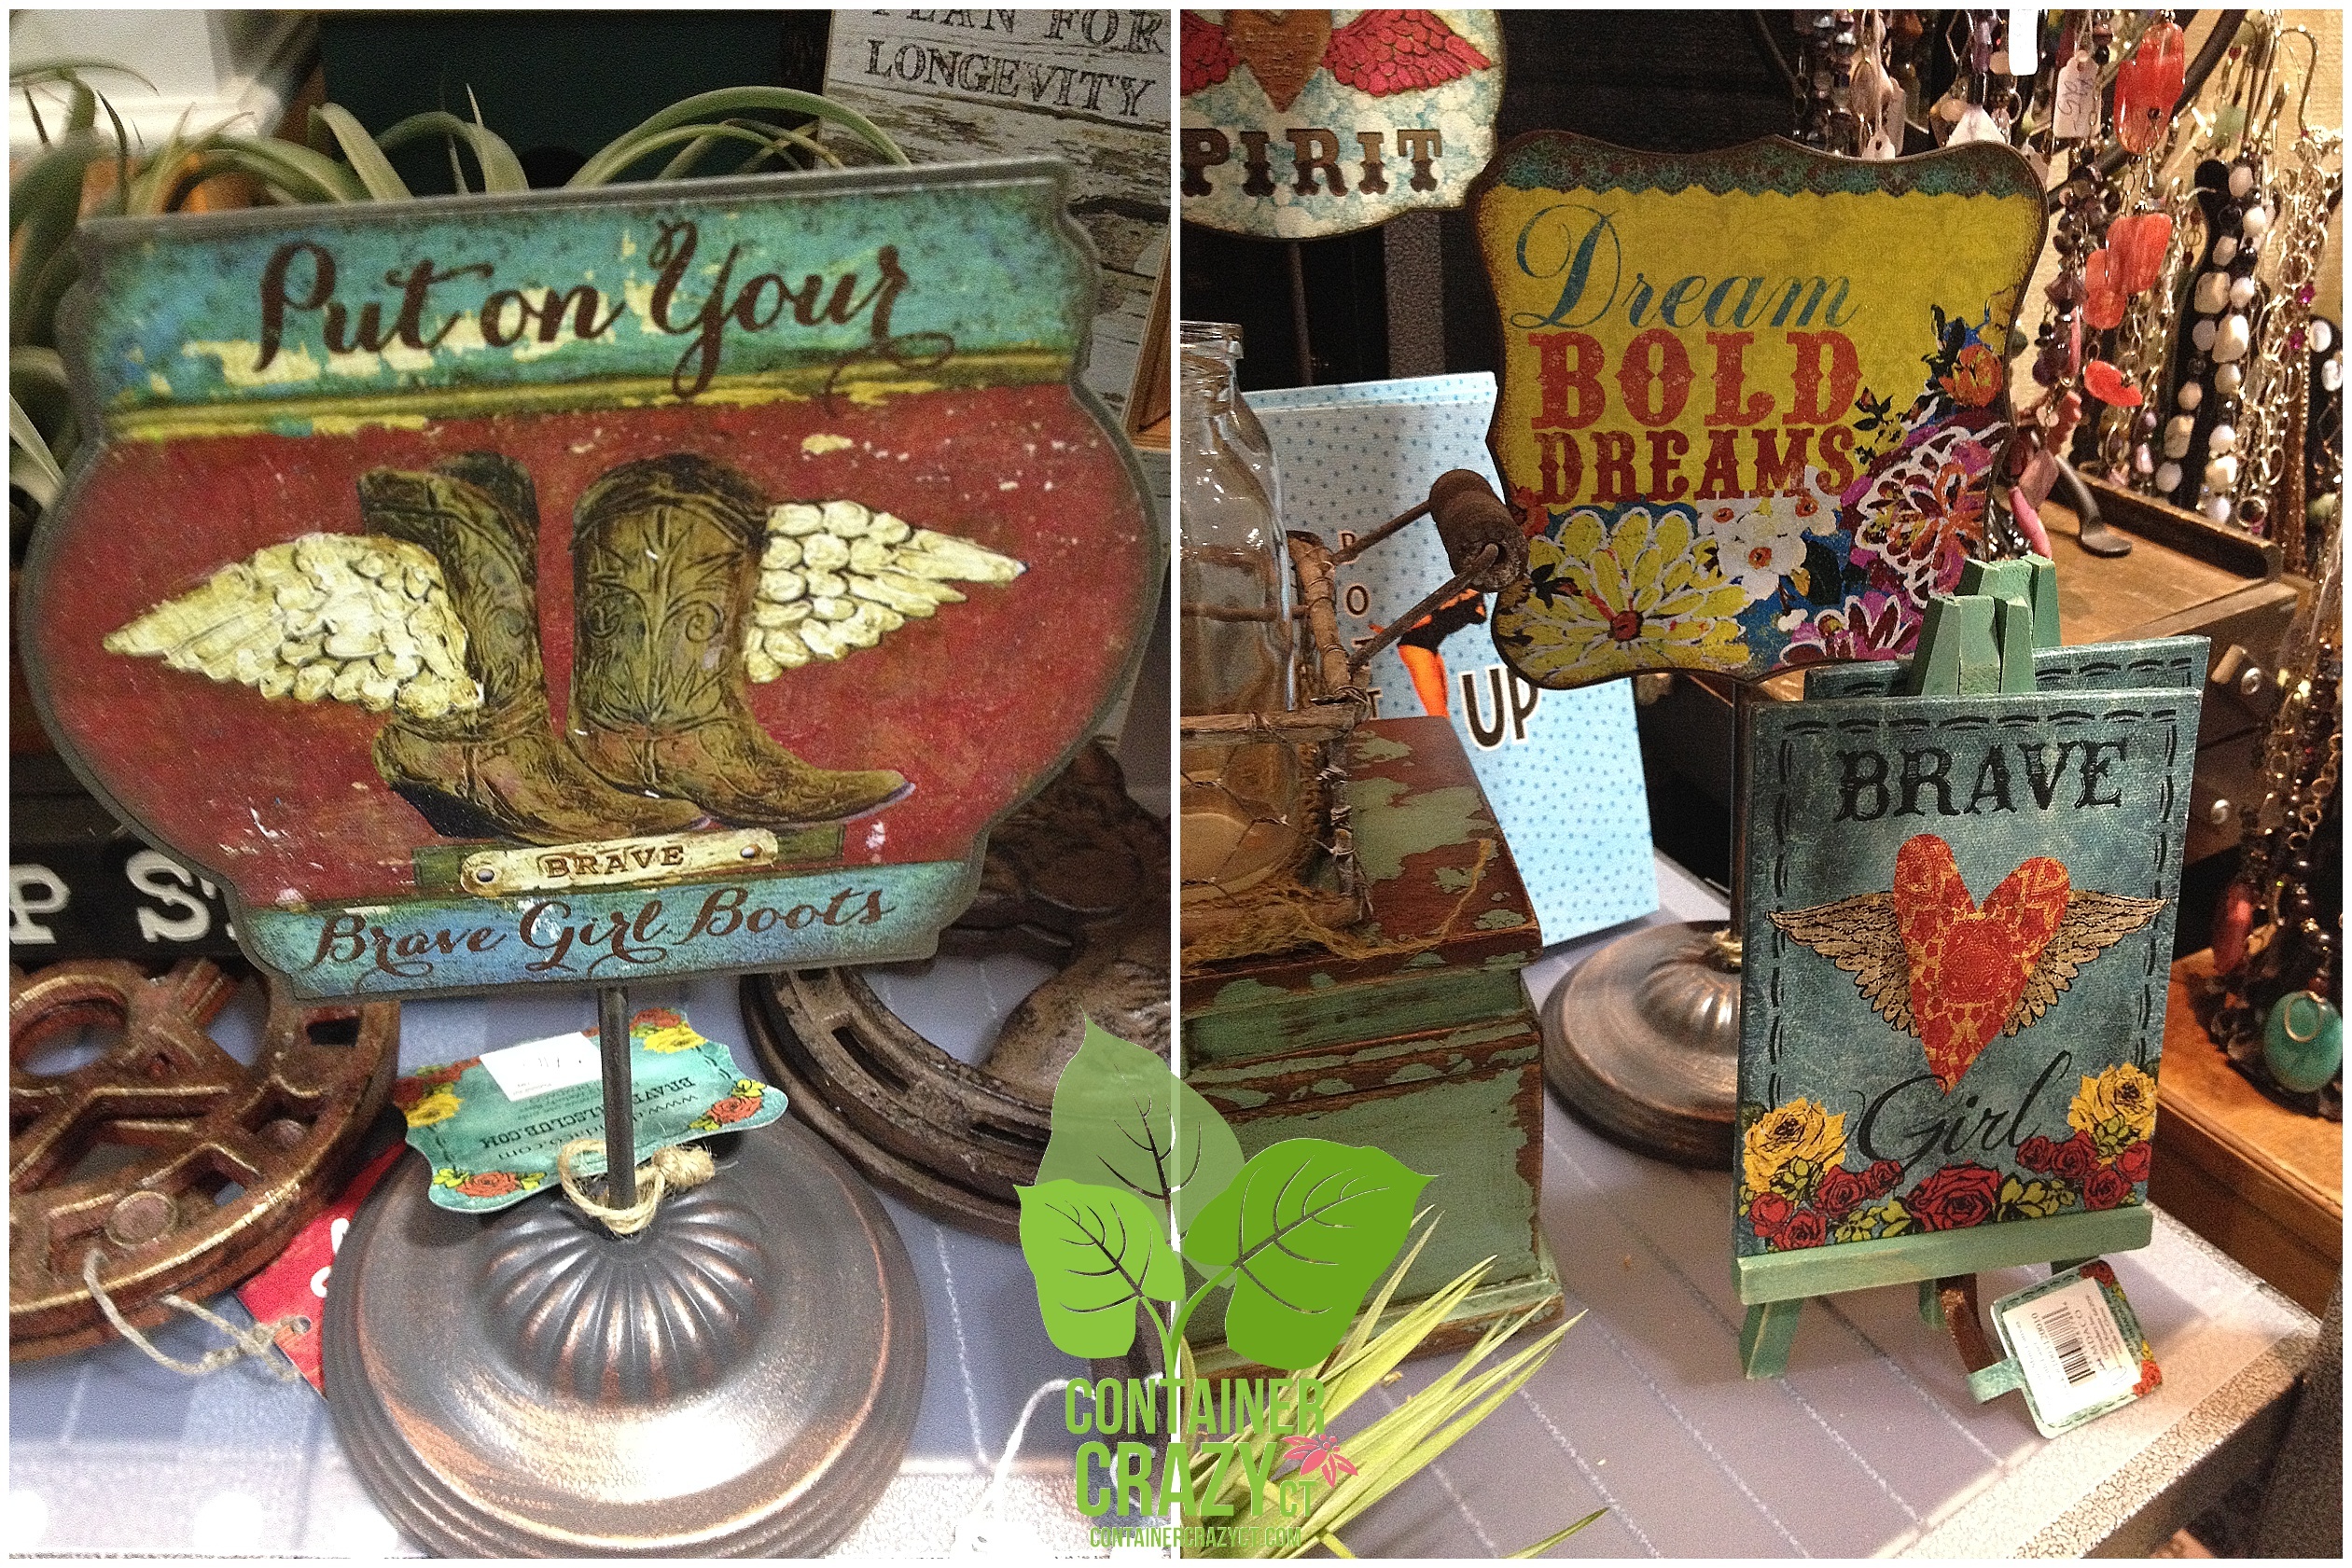
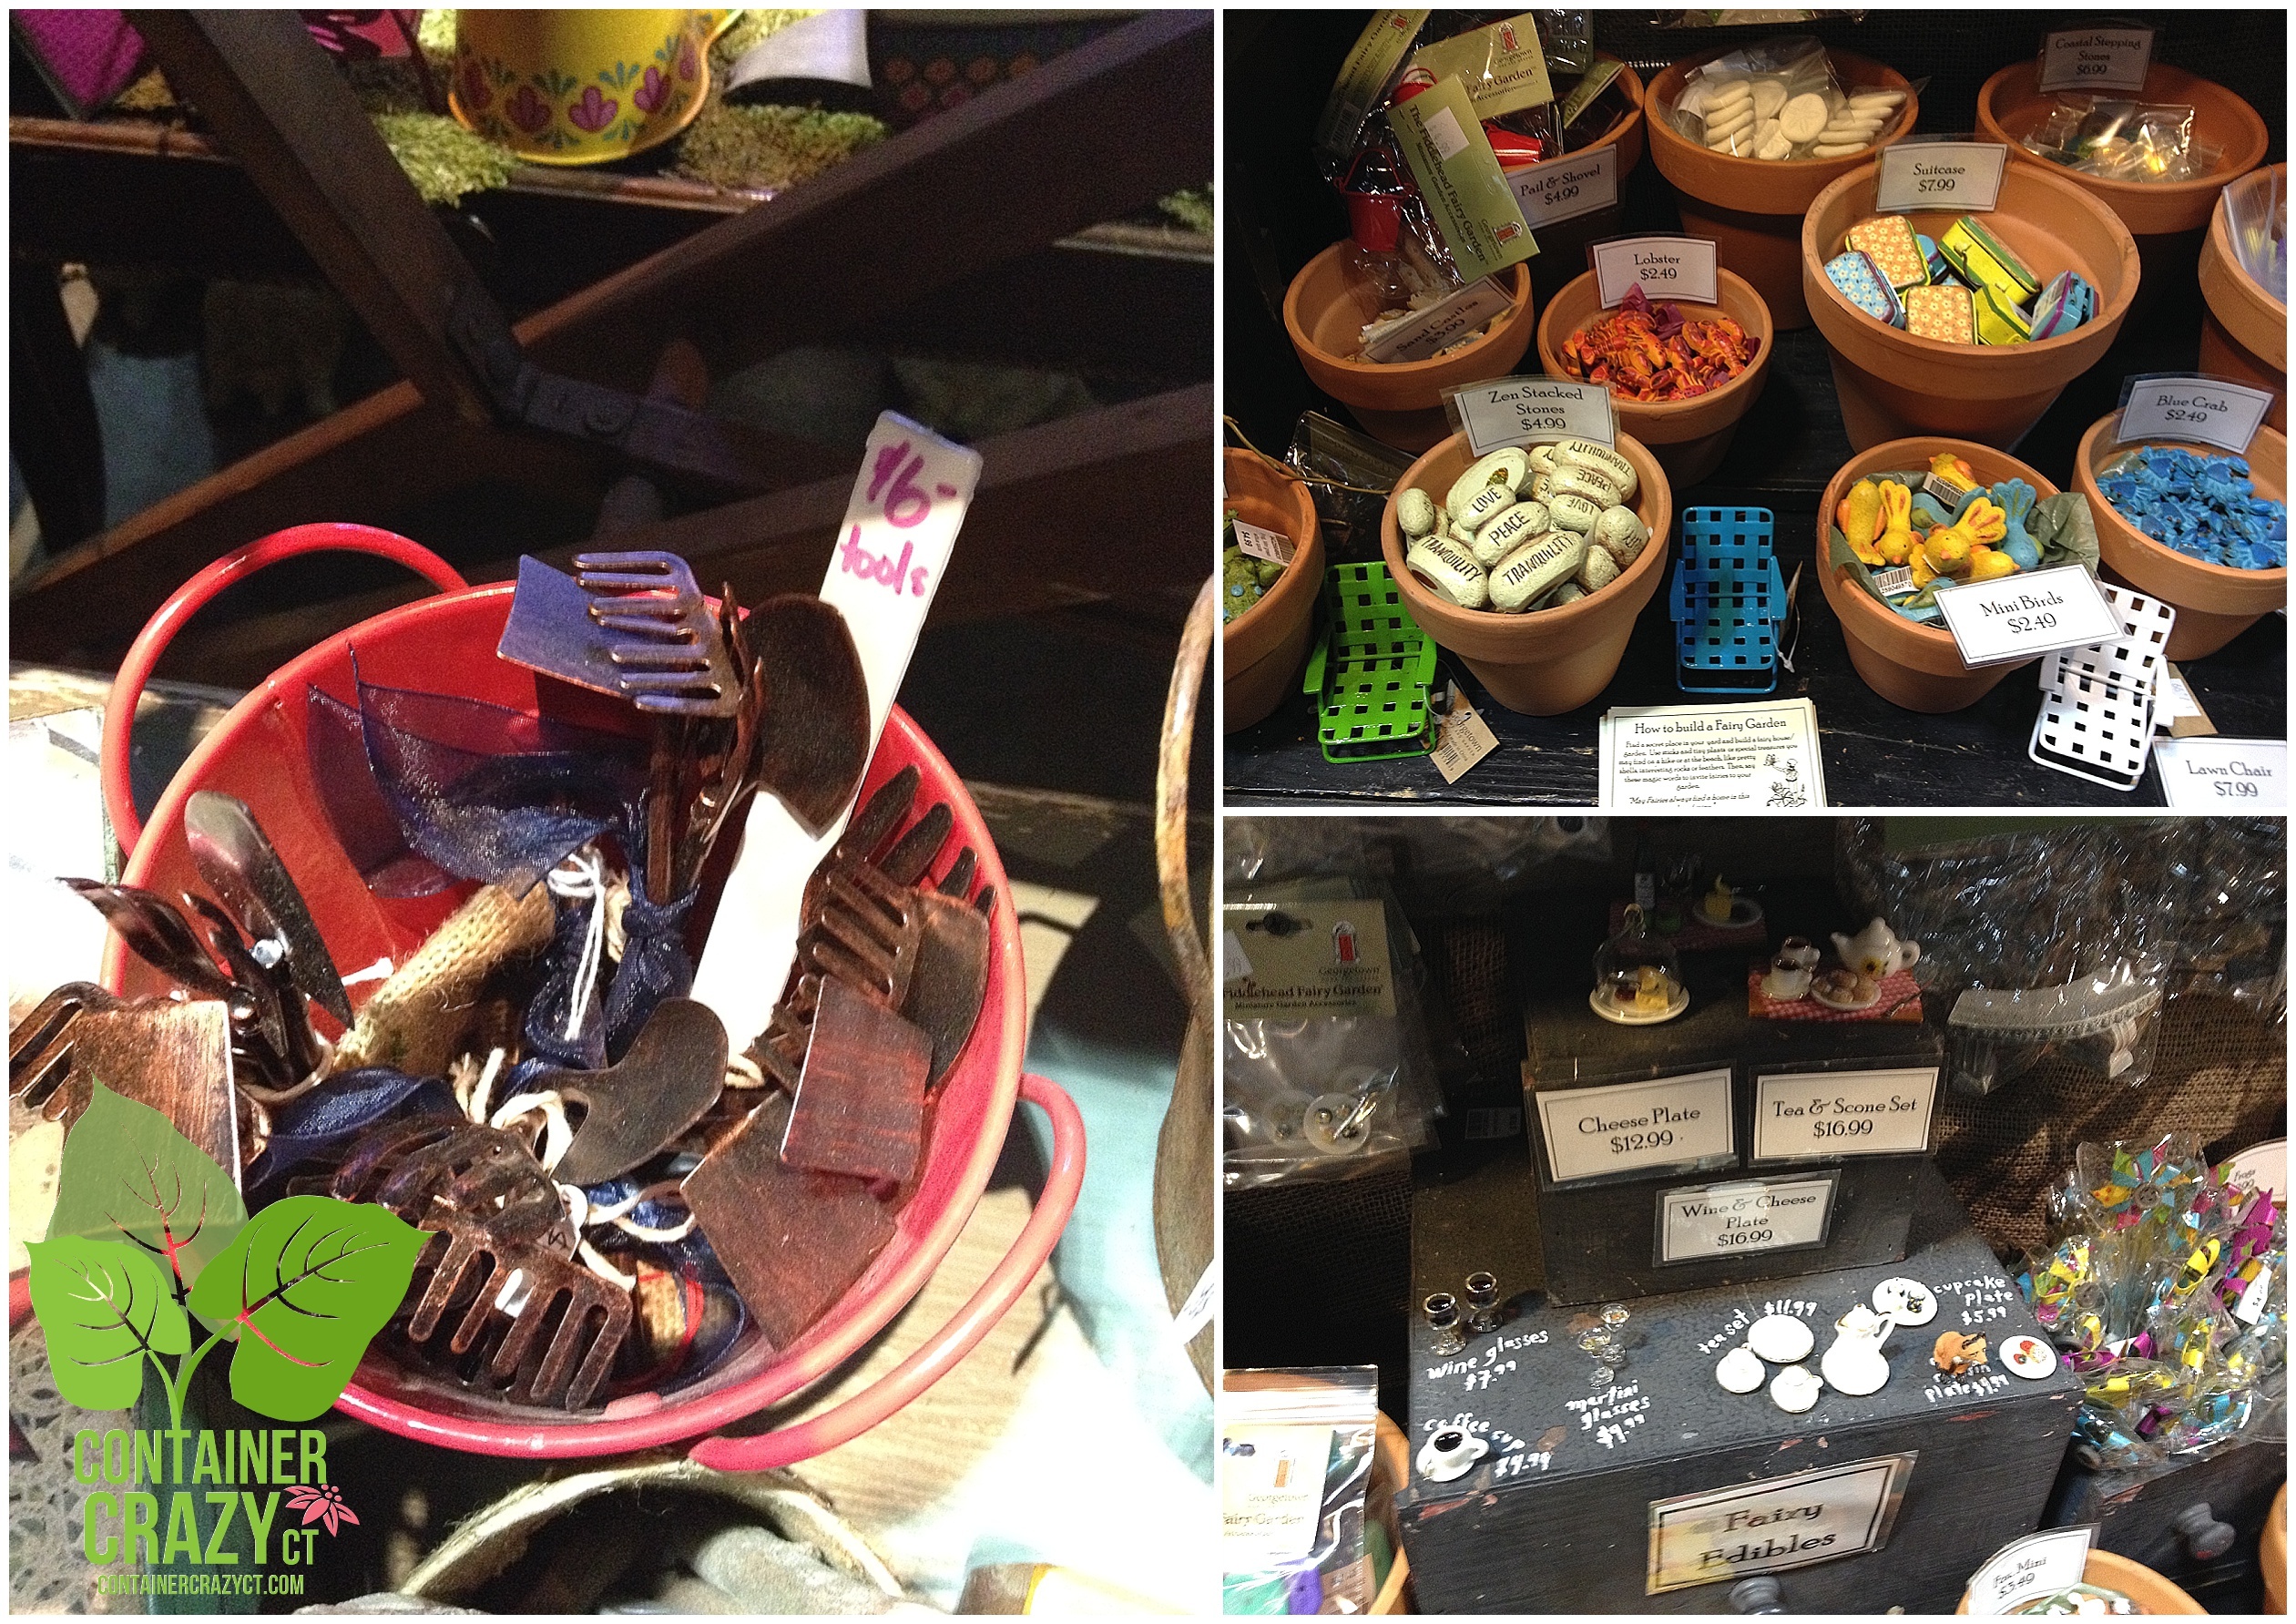
MANY MINIATURE GARDEN EXHIBITORS AT THE SHOW

Miniatures
Here comes the Mini’s! There were so many booths showcasing and offering miniature garden decor – I visited at least 3 at the show – it is a popular activity in the gardening world, even some landscape displays had miniature scenes arranged within the garden beds.

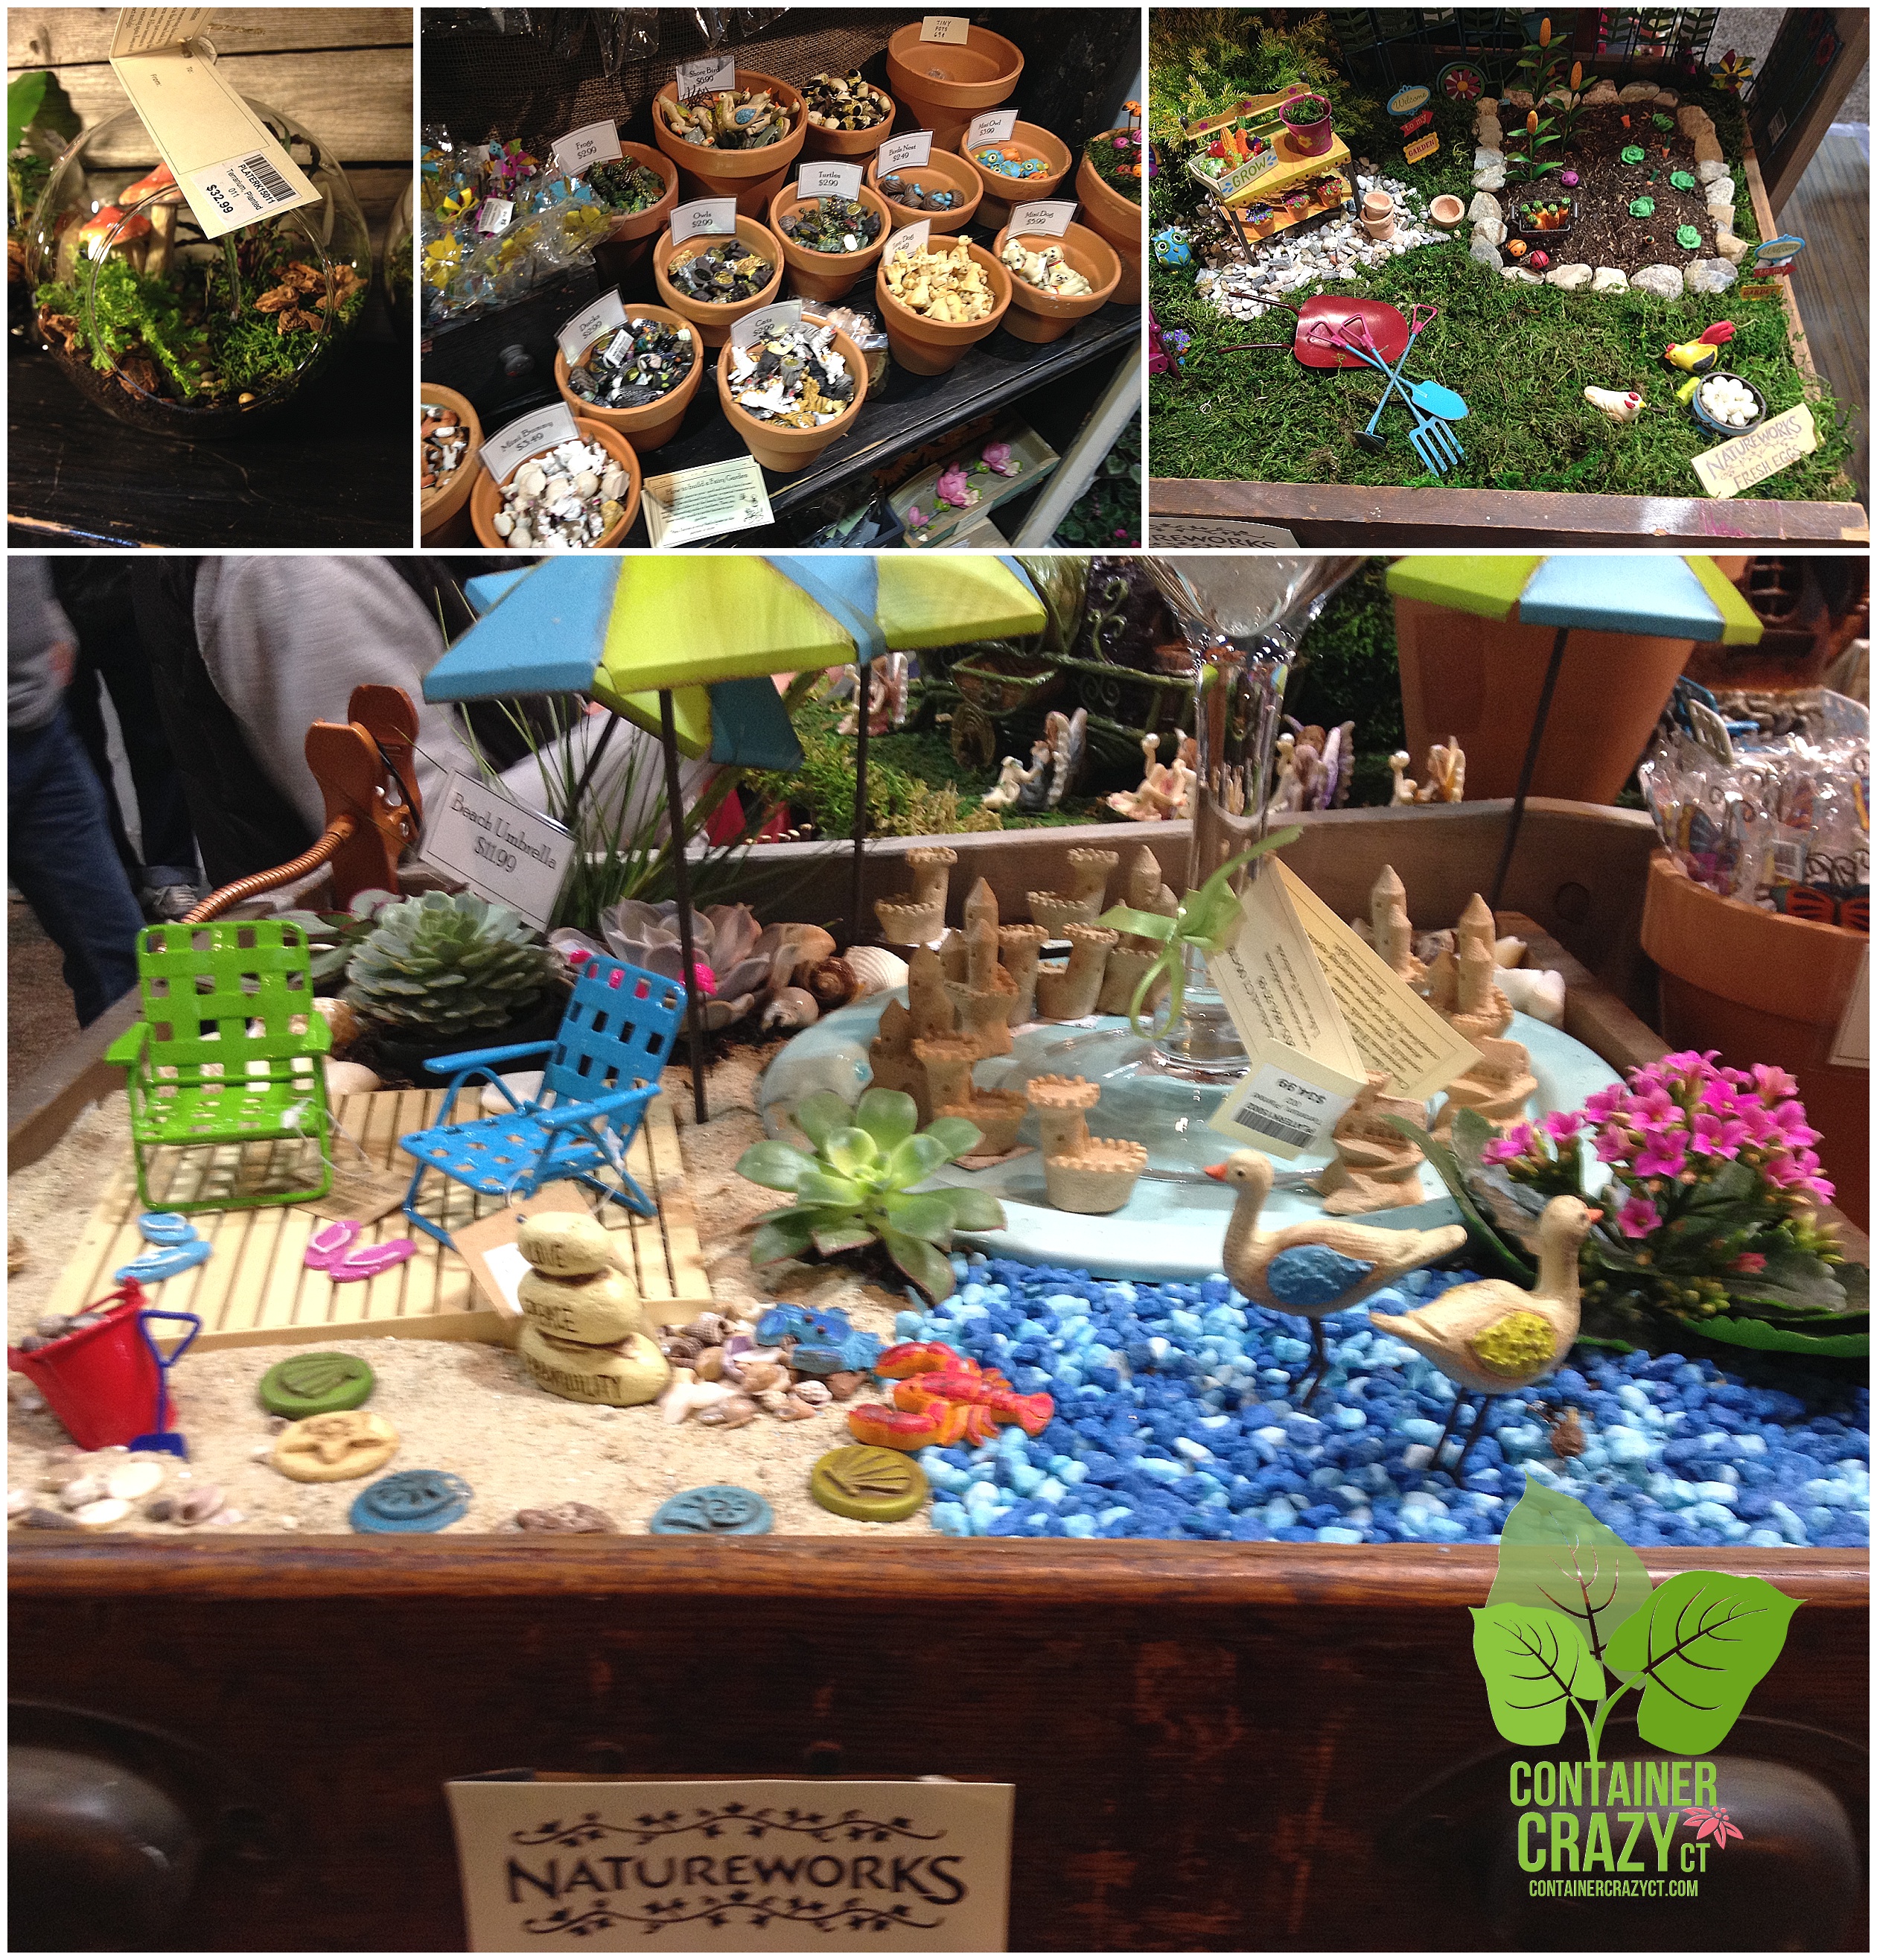
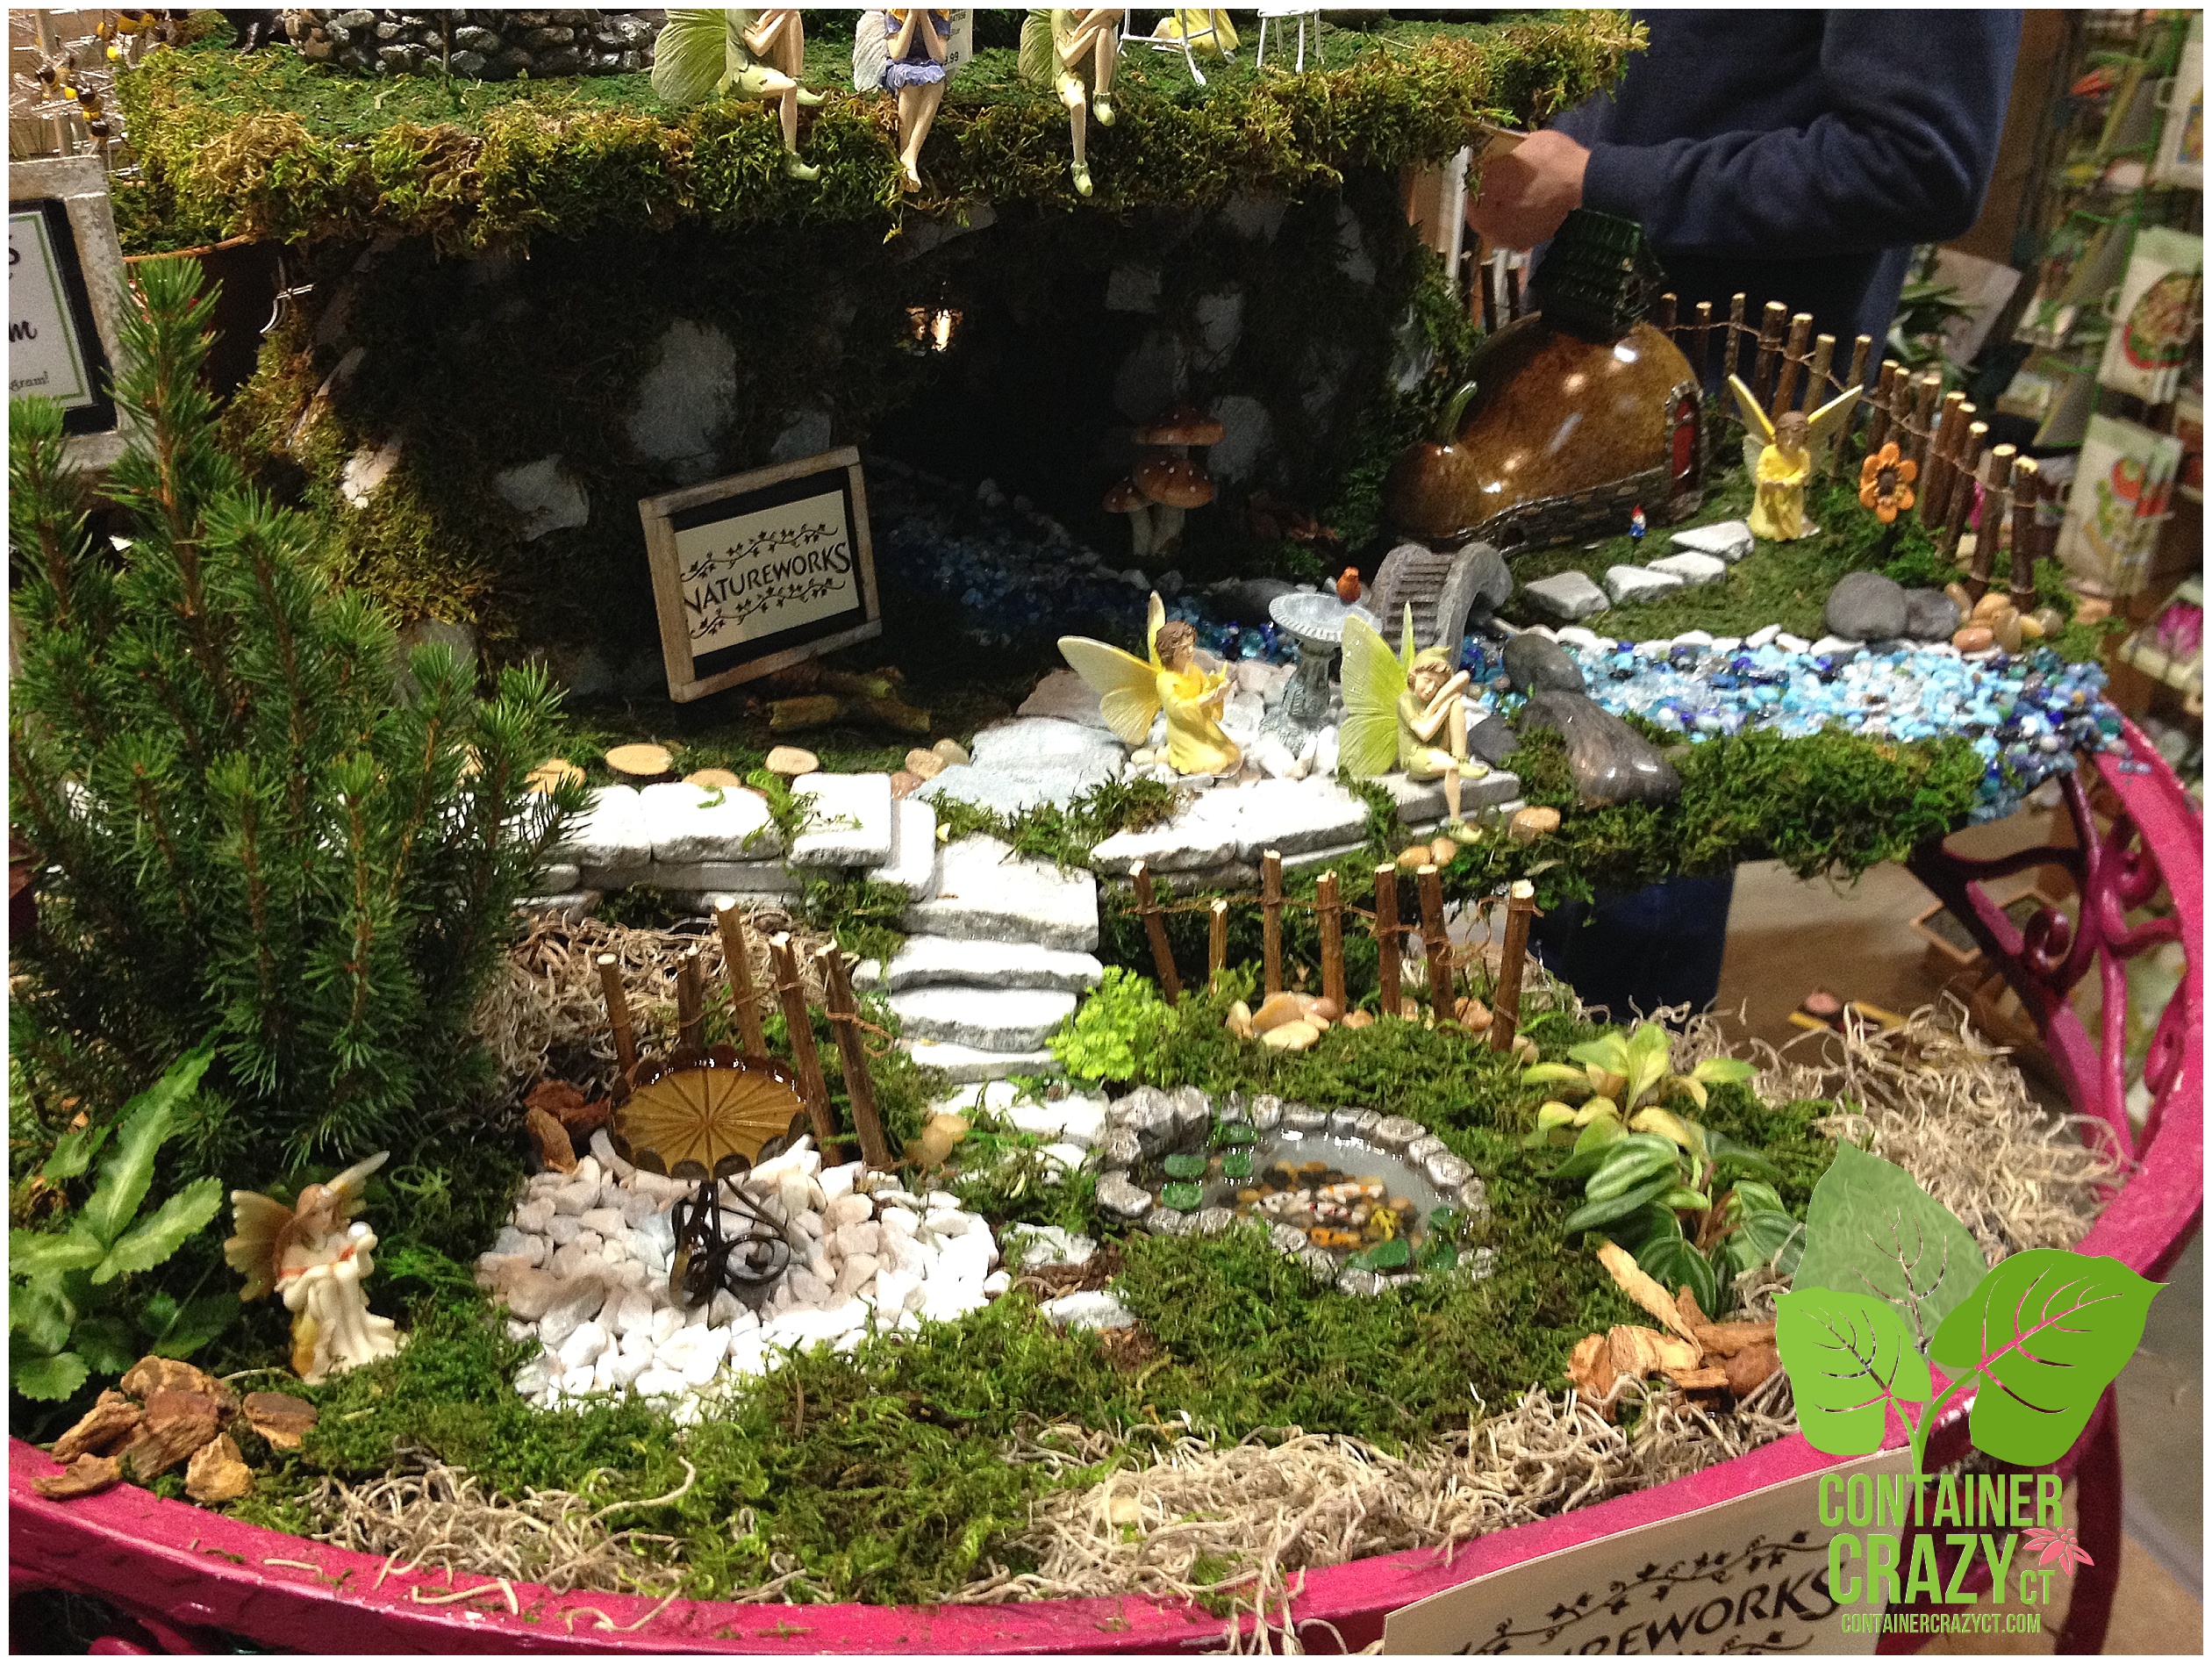
Natureworks is a very popular garden center in CT, and they had many minis along with other garden art.

Natureworks

Natureworks

Natureworks’ booth

Natureworks’ booth – Mini Displays

Natureworks Miniature Gardens

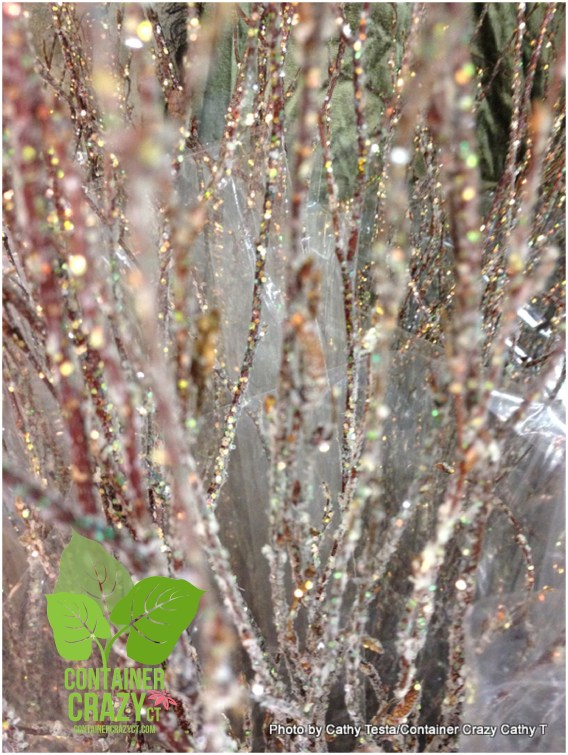
Natureworks Garden Decor on Witch Hazel branch


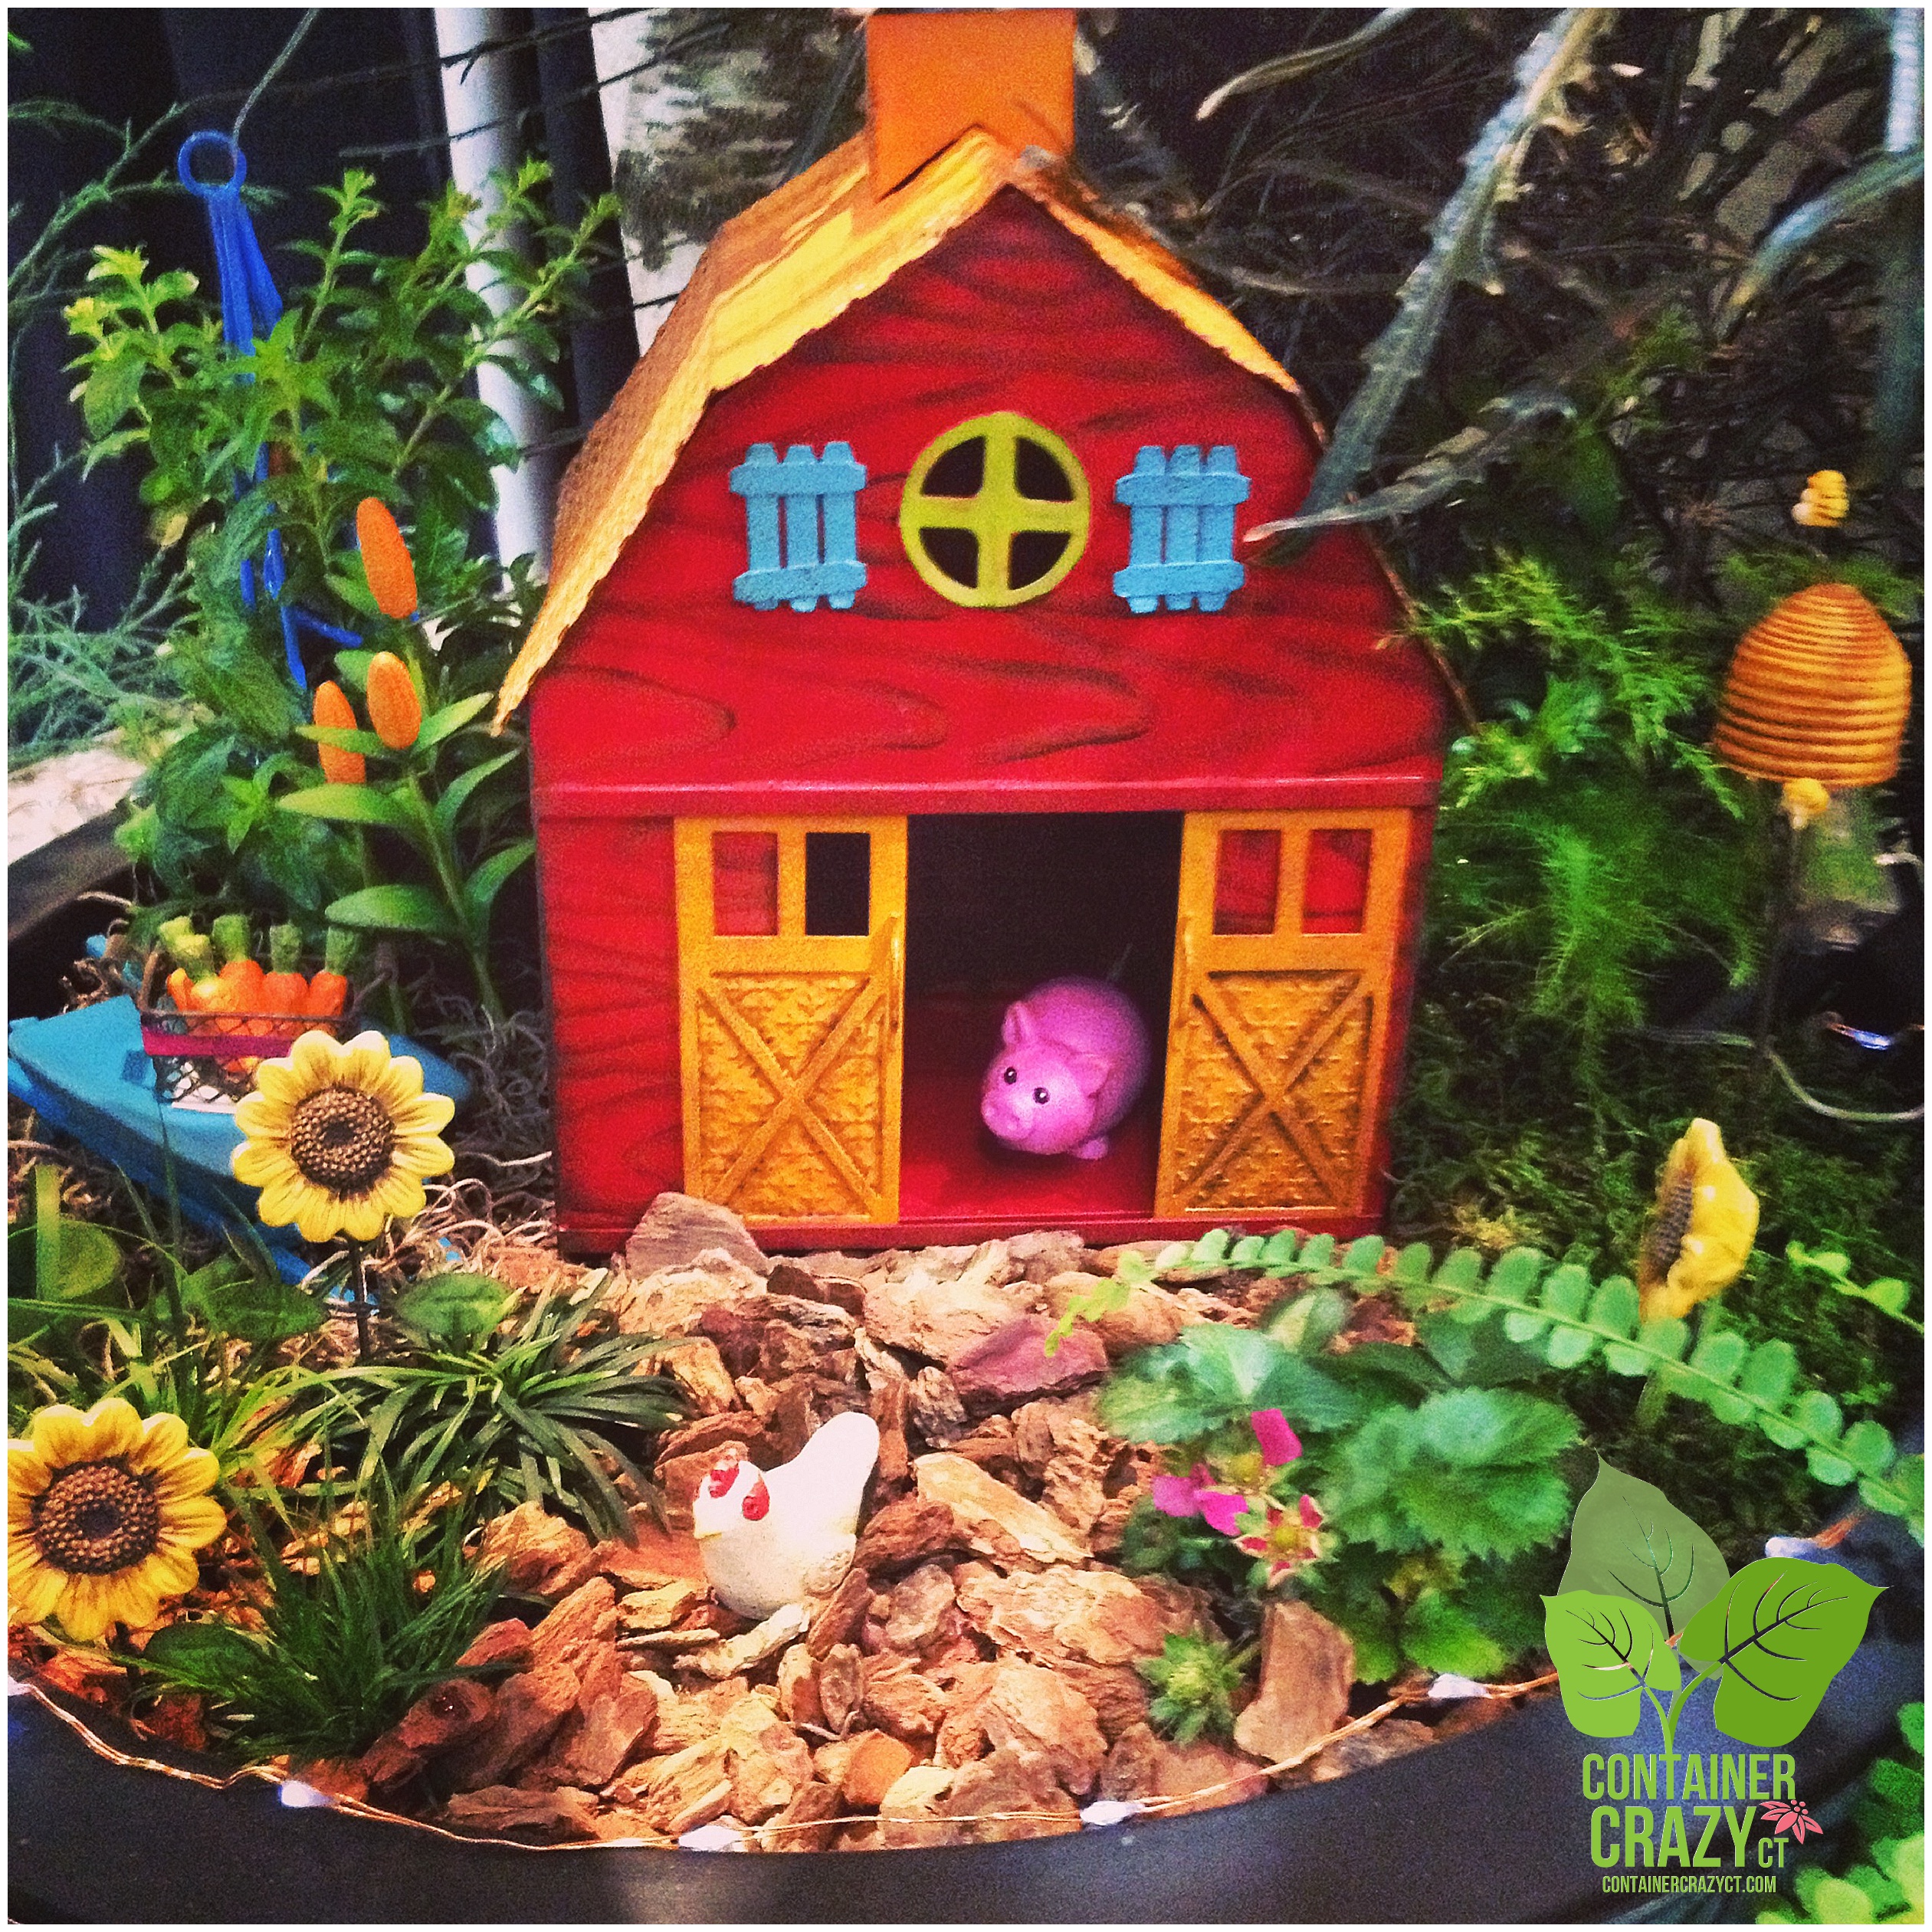
I wish I could remember who’s booth the following photos of the mini barn and vivid mini arrangements were from – because they had adorable miniature garden embellishments as well.

More Minis at the Show

More Minis at the Show – Cute Barn Display

Love the vivid colors

Great themes of the Minis
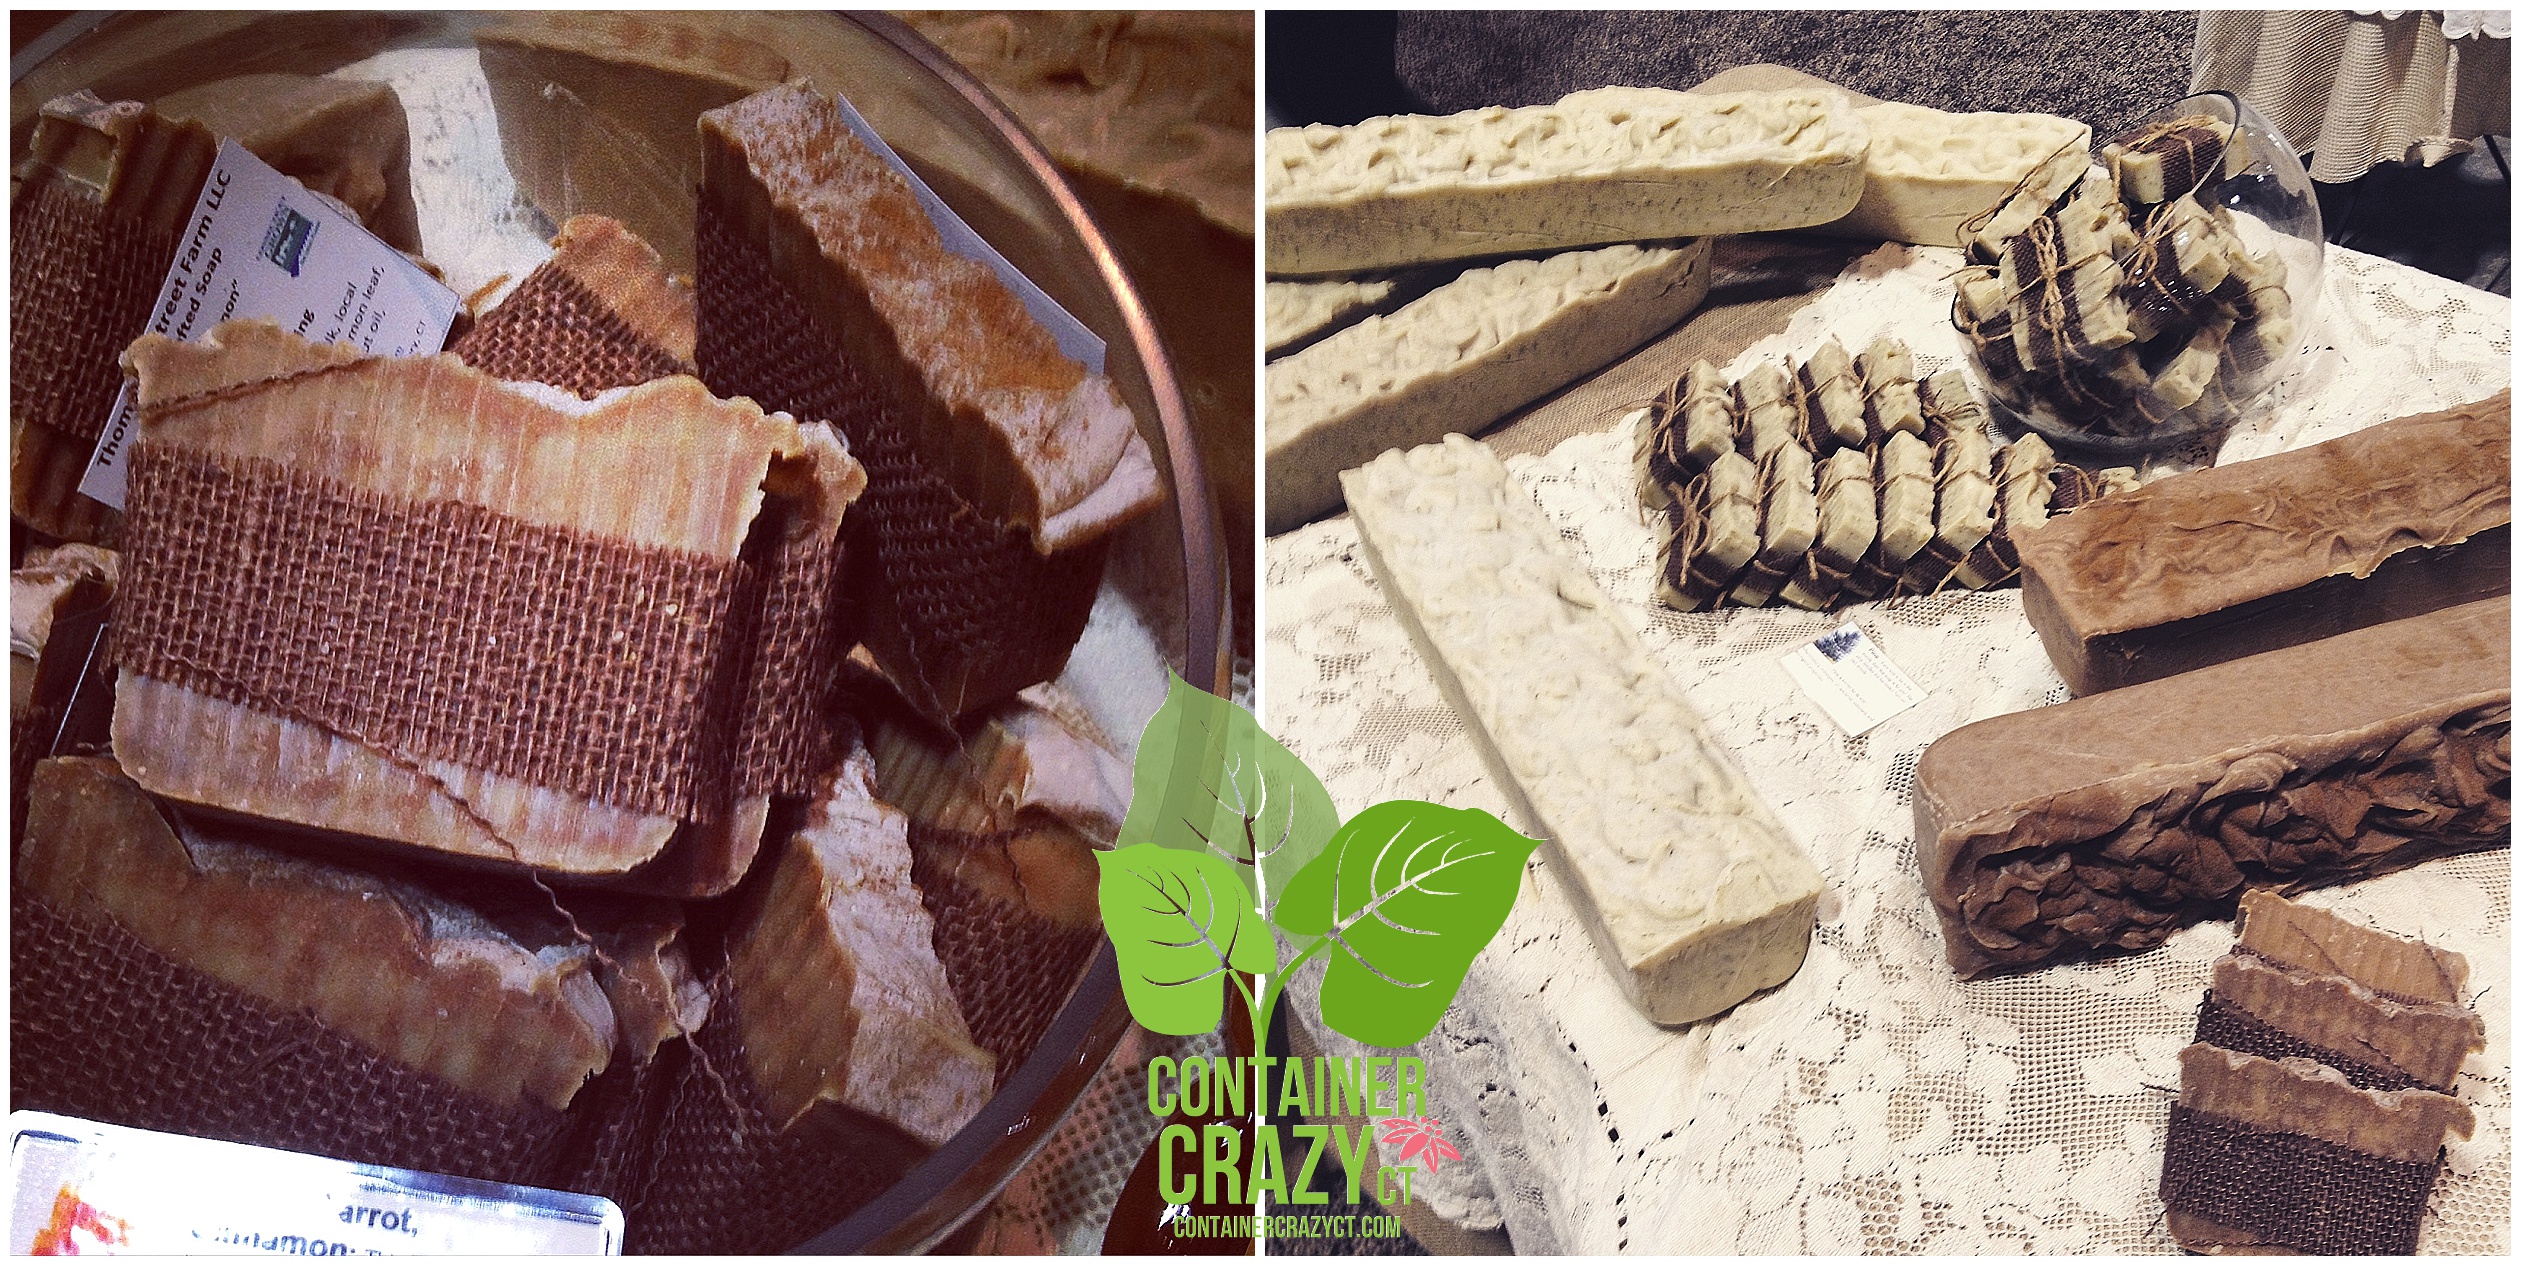
Every year at the show – I am sure to pick up a few bars of handmade soaps – who can resist the wonderful scents?

Thompson Street Farm of South Glastonbury, CT

Thompson Street Farm – Bars displayed
Thompson Street Farm had an great display of their soaps – I loved how Brenda Sullivan, the owner, showed huge uncut bars of the soap – and she told me that one time an online shopper thought her soaps were fudge – No wonder, they are scrumptious to look at as well as smell. She is located at 49 Thompson Street in South Glastonbury, CT, and offers more than handcrafted herbal and floral soaps, she has some leafy greens and veggies/herbs per her business card. Her soaps were a definite purchase and added to my suitcase of goodies as I shopped more at the show.
ORGANIC FERTILIZER PRODUCTS

EarthWorm Technologies
Steven Devloo, Founder and CEO of Earthworm Technologies, impressed us with his colorful display and talk about his eco-friendly products utilizing earthworms and vermicomposted food scraps to create fertilizer boosts for potted plants. Visit his website to check out his small capsules of pill like shaped fertilizers which are inserted into the soil for indoor and outdoor plants, and for use in vases to feed freshly cut flowers. He’s onto something here! Earthworm Technologies are based in Stamford, CT.
SEA GREEN ORGANICS – LIQUID SEAWEED FERTILIZER
Another organic product I saw was by Sea Green Organics, but I didn’t get a photo of it – However, I did purchase a bottle of their liquid seaweed fertilizer which I will be trying out this summer. As noted on their bottle, “Our Liquid Seaweed fertilizer is radically different than anything that you have tried before. This product was developed over many years at the University of Connecticut by a team trying to solve some of the big problems our planet faces. Specifically, it reduces drought stress, and nitrogen runoff which has become a major water pollution issue.”
Sea Green Organic’s liquid fertilizer may be used as a root drench, foliar feed or as a soil injection. It is mixed in water for application. I’ll let you know about the results this summer.
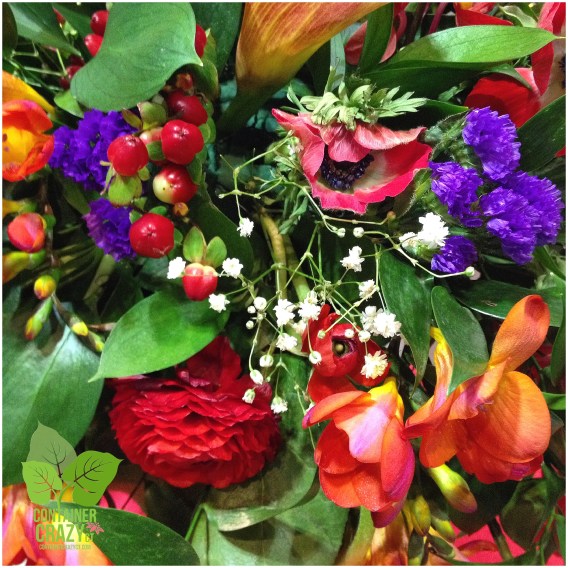
FLORAL ART DESIGN COMPETITION
THE FEDERATED GARDEN CLUBS OF CT, Inc. had several design competitions, in themes such as, “Ship Ahoy, Cruising Around the World, Seven Blue Seas, and Tour the World.”

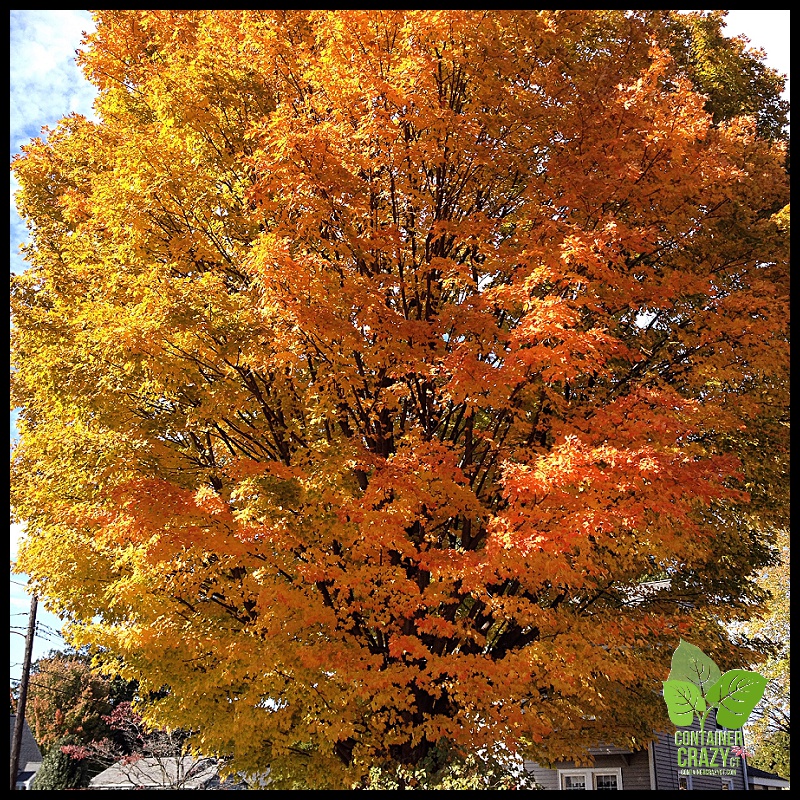
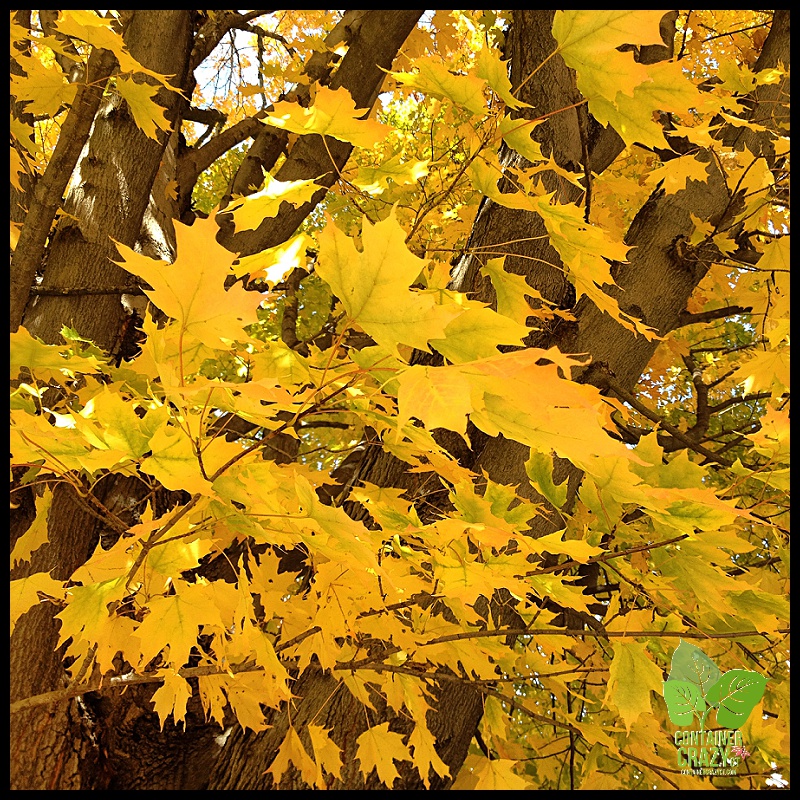
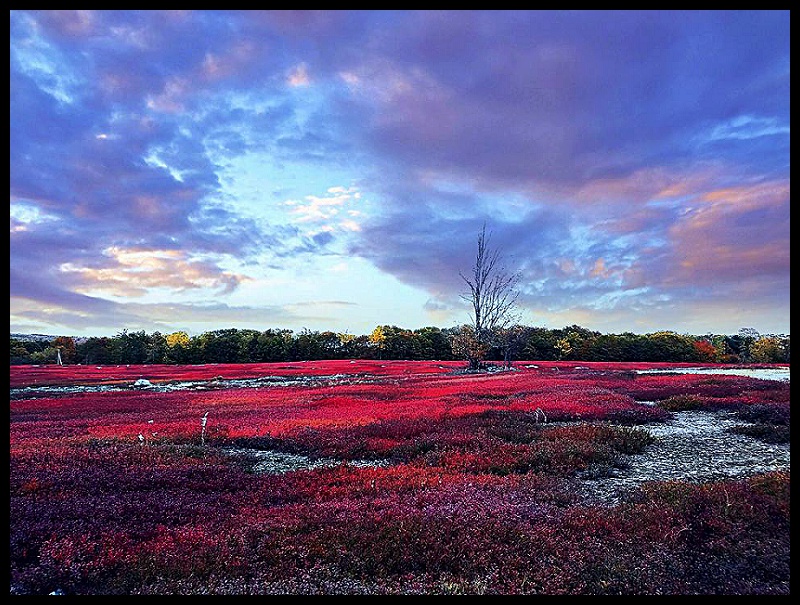
Beautiful Delphiniums with White Flowers
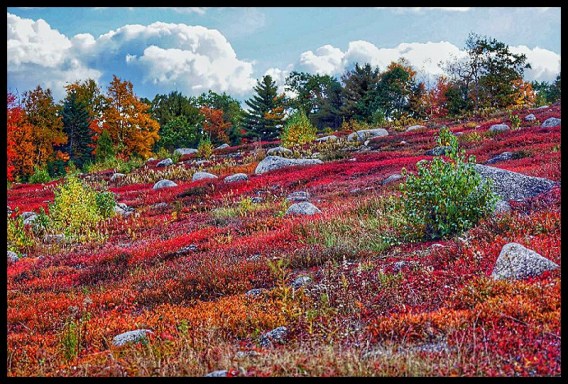
And, I decided to save the best photo for last – beautiful Delphiniums with white flowers in this gorgeous floral arrangement showcased at the design competition. I fell in love with this one and the other photo shown below of the autumn colors in another display – just wonderful to see these colors this year especially during our very snow filled winter.

Floral Competition – Flower Show – Hartford, CT

Floral Design Competition – CT Flower and Garden Show – 2015
The CT Flower and Garden Show is held every February at the Connecticut Convention Center in downtown Hartford.
This year was the 34th annual – and themed, “The Spirit of Spring.”
BACK TO MY SUITCASE
As for my suitcase which I brought along to load up with goodies – by the end of the day, it was filled with gardening pamphlets, a bottle of Sea Green Organic fertilizer, several decorative wrought-iron hooks for hanging baskets by Garden Iron of Covington, KY, several bars of handcrafted soaps by Thompson Street Farm, zinc-plated plant markers from Ironwood Tools, a birdhouse (yup, it fit), along with a small box of decorative greeting cards with bird photos on them, and sachets of lavender. Things were smelling good in there by the time I arrived home in the spirit for spring and less focused on winter.
Cathy Testa

Cathy Testa of ContainerCrazyCT
Cathy Testa, owner of Cathy T’s Landscape Designs and Container Crazy CT, completed the Master Gardener Program in September of 2010. She holds an Associates of Applied Science degree in Horticulture with a concentration in Floriculture from the University of Connecticut. During her studies, she managed a private nursery for a design install business in Bloomfield, CT. Upon graduation, Cathy was employed at the Garden Barn and Nursery in Vernon, CT for two years before starting her own business, which she has been operating for eight years. She served on the Board of the Connecticut Horticulture Society for two years on a volunteer basis, and continued her studies via programs such as the UCONN Perennial Conference. Her current business services include container gardening design and installations for homes and retail business store fronts, small garden design consultations, blog writing which includes freelance writing for local farmers market blogs, and she offers regular hands-on classes on topics pertaining to combining nature with art from her classroom located in Broad Brook, CT. Her attention to plant details, growth requirements, and steps for success with container gardening, along with a passion for plants and their ornamental beauty, has contributed to her reputation of being “container crazy” in her area of services. Cathy has also appeared on the CT Style television program, participated on the CT Food & Farm podcast, and regularly speaks at Garden Clubs.
To see a history of Cathy Testa’s horticultural activity the past few years, click on the ABOUT link.
Thank you for visiting Cathy Testa on ContainerCrazyCT
41.925986
-72.555545