When we (my husband, Steve, and I) redid our kitchen, many years ago, I insisted on having a kitchen window above the sink area because knew I wanted to put some plants in there.
OUR KITCHEN GARDEN WINDOW
Our kitchen garden window faces south and sticks out and is about 3 feet by 2 feet, and it has a long shelf in the middle, so I can put plants on the shelf above or below at the counter sink height. The window gets colder in the winter because it is sticking out and experiences the cold air around it. In the summer, however, it gets very warm at times, but I can vent it by cranking open the side window panels. But in either scenario, the kitchen window was useful for not only putting some smaller winter plants in there, but to put some herbs in there for use in my cooking. The kitchen window type looks like the ones on this Pinterest page: https://www.pinterest.co.uk/pin/460070918175924579/
This little area, if you happen to have a similar kitchen window over your sink in your home, is a decent place to grow some kitchen herbs. But some herbs are easier to grow than others, especially if you are a beginner not knowing where to start.
Easy Herbs
In my opinion, parsley and salad mixes are two easy seeds to give a try. Salad mixes are not herbs, but I wanted to mention them because many leafy salad mixes are easy to grow from seed and put in a smaller container in the kitchen window, and so is parsley. If you are a beginner, grab some seed of these now (or buy from me) and then start your venture of growing herbs for the first time in your kitchen (and from seed)!
Other herbs you may see listed as easy to grow from seed in the kitchen are basil, chives, and mint.
Basils (needs warmth!)
I agree on the basil, it is easy to sow and grow EXCEPT it has to be warm. They will not do well if your kitchen window (like mine that sticks out) when it is cooler – which is the case right now in winter. So basils, I would not recommend in a cool spot during the winter months. You may start basil in seedling trays if you wish and if you have a warm, sunny spot in your home. In the summer months, you can continuously sow the seed all summer for a steady ongoing supply, but they are very sensitive to cold temperatures.
In the summer months, a kitchen garden window with enough sunlight is a great place to grow your basils in pots if you wanted. There is also a type of basil I tried last season, sacred basil, which is primarily used in teas. I have seed available too if nearby and interested. What I liked about the sacred basil is it grew fast and plentiful in my patio pots and it bloomed all summer. The bees adored it. In fact, I rather enjoyed it as a decorative plant maybe more so than harvesting it as a tea.
The only thing to consider if you want to try basil from seed to have in your kitchen window, it is best if you find a warm location in your home to start them in a seedling tray (somewhere warmer), otherwise they will suffer the kitchen window in the winter months. The types of basil I have grown from seed are Thai, Genovese Basil (big leaves great for pesto and other things!), and Sacred basil.
We all love basil for kitchen gardening, and you may start seedling trays of it ahead indoors and transplant it to patio pots in the summer months. I have done this with several types of basils. Usually I start them by seed in April (4 weeks before our last frost date) to transplant into pots or move outdoors in late May. I’m not trying to discourage growing basil from seed cause it is not that difficult to do but it does need warmth.
Basil is definitely a kitchen desire however, we all love basils, at least I do and I must have it for adding to fresh tomatoes. It is so easy to use. Just chop it up, add it to warm pasta with fresh cut up tomatoes, no cooking and toss – add some cheese, and wow, yummy! But all I’m saying is basil likes warmth to grow well from seed.

Chives (New for me)
Chives is a new one for me to try and I have seed, so I will comment on that later this season. I love adding flavors to dishes, and chives has that oniony like flavor, so I picked it to test out this season. It also has an upright habit and I think will do fine in smaller pots, or in a kitchen window garden. However, some chives are considered aggressive in the outdoor gardens, which I will research. I’m only alerting you to this in the event you are considering growing herbs from seeds and transplanting them outdoors later in the summer. While some sites will say chives are easy to start, I haven’t tried them yet so I can not comment. I’ve also seen dill and cilantro as listed easy which I disagree on only because I’ve seen those suffer more as plants than other herbs. The type of seed I got for chives is a perennial herb, so it will come back the following season when grown in the ground. But you may start chives indoors and eat them like scallions. Even their purple round flowers are edible and look pretty in salads!
Mint (Cuttings are easy)
Mint – yes, easy to grow BUT mint is very aggressive in the ground, so if you decided you wanted to grow some mint in your kitchen window, you could try this one but if you wanted to transplant it to the garden outdoors, don’t do that – it spreads by the roots like wild fire. It is a okay outdoors in patio pots and containers where the roots are contained (and sitting on a surface which is not the ground, the roots will come out of the drain holes and go into the earth).
Mint is fun to grab snips of it when you are having fresh cocktails outdoors in the summer. Mint is not just for teas either. I like tossing it with fresh warm pasta right out of the strainer and adding fresh parmesan cheese and a bit of frozen bagged peas – sounds funny but it is yummy! And so simple. I don’t even cook the peas, I just make sure to toss it all when the pasta is very warm from the pot, and all the fresh flavors blend. If you like mint flavors, like I do. My cousin, Maryse, makes a watermelon feta salad with mint in the summer, it is just delicious!
However, I must admit, I have not started mint from seeds only because mint is so easy to find in garden centers AND it is very easy to start mint by taking cuttings. Just snip some stems, stick in water on your window sill, and roots will form. Then transplant to a pot in your kitchen garden and it grows easily. Then continue to harvest leaves, stems, or snips for your many recipes. I tend to put mint as a spiller plant (a plant which trails or spills from the edge of pots) in the outdoor container gardens in the summer months because they tend to grow fast and large (maybe too large for a kitchen garden). Everything from chocolate mint to orange mint. I have not grown mint from seeds yet.
Now let’s get back to the parsley and salad mixes, two easy ones.
Parsley (Can take cooler temps)
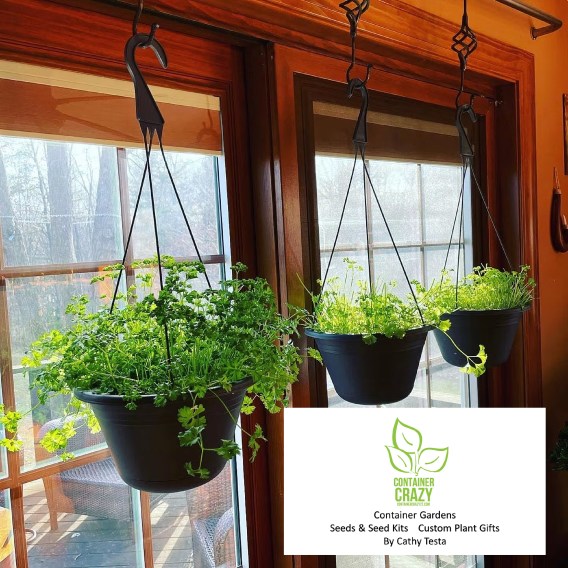
Parsley will germinate (begin to sprout/grow from seeds) a bit slower than other herbs, but it is easy to grow from the time it surfaces from the soil. It is also very easy to sow into a pot. Last year, I grew curly parsley (top left in the photo above). This year I’m growing the flat-leaf Italian parsley from seed, which will be a larger type of plant compared to curly parsley, but I love parsley – so each type to grow from seed is great for me.
I do find that flat leaf parsley is more flavorful, but I used the curly parsley all winter! Yes, I grew it from seed and hung baskets of it from my curtain rod in the area to the right of my kitchen sink. There is a slider door there and I hung it up and let them grow. I clipped from it so many times, I can’t count. I used it in pasta sauces (guess I like pasta), soups, sometimes fresh on a salad for a bit of parsley flavor and crunch, and to top other things. Kind of using the curly parsley as a garnish which you eat.
And parsley just continues to grow as you take snips from it. However, I did notice that it did not grow as vigorously as it did in my greenhouse. My greenhouse has lots of sun light on sunny days in the winter, so it thrived there, but when I moved it to my kitchen slider window, it slowed down a bit but still was plentiful. I will get to light in a minute, but overall what I am saying is parsley is a candidate if you are a beginner.
Parsley may be started 8 weeks before frost indoors which is around mid-March for my area of Connecticut, but because it doesn’t mind the cooler weather, I have sowed parsley all winter in my greenhouse and then I moved them to indoors to my south facing kitchen slider. If you have a warmer window in the home with sunlight, parsley is easier as a first type of herb to try from seed compared to basil. One thing to bear in mind with parsley seeds is they can be slow to germinate, but once they surface they grow fast.
Salad Mixes
Salad is not an herb but it is another kitchen item you could try that is simpler in my opinion to grow from seed. And salad mixes don’t mind the cooler temperatures in the kitchen window. But, in the summer, if the salad mix gets too hot – it bolts (shoots up flowers) and isn’t as tasty. Another great thing about salad mixes is you may cut from them from your pot or indoor window box and they will grow and grow continuously usually for a while, until you eat it all up. They like the cooler temps.
You can cut from it to have it at a baby leaf stage and add your herbs, such as the chives, basil, and parsley – and voila, you are a chef in the kitchen. Plus, taking snips of salad leaves off these right in your kitchen is kind of fun. And pretty. Salad mixes are typical various greens and look pretty together.
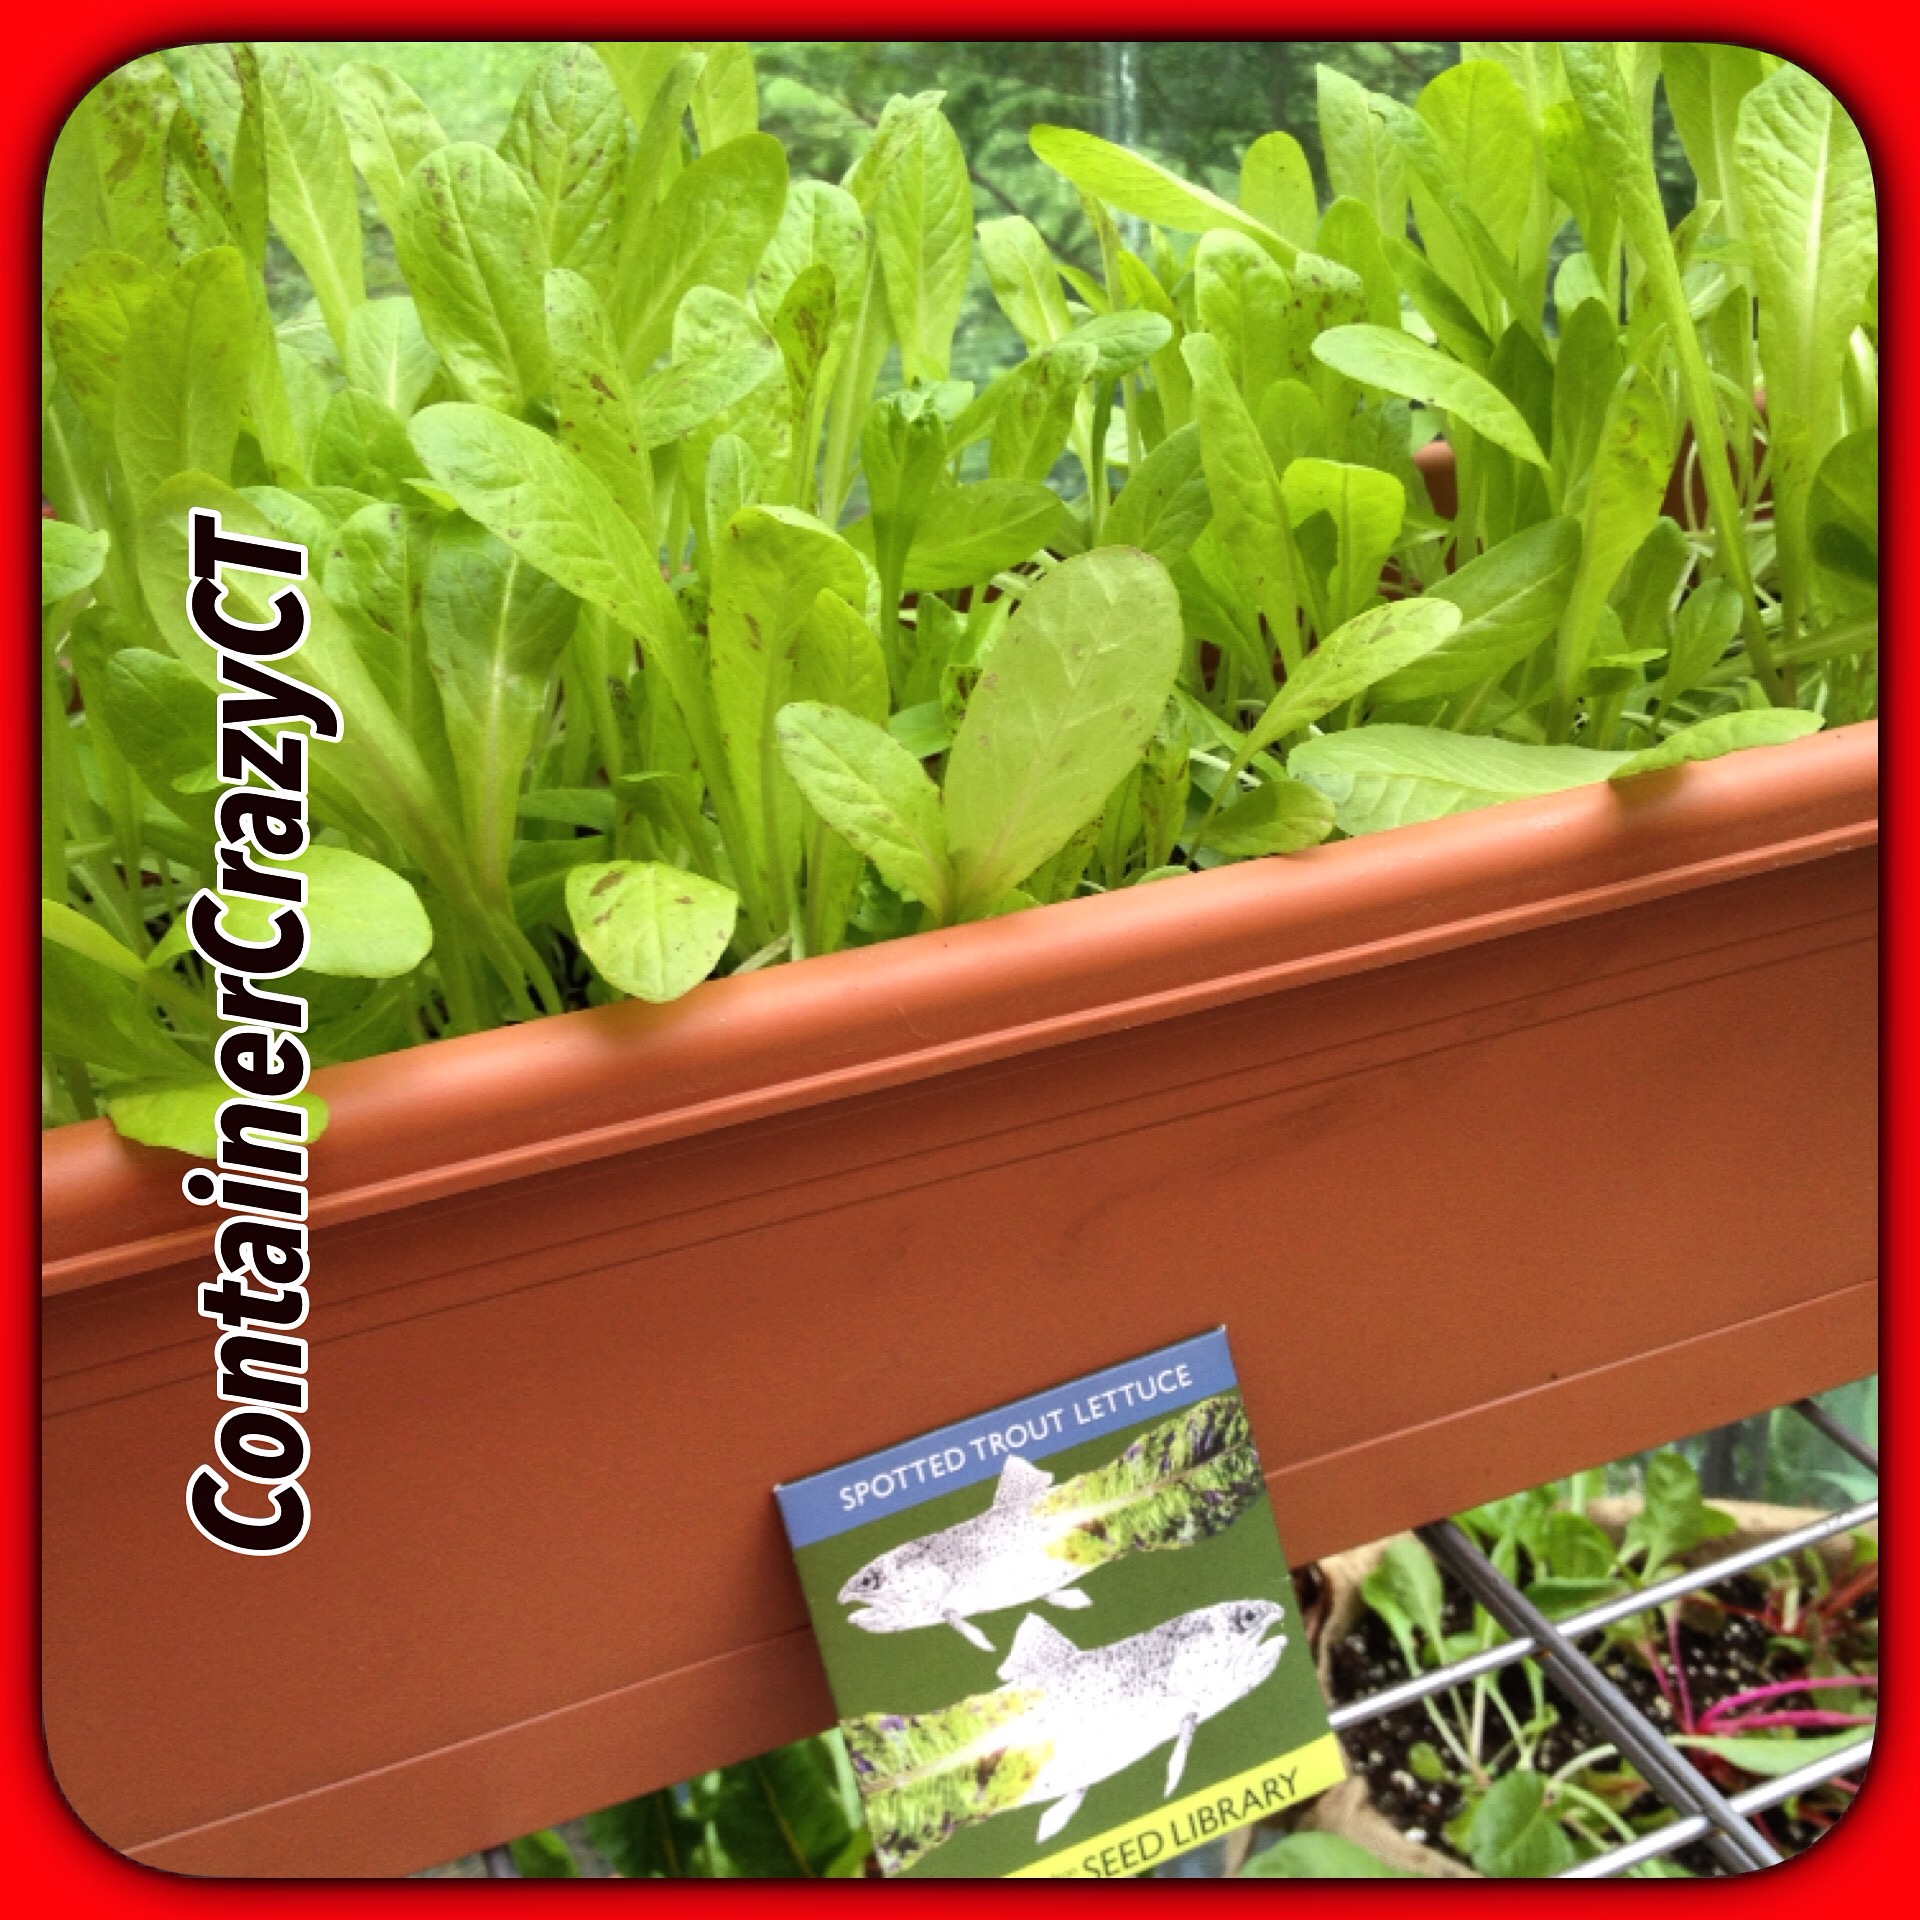
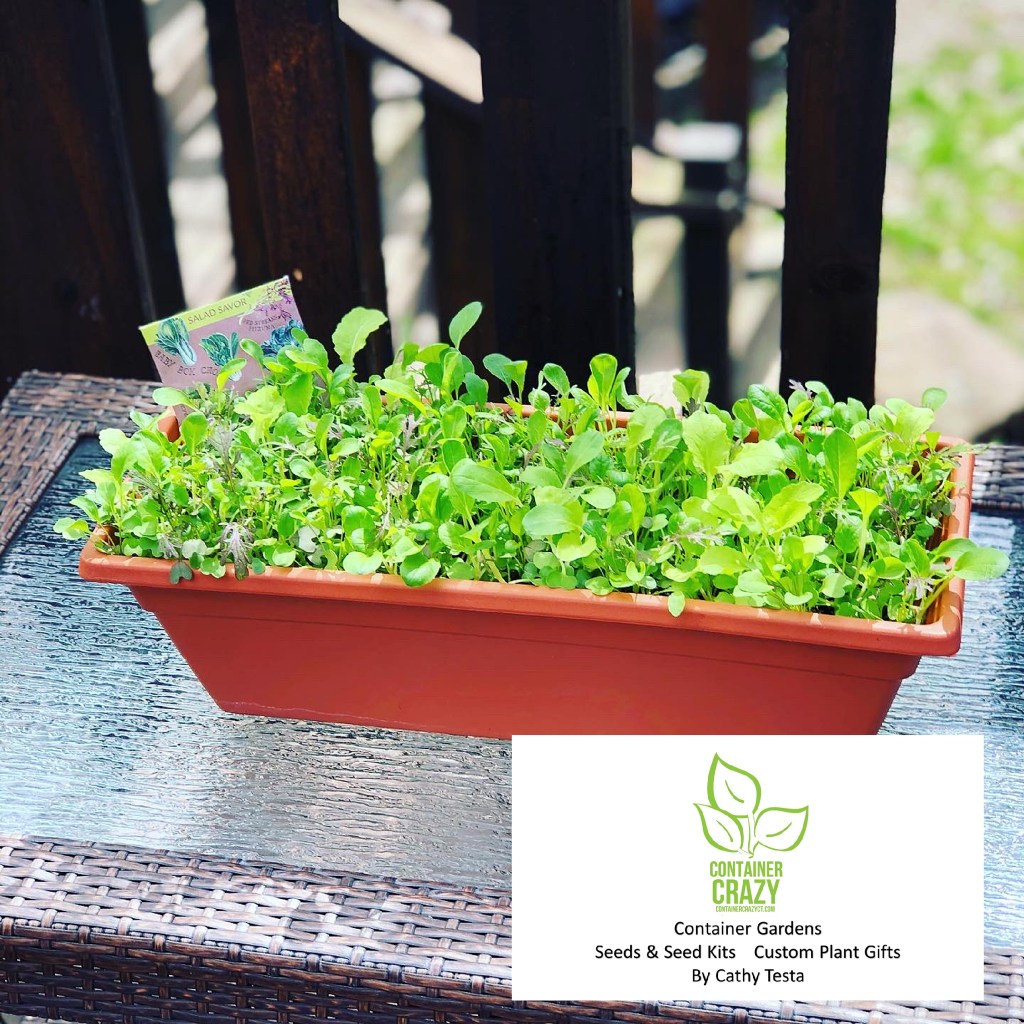
When I say salad mixes, I mean leafy salad (unlike romaine or something like head lettuce). It is also called Salad Greens, rather than lettuce, if you look for seed packets. I often sow salad mix seed in smaller window boxes. And usually start the seed I have in early March at the 10 week before frost date. Here’s a photo of a mix I did in a smaller window box. See how wonderful the mix of greens look! Think of this, March is around the corner. Only 2 weeks away from when I’m writing this (which today is 2/11/2021).
Self Watering Pots
My sister, Rosalie, contacted me after she saw how I had parsley baskets hanging from my curtain rod in my kitchen area. She is going to hang some pots in-front of her kitchen window this year. Her window does not stick out but it is right above her kitchen and gets sun. She is going to give it a try.
One recommendation I gave Rosalie was to use “self-watering” pots – those which have no hole in the bottom and are inserted into another holding pot, so it won’t drip down on her counters. A water reservoir sits below the pot to water the plants, but you have to be cautious of not overwatering because it does not drain out either. Wet roots are not good so anyhow, the reason I said self-watering is because they won’t drip.
However, for a kitchen area, these work well. And by the way, if you go get window boxes to try this, be sure it has a drain tray below it – otherwise when you water, it will drip out onto your surfaces. Most window boxes are designed with that little tray below it.

How to Start
Now, onto the how to’s.
To keep it simple, here are my recommendations:
(1) Determine if you have a warm enough spot in the home. If you have a kitchen window like mine, and it faces south or west, it is doable. If it faces north, you won’t get enough sun and usually north facing windows are colder and too cold. East is questionable as well. You only get morning sun in an east window. But the south and west windows typically get decent sunlight. You need sun to make your plants thrive. No sun, no plants.
(2) Get the easy seeds, and if you are local, I have seed packets and kits available and will guide you. Local is East Windsor, Connecticut or nearby towns, such as Ellington, South Windsor, Enfield, Windsor Locks, etc. I am offering free delivery to local residents in my town (East Windsor, CT) right now.

Another tip: Don’t buy too many seed packets – seeds for parsley are usually plentiful in a packet! A packet of parsley could fill many smaller pots (like 5-6″ in diameter) as an example. At least the seed packets I sell have lots of seeds, up to 200 hundred for parsley. And one more tip, parsley seeds do not last long, you should use them the first or second year tops.

(3) Get your containers, pots, smaller window boxes, or whatever you want to start your seeds in. Again, parsley can be directly sown (seeded) in the pot to start them. You don’t need to start them in seedling trays and transplant them into your pots. You can sow them directly in the pots or window boxes which I recommend get smaller sizes for the pots or window boxes. This is the case with the salad mix as well. It may be sown/seeded directly into the window box to start them from seeds indoors. Key thing is make sure whatever pot you have has some type of drainage holes. That is critical and self-watering pots drain to a pot as well but it drains into a reservoir. If other pots or window boxes don’t have holes, you will need to drill them. And of course, consider the weight of the pots – maybe you will hang them from macramé hangers and if they are heavy, they could be an issue. Think about the area and sizes.
(4) Get your seedling mix sold in bags. Potting mix (for container gardens, patio pots) works too. Do not use dirt from the ground! It is too dense and does not drain well, will be too heavy and could harbor many problems. Get at least 4 to 6 quarts of seedling mix and make sure the bag is fresh, etc. Seedling mix is written on the bag and should be available now at your local garden centers or stores like Agway. And again, my kits have some mix in the kits to start your sowing of seeds indoors. Pre-moisten the mix a bit before you put it into your pots.
(5) Sow the parsley or salad mix seed directly into the top of the pot filled with your seedling mix to about 1/4″ from the top. Only a few seeds (some say a pinch of like 5-6 seeds) and lightly cover it (the seeds) with seedling mix. I give specifics on seeds in my kits but the seed packet also tells you the depth of the seed, etc. Since the seed are so tiny for parsley and salad mixes, you scatter it over the top of the soil and gently cover it with the seedling mix. Then water gently – I give more details in my instructions to buyers so this is in simple terms.
(6) Place them in a warmer location if possible at first – say your kitchen bay like window is cold like mine in the winter, it will be too cold to germinate the seeds, but if you have warm spot – like a window with the heating radiator below it or maybe even on the floor near a slider window that faces south or west, or a table in a warm spot in your home by a window with some sun, start them there then hang them in your window or place them into your garden kitchen window after they germinate or place them on the shelf in the kitchen window.
Similar to what I did with my baskets of herbs, I started them in a warmer spot, they germinated (sprouted) and grew a little, and then I hung them on the south facing slider window area for as long as they lasted. If the area where you are trying to get the seeds to sprout is too cold, it will be very slow to germinate and not sprout from the soil. Hope this is making sense. On top of it – parsley seed is slower in general to germinate – just how that seed is, so be patient. If you want to take it a step higher, get a heat mat to put below the pots or window box, and or get some grow lights.
Or if your kitchen garden window gets lots of sun, you may start them there. But a cold area in the home is a no-go. If you have a sun room for example, and it is cold, it won’t work. If you have a window with a big cold draft, that will keep the potting or seedling mix too cold. Roots do not like cold and it will slow the growth.
Grocery store herbs
Oh, another quick thought – those herbs you buy in the grocery store that are in little black pots with soil. I don’t find they continue to grow all that well in winter inside the home (especially the basil). But in the summer, basil are easier to keep growing either indoors or outdoors (again because they like warmth). This is just based on my experience. I’ve been working with plants for 10 years, and every time I didn’t have basil handy, and grabbed one of those pots in the grocery store, and placed it on my kitchen bay window area, it kind of didn’t thrive. Probably, again because the bay kitchen window is too cold in the winter.

I hope this post helps you if you are a beginner. I’ve done all my gardening in pots of all shapes and sizes, and this is referred to as “container gardening.” Gardening with herbs in pots or window boxes to me, is a form of container gardening. Container gardening is a great way to learn. There are tons of sites out there with tips on how to grow herbs, and I sense many want to grow herbs indoors in their kitchen. Start off small and learn. Let me know how you make out! Comment below. Thanks!!
Cathy Testa
Container Crazy CT
Location: Broad Brook Section of East Windsor, CT