Cathy Testa on a Hot Summer Day; Photo by DebutCinematic
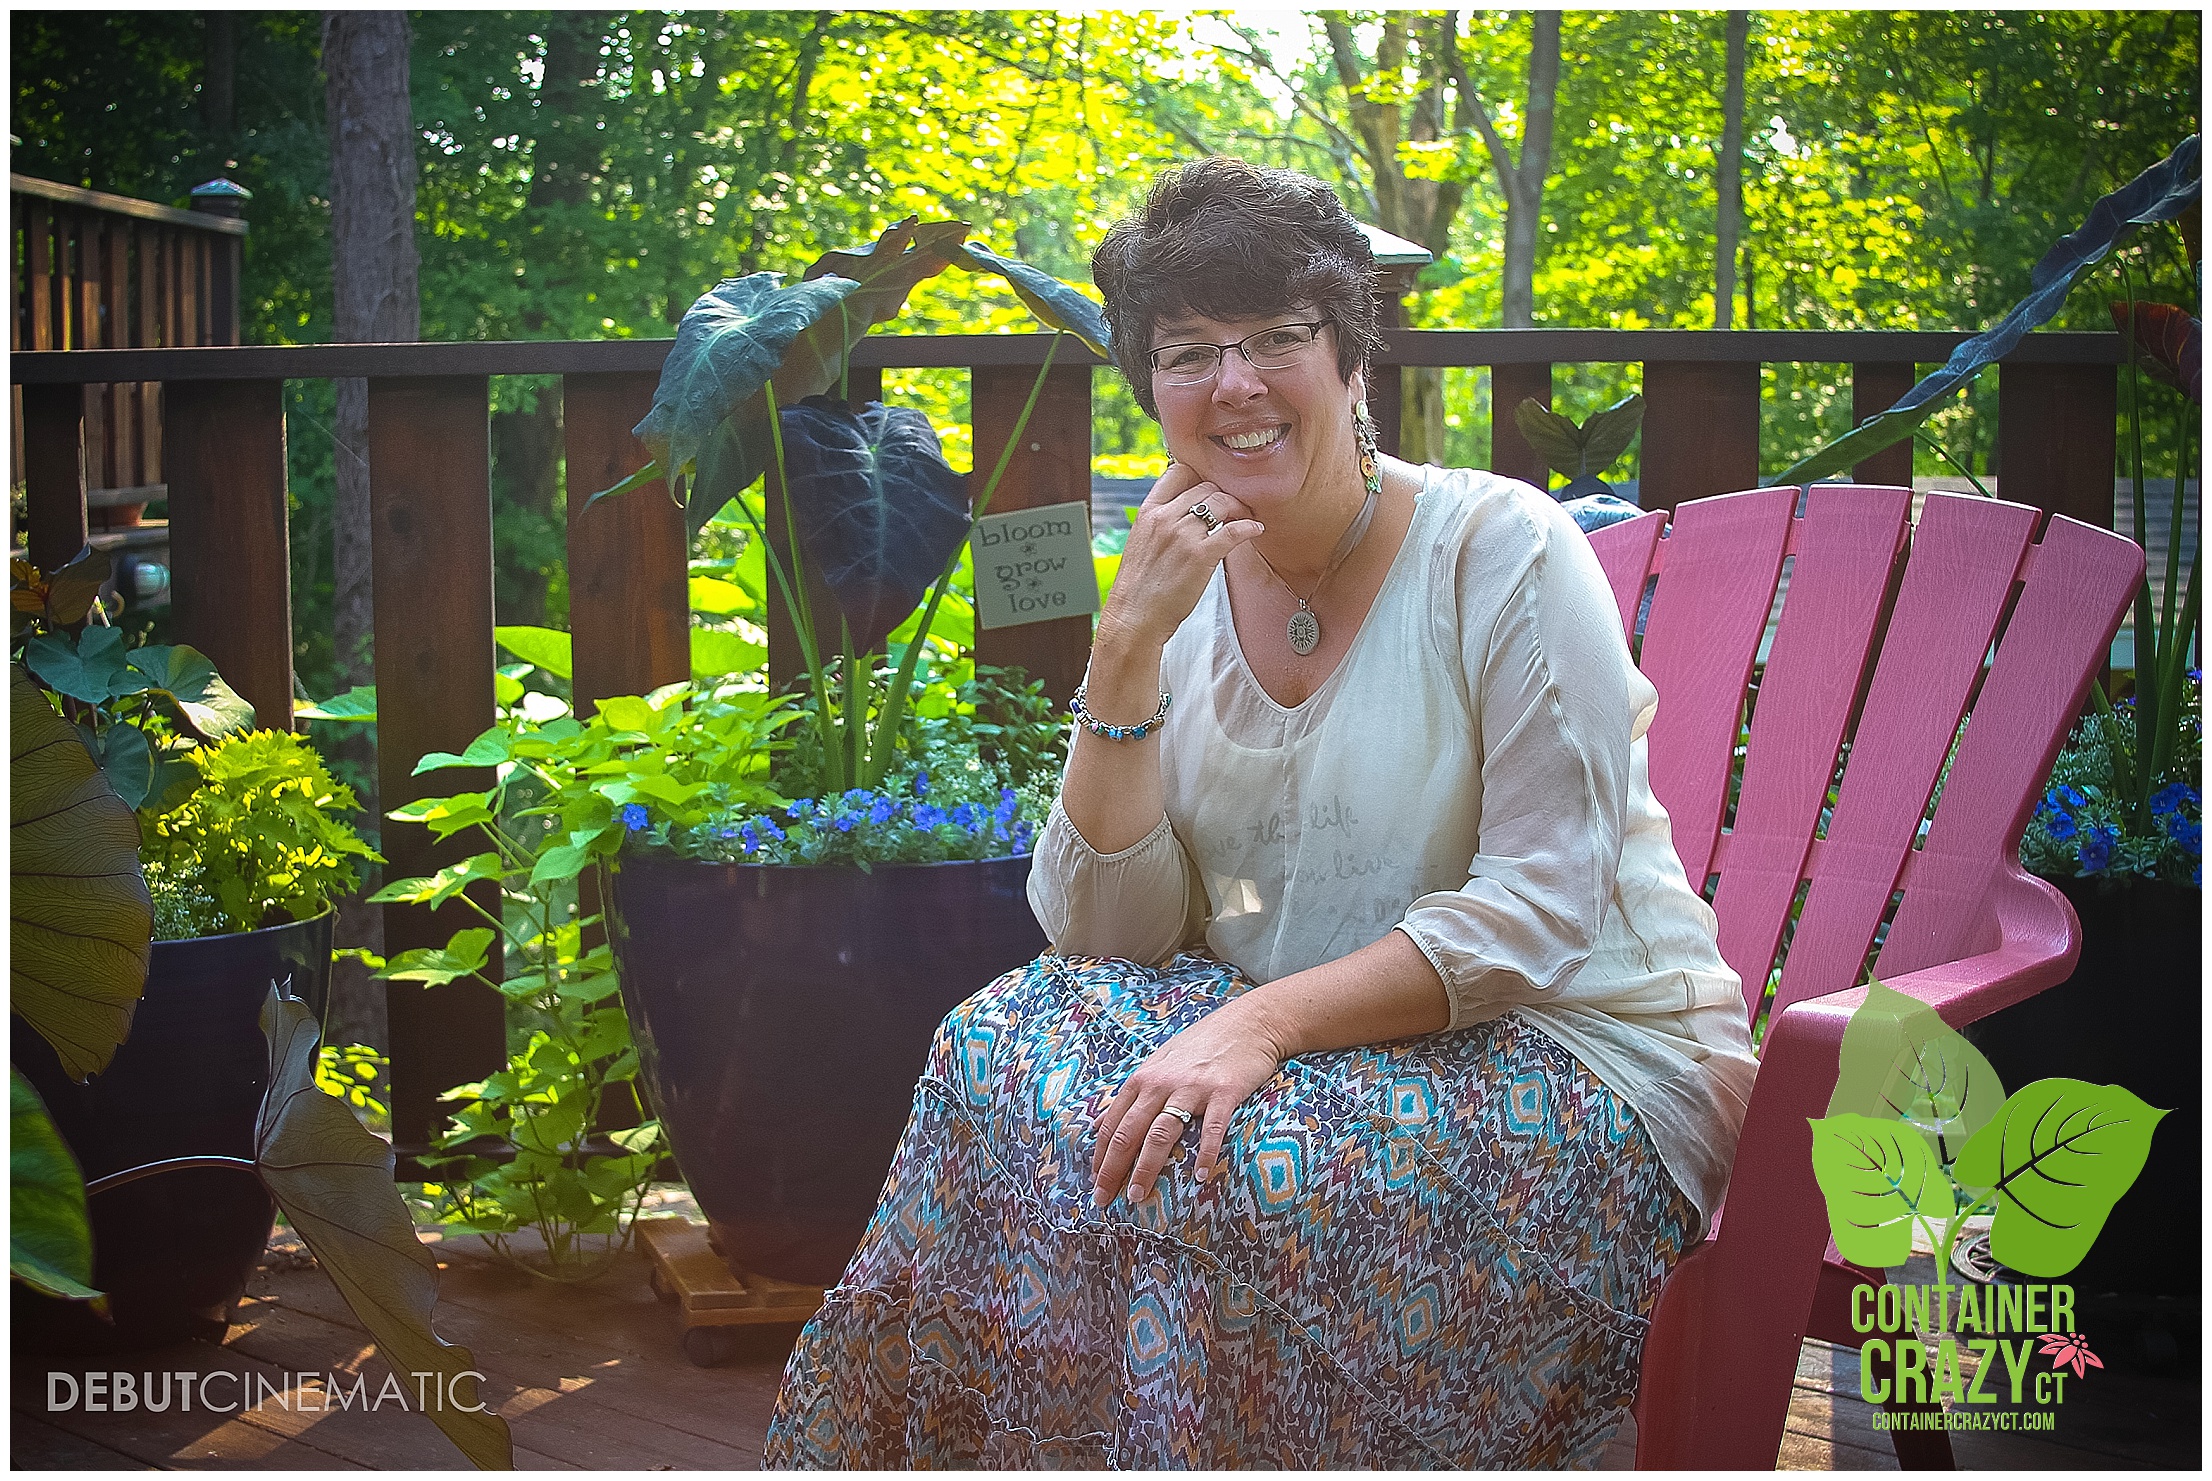
This photo of me was taken on one of the hottest summer mornings this year.
Karen of Debut Cinematic Life Style Photography arrived very early, but even so, it was already hot and humid as the sun was rising that day.
We had no choice but to pick this day because my schedule was packed and Karen’s was too – plus, she was about to move to another state the very next day!
When I showed the photos to Steve, my husband, he asked, “Why do you look so tired in this photo?”
I guess this is true, and I had to laugh when he made that comment. And although I do look a little tired, I still love this photo – the reason for looking tired was the combination of the heat and the fact my schedule keeps moving in the hort world. It’s all good, but sometimes keeping up leads to some wear and tear on the face and body.
My planting season was filled with activity – from holding garden talks in early May through the end of this season, and continuing into February of 2015.
It was also the year when the first “Big Container Garden Party Class” was held at Cathy T’s location in Broad Brook, CT.
And, I also invited special guest speakers to hold classes, such as Rhonda Niles of Gardening Inspirations, and Jim for the upcoming class by Jim of Ancient Gardens Hypertufa on October 4th. Reminders for this class have been emailed to attendees – don’t forget you need to get a small plastic pot for this class, but there’s still plenty of time for that.
In addition, we kicked off the first year of the Garden Walk and Talk Events at hosts’ homes – Thank you again, Louise for your Urban Veggie Garden tour, and Rhonda for your Pondering Ponds, and Lisa for the Sunny Hill Side Garden. More tours are already on the schedule for 2015.
Finally, the big cap off of the summer was the designing and installing of container gardens for a very special outdoor wedding event. A total of fifteen pots were assembled, delivered, positioned, and featured for the day. Phew – I get tired just thinking about how much running around I did – but I smiled throughout it all – yes, every minute – because it is my passion.
In the background of the above photo, you see some of the container gardens created and maintained for the wedding event. The plants were in the beginning stages of growth and had a way to go when this photo was taken. To see more of the container gardens created, check back in here again on this blog.

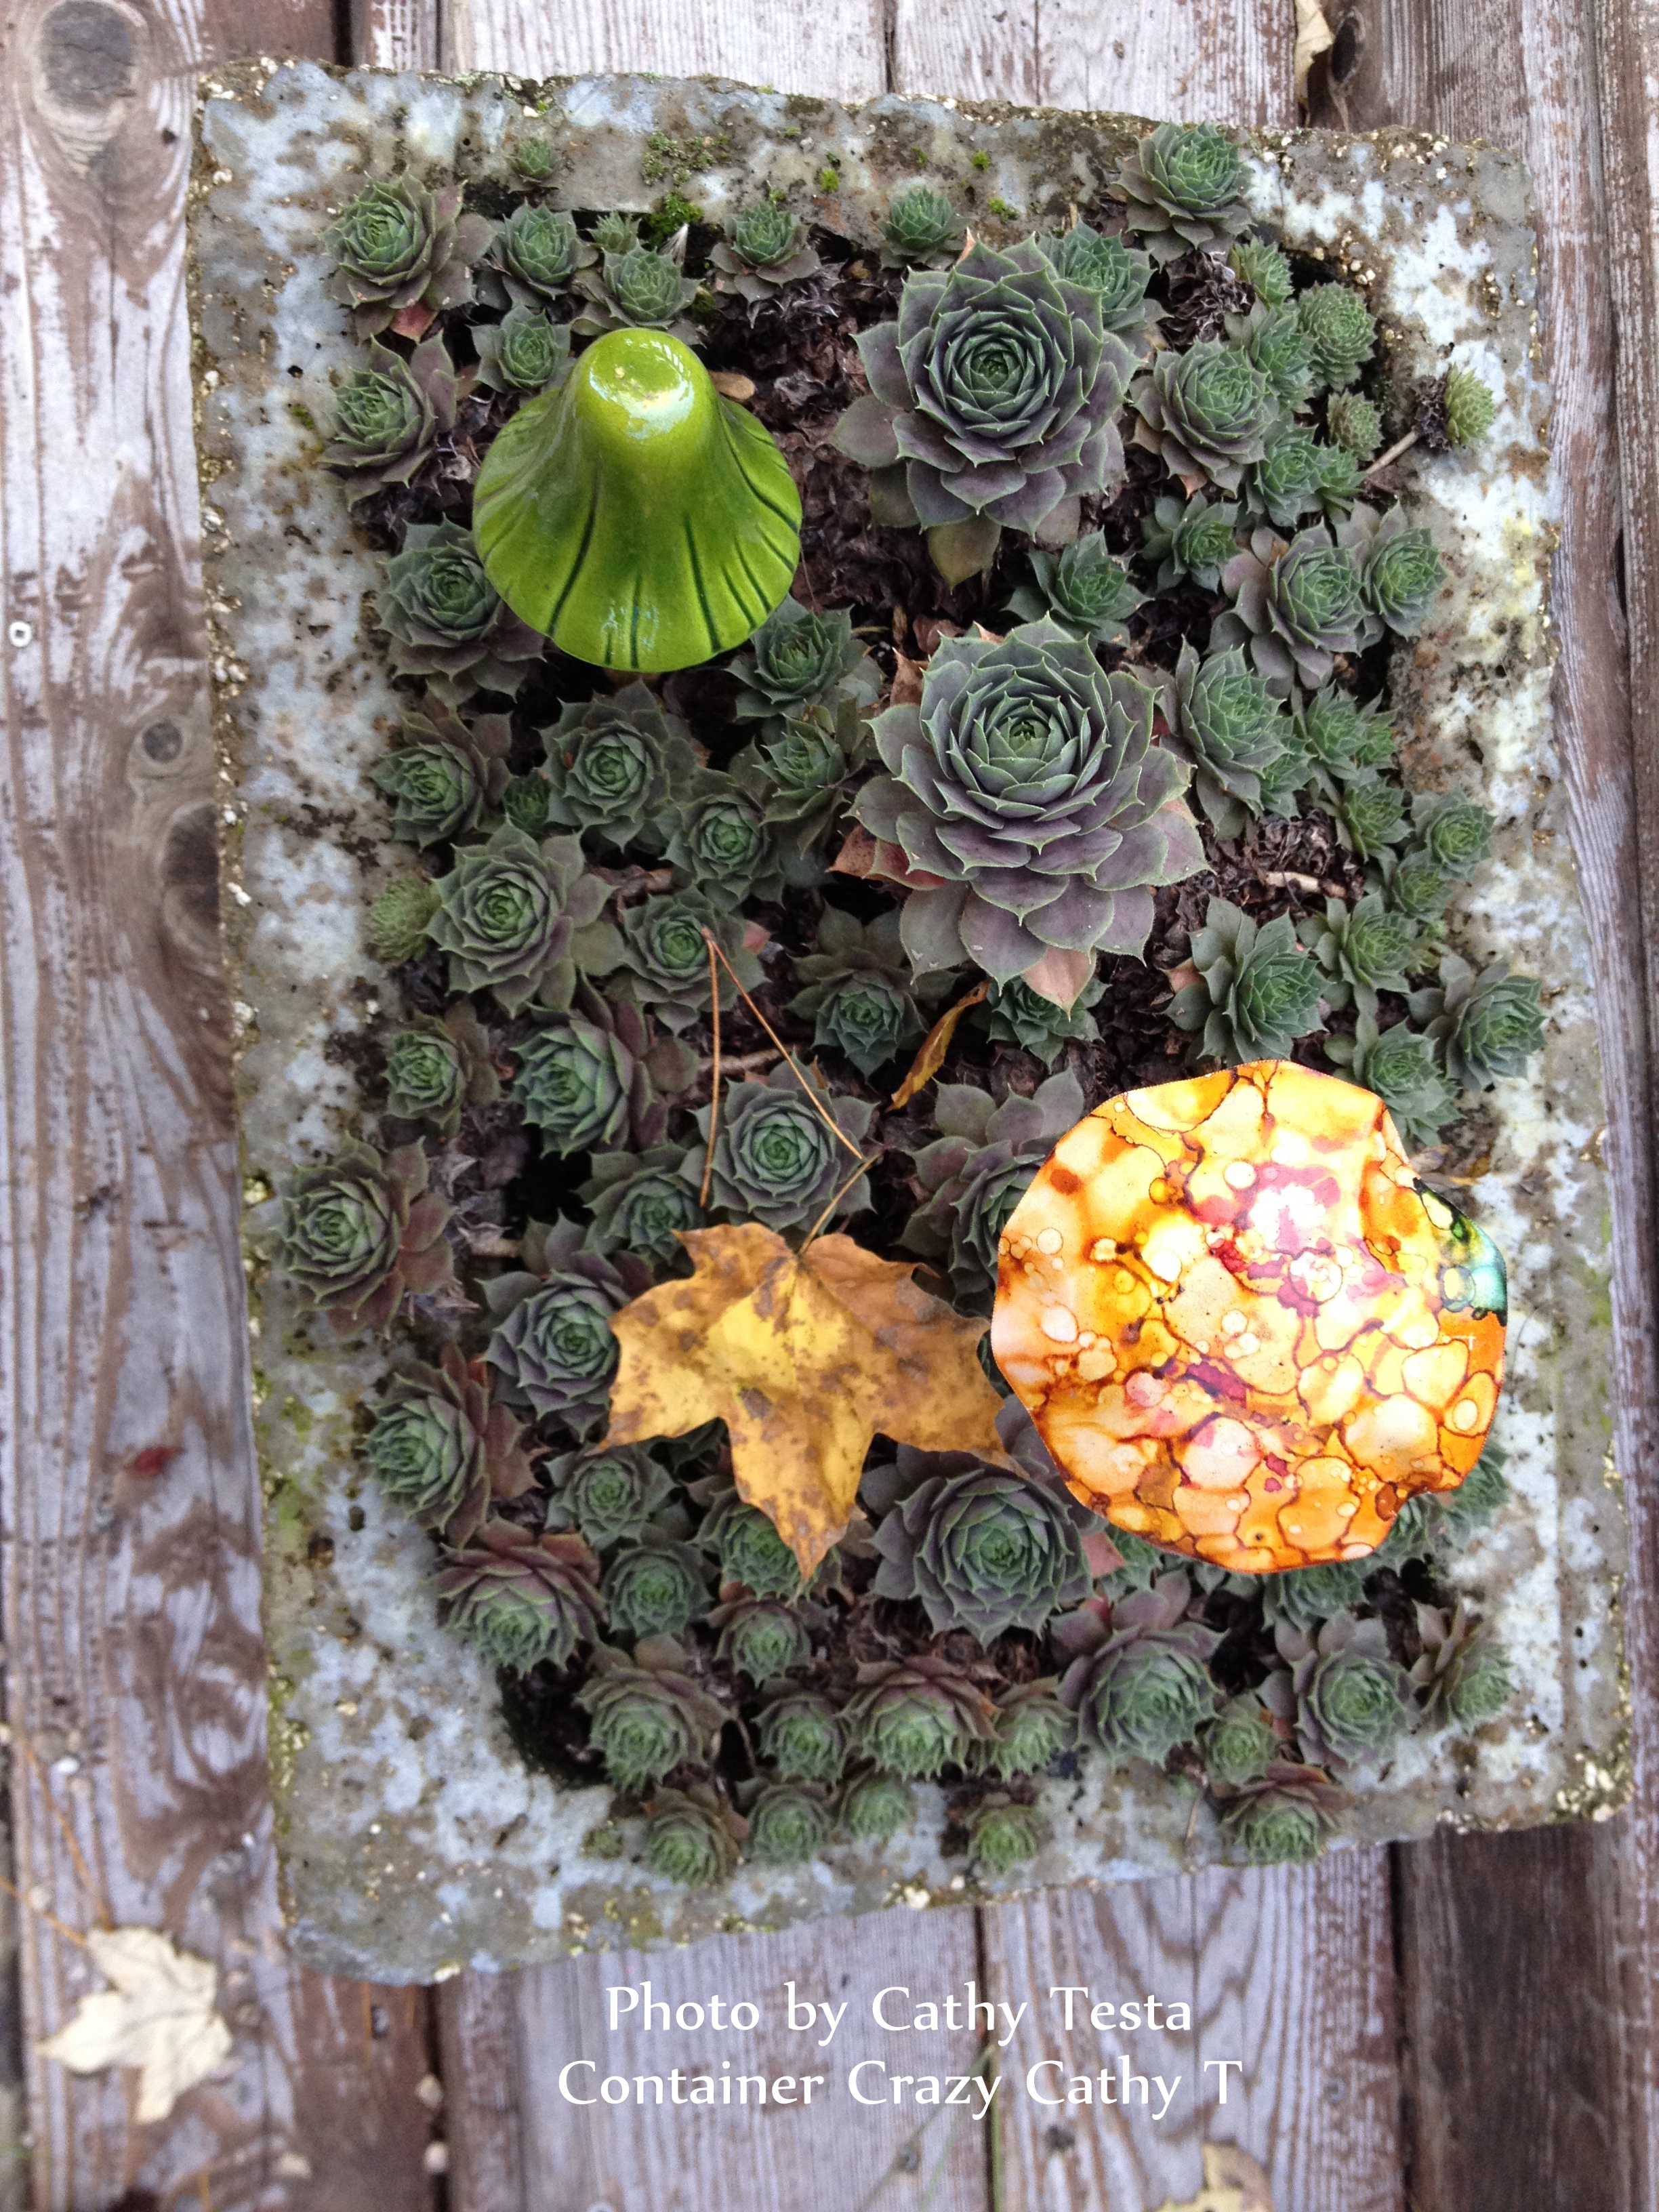
A Hypertufa Round Pot with Hens and Chicks
In the meantime, next on the agenda is the Hypertufa Making Class on Saturday, October 4th from 11:00 am to 1:00 pm. The class is already full but we have a waiting list, if interested. Jim of Ancient Hypertufa Gardens is an expert at making these earthy pots. I’m thrilled he will be our next guest speaker as part of the Container Crazy Cathy T Class Series.

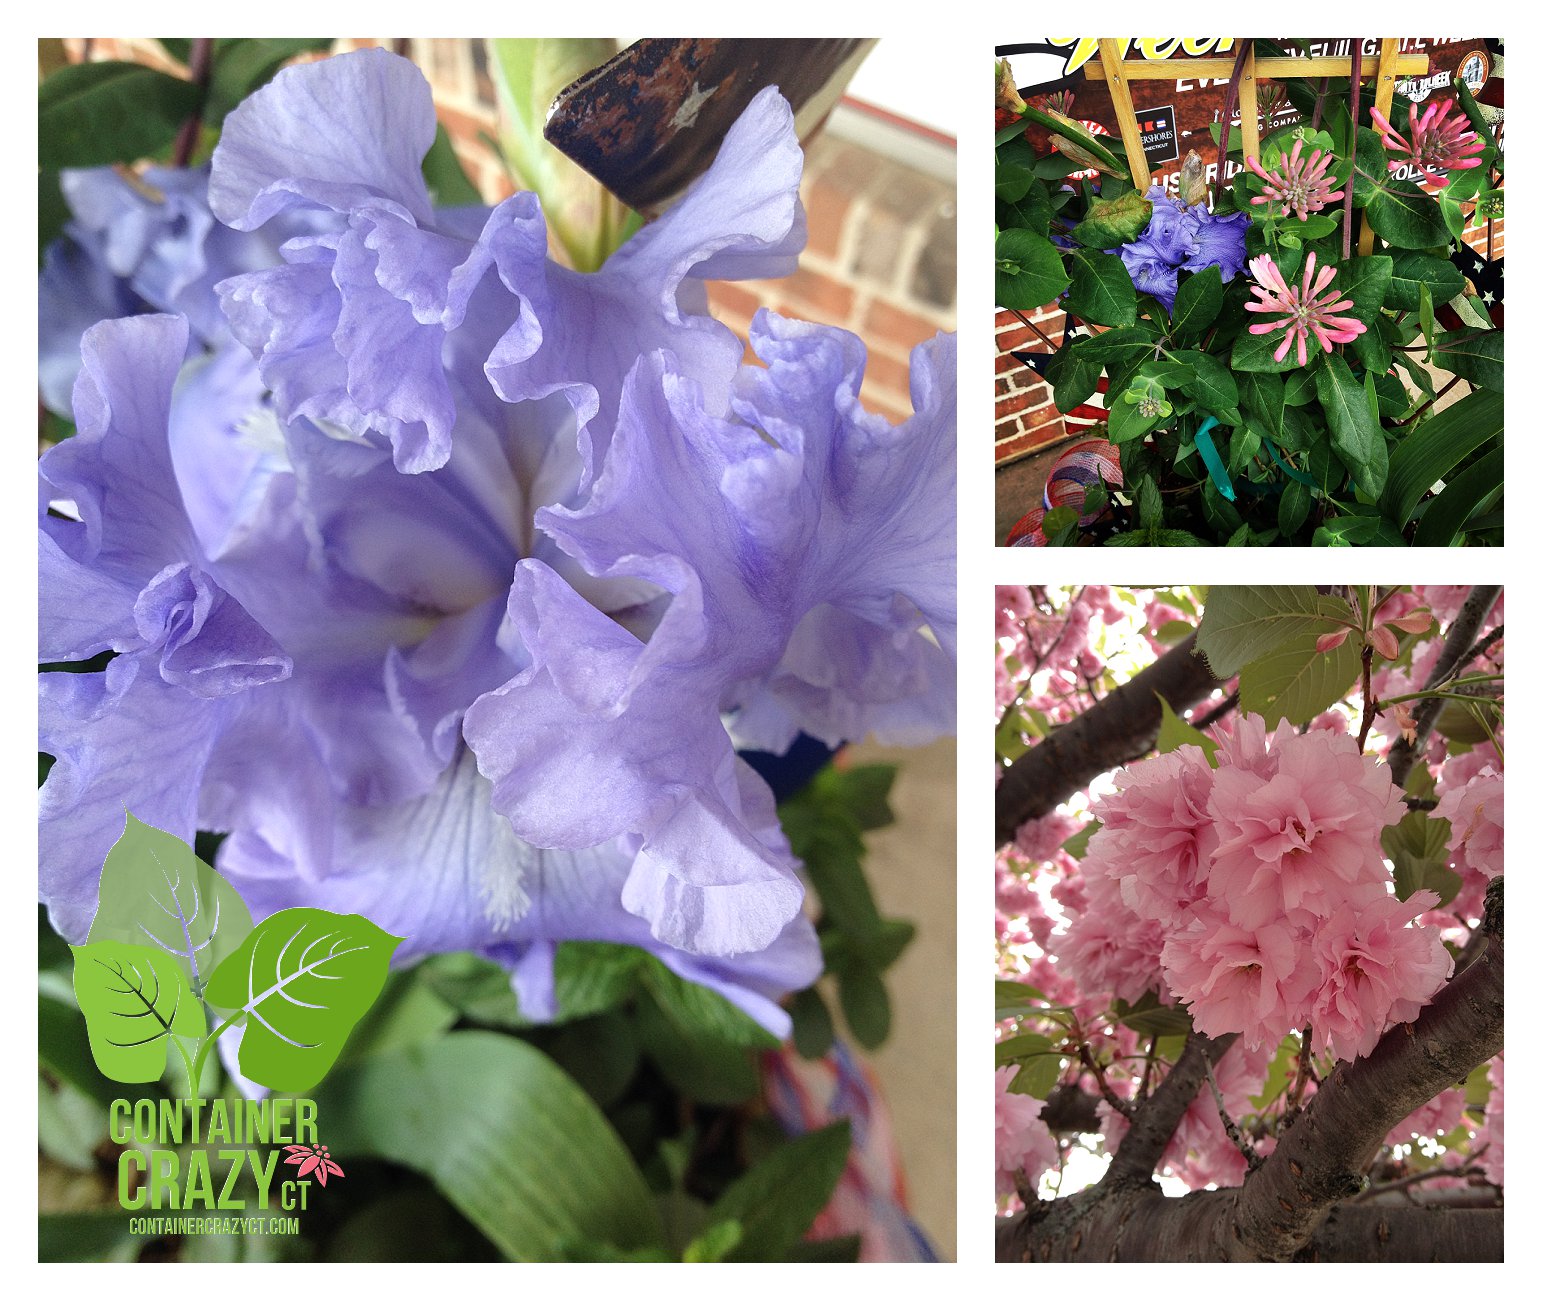
Blue was the Theme this Season
I’m not exactly sure how this happens – but every year, a theme seems to naturally evolve – and this year, it was all about blues. Here you see another photo Karen of Debut Cinematic took for me. The blue cloth is from Rockland, Maine – a wrap I purchased and adore. I added it to the table to dress up the scene before her photo shoot.
The blue hand-blown wine glasses are from a place in Vermont. They are so beautiful, I treated myself to a pair – and added them to the table too.
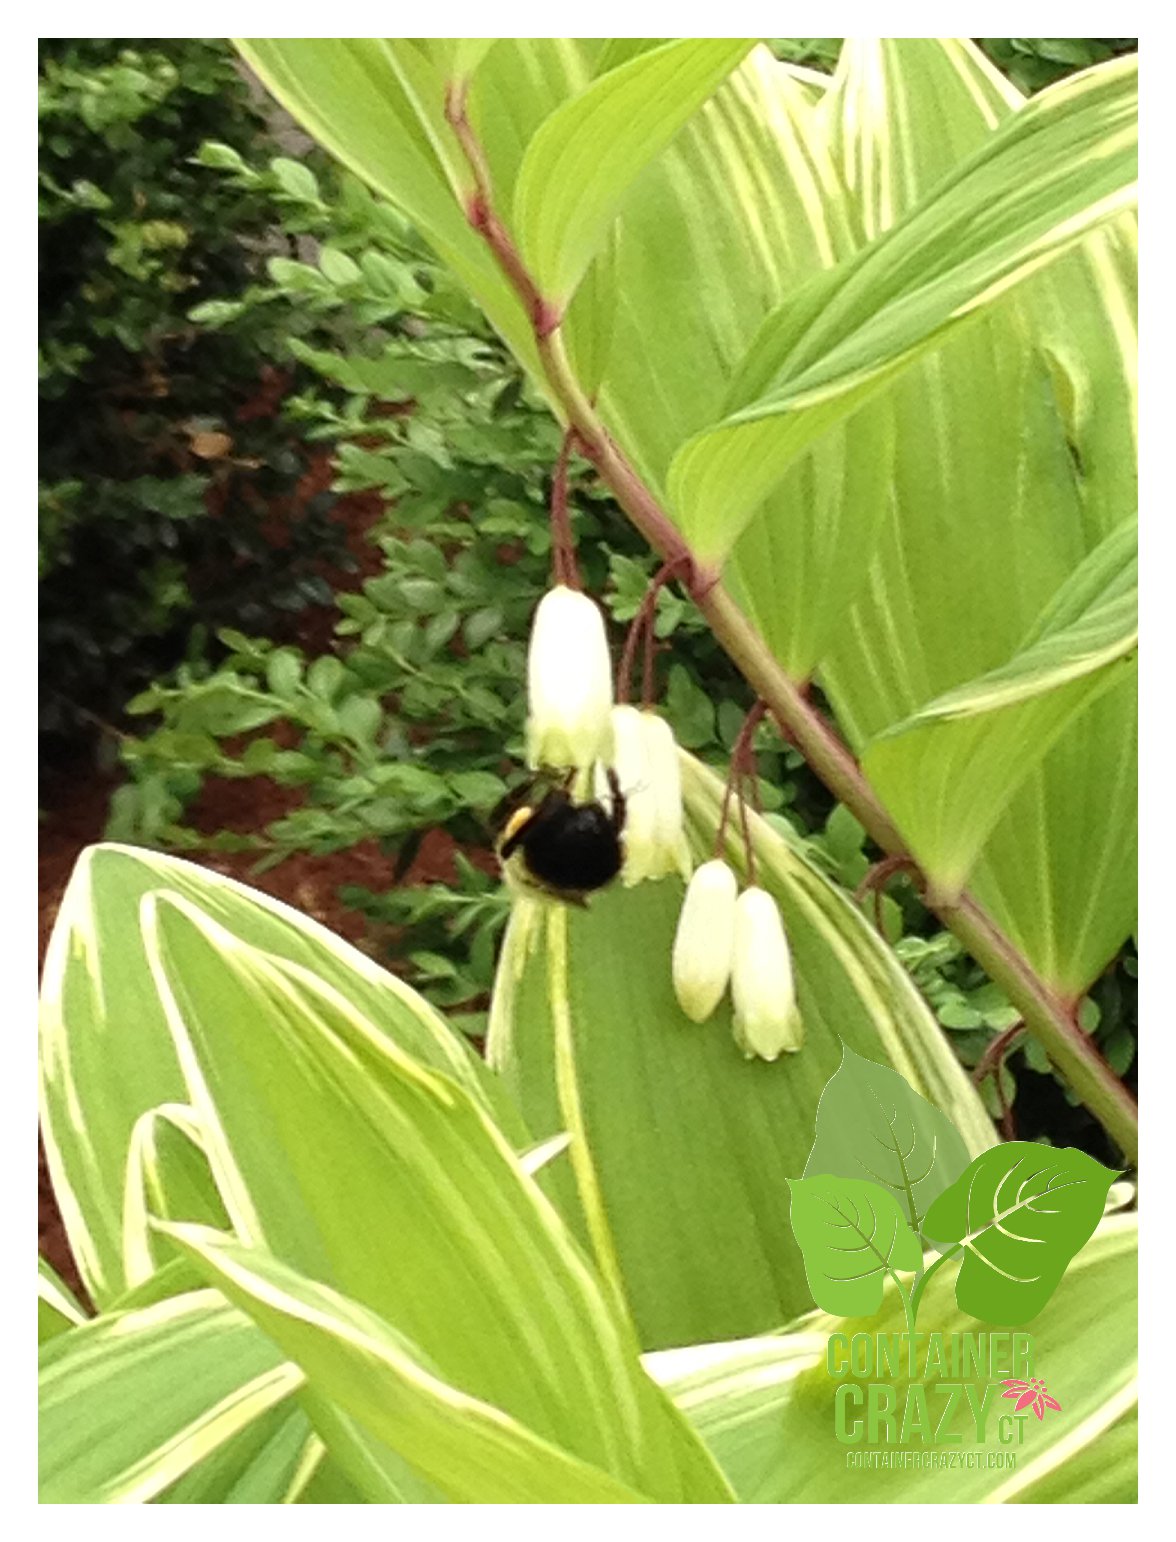
Also displayed is the miniature garden, which I created during Gardening Inspirations’ class on Miniature Dreamscapes by Rhonda Niles, held here in the early summer. And lastly, I recycled a baby chicken feeder to hold some Hens and Chickens plants. Why? Just because it was fun.
The color blue also appeared on my list by way of the wedding client. The bride specifically requested cobalt blue in her container gardens, preferably in the flowers, along with whites and lime greens. How was this achieved, well – more will be posted on that later.
Time to hit the road to my new TRX exercise class – which was also a new item on my 2014 agenda – and this core building class has helped me get stronger, making the constant lifting and bending to work on containers and pots for my projects a bit easier.
Oh also – coming up, an Advance Master Gardening class. To see more, check out the Cathy T Classes menu above, click to locate drop-down menus with all the details.
Cathy Testa