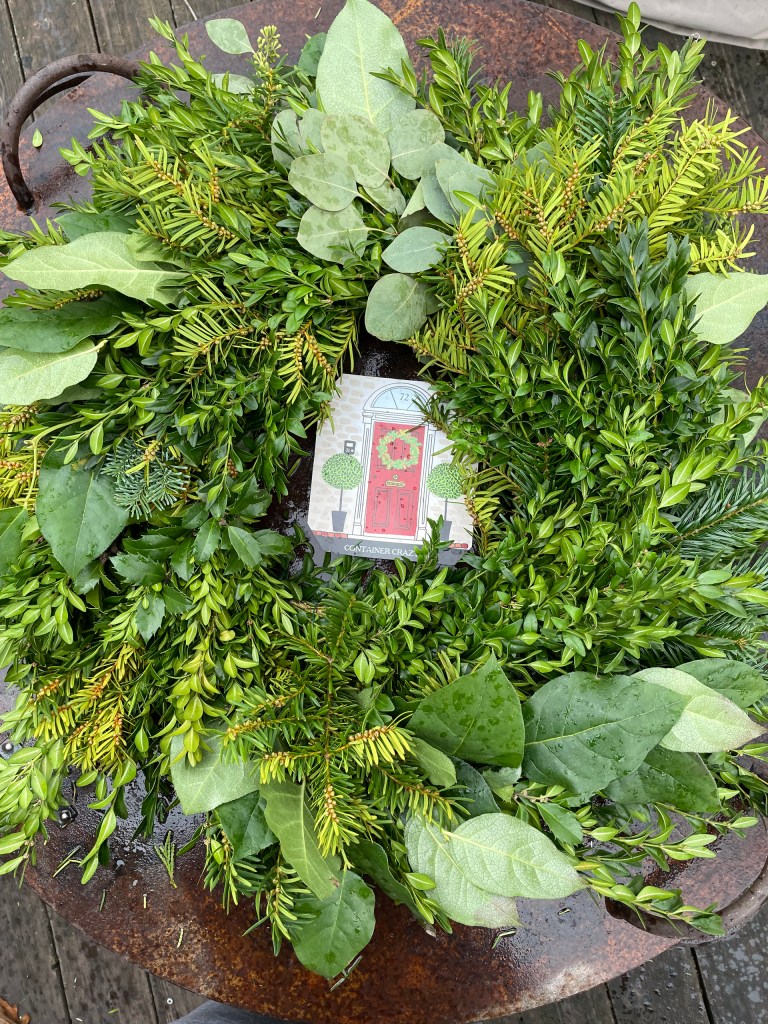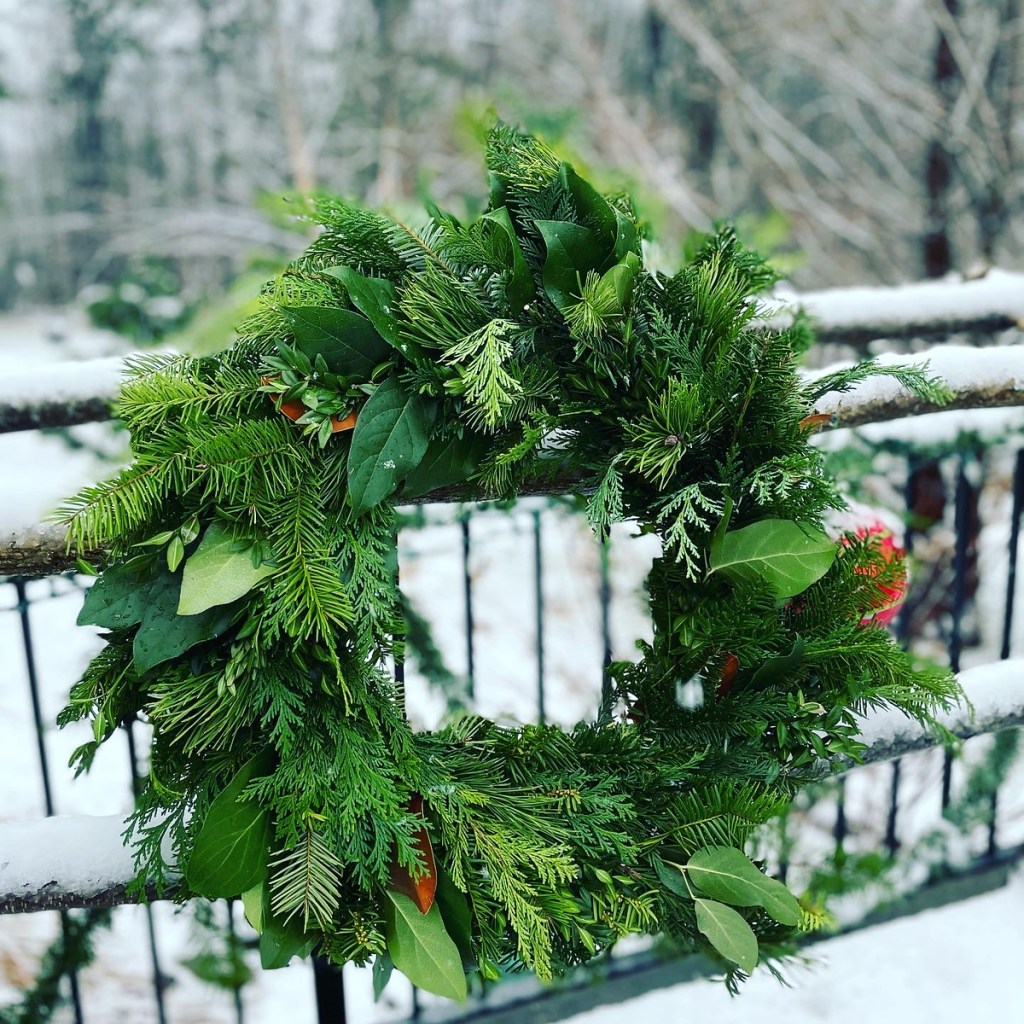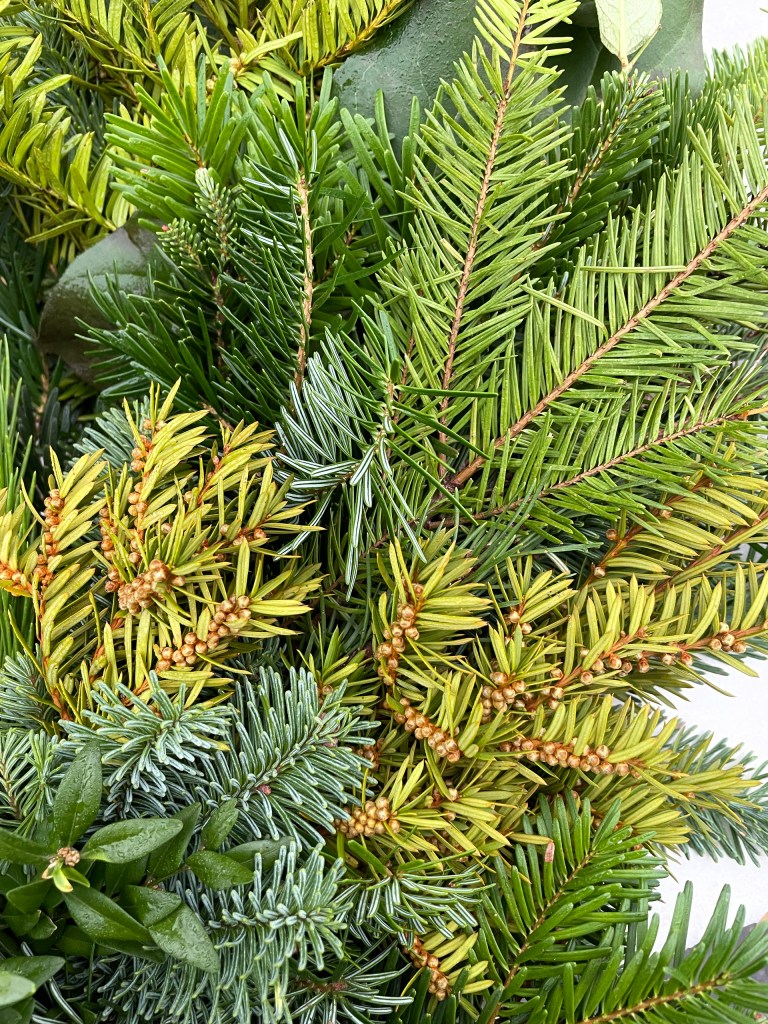
When I held holiday wreath making workshops, I referred to greens that are primarily used in the wreaths, as “base greens.” I felt that these greens are your standards and used for much of the filler material. Another term I created was, “premium greens.” Those were the more pricy and floral quality greens used to create accents in your wreaths or holiday kissing balls.
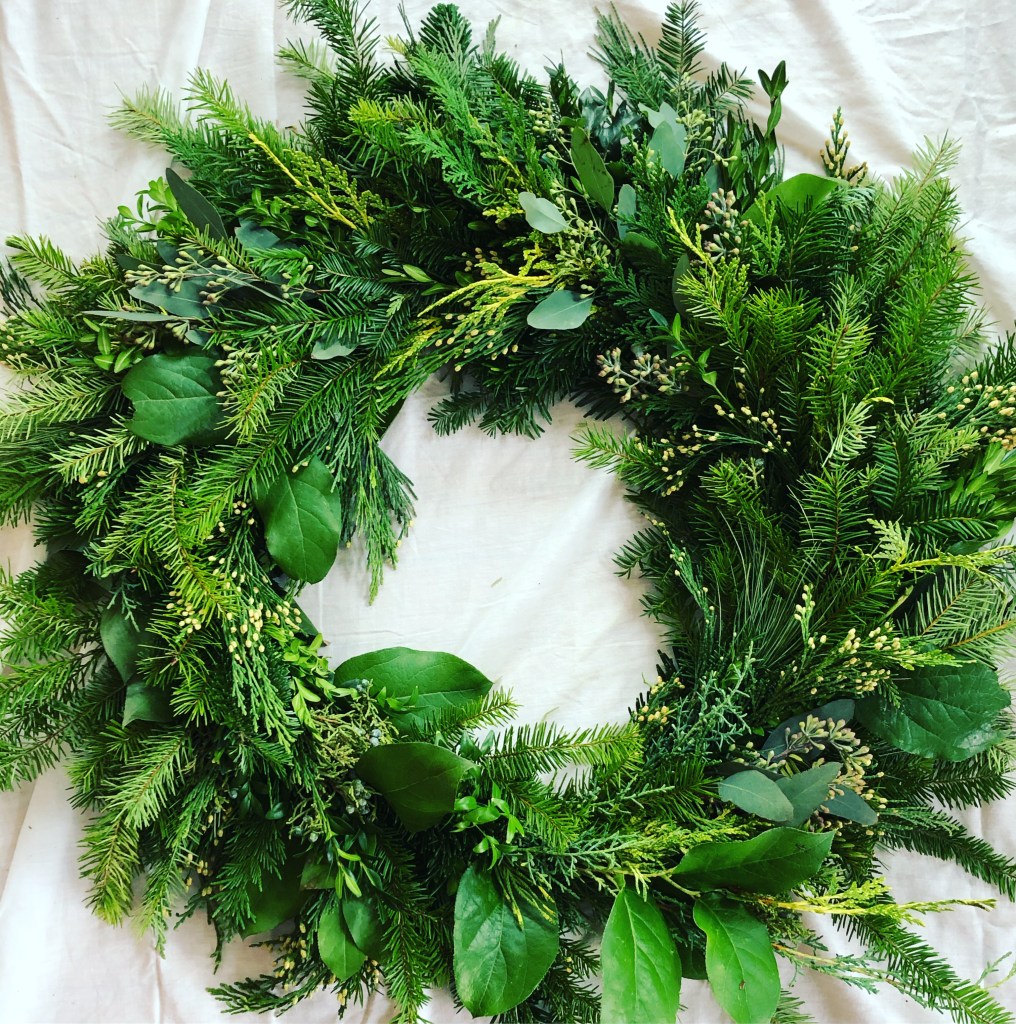
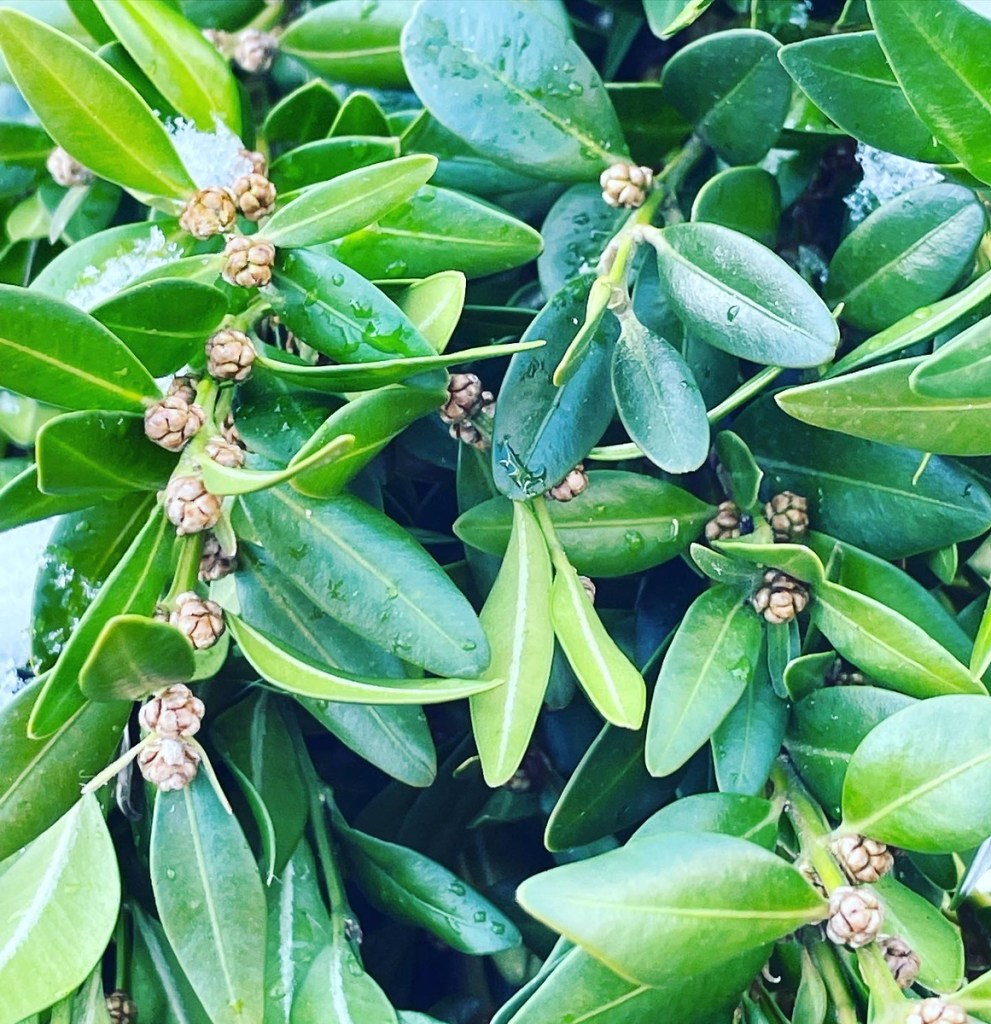
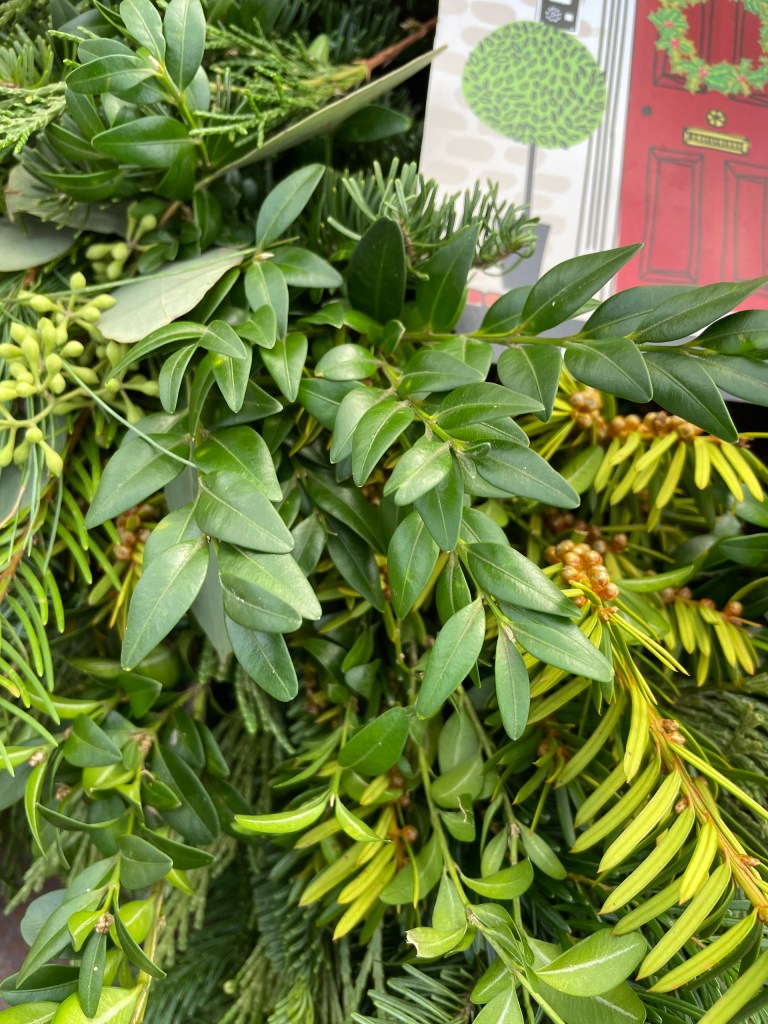
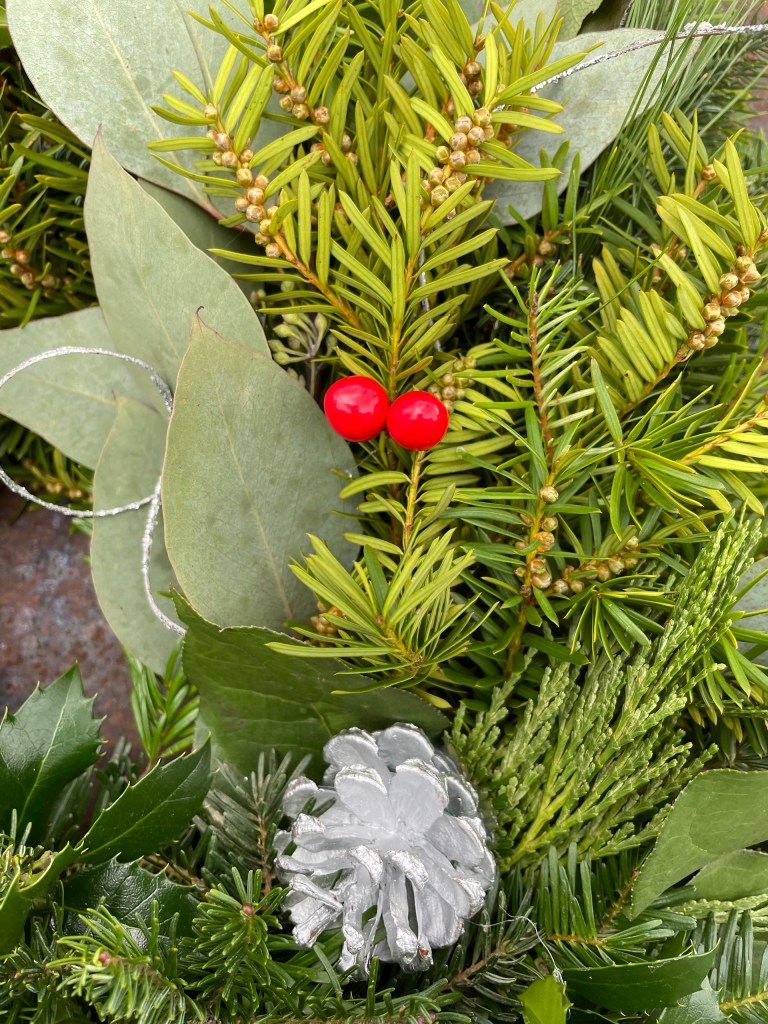
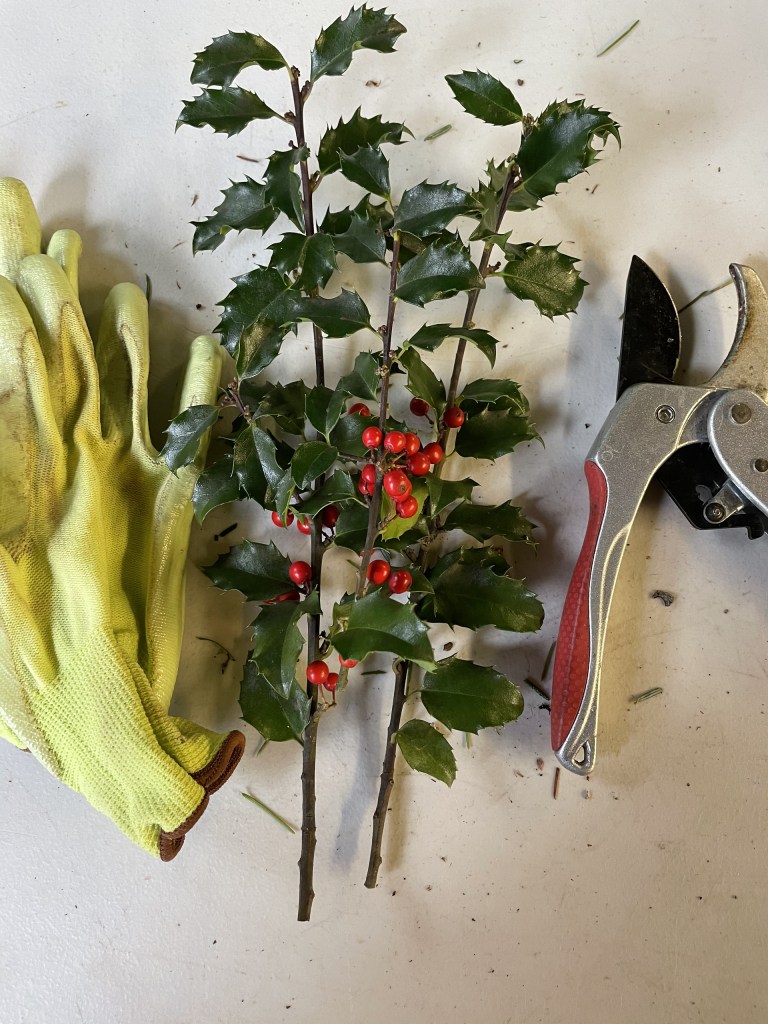
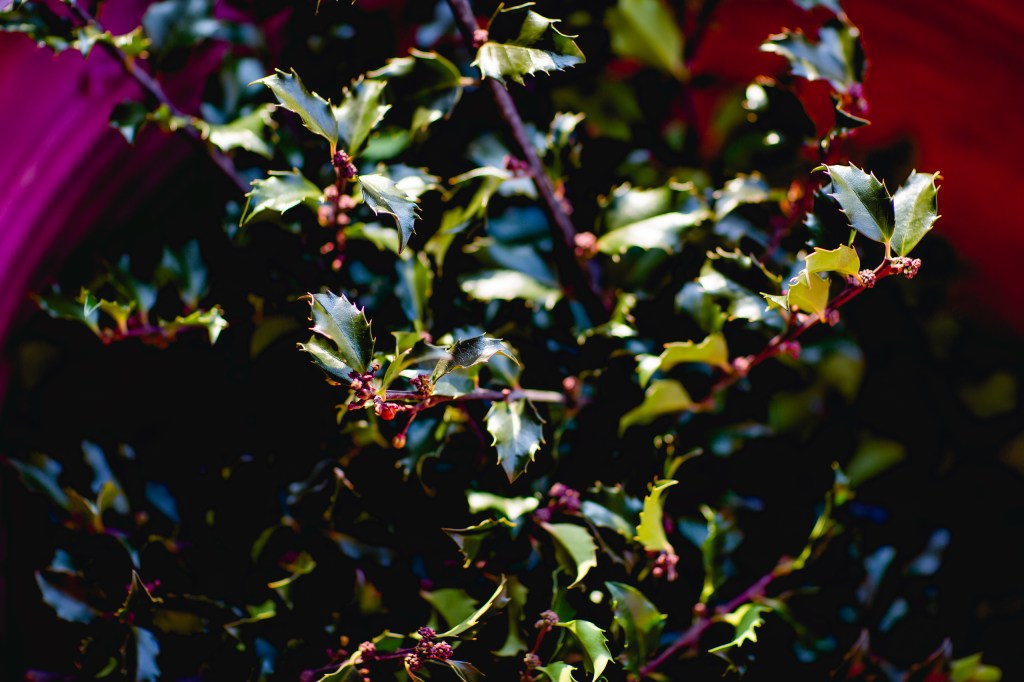
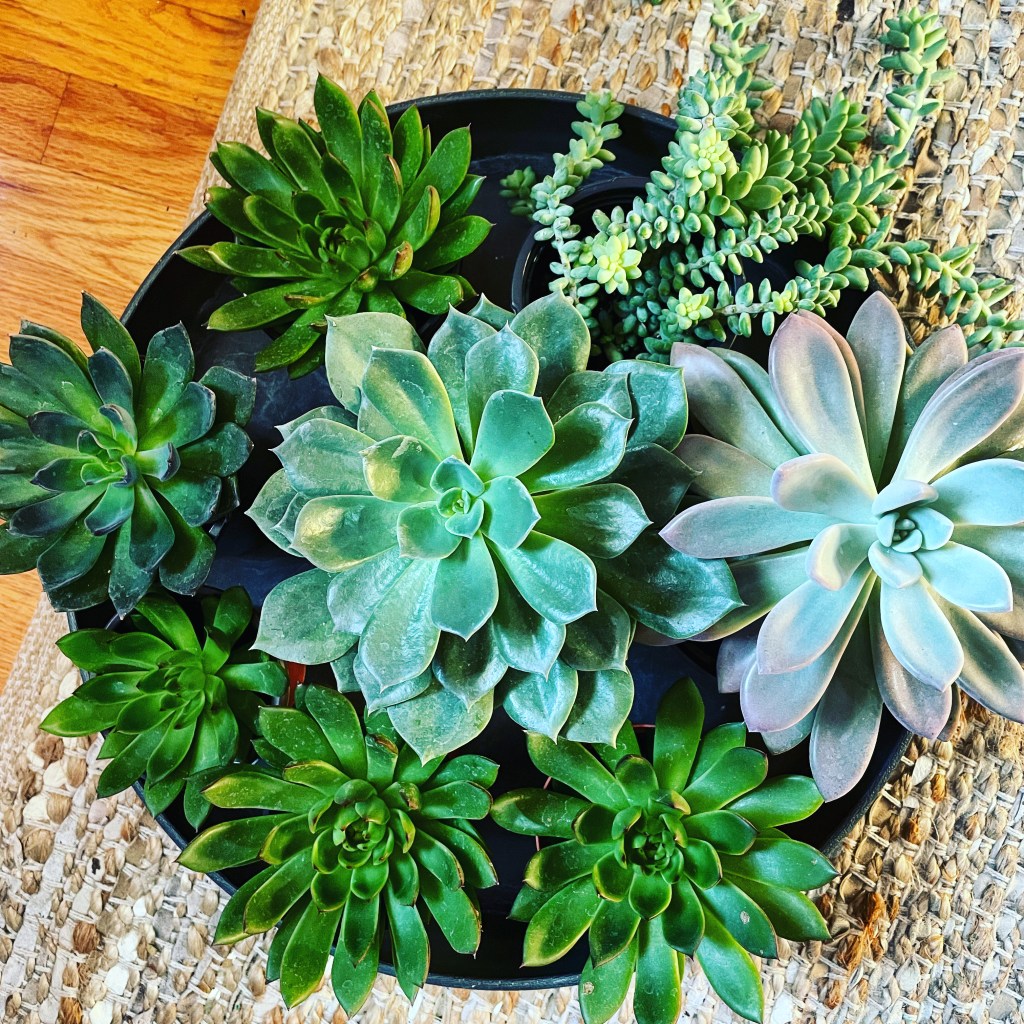
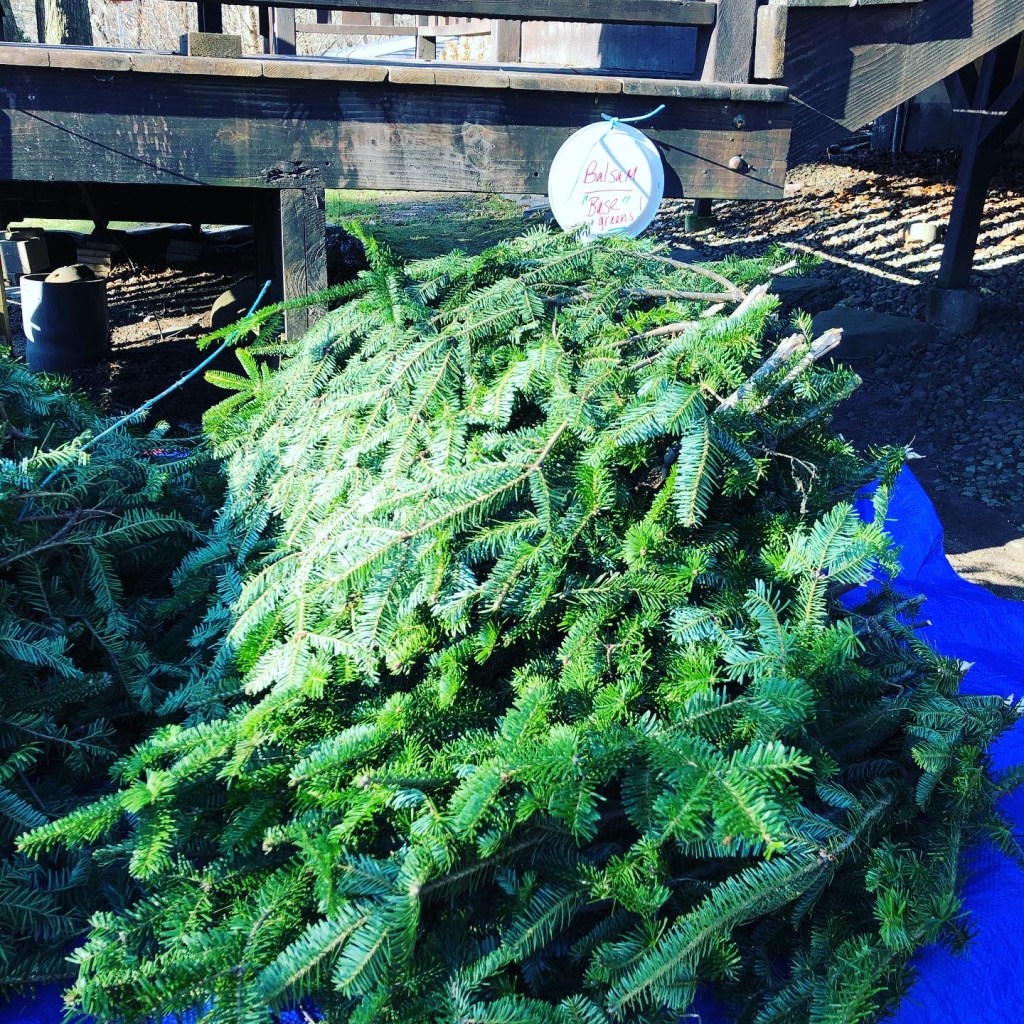
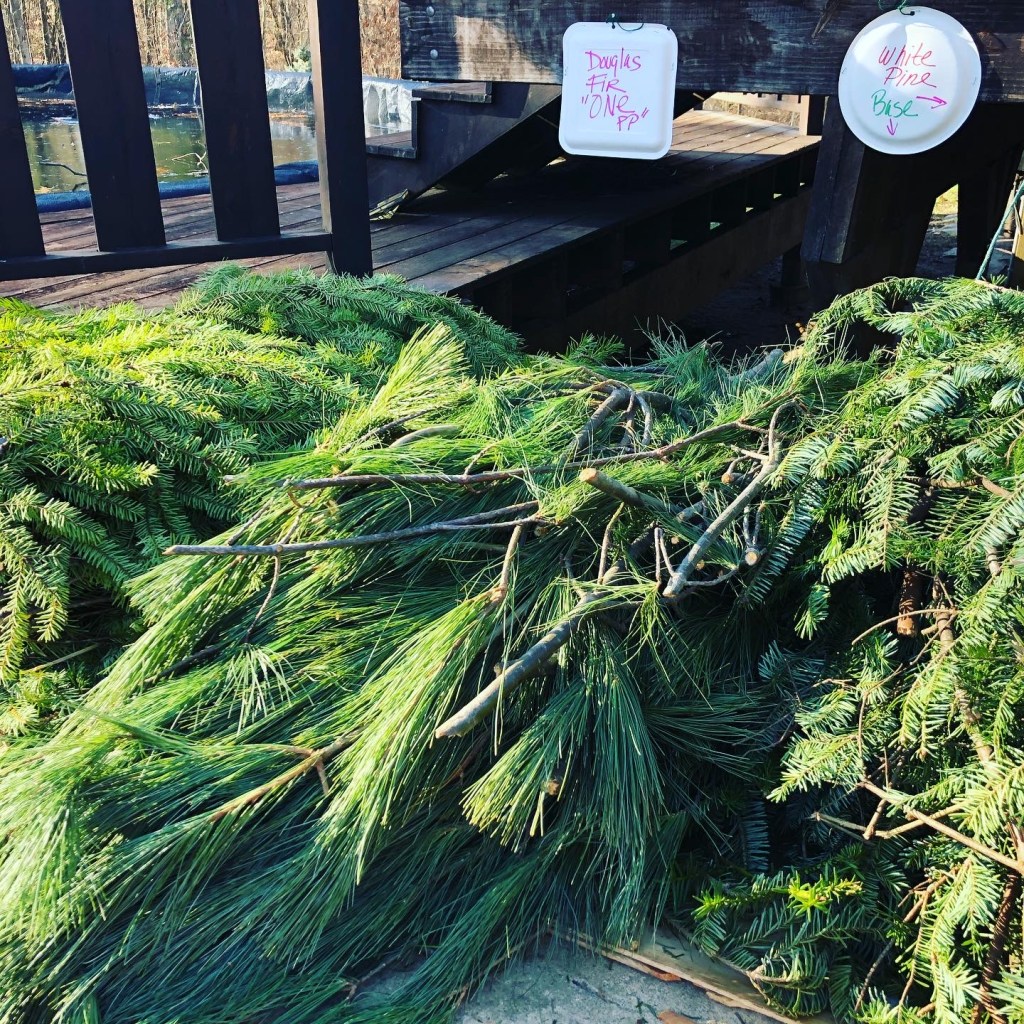
The base greens were usually Balsam, Douglas fir, yew and pine. So far in my series of recent posts here on Container Crazy CT’s blog, I have covered yew, holly, salal lemon leaf, and boxwood. Of these, I considered the boxwood, lemon leaf and holly more along the premiums. Yew makes an excellent base which I also covered in a prior post.
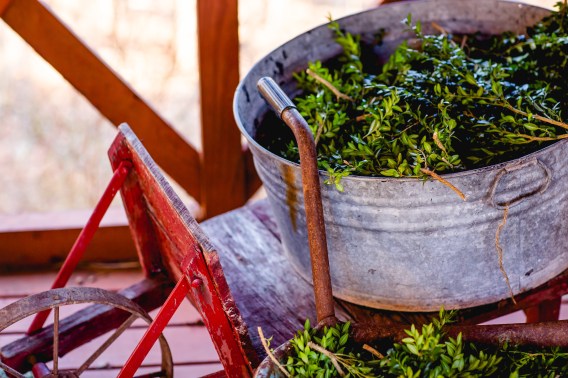
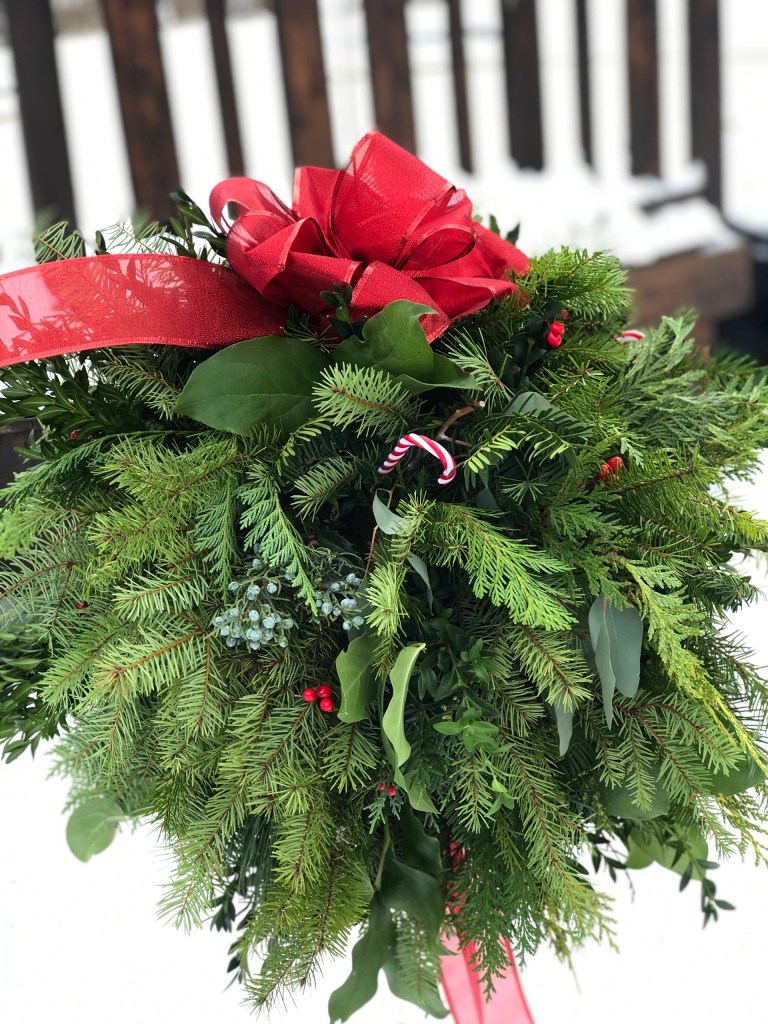
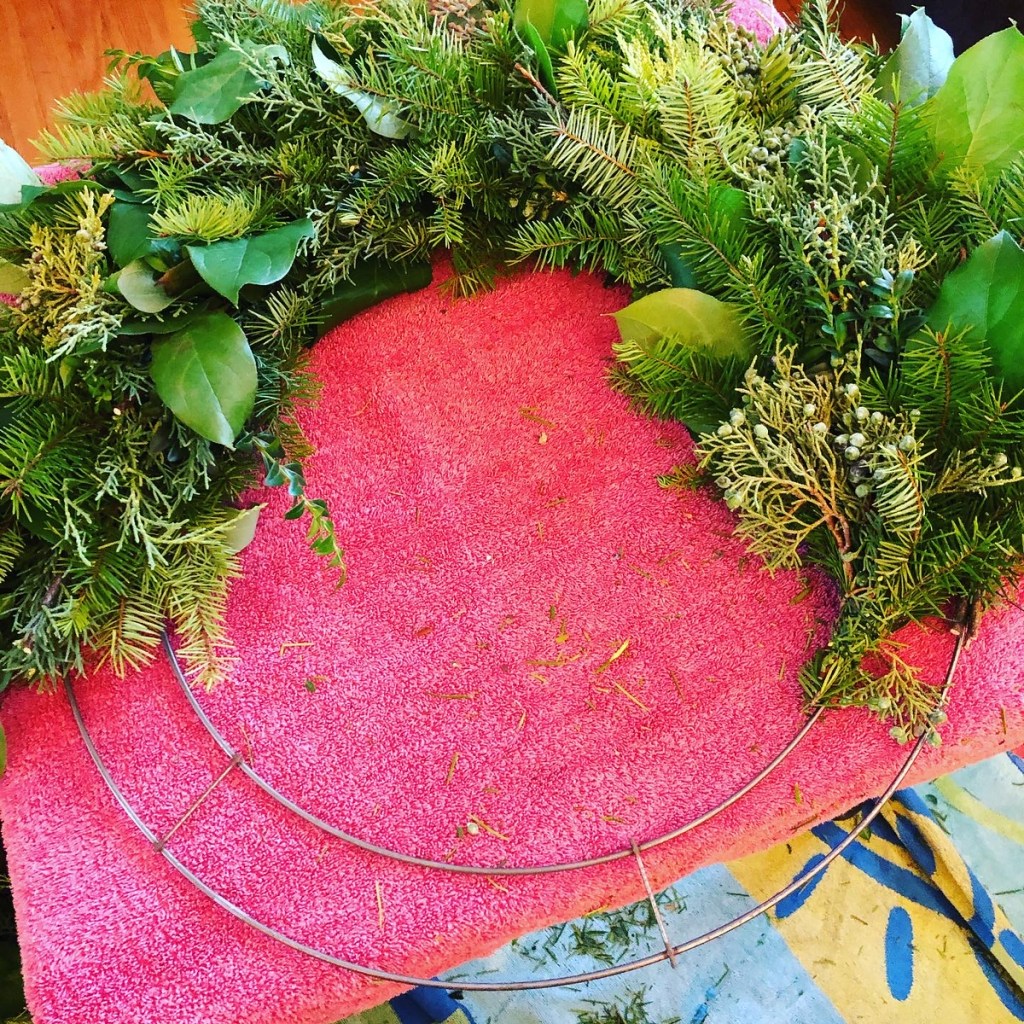
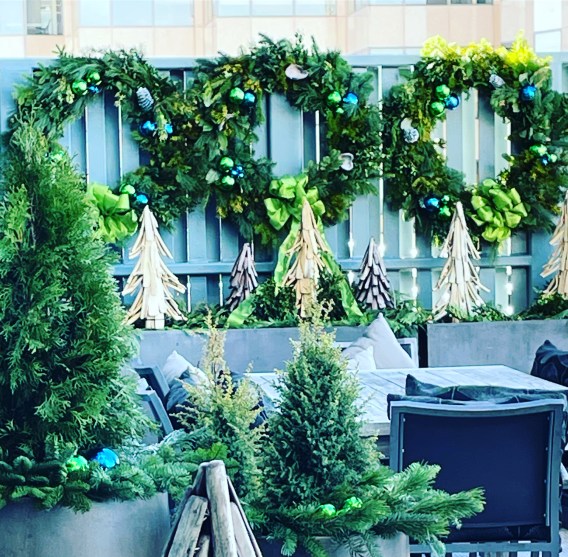
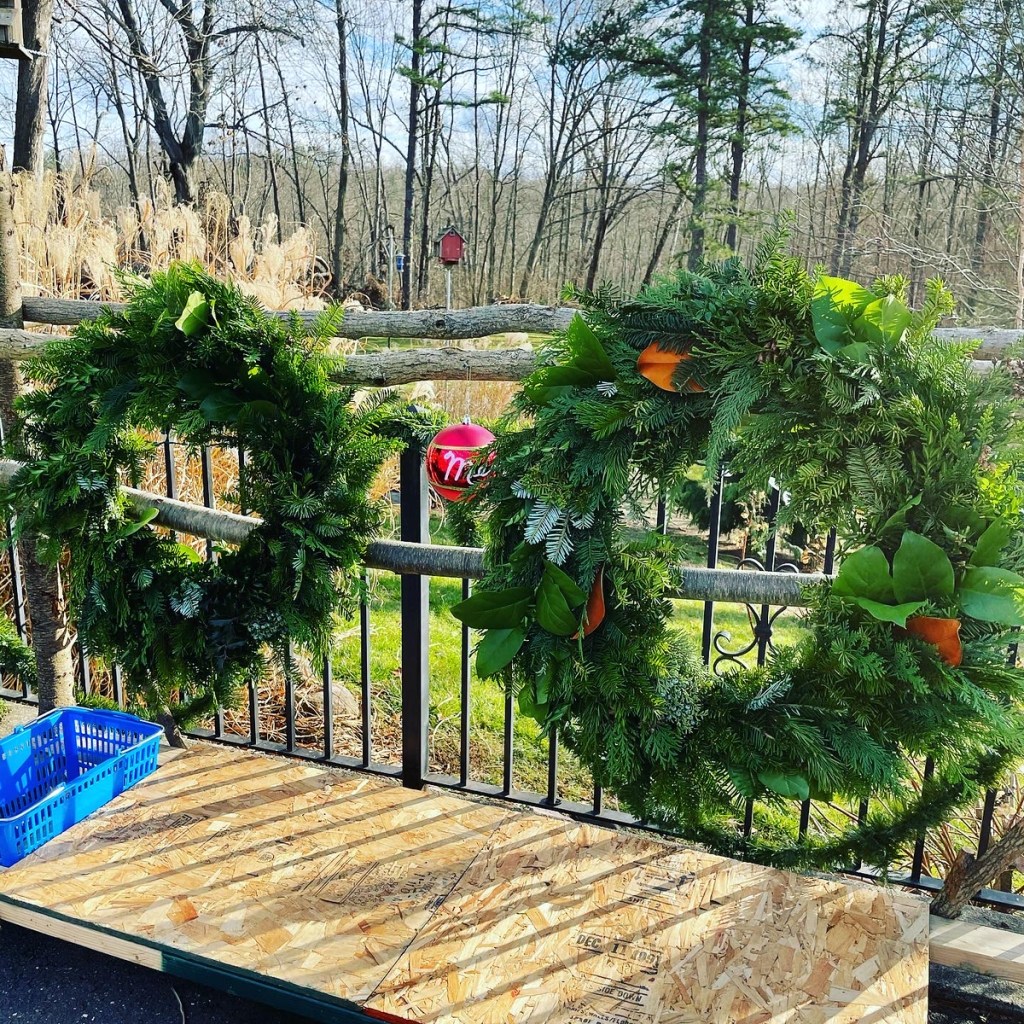
When you make a holiday kissing ball, you need a lot of greens. Having the base greens in supply made that happen. It is also true for fresh greenery holiday wreaths. The base greens are the bulk, and the premium greens are the decor and special touches. It takes a combination of these to make a beautiful creation for the holidays. The base greens were typically the less expensive greens while the premium greens were pricier. And a lot of places do not make wreaths with premium greens, sticking with the balsam only or balsam wreaths with some special touches, like adding holly or pine.
At first, when I held my wreath making workshops, I let everyone go hog holiday wild with grabbing greens from large outdoor tables. Some of the tables and shelves were in a wooden outdoor shed and other greens were piled on a table. I would monitor if the base greens were running out and restock as needed during the workshop. Steve helped me with this task as well. In the beginning, I had to see if my estimates worked. No one handed me this information so I always had a bit of panic that I could run out but fortunately, we usually had plenty.

That was part of the fun, but one year, an attendee took a ton of the premium greens, and one type of the premiums were no longer out there on the tables for others. This made me consider how I had to portion things out a bit more the following season, so it was fair to all attendees. I even had a friend help me to make sure attendees would take what was allotted per person. She stood there reminding everyone of that as they came out to get their greens. We began to affectionately refer to her as the “greens police.”

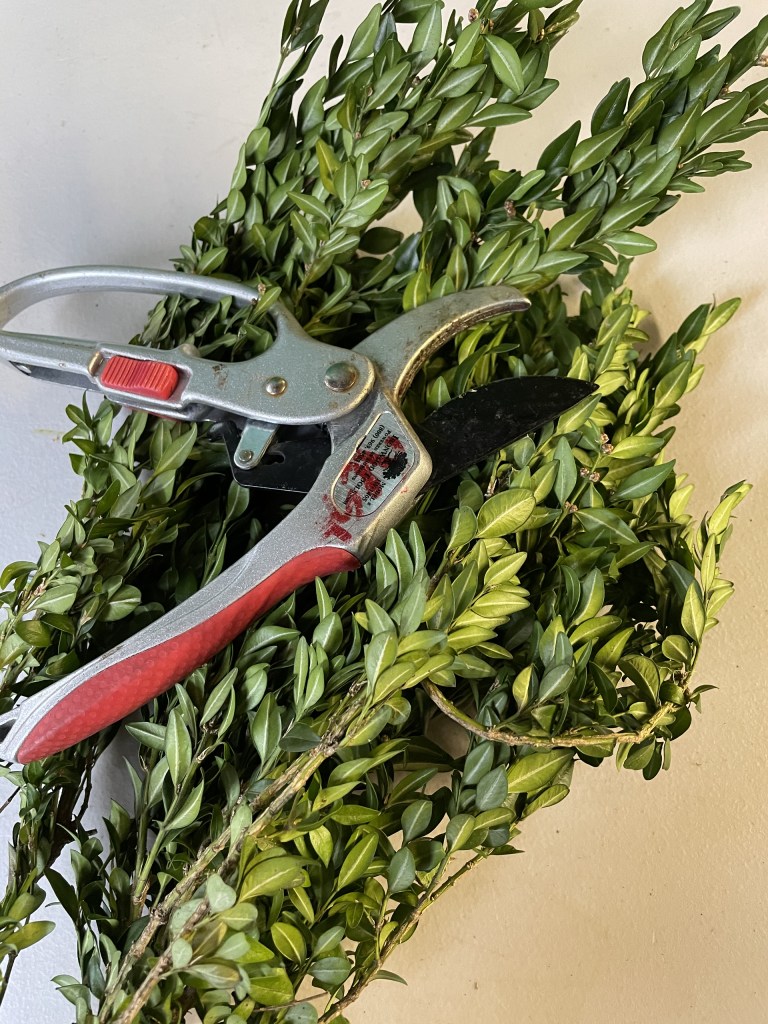
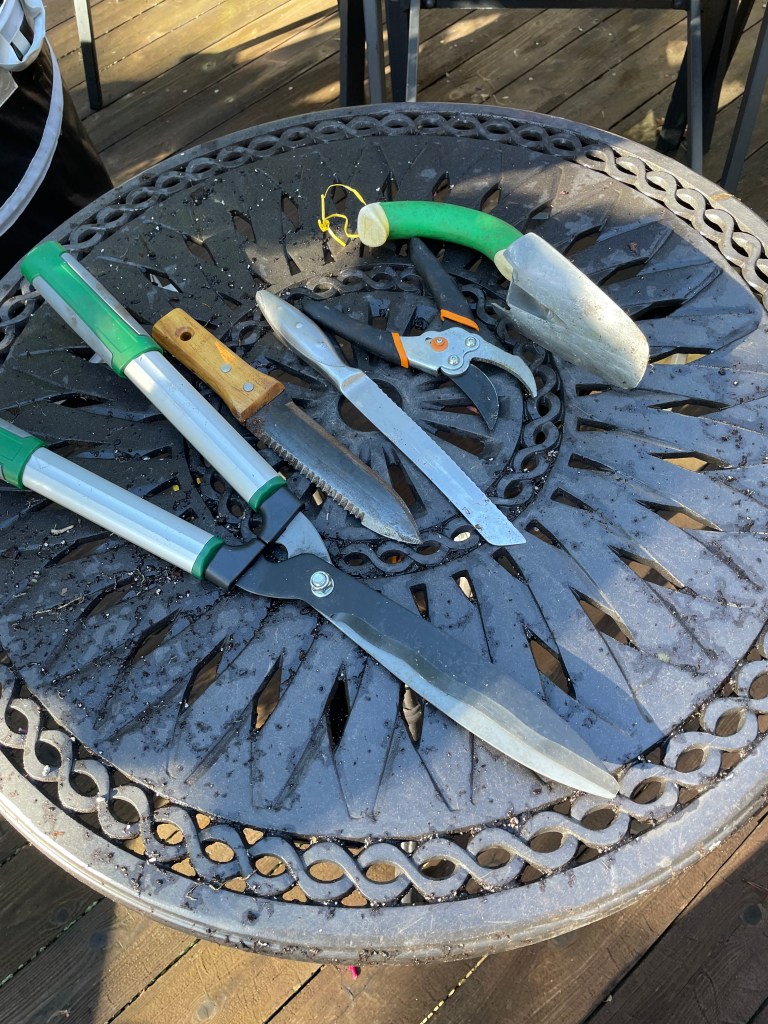
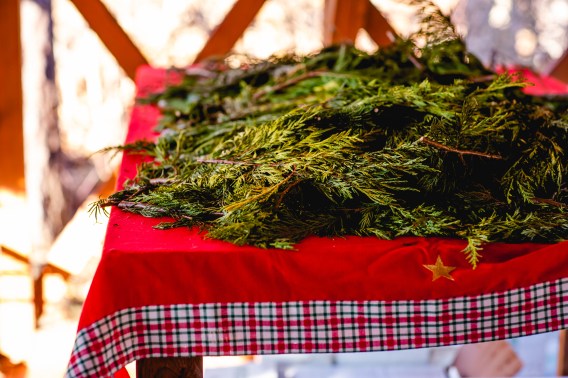
For me to portion everything out for 35 to 40 attendee’s prior was just too much work, so I really liked just putting all the greens out for everyone to enjoy. Over time, I learned which greens held up the best and which could dry out faster. Some of that was nature’s choice. Depending on the climate and weather of the region where greens are obtained from, some items may have not been available or in the best condition. This is the nature of working with plants in general. No guarantees. I also didn’t want to dry out the greens by precutting big branches of the balsam or other bases, which typically came in big bundles, so fresh cuts are best to help retain the moisture. The attendees brought their own pruners and would cut to the sizes needed as they worked to make their wreaths or kissing balls. There was no way I could do that work before hand, plus I think it is part of the process and as you cut your branches, it smells so good too. The aroma of all the greens would permeate our workshop room.

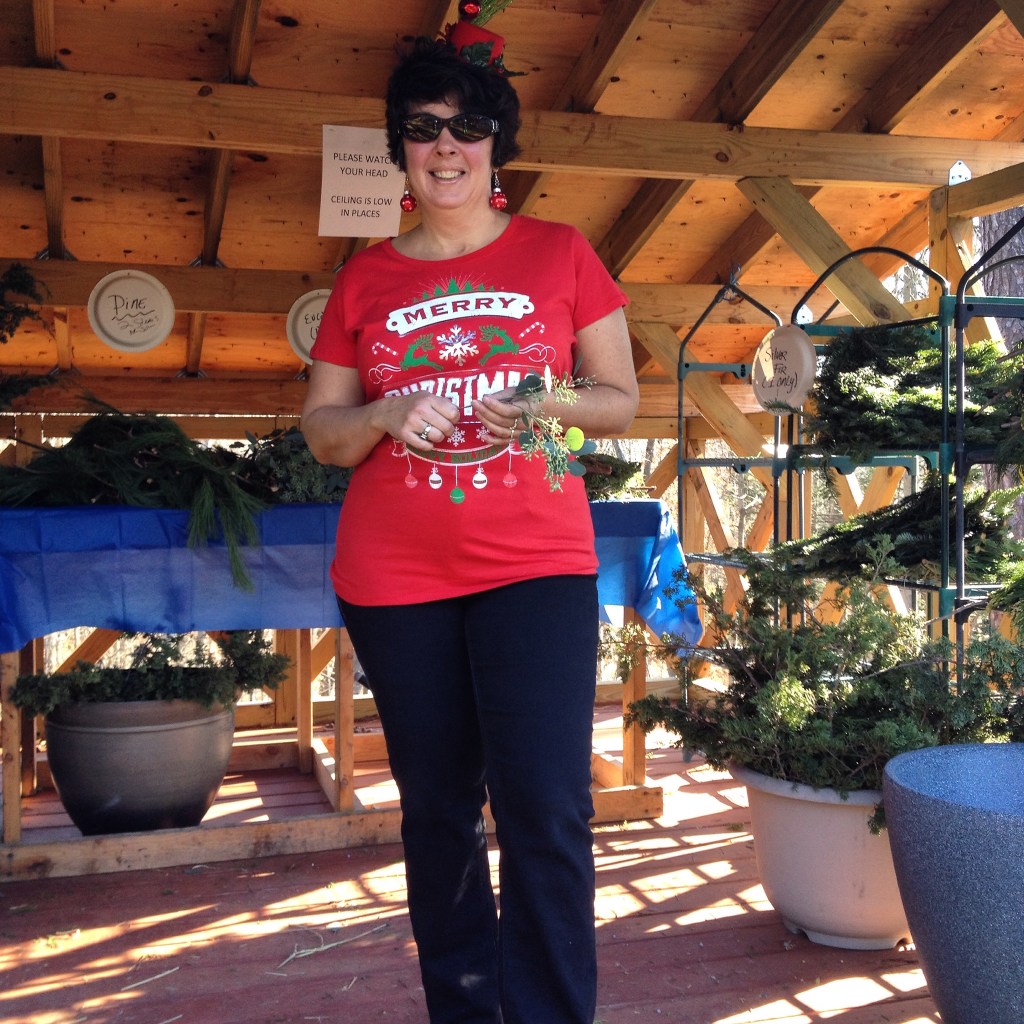
Also, portioning everything out, would be required probably the night before and I never set up the greens the night before, because I didn’t want to expose them to the elements such a wind out in the greens shed. My husband, Steve, and I would get up very early the morning of the workshops and move all the greens to a staging outdoor open shed. It was usually cold, our hands froze, but I am so lucky he was as cheerful as me in doing this process. He hooked up his trailer to his old tractor, loaded up the stock I felt we needed, and I would work fast to get all setup before everyone arrived. I was also excited too – because it was fun, but it was also a timing thing that required coordination. I used paper plates to make signs so the attendees would know which greens the base bulk were to use, and which were premium greens. There was a set amount each person was to take. I used tables and shelves, along with bins and buckets to put everything out in time.

I think one of the best compliments was when a friend recounted attending one of my first wreath making workshops, and she said to me that when she walked out to the greens shed area, it was like a manger with the wooden structure and all the beautiful greens lined out. I decorated the structure somewhat. It was festive and got everyone into the holiday spirit. I used to say, this is my holiday. Also, my husband gave up that wooden structure for us – the attendees of my workshops. He had built it hold his firewood, but he allowed us lots of space to use it as the greens shed. That was very generous of him.

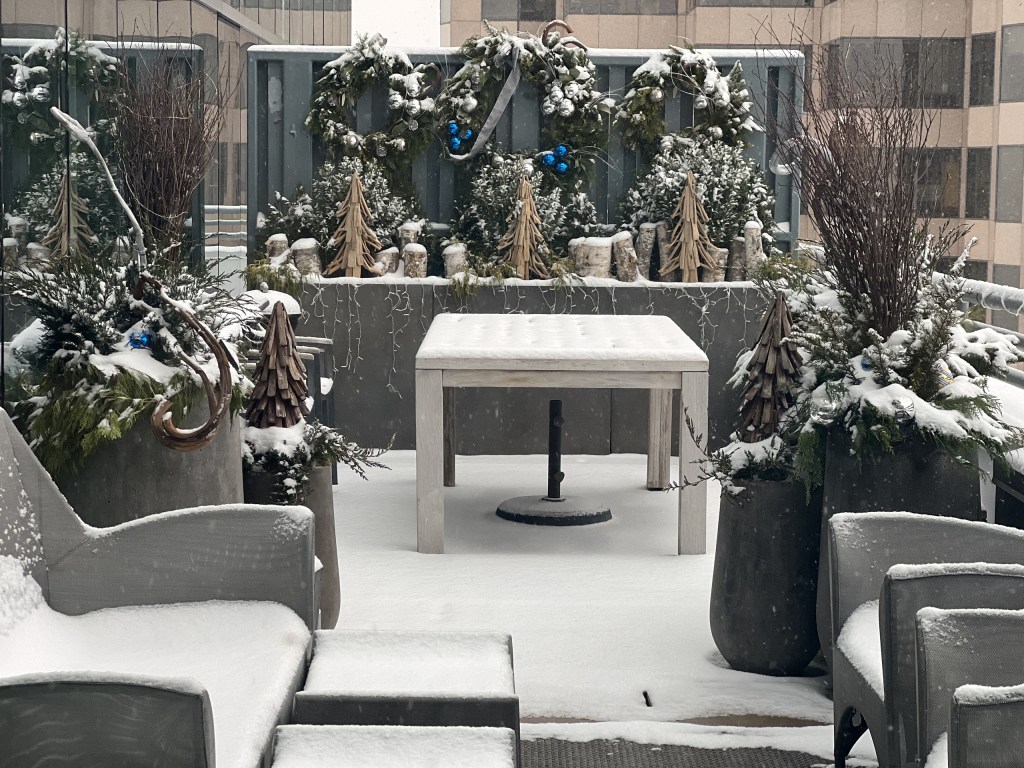
It was the perfect outdoor structure to setup all the individual greens for the attendees to take. We worked indoors to make our wreaths, but our greens supply was outdoors. Some years it was cold, other years, it was actually warm! One year, we wore t-shirts and didn’t even need to cover up with hats or scarves. But overall, it was always a good day with decent weather conditions, I lucked out on that. I worried about snowstorms creating a problem for my workshop sessions, but those never happened or were the type of big winter snowstorm to not stop a bunch of enthusiastic happy ladies ready to join their family and friends at my wreath making workshops.
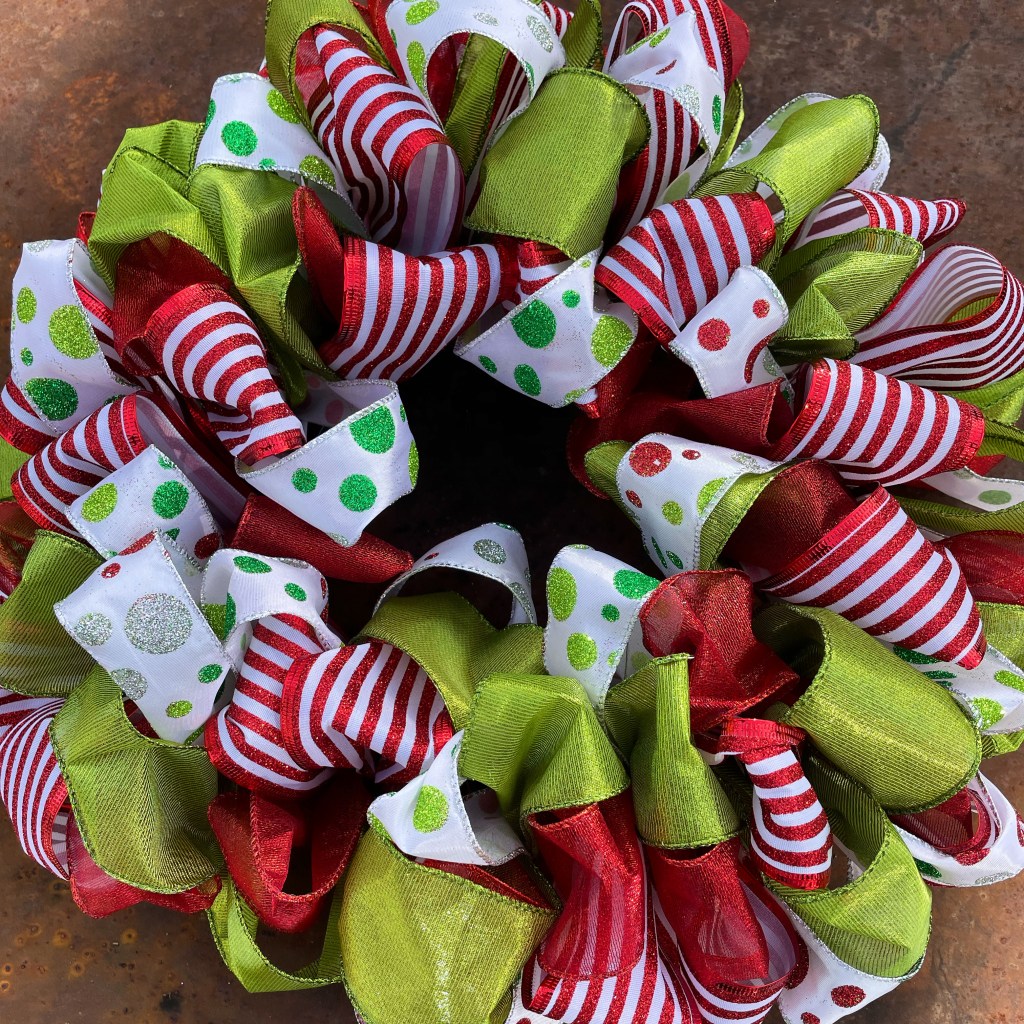
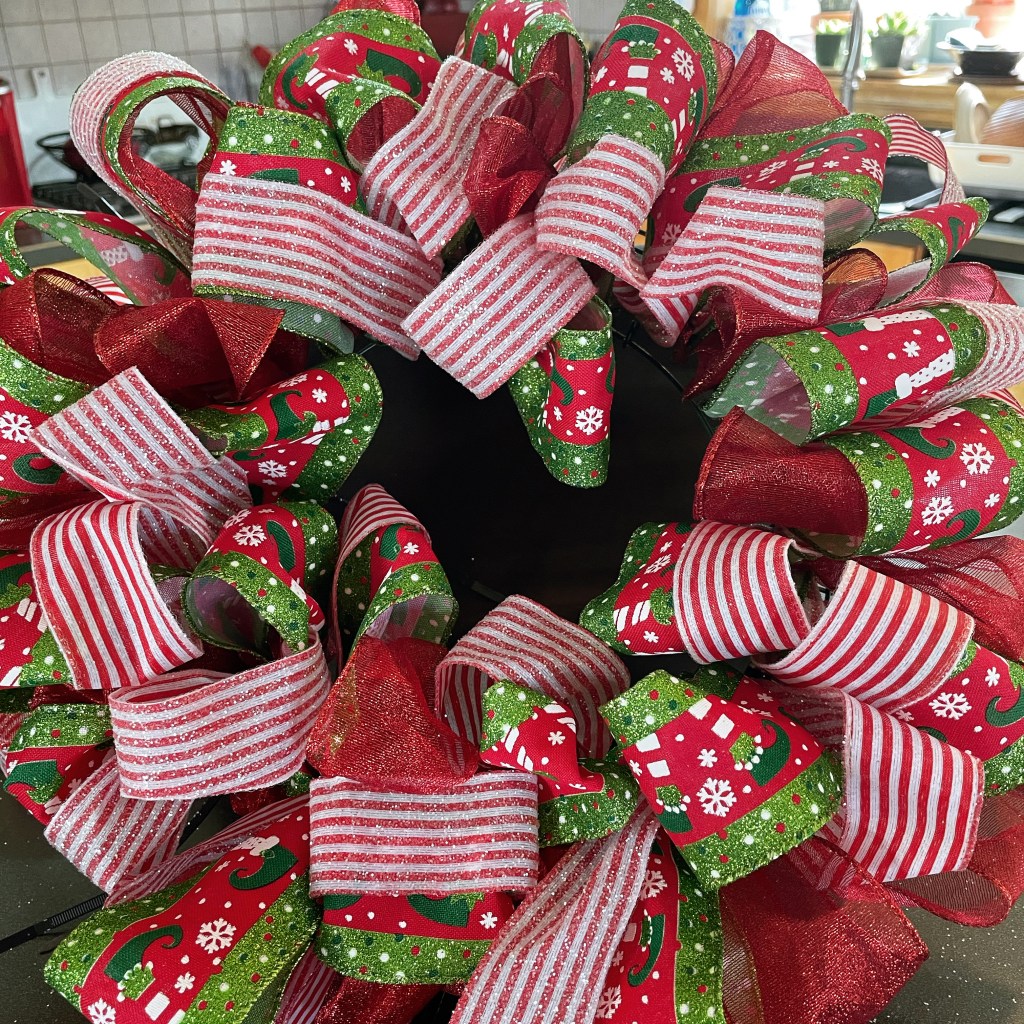
Steve and I would always finish up setting up only minutes before the first attendees would arrive, then the fun would begin! This was a holiday tradition we held for 15 years. I do miss it and I’m sure my former attendees do as well. But, alas, the time had come to move on. In the meantime, I started making some holiday ribbon wreaths this year, quite spontaneously and that has been fun, but it will never be like making a fresh wreath or holiday kissing ball, but it sure is a great substitute! At least for this season.
Stay tuned as I go over things to know about using more base greens next in my series of posts!
Have a great day,
Cathy Testa
Container Crazy CT
Broad Brook, Connecticut