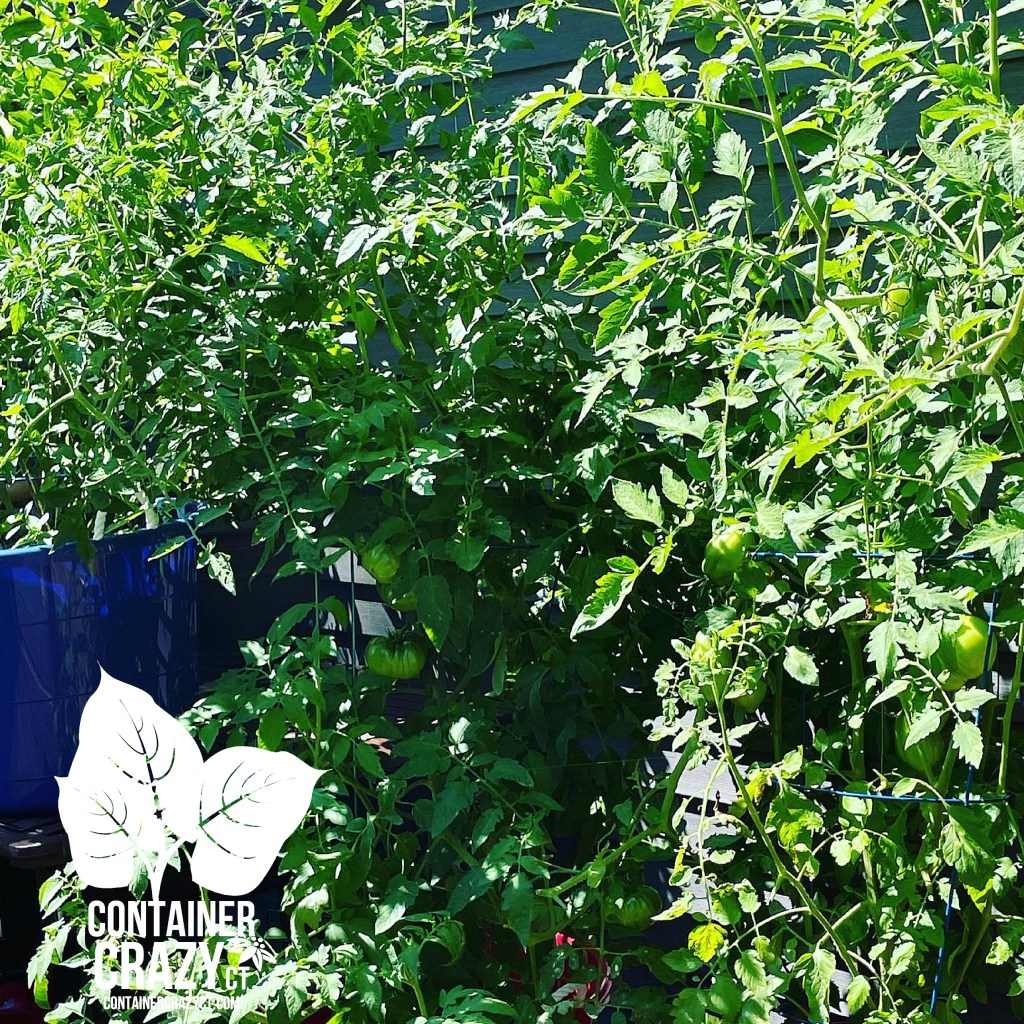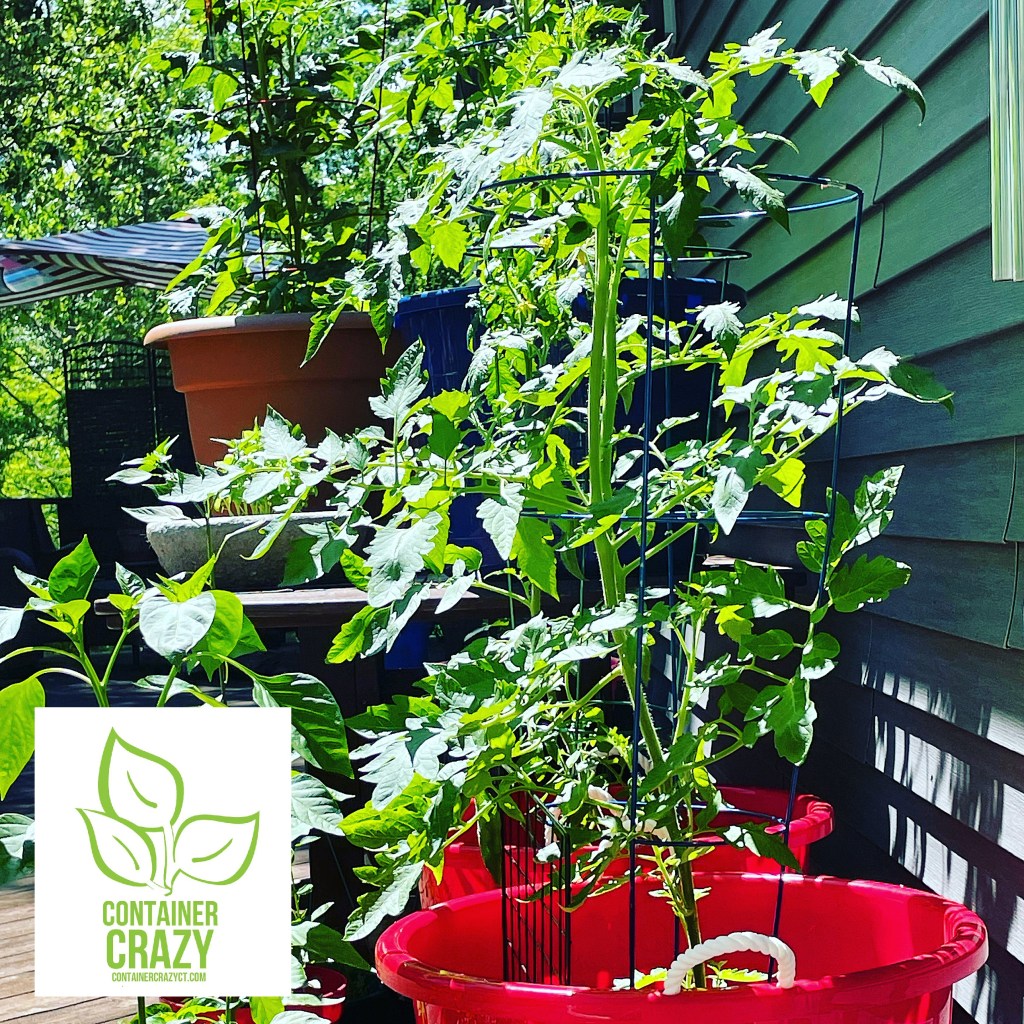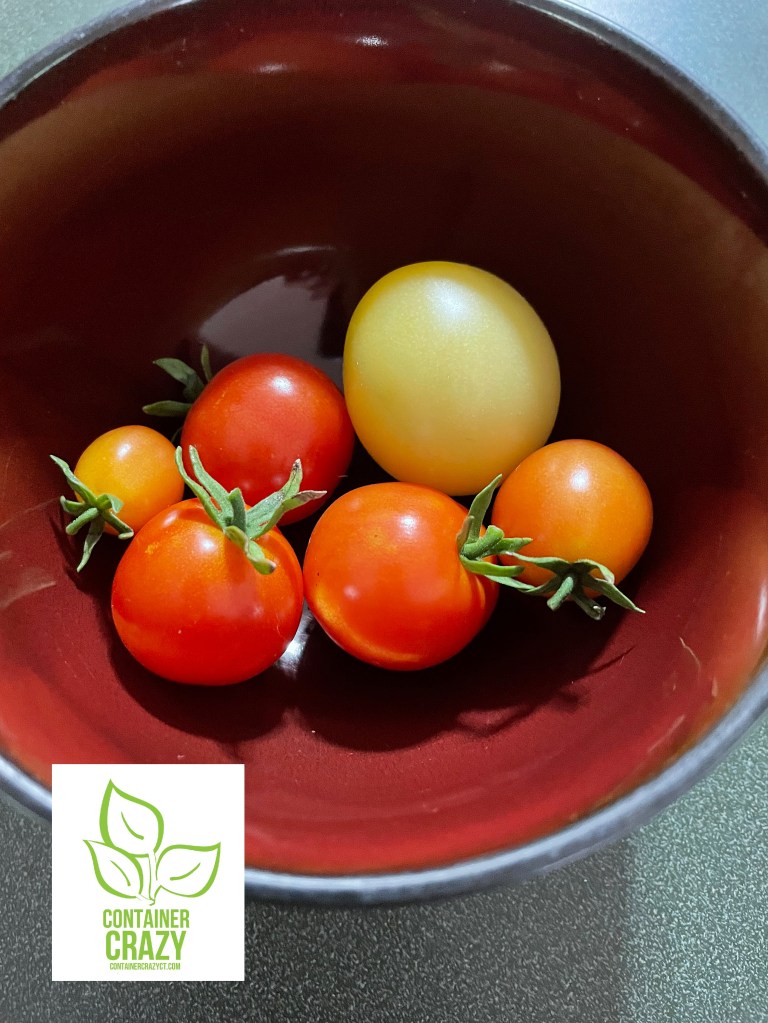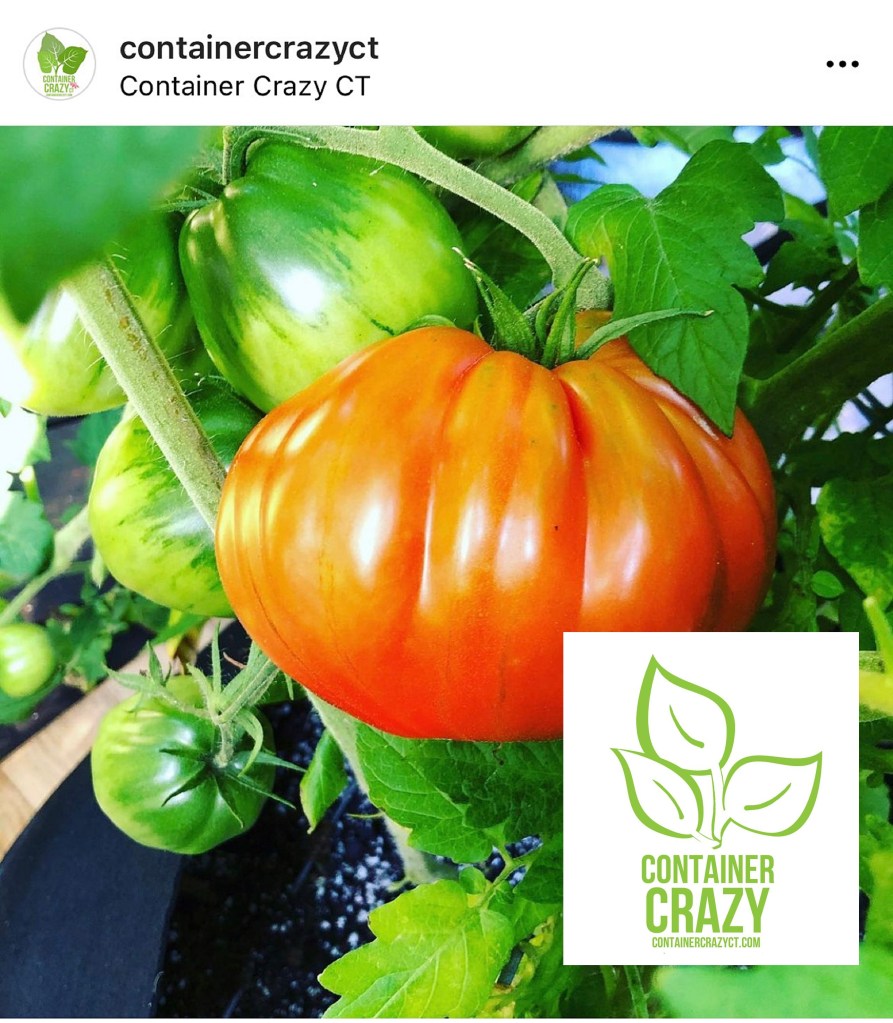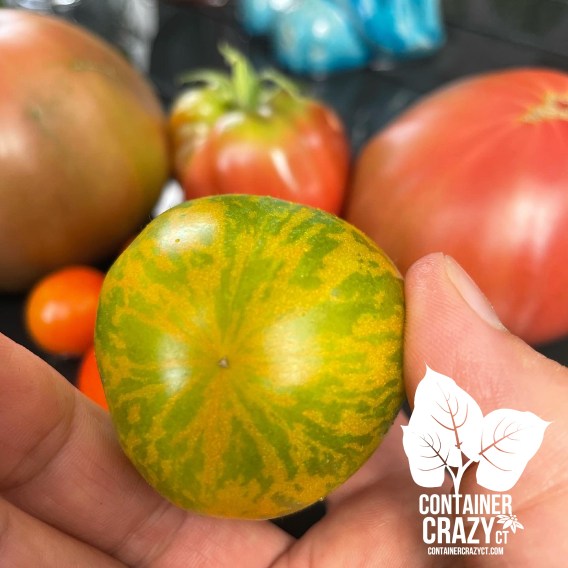
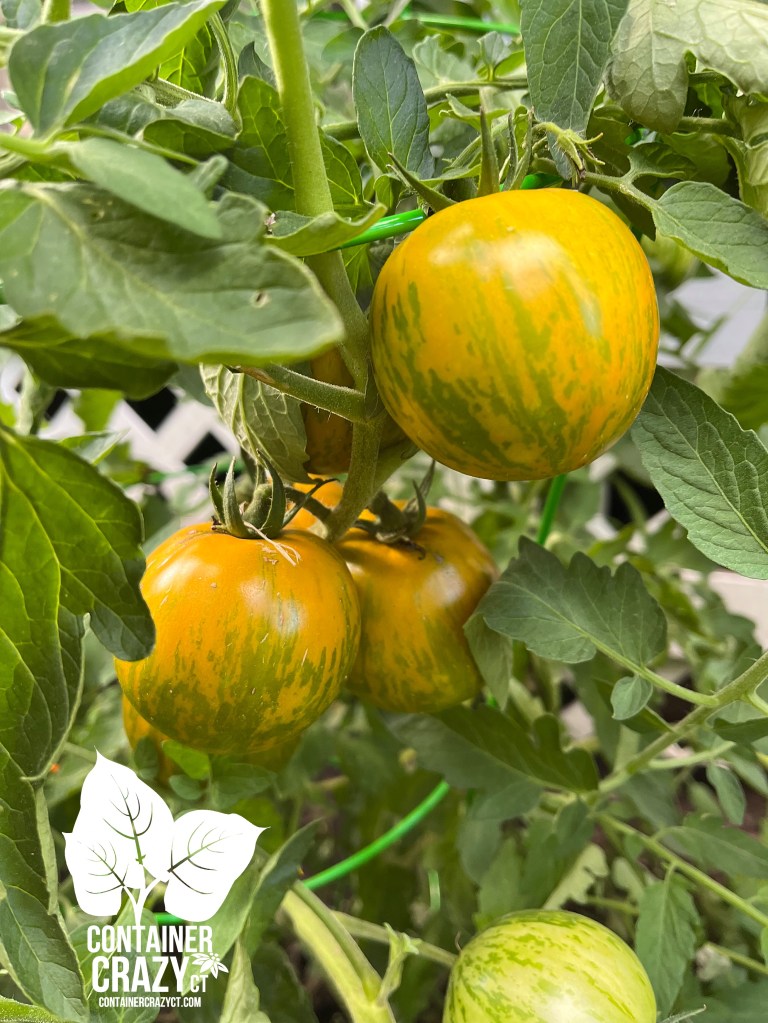
Green Zebra: Tangy flavor; green color to green and yellow striped colors as they ripen, medium sized round fruit (about the size of a tennis ball), and a good long yielder. Indeterminate so it grew to about 7 feet tall and keeps branching out further. My plant on my deck still has fruit hanging on it as of this date, August 25, 2022.
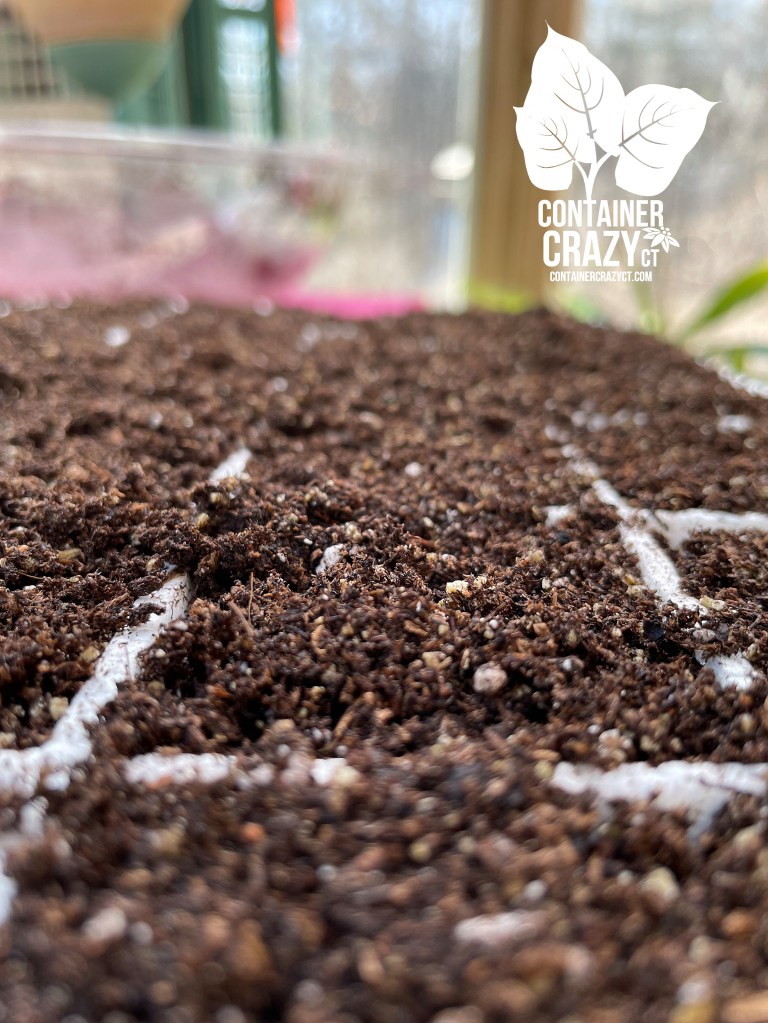
Planted with: Professional potting mix by SunGro with “Espoma Tomato-Tone with Calcium added” to soil upon planting (Tomato-tone is a dry fertilizer powder mixed into the soil; comes in a bag) and I also fertilized the plant later in the summer, maybe once or twice with Espoma tomato food (liquid feed) with a 1-3-1 NPK ratio (comes in a bottle and mixed with water) as needed.

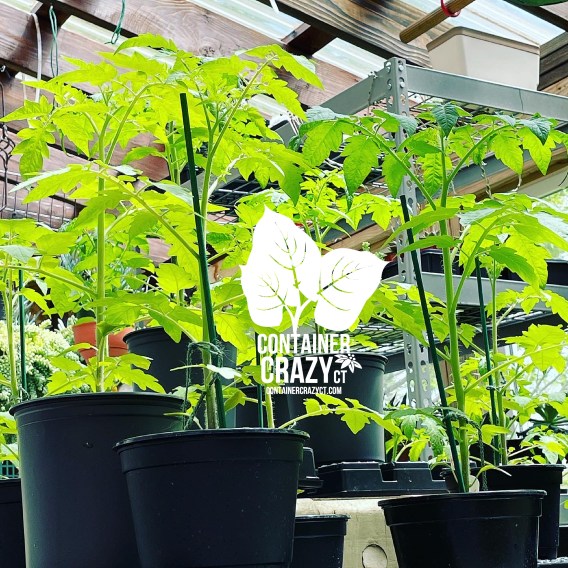
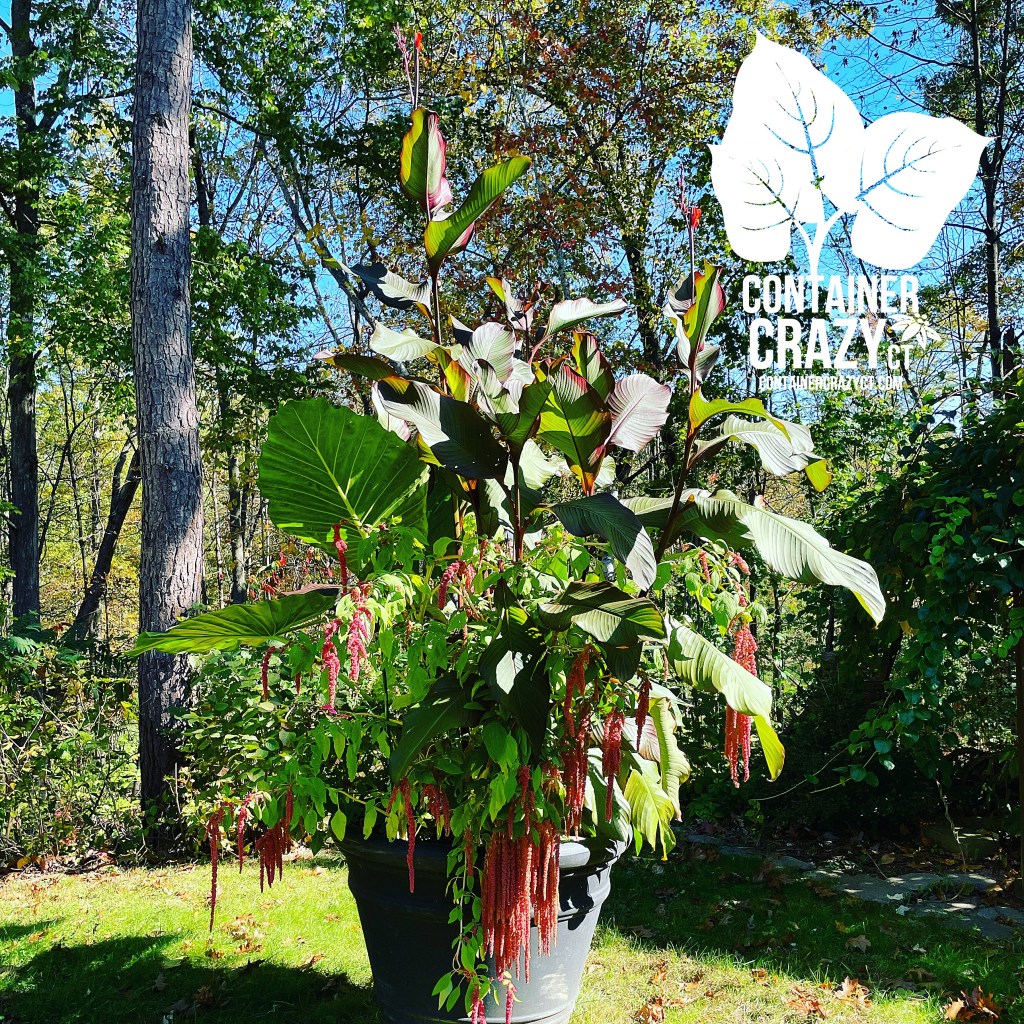
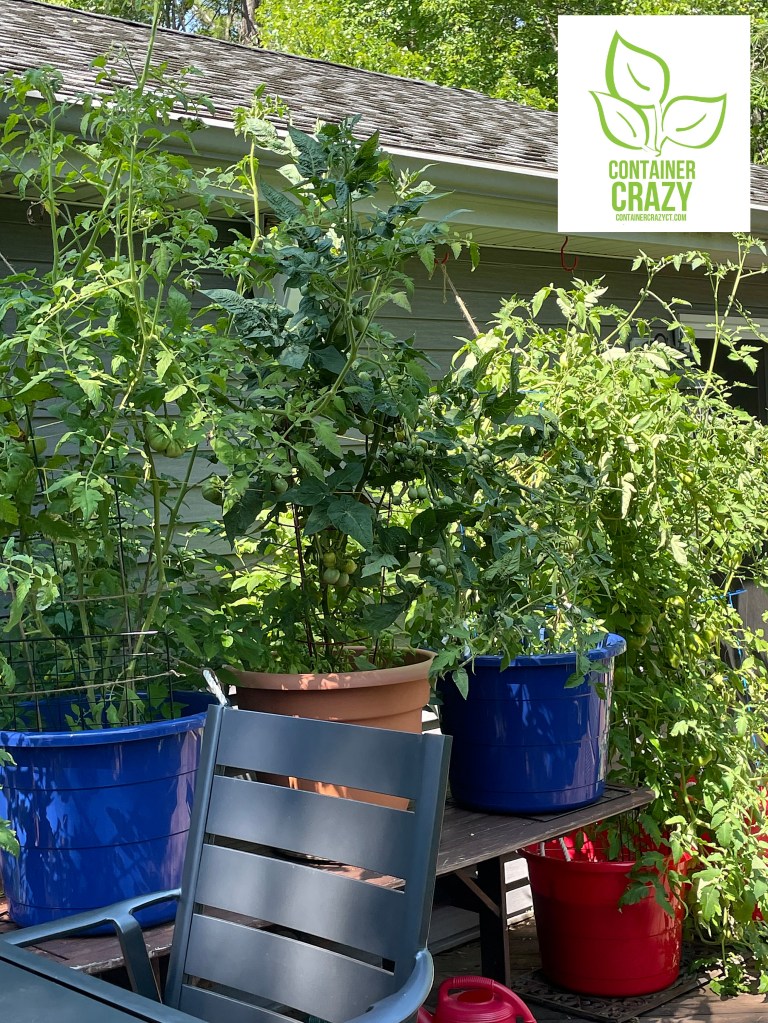
Planted in: A black fabric grow bag (I believe it is the 15 or 20 gallon size) and placed on the east end of my deck facing south, bag located against the house. The plant has reached the gutters and expanded so much, it looks like a Christmas tree from the inside of my house by the end of August. I kind of get a chuckle when looking at it right now.

Taking Notes: When I planted my tomato plants here, I made notes of the potting soil used and fertilizer upon planting as noted above. In my other planters, I added compost to the base of the pot and mixed it in somewhat, but I did not add compost to the Green Zebra fabric grow bag components. The Green Zebra fruit never got the dreaded blossom end rot, and another bonus – it did not get munched on by squirrels or chipmunks, which I’m guessing maybe because they are green and not red, thus less visible to them as a sneaky snack. Lastly, as noted, it is still holding some fruit while my other tomatoes like the Cherokee Purple and Goldies are done fruiting now.

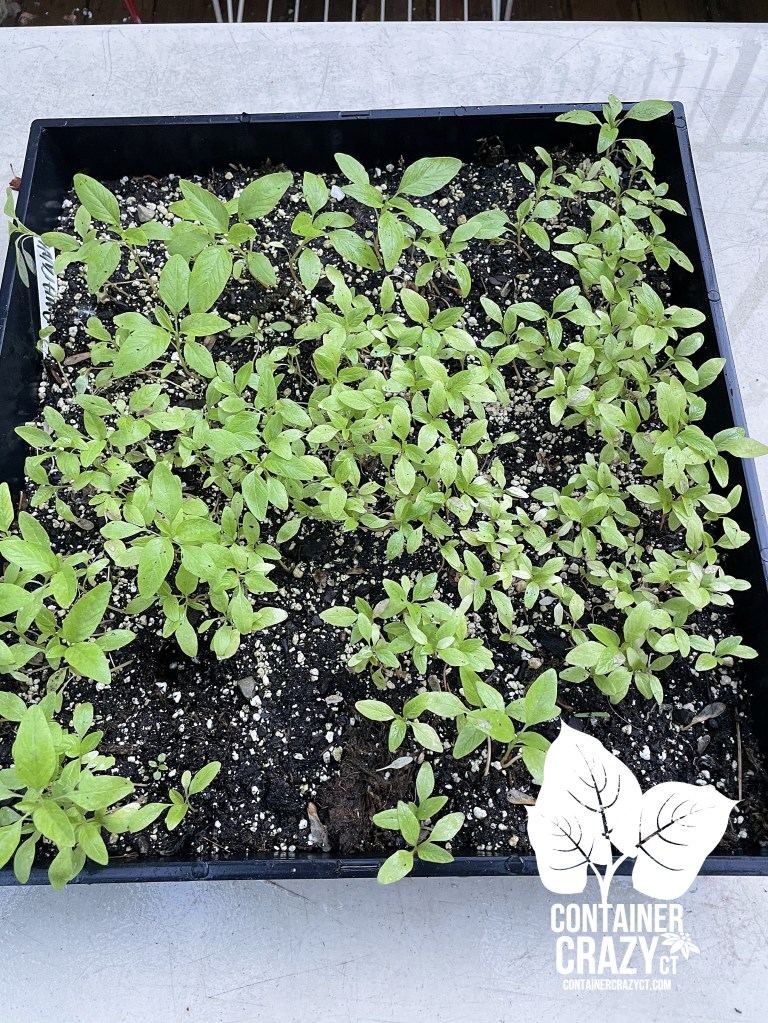
When to pick it: For the folks who bought the Green Zebra plants from me in spring time, a couple texted me to ask when they should pick them? I responded with, “The packet says when soft to the touch,” but what I found is the flavor was better when I saw the yellow stripe coloring within the green color of the fruit.
Pruning: The packet also indicates to prune it to have no more than 3 main branches for a healthy harvest, but I pruned it just to reduce the size a bit and started to attach twine to light fixtures and other things on the deck and would take branches and train them along the twine. It looks rather messy and silly, but that is how I roll. I like it – it adds a jungle affect to my deck and this is fine with me. I was happy the plant experienced no major issues, no blossom end rot on the fruit, no bites from critters, and no blemishes or blight on the leaves.

Size of Fruit: I did expect in my mind to have bigger fruit but most of them didn’t grow larger than a tennis ball. Maybe one or two about the size of a baseball. All smoothed skins, soft to the touch when nearing ready to pick, no blemishes, and rather interesting patterns made it a fun one to try. I like putting tomato slices on pretty plates and adding slices of mozzarella or other red tomatoes. This makes a colorful appetizer! Oh, and many of the fruit produced in clusters too on the Green Zebra plant. They start off looking a bit like cherry tomato clusters but grow much larger than cherry tomato fruit.

Its Unique Flavor: Now, for the true test! The flavor. My husband will eat any tomatoes of any kind. He loves tomatoes. And he slices, gobbles, and grabs as many as he can and approved of the taste of the Green Zebra. (He also asked me one day why they weren’t turning red yet so I reminded him these are green new ones I was trying out this year for the first time.).
As for myself, I did think it was “tangy” and I just wasn’t sure how to use them other than adding them in for a beautiful color affect with cheeses and or with red tomatoes, but then one day, I decided to toss them with chopped up fresh cilantro and a couple small cherry red tomatoes, and OMG! That is when I decided these are a keeper on my list. The flavor with the cilantro was very delicious. And by this point, the tomatoes were the juiciest too. Some people don’t like the flavor of cilantro but I absolutely love cilantro and this was the best taste to me with these tangy juicy tomatoes. Perfect as a salsa too or to put on taco’s on taco night!

I probably won’t take down this plant for another few weeks but I’m starting to feel like I need to say good-bye to the other indeterminate plants with no more blooms or fruit. My cherry tomatoes are still producing and turning red right now and I’ll write about those later. Hope you are still enjoying your Green Zebras too if you got some from me!
Cathy Testa
Container Crazy CT
Blogging today
Other websites:
http://www.ContainerGardensCT.com
Also on Instagram and Facebook under Container Crazy CT
Located in East Windsor, CT