Shore Pine for Holiday Wreath Making

Leave a comment

Shore pine was not one I had on my list of greens for a few years until I discovered it. It is odd how you may know so much about plants and such, but then make a new discovery just because you noticed some sitting in a box at the supply house!

I was picking up my typical greens’ orders in early December one year, and I just happened to see it in a box on another table, and asked, “What’s this?” The reply was, “shore pine.”

Next question, of course, was, “Can I get some?”

I always wished wholesale suppliers would have classes. A manager literally rolled her eyes at me when I asked or suggested this idea. I understand, they just don’t have the time, they are so busy, and teaching us is not part of their job, but I do wish there was an intro to what they have and how to use it, especially if someone was a newbie.

Anyhow, if you are new to the world of greens for wreath making, hopefully you found me because I started writing this month about the various greens used in holiday wreaths and kissing balls. Each post is covering a different holiday greenery.

Shore pine is a needled evergreen tree or shrub. The needles appear and grow along very long stems. The whole stem is covered with the short dark green needles, so you end up with a nice long piece of fully covered dark green needles on a stem.

The stems are somewhat flexible, but I think what I liked about these the most is how long the stems were. You could literally use whole pieces of the shore pine branches to make a quick simple wreath without cutting it into pieces if you wanted to, and because they are flexible, they were easy to bend in a circle around a wreath frame. Then just using some green florist wire, wrap here and there to secure it to your wreath frame.

One year, I made some Peace Sign wreaths. I used coat hangers to make the center of the peace sign and used the shore pine wired to it – it was relatively easy to secure. Again, the long pieces of the shore pine worked well for this application.

On this wreath, I also secured moss behind the shore pine so it would be a nice green color.

Shore pine is a great item to add to the mix. It offers another texture when side by side with other greens. It also makes an excellent thriller tall piece in the center of outdoor holiday pots.

Another way that I used it was as pot toppers. Rings with greens that would be placed level on the top of a pot around the circular perimeter of it.

By just adding some wired pinecones, it was an instant way to dress up a pot. On this photo above, I used small green foam type wreaths as the base, covered them with moss, and just bent the long stems of shore pine over it and wired it in easily.

This dream catcher wreath I made has a round bamboo type wreath under it. As you can see, the long pieces of shore pine were perfect to just mold around it easily and secure.

As far as longevity of the shore pine, I would notice some minor tip yellowing after the holiday or if the shore pine was stored too long. Otherwise, it had decent needle retention and I found it was an easy use green.

Some pieces would have tightly closed cones attached too. And when provided as an item in my box of greens, it was another layer of green texture to use.

I can’t find the photo of this but years ago, a friend at my workshops, made a horse profile wreath and the shore pine is perfect to create the mane along the horse’s head portion. When I find the photo, I will update this post! But any animal like wreaths you may consider making, think of the shore pine as useful for things like that – a tail or whatever. All you have to do is get creative!

Hope you are enjoying these “greens reviews” posts and are having the time to make your own creations this season.

Thank you for visiting,

Cathy Testa
Container Crazy CT
Broad Brook, CT

Boxwood in Holiday Wreaths and Kissing Balls

Leave a comment

Do you know what the word Buxus is? It is the genus name for boxwood. It’s one of the easier botanical names to remember. Anyhow, boxwood evergreen shrubs have rounded or obovate shaped leaves, on slender green stems. It is a dense evergreen shrub used in landscapes and commonly available at nurseries. It is also a greenery available from floral suppliers or retail locations at nurseries during the winter to make festive arrangements such as fresh greens wreaths and holiday kissing balls.

As with most evergreen shrubs, there are many varieties or cultivars available of boxwood. Some have more narrow leaves and others have oblong leaves. For example, common boxwood (Buxus sempervirens) has elliptic or ovate to oblong leaves. Because I am a plant person, I notice the differences in the leaf shapes on boxwoods more so probably than a typical person. The leaves are small and glossy on both sides of the leaves usually, and in arrangements for the holidays, the leaves retain their dark green glossy color very well. Boxwood greens add a nice textural and color element.

I’ve written about the benefits of using boxwood in wreath making before on this blog. For example, there is no sap to contend with as with balsam. After a while, your hands get very sticky when making many fresh holiday wreaths, so that can be a benefit. Also, the boxwood bunches or stems are light weight. I liked using them to make boxwood only holiday kissing balls because of this feature, as other kissing balls would get terribly heavy when I did a mix of greens to create them.

Prior post about boxwood above

As far as a quality green, I like boxwood on the greens list. It tends to give a classy look to a wreath or kissing ball. Used alone or with a mix of other greenery, it works very well. In my mind, it is a nice benefit or not sure of the word, but a higher-end type of greenery to use and if you can afford it, I say do it!

A holiday kissing ball made with boxwood greens only.
Wreath by Cathy T with Boxwood and Magnolia Leaves
Boxwood ready for a workshop

Typically, the boxwood I would order was packed in boxes or burlap bags, and they were always fresh and good looking. To keep them hydrated, if I felt they needed it, I would take a bucket or bin like the one shown above, fill it with water and drop the boxwood tips and stems into the water to soak them for a bit. Then I would shake off the excess water after they had a good soaking (maybe about 15 minutes or so). I would shake the bunch and then lay them on beach towels to somewhat drain.

As mentioned in my prior posts, the greens need to be kept cold. In the florist trade, it indicates the boxwood greens should be in a cooler at a temperature between 36 degrees F to 41 degrees F. Anyhow, I kept them in the waxed coated boxes or the burlap bags in an unheated garage. However, if I soaked them in water to rehydrate, sometimes I would just place them in a bin after the excess water was removed. Again, rehydrating them was not often needed.

Boxwood on a Wreath by C Testa (with Lemon Leaf shown also)

Another nice aspect about using boxwood is the stems are very sturdy. I would recut the stem ends to a bit of a point to insert into kissing balls center ball foam easily. BTW, you may also rehydrate boxwood before use by recutting the stem ends and inserting them into vases of water, but I usually did not do that or need to. As noted above, if there was a need to rehydrate them, I’d do the soak method in water in a tub for a bit then dry them out a bit so they would not be repacked soaking wet. Outdoor weather like snow or sleet did not bother the look of the greens either once they were in a wreath outside.

For a couple years, I offered boxwood in my box of greens mixes. These boxes of greens were for people who wanted to make their own wreaths at home. Included were many other fresh greens such as balsam or Douglas fir, Salal lemon Leaf (prior post), yew, silver fir, berried juniper, holly, and more. I never harvested boxwood from my own shrubs or others, but these shrubs are common in the landscapes, so if you happen to have a big enough shrub stash of them, they can be harvested from to add to your holiday wreaths. Typically pruning boxwood is done in the spring but taking some minor cuttings for your arrangements is usually harmless for winter decorations.

Of all the greens I would order, boxwood was usually the highest price on the list. Therefore, I did treat it as a quality green to use with a mix of greens, but if I had some left over or someone wanted a boxwood only wreath or kissing ball, I would charge accordingly. The price was worth it because boxwood is an elegant green that makes your arrangements look classy, in my opinion.

Wreath made by C. Testa with a mix of greenery. Boxwood accents shown.
Wreath by C Testa with Yew, Lemon Leaf and Boxwood
Boxwood Only Wreath by C Testa

Another nice aspect of using boxwood is it was a faster assembly as shown above on this wreath with only boxwood. It would take a lot less time than bunching various greens together.

Boxwood Only Holiday Kissing Ball

Snips and tips of boxwood greens are nice in vases or other holiday decorations. For example, if you wanted to make a snow scene in a glass bowl, the cuttings can be used in there and last a long time with no odd scent. And as mentioned good color retention. I really can’t think of any downfalls of using it. I would rate it higher as a good quality type of green to use and hopefully you will have the opportunity to do so in your own holiday arrangements!

Cathy Testa
Container Crazy CT
Broad Brook, CT

Boxwood is a wonderful and classy green to use in your holiday wreaths.

The Best Greens to Use in Holiday Wreaths

Leave a comment

In my opinion, there are some greens which are better than others, but what really makes a wreath absolutely beautiful is using a “mix” of fresh greenery in the holiday wreaths.

When I first started working with fresh greens, I had no clue how to prep them, what they required to store well prior to creating wreaths, and which would be best to use.

Fresh greens will dry out thus getting them too early is not a good idea, so the timing is key. Like almost anything in the horticulture world, your items are perishable. I always waited until right after the Thanksgiving holiday to pick up my green’s orders to start making custom wreaths.

In order to reduce the loss of needles or drying out the greens, they must be stored in cold temperatures in boxes or some in plastic. Some of the boxes should be lined with plastic, while others are stored in boxes coated with wax inside. In general, all greens of all types gathered for holiday wreath making should not be exposed to winds, harsh sun, or even cold cement floors, which can draw out moisture. Some kinds may be laid out on tables, but key is storing them in cold and dark inside locations until ready for use.

Some greens, if a bit dry, may be rehydrated by cutting stems and setting them in vases or buckets of water, or even dunked in buckets of water, but some should not be treated that way. Others I would sometimes rinse with water from my hose outside in wagons, or let the snow fall on them in my driveway as they sat in wagons for a bit of moisture exposure, but then other types of greens should not get wet. If stored wet, they can turn yellow or rot. It depends on the type of greenery.

Learning how to handle the greens and which looked best and worked well in wreath making was something I learned by researching, experiencing, and testing various greens from balsam fir to berried juniper. I always took notes each year on how well the greens held up and would notice which performed better than others.

In this post, I want to share some tips with you on how to best prepare and use various greens in your wreaths. I will go over 15 different types in a series of posts. As I mentioned, I loved using a wide mix of greens to have full, fully, and textured creations. The contrasts of greens and various textures made the wreaths absolutely beautiful.

Let’s begin!

Holly

Evergreen holly is no doubt one of the type of greens people love in their holiday decorations. Their attached bright red berries stand out and they are the essence of Christmas memories. However, one downfall of holly is that it will turn black if wet and hit by frost or freeze. And handling them repeatedly when making wreaths can be painful due to the spiny edges of their leaves. However, holly is easy to insert into wreaths, sturdy, and provides a nice deep green with the red berries to the wreath with the mix of other tones of green colors, but holly is not super full or fully. That is fine, but just something to note about using holly. If it doesn’t get wet and frozen, it will last a very long time in a wreath until it kind of dries out. When they do dry out, however, they still retain the leaves on their sturdy stems for a long while.

Holly bushes, (Genus Ilex), are simple evergreen plants with dark green leaves and there are many cultivars available in our part of Connecticut to plant into your landscape. Many people have evergreen holly shrubs or trees readily available to prune from for their Christmas decorating from their own yards or landscape beds. But take note, these shrubs can suffer in the landscape from winter dry out from winds or water-loss when the ground is frozen, but otherwise, they are relatively easy to grow, taking part-shade or sun locations. And they can get rather large over the years too.

Every year, two of my friends offered to come take cuttings of their holly shrubs for my wreath making but I also ordered holly from a supplier too. I have a neighbor who generously offered her big, huge holly shrub to take from. It was gigantic. I’d quietly walk over with my wagon and pruners to take cuttings. It was always a type of annual pre-holiday ritual.

Her yard has lovely plants in her various gardens, and it was nice to take long holly stems with red berries and load them into my wagon. I was sure to do this only about 3-4 days before my wreath making workshops to have the best freshness. Sometimes, I would see a praying mantis case attached to a branch and leave that one be. Her holly shrub got rather large over the years where the top was not reachable without a ladder, so I never was able to get that high to cut them. I always methodically thought about taking cuttings to improve the outer shape and form of the plant. It was generous of her to offer cuttings.

My brother also offered to stop by his holly bushes one year to take cuttings for my workshops. He has a rather large expansive open back yard. The sun was shining on me that day when I went as it was a beautiful blue sky cold day. His holly shrubs are on a little slope. I sat on the ground taking cuttings. No one was home and it was a quiet, brisk, and sunny with a slightly cool air about. I remember thinking how wonderful his property was. Serene, quiet and peaceful. After I was done getting cuttings from his hollies, I laid on the ground next to the shrubs on the slope and faced the sun and sky above and felt the sun’s warmth on my face. There was something magical about my harvesting adventures.

Pruning evergreen hollies in the fall or winter however is really not the best time to do so. It should be pruned in the early summer for your typical landscape maintenance routines. Pruning them in winter exposes the stem’s ends to cool temperatures but only taking a limited amount in the winter didn’t detrimentally impact the shrubs. In fact, if my own hollies in my yard get out of shape, I wait to take top cuttings before the holiday wreath making process for my wreaths, or to gather to put in vases as holiday decoration.

If you decide to plant some evergreen hollies in your landscape, be aware that “some” types of holly plants require a male and female plant to set the beautiful red berries. If you decide to plant one for the first time, inquire about this at your local nursery. Female hollies produce the red berries and I believe you probably need only one male holly shrub to achieve success. Another consideration is pets, as some say the red berries are toxic to pets. I never had this issue here cause my adorable cat does not touch my plants but be aware holly berries can fall off and even leave a red mark on your hardwood floors if they get squished when you happen to step on one.

As I noted, the only downfall to holly is the leaves can turn totally black if wet and hit by frost. So, when you store them in a box with plastic, be sure you are not storing them wet. Freshly cut, when possible is best too, so you reduce the time is no longer attached to a shrub or tree and starts to lose some moisture. And storing them in plastic enclosed in a box is best done when the holly is cold. Loosely store them in the plastic too. They do not have to be tightly packed, but always in a cold room. An unheated garage is perfect.

In my workshops, I referred to holly as a specialty green to use in our wreath making – one to use as an accent in your creations. One year, I obtained a variegated type of holly with green and white leaf margins from a supplier, it was amazing, and I just loved it. It was so beautiful. It provided a more professional look to the wreaths, and it also felt and looked luxurious, at least I thought so. However, it was fairly pricy and not always readily available from the supplier, so if you decide to plant a shrub, consider the variegated types as well.

One last thought, I have read that holly is ethylene sensitive. If exposed to ethylene, the leaves and fruit will fall off. I never had to worry about that much. Ethylene is produced from some types of ripening fruit so businesses storing fruit or ripening produce with plants must be aware of this sensitivity. If you are running a business and holding holly with other plants or fruits, there are products out there to treat plants for this. I remember a grower talking about this when we went on a field trip during my college days. We walked into a huge freezer or maybe it was a fridge and he talked about the concern of ethylene. People in the floral industry are also those who are probably ethylene experts but for homeowner harvesting plants for wreath making it is most likely not an issue to worry about.

Overall, I did not have issues with harvesting, prepping it, or keeping any type of evergreen holly cuttings and stems fresh for my holiday making workshops. It was a bit pricier though and since we used it only as an accent, I started to remove it from my list of the 15-20 types of greens I would obtain. Often times, workshop attendees brought a little of supply of their own holly cuttings to use. Fortunately, as mentioned above, it is an easy type of evergreen shrub to obtain from our local nurseries. Sometimes I wish I had the forethought to plant all the types of plants used in wreaths in a big field and we could have a harvest party for the holidays! I have quite the imagination.

Stay tuned for the next post on the next greenery on the holiday list!

Thank you for visiting.

Cathy Testa
Located in the Broad Brook section of East Windsor, CT

Making a Simple Wreath

Leave a comment

I tend to make full, lush, and thick wreaths, but sometimes less is nice too. Because I picked up some beautiful shore pine in my mix of greenery this year for my custom orders of wreaths and holiday kissing balls, I started to play with this single type of green and created some simple wreaths.

Shore Pine Branches

Shore pine holds together tight clusters of deep green needles on its branches and many of the branches, about 24-27″ long, have nice tight cones on them. The branches are flexible and bendable, making them useful for making simple and quick wreaths. And the needles run along the whole length of the branches (unlike traditional pine branches).

Small Wreath with Shore Pine

This was the first small wreath I made with it and I used a grapevine base wreath to attach the shore pine branches to it. It was very simple to do. Just lay the branches on top of the grapevine wreath and wrap green florist wire at intervals here and there. As noted, the branches are flexible, so I was able to lay down long pieces at a time and just kind of adjust them into a circle.

Gumball Red Berries

Adding these perfectly round gumball sized red berries was a breeze too. No glue gun required. I simply inserted them thru the shore pine and into the grapevine wreath. Because this wreath was intended to be indoors (or between a door and storm door), I didn’t have to worry about over anchoring the gumball decor.

White Bird House

Then I started to get addicted to this greenery! I added some to the base of a white bird house I have hanging outdoors, and that was easy too. And I added some larger cones. Sometimes less is more. It is so cute. I hope a bird moves in.

Another one made

It was at this point, I decided this shore pine greenery is a theme in my home for the holidays this year. You see, I am busy doing other orders for people, I still haven’t made a wreath or holiday kissing ball for myself. Using this beautiful thick, dark green and pretty holiday shore pine became a solution for me to add fresh holiday greens here and there around my home in a quick fashion, and I’m liking how it looks.

Hanging on a White Vase

I know I’m going to be using more of it, and I already put some around a large green globe I have – more on that later, after I finish it, and I know I’m going to make some garland for around the house with it too.

I don’t know about you, but I am not letting the non-large gatherings stop me from decorating this year. We need, yes, “NEED”, to have a festive surroundings in our lives. It is a way to get through the holidays this year, if you ask me!

If you are interested in obtaining a bundle of the shore pine greenery or a box of mixed greens, look me up – it is easy as 1 call or text, 2 setup a pick up time, 3 drive up and grab and go!

Thank you for your orders!

Cathy Testa
860-977-9473
containercathy@gmail.com
Broad Brook/East Windsor, CT

Ten Years of Kissing Ball Workshops

2 Comments

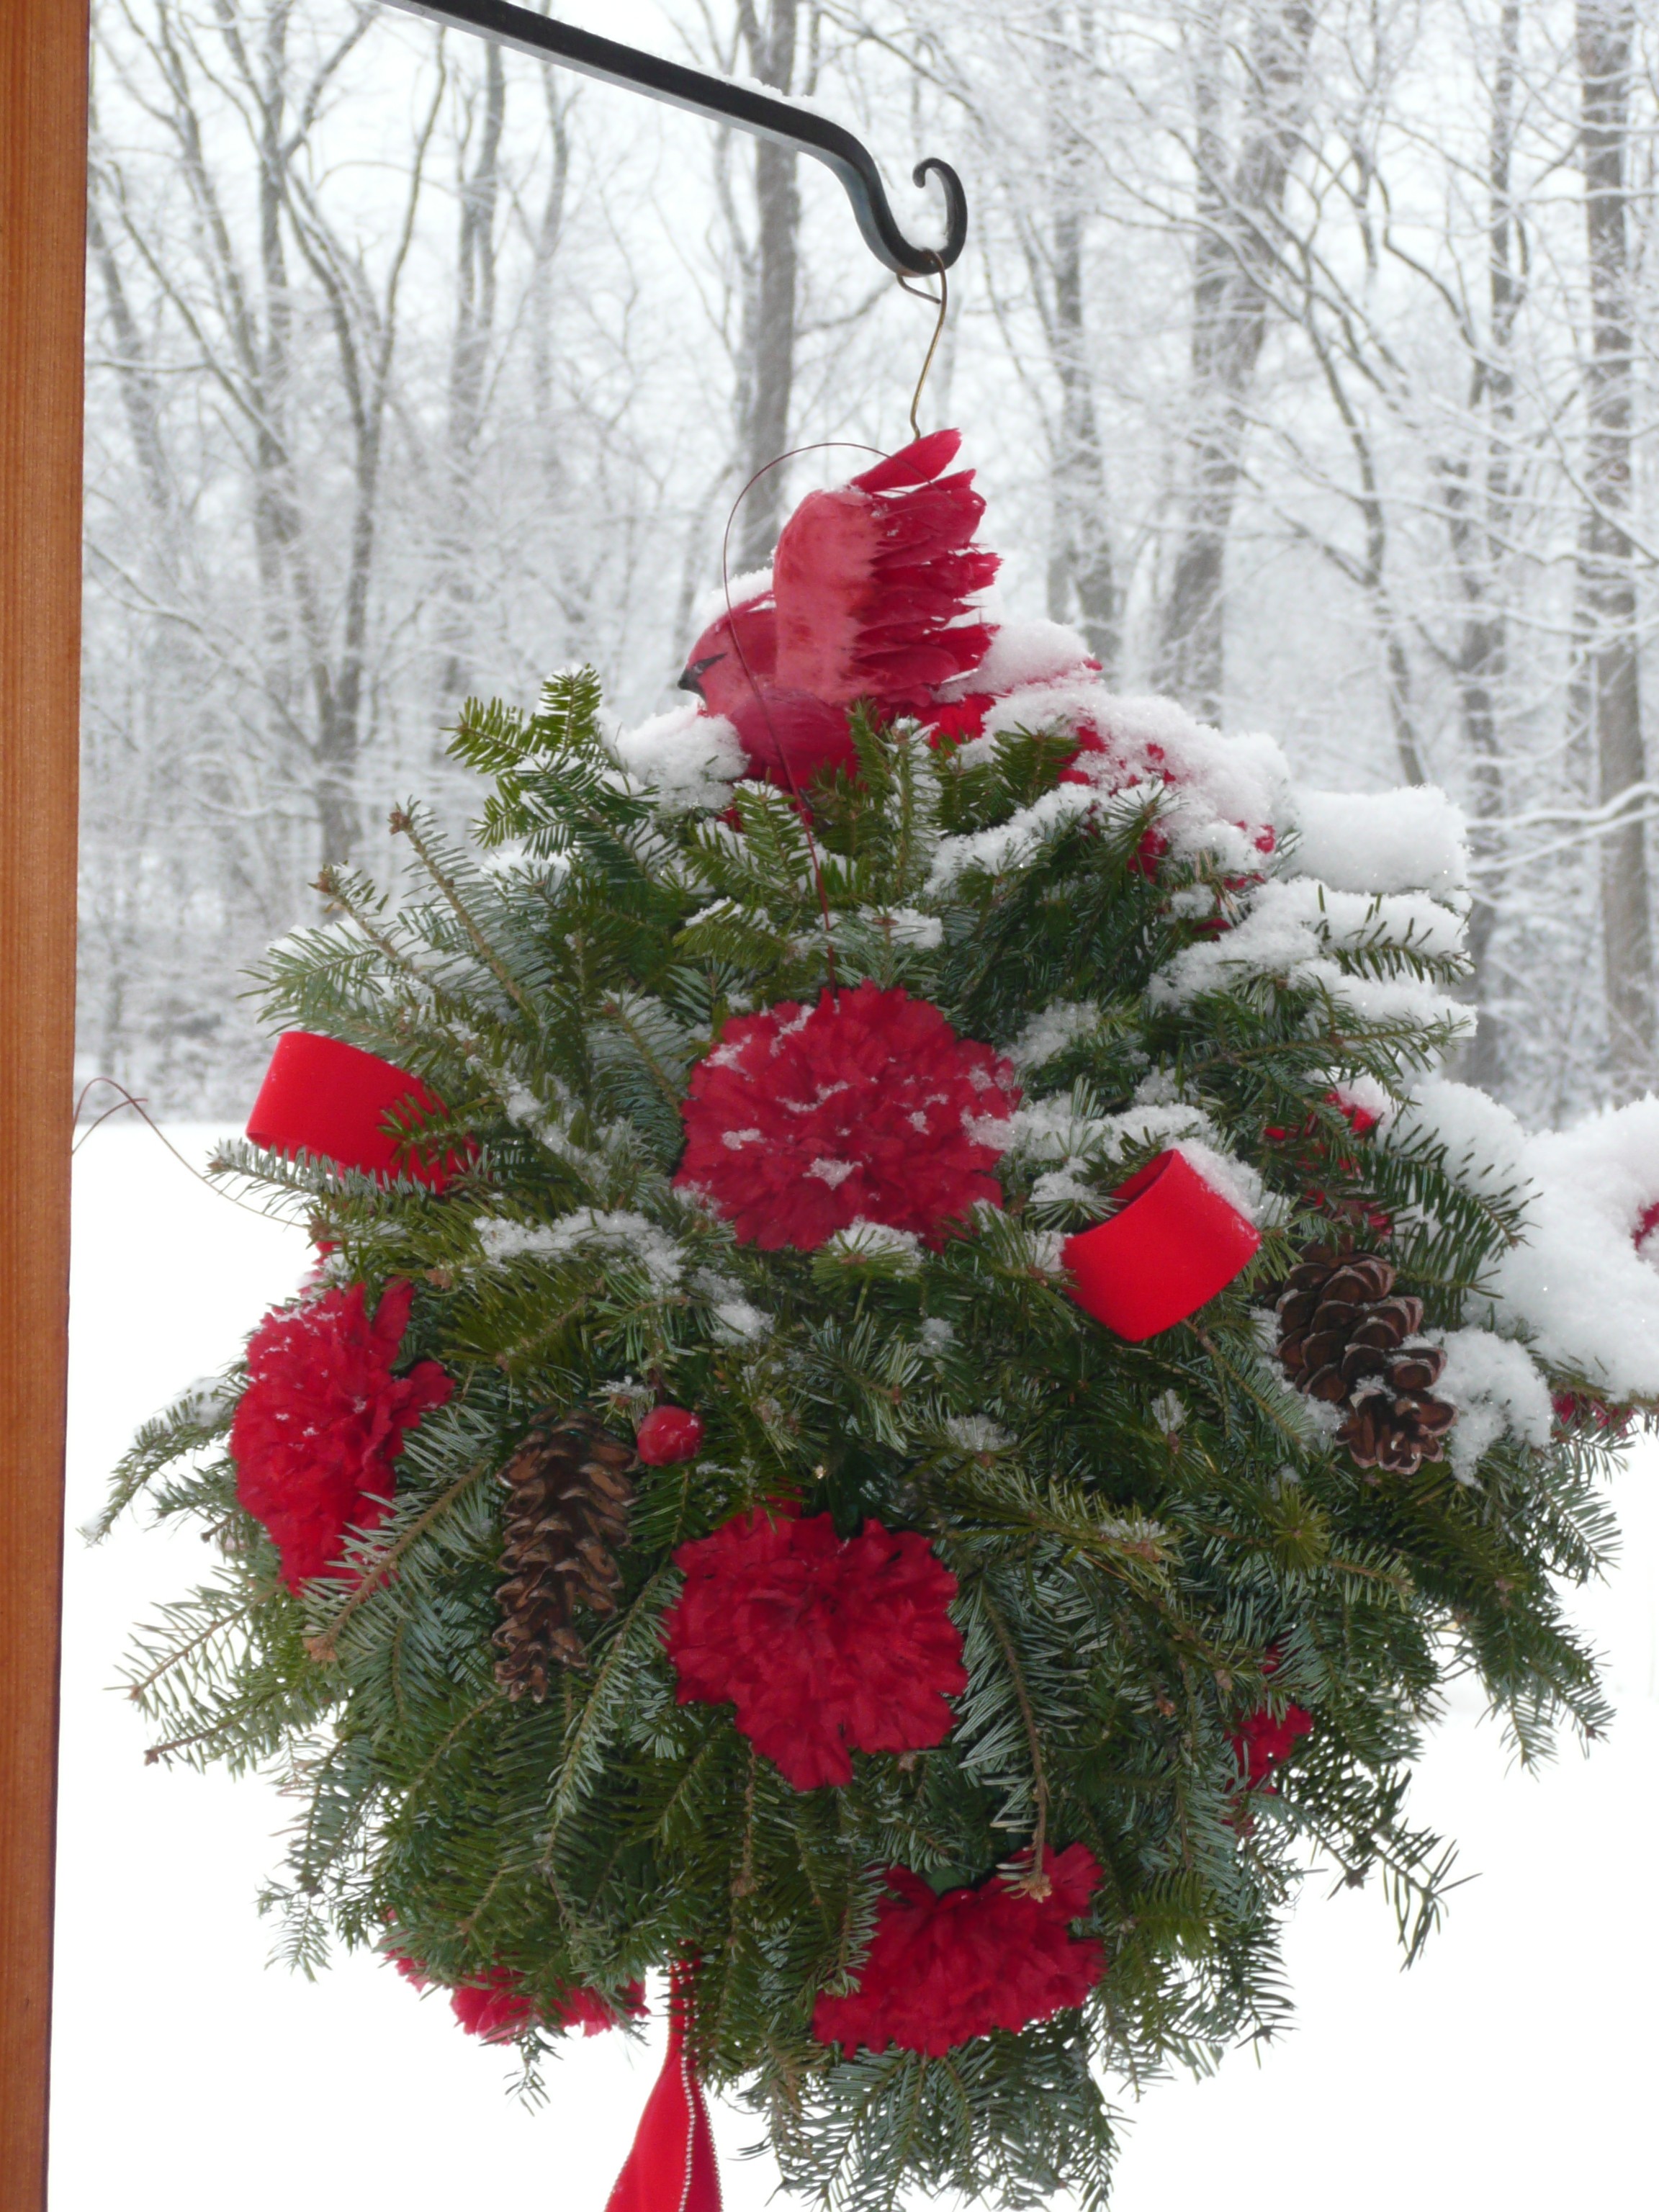
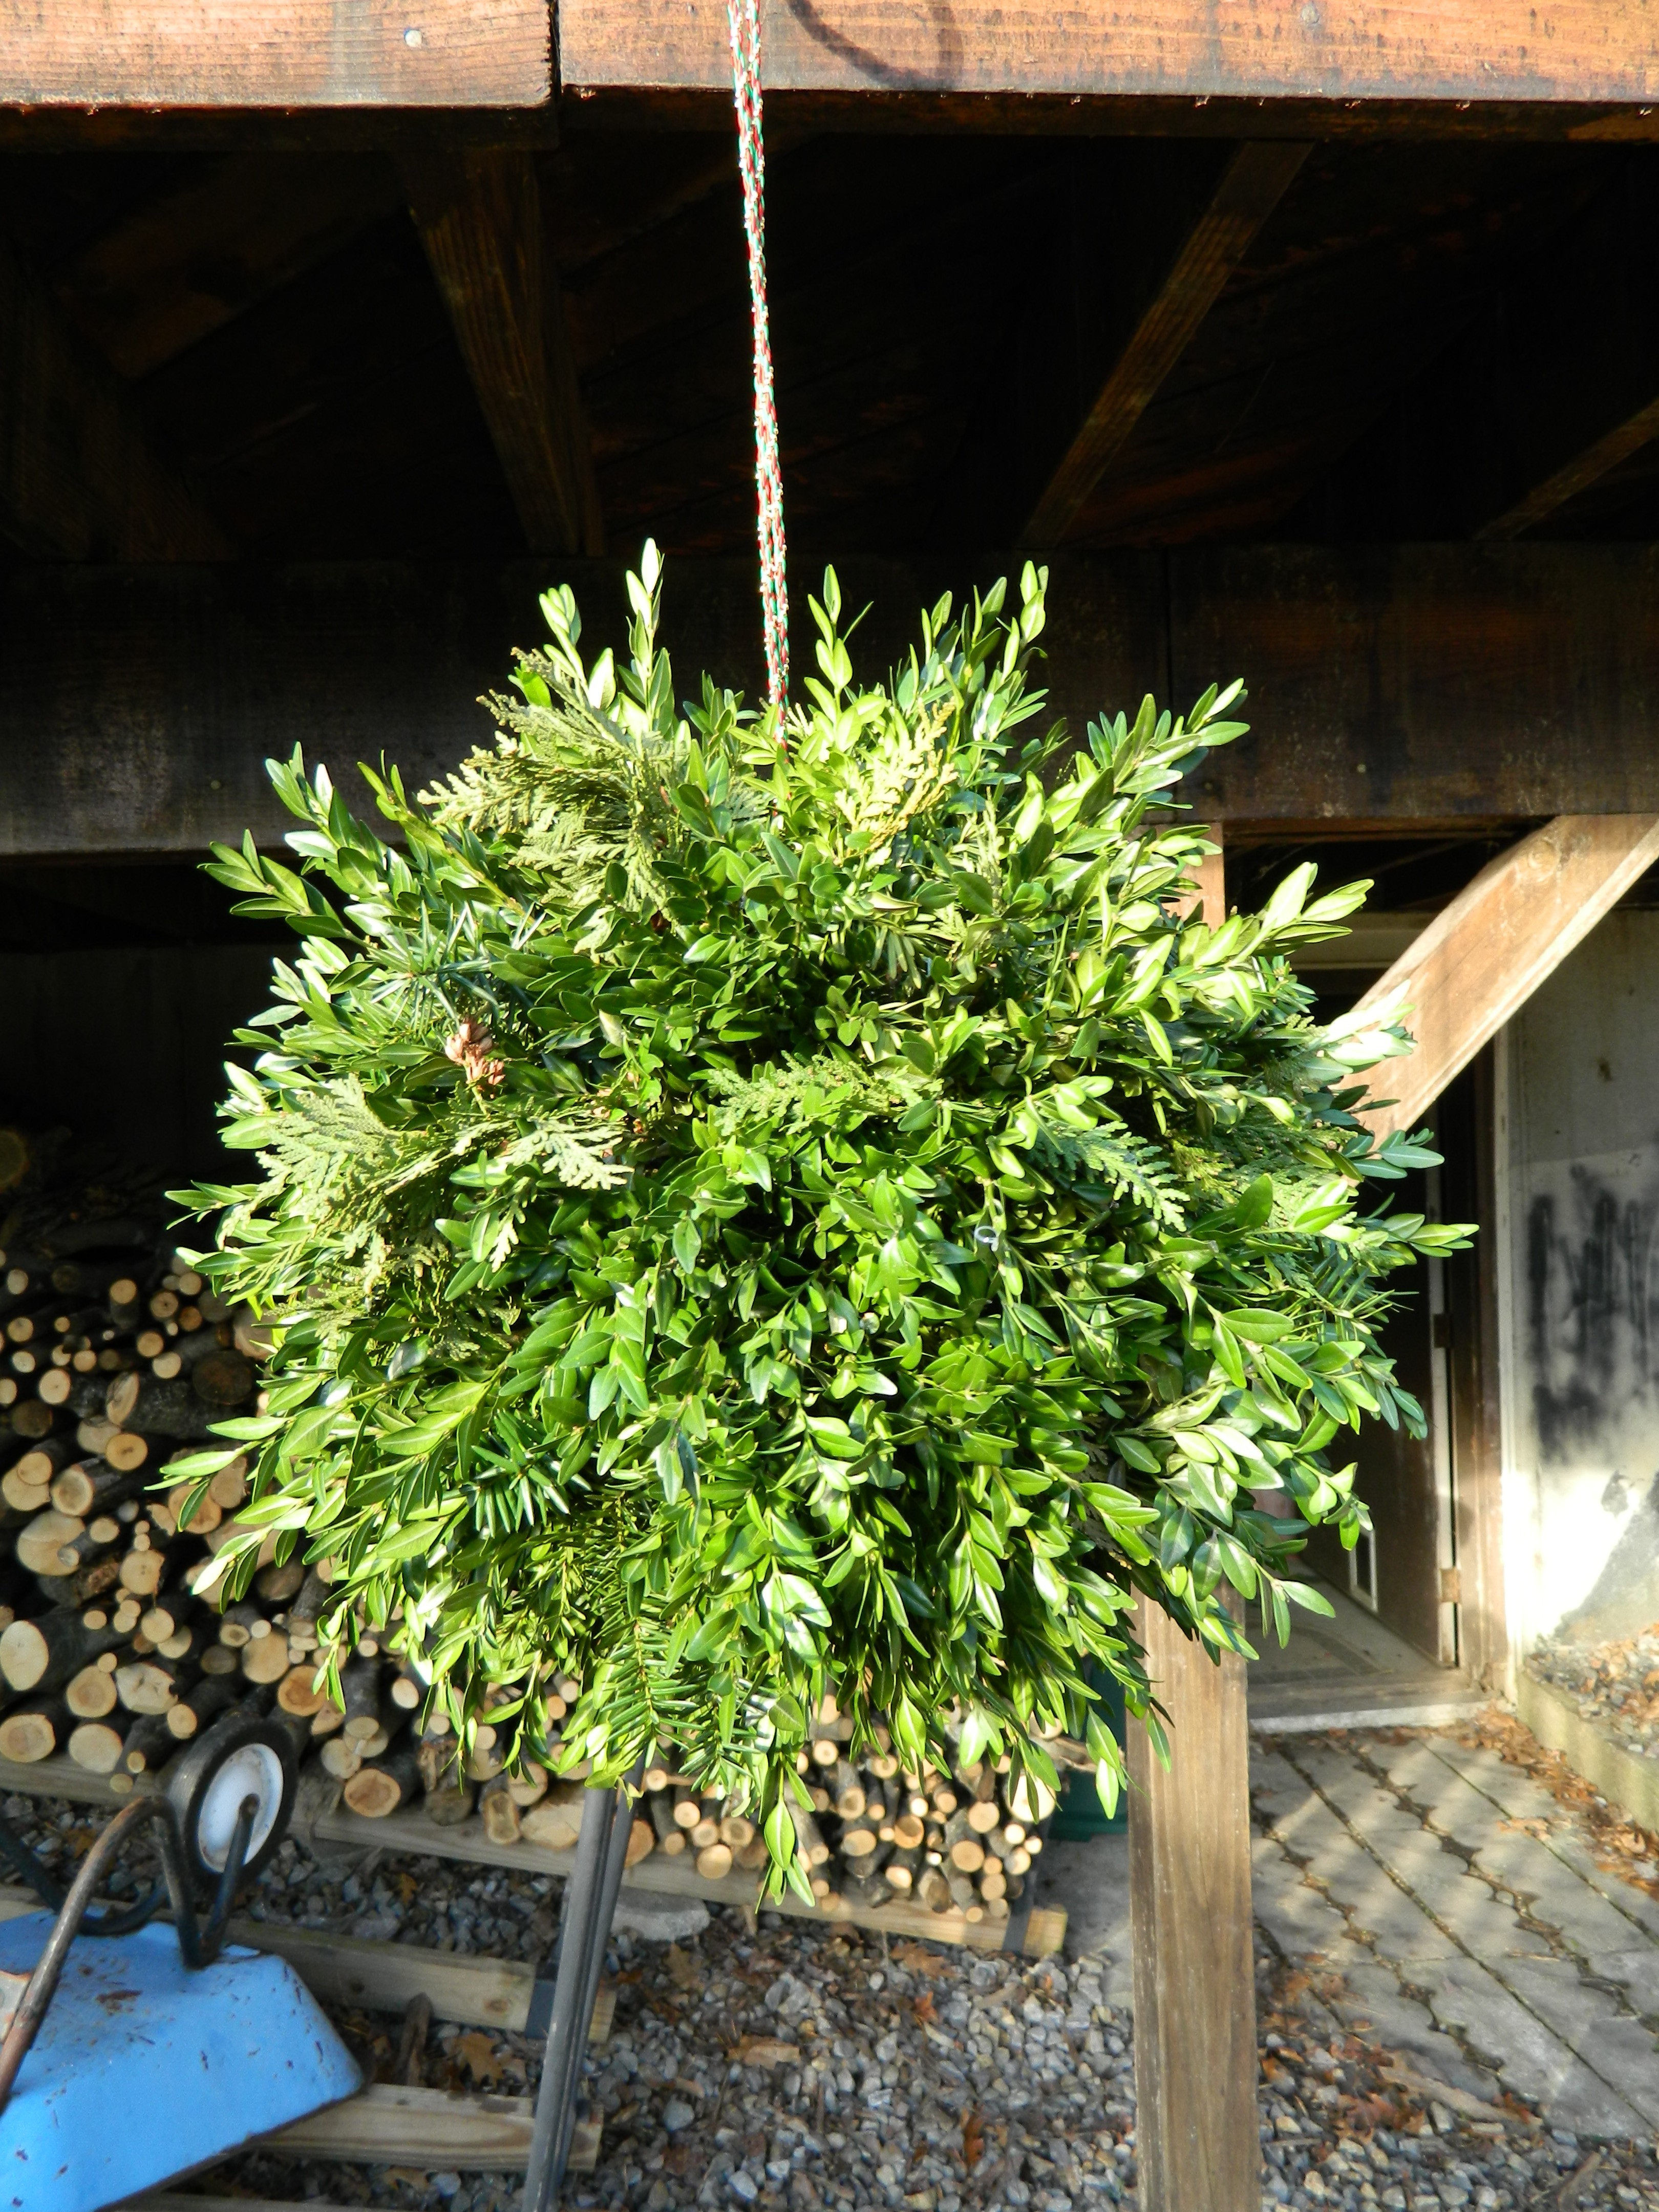
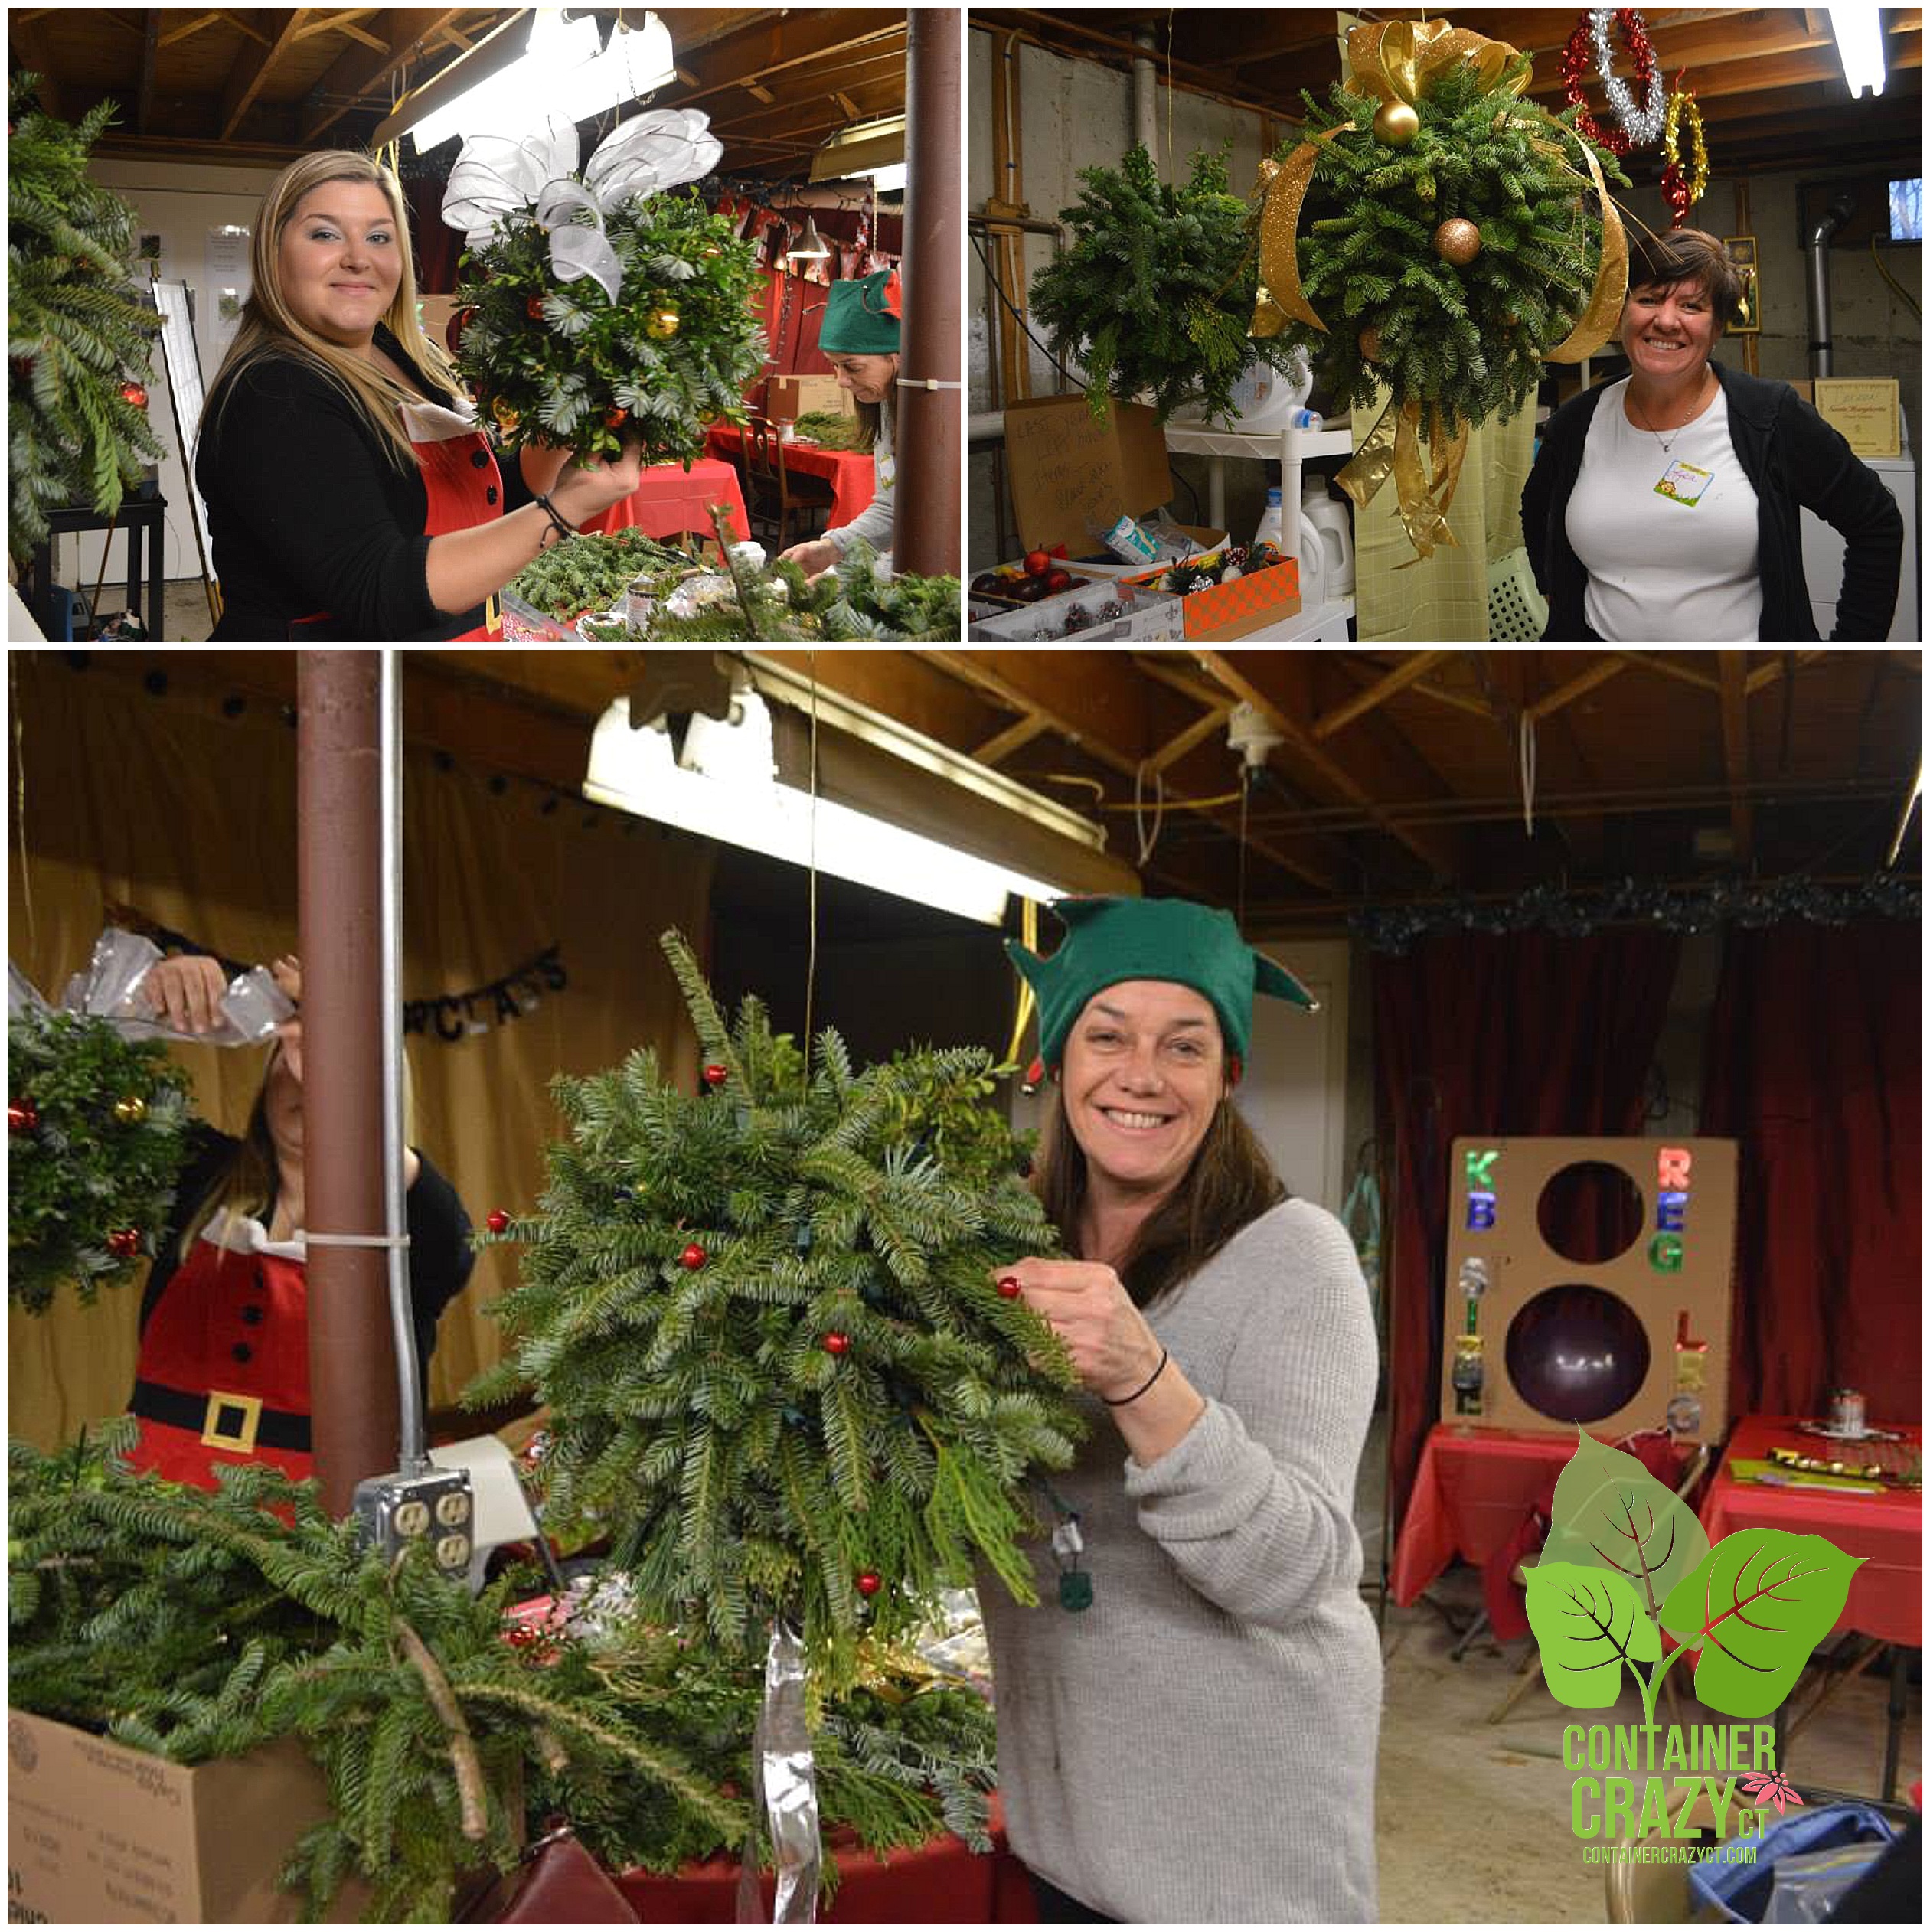
Wow, ten years since I started these holiday workshops. These workshops began because I felt inspired by the holiday round greenery kissing balls I’d see when visiting relatives’ homes in Canada. Then, one day, a cousin asked me to help her making kissing balls and I did.

We spent all day making them. I said, “Hey, this would be a fun class to teach.” She agreed. We drove to a place where I get all my supplies a few days later, and said, “We can split all the expenses and do this.” Yet, she responded with, “No.” She said it was “my thing and that she didn’t want to participate in teaching it.”

So, there you have it – this is how it all started, and me being a plant person, this workshop was a perfect fit for me to add to my workshop offerings as part of my small business. I could teach about the greens and create a wonderful holiday decor item.

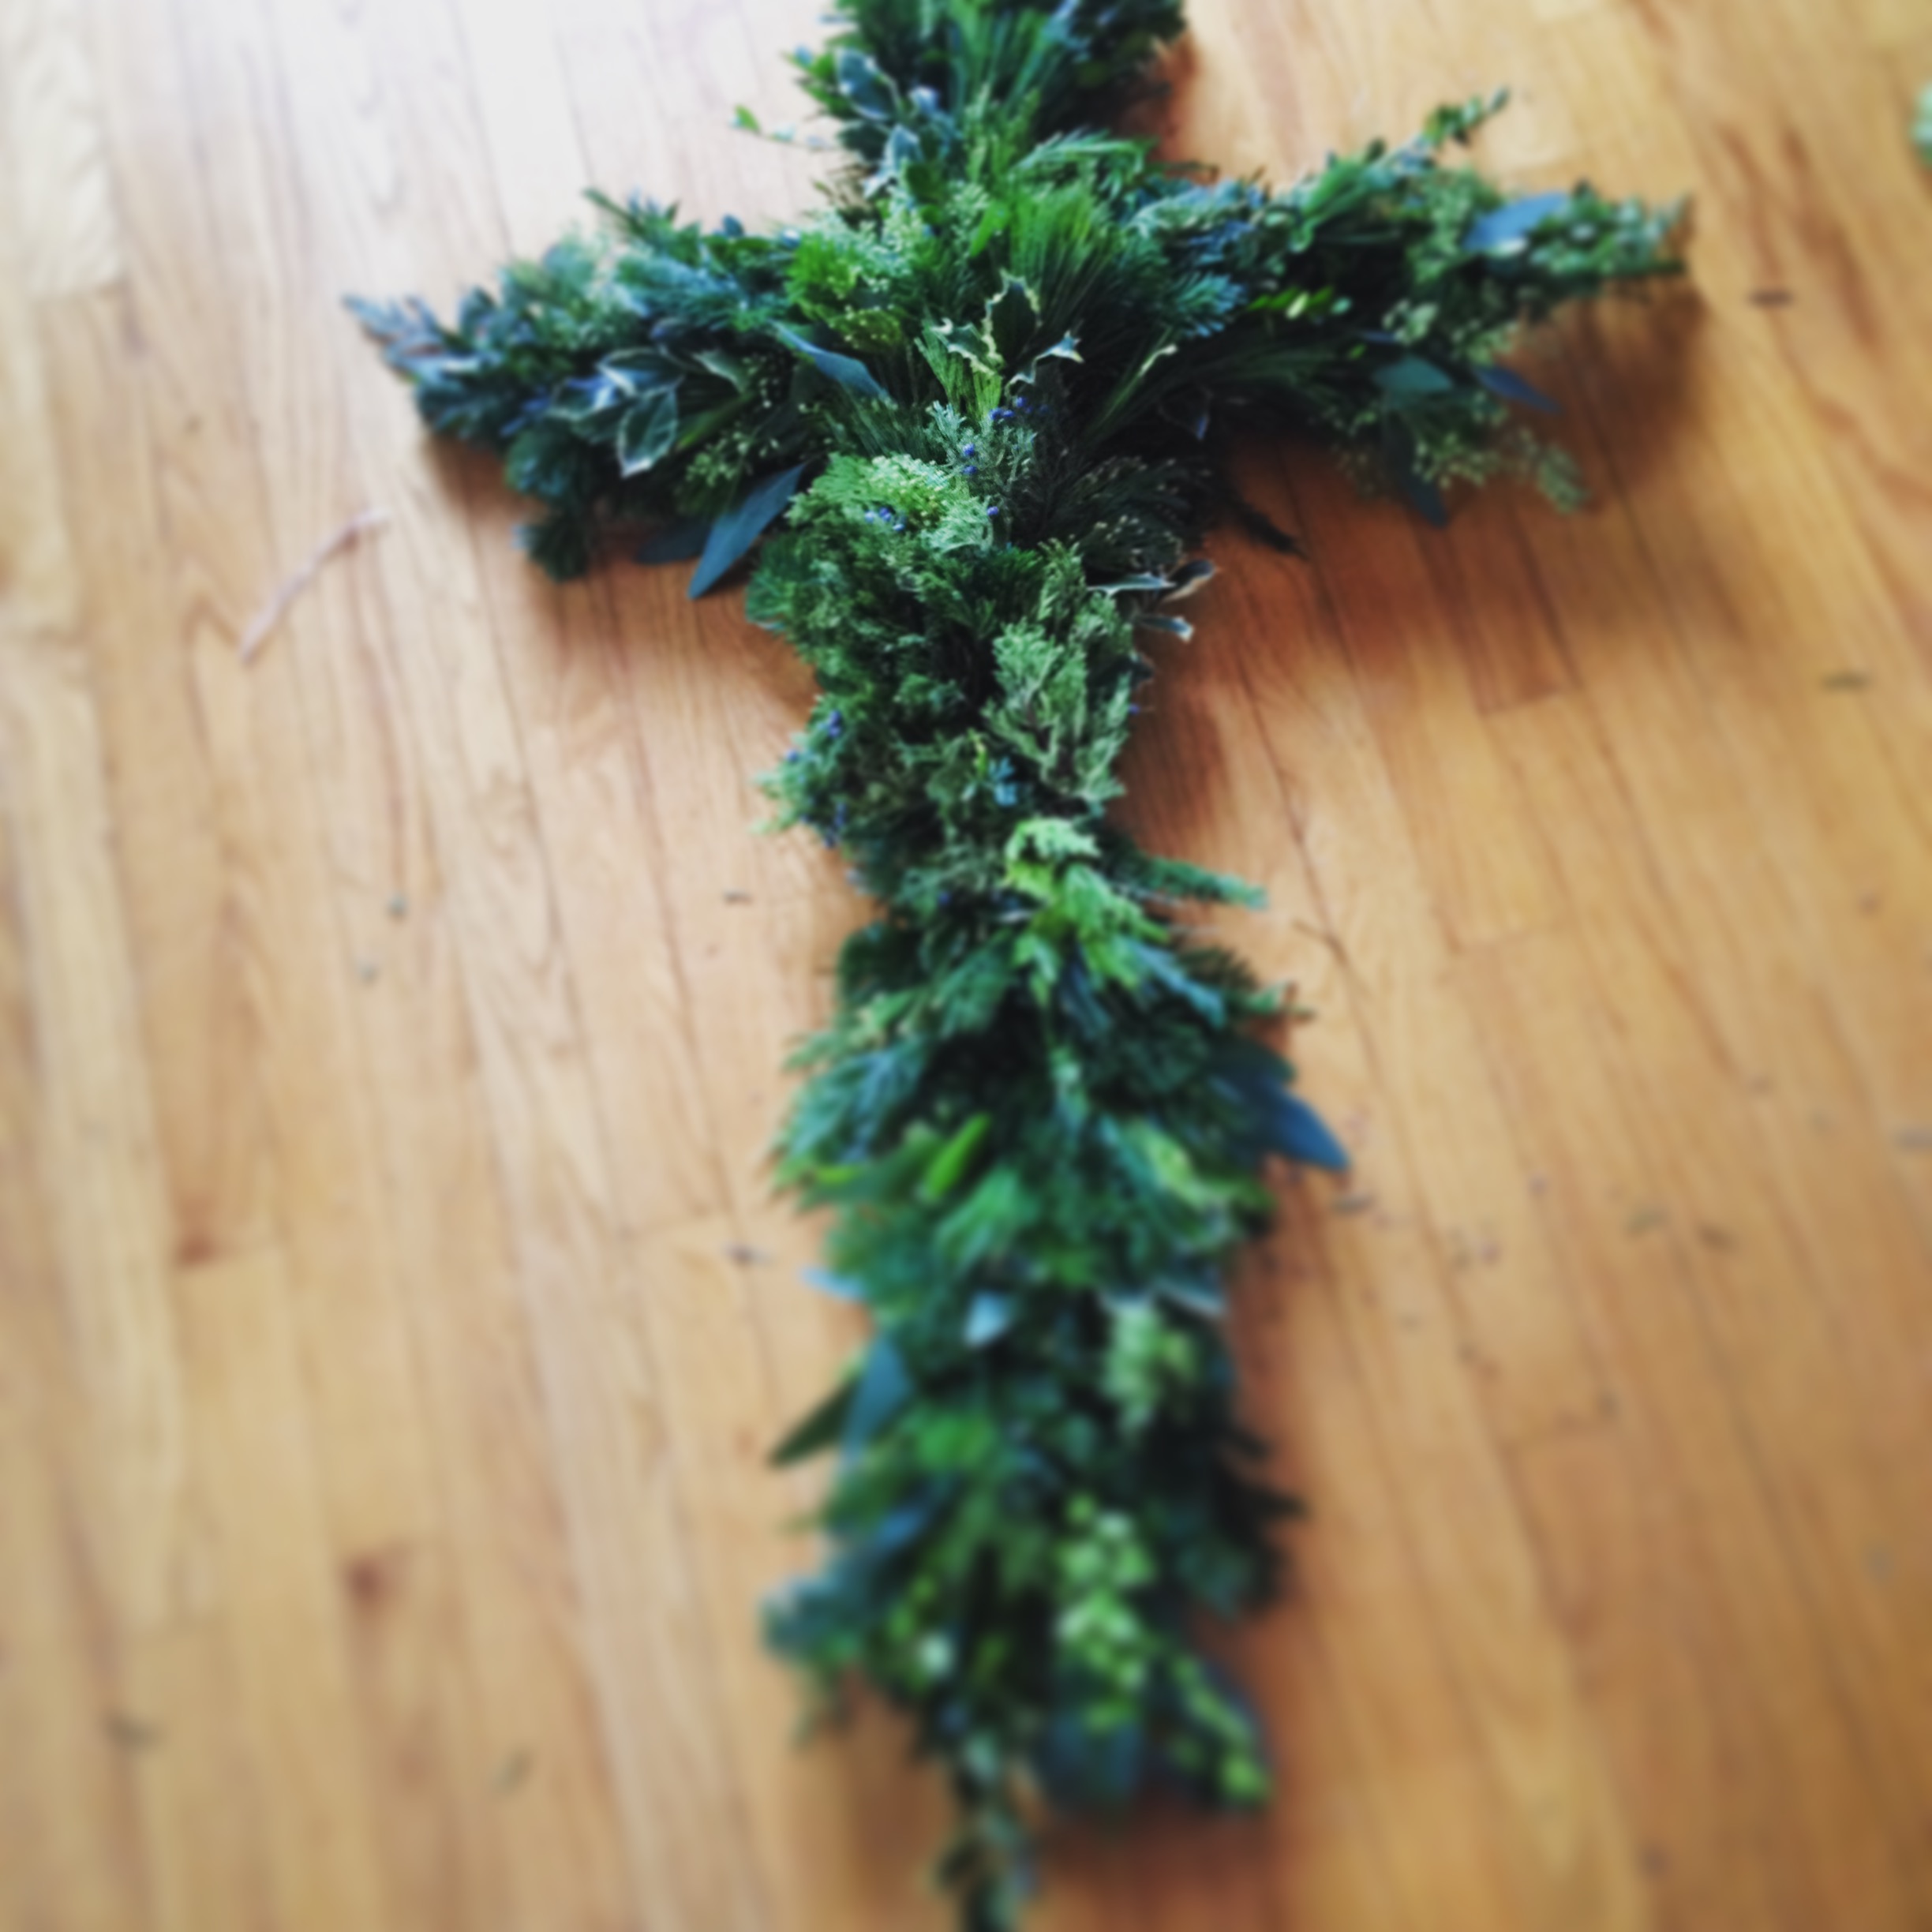
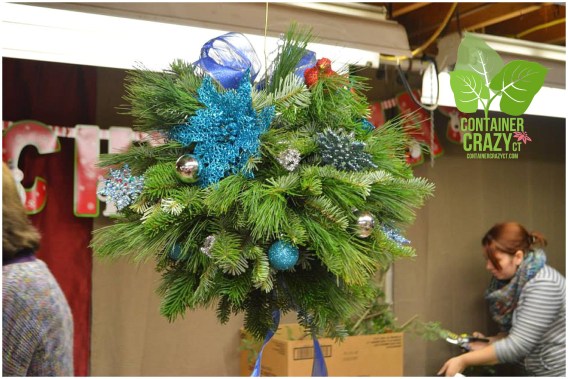
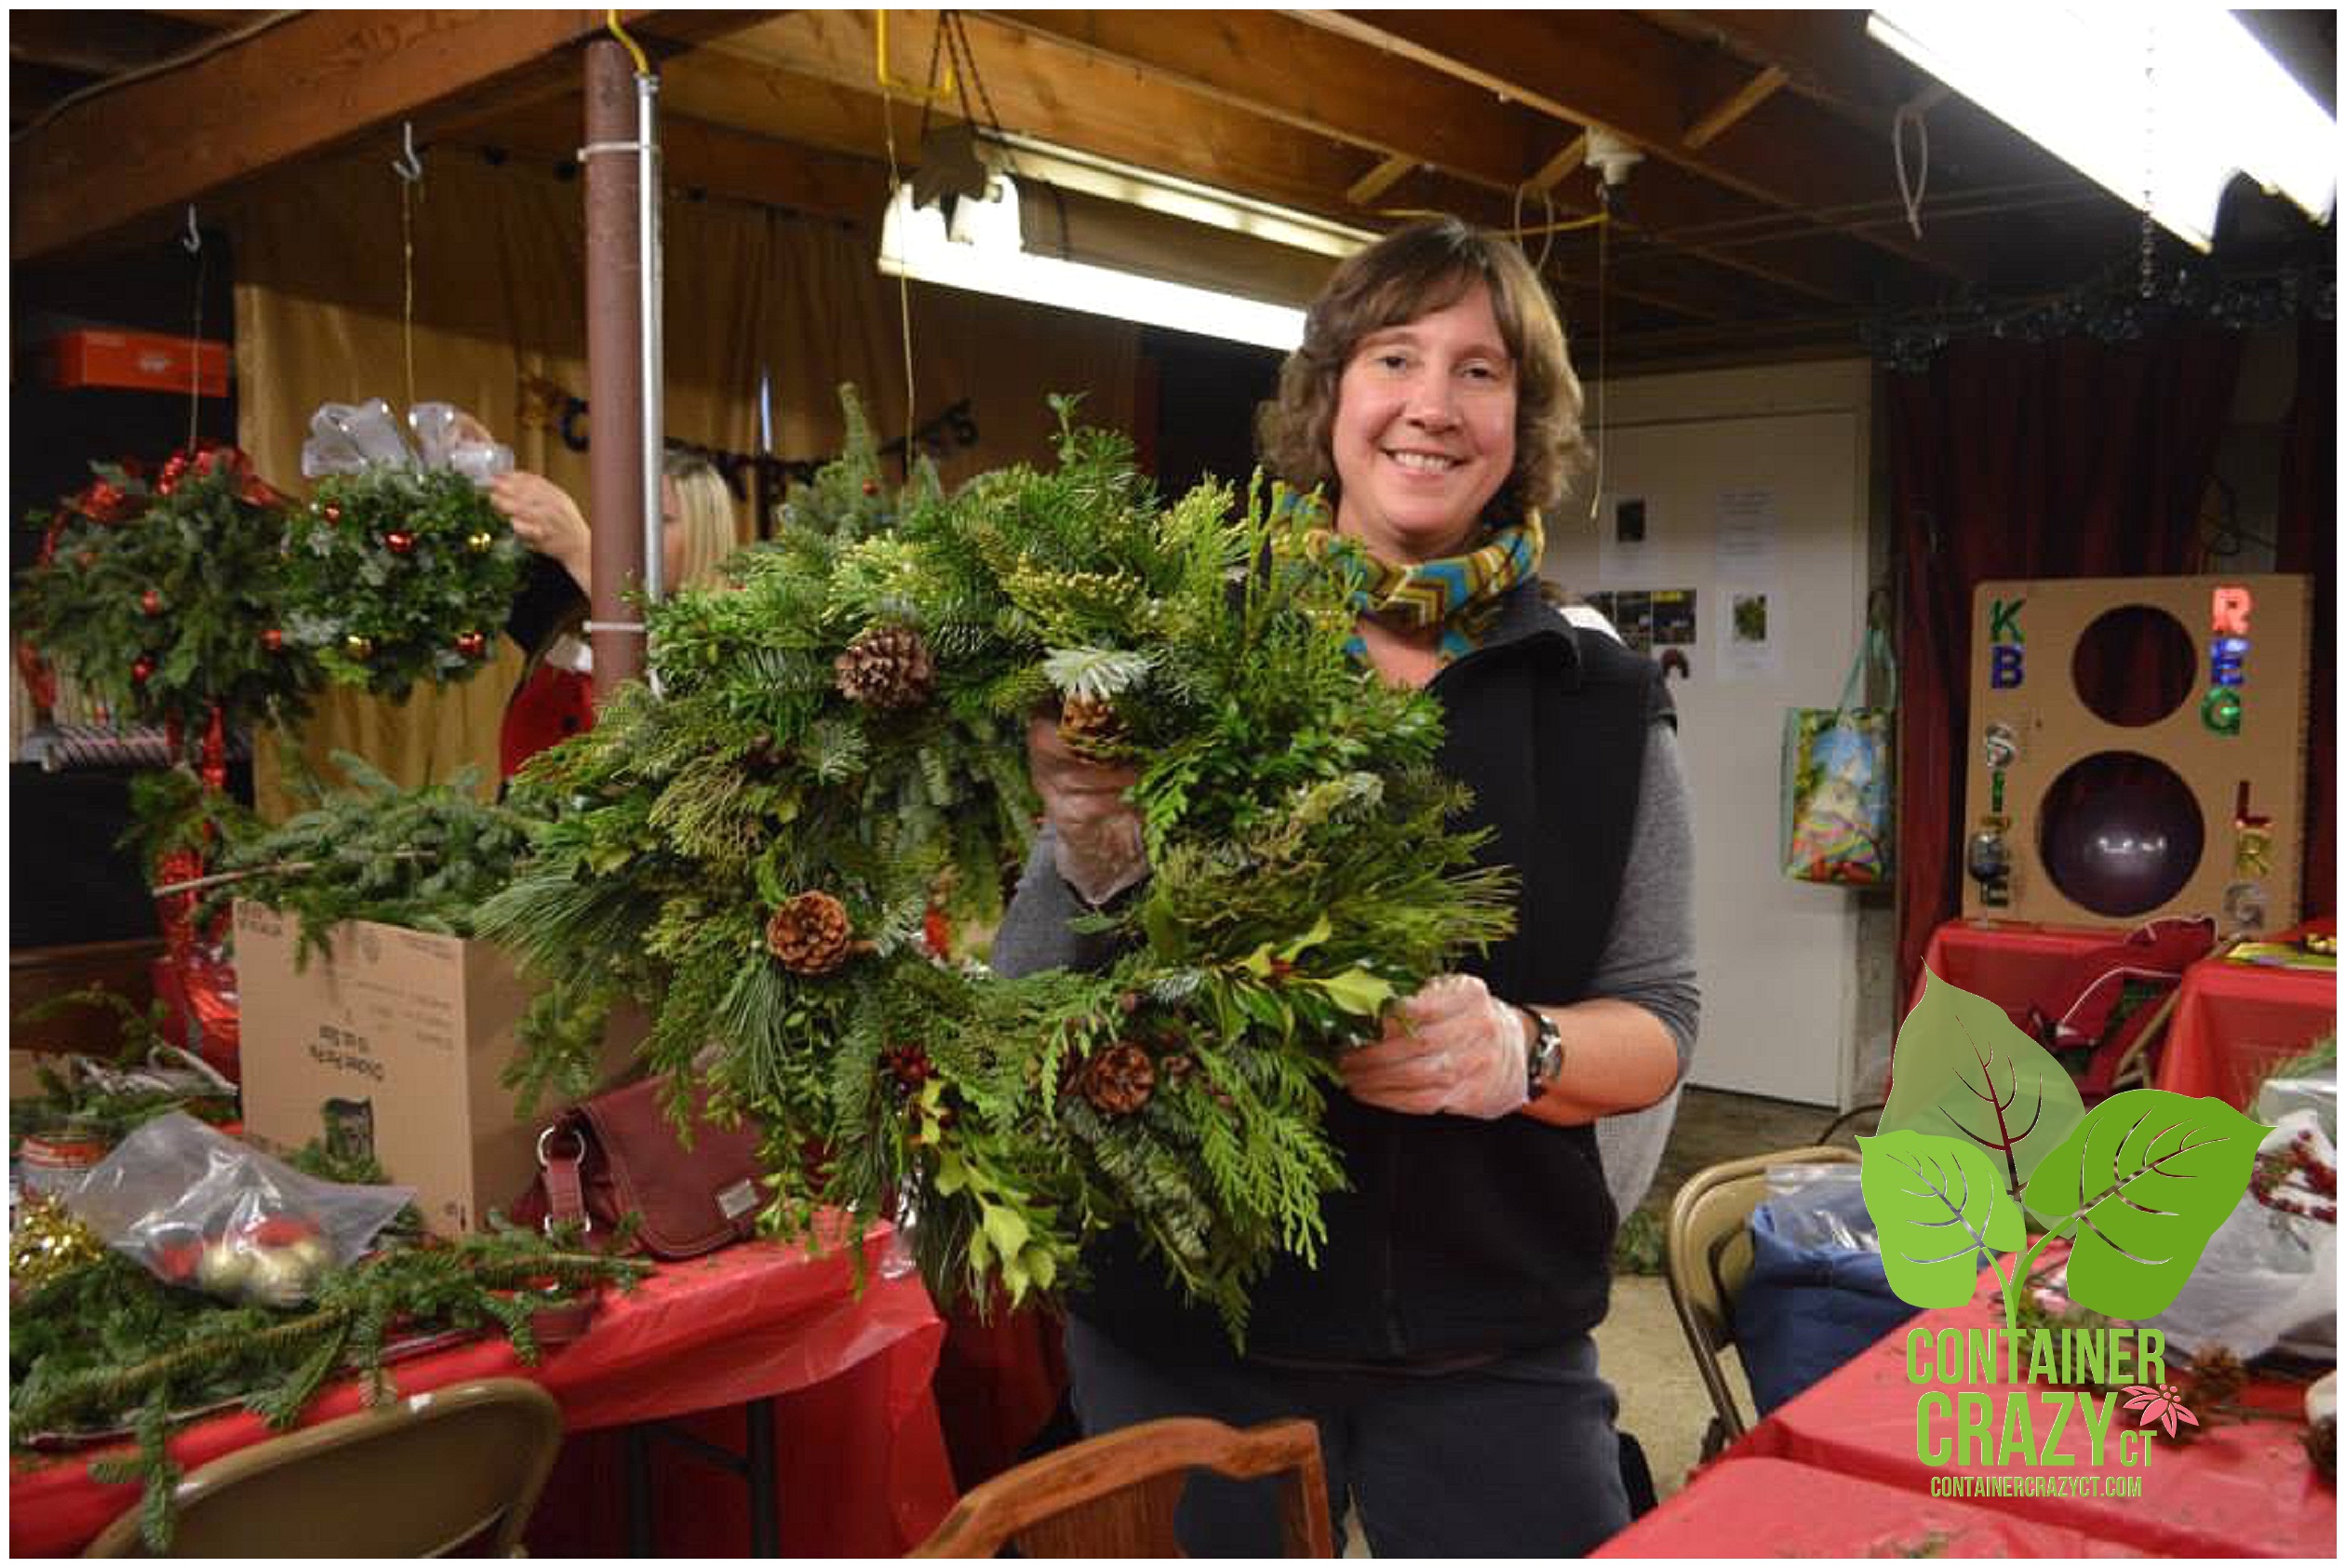
From that spark of a suggestion, my annual kissing ball workshops evolved over the years. I started to learn how to make wreaths myself, improved the KB making technique with new ideas, and then I added new creative items, which attendees may elect to make at the workshops, such as, the candy cane wreath, horse head wreath, square wreath, cross wreath, and more. Each year, it became more and more creative. And it grew with holiday spirit and in attendance.

The KB workshops kicks off everyone’s season – so they tell me. The “regulars” tell me it is the thing that makes them get into the holiday mood. This makes me so happy. Not to get mushy, but I didn’t have any children, and you know, I have always, always missed that part of what it must be like to have kids getting up on Christmas morning to unwrap their presents. Somehow, this event has filled that void for me during the holidays. The KB workshop is my highlight of the holiday season.

In my case, the holiday spirit starts taking hold in early November. Every single year, I start cleaning the messes in my workshop space to get things ready. I’m alone and working in the cold because the wood stove isn’t running yet. I start sorting holiday items, taking count of stock, cleaning, dusting, moving items to make space, and then comes moving in the tables and chairs, etc.

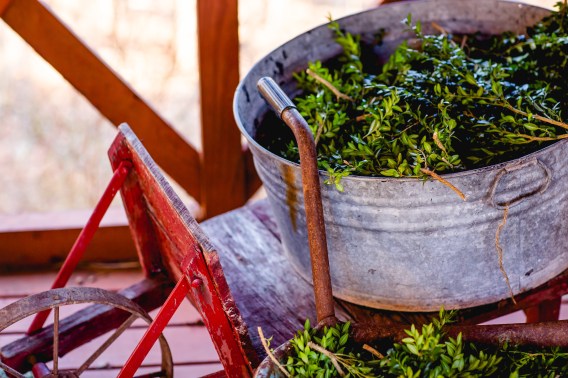
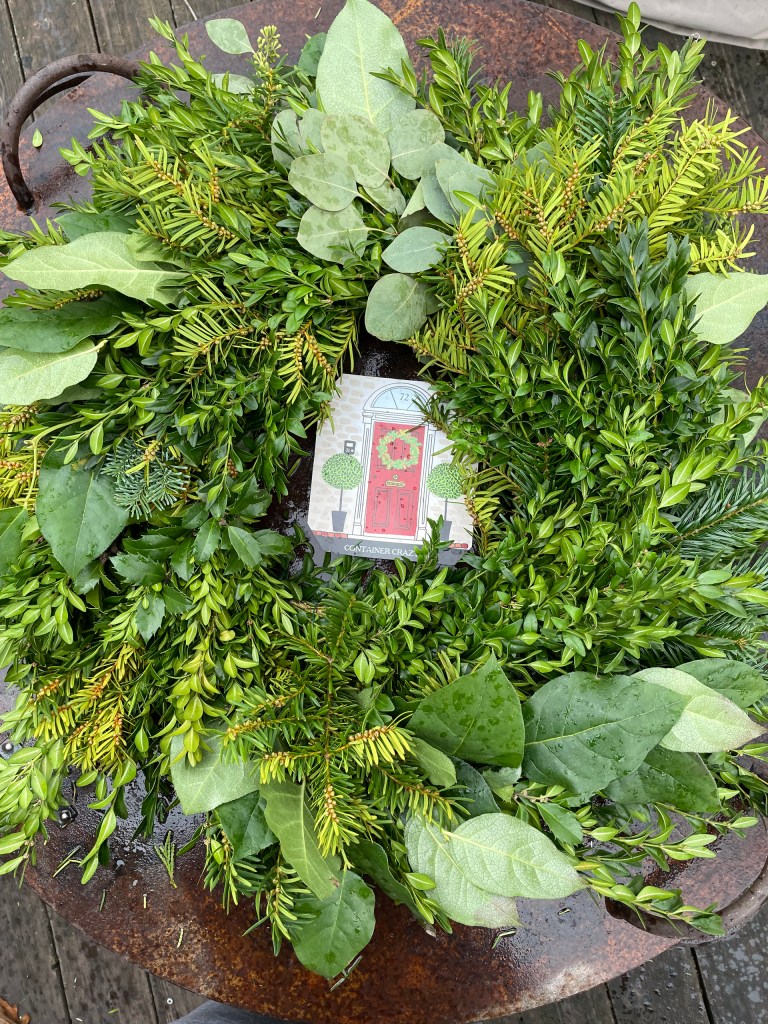
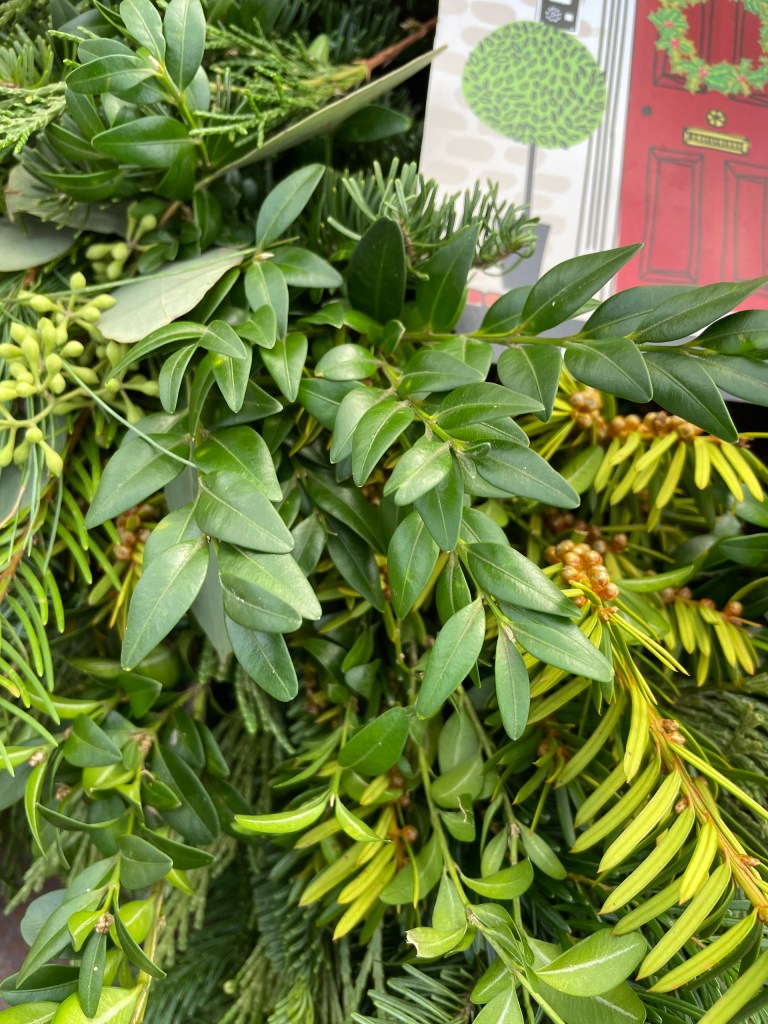
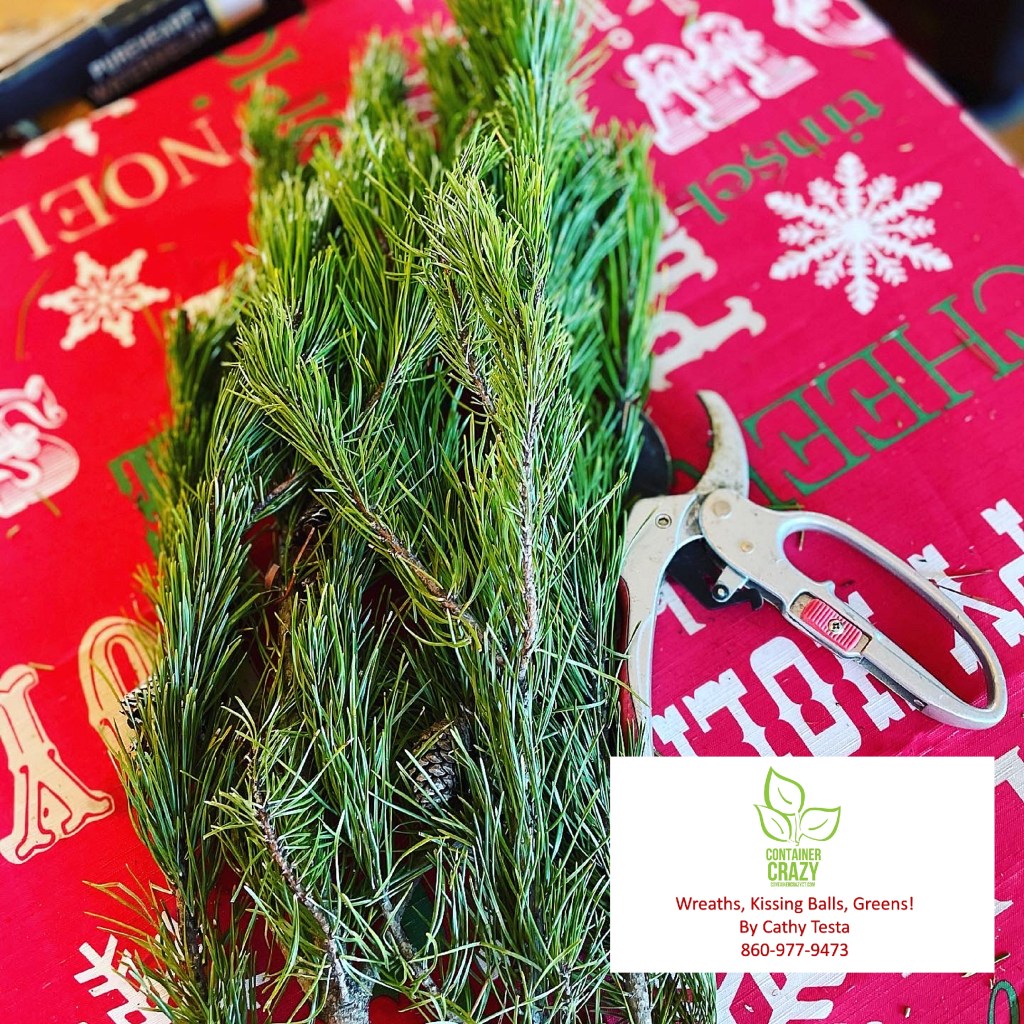
All of this pre-work to setup the workshop space takes time but it has become a good ritual for me. As I work on the various aspects, I start to think about the laughter, the smells of freshly cut balsam and all the fresh greens which the attendees cut at the workshop, and the images of the past ten years pop into my mind. I usually put on some holiday music as I do my thing setting up. This helps the holiday magic fill the air.

As my mind starts to wander, I even smile sometimes as I clean due to the memories. I may even laugh when I start thinking about something in particular that happened, or whatever. I just start thinking about all the attendees in this space every December. I think about the chaos of it all – usually, it is good chaos. Everyone is excited and getting into the holiday decorating zone. But sometimes, it is other chaos of just getting all the holiday ducks in a row.

The memories are good and so is the setup but it also reminds me that some people, though, sadly, I’ve learned over the years, are struggling at that time of year – but not showing it. Maybe something recent happened in their life and they feel down or alone. But, they still show up here for the KB workshop regardless, pull up their big holiday panties, and realize, hey, I can hopefully break out of my doldrums by being here at Cathy T’s KB Workshop. And they tend to feel better afterward the workshop. This makes me happy too.

Ten years. I never thought I’d be offering this workshop for ten years. How can it be even ten years already? I remember joking once, I’ll be a little old lady with gray hairs doing this workshop – but can I make it that long? I even feel I put on weight this time of year in preparation for being Mrs. Cathy Clause at the KB workshop. Seriously!

I’ve stressed out on so many aspects to set up this event. Like, will there be enough greens, will it snow, will my truck get a flat, how am I going to stage all of this first thing in the morning, what if it rains, what if we get a blizzard, and, what if this, what if that? I’m a big what iffer! But this can be good for planning. Thank Goodness I have Mr. Steve Clause to help me. And he does. Every year – he is part of the spirit too. I believe he loves this event as well. He would miss it if I didn’t do it. He says to me – you always do the what if, but it always is fine. He’s right.

There have been so many “behind the scenes” things I’ve dealt with which no one has any idea. I thought, I should jot down some of the interesting things that happened to me as a result or at this workshop. I started to do so today. And here they are…

The Mystery Coat:

A black mid-length winter coat was left by the fire pit outside on the workshop day. After everyone leaves, I usually sit outdoors by the fire pit with Steve to relax and talk about the day. When I put out word via emails and Facebook posts to the attendees the day after the workshop that someone left their black coat here, no one from the workshops ever claimed it. The coat fits me PERFECTLY. I needed a new coat at that time and it is larger than my usual coat size, yet, somehow it fitted just right. Was it the Christmas spirits who left it here? Still a mystery. There was a small red ball ornament in the pocket.

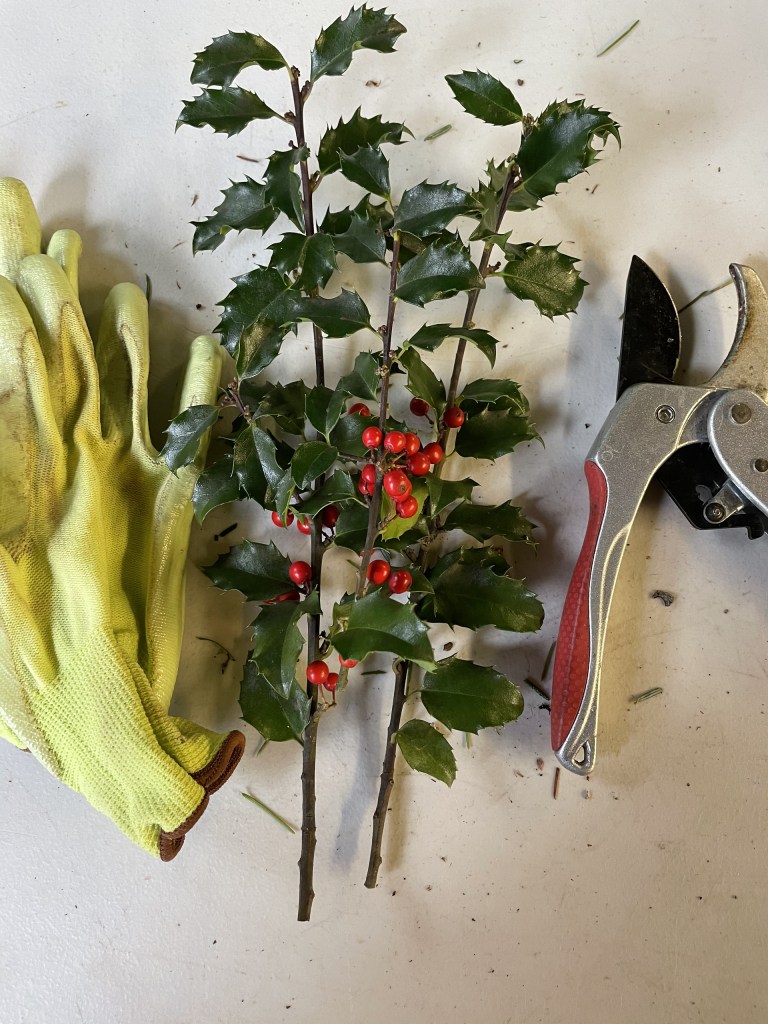
Almost Arrested for Taking Berries:

I got yelled at by a guy driving past a road side area where I had pulled over to cut “red berries” from wild shrubs for a KB workshop. It was a remote, nowhere area. He pulled up quickly out of nowhere too, with tires coming to a halting screech. He busted out of his car, came stomping over with a note pad in hand, and said he was going to REPORT ME for stealing red berries from a property. I remember feeling so annoyed because I was finally “in a moment” of having fun. I apologized profusely and explained I had no idea this was private property. Then he asked me, “Well, why do you want those anyways?” When I explained to him it was for the holiday workshop and that I teach about plants too, he calmed down and let me go. I didn’t dare mention the words: Kissing Balls.

The Old Rusty Wreath Frame

As mentioned above, a ritual of cleaning takes place every year in the workshop space. Well, one year, I saw something tucked behind my big black oil tank in my basement. What is that, I wondered. I pulled and tugged at it and out it came with a force. It was an “old, rusty wreath frame of a very large size.” Seriously, folks. This was not put there by me. I didn’t even make big wreaths yet. Was it left behind from whomever owned this house over 30 years ago? Or did Santa leave it there? Now, if that is not weird, what is? I won’t toss out that wreath frame. It hangs in the workshop space. I find it would be bad luck to remove it.
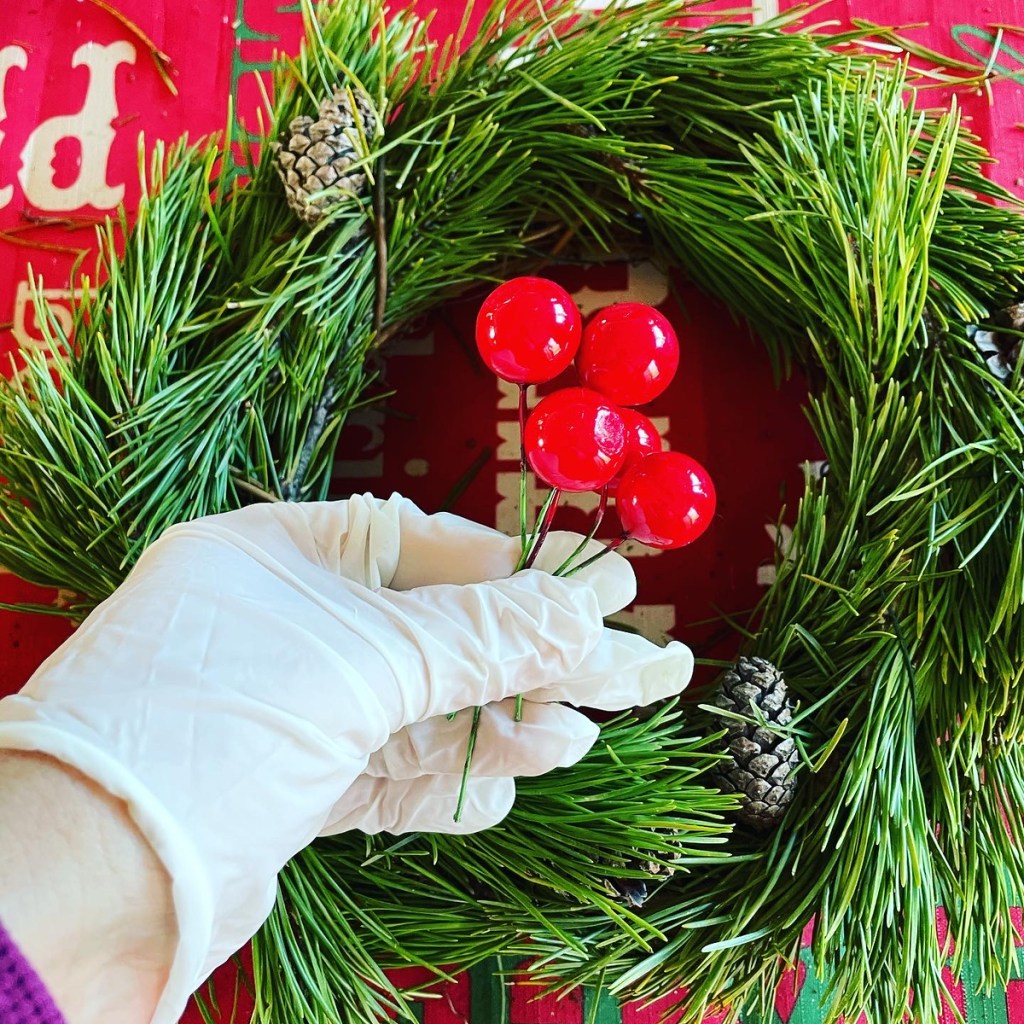
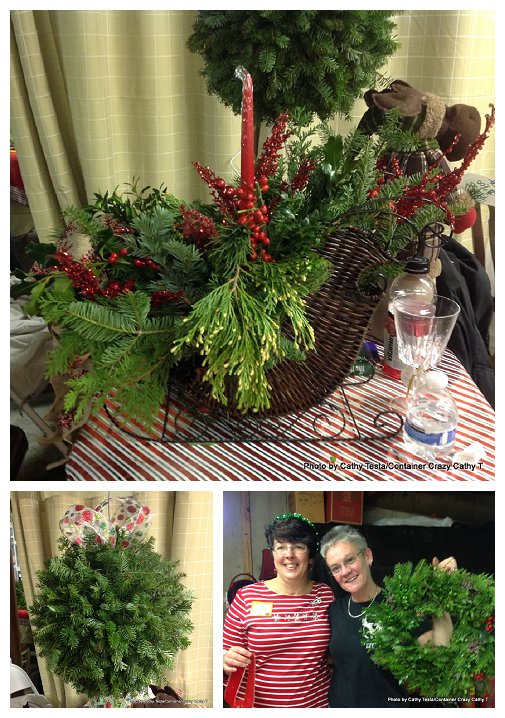
The Big Balls

Okay, we have, over the years, made the biggest balls of them all. Every year, I have to remind all the ladies that if they make them too big, they will fall off the hooks. We keep to measurement guidelines now, but one friend did tell me, she saw her kissing ball rolling down her street on a very snowy and windy day from her kitchen window. She made her kissing ball too big, and thus, it was too heavy and fell off the hook. We don’t make them “monster” sizes anymore but they do come out larger and better, in my opinion, than what you see in retail. OK, so big balls it is! But I did have to enforce no more monster balls, after all, this isn’t Halloween, it is Christmas! LOL.

The Dark

Every year, I offer one or two day time workshops. And a week night workshop. This year, I decided to skip the weeknight offering. It is just too dark and cold outside. The greens are outdoors but we hold the workshops indoors. To lug all the greens to the indoors in the dark was becoming too much for me. One year, after everyone left, I switched on a spot light pointing outdoors to finish up some work on some items outside in the dark, and when I clicked on the spot light, there – standing right in-front of me was a deer. I was like, OMG! It startled me. I said out loud, “You stay away from my greens!” And right then, his nose glowed red. Then I heard the jingle bells of a sleigh take off.

The High

No, we don’t get high here but the smell of the greens is so over powering in the workshop space, we may get that tinsel type high from the wonderful aromas of the fresh greens. But the natural high I get from the workshop event lasts well after everyone leaves from the workshop. In the first few years, the workshop would run all day, even into the night. I had so much adrenaline after it was over that I often sat in my kitchen trying to deflate. Mr. Santa Steve is asleep in bed by then. But I can’t fall asleep, even though I’m usually exhausted, so I start looking at all the wonderful photos of everyone from the day’s activities on my iPhone. The wreaths, kissing balls, and all the smiling attendees’ faces. In more recent years, the ladies have made a day of their events. My workshop is their number one stop, and after, some will go to lunch out, or even attend another holiday event somewhere. My event transitioned into a day of activities for the attendees, not just a few hours. Pretty cool.

The Weather

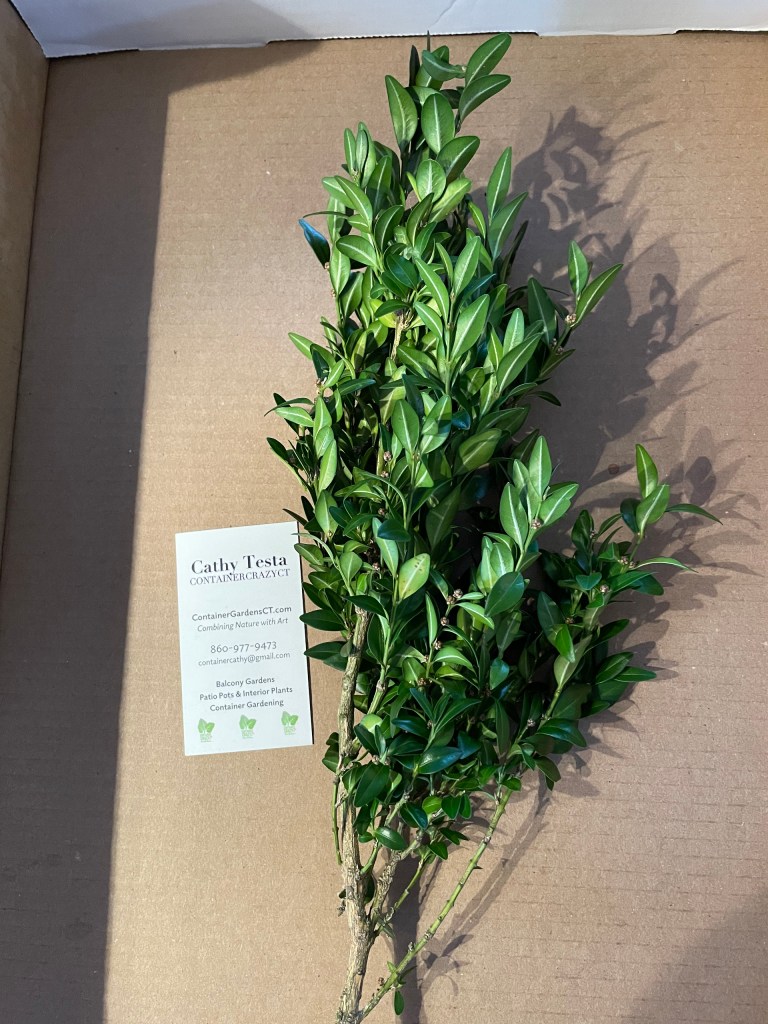
Knock on those wooden ornaments, I have been very lucky with the weather. We always make the next day a backup date should we get a big snowy storm, but in 10 years, that has never happened. One year, it was so warm out, we had t-shirts on – yup, global warming does exist. Santa is very good to me. He waits to bring on the snow storms after my holiday workshops. This year, I have a feeling it will be cold however, which means me working outside in the cold. Much of my preparation is done very close to the workshop date because I like things fresh. I like quality. And some of the preparation is done far in advance like now, including getting sign-ups, picking up hard good supplies, and what have you.

Well, I know there is more storytelling to tell but I can’t think of it now. I know when I work today, some of those stories will pop into my head again. If they do I will share them. In the meantime – You too could become part of the KB story. Sign-up for our workshop on Saturday, December 7th. There are still seats available. Ho, Ho, Ho…

Thank you,

Cathy Testa
Broad Brook, CT
www.WORKSHOPSCT.com
860-977-9473

Cathy T Holding Large Wreath

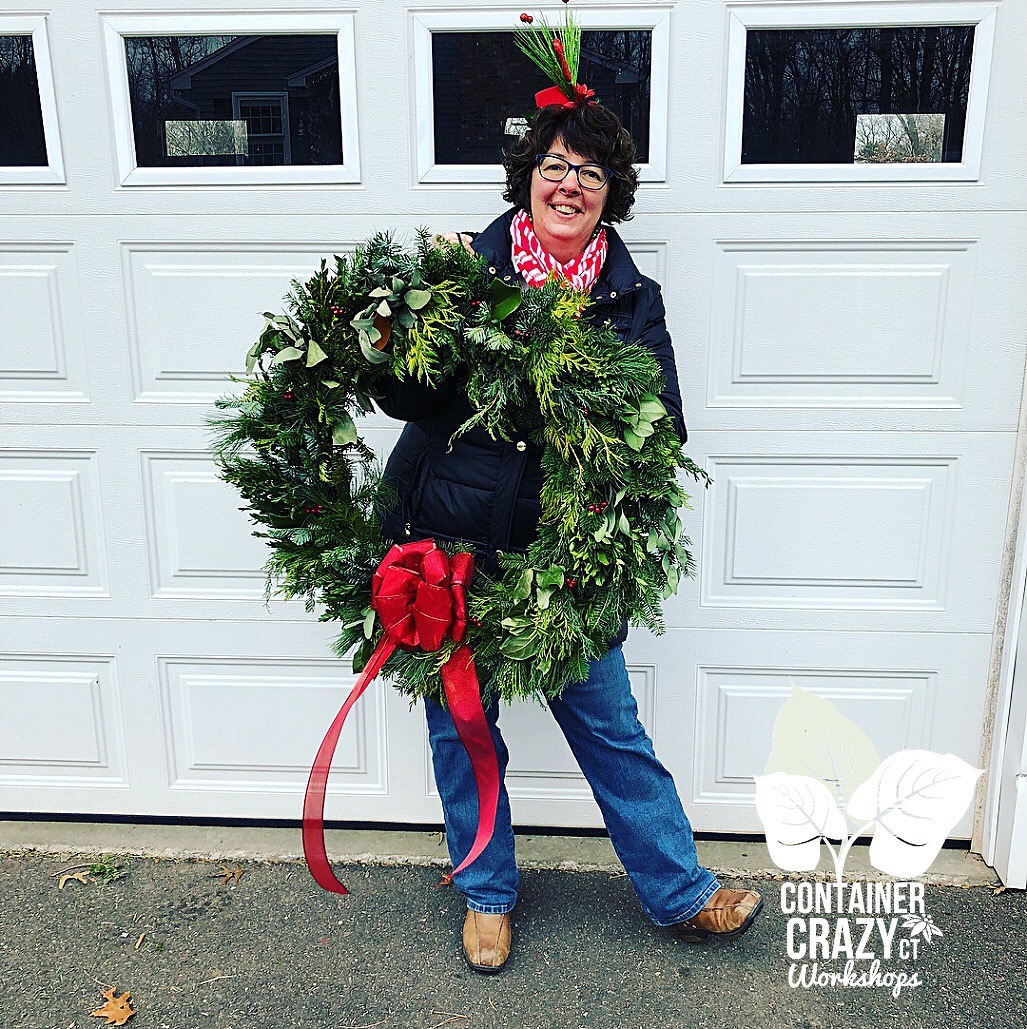
Me holding a Large Custom Wreath and Wearing that Mysterious Black Coat


Going, going, …Gone! Greens for Sale, Custom Orders, and More!

4 Comments

Soon it will be going – going – gone on all the beautiful mixed greenery available for purchase at Container Crazy CT’s. I’ve made custom kissing balls for clients, wreaths for friends, and have available boxes of greens if you wish to purchase some to use for your final holiday decorating, but after this week – all will be gone! So contact me if interested soon.

IMG_7807

On Saturday, because it was 60 degrees out, I sat at the end of my long driveway making kissing balls with holiday music coming out of the truck, and my husband facing the sun as he kept me company.

IMG_7846

Some neighbors walked over to say hello and cars beeped as they drove by. It was a fun day and one to take advantage of because of the amazing unusual warm weather we experienced this weekend in December.

IMG_7763


During the week, I also made some cute mini swags and handed them out to friends. They are perfect to put on the back of chairs or as decorations on your holiday table.

I also tried making my first wreath in the shape of a cross. It is filled with juniper, variegated holly, seeded eucalyptus, boxwood, silver fir, yew, pine, and more greens. It took over an hour to make, but it was a nice process for the first time and I know how I would change the application of the batched greens next time to look even better. It is rather large too – at 3.5′ in height. Someone suggested making smaller ones for cemeteries which I thought is a really nice suggestion.

IMG_7866

Yesterday a break was due. My husband and I took the time to visit the Coventry Winter Farmers’ Market at their new location at the Coventry High School. The market is held on Sundays from 11 am to 2 pm. It was a great opportunity to purchase some gifts and to visit my friend, Laura Sinsigallo of timefliesbylauralie, who was vending as well. She taught a class here for me last year, and she makes the most adorable and cute holiday themed dolls, and she stamps vintage spoons and makes other art. I had asked her to make a spoon for me with my website name to maybe use in my pots, and here it is. She said it was rather challenging, but I just LOVE it!

IMG_7875

And here are some photos of Laura’s work at the market. I picked up a few things for gifts for my family. Her style is one I truly enjoy.

Next year, if I plan all right – I will be vending there on the same Sunday, but this year was just a little too hectic this month to get in on time. My priorities this week are making wreaths in the morning, holiday shopping in the afternoon, planning my menu for my family’s Christmas gathering in two weeks, and well – it is time to make a list and check it twice…

Cathy Testa
http://www.ContainerCrazyCT.com
860-977-9473
containercathy@gmail.com


P.S. I use green florist tape to cover the kissing ball wire hooks. It looks so much better. Those little touches help. It will be something I will show everyone at next year’s workshops.

IMG_7764

Making Your Own Evergreen Creations – This Saturday at the Mini Workshop!

1 Comment

Just a quick heads-up – If you missed the big Holiday Evergreens Creations Workshop this past Saturday, there are other opportunities to make your own evergreen creation – via appointment this week or attend the Mini Workshop on Saturday, December 12th, 11 am.

(Note, the start time is 11 am but if you prefer earlier in the day, or later, just let me know – I realize everyone has super busy holiday schedules right now – we are flexible).

To attend Saturday’s class, email containercathy@gmail.com or call or text me at 860-977-9473. Payment in advance is not required – You may pay at the class, but a confirmed headcount is needed, so sign up by Thursday of this week if you wish to join the Mini Workshop on Saturday.

We have fresh beautiful greens to make a Kissing Ball, Candle Centerpiece, Wreath, or Candy Cane Wreath.

Here’s more details!

Open Studio Days – The week following the Big Class, if you prefer a one-on-one instruction by appointment, you may contact Cathy T to book a date and time – any time of day the week of Dec 7th, Monday through Dec 11, Friday.  This is convenient for those having time during the day or prefer to make an item after work or even before work.

Saturday’s Mini Workshop

Saturday, December 12th, 2015 – The Mini Workshop:  This session is perfect for anyone, nice for mothers and young daughters, or anyone that could not make the Big Class. It is quieter, no festivities other than making your beautiful evergreen holiday items with more one on one personal instruction directly since it is not a big crowd. You will learn the techniques and tricks to making gorgeous greenery arrangements and take home your holiday creation.

Cost: $37-$40 based on item you elect to make.
See the menu bar for descriptions.

Location: 72 Harrington Road, Broad Brook, CT 06016

I hope to hear from you! Cathy Testa

860-977-9473
containercathy@gmail.com

Photos by Bonnie of the Home Place Blog. That’s her on the top left in pink! She is wonderful and shares posts about food, events, and fun happenings in Connecticut. Check out Bonnie’s award winning blog for more on her amazing topics about places to eat and enjoy in Connecticut.

Keeping Holiday Greens Fresh after Assembly

2 Comments

Hello Everyone,

The temperatures are getting a little colder here in Connecticut and the misty rain is making things outdoors a bit damp, but it will not dampen my spirits – In fact, it will make them even brighter.

As my big Kissing Ball and Holiday Evergreen Creations class is approaching – in only 3 days – I welcome the colder temps and feeling of winter – It also helps me to maintain the goodness of my specially ordered mixed evergreens for this weekend’s class.

This year, we have lots of newbies in my workshop. Some of them seem a little nervous, saying or texting things like, “I’m not crafty” and “I want to sit in the front of the class,” but I believe they will surprise themselves.

All my attendees end up making something amazing and they impress me every year with their talents as they decorate the kissing balls and wreaths. I learn from them as well.

FM Kissing Ball Red Ribbon

Kissing Ball with Bow Created at ContainerCrazyCT Classes

But after the class, they may be wondering, how do I keep everything fresh?

For starters, the cold weather really helps – and it best for them to keep their newly made holiday arrangements with fresh evergreens outside.

The natural moisture from misty winter rains and upcoming snow falls outdoors keeps the greens just right. Colder is better to retain needles.

But, the type of evergreen also determines how it will fare in the weather after being cut and inserted into the mechanics.

For example, fir and balsam trees cuttings last very well for a long time. Their needle retention is pretty good – that is why people like them for Christmas trees.

Keep Your Holiday Creations Outdoors

It is also important or helpful, but not mandatory, to keep your wreath or kissing ball out of direct sunlight and wind. The wind may dry out the needles somewhat faster than if located in a protected place outdoors.

You may hang your kissing ball indoors – like from a ceiling fan or chandelier, however, it will dry out faster in a warm house. If you really want to do that for décor during your festivities later in the month, a good tip is to hang it outside the weeks or days before so it stays cold, and move it to your indoor location a couple days before your holiday event.

And be sure to keep any holiday arrangements with fresh greens away from hot rooms heated by wood stoves. That will surely dry them out.

I also recommend any candle centerpieces are kept in the coldest room possible before you display them at your holiday dinner table.

Kissing Ball on VDay

Fake Red Carnations on a Regular Sized Evergreen Kissing Ball

I find my kissing ball, hanging outside by my steps lasts all the way into February with no problems at all. I remember one year, it was hanging there on Valentine’s Day covered with snow and red fake carnations but it was soooo beautiful even then.

Pick Them Fresh

It also helps if the greens are purchased or picked fresh of course, which is one of my goals every year for this workshop. Timing is everything.

If you get greens from your yard, wait until you are ready to arrange them to cut them from your branches, or do it the evening before if possible, and take them when it is cold outside (not warm). Also, I recommend you cut them before any major wet type freeze falls on leave leaves or needles – so be sure to watch your weather forecasts.

Boxwood Plain

Regular Size Boxwood Kissing Ball – Color Lasts a Long Time!

Other types of evergreens which last and have a nice color in mixed arrangements are juniper, incense cedar, white pine, and as noted above, fir and balsam. The white pine may dry out a little quicker than the others, I have found but no worries, all will be fine.

Hemlock branches are very pretty and they tend to arch which I like in container gardens outdoors for holidays, but they will loose their needles a little faster than other types.

Yew, with its dark green needles, is a great candidate and lasts. For some reason, it is not as popular but I think it looks marvelous and adds a layer of texture in the arrangements.

One new item this year at my workshop, which will be a surprise to my attendees unless they are reading this blog post today, is berried Eucalyptus. This has a beautiful blue coloring and texture – and I’m excited to share it with everyone on Saturday.

Boxwood is another excellent, quality green in arrangements for the holidays. One big benefit is they have no sticky sap and they maintain their dark color even if they get a little dry over time. I absolutely love the classic look boxwood cuttings give to kissing balls and wreaths.

Boxwood along with Pine may be soaked in water prior to your day of arrangement – if needed to re-hydrate, but often it is not required.

Holly can be a little tougher to work with because those spines are SHARP. And holly may turn black if it gets wet and then freezes, but I don’t see this situation too often.

By the way, this year, we have variegated Holly – wait til you see it – oh, la, la, fa, and la-lah. Its gorgeous.

One year, perhaps next year, we will add magnolia leaves to the mix – they have shiny tops and brown undersides to their leaves, and it adds a really nice texture to holiday evergreen arrangements, especially on wreaths.

There are anti-desiccant type products you may spray on your greens to help retain moisture, but to be honest, I don’t bother with that – and everything has lasted well for the holidays.

Boxwood Bow III

Bow on top of a Kissing Ball

Last but not least, cutting the ends of your greens from fresh branches with “good sharp pruners” is important. It not only helps with the insertion into your kissing ball mechanics, but allows water uptake if you set your greens in a bucket of water the night before or if you are using hydrated floral foam.

Timing is Everything

Timing is probably the most important of all (along with cold temperatures).

Everything is timed in the background – lots of busy growers, distributors, and buyers do everything they can to time the harvesting of greens at the right time to shorten the length it sits out – and if too early, that’s not good – if too late, not good either. It has to be just right.

I do my best and feel like Mrs. Kissing Ball Clause as I prepare all for holiday workshops – I feel this magical spirit as I get everything ready – maybe that is what drives everyone in the business of selling Christmas trees, making wreaths to sell at stores, and arranging workshops. They end up working outdoors in the cold or rain but keep on. We are those elves doing whatever it takes to make all merry.

See you soon,

Cathy Testa
www.ContainerCrazyCT.com
860-977-9473
containercathy@gmail.com

Container Crazy CT has Gift Cards Available – See the Menu Bar above – A Great Gift Redeemable Towards Future Workshops!

We have many exciting new workshops in 2016 – See “February’s Floral Design Class” with two experts in the horticulture business of floral design. See “April’s Art class”, and also May for the “Container Gardening workshops” – All hands-on and fun, educational, convenient. Classes fill up early too – so gift cards are perfect to give to someone who will enjoy this type of event at Container Crazy CT located in East Windsor/Broad Brook, Connecticut. And they may be used, of course, for next year’s holiday workshops. We hope to hear from you! Cathy Testa

Custom Orders for Evergreens – Or Make Your Own by Appointment This Week!

Leave a comment

Ho, Ho, Ho Everyone!

What fun we had on Saturday! Just look at these beautiful ladies with their evergreen handmade holiday creations from Saturday’s class at ContainerCrazyCT’s workshop.

Attendees at ContainerCrazyCT's class - Photos by HomePlaceBlogger

Attendees at ContainerCrazyCT’s class – Photos by HomePlaceBlogger

Advanced Kissing Ball Makers (returning each year) are really rockin’ their creations – lights were added to balls and wreaths, their bows are coming out fantastic, and each has new ideas every year.

Attendees at the 5th Annual Class Hosted by ContainerCrazyCT

Attendees at the 5th Annual Class Hosted by ContainerCrazyCT

Making Your Own by Appointment – Open Studio Days

If you are interested in making your own, you may do so during Cathy T’s Open Studio days this week from Dec 9-12th, any time, just book an appointment, come to her workshop in Broad Brook, CT and get one-on-one private instructions on how to make your very own kissing ball, wreath, or candle centerpiece with fresh greens.

First Time Attendee Makes a Gorgeous round and square wreath!

First Time Attendee Makes a Gorgeous round wreath – Great Job!!

Place a Custom Order Soon!

Too busy for Open Studio Days?  Place a custom order today, and Cathy T will make an item for you.  Custom orders for a large kissing ball, wreath, or candle centerpiece are available. Prices range from $35-$45 based on items selected and decor.

Container Gardens With Evergreens at Home or Business Locations

Also, remember Cathy T installs container gardens at outdoor locations stuffed with greens and decor.  If you need an item for your home or business, call her today or text: 860-977-9473 or email: containercathy@gmail.com. See also the contact form below.

A Box of Greens – Is a Box of Jolly!

Do you need a stock of evergreens to dress up your home?  Another option available is to purchase a box of greens.  Pickup at Cathy T’s Broad Brook, CT location is required – so if you are local, give a holler at 860-977-9473. The box will include Balsam, Silver Fir, Golden Arborvitae, Yew, Cedar, and more. For information and prices, please contact Cathy T.

A Great Big Thank You!

I’d also like to take this quick opportunity to thank all the attendees for making my Christmas season kick off so much fun.  The appetizers you brought, the cheer, and special attendees giving their own demo’s (Maryse – Bow Queen!, Eilene – Light Queen!) during the class.

Contact Form

Go back

Your message has been sent

Warning
Warning
Warning
Warning

Warning.

Cathy Testa
http://www.ContainerCrazyCT.com
860-977-9473 (cell)
containercathy@gmail.com


Evergreens Creations Class at the East Windsor Senior Center on Tuesday

5 Comments

Yesterday was a huge success of making amazing evergreen creations with attendees at my annual class, but there is another chance if you are available during the day and would like to join my next session at the East Windsor Senior Center located on Main Street in Broad Brook, CT.  It will be held Tuesday, December 10th, 12:30 – 2:00 pm.  If interested, we have a few seats open.  Contact me either via cell: 860-977-9473 or containercathy@gmail.com.

To give you an idea of what you can make, take a look at these photos below of the regular sized kissing ball and wreath.  The candle centerpiece is unique – we won’t be making them in this beautiful sleigh as one attendee did yesterday – what a GREAT IDEA, but the candle centerpiece you can make is just as beautiful.  See my Classes on this blog for other photos.

Every year, the creativity increases by the attendees.  I’m always impressed with their new twists on how to make their evergreen creation more – well CREATIVE!  We had attendees make topiary balls for a beautiful pot outdoors, another attendee brought a cute sleigh to create her candle centerpiece, and even another attendee installed red lights in her kissing ball – WOW.  Stunning, which I will share those photos later.

But for now, this is just a peak of items from yesterday’s class below.  If interested in this week’s Tuesday class at the Senior Center, please contact me right away.

Take a look at other photos on this blog for what you can make with fresh evergreens, including the instruction and materials.  For more information, contact me 860-977-9473.

And enjoy the rest of your weekend.  Thank you – Cathy Testa

Evergreen Creations_0001