Hello Everyone!
It is that time of year when we may be seeing little critters appear on some of our plants in our gardens or container gardens, and it ain’t pretty. Fortunately, many of them do not last long due to their life cycles, stages of growth, and time of appearance, but regardless, it is best to battle them as soon as spotted on your plants.
I like to use the ‘pick and squish’ method first whenever possible, if bold enough, prior to reaching for any insecticides, or use of pesticides. Sometimes just hand picking off or pruning, then disposing of them works.
In the photos below, you will see what I believe are eastern tent caterpillars on my honeysuckle vine (top left), aphids on the eggplant bloom (middle top photo), and mosquito larvae in the water image. These were all spotted in late June, along with a first sighting of the infamous Japanese beetles, which emerge from the ground in early summer to feed on plants.

Yuck — Insects on Plants
Tent caterpillars on my trumpet honeysuckle – YUCK! That was a first – and my honeysuckle has been doing so well this year. Obviously, I was not happy to find these buggers. My honeysuckle plant is growing by the side of the house, and it surprised me to find tent caterpillars on it. Fortunately, with a quick snip of the vine from which they were attached, they were easily bagged and tossed.

Honeysuckle bloom creeps into Delphinium’s blooms
TENT CATERPILLARS ON MY HONEYSUCKLE VINES
Using clean pruning shears, I cut of the portion of a vine with the nasty critters on it, put it in a plastic bag on the driveway and then stomped on the bag. I left the bag laying on the driveway for a while. Why? I figured the heat would fry any not crushed (oooh, gross – the things gardeners will do!). Then, I went out for my day’s work at a client’s location.
That day, my parents dropped of some items at my door, and my mother saw the plastic bag sitting on the driveway so she included my bug bag as a hanging item on my door handle while I was not home. I guess she figured I dropped something by mistake on the driveway.
Well, when I opened up that bag at the kitchen table – ACK. Out to the garbage can it went – and quickly. You see, the other bags my parents often leave me are filled with fresh veggies from their home garden. Imagine my surprise and reaction when I found bugs instead of radishes.
Prior to all this bug nonsense, I was enjoying the many orange trumpet shaped blooms growing from my honeysuckle so much all month. At one point, a stem pushed its way through the center of a Delphinium stalk located near it – talk about stunning.
Do these two plants know they are complementary colors on the color wheel?
Opposite each other on the color wheel – are blue and orange – talk about a nice surprise nature combo in the garden! Although this Delphinium technically has more purples than blues in its blooms, the combination was breathtaking all the same – I have been enjoying it for a whole month. I wrote about Delphiniums before on this blog, as it was a flower I selected in my wedding bouquet 24 years ago. It probably was one of my first flower obsessions. I find them a little difficult to keep growing in my garden, so this year, I just bought a new one and plopped it by the honeysuckle plant, and it has grown beautifully.

Honeysuckle Blooms
Honeysuckle (Lonicera) is a deciduous vine that grows quickly every year. It is deer resistant and attracts butterflies. A trellis or arbor is needed to hold it up as it grows taller, sometimes reaching 15-20 feet. I’ve had mine for several years in this spot with little problems – again, why I was surprised to see the tent caterpillars take a spot on it this year.
Although this vine grows quickly, I wouldn’t classify it as a invasive plant because it is easily removed if you find it over takes your space, but it can get large fast and needs to be watched. It is included in my Troublemakers Turned Star Plants on my Pinterest page, because it can be very useful in a container garden if you find it a nuisance in the regular gardens of the ground.
It likes sun to part shade, and blooms for a long time. The scent is intoxicating for many cultivars. This plant may be used as a thriller in a large container garden, so long as you add a nice big trellis in the container for support.

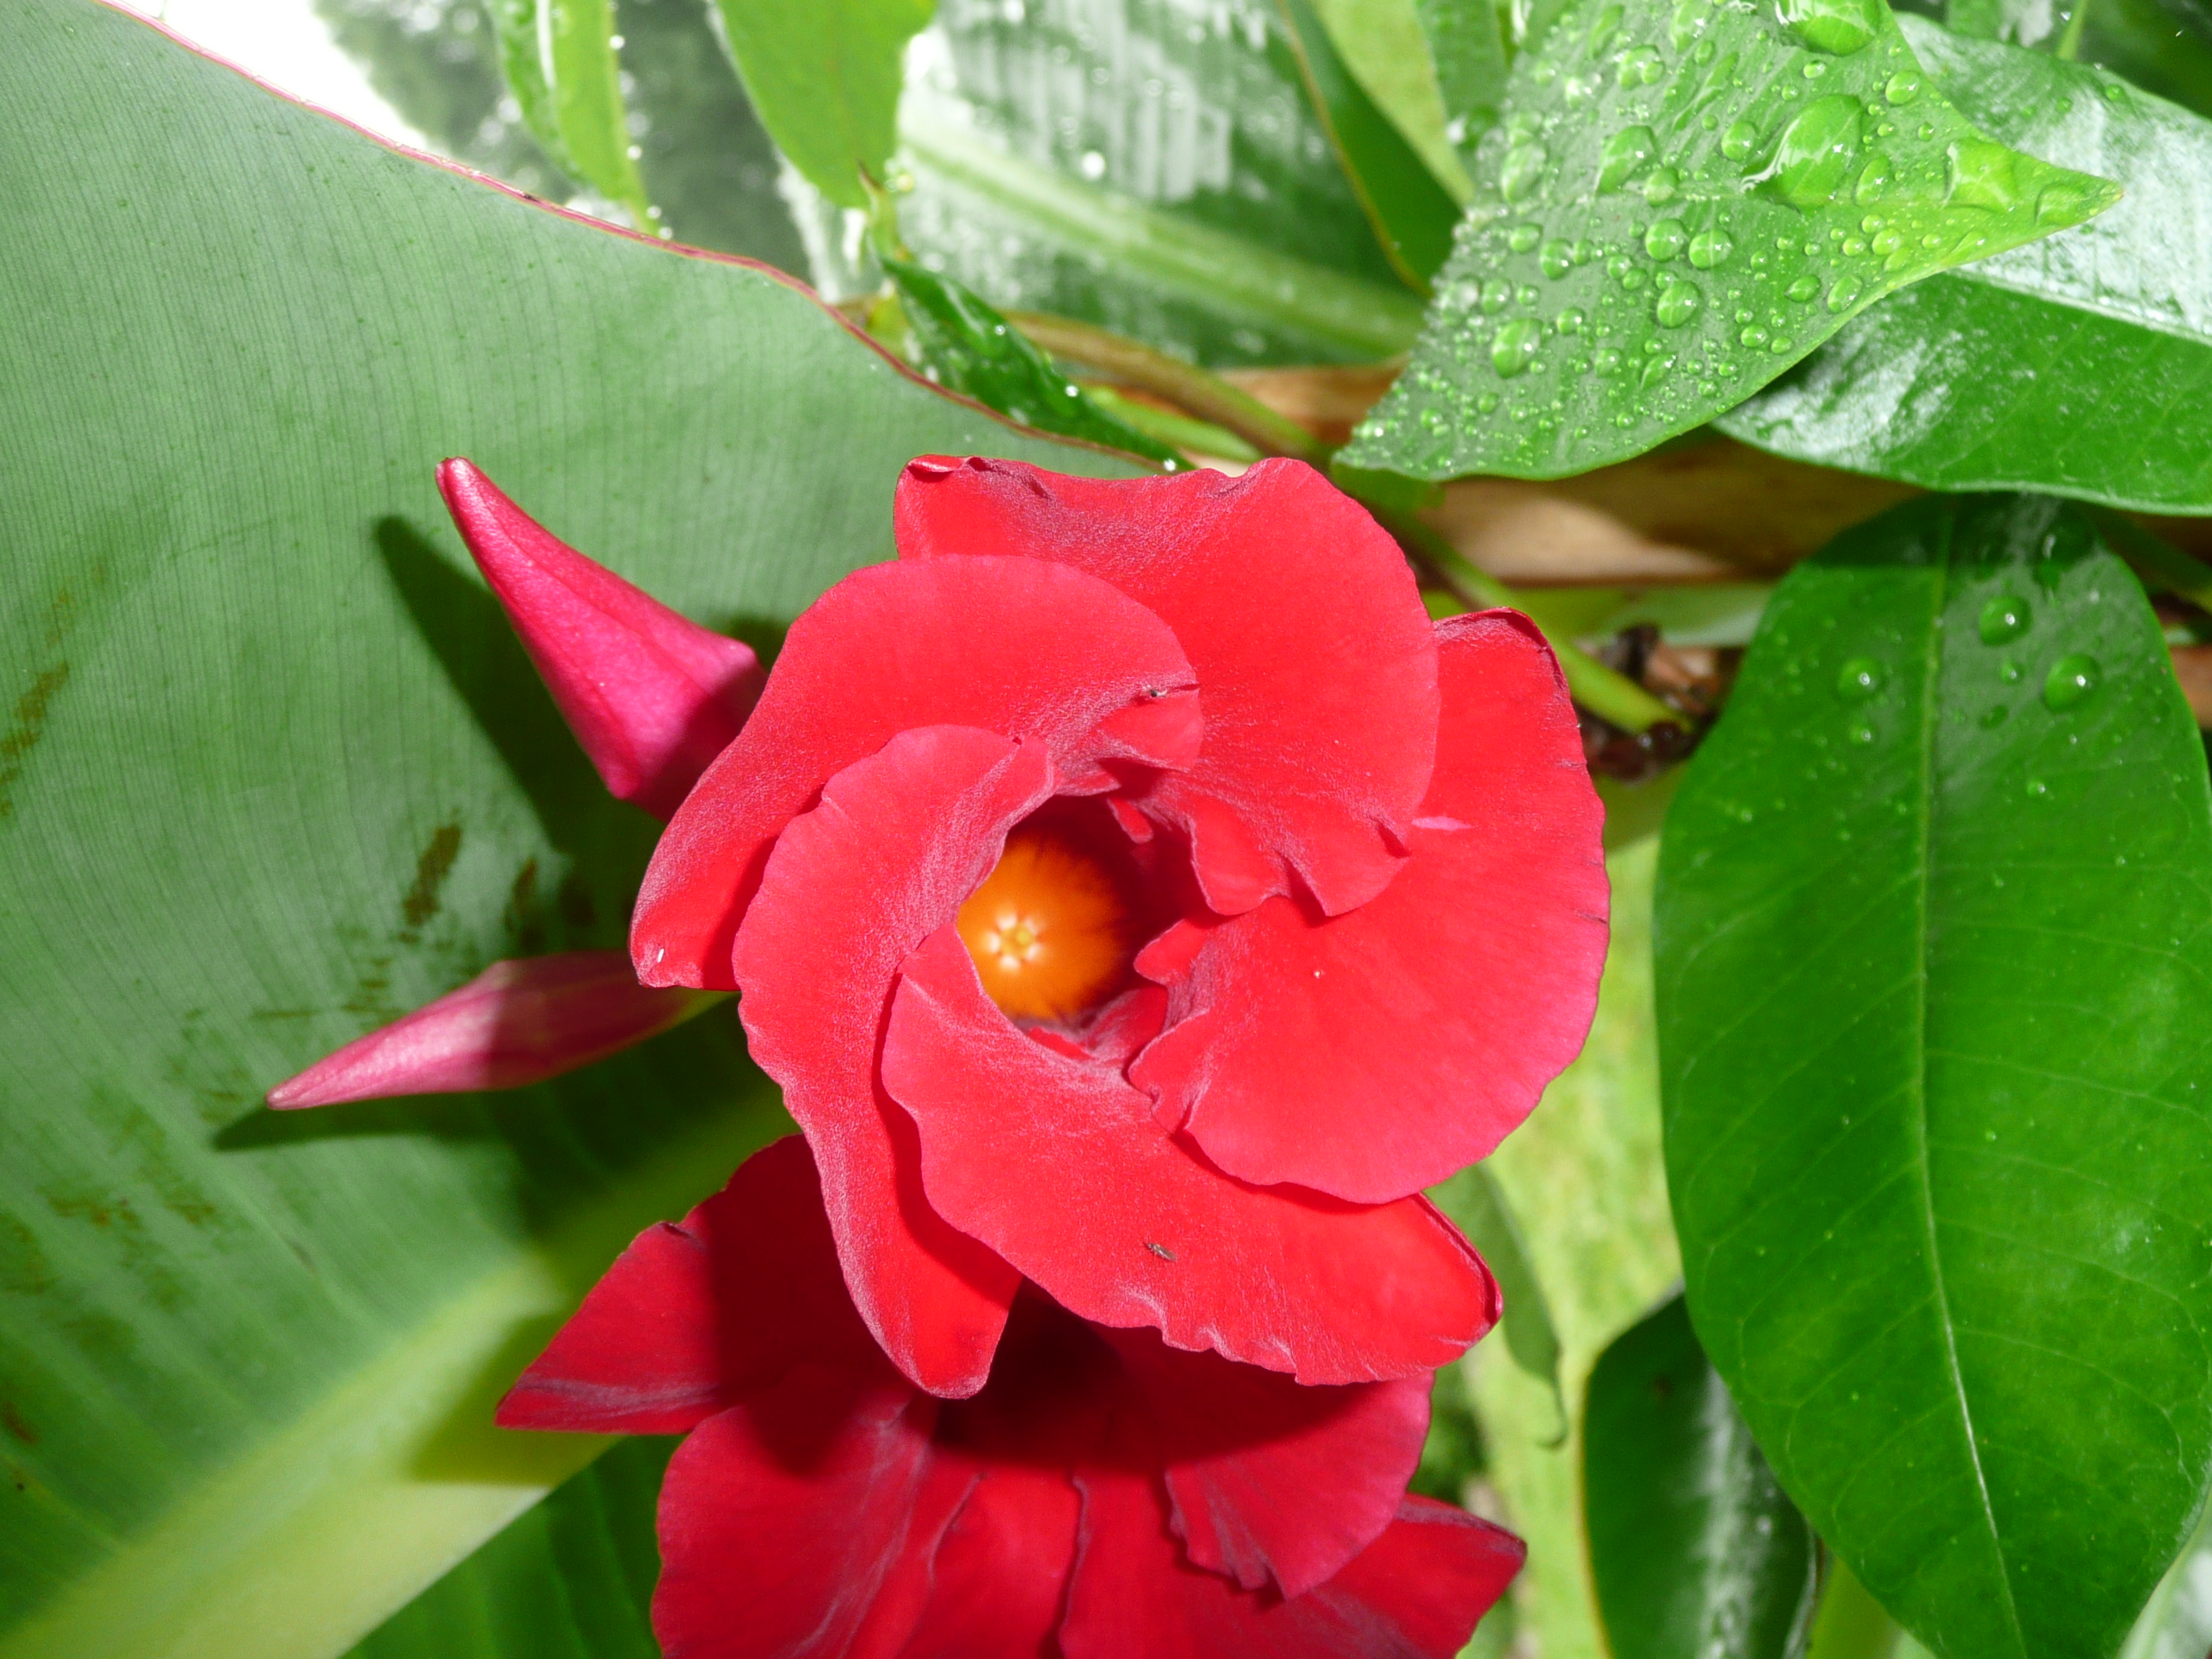
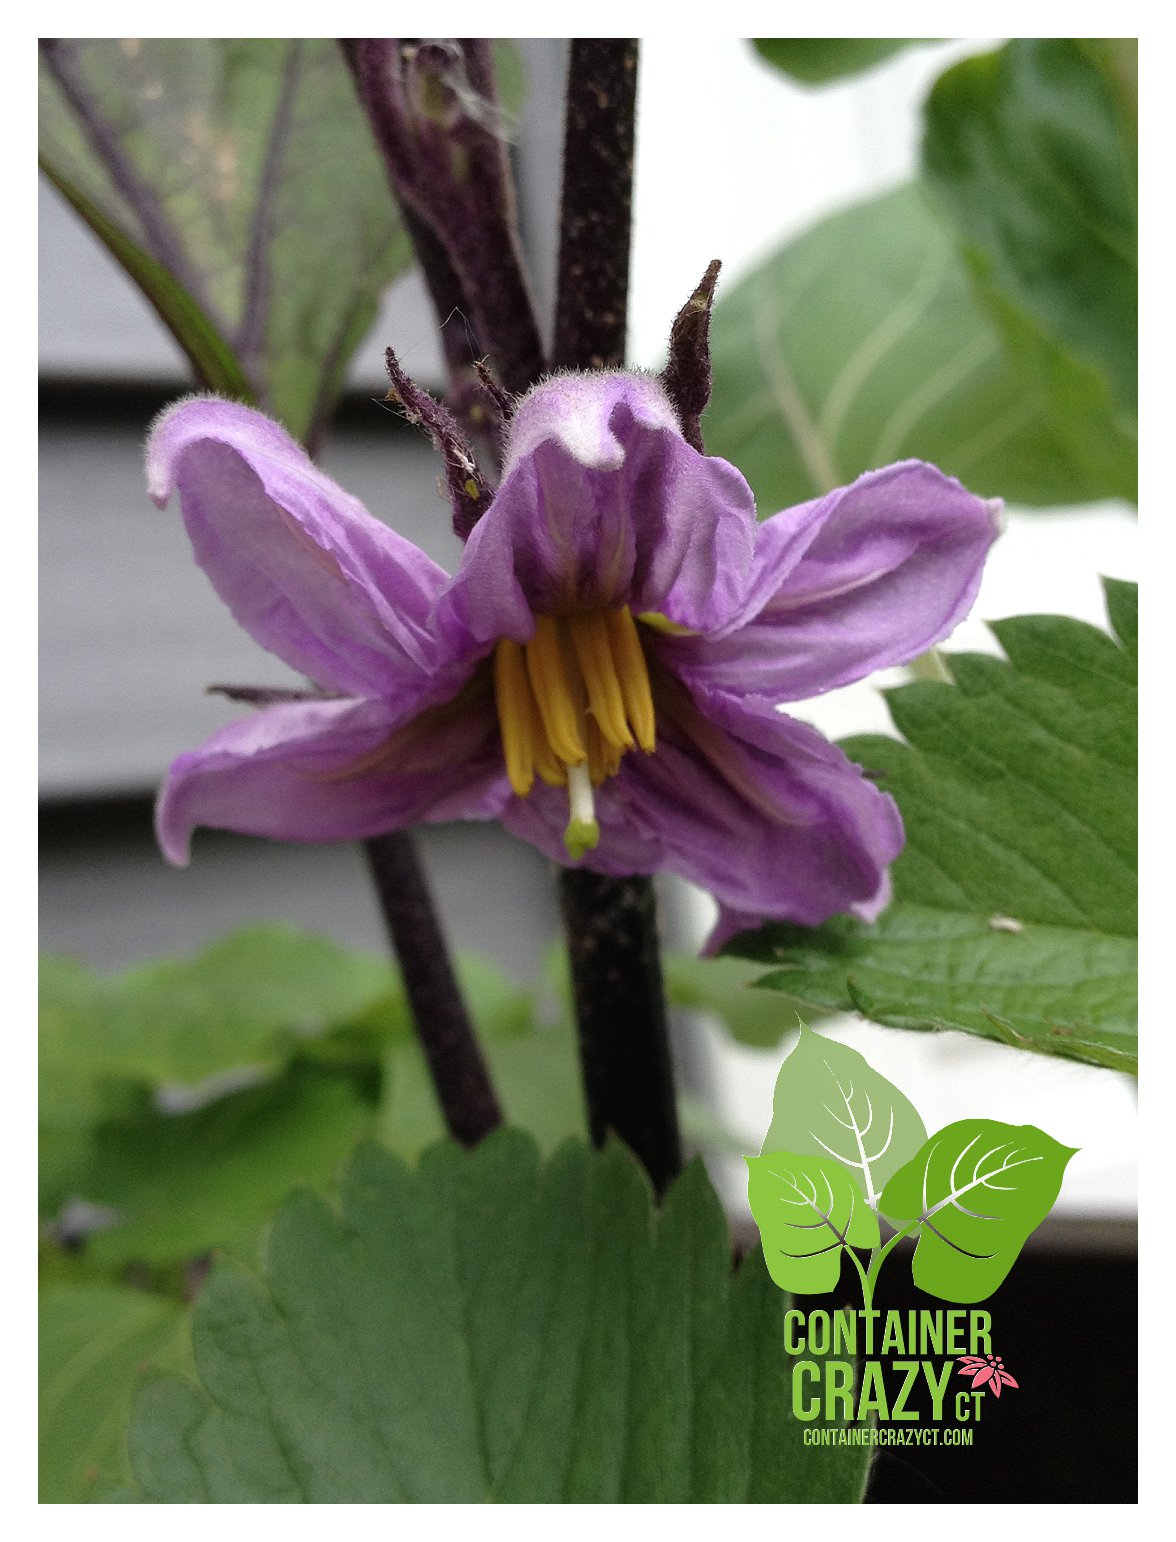
Happy Bloom on Japanese Long Eggplant Being Visited by Pest Aphids
APHIDS ON MY EGGPLANT BLOOM
If you take a close look above, you may see the little aphid bugs on my Japanese eggplant.
Aphids are very tiny pear-shaped insects with long antennae and tubes on their back-ends. Some of the interesting tidbits about aphids are ants protect them because they enjoy their “sweet honeydew”, and they (aphids) reproduce faster than rabbits – the females do not need males to do so, and aphids vary in colors – not just green as the ones spotted on this plant. To learn more about these little guys, see the CAES link.
Well, seeing them on my Japanese long eggplant flowers in my container garden was not pleasing. I’ve been using edibles in container gardens a great deal this season – and talking about it at garden clubs. I am finding, however, the edible plants seem to get attacked by bugs much quicker than my tropical or annual plants.
To battle these aphids, I lightly sprayed the plant on a shady day when cool with a safe organic spray for vegetable plants (remember, don’t spray a plant when its very hot and located in full sun), and then a day later, I hosed off the leaves by using the garden hose with a watering wand at a good heavy pressure – it did the trick. No more signs of the aphids since – and my first eggplant fruit growing right now on the plant – yeah!
I couldn’t really pick the small aphids by hand because they are too tiny, at the size of 1/8″ long. And by the way, lady bugs are natural predators, releasing them can help if you can find the ladybugs from a garden center.

First eggplant
I potted up this eggplant plant along side an asparagus plant, strawberry plant, and would you believe, Brussels sprouts?! The asparagus added a nice soft texture with its fine and light foliage along side the coarse texture of the eggplant leaves, the strawberry plant is a spiller, and the Brussels sprouts – well, wow – what big texture those leaves have offered.

Eggplant with Mixed Edibles
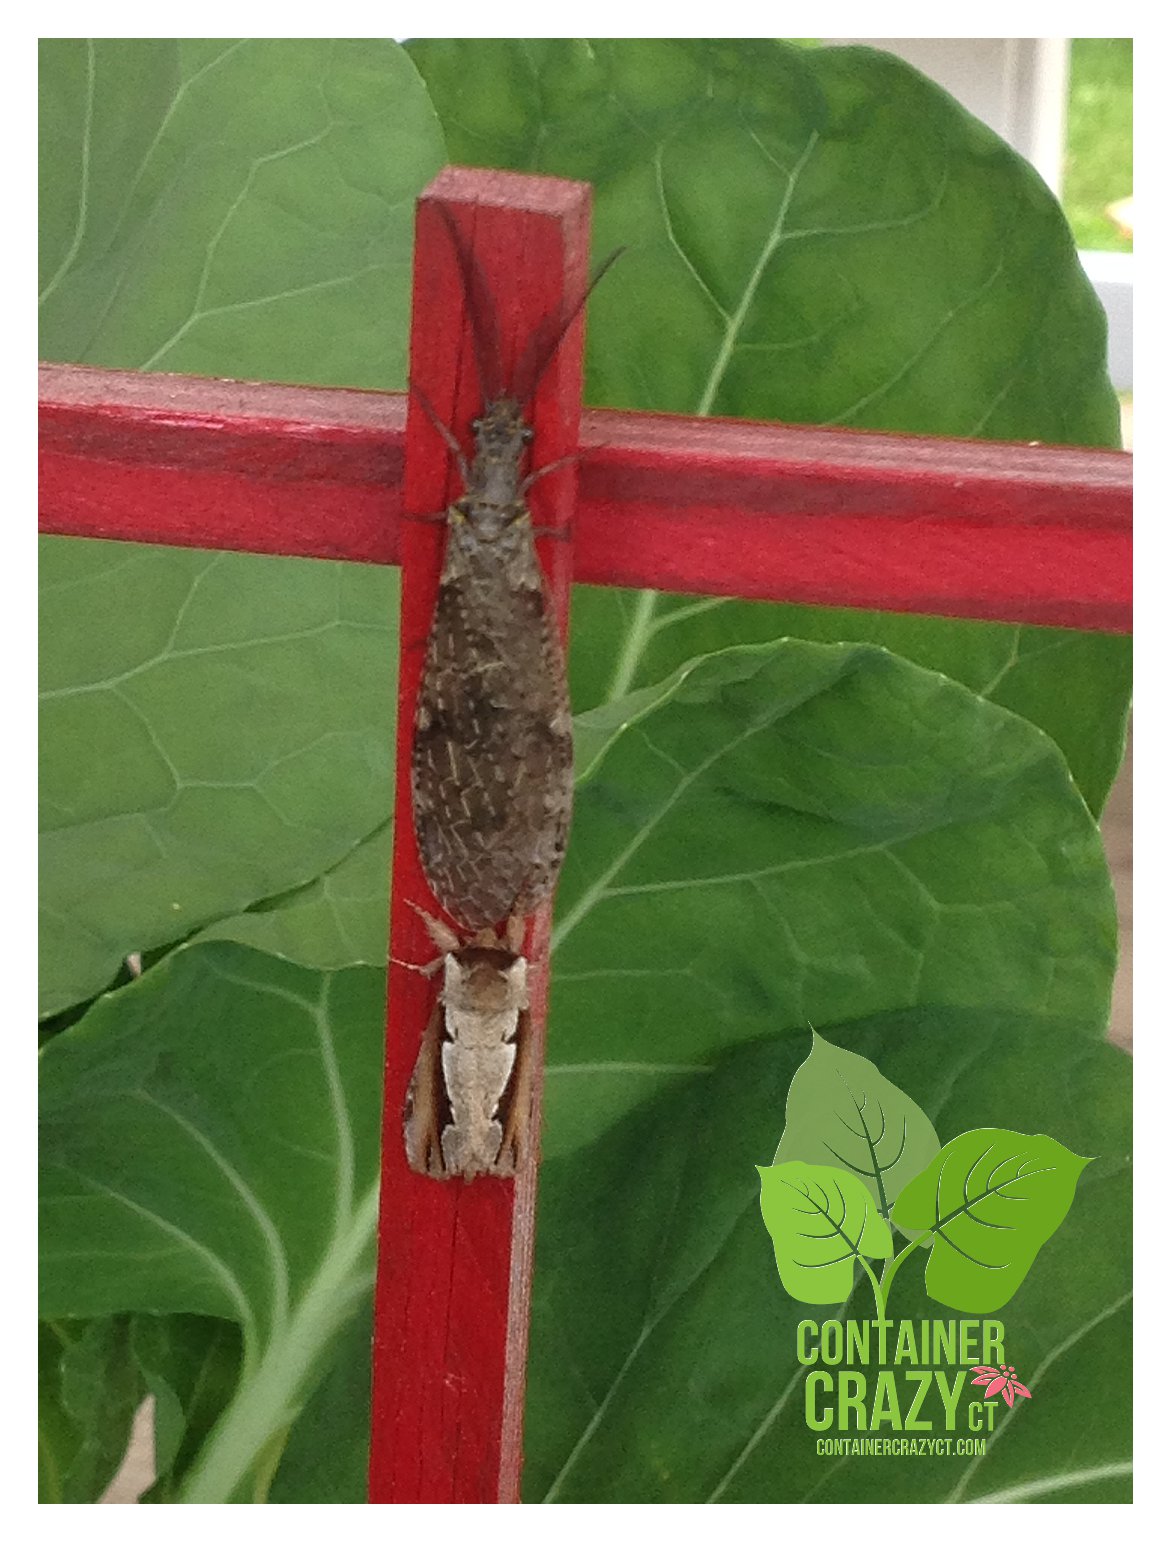
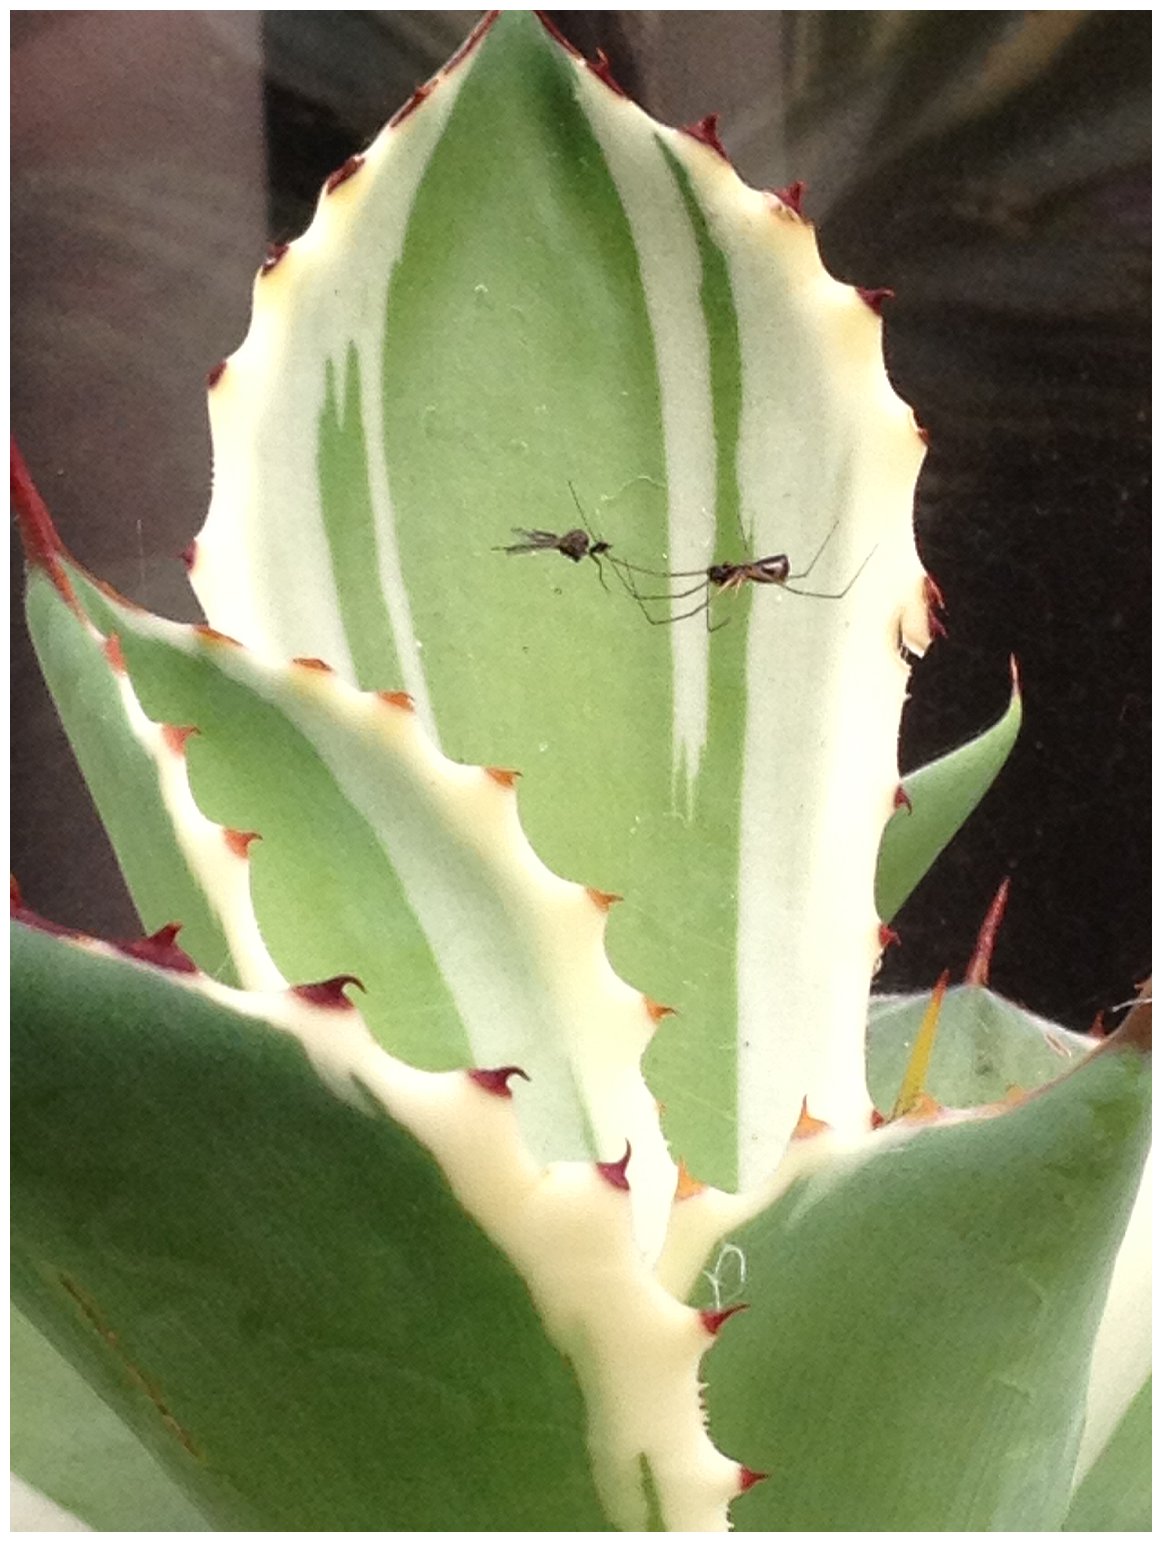
Earlier in June, I brought the container garden to the Ellington Farmers Market to show the combination during my talk about “Incorporating Decorative Edibles in Mixed Container Gardens.” Well, low and behold, these two very interesting looking insects took their position on the red trellis in the pot – and stayed there all day during the market. Thankfully they did not jump on me when I was driving home later that day with the container garden on my truck seat. Not sure what they are, do you know?

Bugs on Trellis with brussel sprout Leaves behind it.
MOSQUITO LARVAE IN MY WATER GARDEN
The other spot where I saw critters was in a water garden I have at home, which is a big galvanized feeding bin (for animals) filled with water and plants, such as elephant ears (Colocasia) or other water tolerant types, such as Cyperus papyrus (Tut). I put the plants in terracotta pots because they sink well into the water due to their weight and the clay is porous. Add some stones to the top of the soil of those pots so the soil does not escape into the water. When submerging the pots, gently drop them into the water as to not disturb the soil too much.
Well, I should have known, tiny mosquito larvae started to grow in the water, and there were tons of them wiggling in the water one day.
To avoid this situation – you may try two things – place a mosquito dunk, which are not harmful to the plants, in the water, or just flush some of the water out occasionally with a garden hose so the water is not stagnant. This is what I do. Later, no more larvae and no more bites.
Oh, when I was very young, I remember telling a teacher that I saw little things wiggling in a puddle at home. (Living on a farm, you tend to notice things like this – or I was just always fascinated with looking at things up close in nature.) He told me to put them in a jar with water, cover it with plastic wrap and to bring it into class. He set it on his desk and said, “Let’s see what happens.” A few days later, a bunch of mosquitoes were flying above the water. A visual lesson for sure.
A PRETTIER INSECT

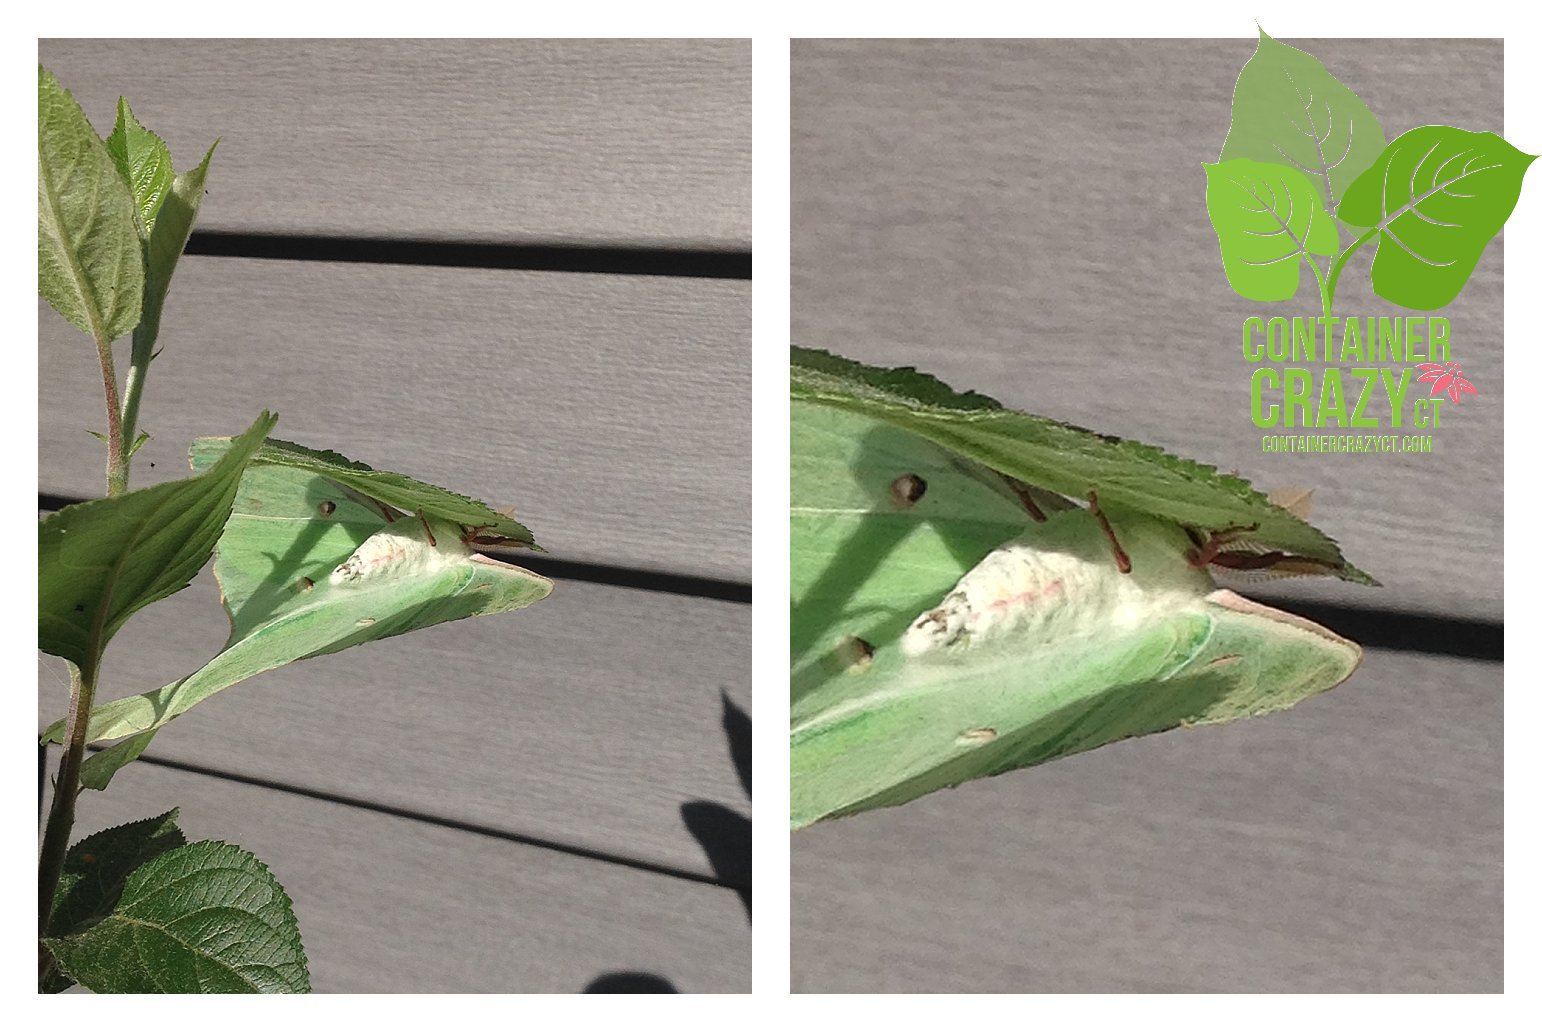
Fuzzy body of moth
Another surprise sighting at my home this season was a Luna moth (Actias luna) on a apple tree in a pot. As I was walking out to my garage, I saw a white substance on a leaf. Well camouflaged, I didn’t see the wings of the moth at first.
I thought, “What the heck is that white fuzzy cocoon on my apple tree?” (By the way, I often plant small trees in container gardens for a few years first – because I am crazy about container gardening, but it also can give a small tree some time to grow larger and stronger before I eventually transplant it to the ground when it outgrows a large pot – this way, I enjoy, learn and grow the plant first – as is the case with this apple tree.)

To my surprise, it was a beautiful moth and not an ugly insect! This was in the early morning and the east sun was brightly lighting up its wings. The moth was completely motionless, and not moving at all – this gave me the wonderful opportunity to snap more photos.

Luna Moth on Apple Tree hanging on the underside of a leaf
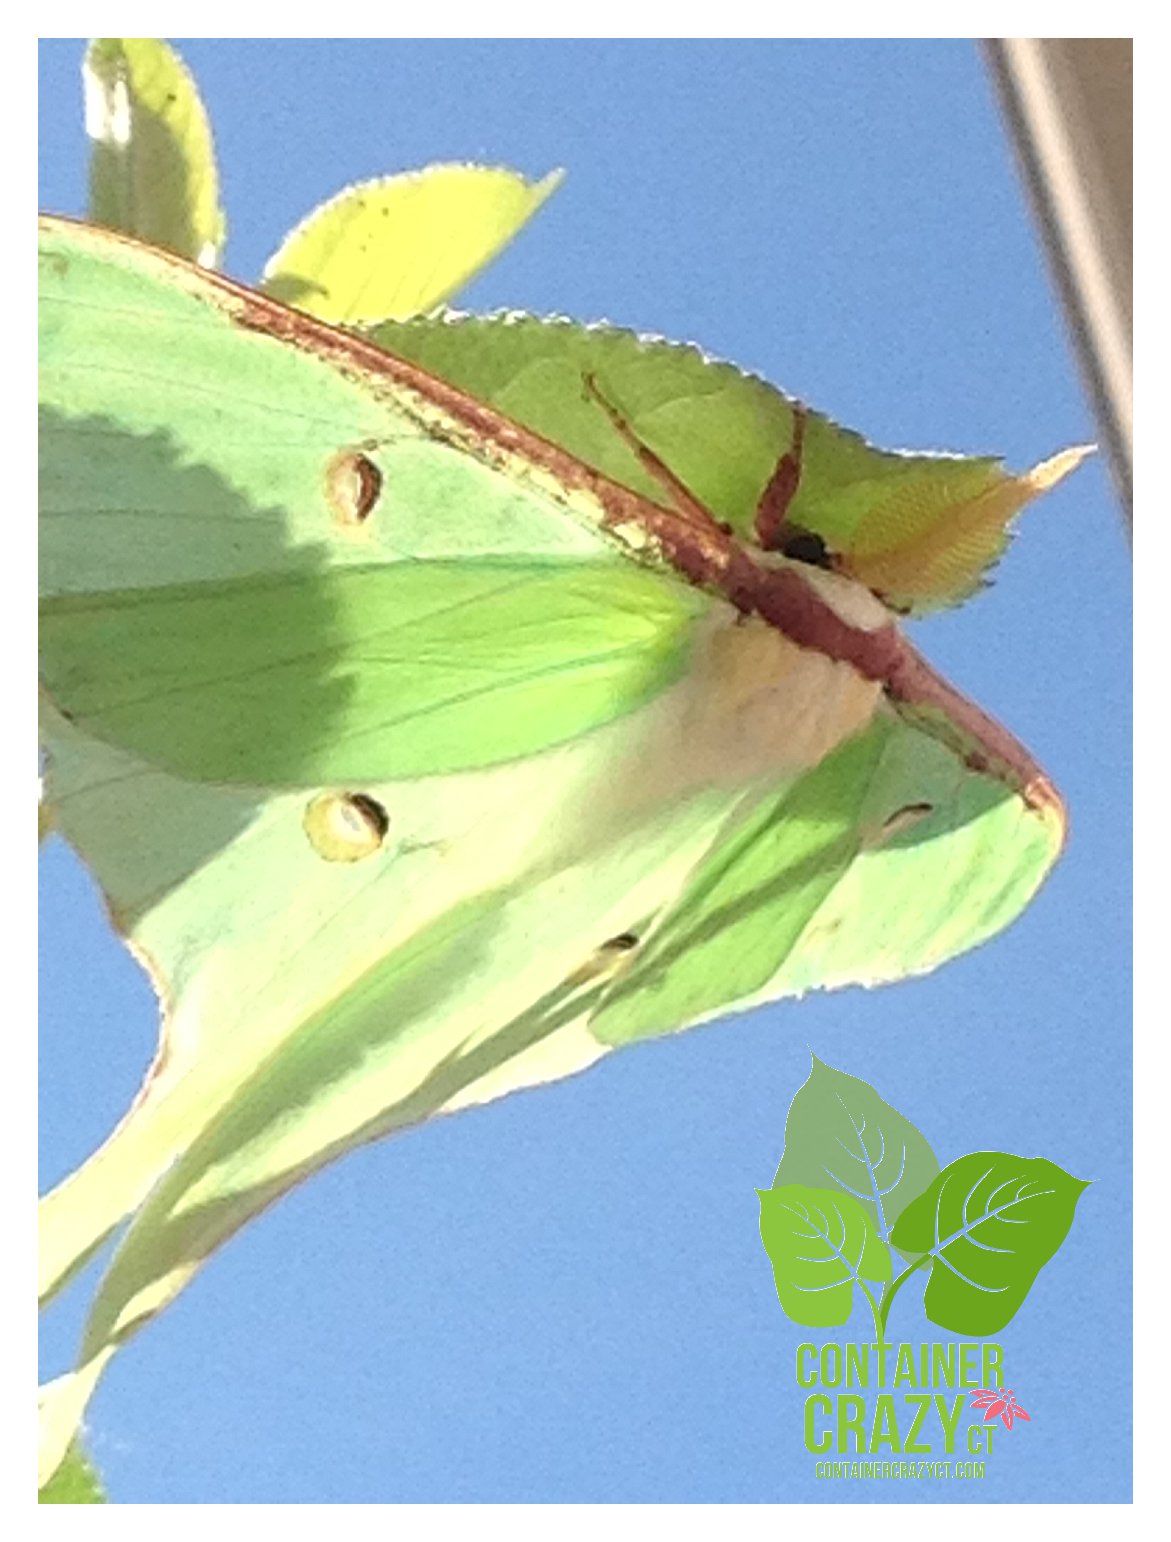
I tried getting photos from every angle, which was difficult to do because it was on the backside of the plant along the garage wall. After repeatedly taking photos, I tried moving the pot but it flew away.


Luna Moth on Apple Tree
SPOTTING FIRST JAPANESE BEETLE
I also just spotted my first Japanese beetle on a plant yesterday – it happen to be a watermelon plant in a single container. Those beetles, I pick up with my hands and squish on the ground under foot. They never scare me – even when they grab tightly onto my fingers. I guess this is because my father would pick them from his garden plants and put them in a jar – another memory from childhood – and sometimes, I would help him collect the beetles. I also would chase my younger sister, Louise, around in our pool, when I would find Japanese beetles in our pool too – and she would screech at the sight of them. She told me this game as children put a fear of those beetles in her for a lifetime – oh well, the things we do when we are kids – LOL! However, she also practices the “pick and squish” method in her own vegetable garden for insects not so scary to her.

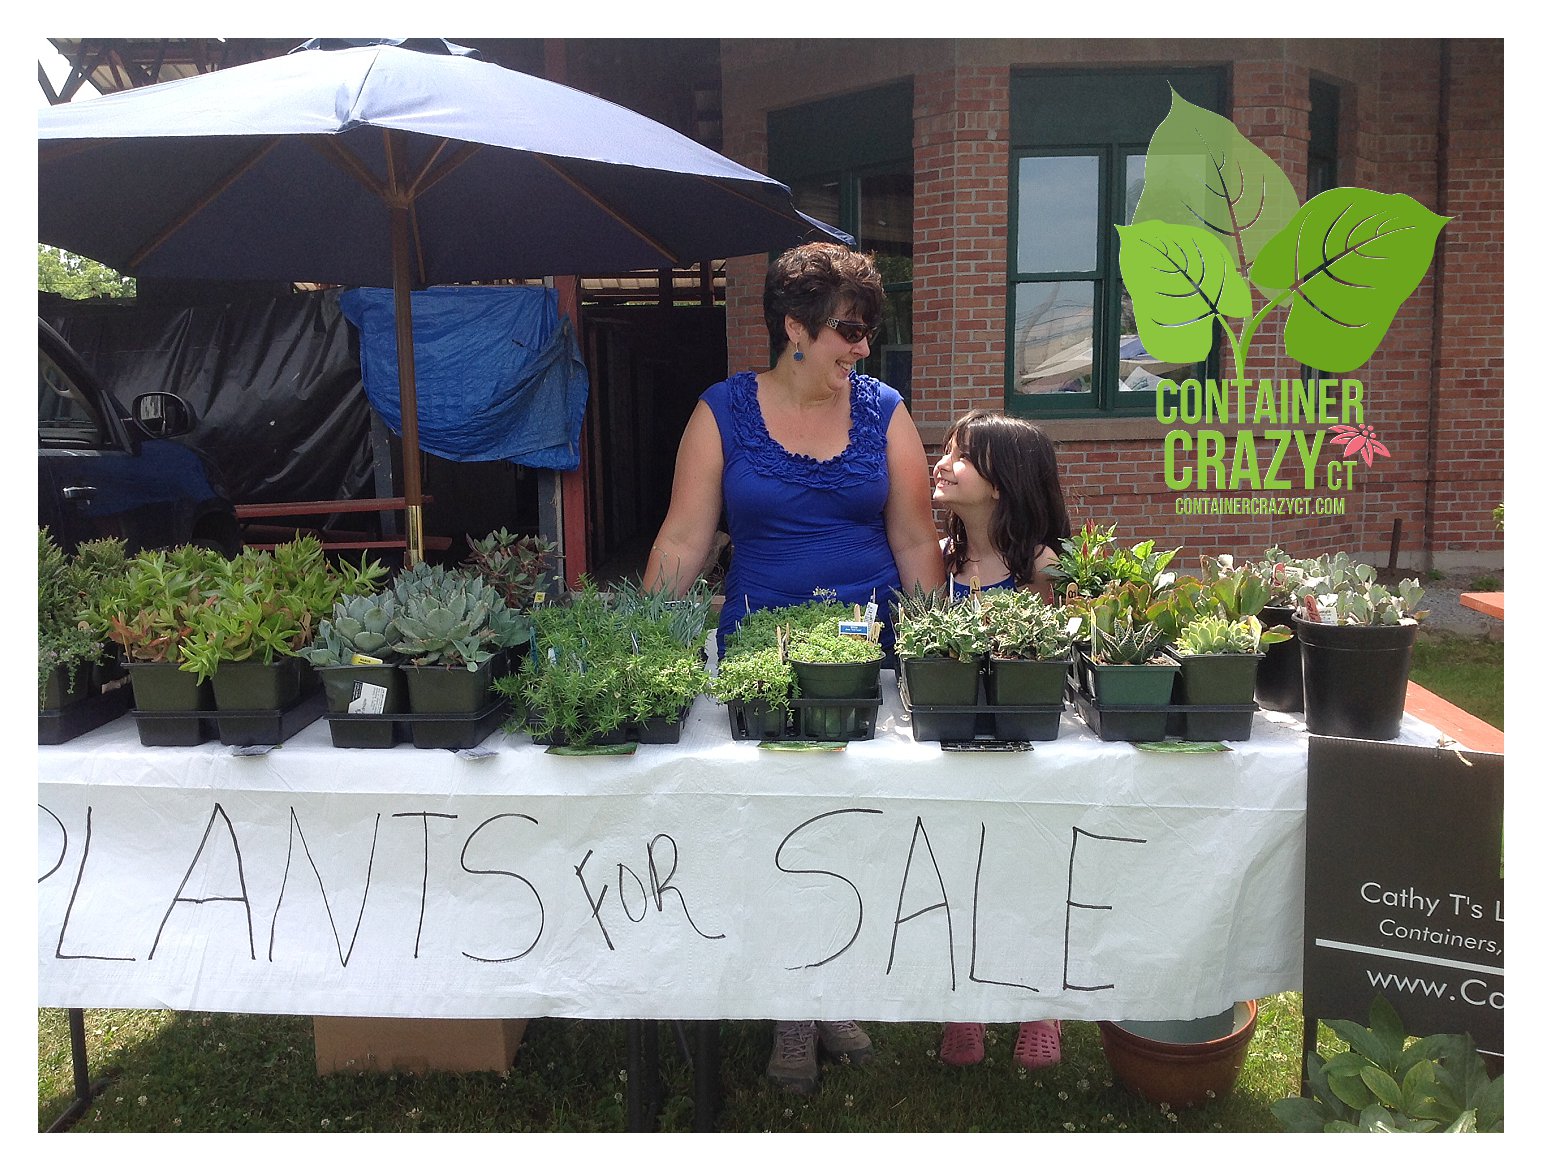
East Windsor Farmers Market
ALL BUGS ASIDE
Last week, all bugs aside, I was featured as a guest speaker at the East Windsor Farmers Market on their opening day. Their market runs from now until October, on Sundays, 11 am to 2 pm, at the Trolley Museum off Rt 140.
My niece came for a visit – she loves to help me at the markets with my plants – and I love having her there. We were goofing around, taking silly photos, and coincidentally, had matching blue shirts on.
See the next photo – this was my building at the market – pretty cool, huh?
Nope, just kidding – it was some sort of very old structure from the Trolley Museum next to my table setup. I never got a chance to ask them what is was about, but it was sort of cool looking. (BTW, if you go there, go see the old trolleys and even a few other interesting vehicles, such as airport shuttle buses built, but they were never installed at Bradley airport.)
The other cool thing about going to the market at this location is kids and family can take trolley rides on antique trolley cars as part of their day. And, I did not know this – but there is a little movie theater inside the trolley museum building too – along with old cool trolley pics and more – so if you go, be sure to go inside as well as visit all the new vendors at this growing market in a great location – picnic tables and all.

Old Structure at the Trolley Museum
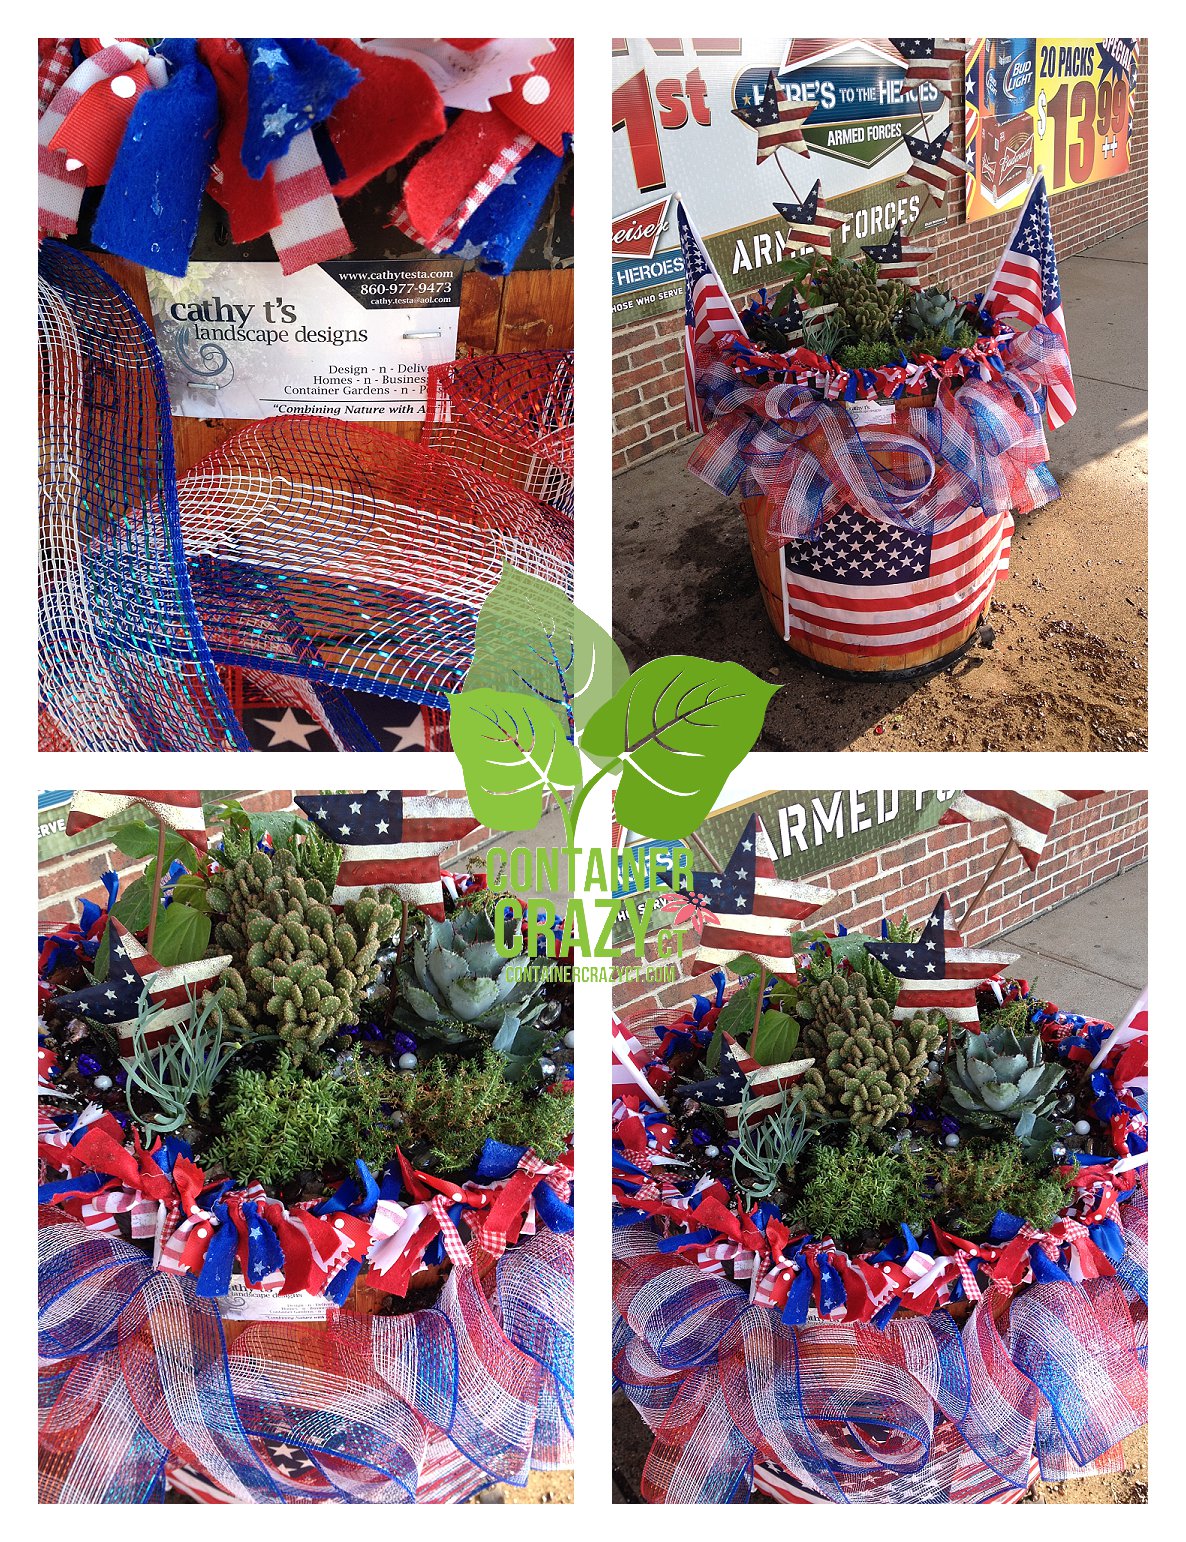
AFTER THE MARKET
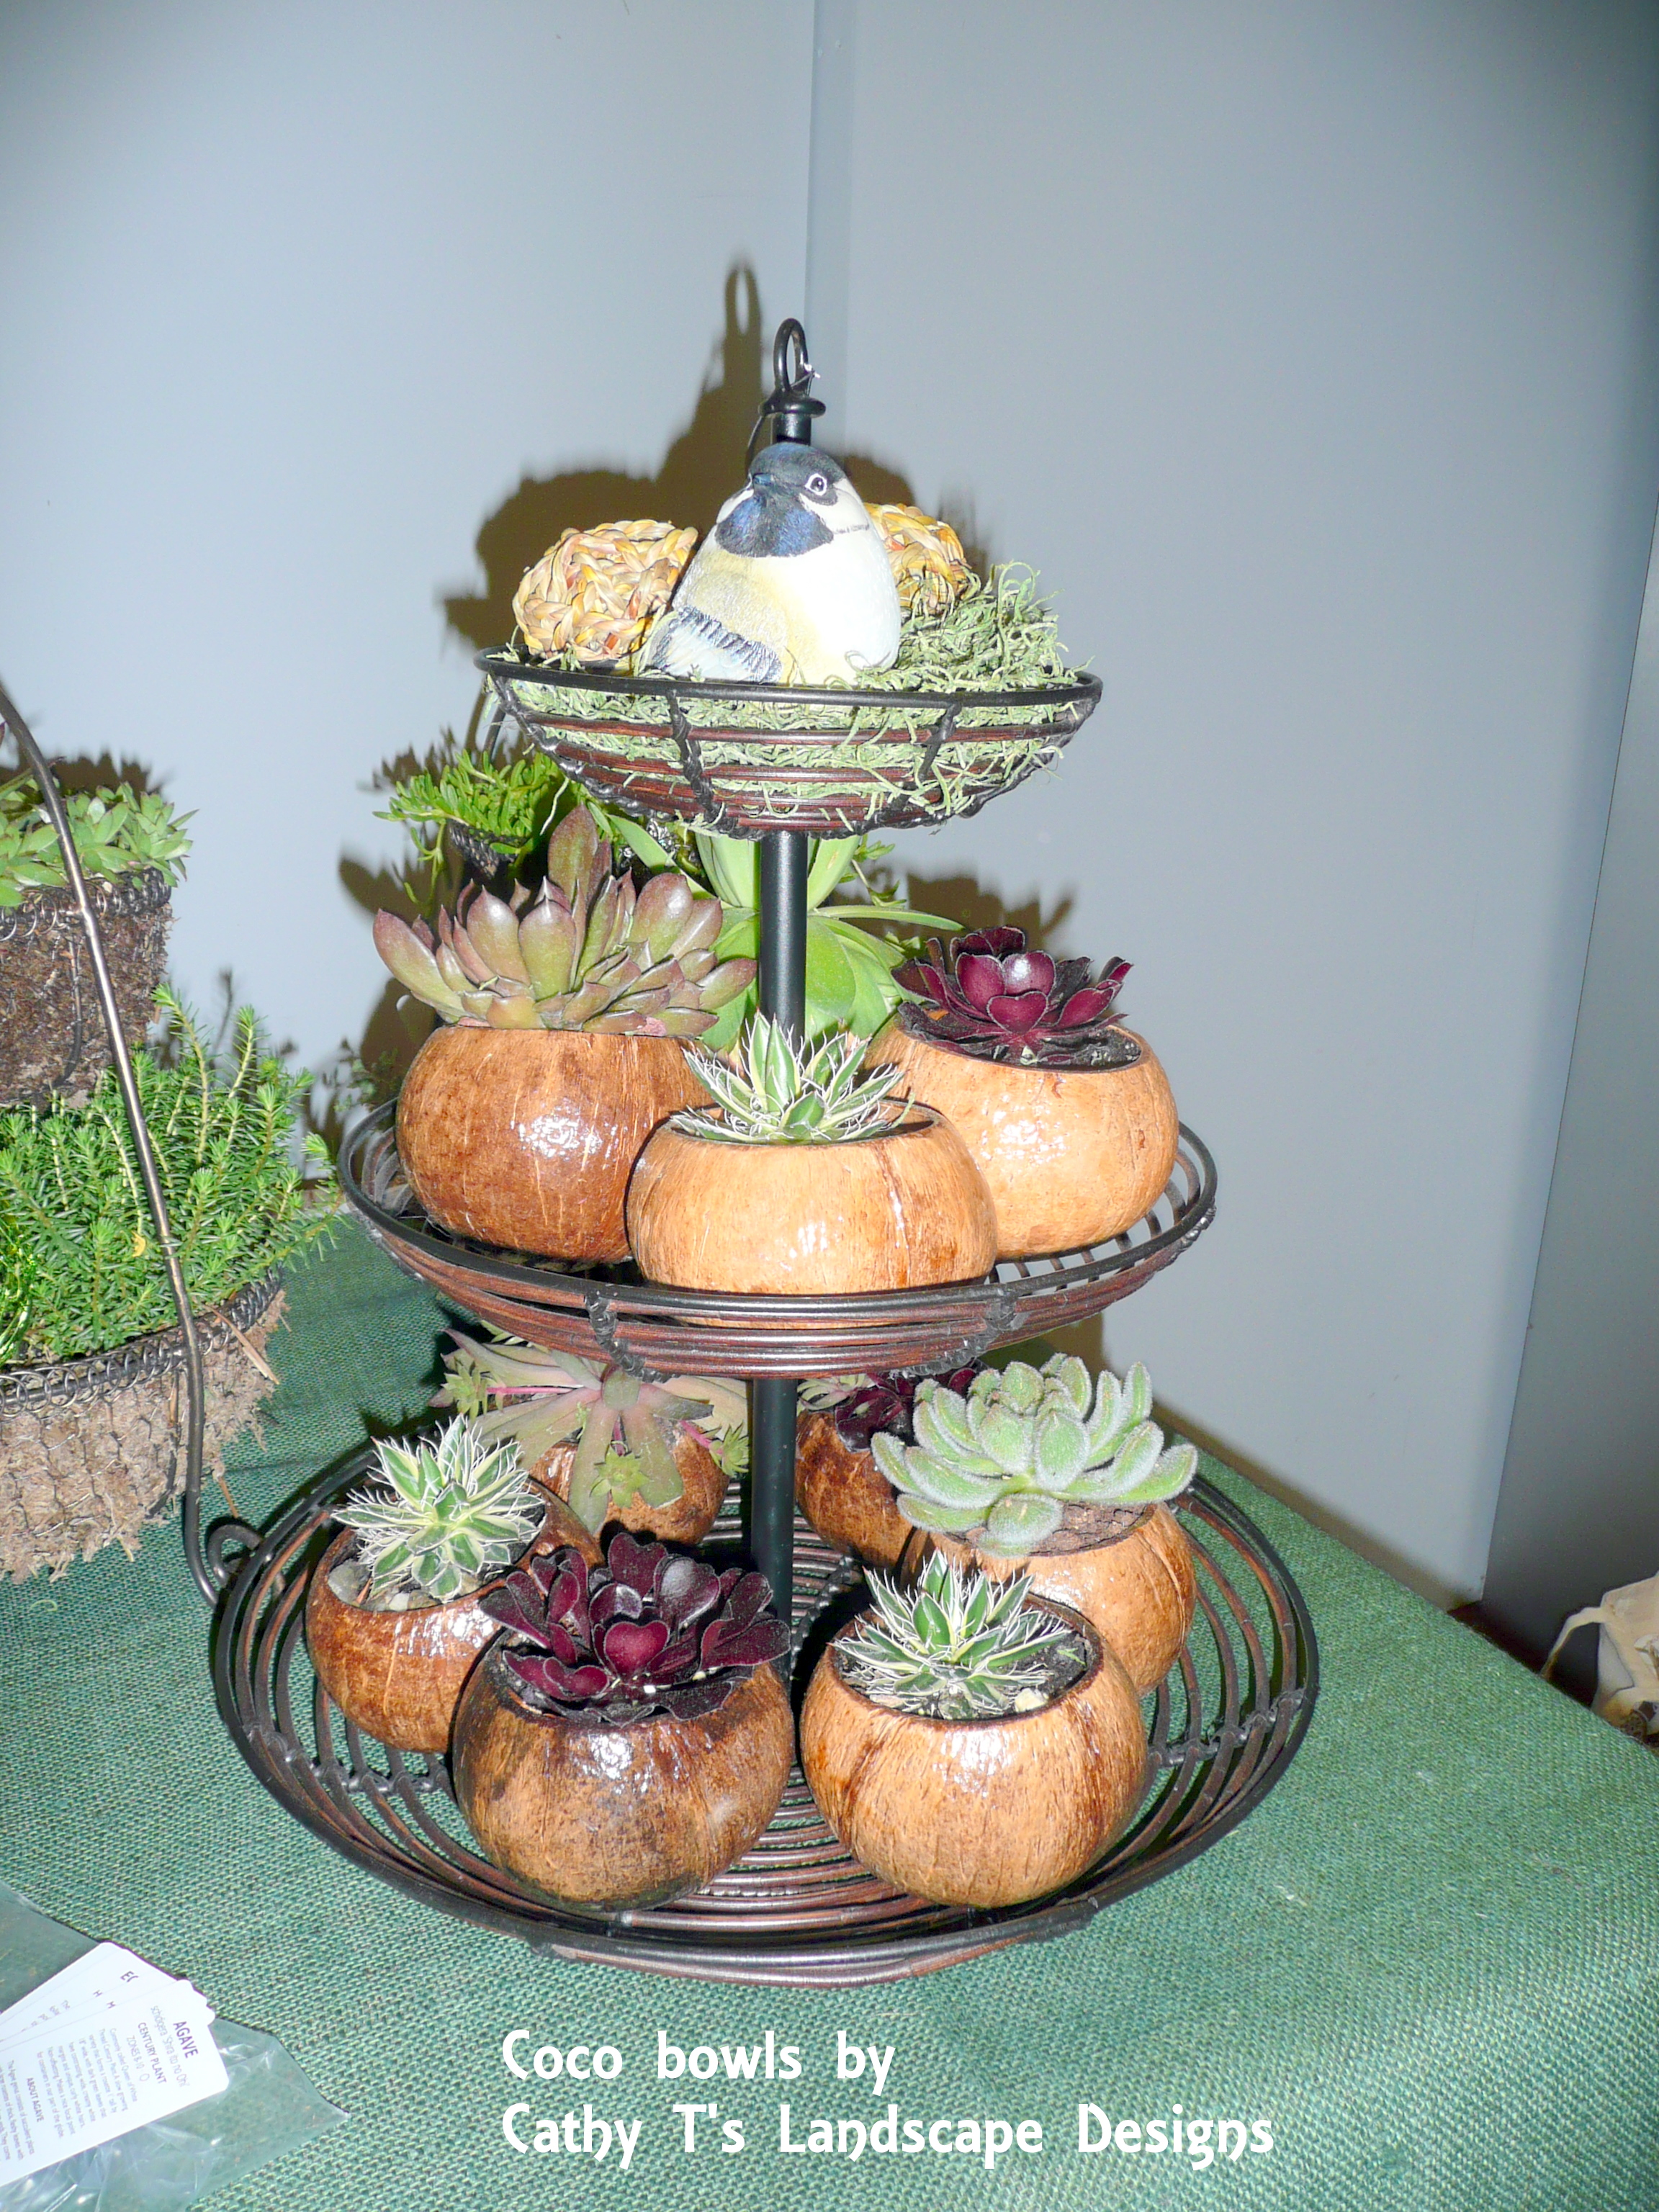
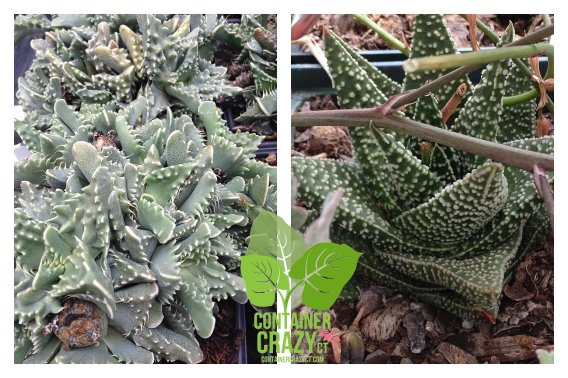
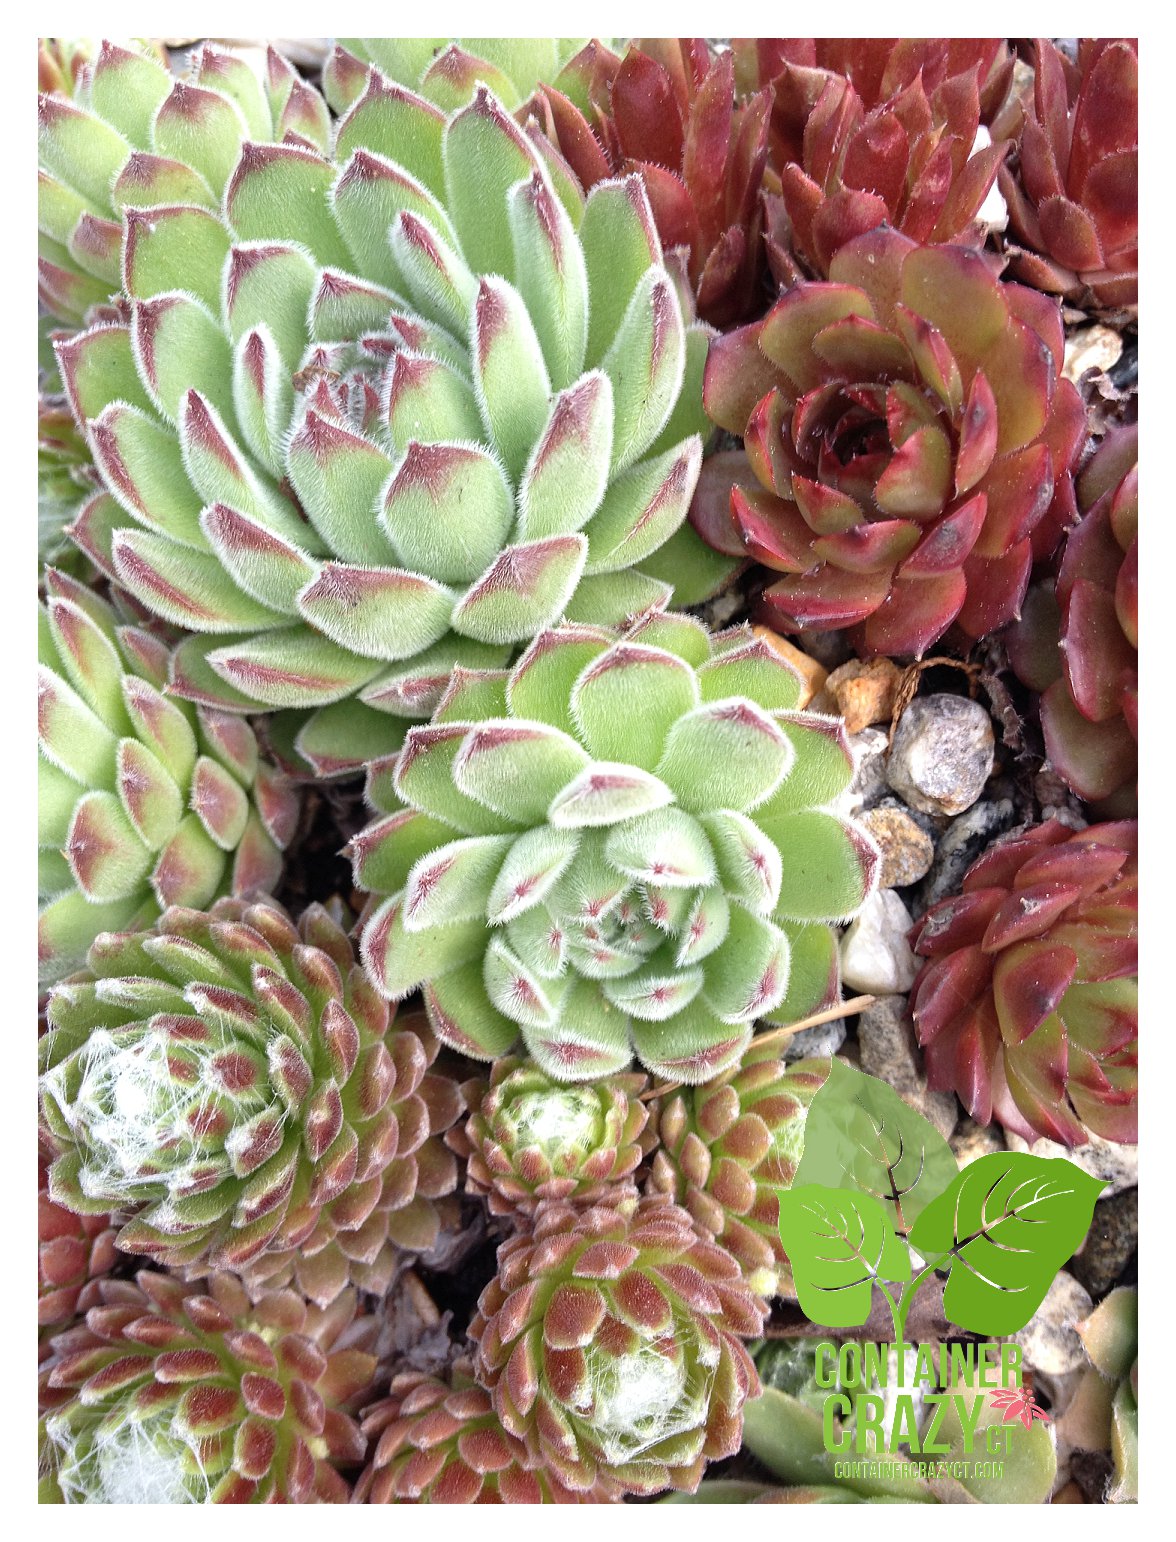
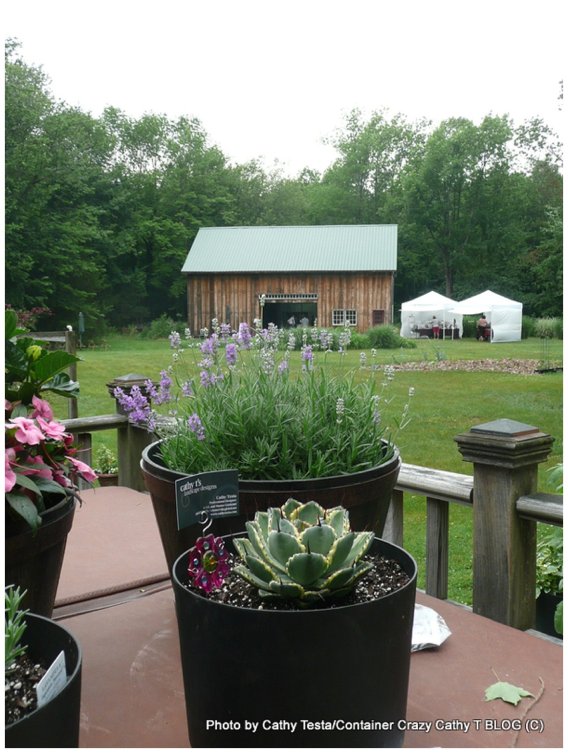
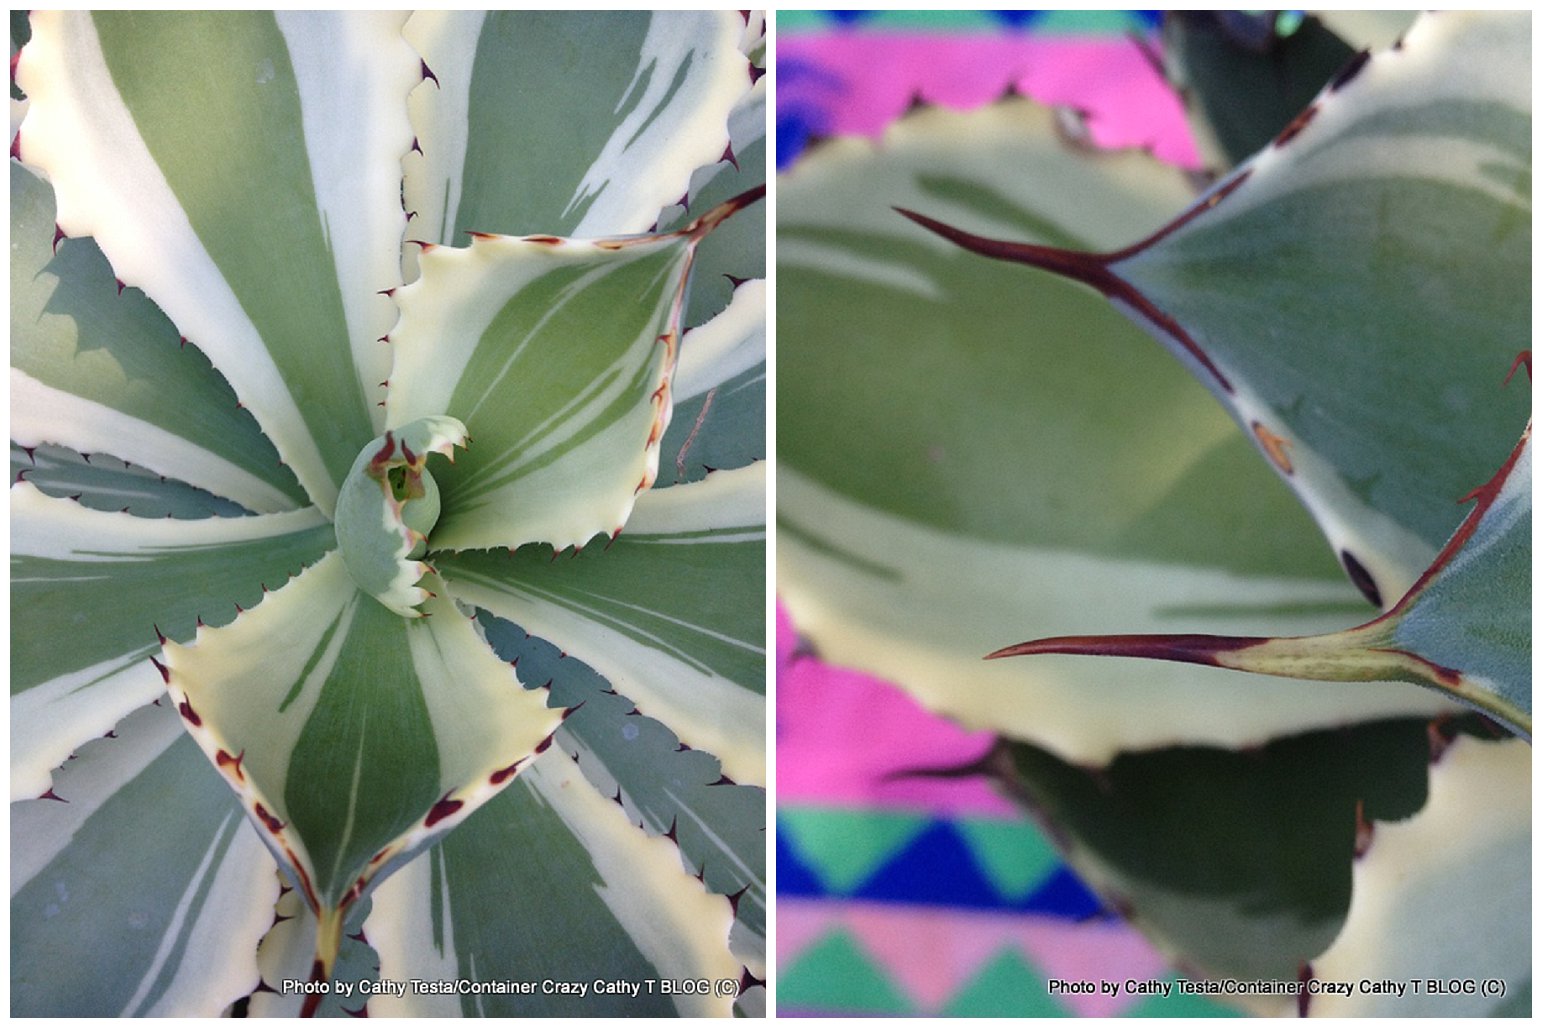
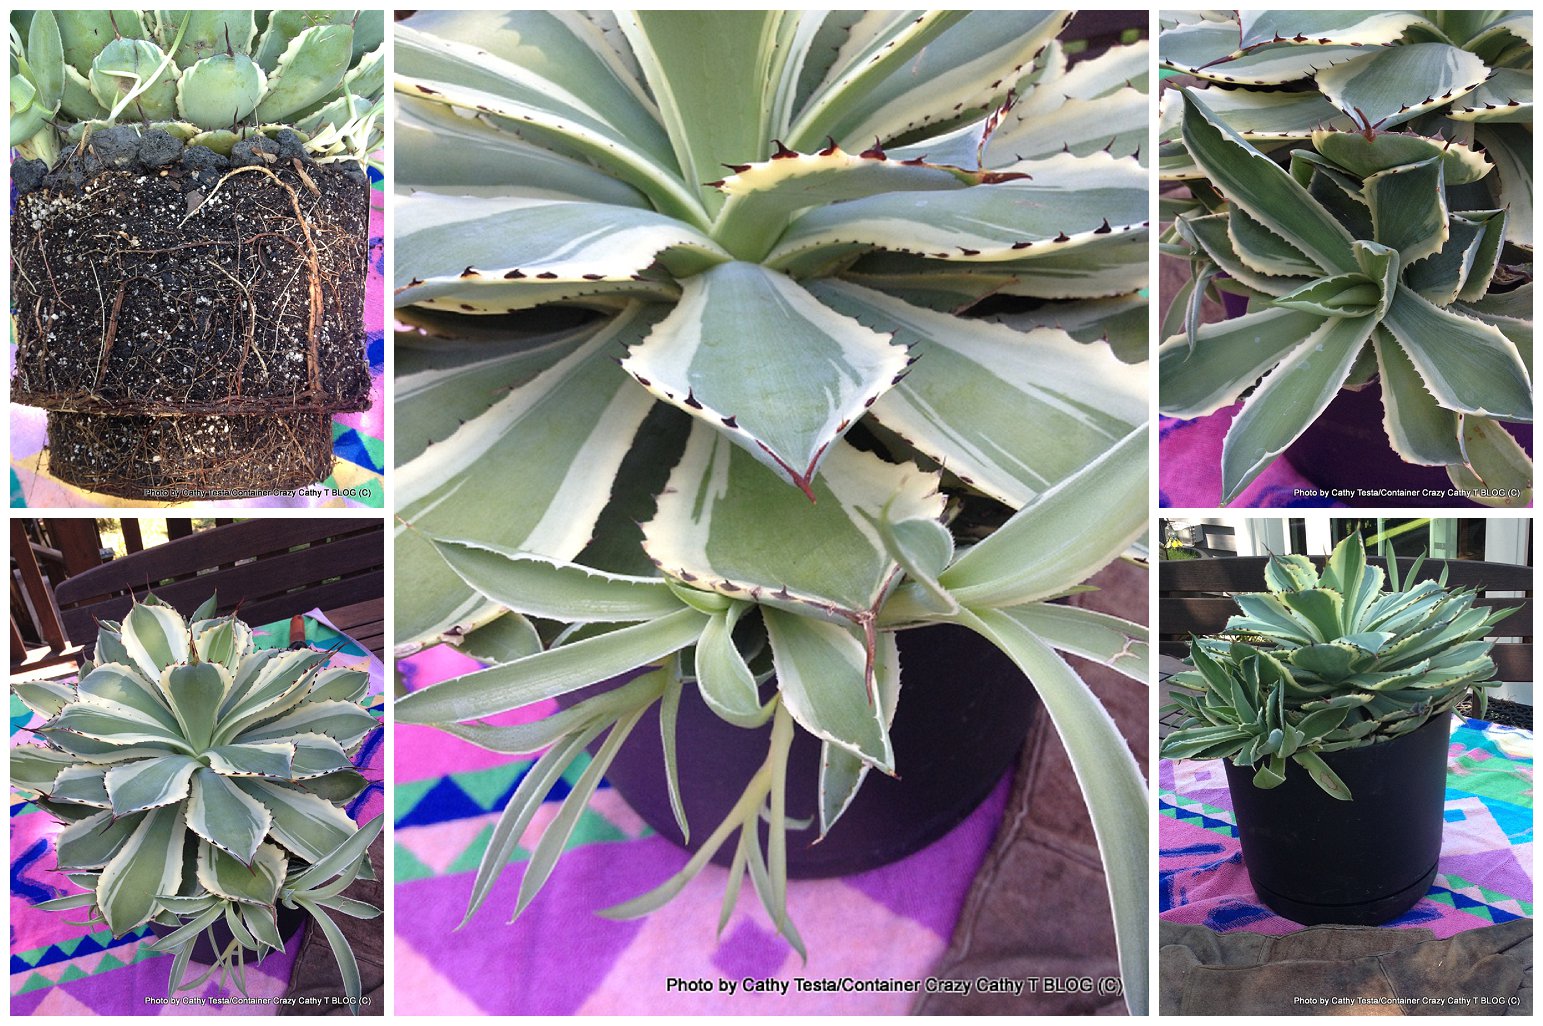
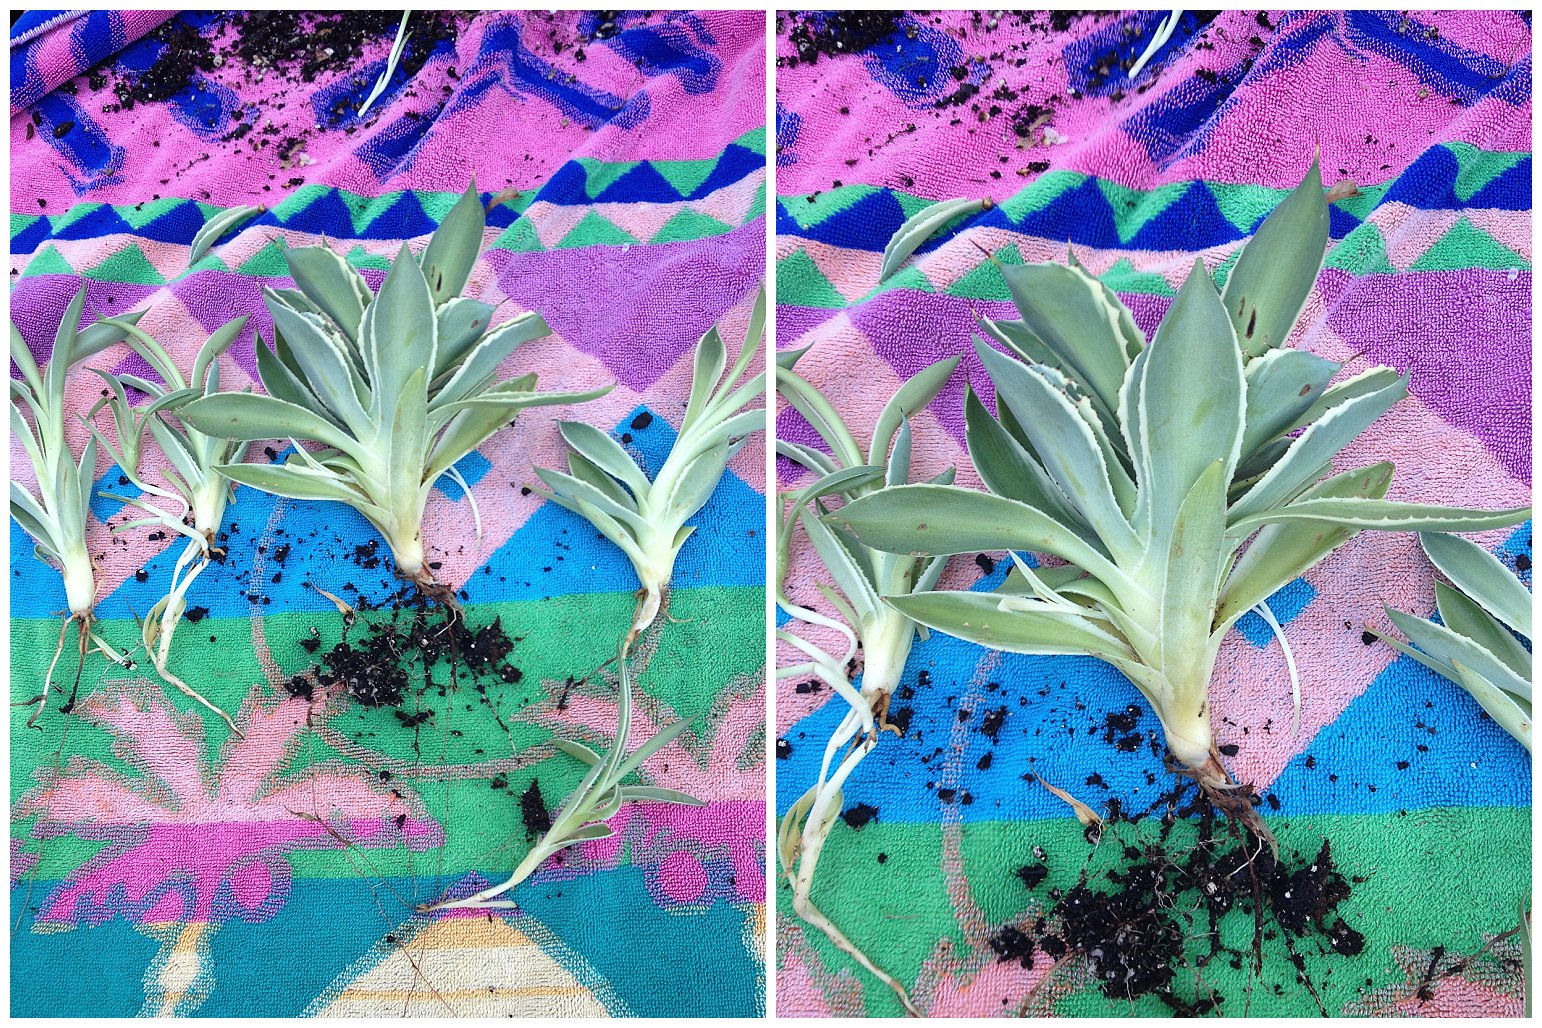
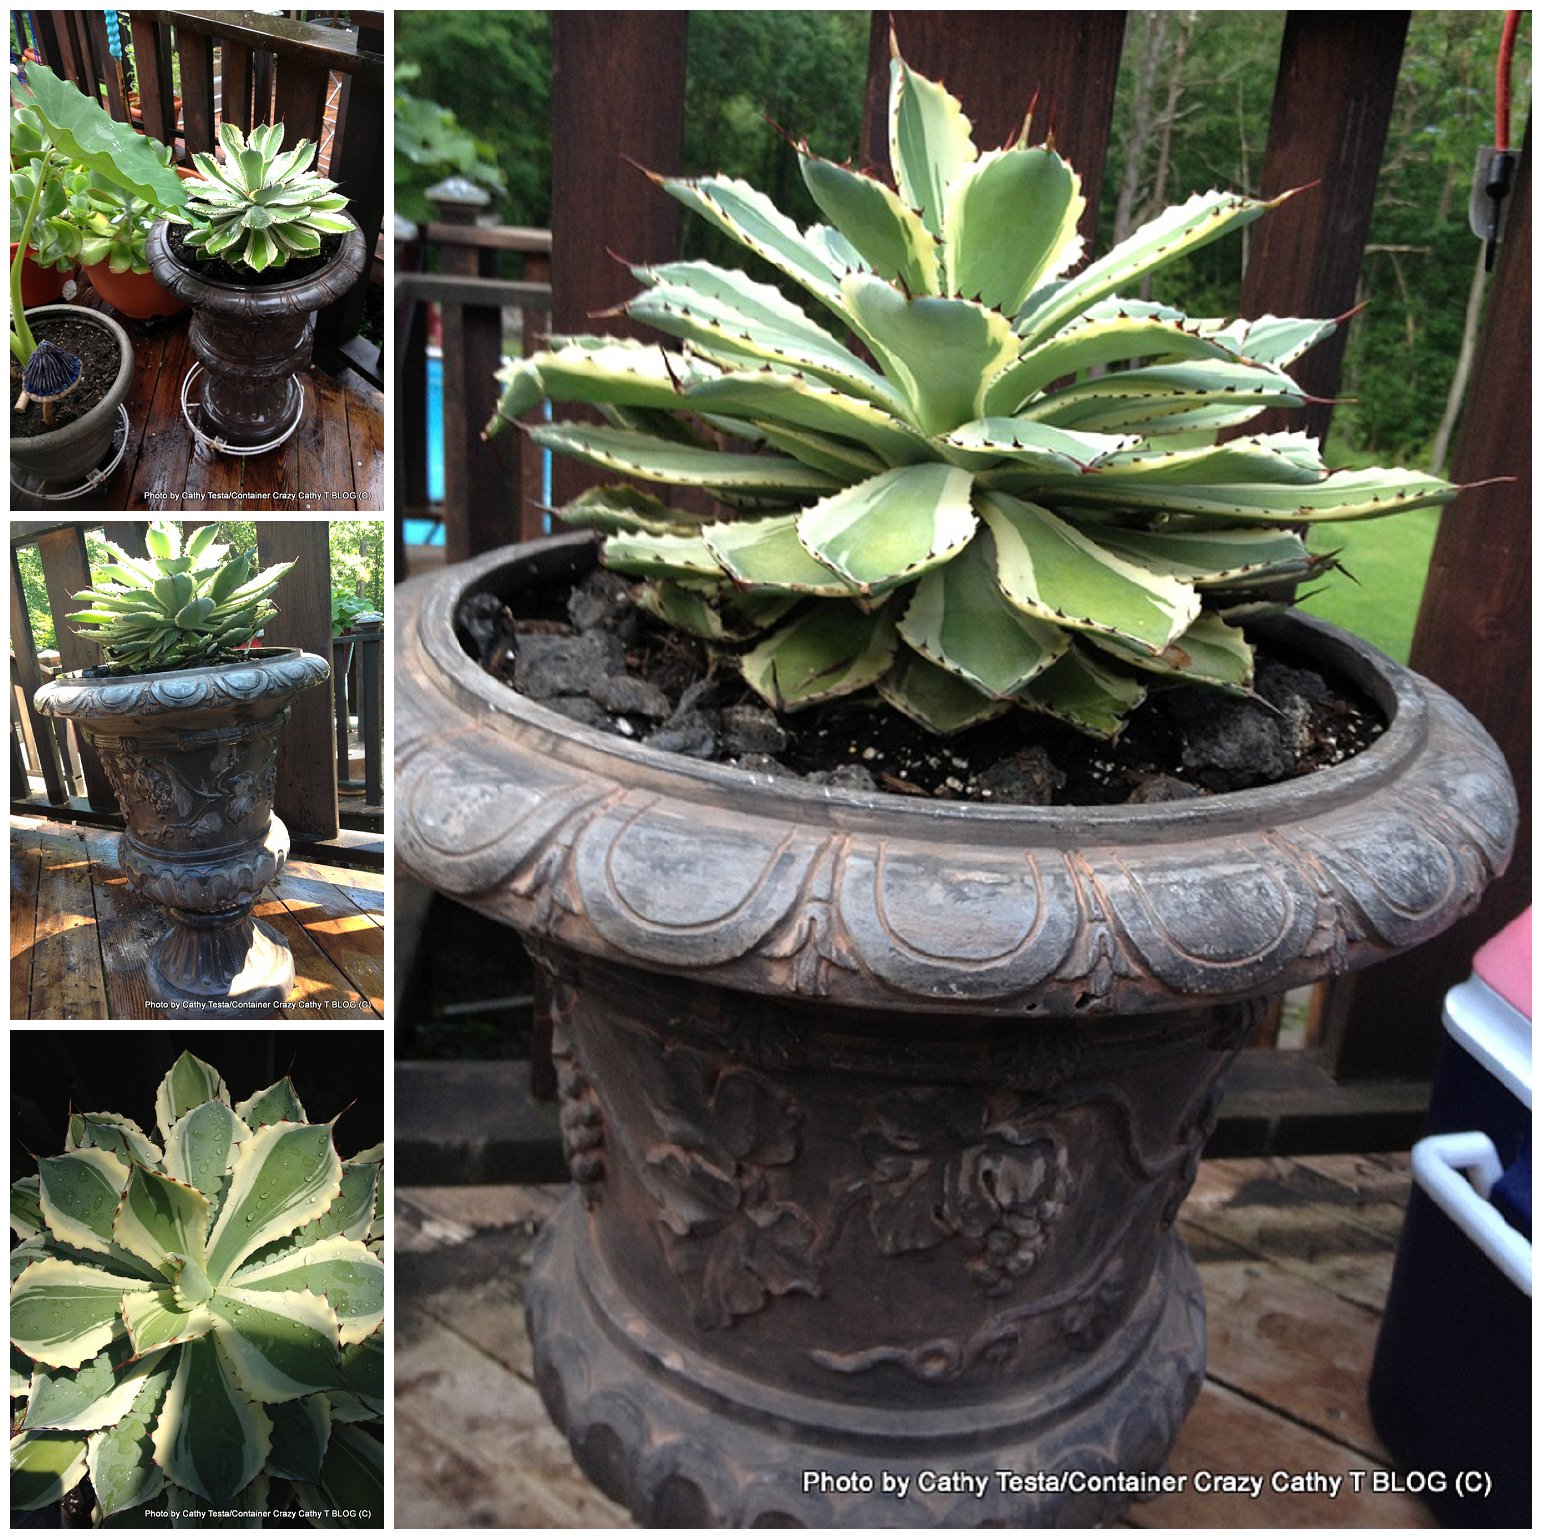
After the weekend, one of my first priorities was to update my client’s business store front with some red-white-and blues for the holiday and put a nice mix of succulents in the container gardens. Cactic and succulents can be a little tricky to plant if they have spines and needles. Just be sure to wear thick gloves and handle it by the root ball – and with some practice, you won’t get pinned, stuck, or aggravated by tiny spines. I will say this however, whomever is putting their cigarette butts in my container gardens at this location – you will find a little surprise this time (hee-hee!). Fortunately, insects tend to not bother cacti and succulents much based on my experience, so they are useful for the non-insect people.

Client Barrels Decorated for the 4th

Oh by the way, what are these ugly critters below? Saw these on a weed plant, so I pulled the plant out of the ground and took it to the chicken coop for the hens to deal with. That’s another way to deal with insects. Recycle to the coop…

More aphids or not??
Cathy Testa
860-977-9473
http://www.cathytesta.com
ContainerCrazyCT
containercathy@gmail.com
Condensed List- What You Can Do:
- Pick, Squish, Toss
- Prune away Plant Parts with Insects and Toss
- Pull Plant; Feed to Chickens
- Hose off with Strong Spray of Water
- Chase your Younger Sister around with them
- Lightly spray with Insecticide specific for plant and insects
- Get natural predators, like ladybugs and release near pest insects
Happy 4th of July Weekend Everyone – Hope it is filled with food, family, fun – and not many critters!

4th Photo Courtesy of Freedigitalimages.net, by nuttakit