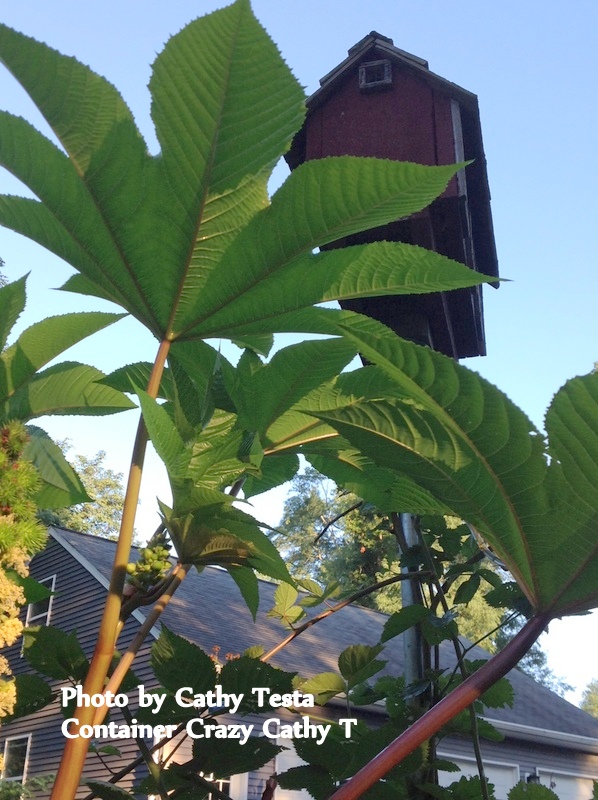
At my home, my husband and I have started a unique way of installing bird houses which entails the bird house being at a height of 12 feet. It may take a few hours to get the job done, but the new home is more receptive to the birds because it is at a safe height where they are less vulnerable to potential predators.
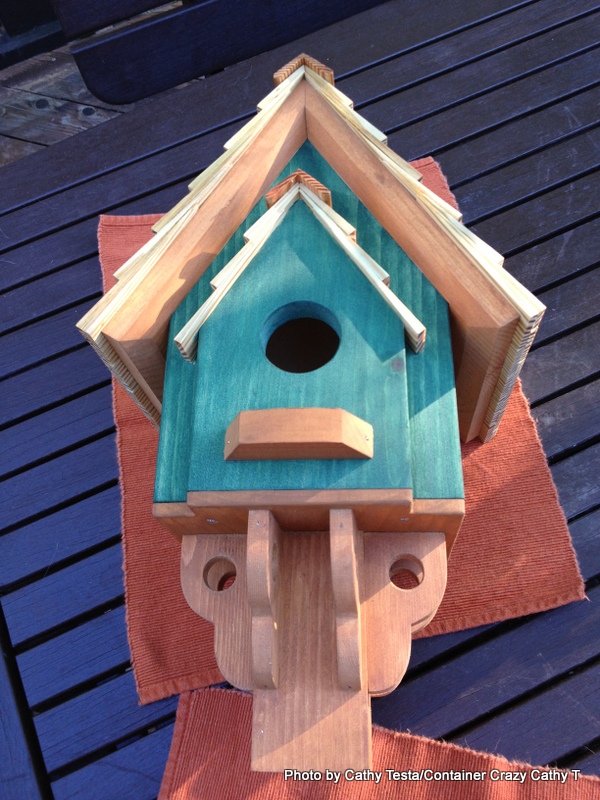
So, we wanted to share our process with you. Here are the materials needed, followed by instructions, and photos (note we are showing two types of houses installed), and a list of plants is included with useful links on more bird information below.

Materials Needed:
- 12 ft length of 3/4 inch rigid electrical conduit. These standard lengths can be found in the electrical department at Home Depot. (Note: The rigid conduit should come with pre-threaded ends.)
- 3/4 inch floor flange. This can be found in the plumbing department at Home Depot.
- 12-14″ inches of an 8 inch diameter footing tube. You will need to buy the standard 4 ft length found in the concrete section usually located in the outside area at Home Depot, and cut to 12-14″ long.
- (1) 80 lb. bag of ‘Quick-Crete’ pre-mix concrete found in the concrete section located in the outside area at Home Depot.
- Wood screws ½ inch long and ¼ inch diameter
- Post hole digger tool and power drill
- 1 very pretty and unique bird house!

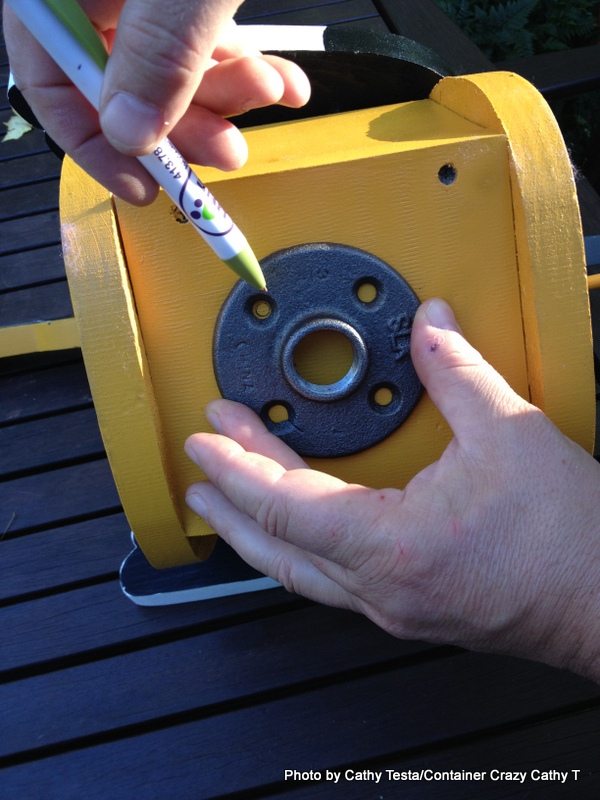
Floor Flange
Let’s Get Started:
 Select your bird house location or site. Think about the exposure, too much shade can be too cold for the birds. Sunny exposures are great for warmth but if you have a very sunny spot, face the house east or north so it doesn’t get too hot. You may also want to select a site visible from inside your home or from your favorite outdoor sitting place so you can view them. But not too close either because baby birds chirping are very loud. And of course, consider it as a vertical element in your garden bed. The placement is important if you want to use it as a piece of art in your natural landscape along with your beautiful plantings.
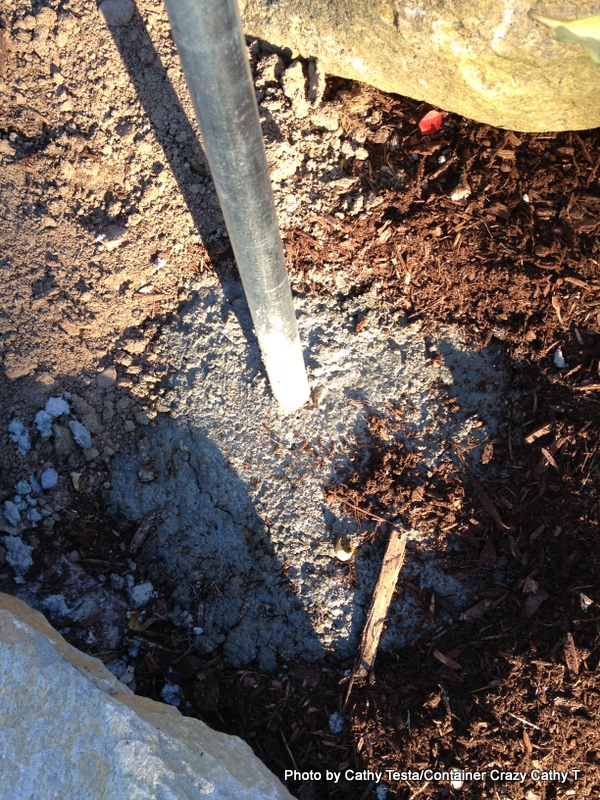
Dig the hole with a post hole digger. Or ask your handsome husband to do so. Insert the footing tube cut to the specified depth (approximately 12 to 14″; see above). Mix the concrete as directed and pour into the footing tube. Get ready to set the pole (rigid conduit).
 Note: My husband says he doesn’t pay attention to the freeze line because it does not matter if there is a little frost heave as it will only move back in place when the ground thaws. But the rule is to dig below the frost depth to prevent frost heaving, approximately 42″ down. If you want to be more cautious, you can dig deeper as per the guidelines for your region.
Set the pole (rigid conduit) in the wet cement. As noted above, the 12 ft length of 3/4 inch rigid conduit works great. It is strong, very tall, cat proof, and useful for twining plants. It does sway just a tad in strong winds, but no more than a thick branch might move on a tree. If needed, use some wood stakes to keep the pole securely in place temporarily until the concrete mix dries completely. The concrete drying process takes about 8 hours (or that is what we do, is wait a day before attaching the bird house to the pole.)
 Attach the floor flange to the base of the birdhouse. Pretty straight forward, mark the holes with a pencil, drill, and screw. Takes a few minutes, and a power drill is handy for this. (Note: Pre-drilling pilot holes is helpful and recommended.)
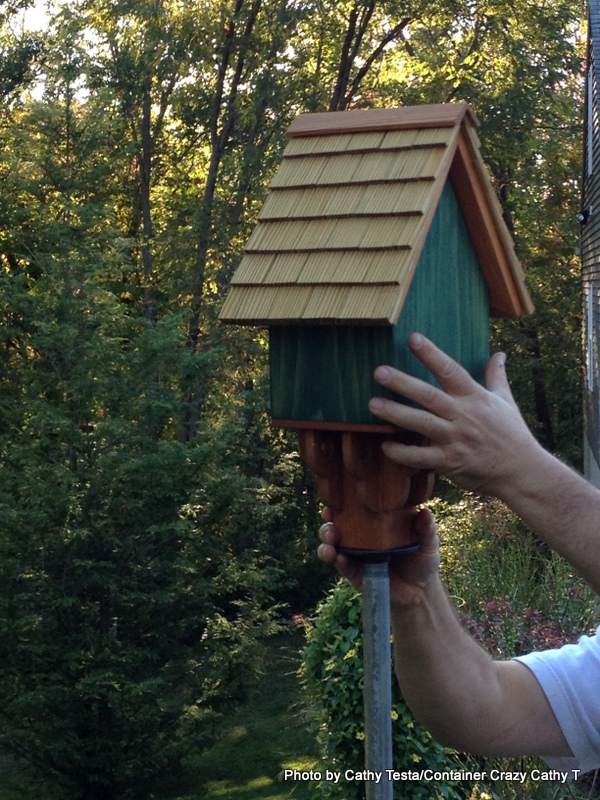
Attach the house to the pole. Because the rigid conduit used as the pole has pre-threaded ends, just turn the house until it is screwed on firmly. Or turn it to face the direction desired in your landscape.
Watch. In a day, you should have a bird moving in – we always do! It’s great. When we setup the bird house that looks like a Baltimore oriole, we saw a bird move in by the very next day, and this was during October, not in the spring.


Plants Attracting Birds:
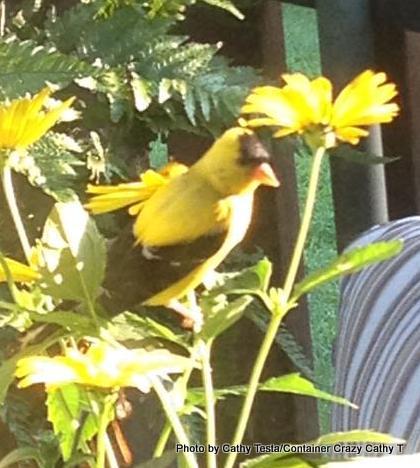
Having a bird house in your yard will definitely entice birds to live there, but other features which help a great deal, are of course, the plants selected to feed or encourage birds. They enjoy plants with edible berries. They also use natural scrubby bushes around your landscape for protection and as hiding places, especially during the winter for those not migrating southward. And having a water source, such as a heated bird bath is very helpful.

Heated Bird Bath or Waterer
They visit our heated birdbath all year round, and it is especially nice to see them take drinks from it during the winter when other water sources may be limited.
- American Beauties offers a website with a bird focus design HERE. You can narrow your search by your region, exposure of the garden, and soil type.
- National Wildlife Federation offers information HERE. You can find out which bird plants are native to your region and see more detailed information about attracting wildlife to your landscape and yard.
- The Bird & Butterfly Garden at Lockwood Farm in Hamden, CT is a way to see an environment suited for birds in person. You can find the map of the grounds here and it also includes a list of plants in the garden on page 2.

Thunbergia (black-eyed Susan vine)
Twining Plants for the Bird House Pole:
In addition to considering plantings around the base of your new bird house, you may want to include a climber, twiner, or vine like plant to grow up the pole. This will dress up the pole and create a vertical element in your garden, plus I believe the birds like it too. More foliage and flowers, more natural for them.
Here are some recommendations:
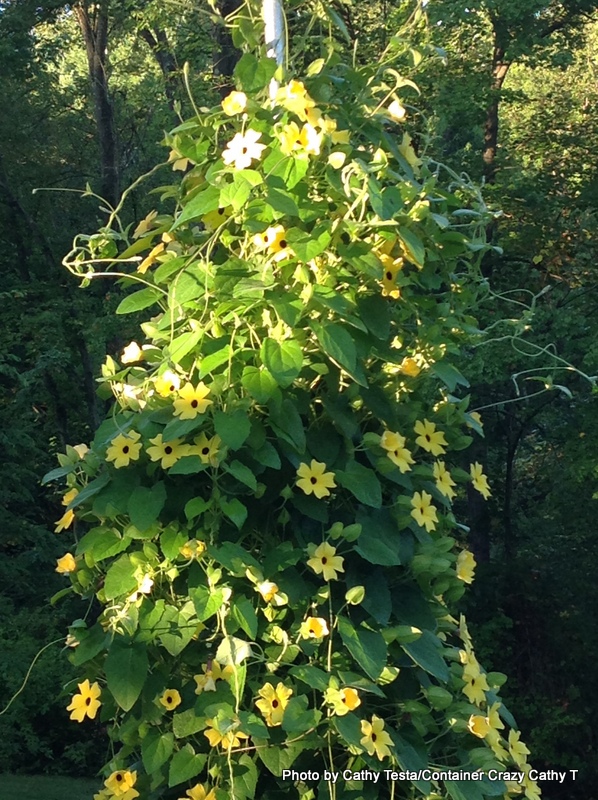
Thunbergia starting to climb early in season
Thunbergia (black-eyed Susan vine), as shown. It is an annual, but it climbs very quickly. Mine rose to the top of a bird house pole by mid-summer easily. The repeat blooms are vivid and the sepals are pretty too. It gets wider too and fuller. This plant is tossed by end of season because it is an annual, but it is easy to replace with a starter plant in the spring because they are commonly available in the nurseries.

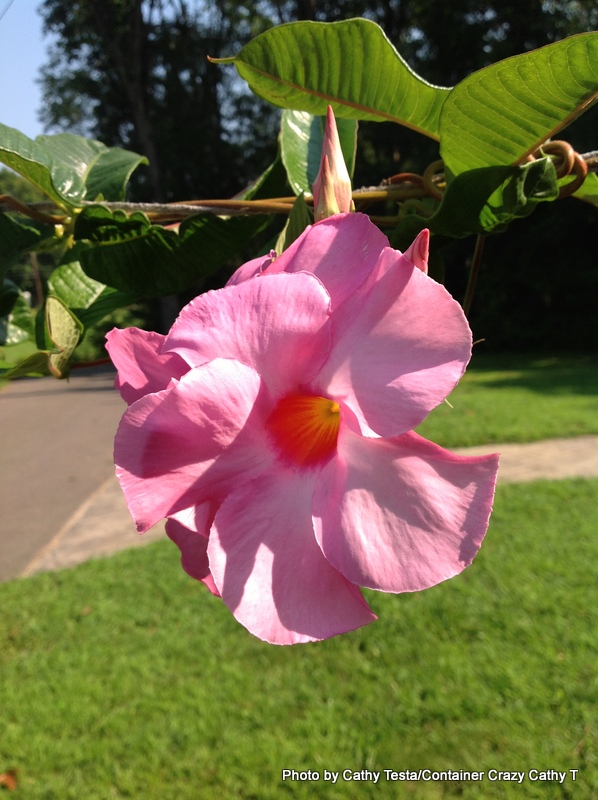
Mandevilla vine flower
Mandevilla vine. A tropical vine used in the summer, but can be overwintered by storage in a above freezing place over the winter months. These vines grow quickly and flowers non-stop with large, tubular flowers. I enjoy watching bees dive into the blooms. This plant enjoys “full sun” for best performance. To store them, wait til the first frost of autumn, cut it back, and put the root system in a container of soil or in the original pot if you didn’t plant it in the ground, move it inside the house, basement, or place where it doesn’t get below freezing, preferably between 35-40 degrees Fahrenheit. By the way, I have a friend who stores their Mandevillas every fall, see the story here at Mandevilla Sightings on my blog. The pink flowers were amazing this season.

Blackberries
Rubus (blackberry). This will grow tall canes, but they won’t automatically twine onto the pole on its own. You may attach the canes to the pole with zip ties (loosely) or garden twine. We have one under a bird house and ironically, the berries don’t all get eaten by birds! I think this is because we have lots of bird feeders too. But I have seen turkeys pecking at the leaves and I think they nibble on the lower berries. To read about the type of blackberry we planted, click HERE to see my former post.
Lonicera (honeysuckle vine). This vine grows any where from 15 to 30 feet, and it may need some assistance to stay attached to a single pole, like the blackberry plant does, but it is a great plant for its flowers and foliage. It may not be as fast growing as the annual Thunbergia noted above, but the tubular scented flowers are wonderful, and also attracts hummingbirds. This plant can sometimes become too aggressive, but it can be cut back and controlled. Because it is perennial, you do not need to replant it every season as you do with the Thunbergia or Mandevilla.
Ipomoea (morning glory) or Tropaeolum (nasturtiums). These are two plants easily grown from seeds. Both grow rather quickly an have showy flowers, so they must be added to the potentials list for the bird house pole natural decor. Just grab a packet of seeds in spring, start some in little pots, and transplant to the base of your pole. The nasturtiums are edible too – by humans I mean. Sometimes morning glories will self-sow to return on their own.
Miscanthus. Ornamental Grasses are a good choice to put at the base of the pole as well. It tends to soften the lines of the upright pole, and sways in the wind. It seems to fill in that empty space below. I also like to add decor to the poles in the fall season such as a garland of fake leaves with the orange and yellow colors. Or you could attach a corn stalk on the pole as we enjoy the pumpkins at that time.

Other Resources for Vine Plant Lists:
- Better Homes and Gardens offers a vine list HERE. Just be careful, some vines are aggressive and trouble-makers in the ground or when directly planted in a garden versus a container garden or patio pot. Refer to my page called Troublemakers Turned Stars for more information.
- Plant Facts by the Ohio State University has a nice list with pronunciations you can hear over your speakers. Geesh, I’ve been mispronouncing Ipomoea for years. LOL. Click HERE to hear them out.
- Birds & Blooms has a top 10 list for backyard vines, click HERE. Remember, be cautious with some vines that become too aggressive and take over. You may want to research more information on a vine before you plant it – think Wisteria or English Ivy as examples. Both grow fast.
- Fine Gardening has a vine list for full sun to part shade conditions, click HERE. This magazine has always been one of my favorites because they do a great job of combining the beautify of botany with technical information about plants.
 And remember to check the rate of growth of the vine you select. You want your vine to climb quickly – especially for our Connecticut season from spring through summer – it can feel short. For woody or perennial vines, this is not as much of a concern since they will be there year round.
Enjoy your new bird house installation.
Whether you do it this year or in the early spring of next, I’m sure you will have more birds to enjoy in your surroundings for years to come.
Written by Cathy Testa (and co-authored by hubby, Steve!)
http://www.cathytesta.com
860-977-9473 (cell)


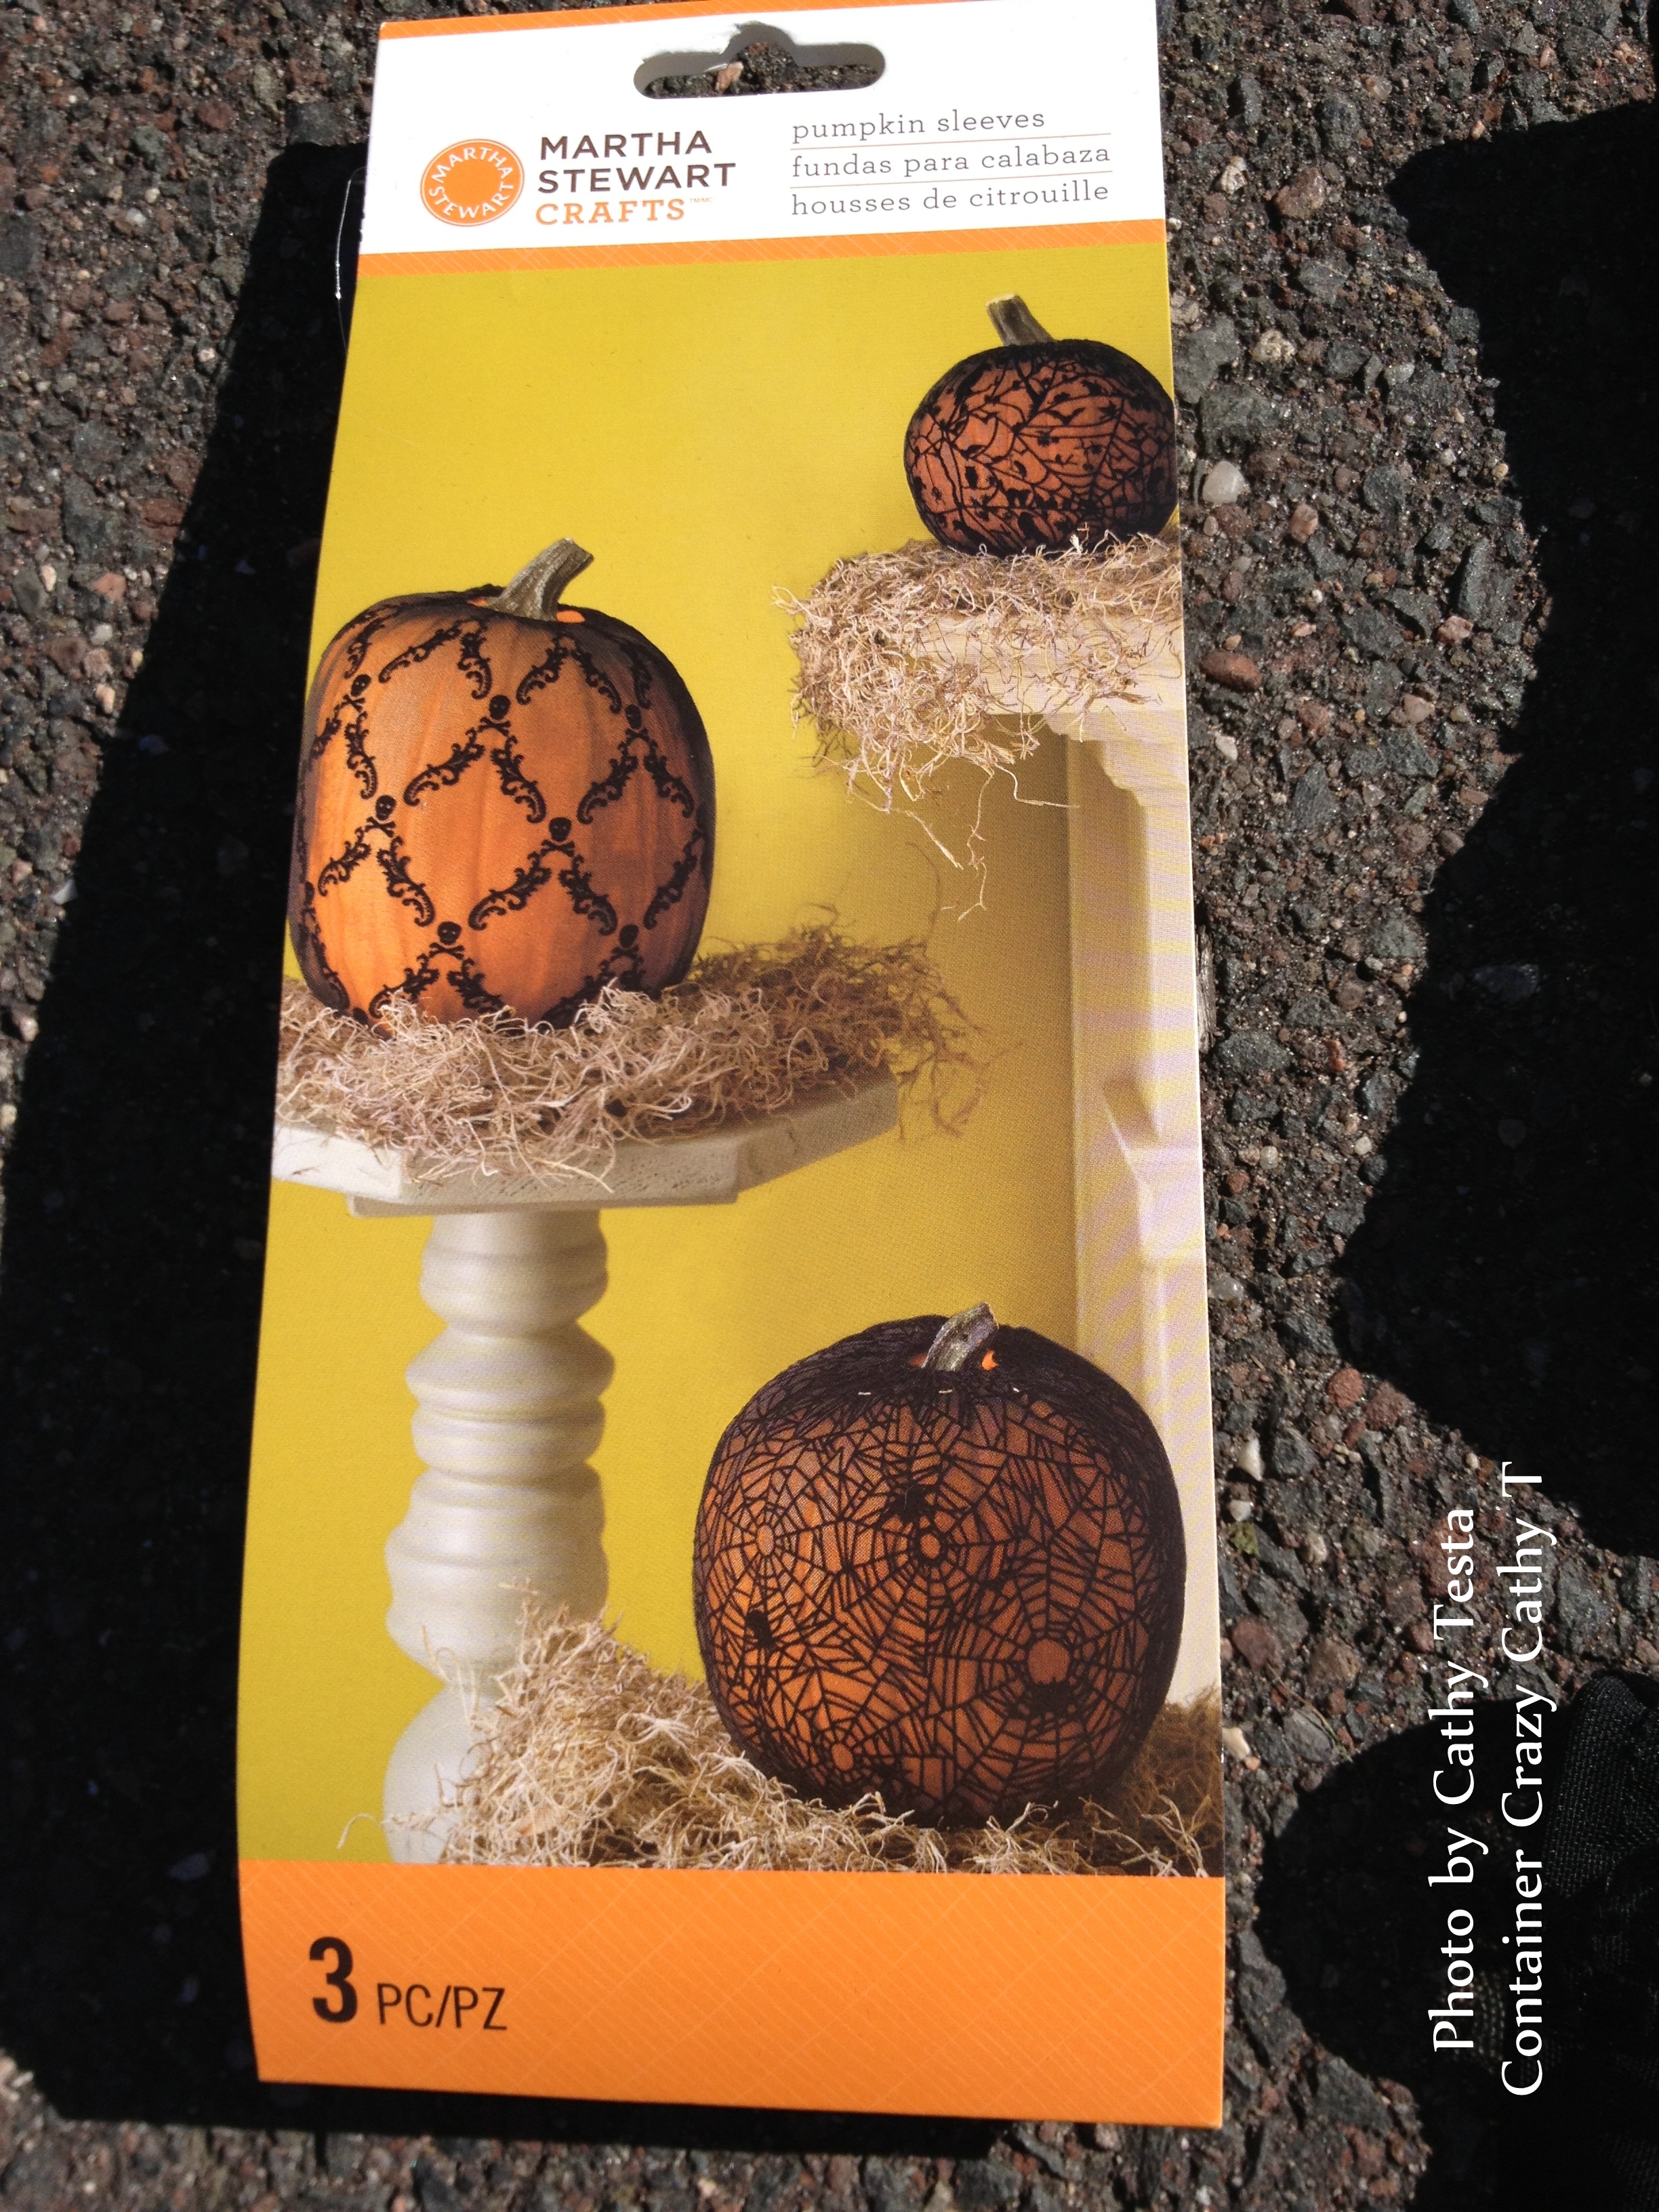
 There is no doubt carving pumpkins this time of year is all about tradition and fun. So when my husband and I decided to carve our designated chosen pumpkins this weekend, I took out some tools which I use to make the process easier.