After a crazy busy schedule, I thought I would have one last big item to get through on my work list for the end of this summer season, and then I thought I could take a deep breath and maybe a little break before the fall and winter activities kick in, such as the Oct 4th Hypertufa Making Class and the Dec 6th Evergreen Kissing Balls & Holiday Creations class.
But oh no…, a hacker entered my midst, and soon after a laptop problem occurred – all leading to a big delay in my work schedule and activities. It made me put on the breaks, and literally – take a BREAK.
But the good news is, I found a great tech, got things rolling again – and, as of today, it is back to business and back to blogging.
The interruption to my schedule certainly caused some nuisance problems and a rescheduling of an important class to November, for the Advance Master Gardener program, but the MG coordinator understood. You see, she’s been there with computer issues too recently, not just on her home computer but on her work computer at the same time.
And, I think in general, gardeners or people dealing with plants as a career, well, they seem to know how to handle interruptions or mishaps when things happen with plants – maybe it gives us some patience skill building – like when we have a failure of a plant due to an insect attack, a virus or unexpected damaging weather – Our reaction can be similar – as in, first you go running, screaming, and venting – then you take a deep breath and work through it using the tools and experience you possess.
I will say this – I am super glad plants don’t rely on technology like computers do. OMG, I really don’t know how the techie heads keep up with all they need to know to manage all the problems one can encounter on the web, etc.
OK, BACK to PLANTS!

Fly on Milk Thistle Bloom
Milk Thistle Brings On Unusual Surprises
I thought about how I didn’t expect to collect seeds from one plant I put into a container garden this summer, but about a week ago, a Milk Thistle plant started to burst open its gone by flower heads and release fluffy white appendages attached to their blackened seeds within. I carefully cut off the top of the flower head, and pulled the seeds from the center to store them for the winter to use next spring.
This Milk Thistle, called Silybum marianum, is new to me – and the only reason I grabbed one plant one day was I liked the speckled striking pattern of creamy white on its bright green leaves. Knowing nothing about it (other than it resembling Canada Thistle, which is considered invasive in CT), I got it as a spontaneous purchase.
Creamy White Marbled Foliage on Milk Thistle, Silybum marianum
How it Grew and Changed Over the Season
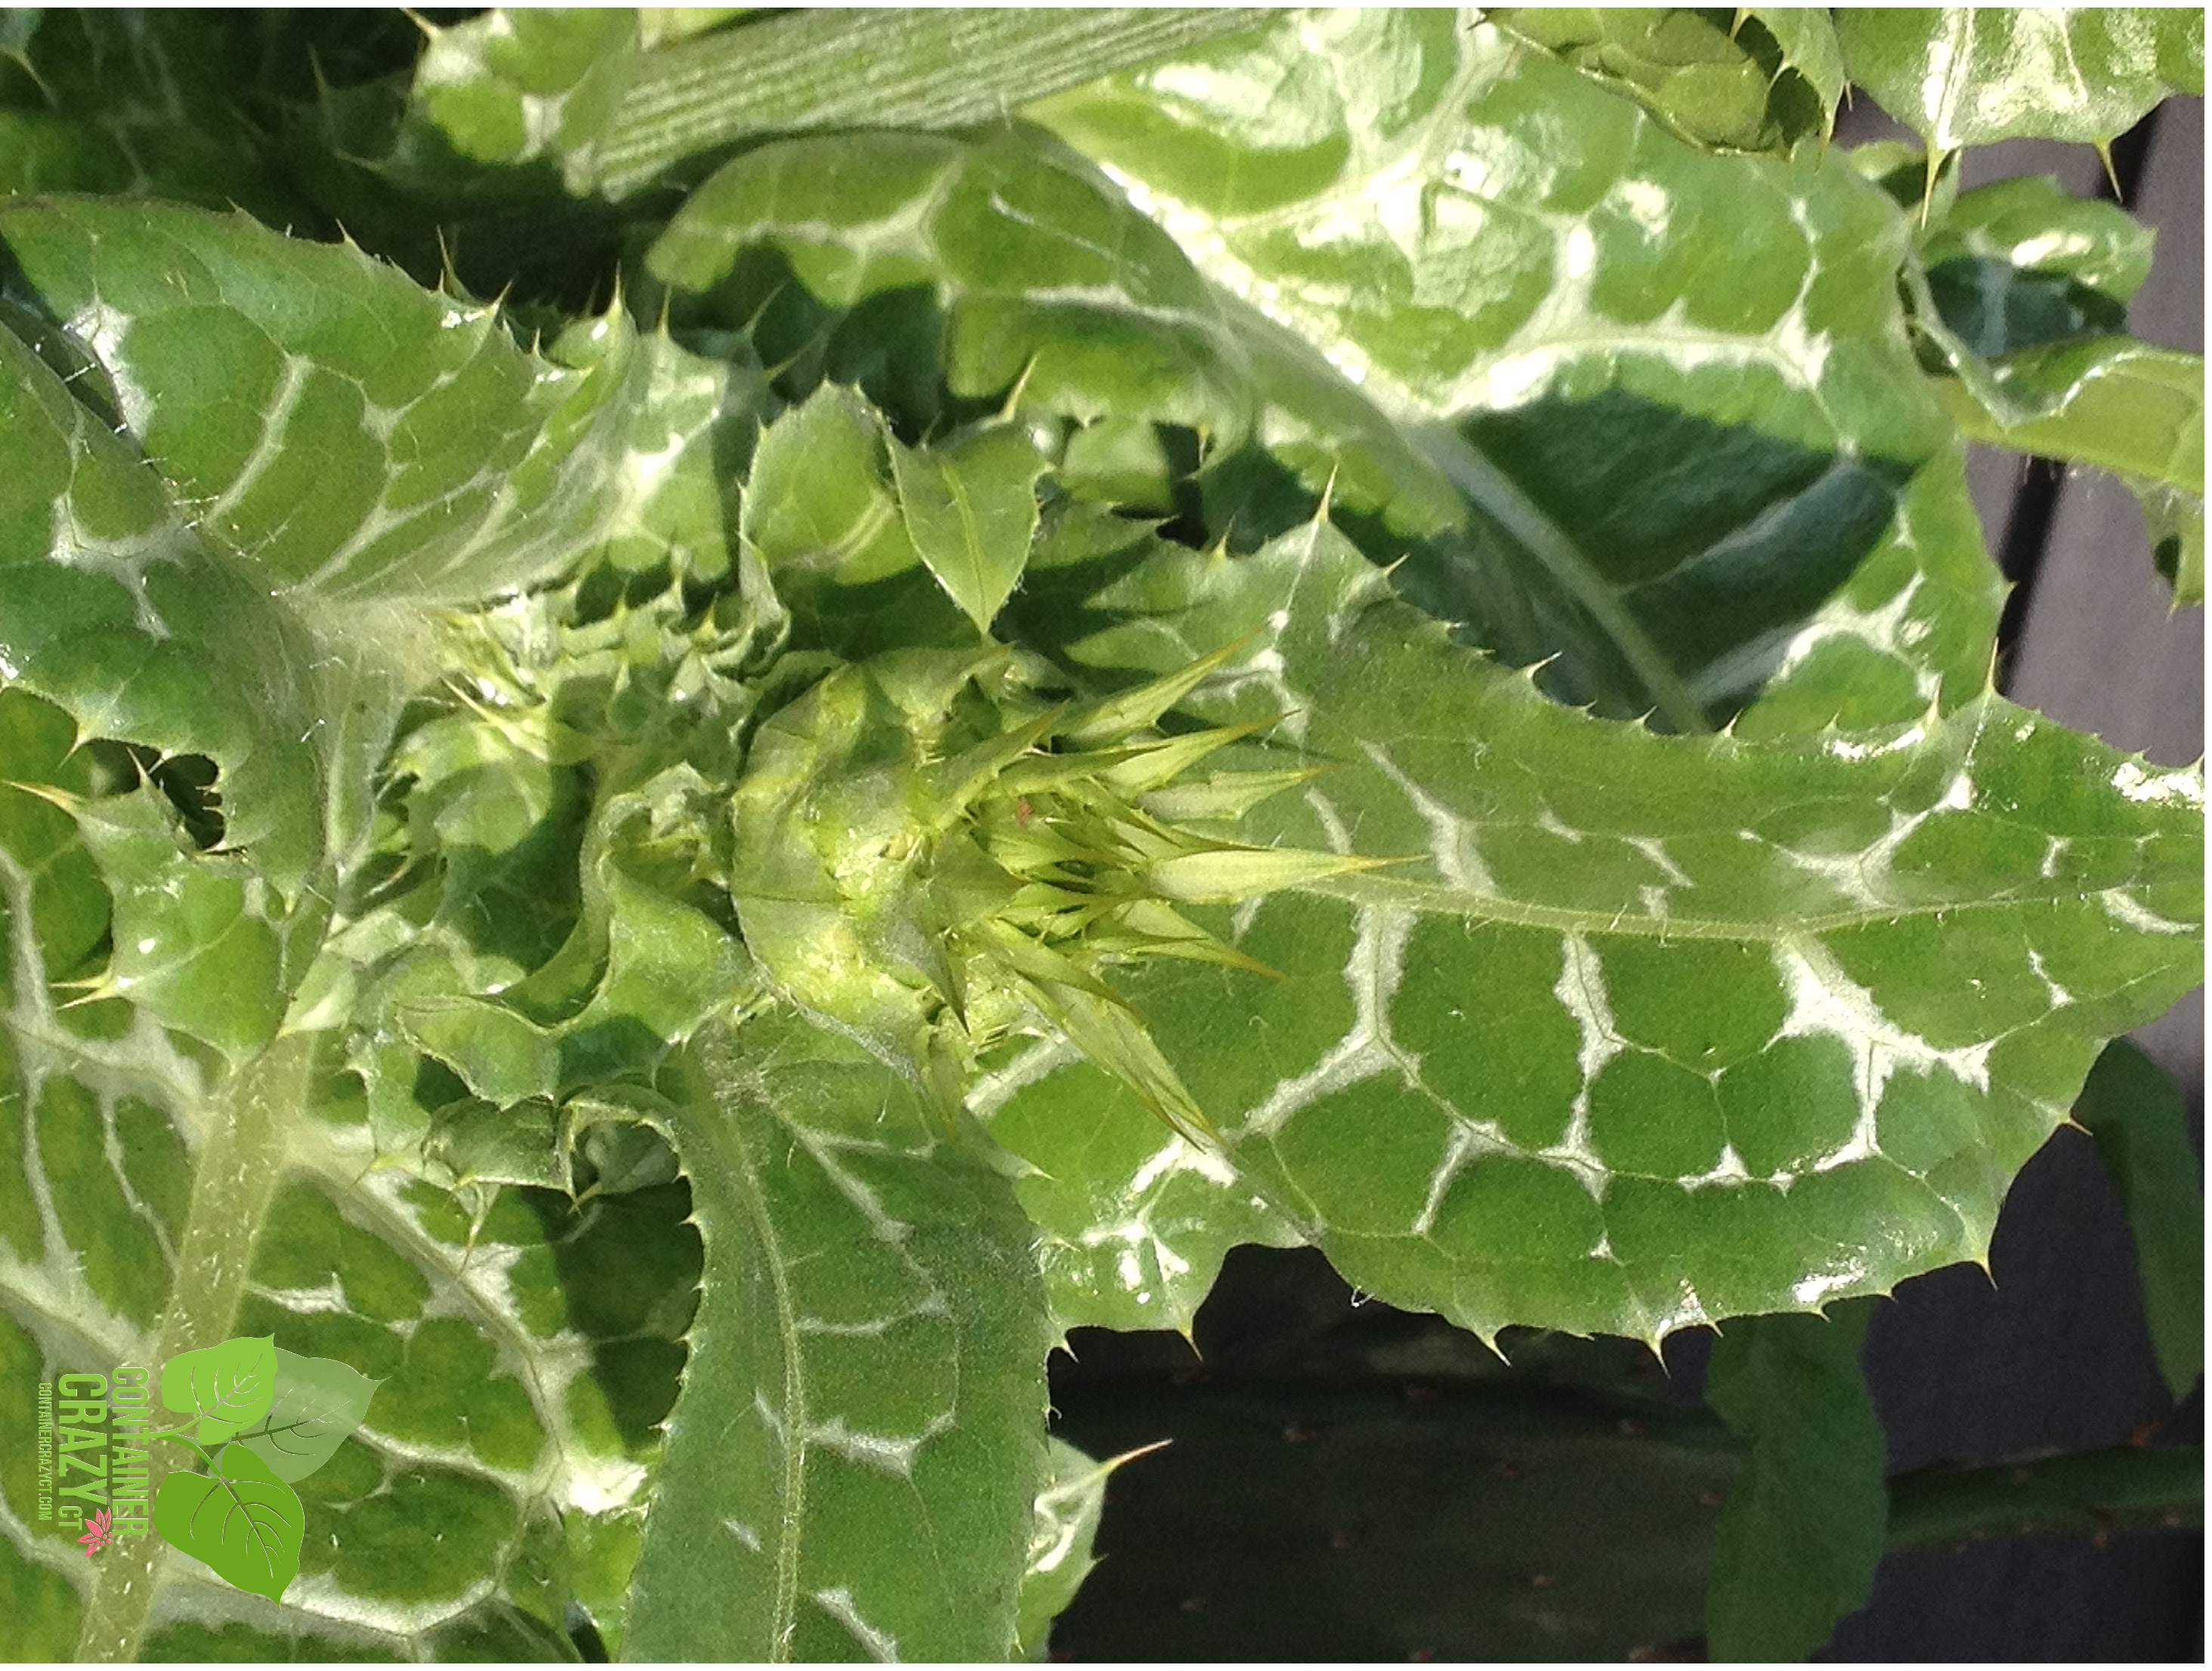
As the plant grew, I discovered it has nasty thorns on its leaves, and if you happen to be near it or working around it – it can poke you easily.
It grew fast and wide, and took up a lot of space in the pot. But the label said it would get 4 feet tall – and no way was it that tall when it first was growing in the pot.
Finally one day, around mid-summer, a stalk with a flower bud appeared to form and started to pop up from the base of the wide foliage, and within days, the stalk shot up fast to at least 2-3 feet tall.

Plant Rises Tall as soon as Flowers Grow
It was like one minute, it was short and wide, and then two days later, this very tall flower rose above it – amazing fast growth in height. That was surprise #2 about this plant. So, it does reach four feet tall after all.
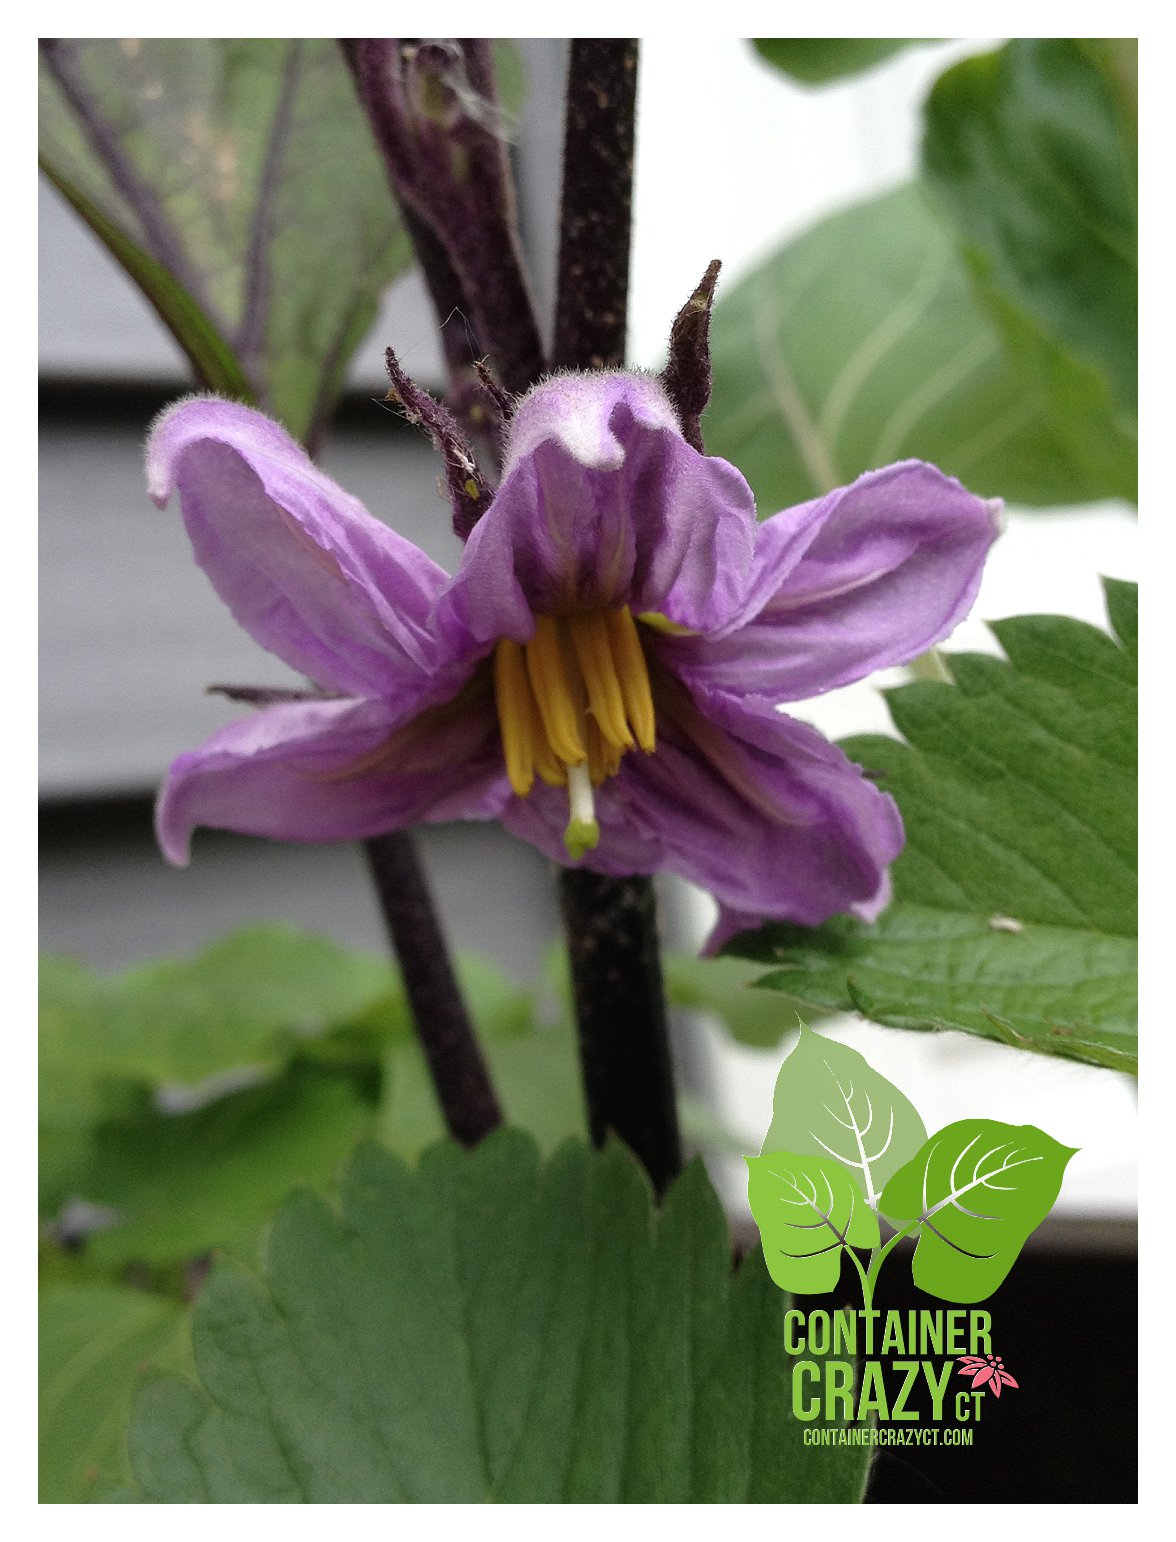
I was happy to see the beautiful purple-violet flowers open up and found them to be very pretty – when I posted a couple photos of it on Instagram, I got comments right away.
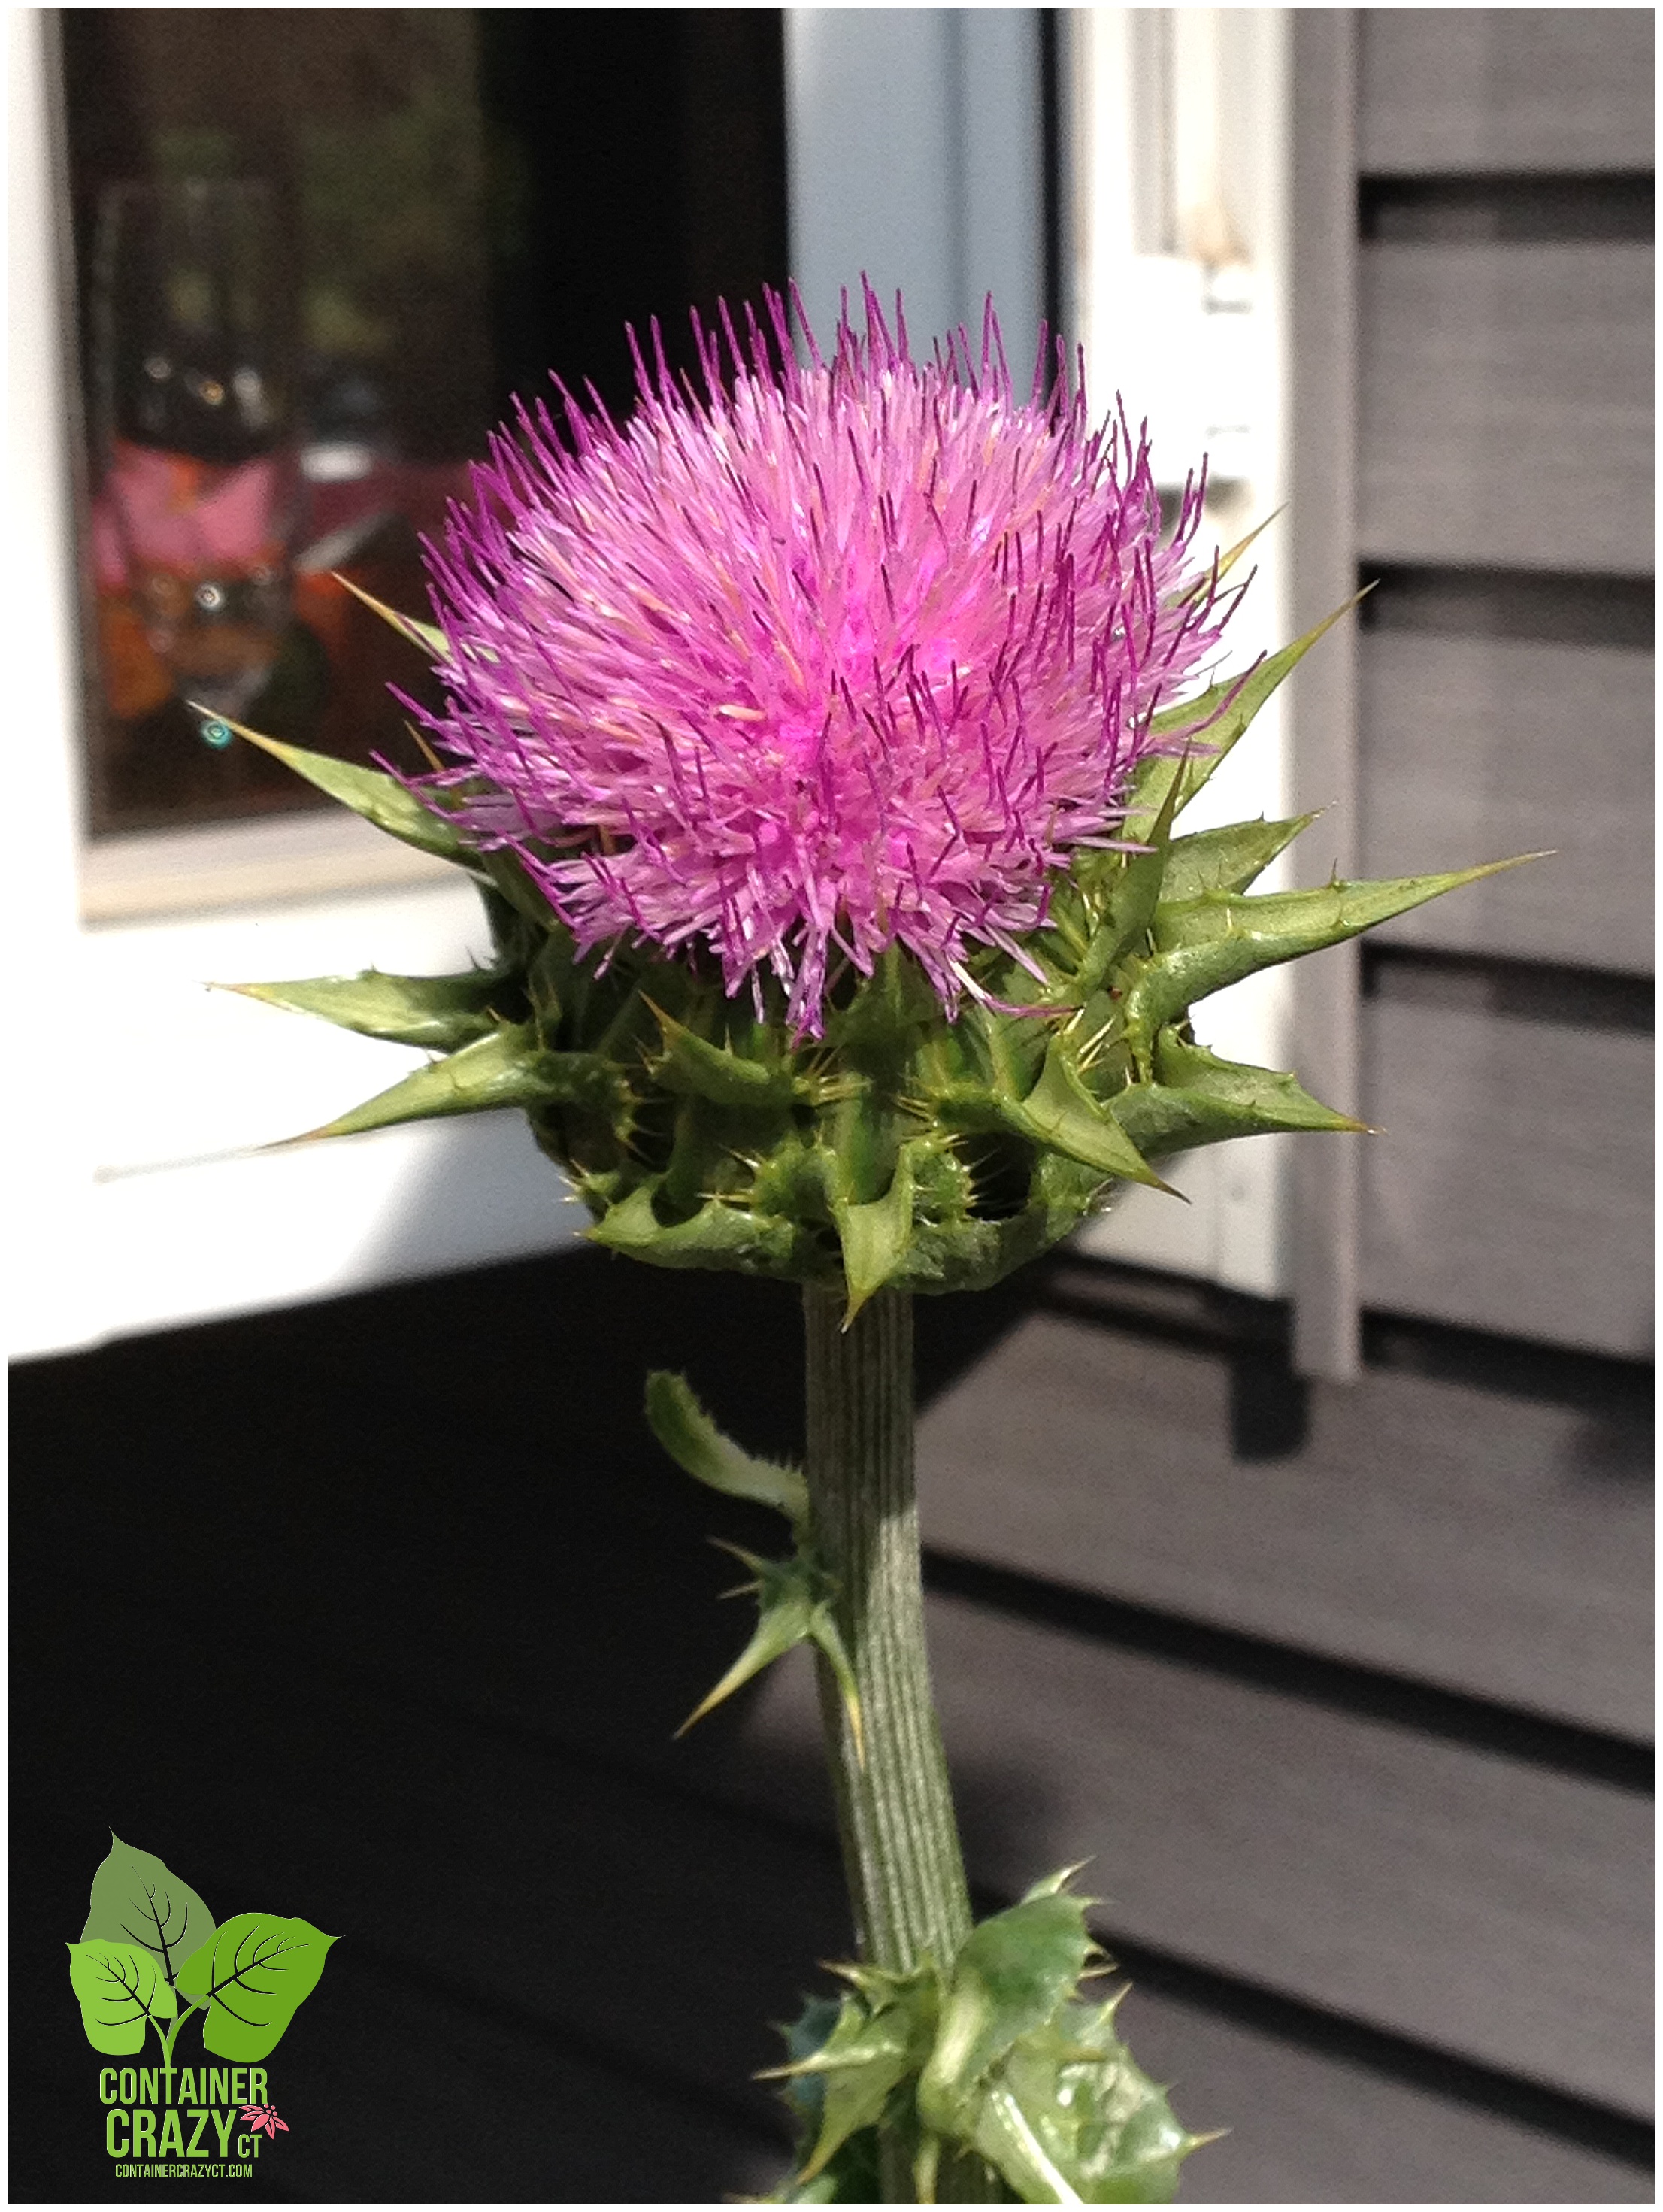
Blooms of Silybum marianum
One person asked if it was Silybum marianum, and said they wanted that plant for medicinal purposes. Even a nurseryman asked if I had “seeds to share.”

Flower Head Cracking Open
But it was not in my plan to actually harvest the seeds, however, I began to do so this month once I saw them pop open, and realized it could be a popular plant for some folks.

Seeds escaping to survive
It is stated on the plant tag, “Legend has it that the variegation arose from the milk of the Virgin, which fell on this plant, hence the botanical name. The flower heads are often eaten as artichokes and the seed is used to medicinally cleanse the liver.”

Collecting Seeds of Milk Thistle
Plants never give up – They continue to set flowers to set seeds, despite weather changes, attacks by insects or viruses, and it was just a thought which popped into my head this morning – as I dealt with technical problems with my laptop the past week and got “back to business” today with a functioning computer fixed finally. A plant never gives up – despite its challenges, then neither should I. Cause believe me, the delays were testing my perseverance at the end of a busy season, right at a moment when I wanted to breath a sigh of relief.
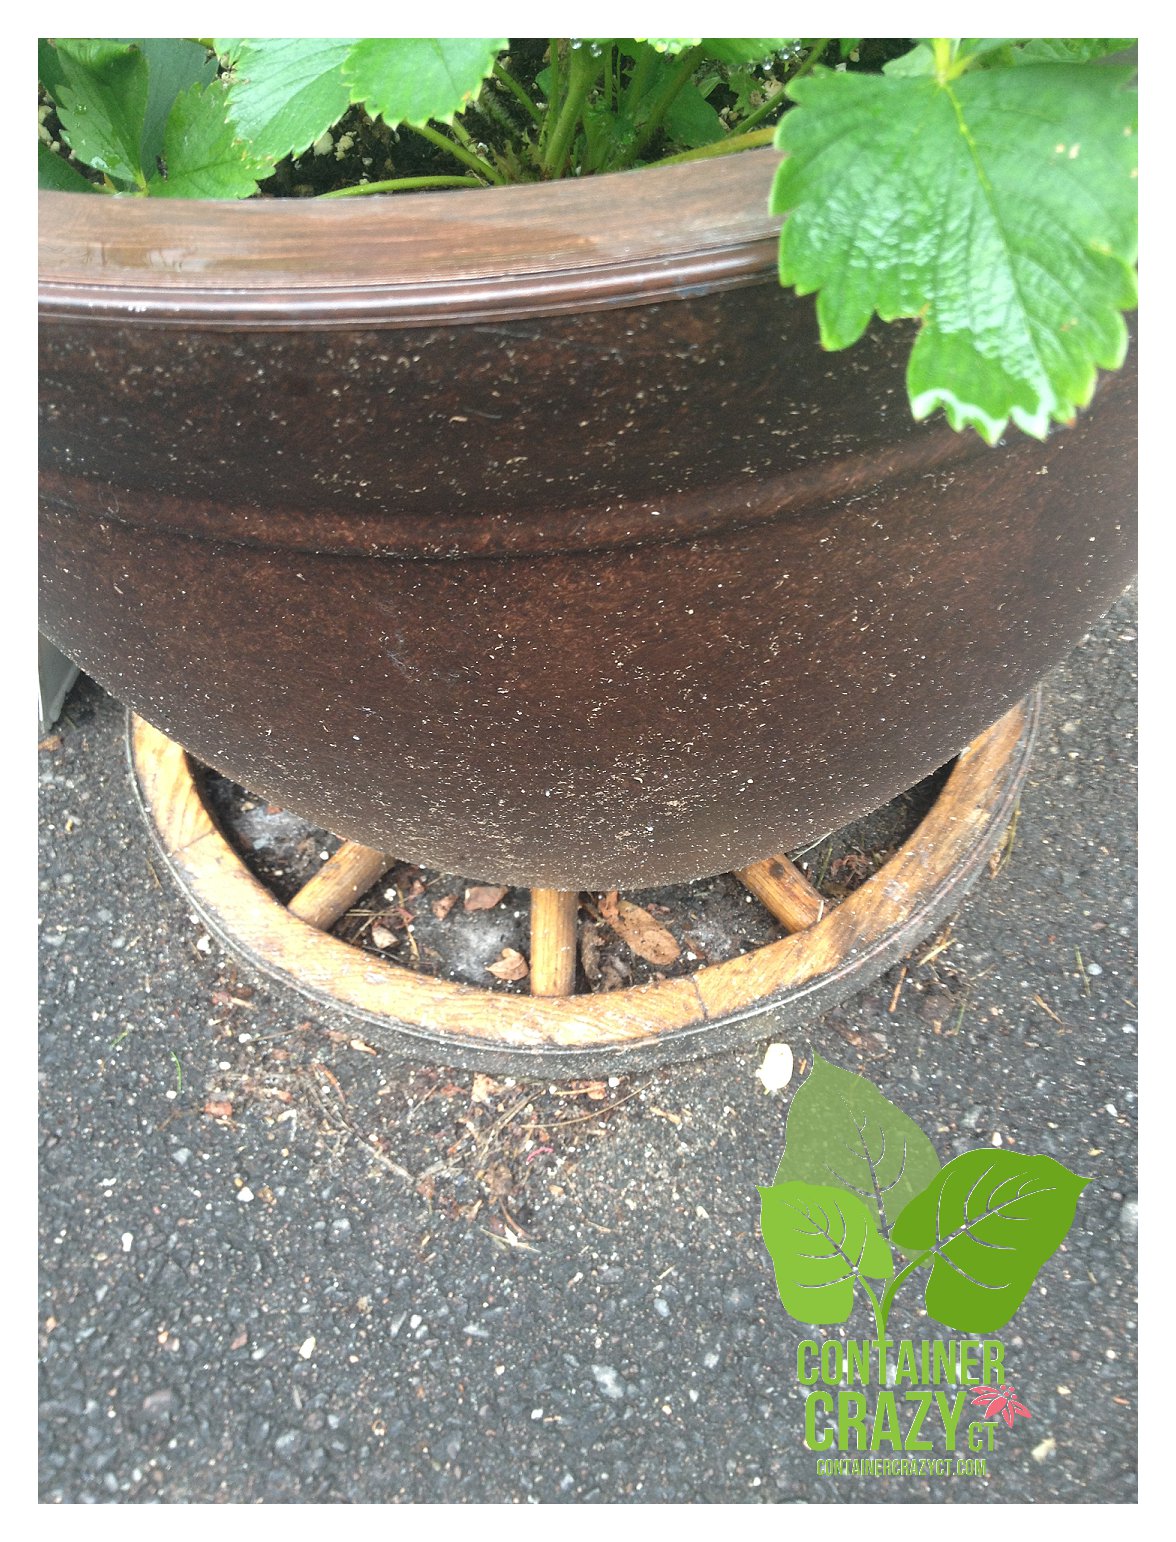
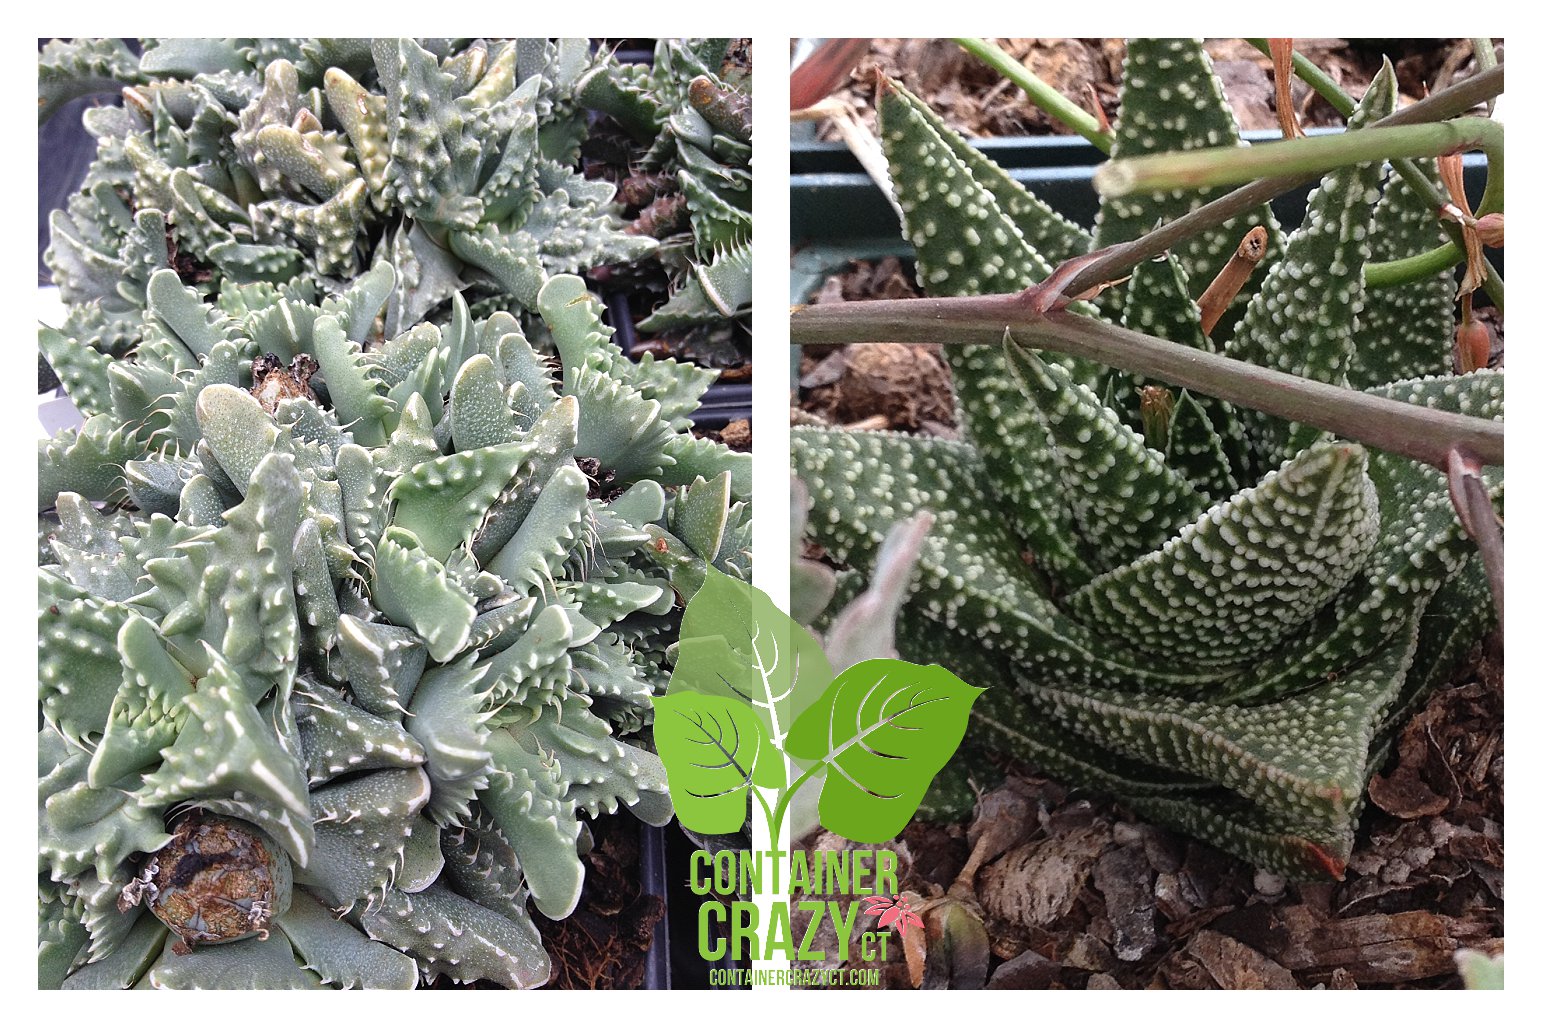
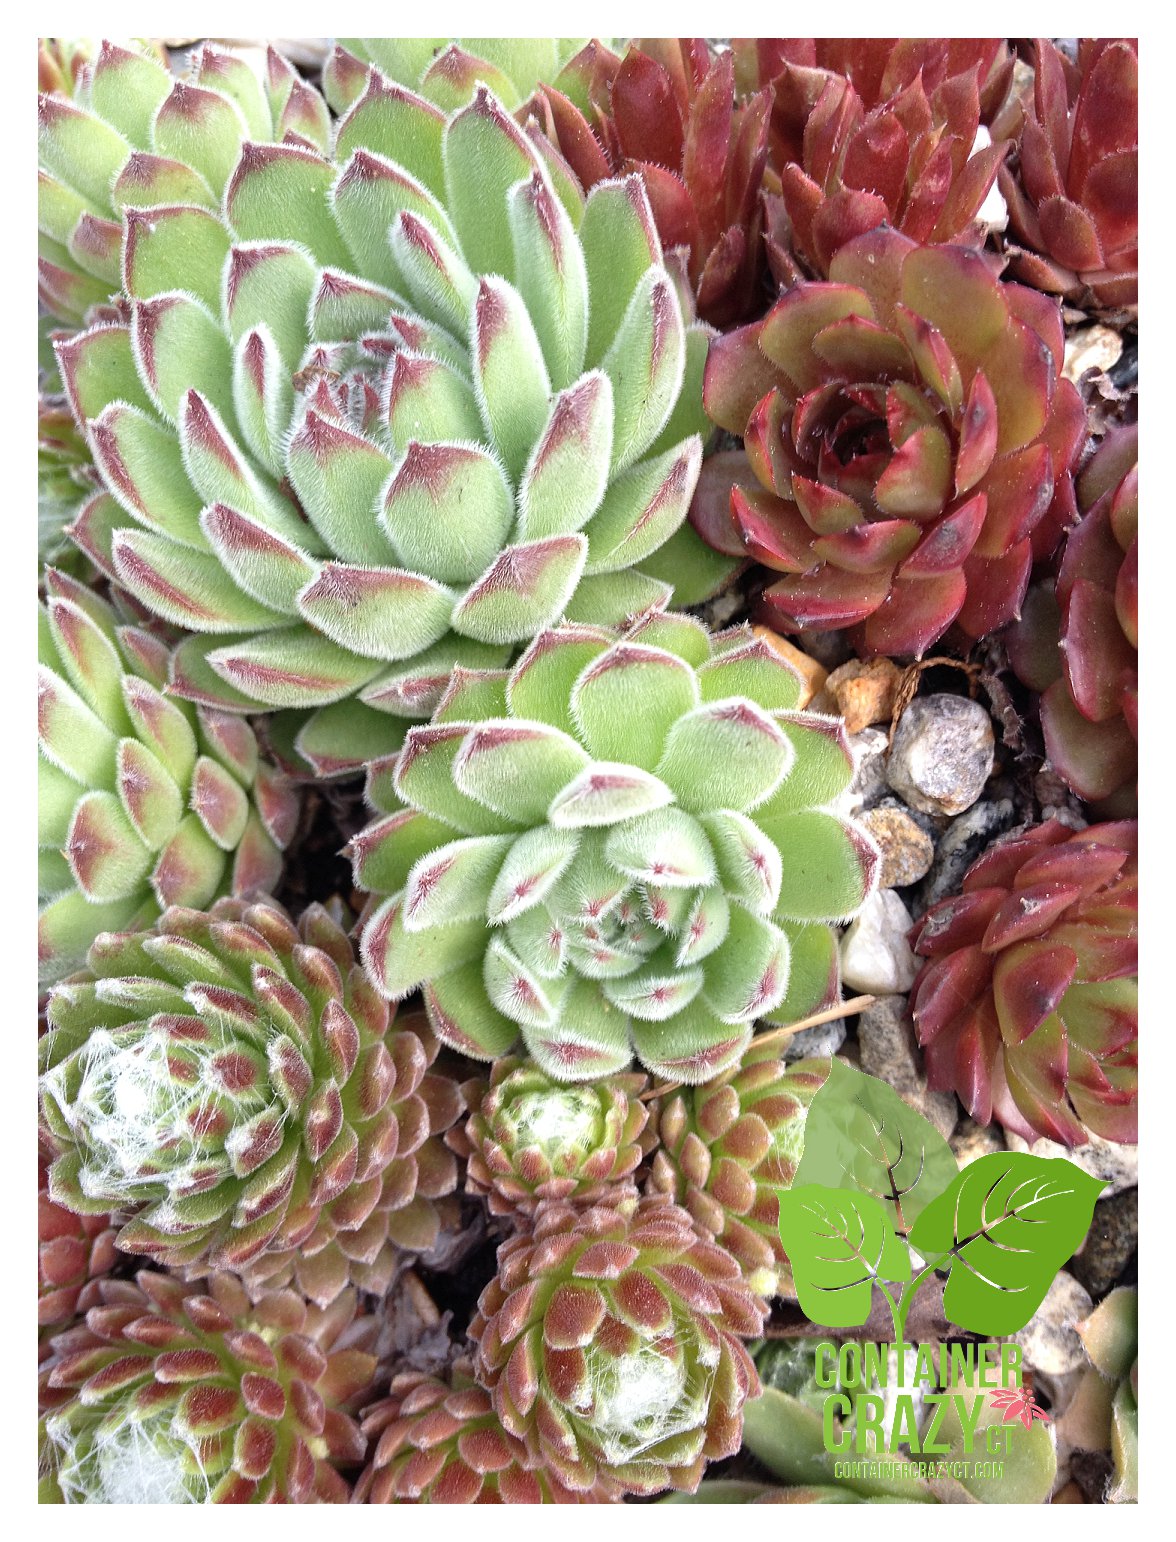
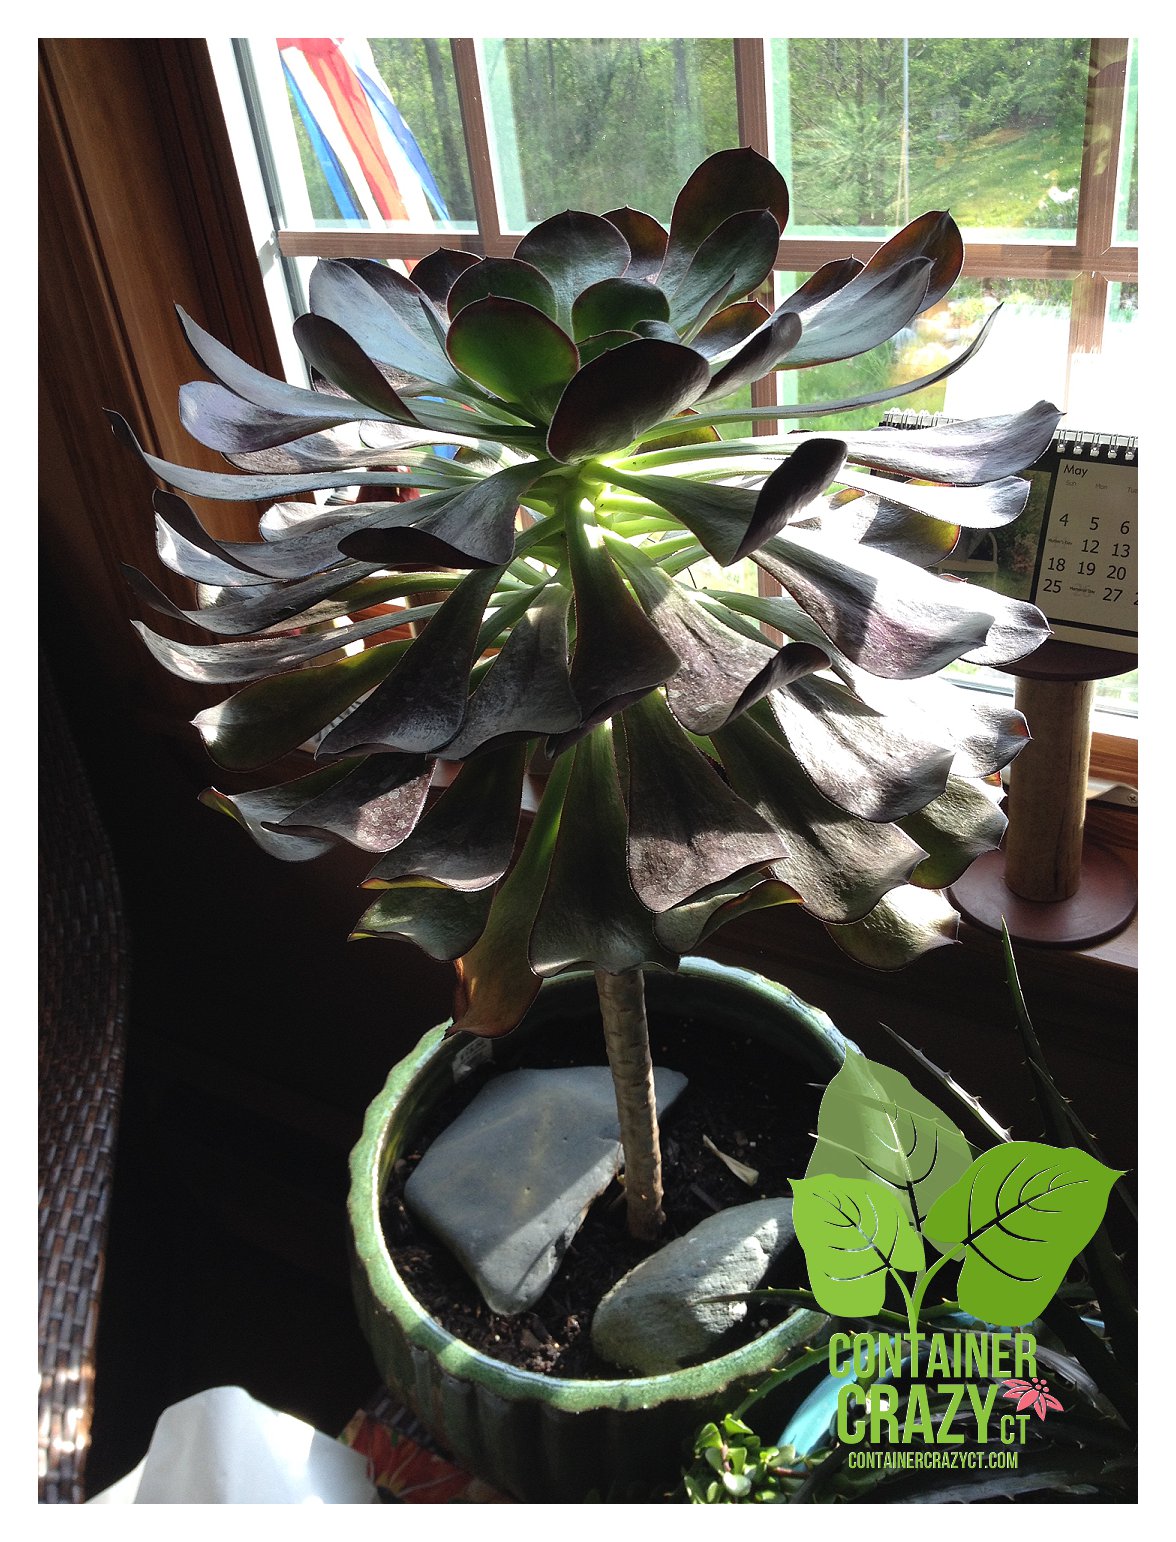
Cacti Pots Like These Will be Moved Inside Soon
Time to Start Moving in the Cacti
Now that fall is coming upon us, it is time to consider getting some seasonal color in the landscape with mums and other fall blooming plants, and maybe adding some fun autumn decor in the mix. But, I really don’t want to let go of the plants on my deck yet!
However, the nights are getting quite cool so it is time to considering moving in the cacti or succulents, as the tender fleshy growth may rot at the base if the soil in your container stays damp in this cool weather.
My recommendation is to reduce watering greatly for your plants outdoors in container gardens, and move any pots with succulents or cacti, which you may have purchased at the May Container Garden Party Class, to a sunny location on your deck or patio this week if they are not already in full sun.
Let the sun warm and dry out the soil somewhat before you transition any of these types of plants into your home as houseplants, which should be done soon, in the next week or so.
Once indoors, reduce the watering of your cacti plants over the winter months, and be sure you put them near a sunny window, not in a very shady spot in your home, if possible.
For more information, attendees should refer to the handout from the May Big Container Garden Class about the “Must Not Do’s with Succulents and Cacti.”
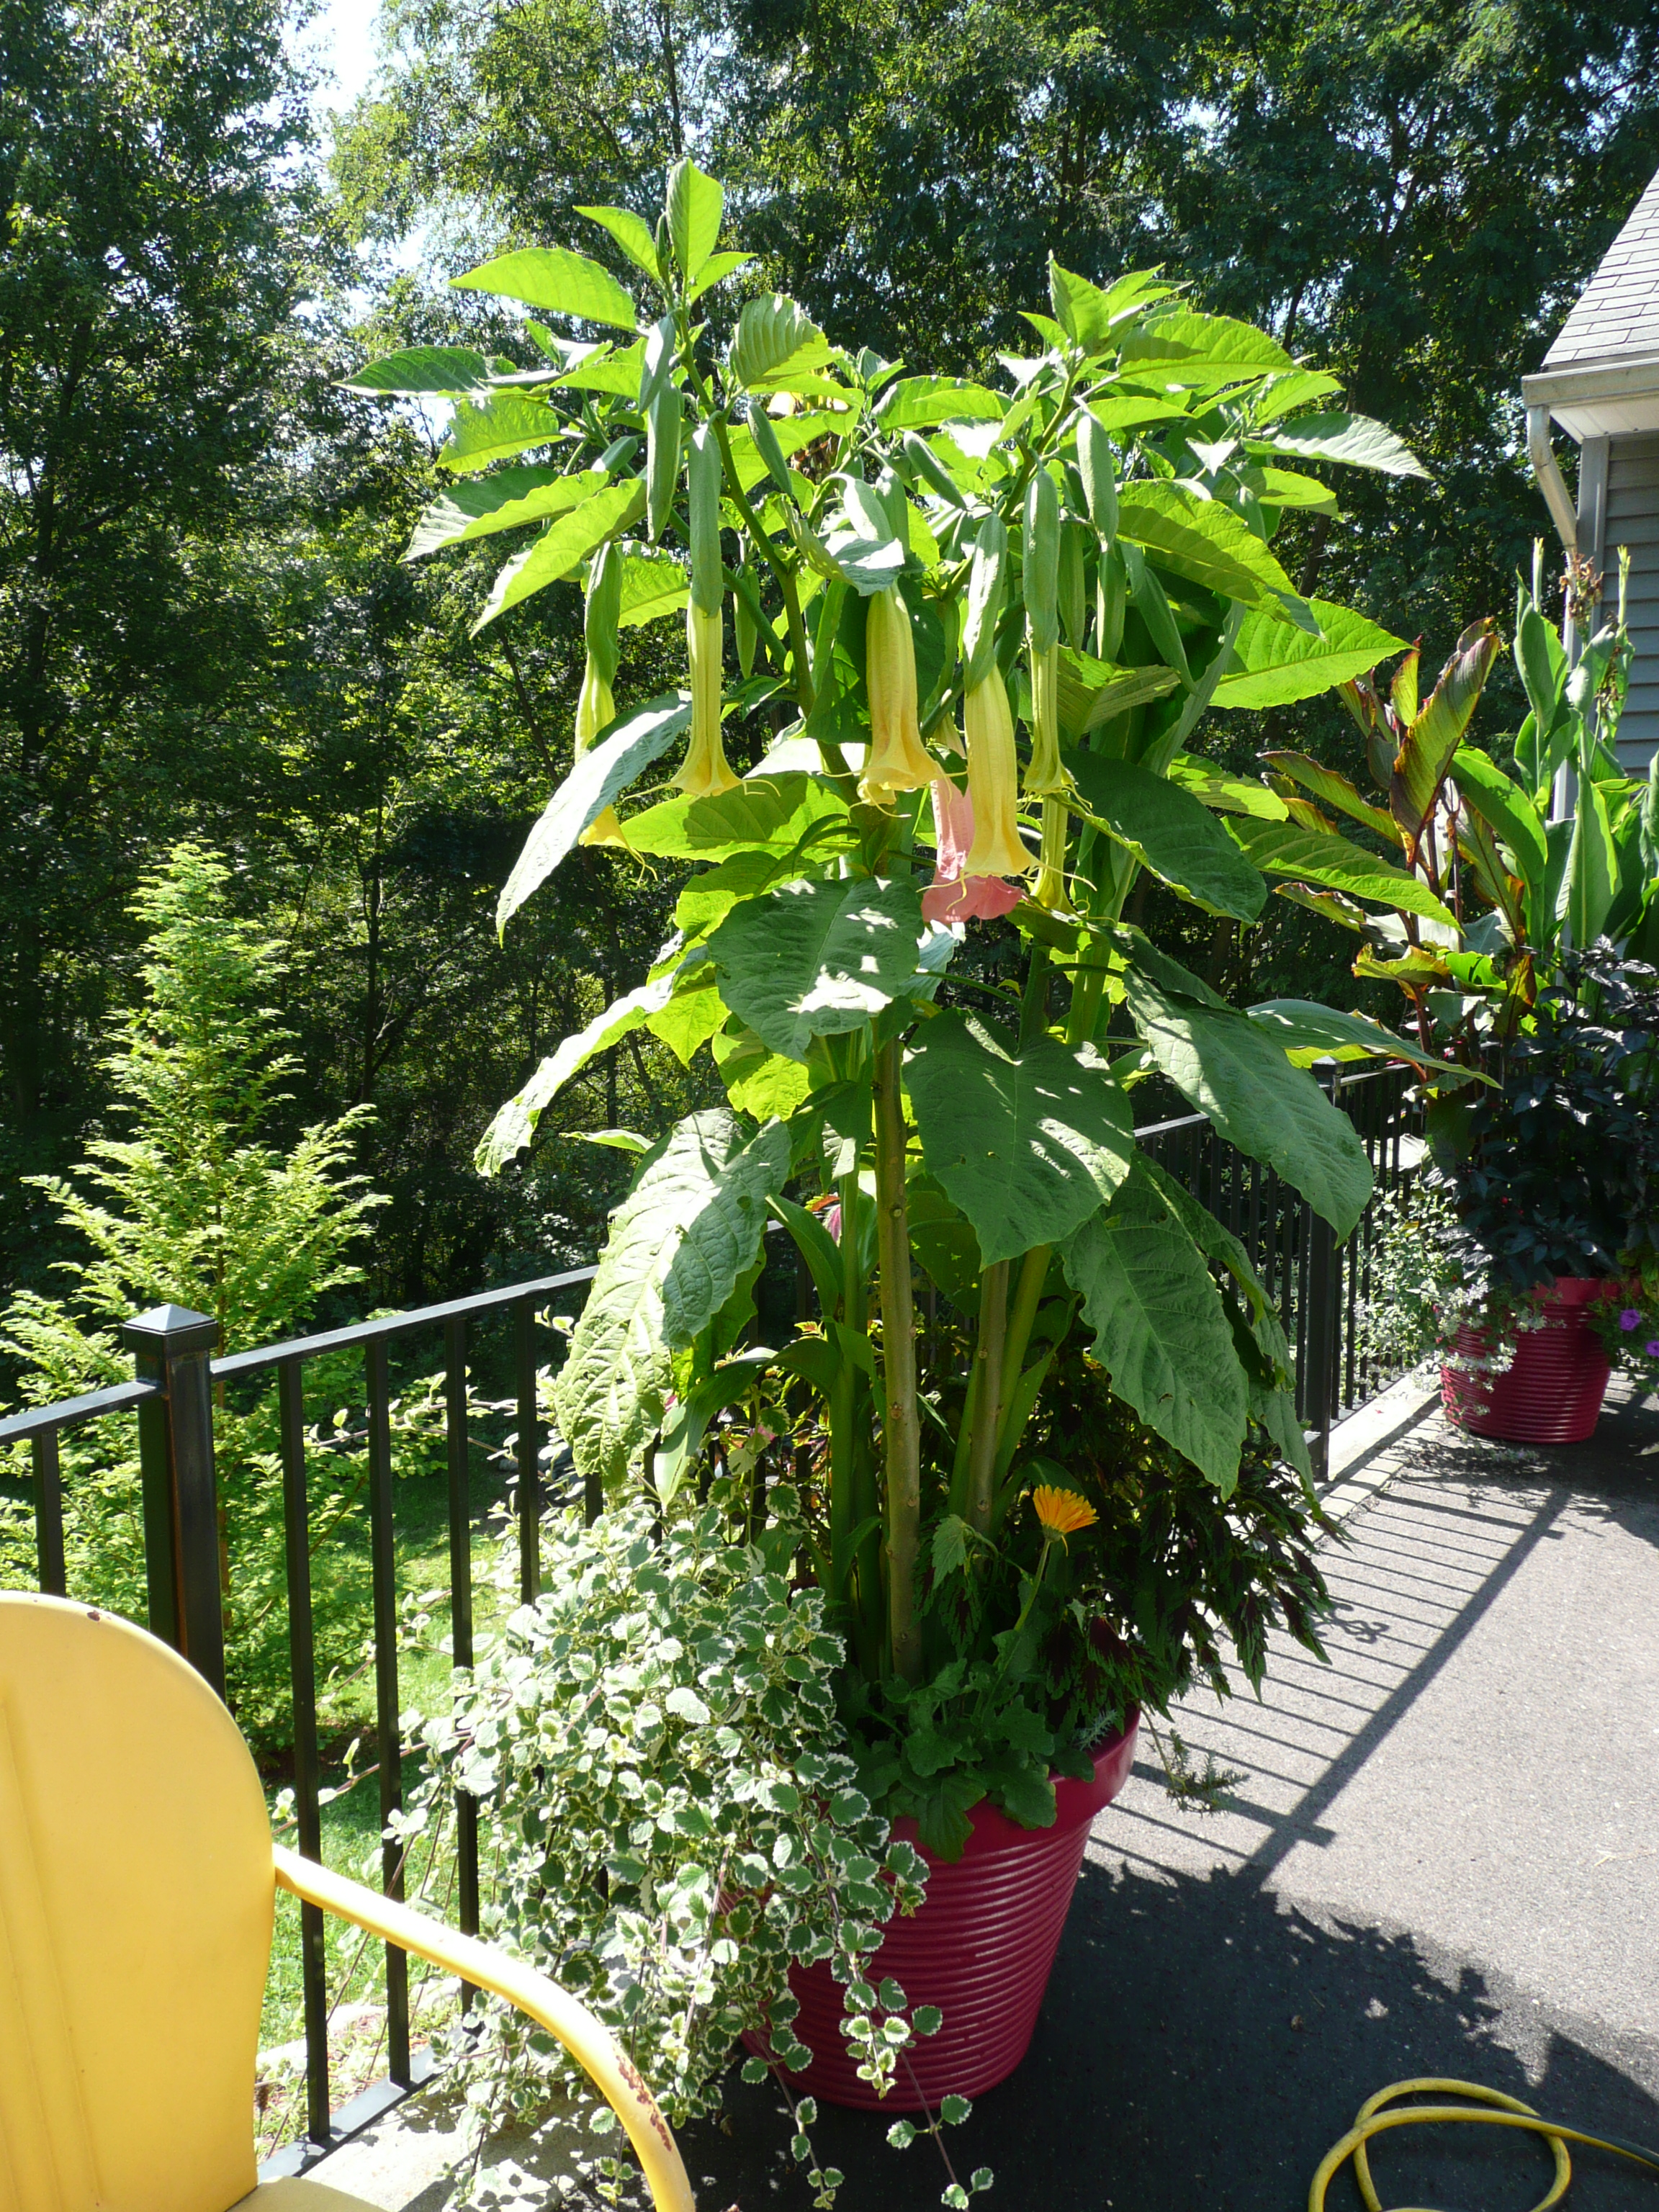
Angel Trumpet from Prior Years – Move inside before frost if you want to keep as a houseplant
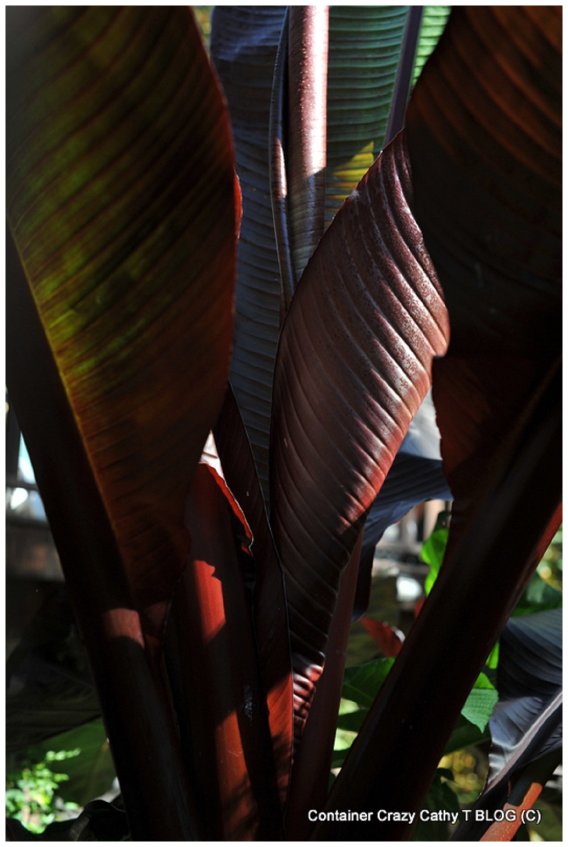
Time to Reduce the Watering of Others
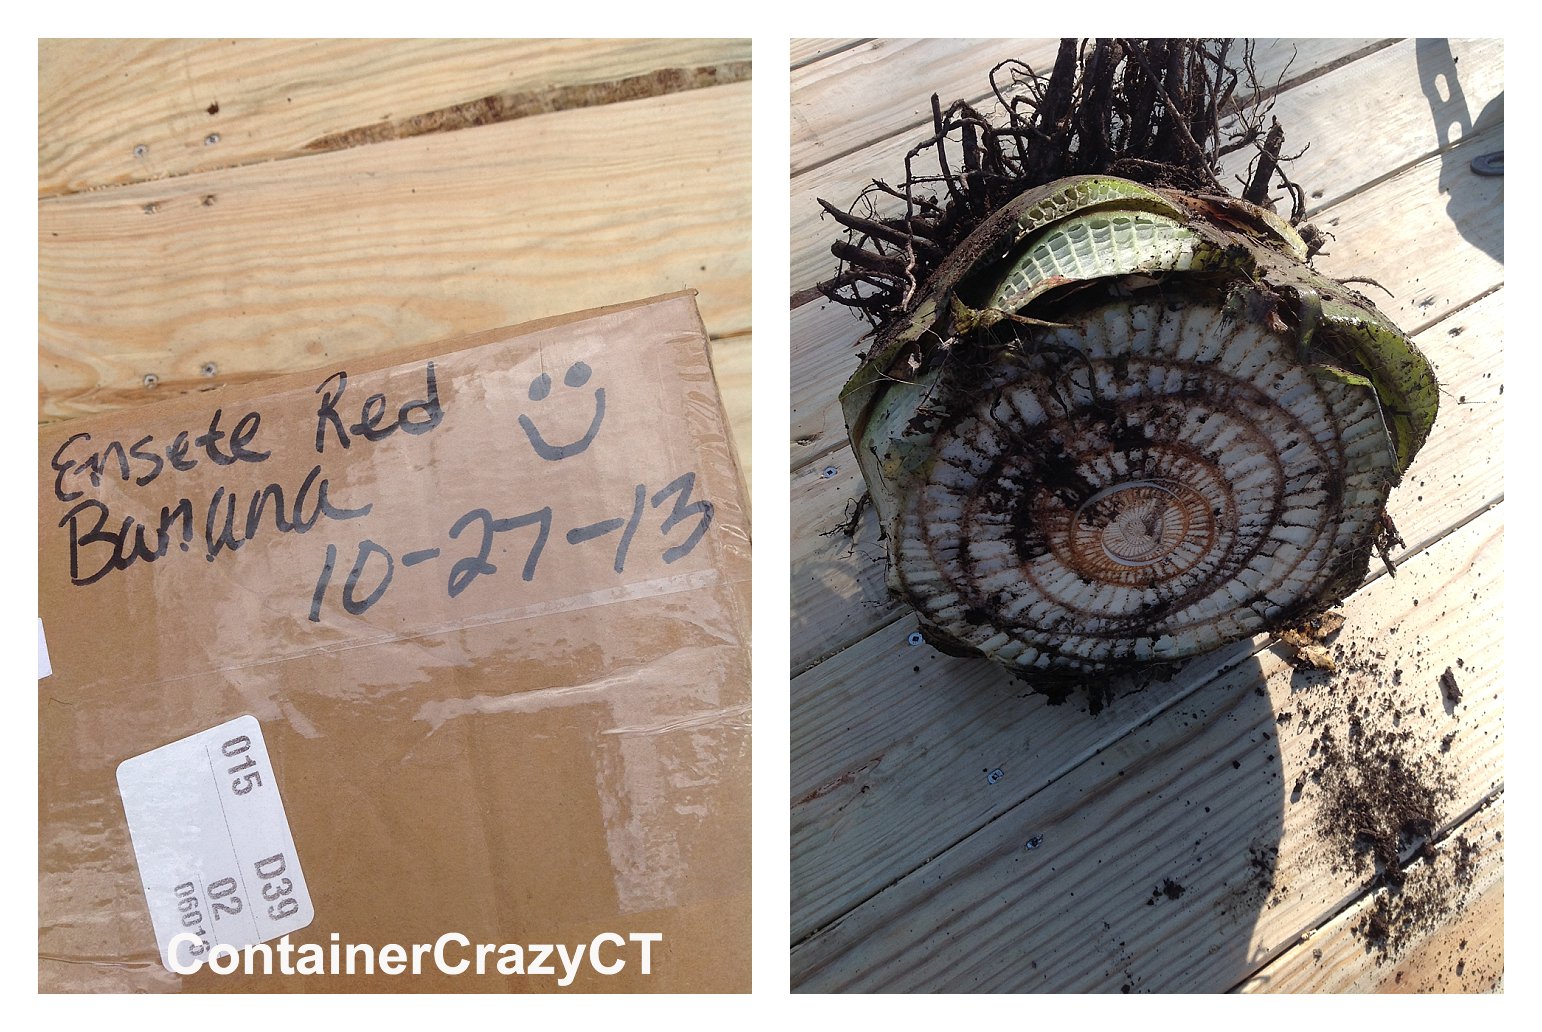
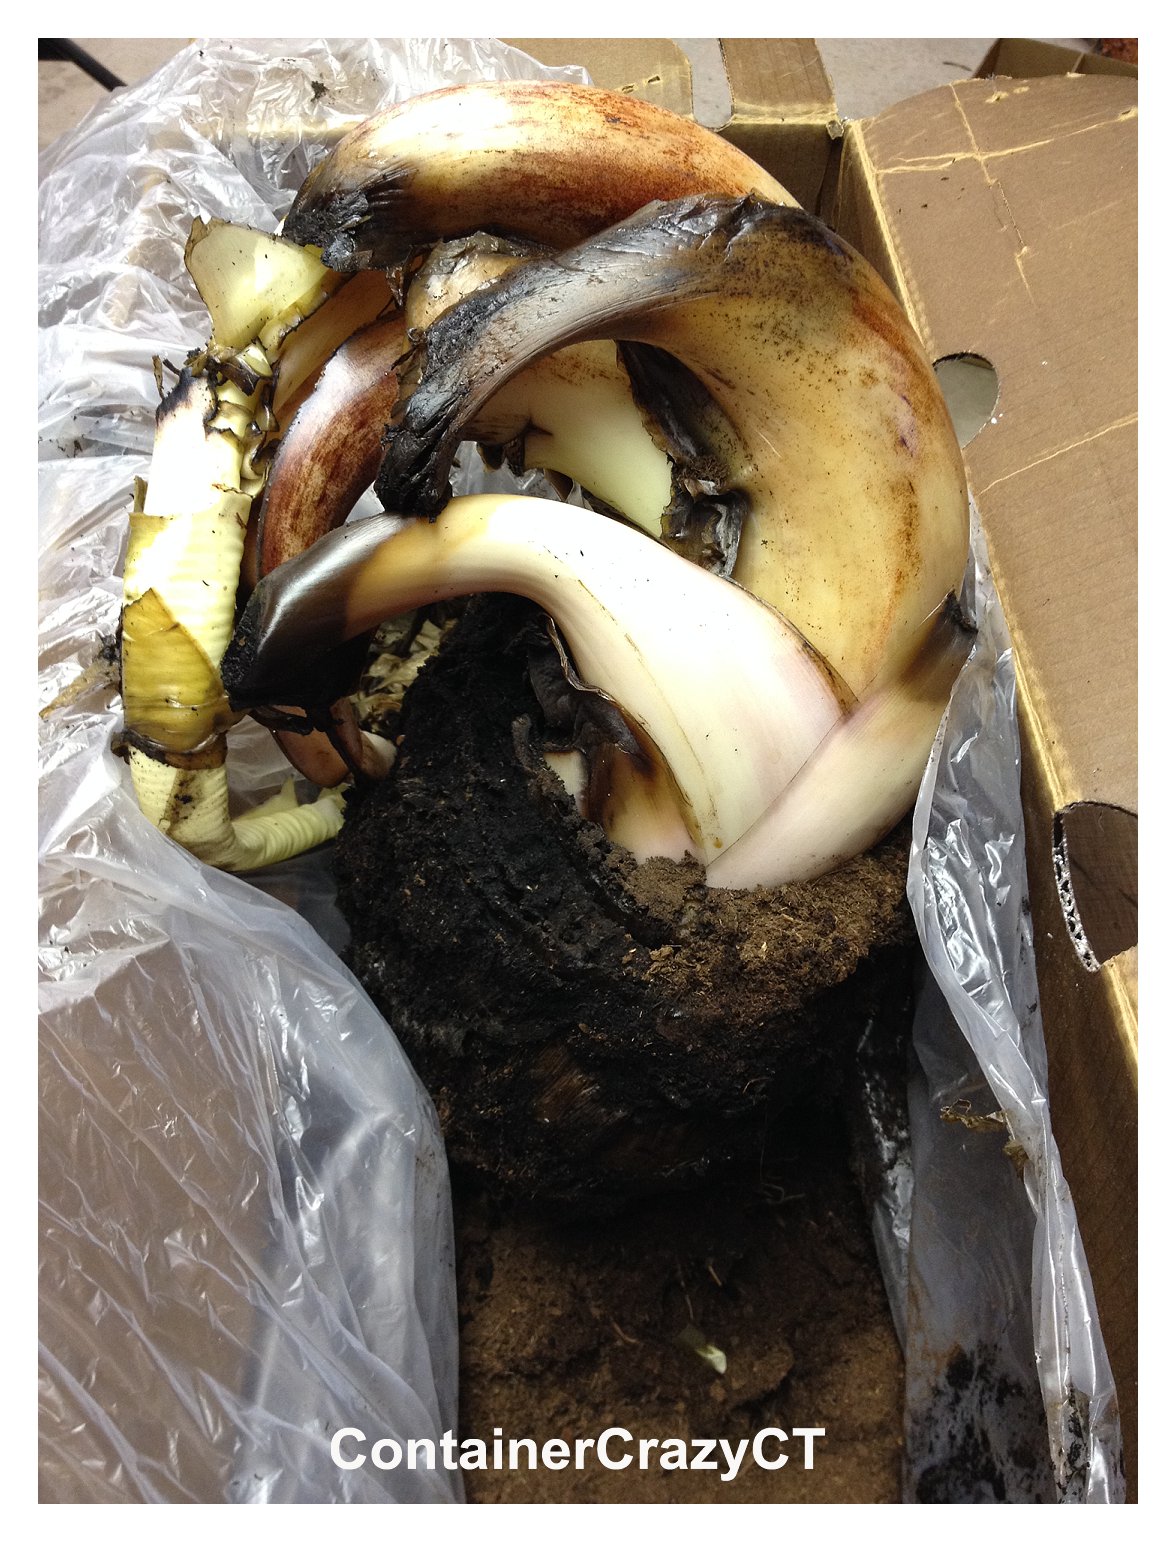
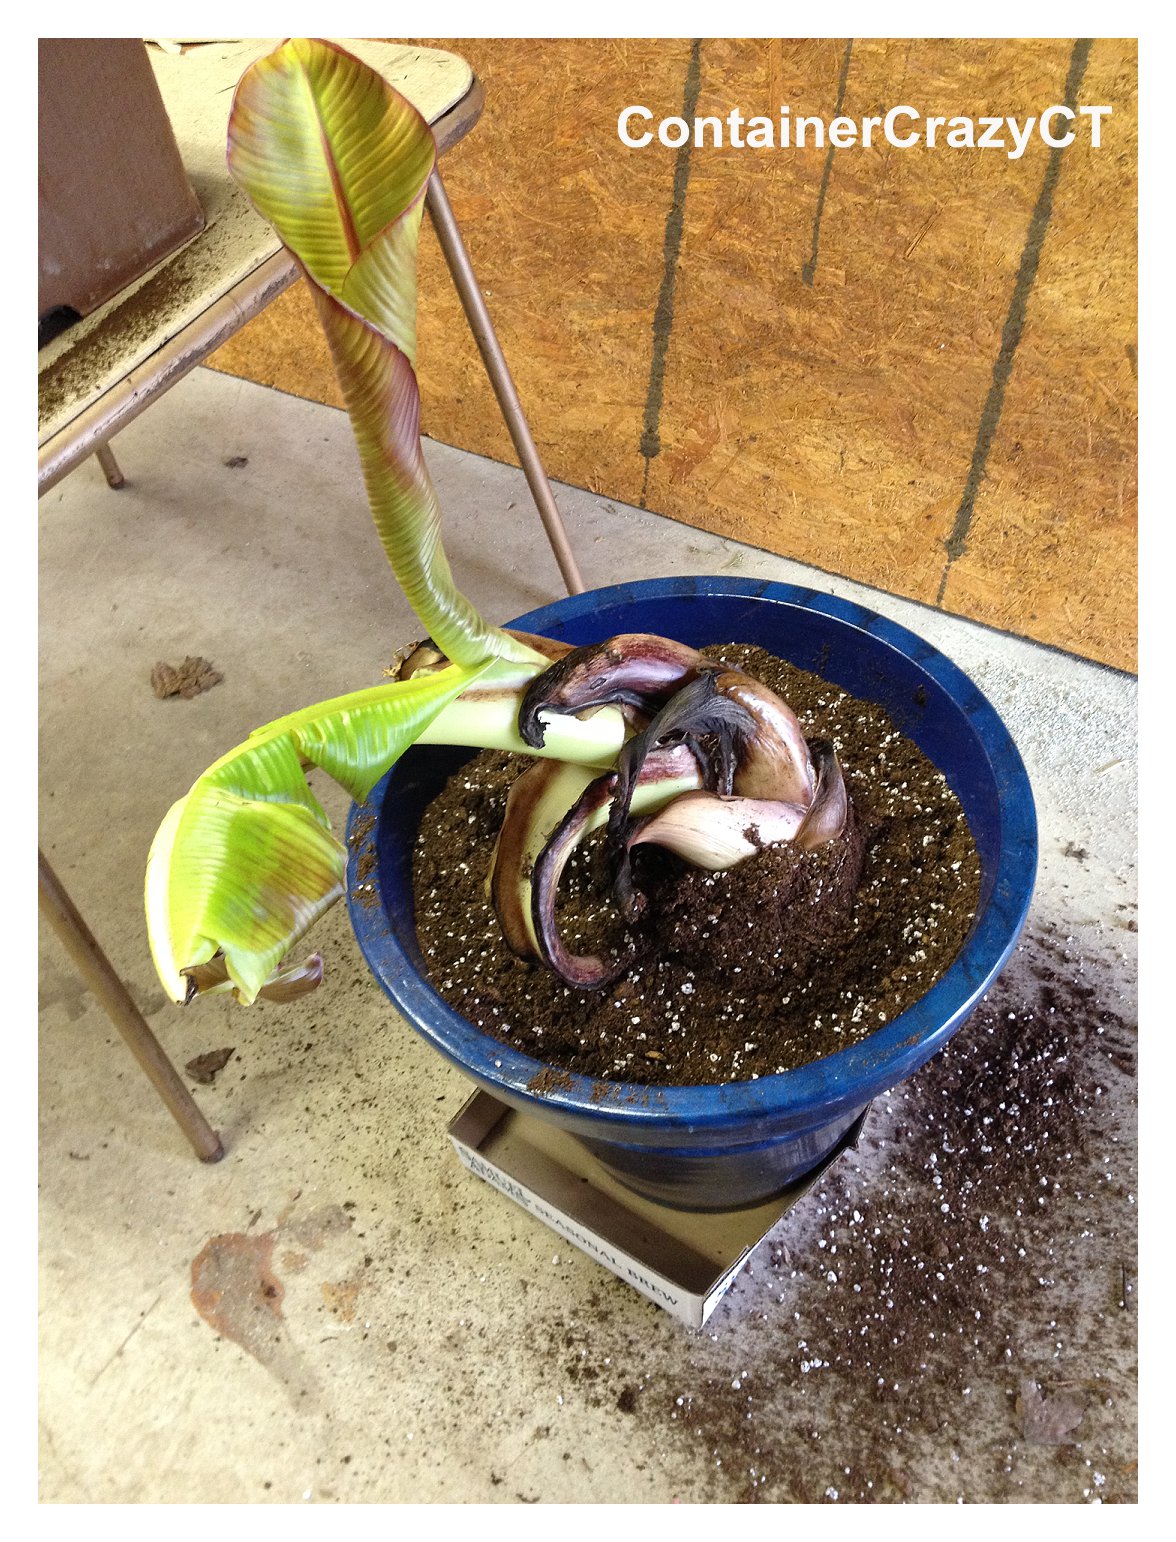
You should also reduce the watering of your Canna, Elephant Ears, or Banana plants in your container gardens. If you were watering them daily, reduce it to every 4 days or so. The cool nights will slow down the plant growth as we transition into the fall season, and if you allow the soil to dry out somewhat, it will be easier to either move your pots into your home if you plan to do so, or remove the rhizomes and tubers below the soil after the first frost hits them in October.
The canna, elephant ears, and banana plants are still booming beautifully right now, and I plan to enjoy them up to the time I have to disassemble my pots to remove the rhizomes or root bases. BUT, if you want to take those plants inside as a houseplant, you want to do so before our first frost in October. Once hit by frost, they blacken and turn to mush.
Watch the weather for the frost warnings in the coming weeks as we get closer to October. And in regards to the Angel Trumpets (Brugmansia), which someone asked about recently, if you wish to move them inside the home, do so before any frost too. Or you can cut this plant back hard and move the pot to the basement.
More details on this will be posted soon – check back in often!
Cathy Testa
Plant Details:
Milk Thistle (Silybum marianum)
Annual Herb, Sun Exposure
Height: 4 feet, Space in the Garden: 24″
Uses: Ornamental (my reason for getting it), Medicinal (learned from friends), and Culinary
Gilbertie’s Herbs was the grower I got it from this year.
Use a big pot if you plan to grow one in a container (22″ in diameter recommended as min.)