Image Courtesy of FreeDigitalPhotos.net/by Sweet Crisis
When I take down my container gardens for the season.
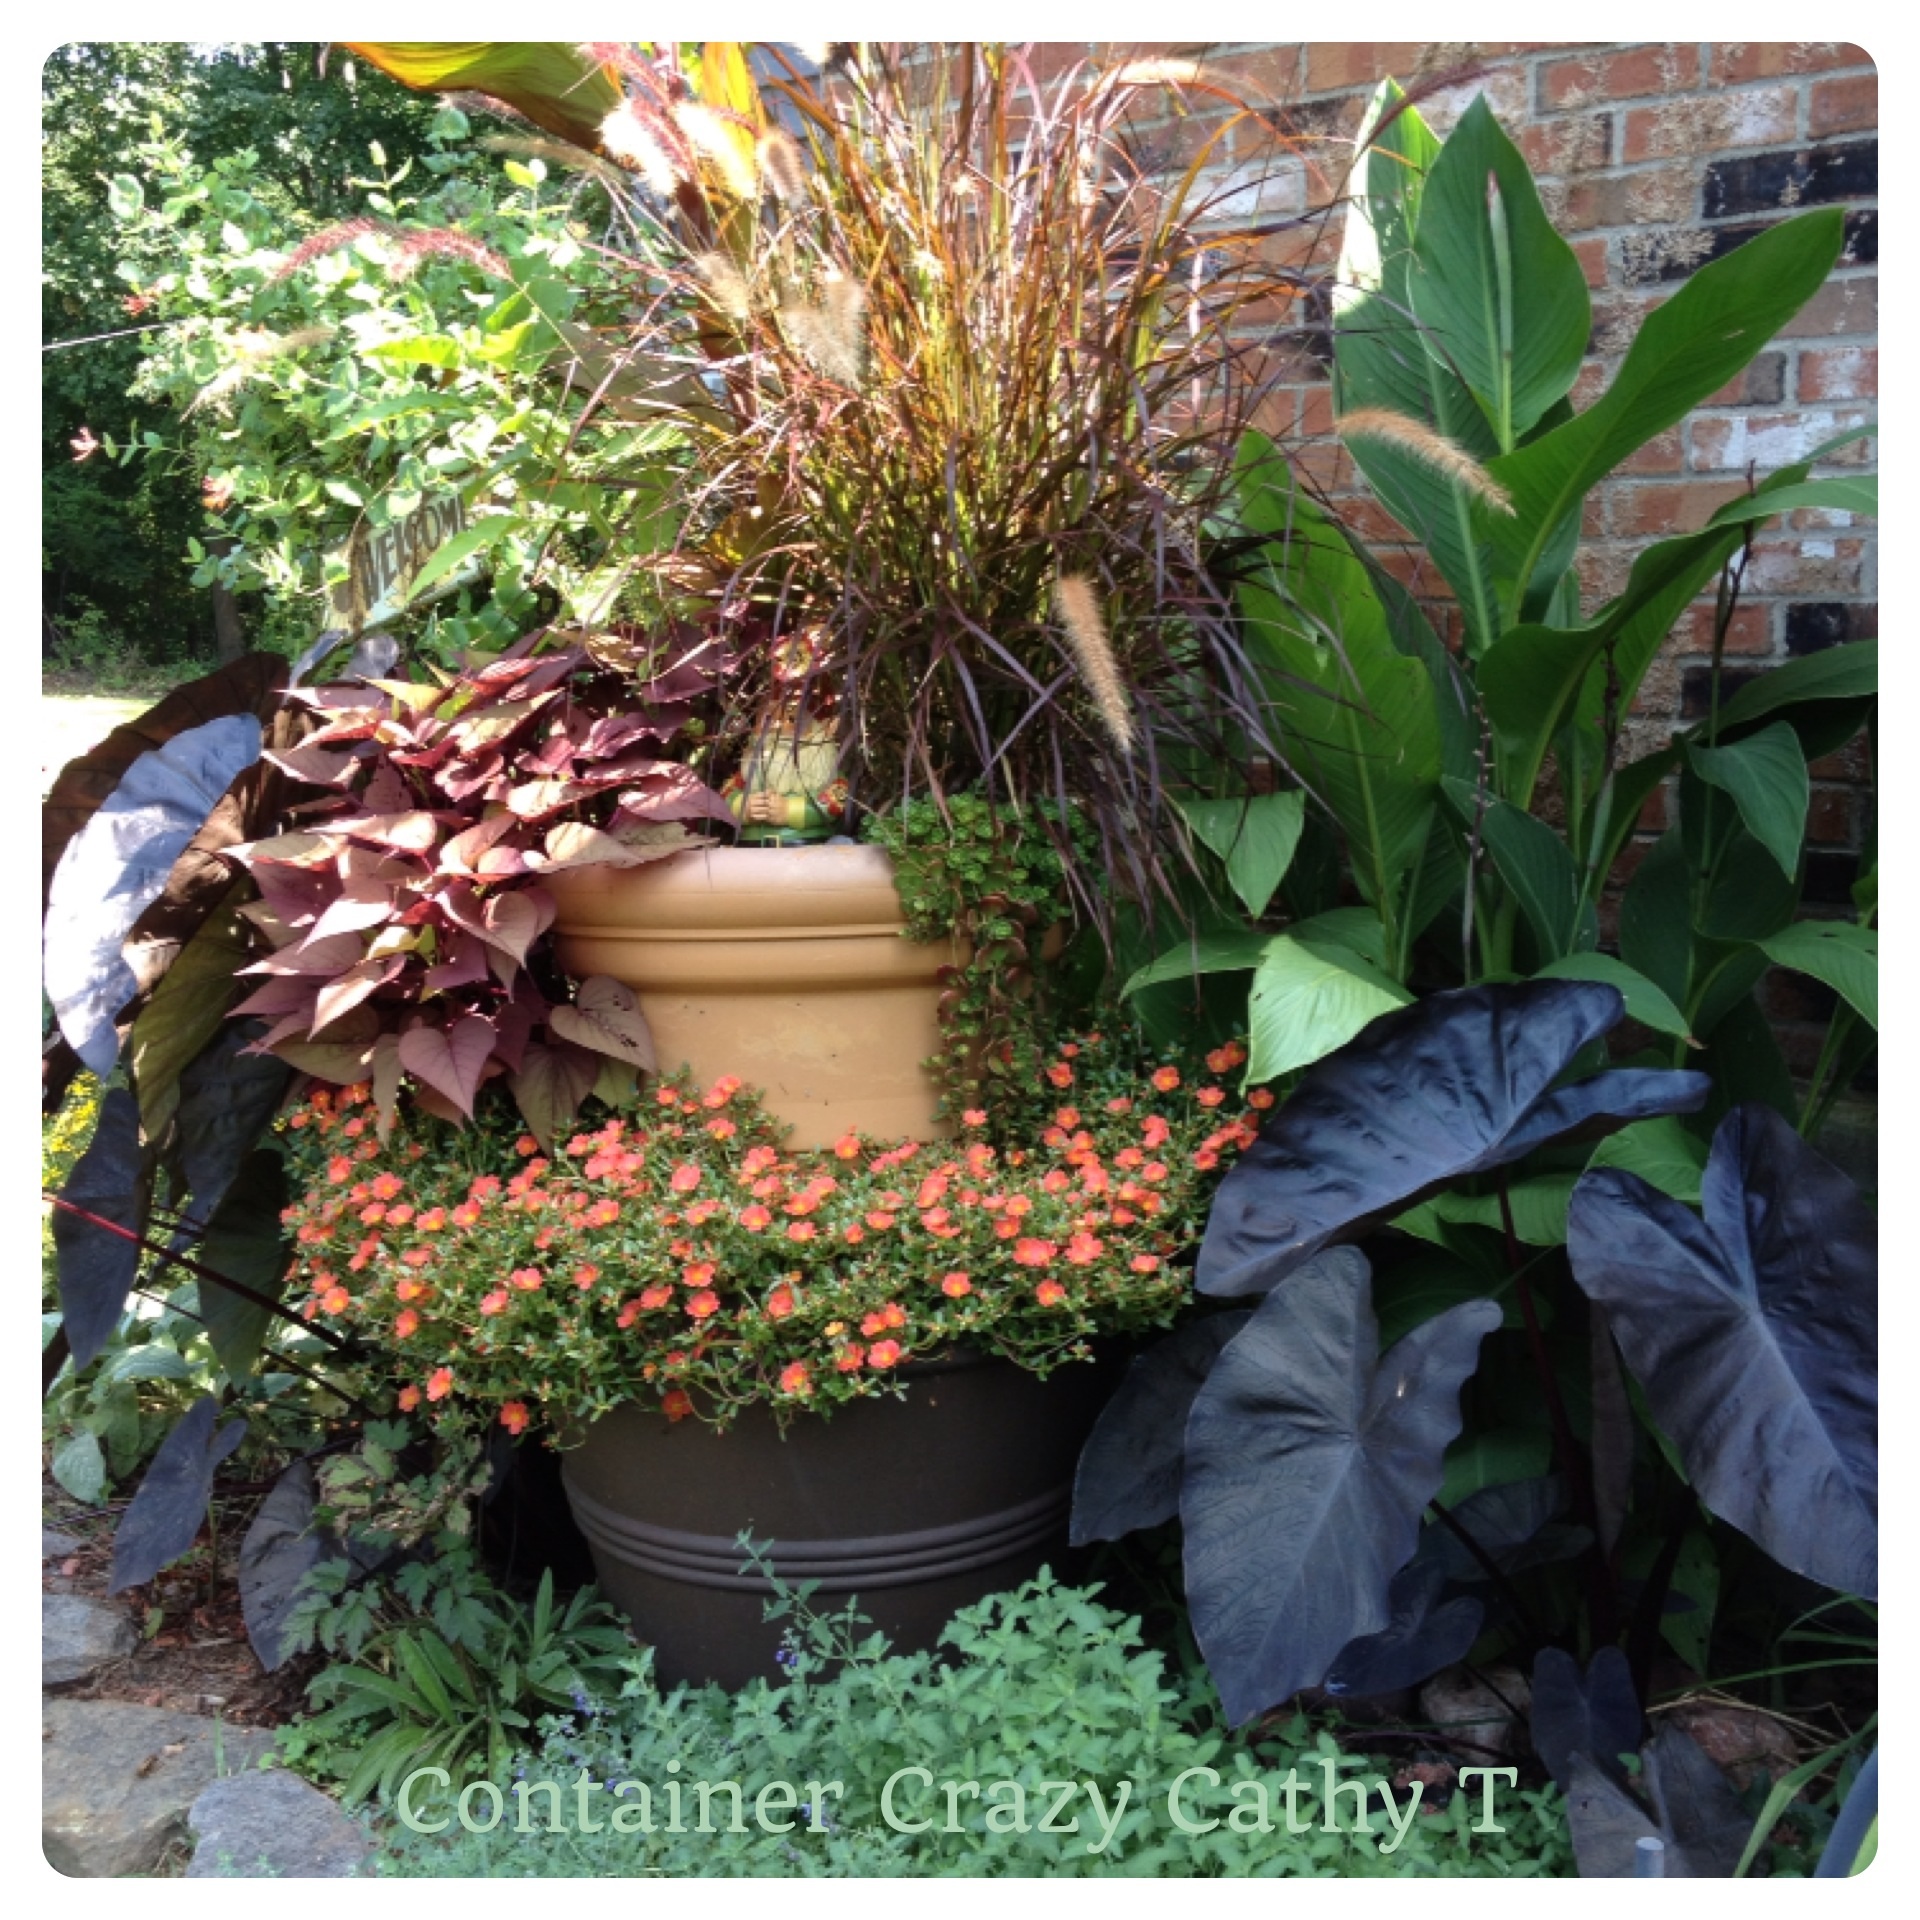
Lifting objects fifty times my weight would be handy right around now when I start taking apart my large container gardens and patio pots on my deck for the close of the season.
Years ago, I had no problem whatsoever doing this process, but as one ages – well, you know, if you don’t keep up with those muscle building routines, it can become difficult. In fact, when I gave talks on container gardens and why “bigger pots are better,” some ladies in the classroom would ask, “How the heck did you manage moving all those big pots?!”
Sometimes I get so excited about container gardening, I instantly find super power energy enabling me to lift heavy bags of container garden soil or other items needed like the big pots. However, during this year’s take down process for my container gardens, I felt a little weak at times.
In fact, I started to tell myself, stop feeling frustrated about taking down your plants in your container gardens! It is part of the process and get into the spirit. So I did some of my work of breaking down the 20+ or so large container gardens on my deck yesterday, and as I was doing so, I thought I’d share some of the things I found frustrating or helpful during the process.

Soil from Containers
GET A WHEEL BARREL OUT
Last year I was lucky. I had a new huge cement planter near my deck and I tossed the left over soil into that, but this year, I had to use my wheel barrel. At first, however, it fell over from the weight of the soil falling from the deck level above into the barrel as I tossed it over the railing. So I attempted to move my pick up truck to the deck, well, that didn’t work. It was too difficult to maneuver the truck to the corner of my deck.

So, it was back to using the wheel barrel. After getting a big lump of a root ball or two into the barrel, it stabilized and I was able to continue dumping the soil into the wheel barrel receptacle from above. I will use this soil in the ground somewhere to recycle it as it doesn’t do well being reused in my container pots next year – It is best to have fresh container gardening soil each season, in my opinion, but to use it as a top dress to a garden bed or for a new garden bed is a good idea.
PLASTIC LINERS FOR POTS
In my container garden demonstrations, I show folks how to line their containers and patio pots with plastic liners (which must have slits and holes cut into them for drainage). The reason I started doing this many years ago was more to keep the containers in good shape, but it also turns out to be a very effective method for slipping the whole root ball out of the containers at the end of the season. The roots circle a bit around the edges within the liner, and it forms a nice ball or chunk when you are ready to take the plants and soil out. It is a great tip for plants like Canna plants because they get large rhizomes and roots in the soil, making removal difficult. So I was happy my liners were working perfectly as I was removing the soil from my pots.

Foliage being Tossed into a Bin.
CUTTING ALL THE STEMS AND FOLIAGE OFF
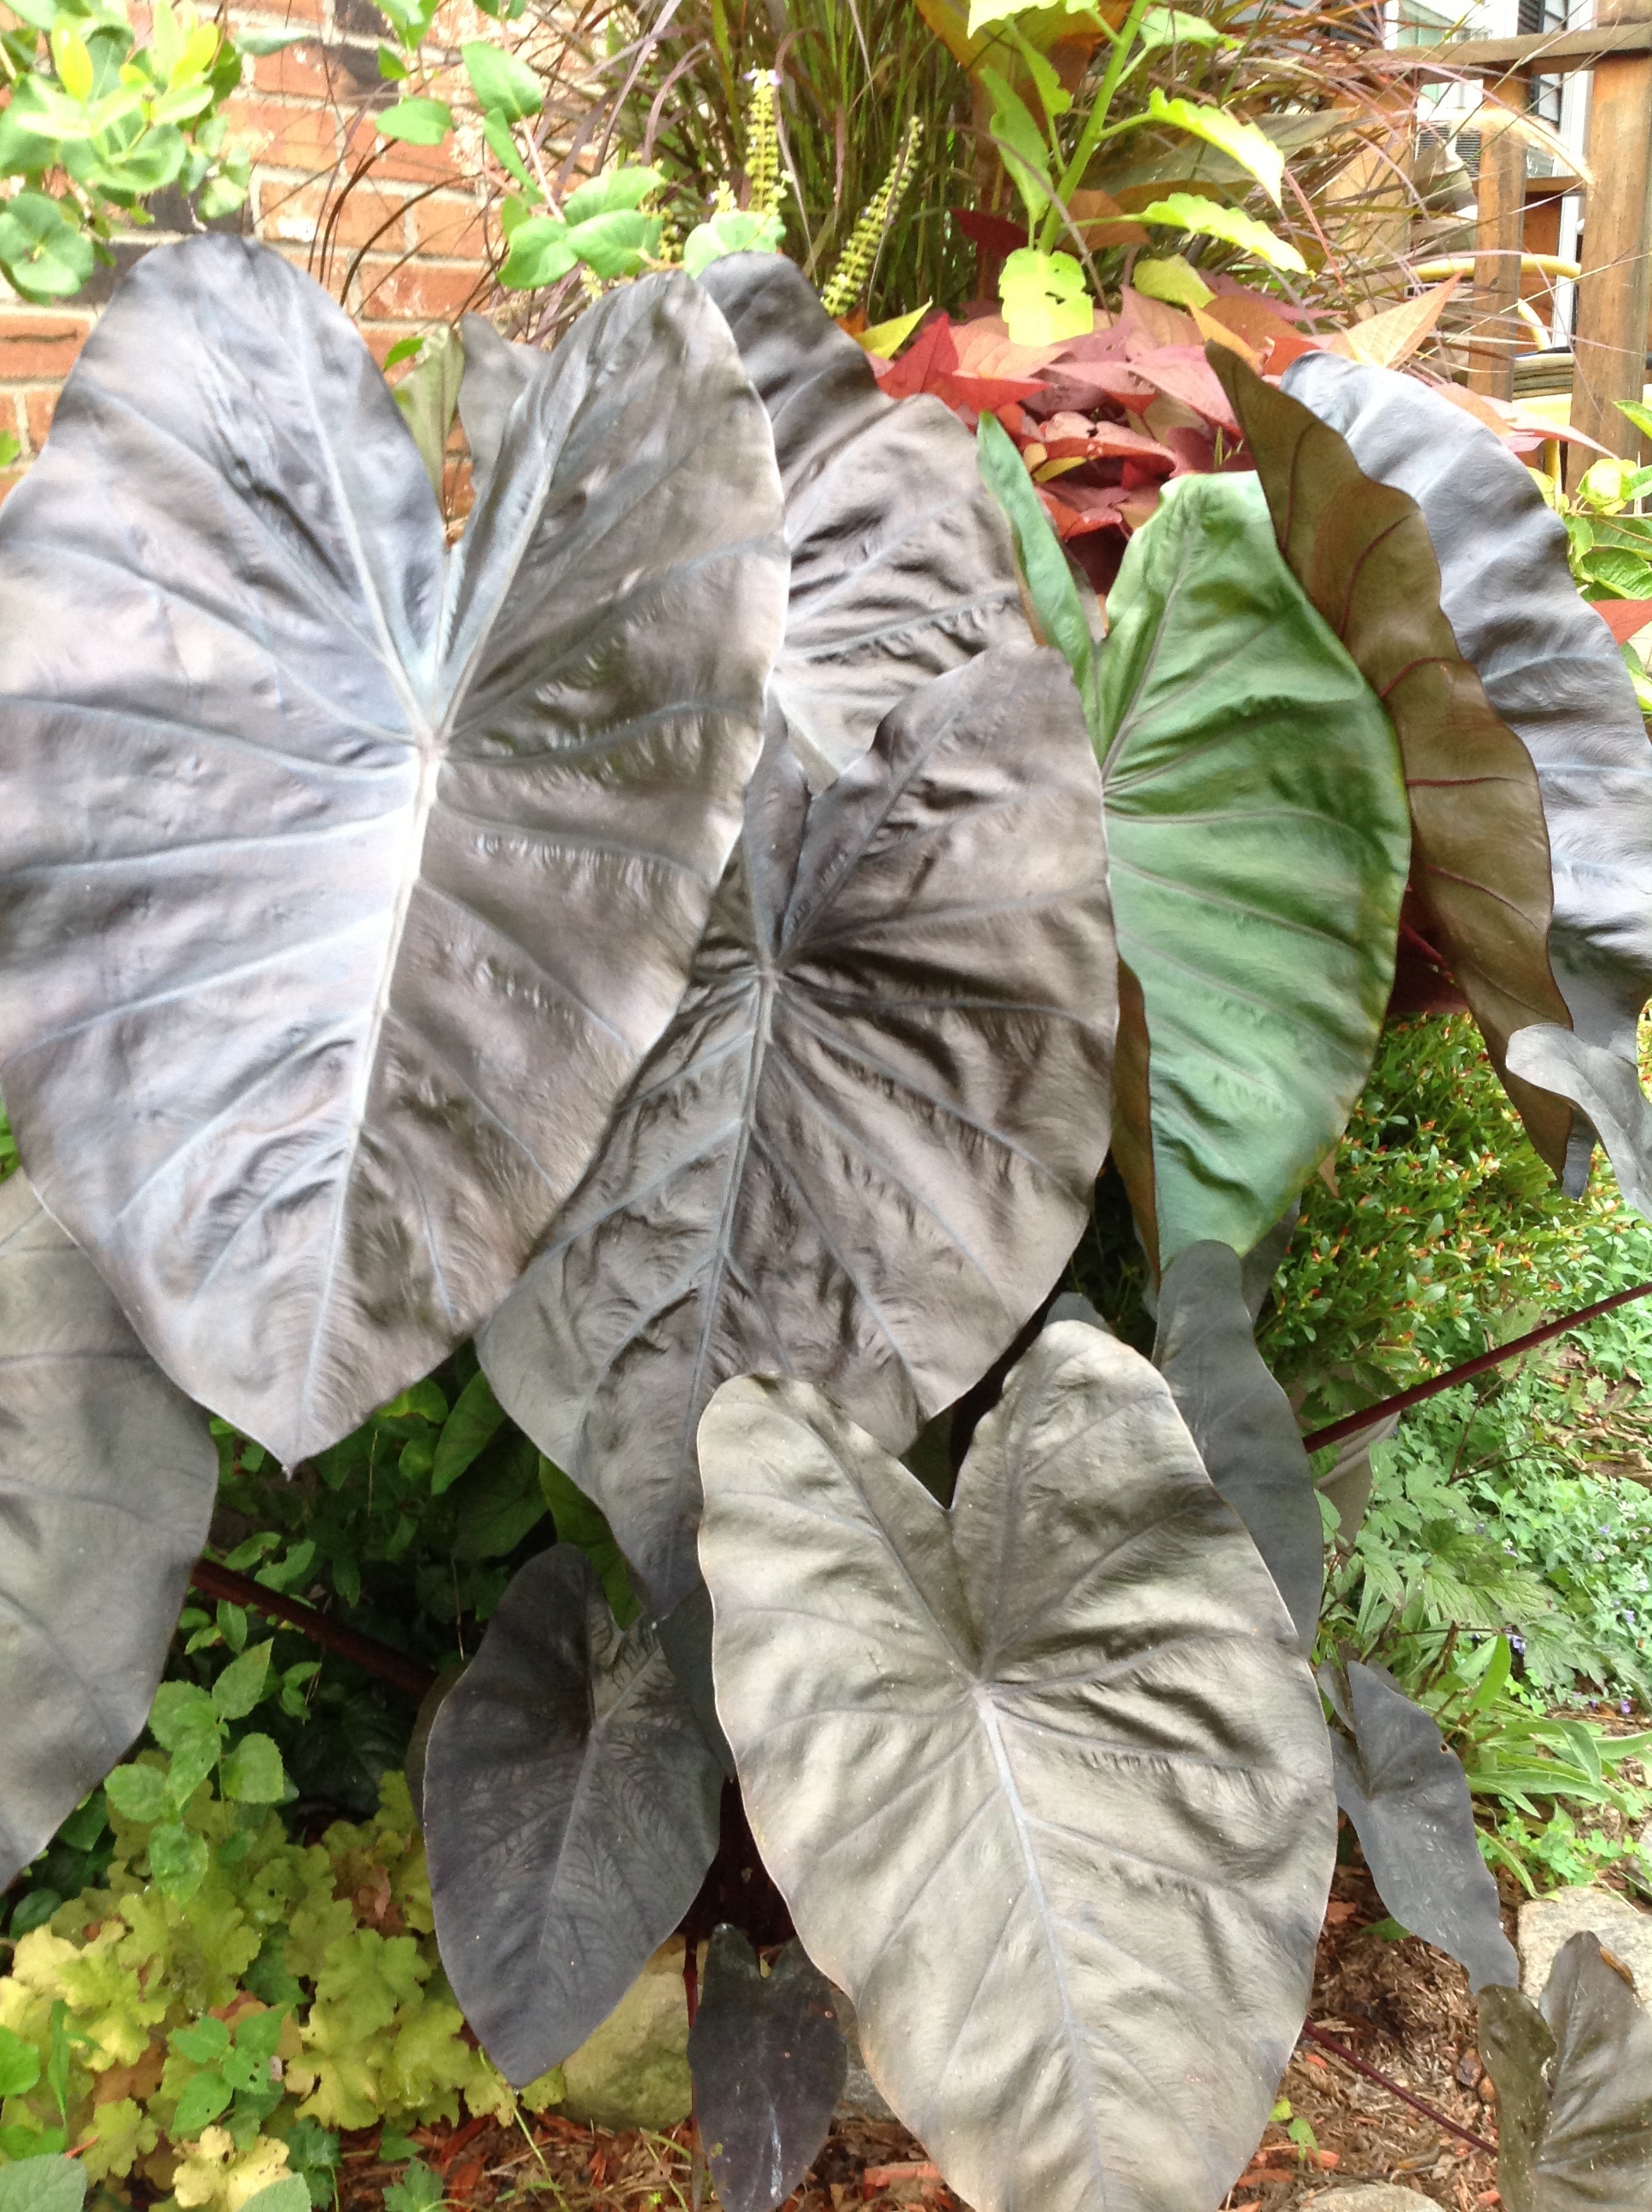
Before slipping the soil out of the pots with the liners, I cut off all the foliage and stems to about 4″ from the base for plants I’m tossing in the compost pile. The little stub of a stem helps to lift the root ball out of the pots, at least in sections or chunks. The key here – use good sharp pruners or a serrated knife for large stems, and make sure to clean or disinfect them so you don’t spread any yuck (diseases) around, even during the take down process, clean tools are important. I tossed my cuttings into a large bin on my deck, another item which came in handy as I was working. It is easier to take all the foliage off before trying to move pots to a location or to the spot where I was tossing out the soil into my wheel barrel. Seeing the cut off stems of my elephant ears made me sad, and also made me think that I should have setup a station to make leaf imprints in a concrete mix as a side project at this time, especially because I have plenty of leaves to use, but that’s another crafty project requiring time.
WASHING THE POTS
Sometimes I feel a little lazy, but I force myself to wash the pots with a little soapy water, and a soft brush to clear away any soil residue left in or on the pots. Then air-dry the pots completely before moving the containers into a garage or shed. It is important to not skip this step. Cleanliness is so important for your plants when you begin again next spring to replant your containers. It greatly reduces, if not eliminates, potential plant diseases or problems and you will be happy you cleaned them the year prior.

My Big Kalanchoe, Going to a Foster Home.
FINDING NEW HOMES
For container plants which I can not fit into my home (yup, read my blog earlier about greenhouse procrastination), I stand there contemplating where I can fit this – or should I give the plant to a friend or family member with a bigger house? The one I’m struggling with right now is my Kalanchoe (paddle plant). It is HUGE. I know I can easily propagate some with cuttings, but I keep looking at it saying, should I cram it in my bedroom again to keep it alive all winter? Or give it to my sis in law with a big open bright living room with lots of windows? Oh gosh, the challenges!! I don’t know.
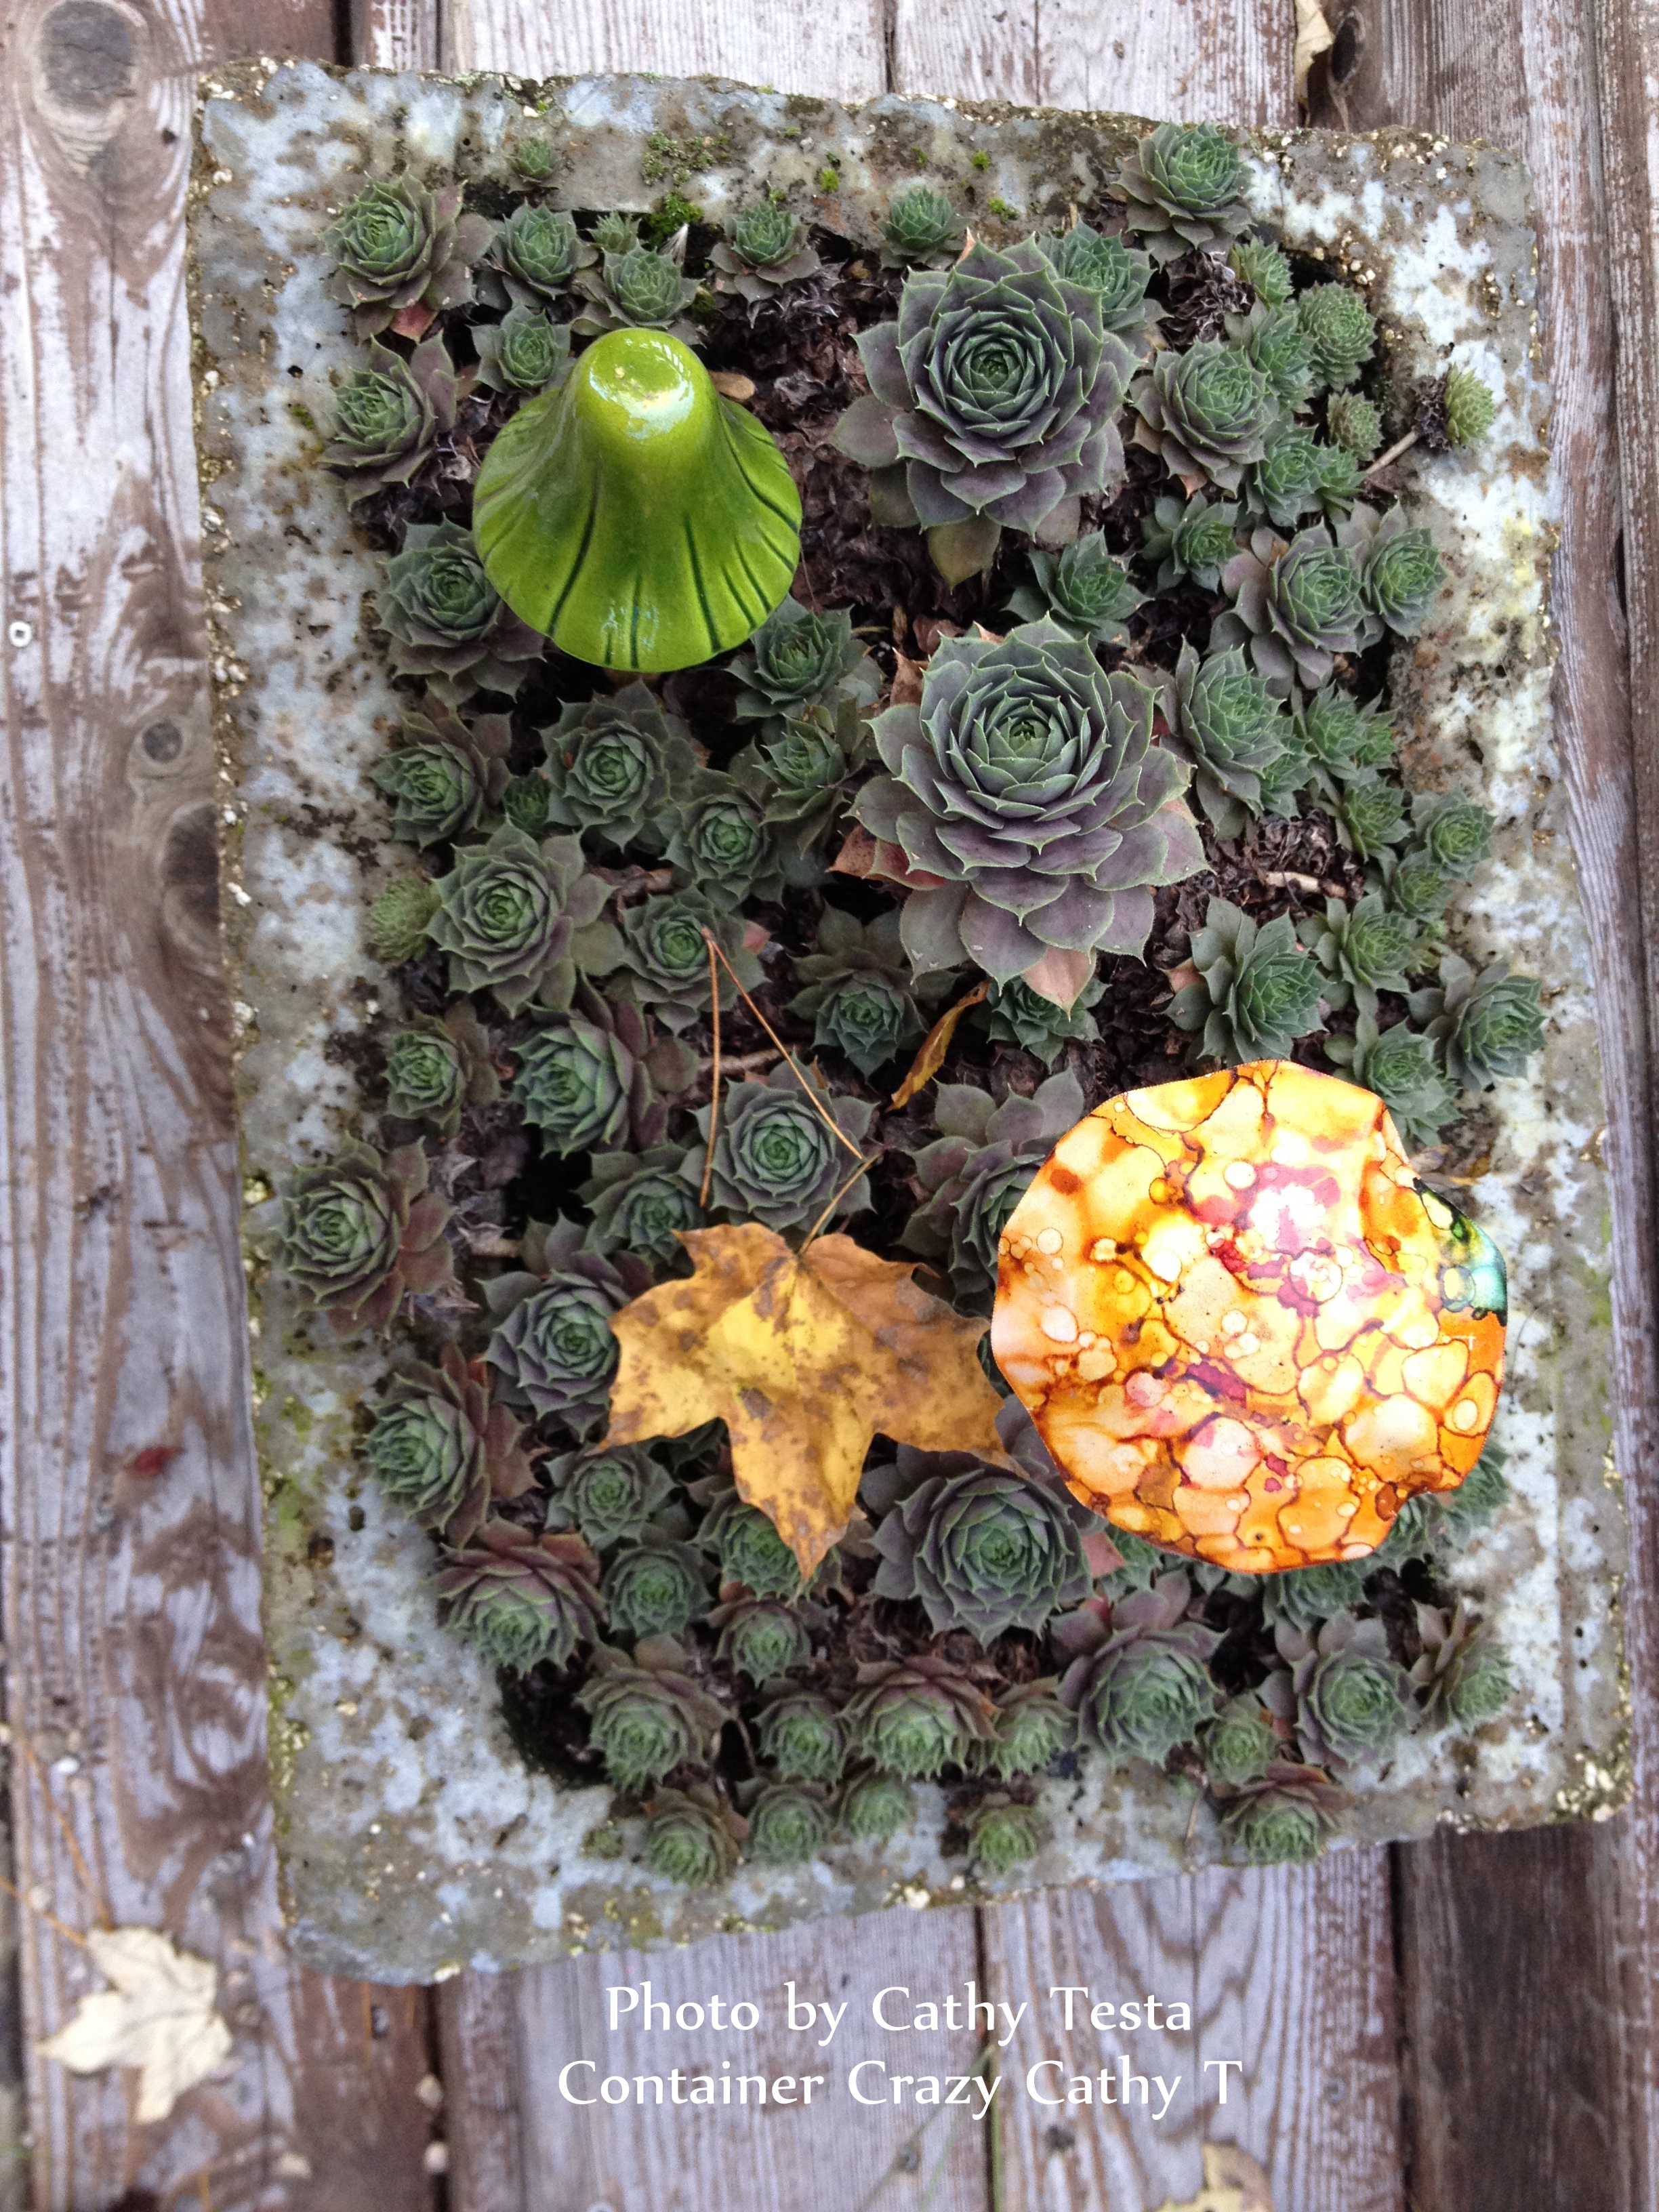
Hypertufa at End of Season.
I also have a beautiful hypertufa stuffed with Sempervivums (hens-n-chicks). They are pretty tough, can go really dry all winter with little watering, but I don’t have room in my kitchen garden window because I put my head planters there. Gosh, where will this one go?
These are the challenges I face, never mind the fact I just don’t want to stop admiring my container garden plants outdoors, but winter is coming.
HAVING A GLASS OF WINE
Another downfall, or plus depending on your point of view, is that I started feeling like I wanted to have a glass of wine and enjoy my deck. It is one of my favorite spots at my home. If you were to ask me – What is your favorite spot? Well, it is our deck. I always feel like it is a vacation spot or oasis with all my big tropical plants every summer. I get to decorate it with all my garden decor, and it faces a private backyard, so it is really a retreat. So because I was out there on a nice, sunny fall day, and being around my beautiful plants, I felt like, gee, I should relax and have a glass of wine. So I did after I disassembled about five or so of the smaller of my big containers. Today, I will tackle the bigger ones. This will require a hand-truck, some patience, and strength.
Wish me luck!
Cathy Testa