Yesterday I started the process of taking down my tropical Alocasia and Ensete plants from my container gardens and patio planters at home. It was a nice sunny day, and it is much more pleasant to work on them in the fall when the weather is not cold or too wet. These tropical plants must be removed and stored over the winter because they do not tolerate our cold winters here in Connecticut in pots and planters.
Here’s a photo of the plants I took out of the planters.

And here are my tools:
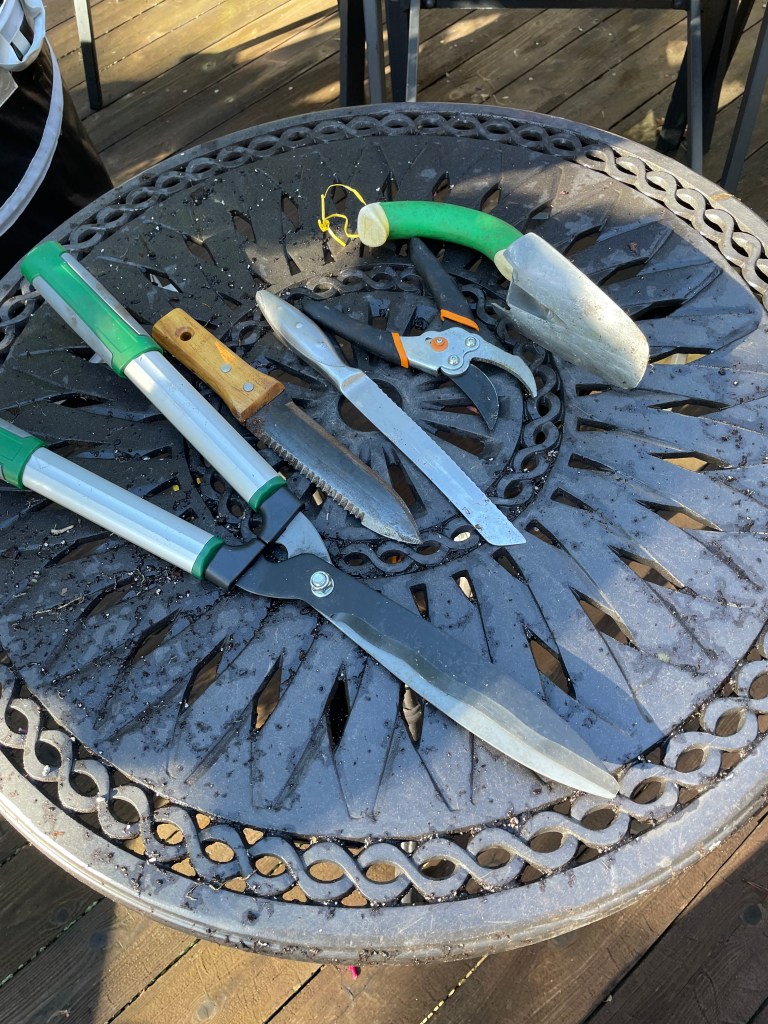
Garden Sheers, Hori Hori Garden Knife, Kitchen Serrated Bread Knife, Pruners, Trowel, and Small Shovel.
Cutting off the foliage and stems
Cutting back the foliage is the first step and is relatively easy to do. Using the garden sheers or the kitchen serrated knife works perfect. I recorded several videos of me doing this and posted them on my Instagram page as well as my Facebook pages under Container Crazy CT if you wish to see how I used the tools to cut all the foliage back. Here are the links:
https://www.instagram.com/containercrazyct/
https://www.facebook.com/containercrazyct
For the Alocasia (upright type), I cut off all the leaves with stem (petioles) attached about 6 to 9 inches from the base of the plant. After getting all the foliage off and tossing the items into the compost, the next step is to dig out the base of the plant. This is the area where the corm is at the base (often covered with furry looking or papery material and has the roots attached at the bottom), and up to where the petioles grow from and up to the green part of the plant. Sometimes you will see little round suckers forming at the bottom of the base. For the purposes of this post, I’ll refer to the whole thing as the “base of the plant.”


The components of the Ensete (red banana plant) are a little different than the Alocasia (upright elephant ears) because it does not form a corm per say as the Alocasia does. It is basically like a big stump, with the roots at the bottom. When I cut the leaves off the Ensete, notice I use a knife and cut away from the plant base to avoid nicking or damaging the trunk. Technically, it is called a pseudo-stem formed by the leaf bases but for ease of writing this blog post, I call it the base or the trunk when it comes to the Ensete (red banana plant).
Dig out, Upside Down to Drain, Air Dry
In both cases, the fleshy material can be damp and contain some water so after I dig them out, I lined them up upside down to allow water to drain before laying them on a table in the sun for a few days to dry out some more. If the weather is rainy, I move these into the basement to dry out on a table.
I will trim the roots somewhat so there isn’t as many roots as possible to deal when they are stored in a box. The boxes I use are cardboard with air holes made in them with a knife – slits basically. In a prior post, I talked about how I store the upright Alocasias differently than the regular elephant ears. In my experience, these upright elephant ears store better in a dry and dark state versus a damp and dark state.
I allow the plants to air dry and then I place the base (as shown above) inside a cardboard box that will not allow any light in, and I put the box in a cool, dark place in my basement. I will check them in a few months to see how they are doing. Storing my upright Alocasias this method worked very well last year.
In years prior, I had stored most of my tropical plant bases in plastic bins, with air holes drilled in the top covers, and in some slightly moist peat. This worked well for my Canna Lily rhizomes and regular elephant ears, but I started to see rot on the upright Alocasias and learned dry storage was better for those types of tropical plants. Either way, if you discover the bases are rotting in the boxes, it is best to toss them out. And try again next year.
Now back to how I dig them out of my planters.
The Hori Hori knife is my go-to tool first. I basically stick the knife straight down into the soil and dig around it (the base of the plant) to cut the roots under the soil. I’m careful not to hit the corm or any part of the plant below but I can hear the roots crack as I saw around them with the Hori Hori knife. Sometimes that is all it takes. If that doesn’t get it out, I use a small shovel to dig more around the plant and then I rock the base back and forth with my hands and eventually it comes loose from the soil.
Timing
You can do this process before or after CT’s fall frost, but again, when it is cold wet and frosty, sometimes the corms will start to rot in your pots, so I like to do this “take down” process before things are mushy and wet. It always works for me. I usually do this mid-October when are days are cooling down.
I do brush off or use a leaf blower or just my gloved hands to remove the soil around the roots and the base of the plant base as much as possible. By the way, gloves are mandatory for me – the sap from these can make your hands itch and it is difficult to wash off – so I always wear gloves.

My sister-in-law gave me this bin this year and wow, I wish I had this for years prior. It is so handy. I toss all the foliage in there and toss into the compost.
Check the bases later
As noted above, I will check on the stored boxes of these periodically. Here’s a post I did last March when I check on them and they were doing well. You can see I used newpapers to make a bed for them and how the green is slowly fading on the photo below and eventually it goes dry.

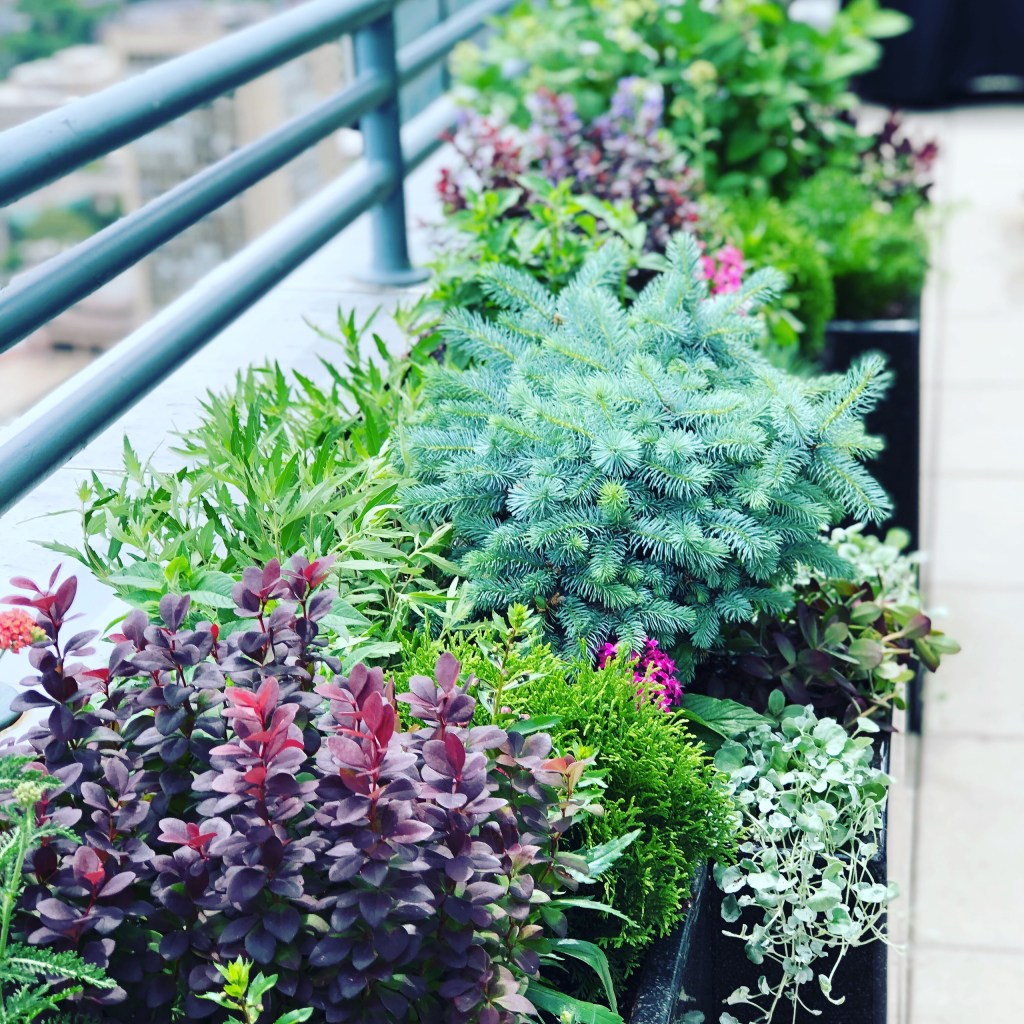
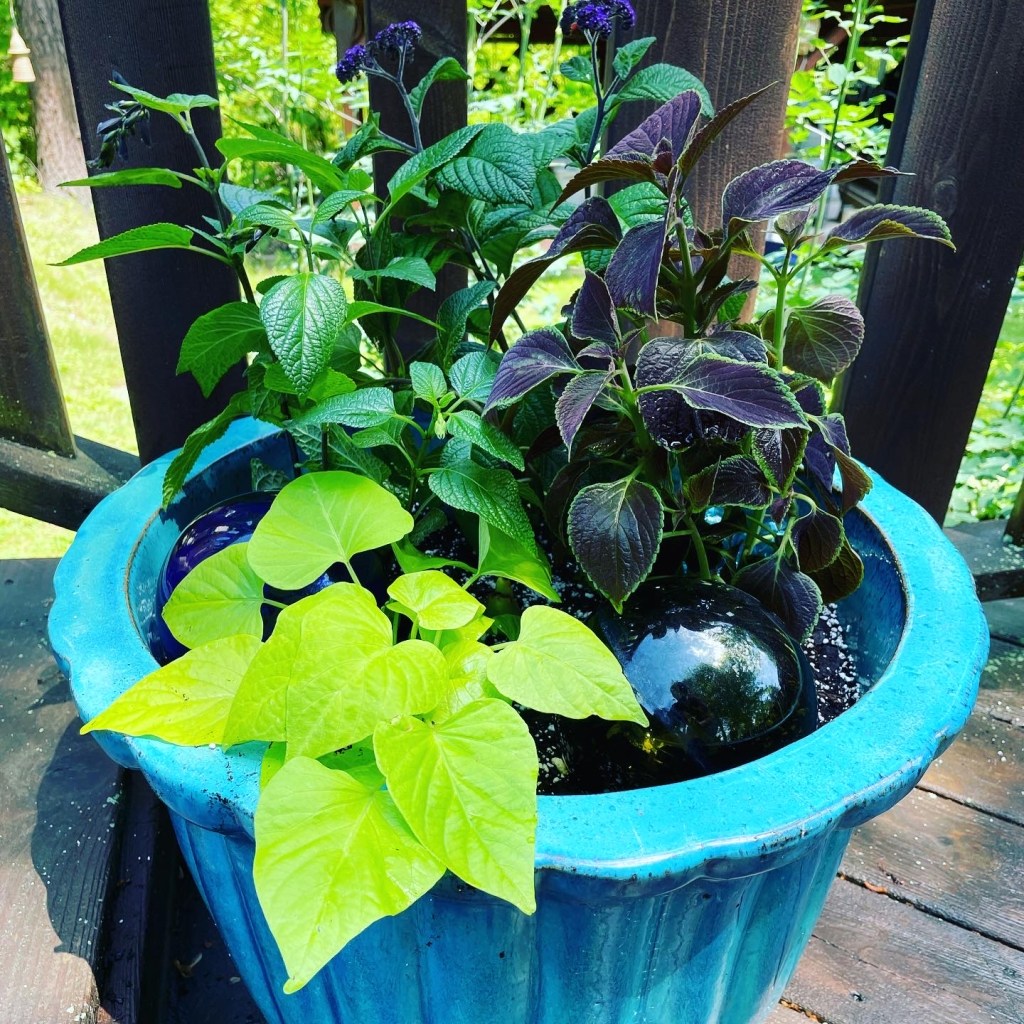
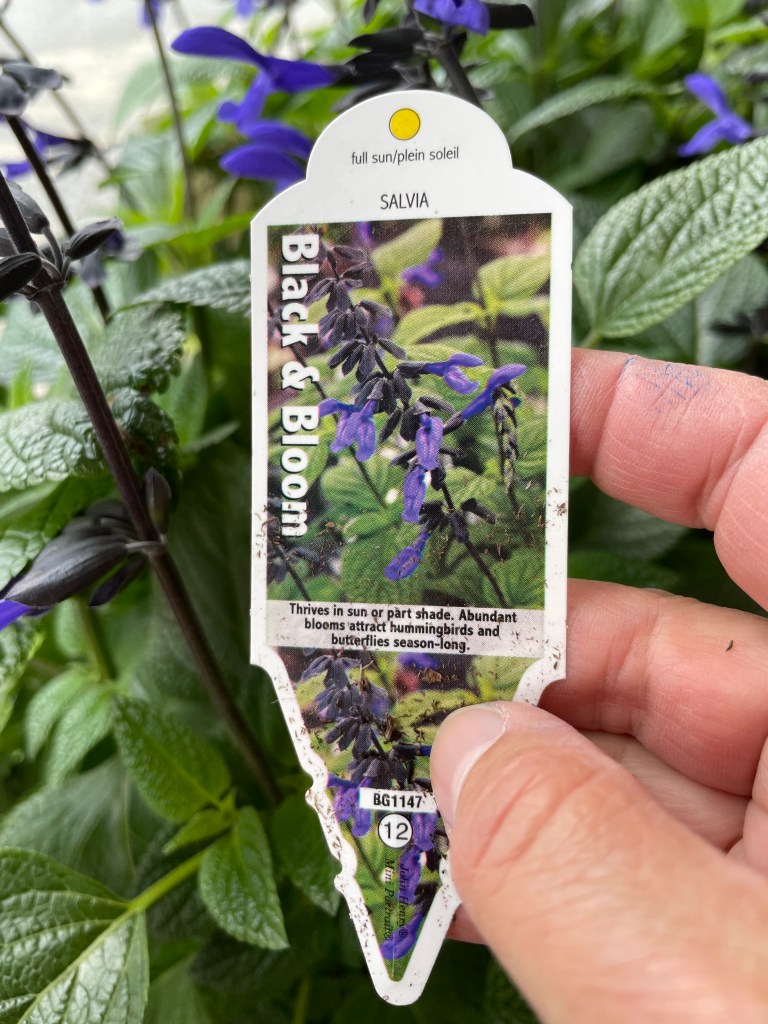
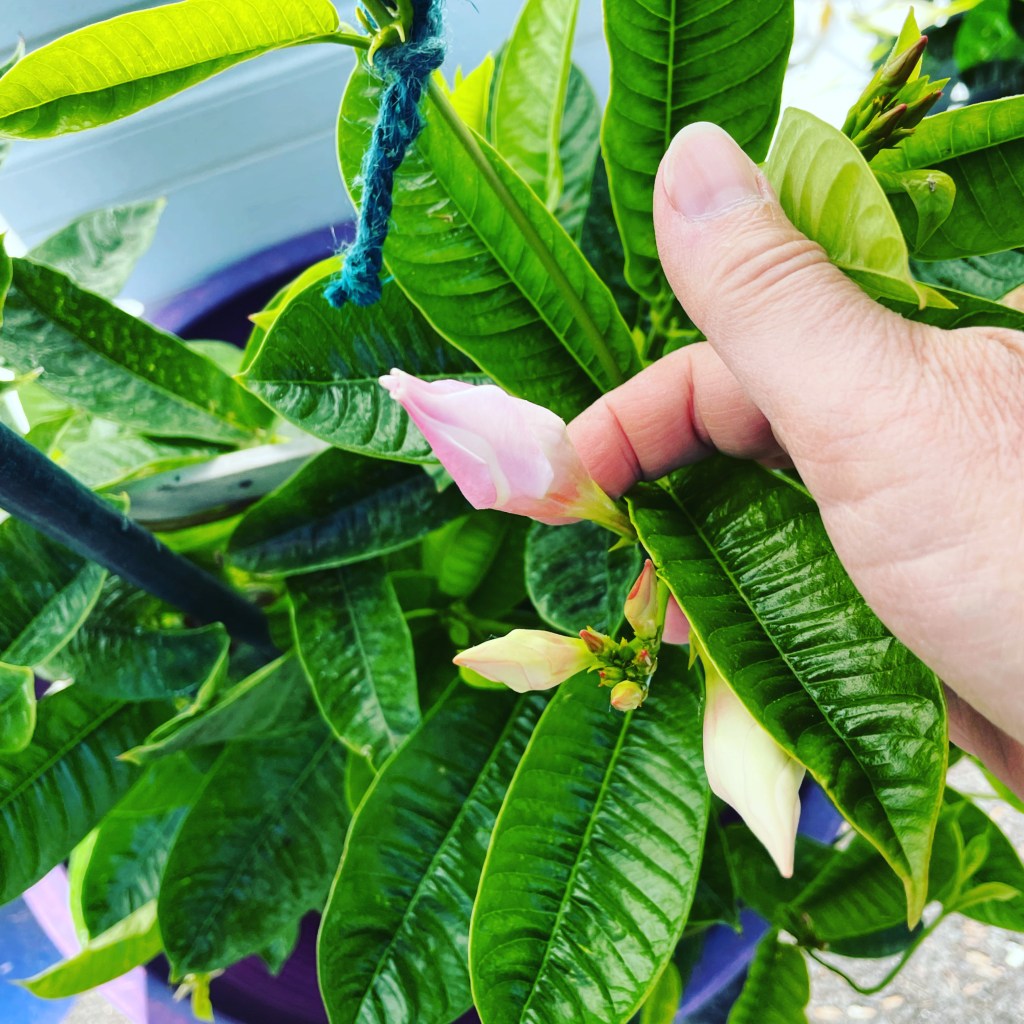
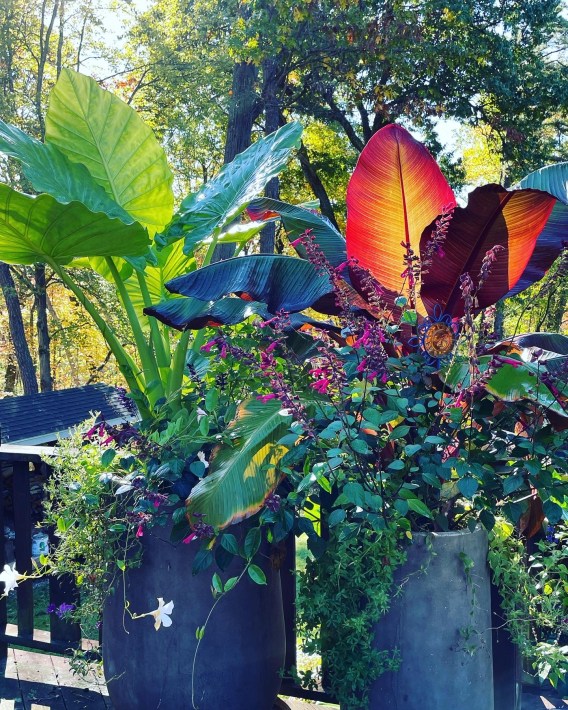
As you can see, the flowers around the two tropical plants are starting to fade. The Salvias were still blooming (purple flowers), and I will miss those very much because two hummingbirds fed from them all summer. A bee or two was still visiting the blooms as well this month. They were so tall and beautiful. The White mandevilla was still offering some last blooms and the petunias faded pretty much. But the two tropicals still steal the show all the way into our fall season – why I love them so much.
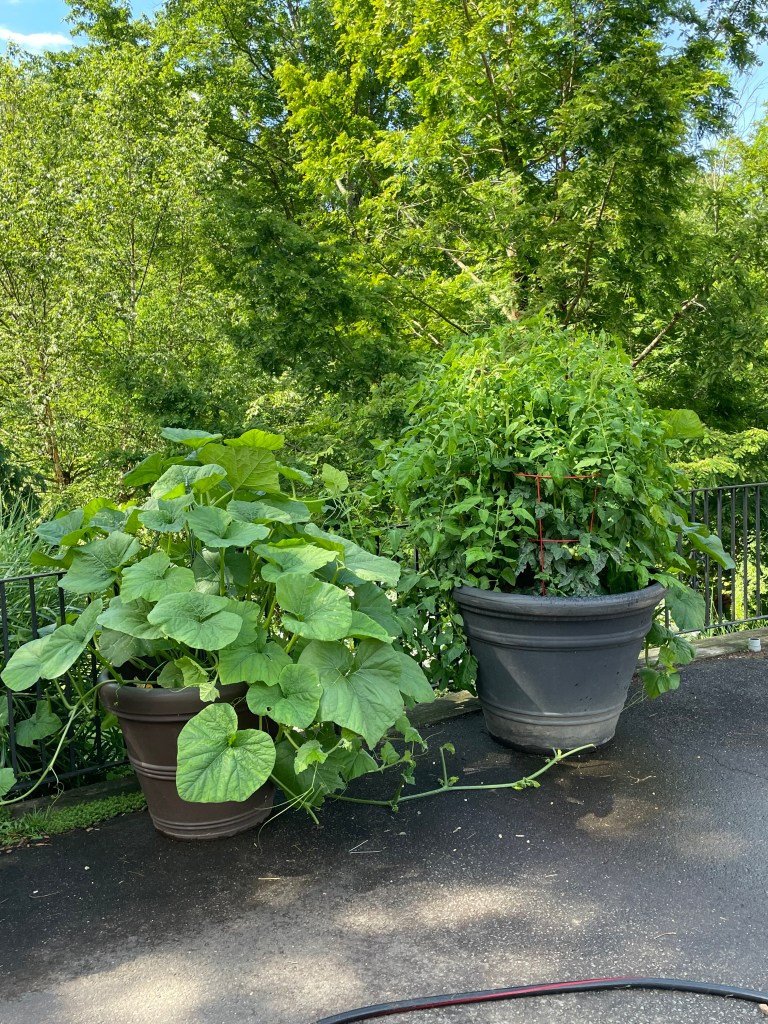
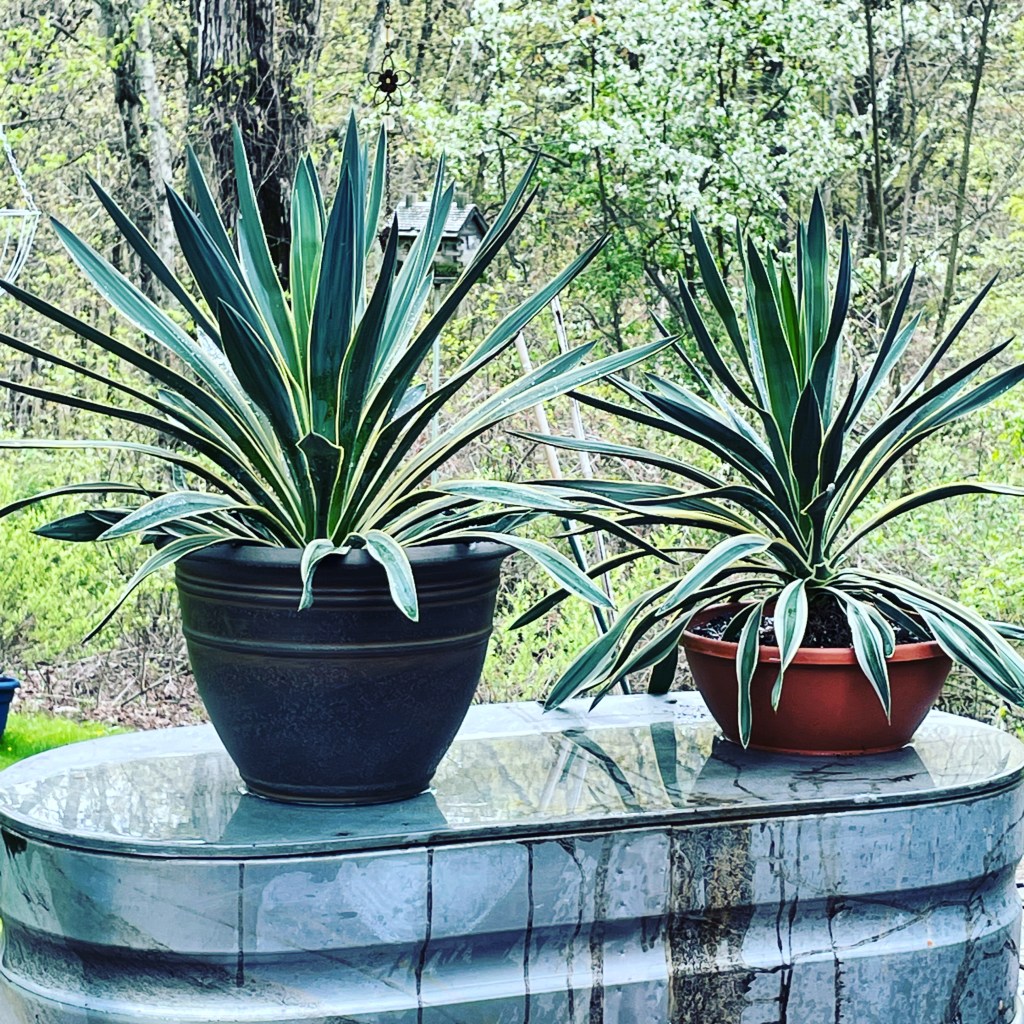
The Ensete (red banana plant) on the right is a new one this year. I had stored a base of an Ensete for over 12-14 years but last year, I lost it, so I scored a new one this season. The Alocasia plants are from an original I got about 4 or so years ago and each year I get more from the pups and the repeat storing of the original. They are tricky to get growing in the spring though – and take a while to start from dormancy, but so worth it. Once they take off – they grow big.
Storing container plants is a way to save money and keep a plant growing larger as the base gets bigger each season. It’s a bit of a process but it went well yesterday for me. I’ve written my steps many times and just use the search bar to locate the posts.
Thank you for visiting.
Cathy Testa
Broad Brook, CT