

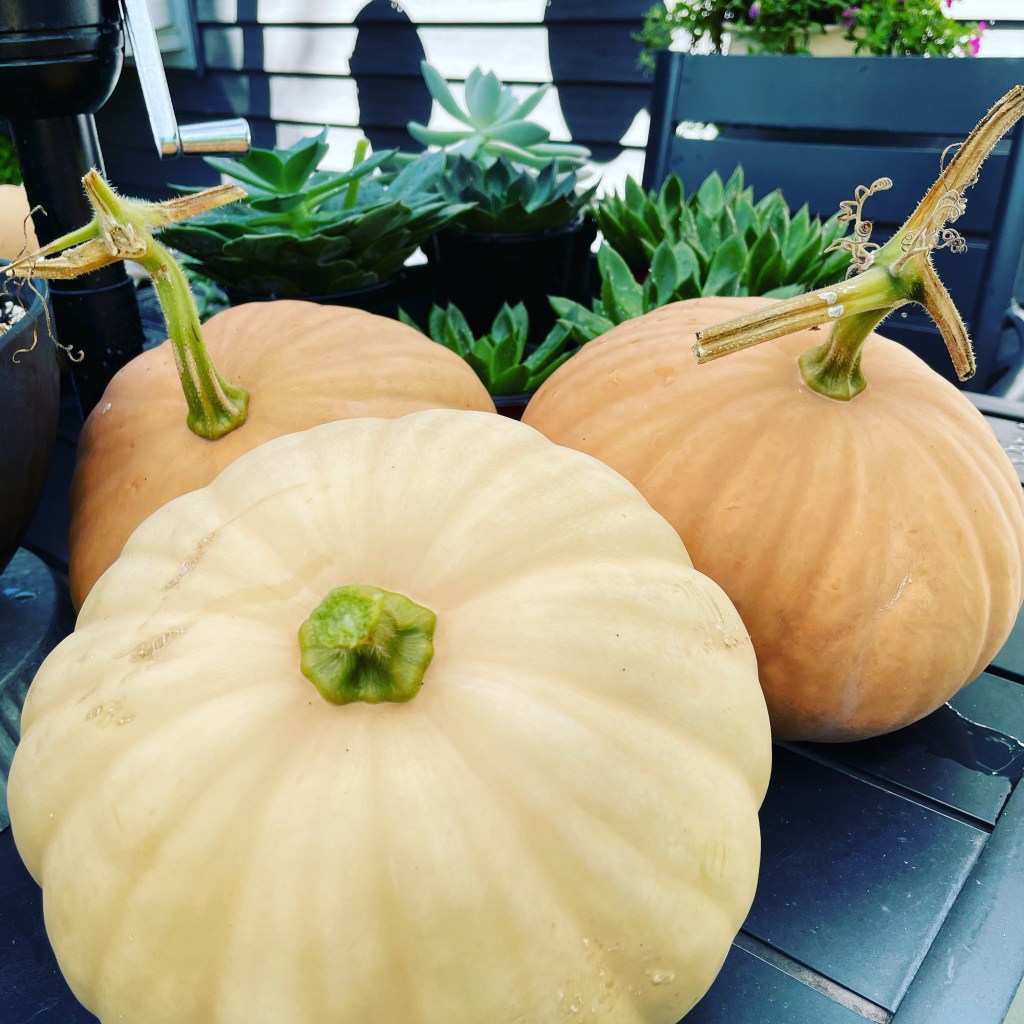
This is my 2nd year trying to grow some Long Island Cheese Pumpkins and I started them a bit too early again. They were ready by mid-August, and I’d prefer them to be ready by mid-September. Anyhow, they are just fine sitting on a table with no blemishes and curing for a week or two in the sun. I use them primarily to decorate for autumn but maybe I’ll get into growing more of them next year as a food source for winter soups and Thanksgiving pies!
The Long Island Cheese Pumpkins resembles a wheel of cheese in shape and the color is very pale compared to ordinary orange pumpkins, but I like these for the shape. The seeds for these may be directly sown into a garden or large pot or started early indoors. I started these indoors in early to mid-May of this year, and last year, I had started them indoors in mid-April. It seems early May was still a tad bit too early. So, a new date is noted for 2024.
Because squash, which this pumpkin is technically a squash, grow really fast, they should not be started earlier than 3 weeks before spring frost. It takes about 98 days till they are ready. Anyhow, if they arrive earlier than your needs, just let them cure in the sun for a week or two. Cured squash will store all winter. They are pretty cool in that regard. And because they last a long time, they are perfect for the succulent topped pumpkins I usually make to display in the home thru Thanksgiving time.
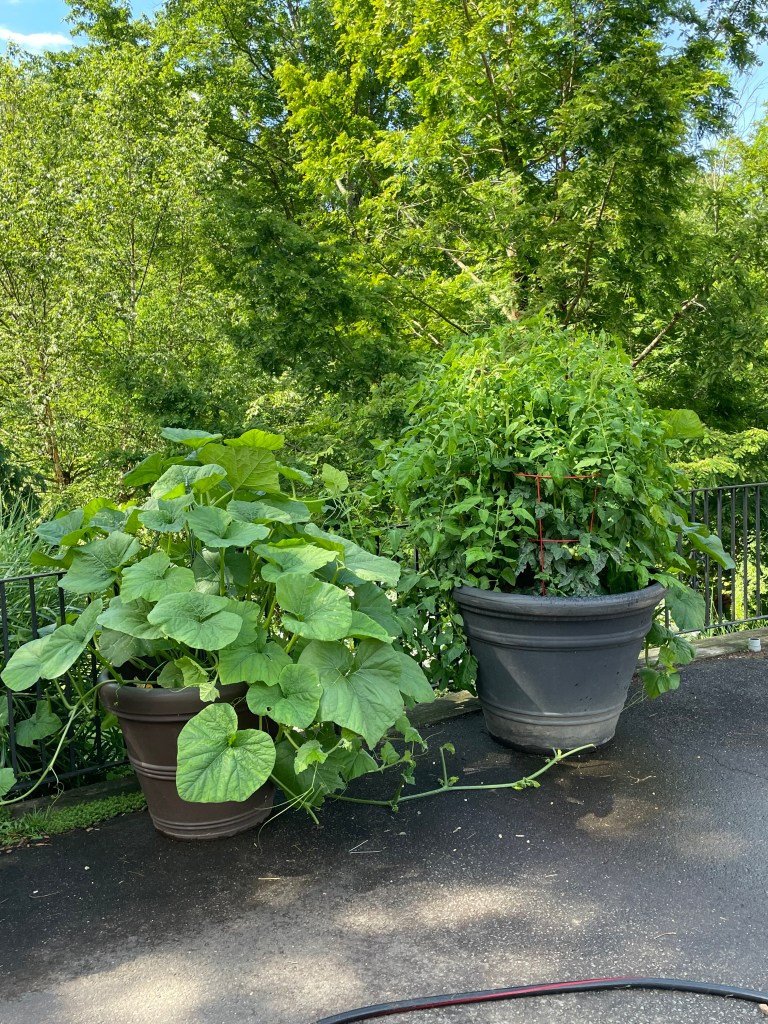
This year, I grew them in two places. One in a super big pot on my driveway and one in a large square planter on my deck. The one on the driveway worked out well because I take garden twine and help them run up the twine along a wrought iron fence. The tendrils quickly grasp on various places on the fencing, and they hang on. By having them on a twine like this, the pumpkins do not touch the ground so there is less chance of any rotting from sitting on a wet surface and no blemishes. Also, no animals messed with them. That could be because they were somewhat hidden by a background of other plants.
The one on my deck sprawled out on to the deck floor and then I let it hang over the edge of the deck. I got only one pumpkin on that one, but it was cool to see it hanging in the air, so I helped it stay put by using a hanger. Anyhow, the one on the driveway got 4 pumpkins. I’ve been just kind of experimenting and having fun with them. As I learn, maybe I’ll get into growing more next year.
One of the nice benefits of pumpkins is their huge beautiful yellow flowers – which the bees absolutely adore. Some mornings, I’d find up to 4 bees in one flower buzzing away. If you want to help pollinators, plant some pumpkins!


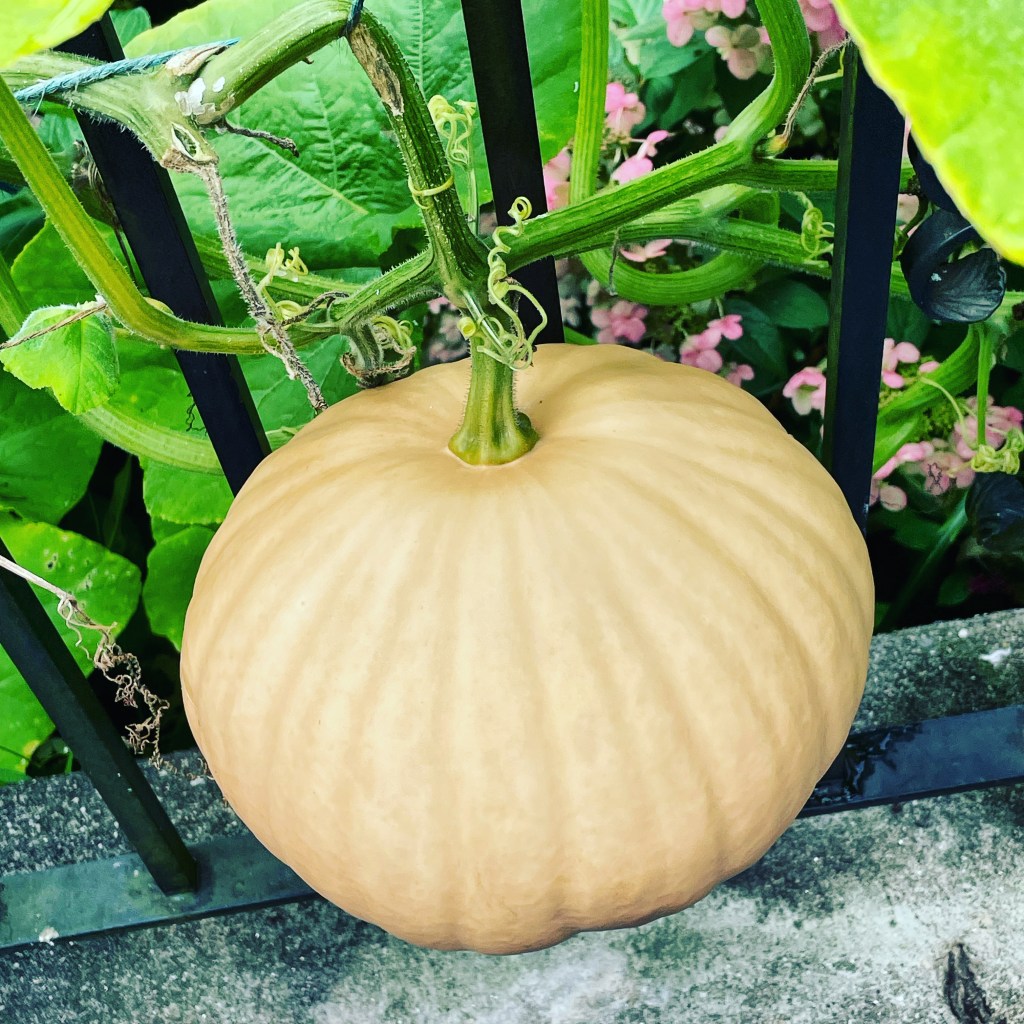
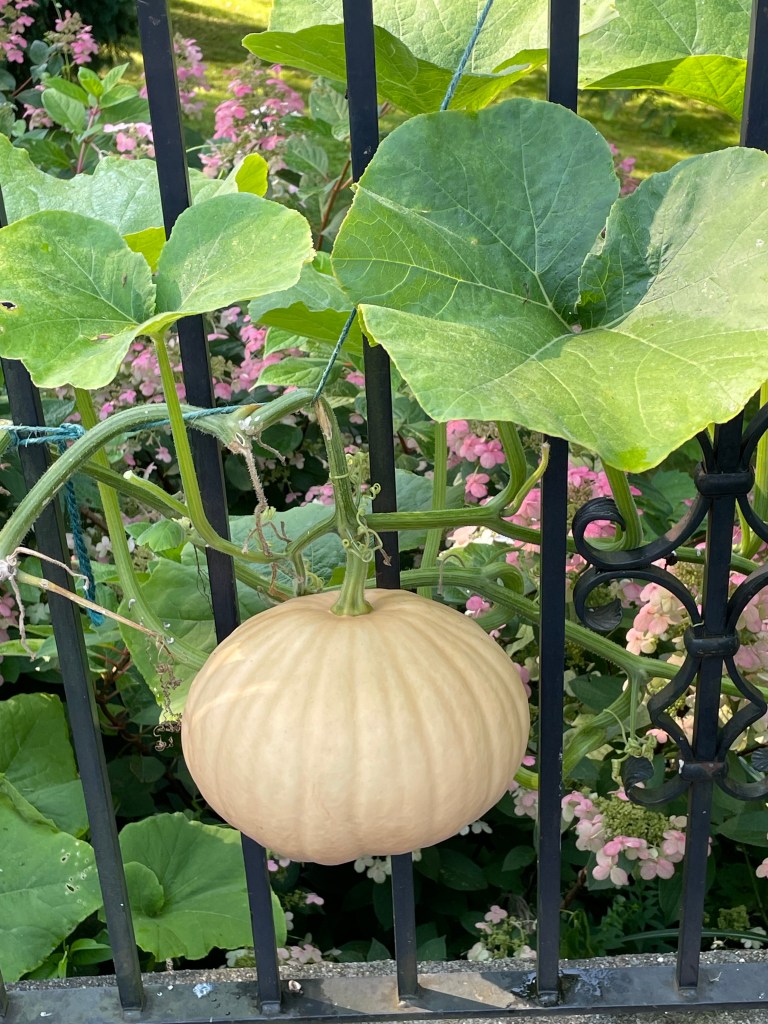


You can see the color difference in the last photo above. I kind of determined when to pick them by the firmness of the rind and also looking at the stem, but I was somewhat guessing too. Plus, the plants started to look a little worn, so I figured it was time to cut them loose around mid-August.
I watered the plants regularly with generous amounts of water, but I did not fertilize except one time with a liquid feed. The soil had compost in it in the pots. The plants prefer full to nearly full sun, and the one on the deck didn’t get as much sun as the one on the driveway. Oh I said the animals didn’t bother the pumpkins, but some of the leaves got munch off once, maybe by a brave rabbit. Brave because my cat is an excellent rabbit hunter.
I plan to do more research on pumpkins because for some reason I’m interested in them! Maybe because it seems they don’t get bothered much if provided a safe place to grow. Wish me luck for next year – I hope to have more harvested.
Have a good weekend,
Cathy Testa
Broad Brook, CT
