

There are many ways to make soap and my love of using handmade soaps was the reason I decided to sign up for my first class on how to make them. I’ve always been curious on what is involved in making soaps, and so this was my first window into a soap making process.
The class was held by Blessed Creek Soap and Salves (see BlessedCreek.com) online. The instructor and business owner of Blessed Creek, Jeannie, is located in Suffield, CT. Her classes are held in a large, heated barn building and I was excited this session was being offered on a Saturday in the morning hours, since I’m more of a morning person than evening person.
There are several things I enjoyed about how Jeannie set this class up. First of all, it was very informative and she provided a six page instructional booklet which she first reviewed with us in detail. Jeannie said to not be scared to learn how to make soaps, it is not difficult but it is involved (in my opinion) and you must use pre-cautions because you are handling lye and oils. This involves some chemistry.
Also, soap making involves specific supplies, proper clean up steps, and clean up products, and careful handling. I couldn’t imagine making soaps in my own kitchen because of this but maybe because I tend to be a “worrywart” is why. I’m sure once you have it down and know your steps and have mastered the perfect formula, it could be considered “not as scary” and tons of fun actually.

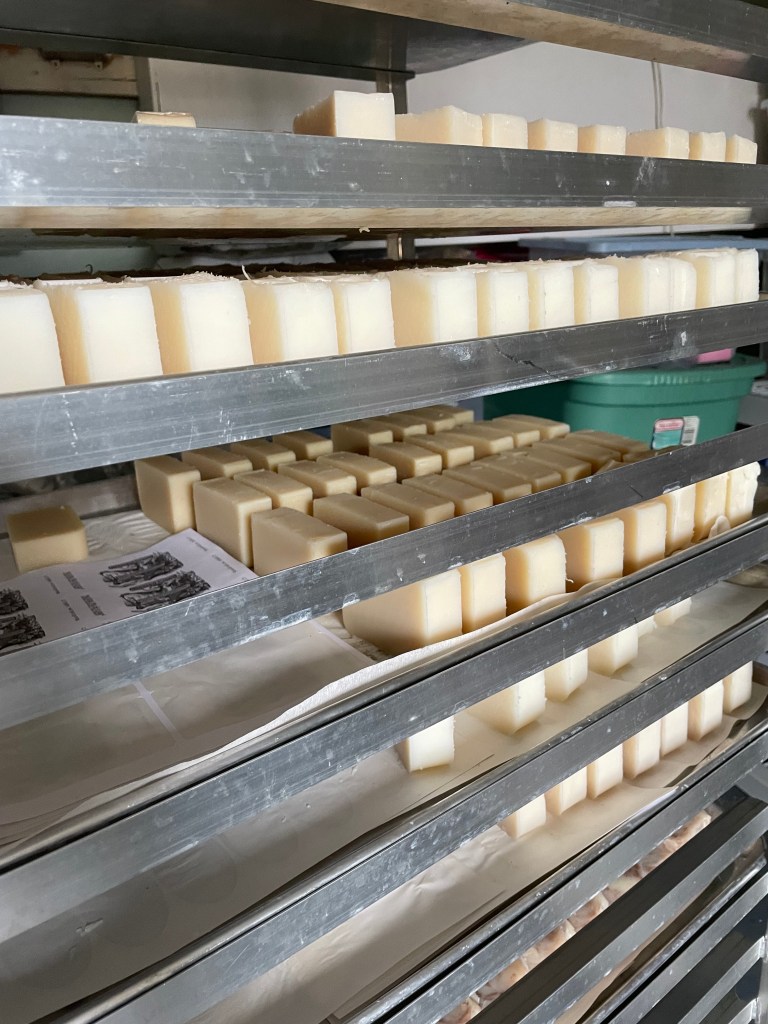
Another aspect I learned about soap making is there is a time element. Soaps (at least the ones we made via a basic cold process), involves curing the soaps after they are removed from the molds for 2 to 3 weeks. I thought about how keeping up with orders must require calendaring and such steps too.
Lastly, I thought about the costs associated with making soaps. God knows, everything has risen in prices! That includes the supplies to make soaps. But even though, I was very excited to learn and have a hands-on experience of soap making and I can’t wait to try my first bar in my own shower when they are fully cured.

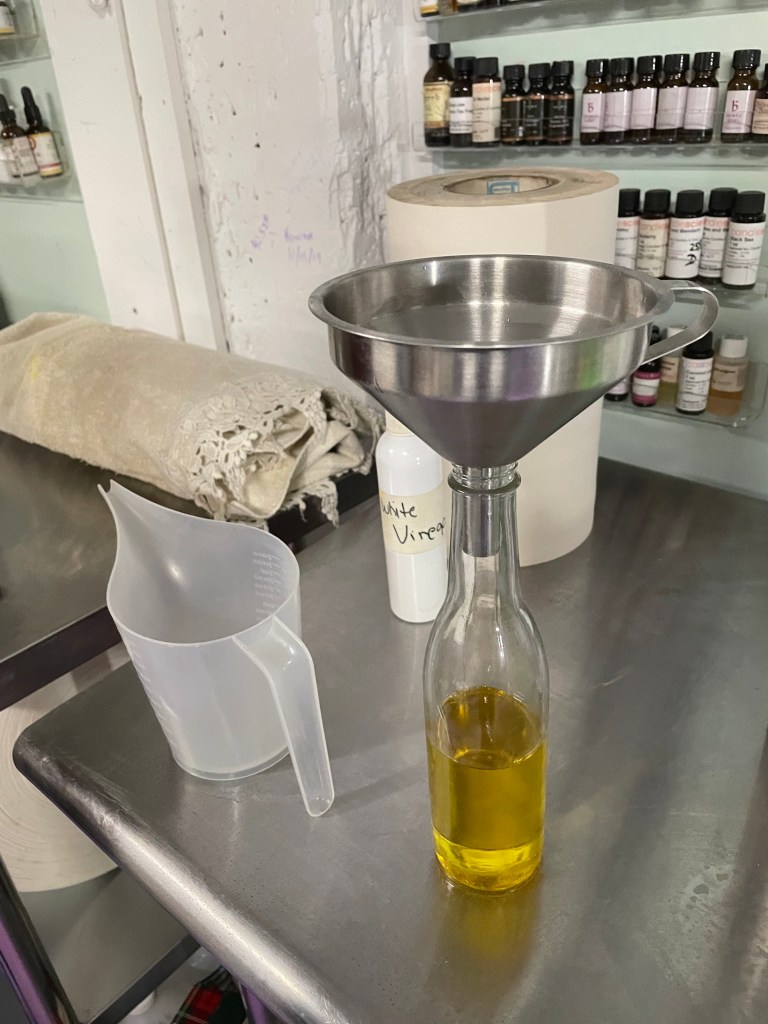
Lye is the scary part to me (technically called Sodium Hydroxide). In part of our steps, we had to carefully pour lye into special water first (the lye is in a dry form first) and carefully stirred in to dissolve but then we had to pour that into oils later. Steps involved temperatures and careful measuring all shown in our class that day. It was pretty neat to witness all of this and then try it with proper instruction.

When Jeannie poured the lye in, an aroma took off that made me cough – I was like, WOW! I had never experienced this process before, so that was a surprise moment for me. Again, it is not technically scary, just you need to use caution, and it is interesting to see it all.

Once we got to the mixing aspects and adding fun stuff (colors etc.), I was in heaven. Doing a little dance saying, “Look at me, I’m making soaps!” We all giggled at that.
I absolutely love using homemade soaps. They usually have the best fragrances and are soft and creamy. I especially love soaps made with goat milk. I’m the type of soap buyer that once I am hooked on someone’s brand, that is who I go back to over and over again, like at farmer’s markets, etc. to get more.

The thing about making soaps is there are many choices of scents, colors, and styles, it seems endless. There are also so many molds you may use from wooden type molds to I guess silicone, and I considered what if you found some cool antique molds – how fun would that be?!

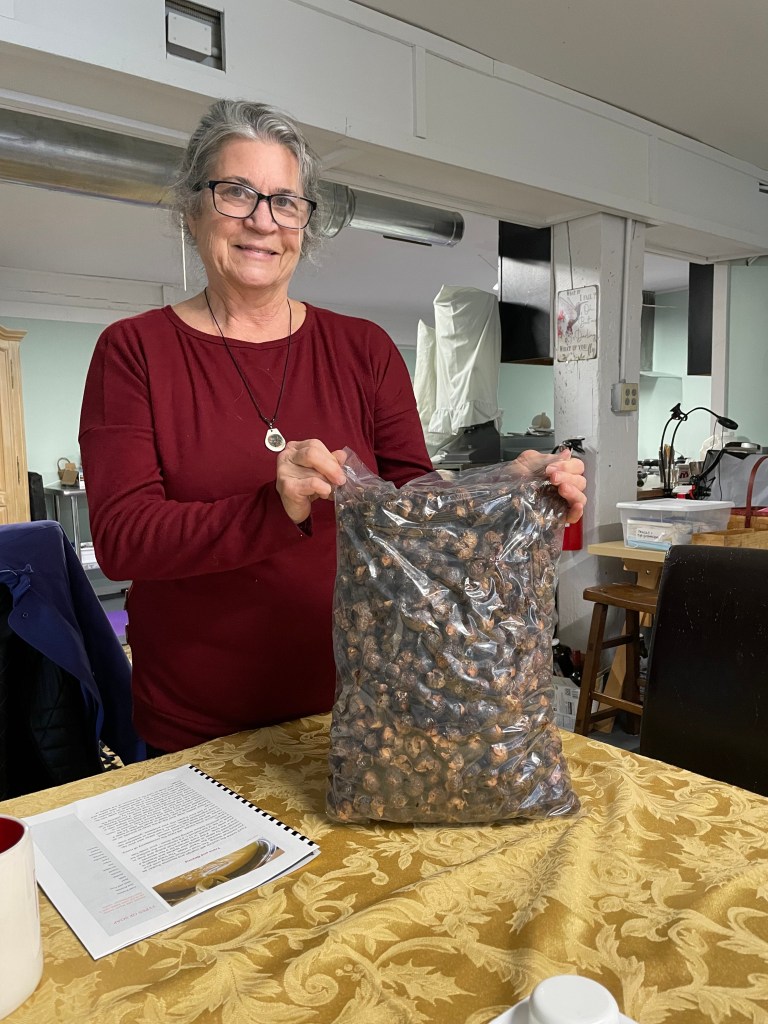
One cool thing is Jeannie showed us soap nuts! I was reading her booklet, and I missed why she brought these out in a big bag – we didn’t use them in class, but when I got home, I decided to look up the tree called Sapindus molorossi online. It appears these soap nuts (or berries or fruit?) may be used as a natural laundry-detergent. You may read more about it here. It has many other uses as well. Interesting! You learn something new every day. I had never seen or heard of these soap nut fruits before, and being a plant person, it caught my attention.
Me and my classmate decided upon using lemongrass and orange scents and colors for our first ever soaps. We each had a turn at doing all, the pouring, mixing, etc. Then we took our soaps home to set, and later slice at home and cure. I can’t wait to try a bar! I wrote the date on my calendar. Here are my lemongrass soaps in the photo below. I put them on parchment paper in a tray to cure. Not sure if this is a best way to do but I flip them over every day. They will be ready soon and smell great! So fun.

As an instructor of workshops myself on plants, I would recommend this class. I think it had a very nice balance of instruction, details and materials and a nice opportunity to be hands-on. Plus, Jeannie is a really nice person with a cool personality. When I asked Jeannie how she got into making soaps, she said she was an old hippie living off the land. Pretty cool. She also makes lotions, lip balms, scrubs, and many other skin-care products. Check her out! I took home some of her skin balms and lip balms and I am loving them! I want to try more of her classes, like the one coming up in February on lotions. Sweet.
Cathy Testa
Container Crazy CT Blog
Date of this post: 1/25/2025

