
 The past week’s weather prompted me to start decorating for “Falloween,” the period where it may feel a tad bit early to put out your scary Halloween decorations, but not too early to begin decorating with pumpkins, gourds, cornstalks, mums, and other goodies.
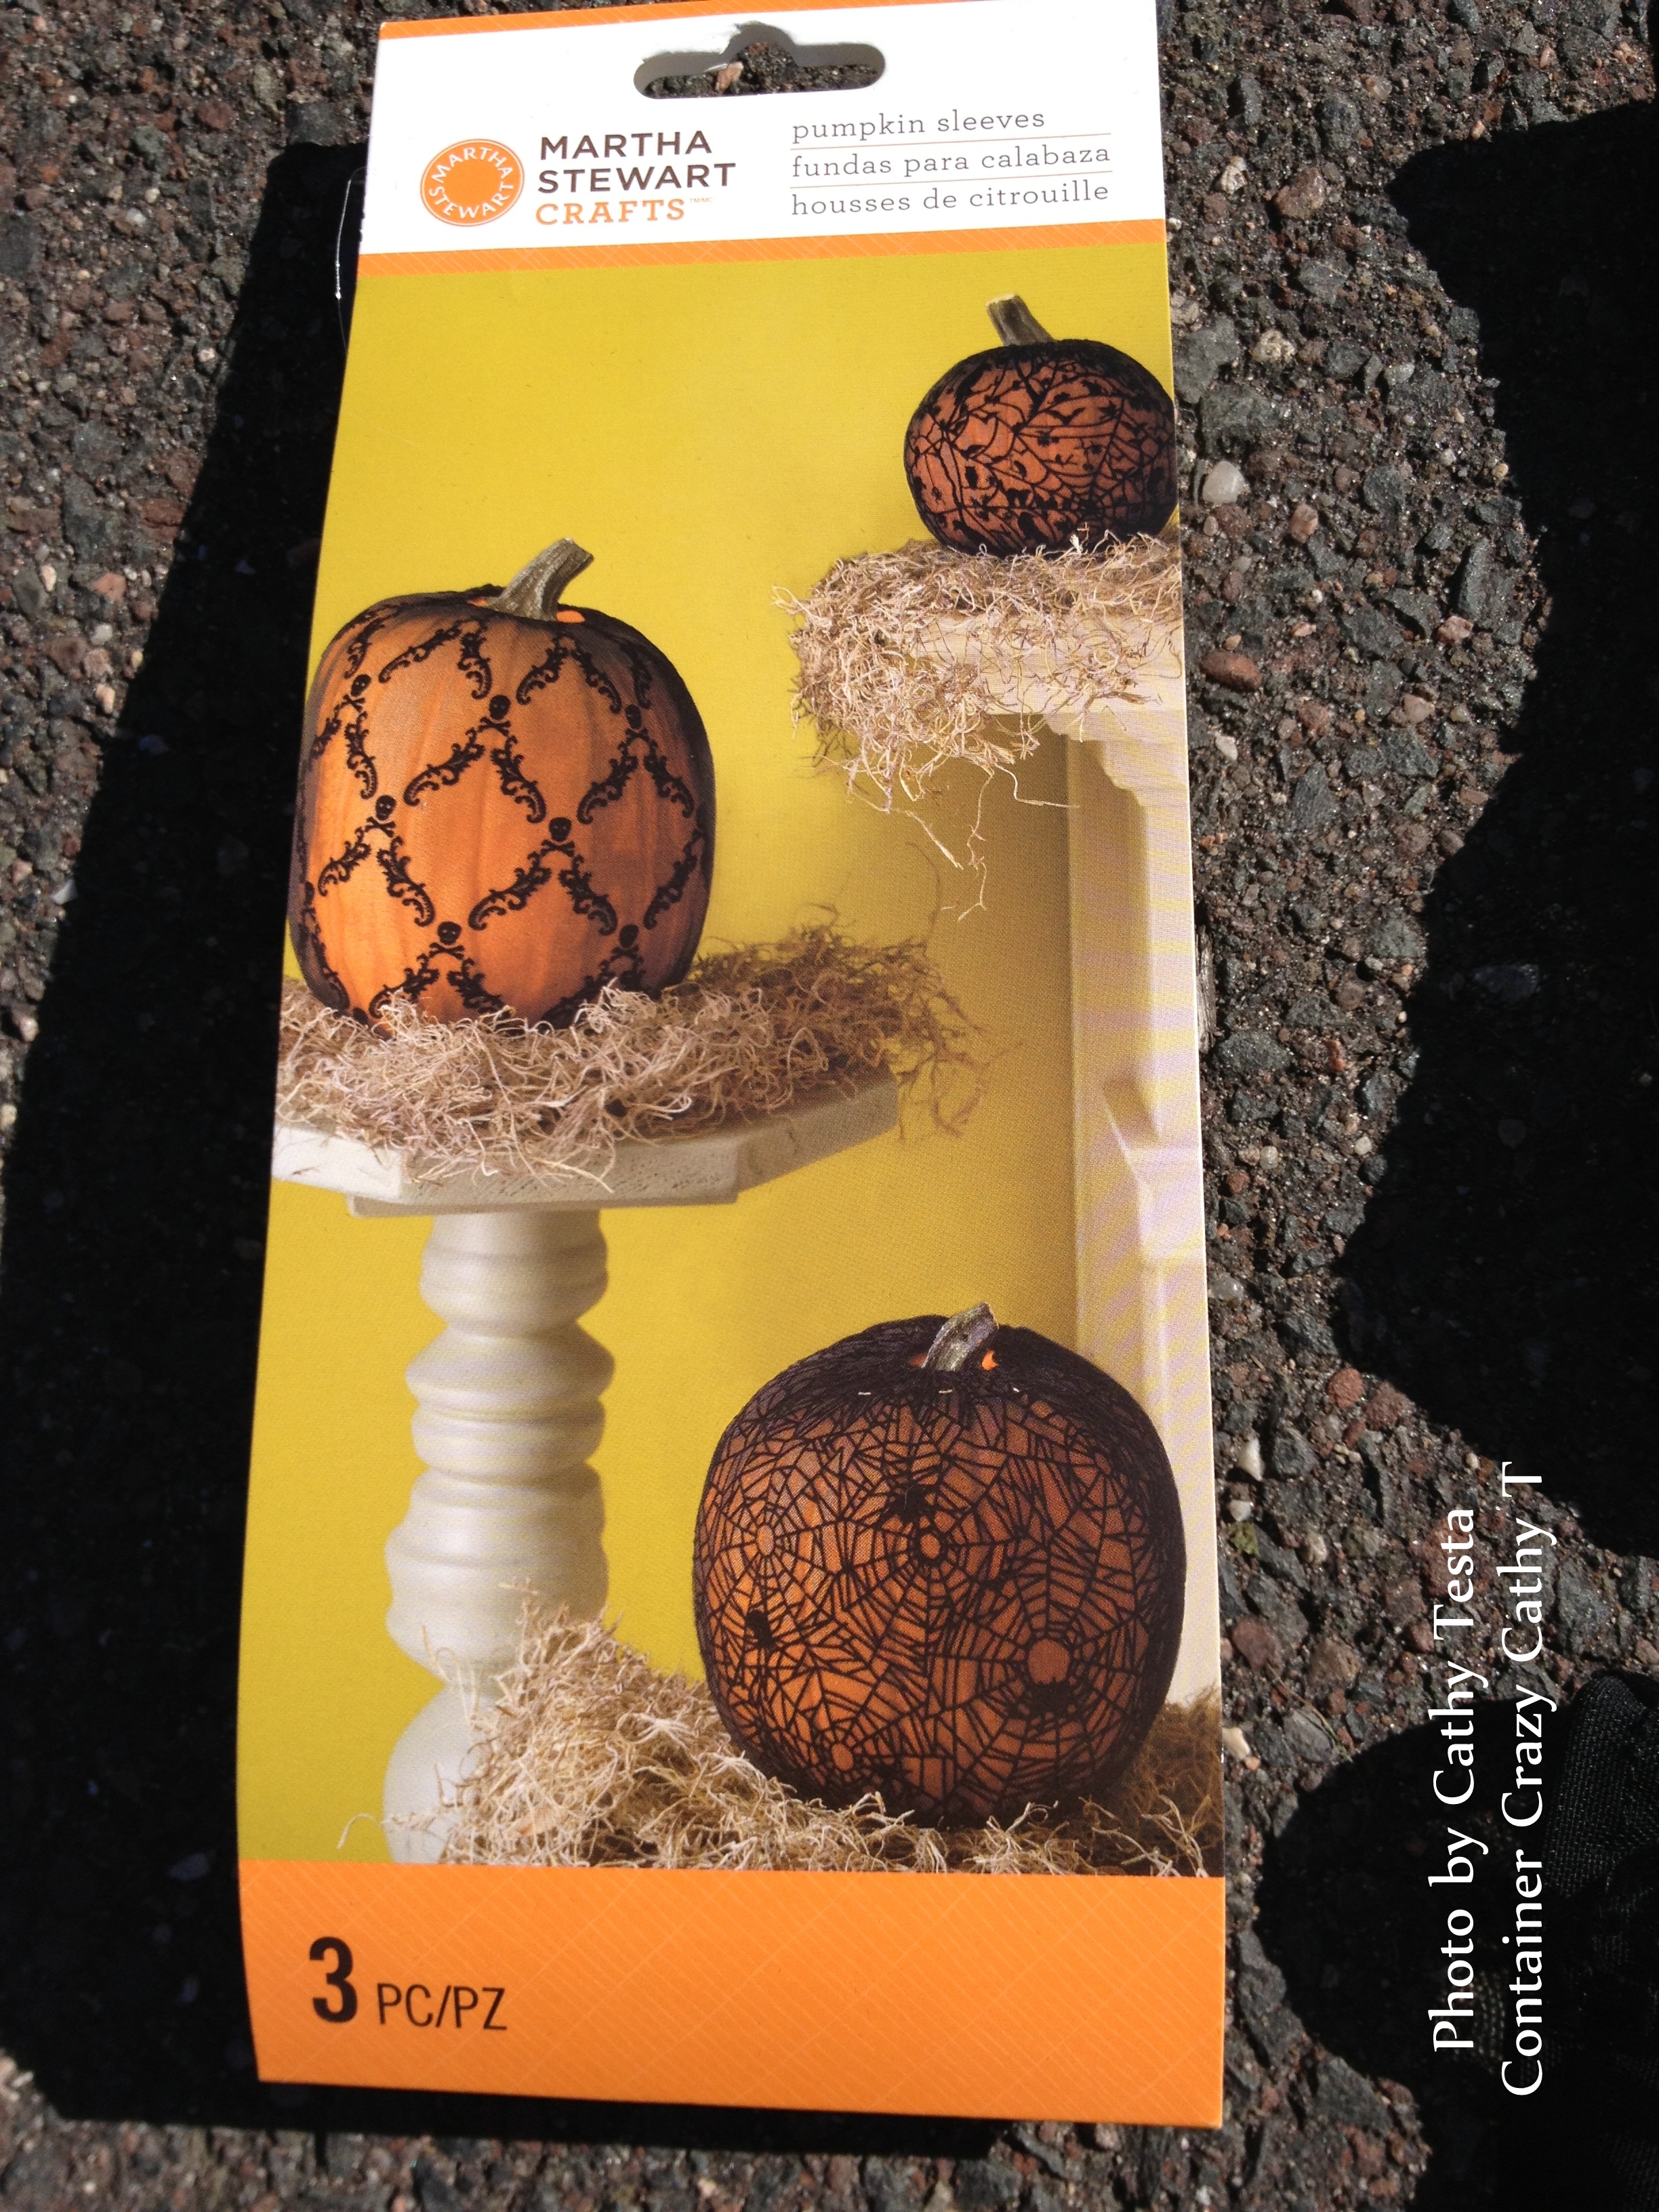 So I decided to go with the easy packaged Martha Stewart find called “pumpkin sleeves” discovered at a local Michaels craft store. When I tried looking up instructions, because there really wasn’t any on the package, I could not locate this item on the Martha Stewart website.


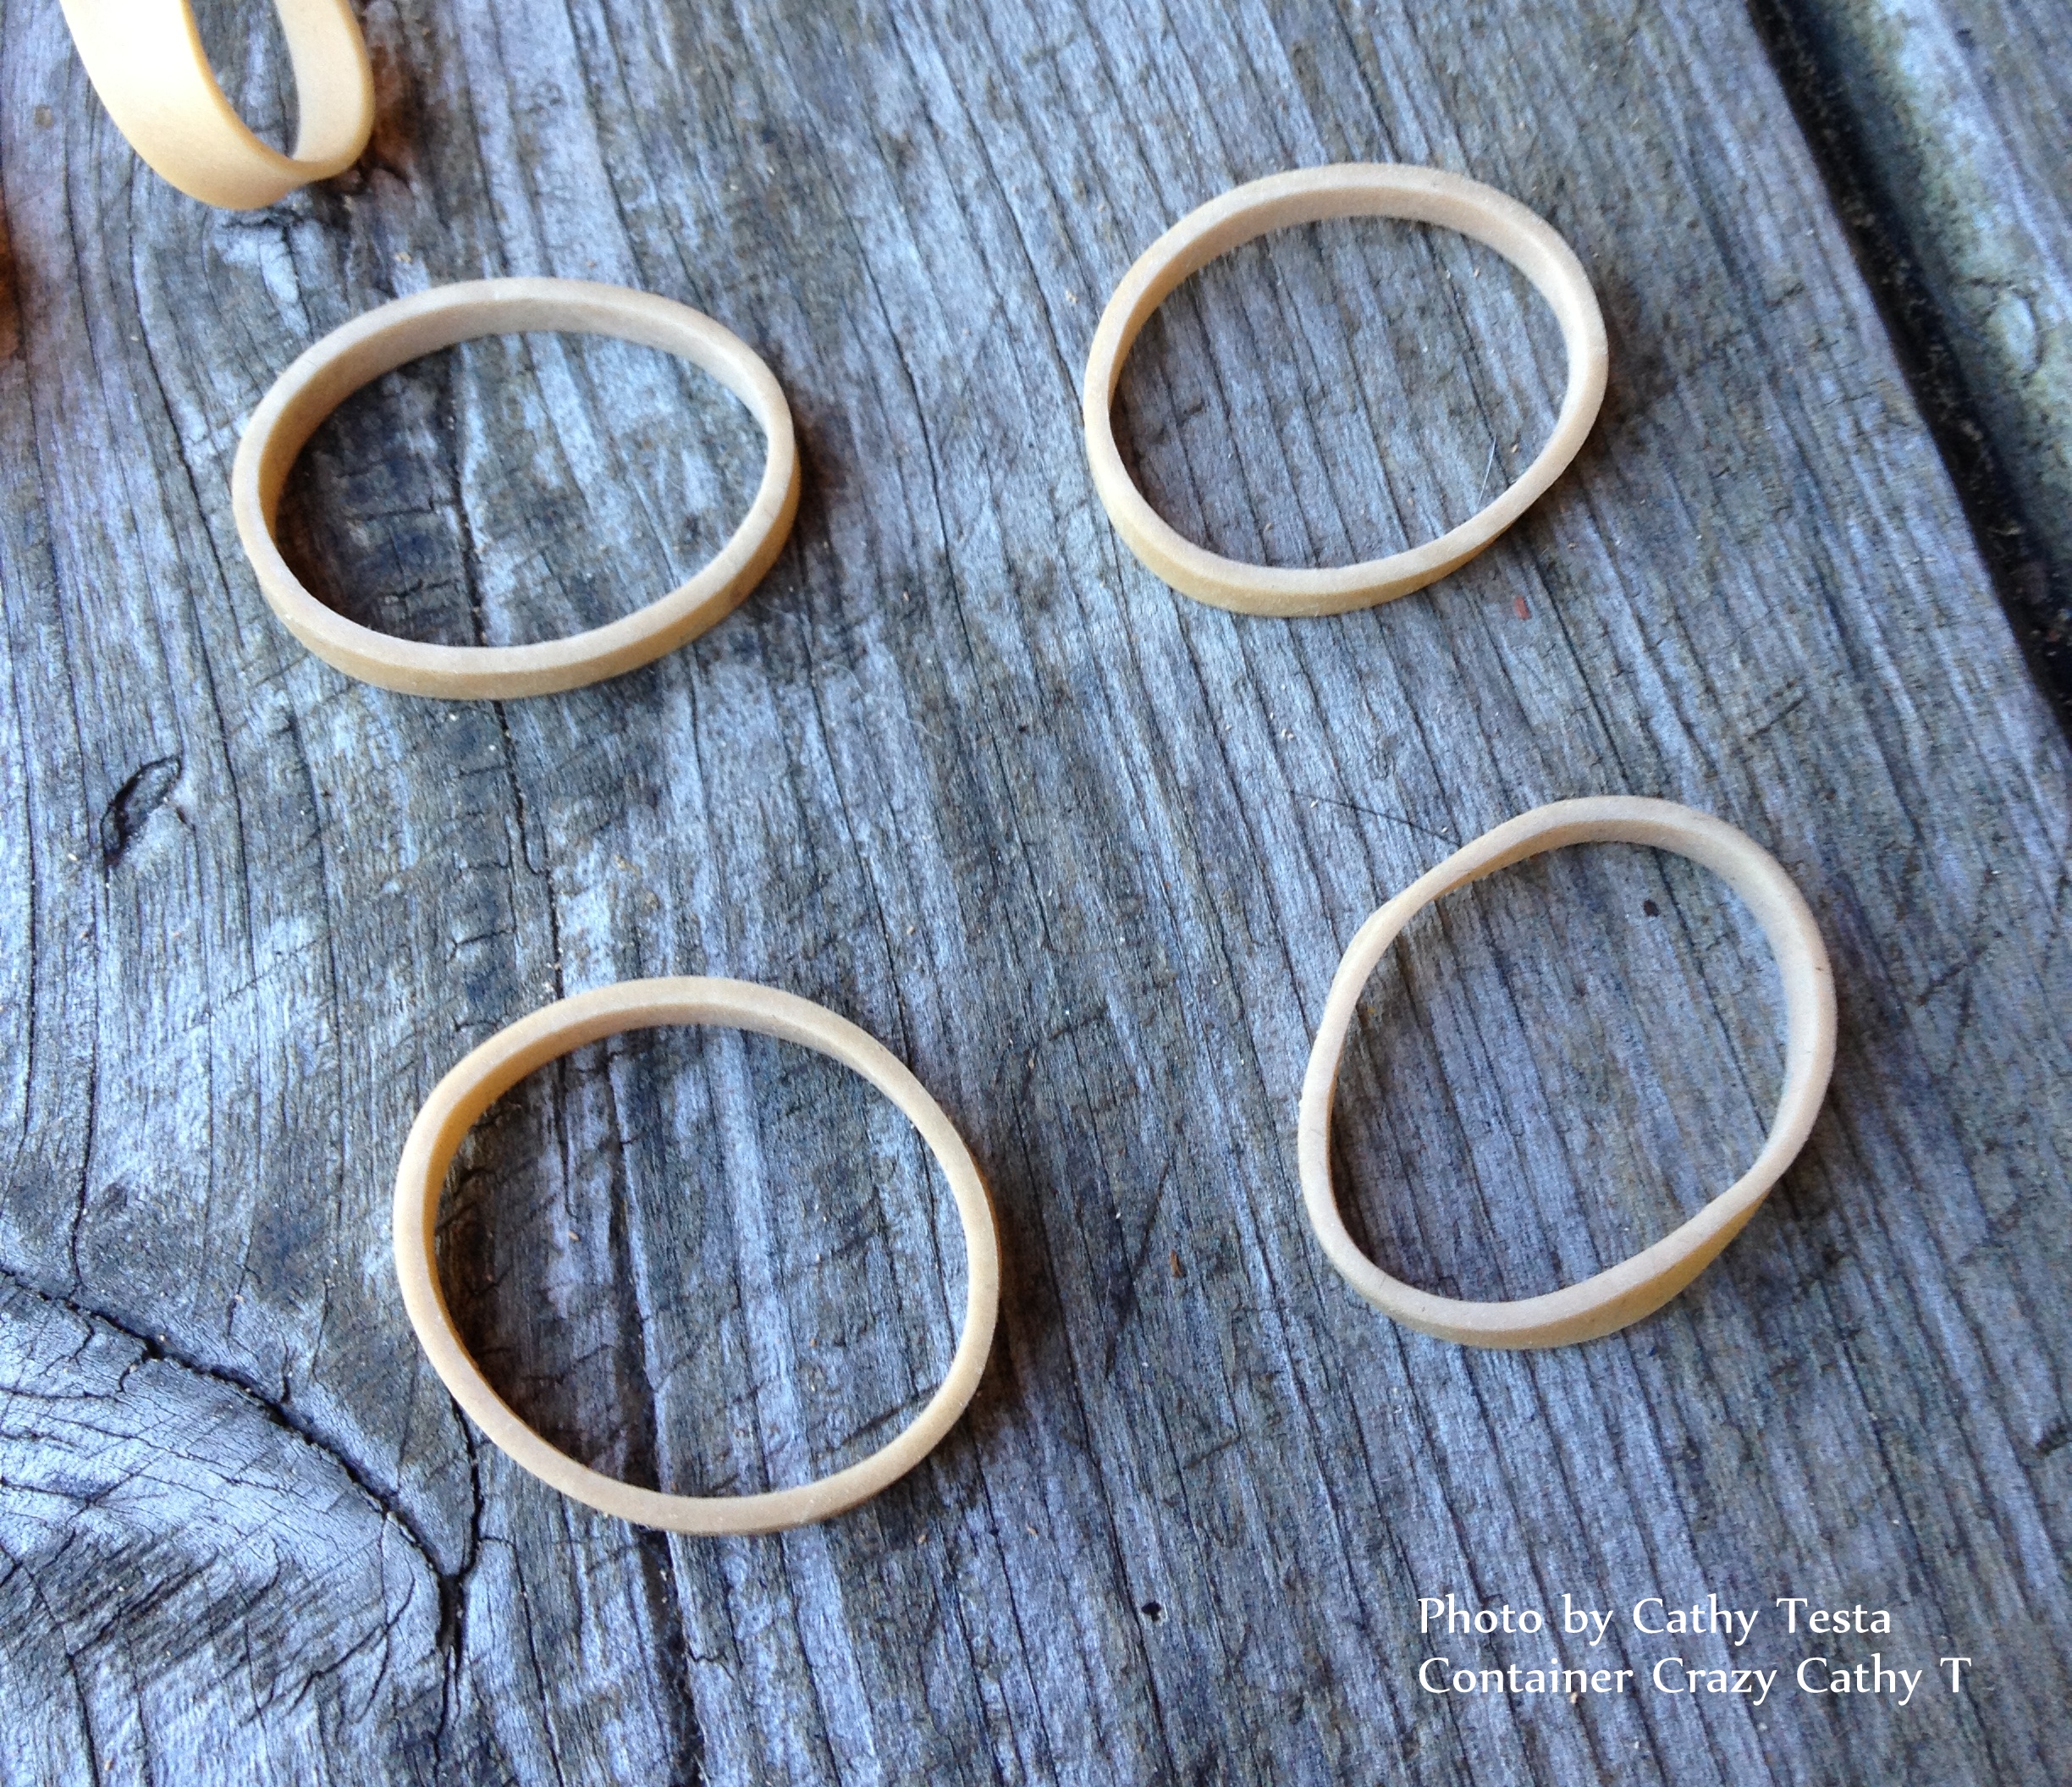
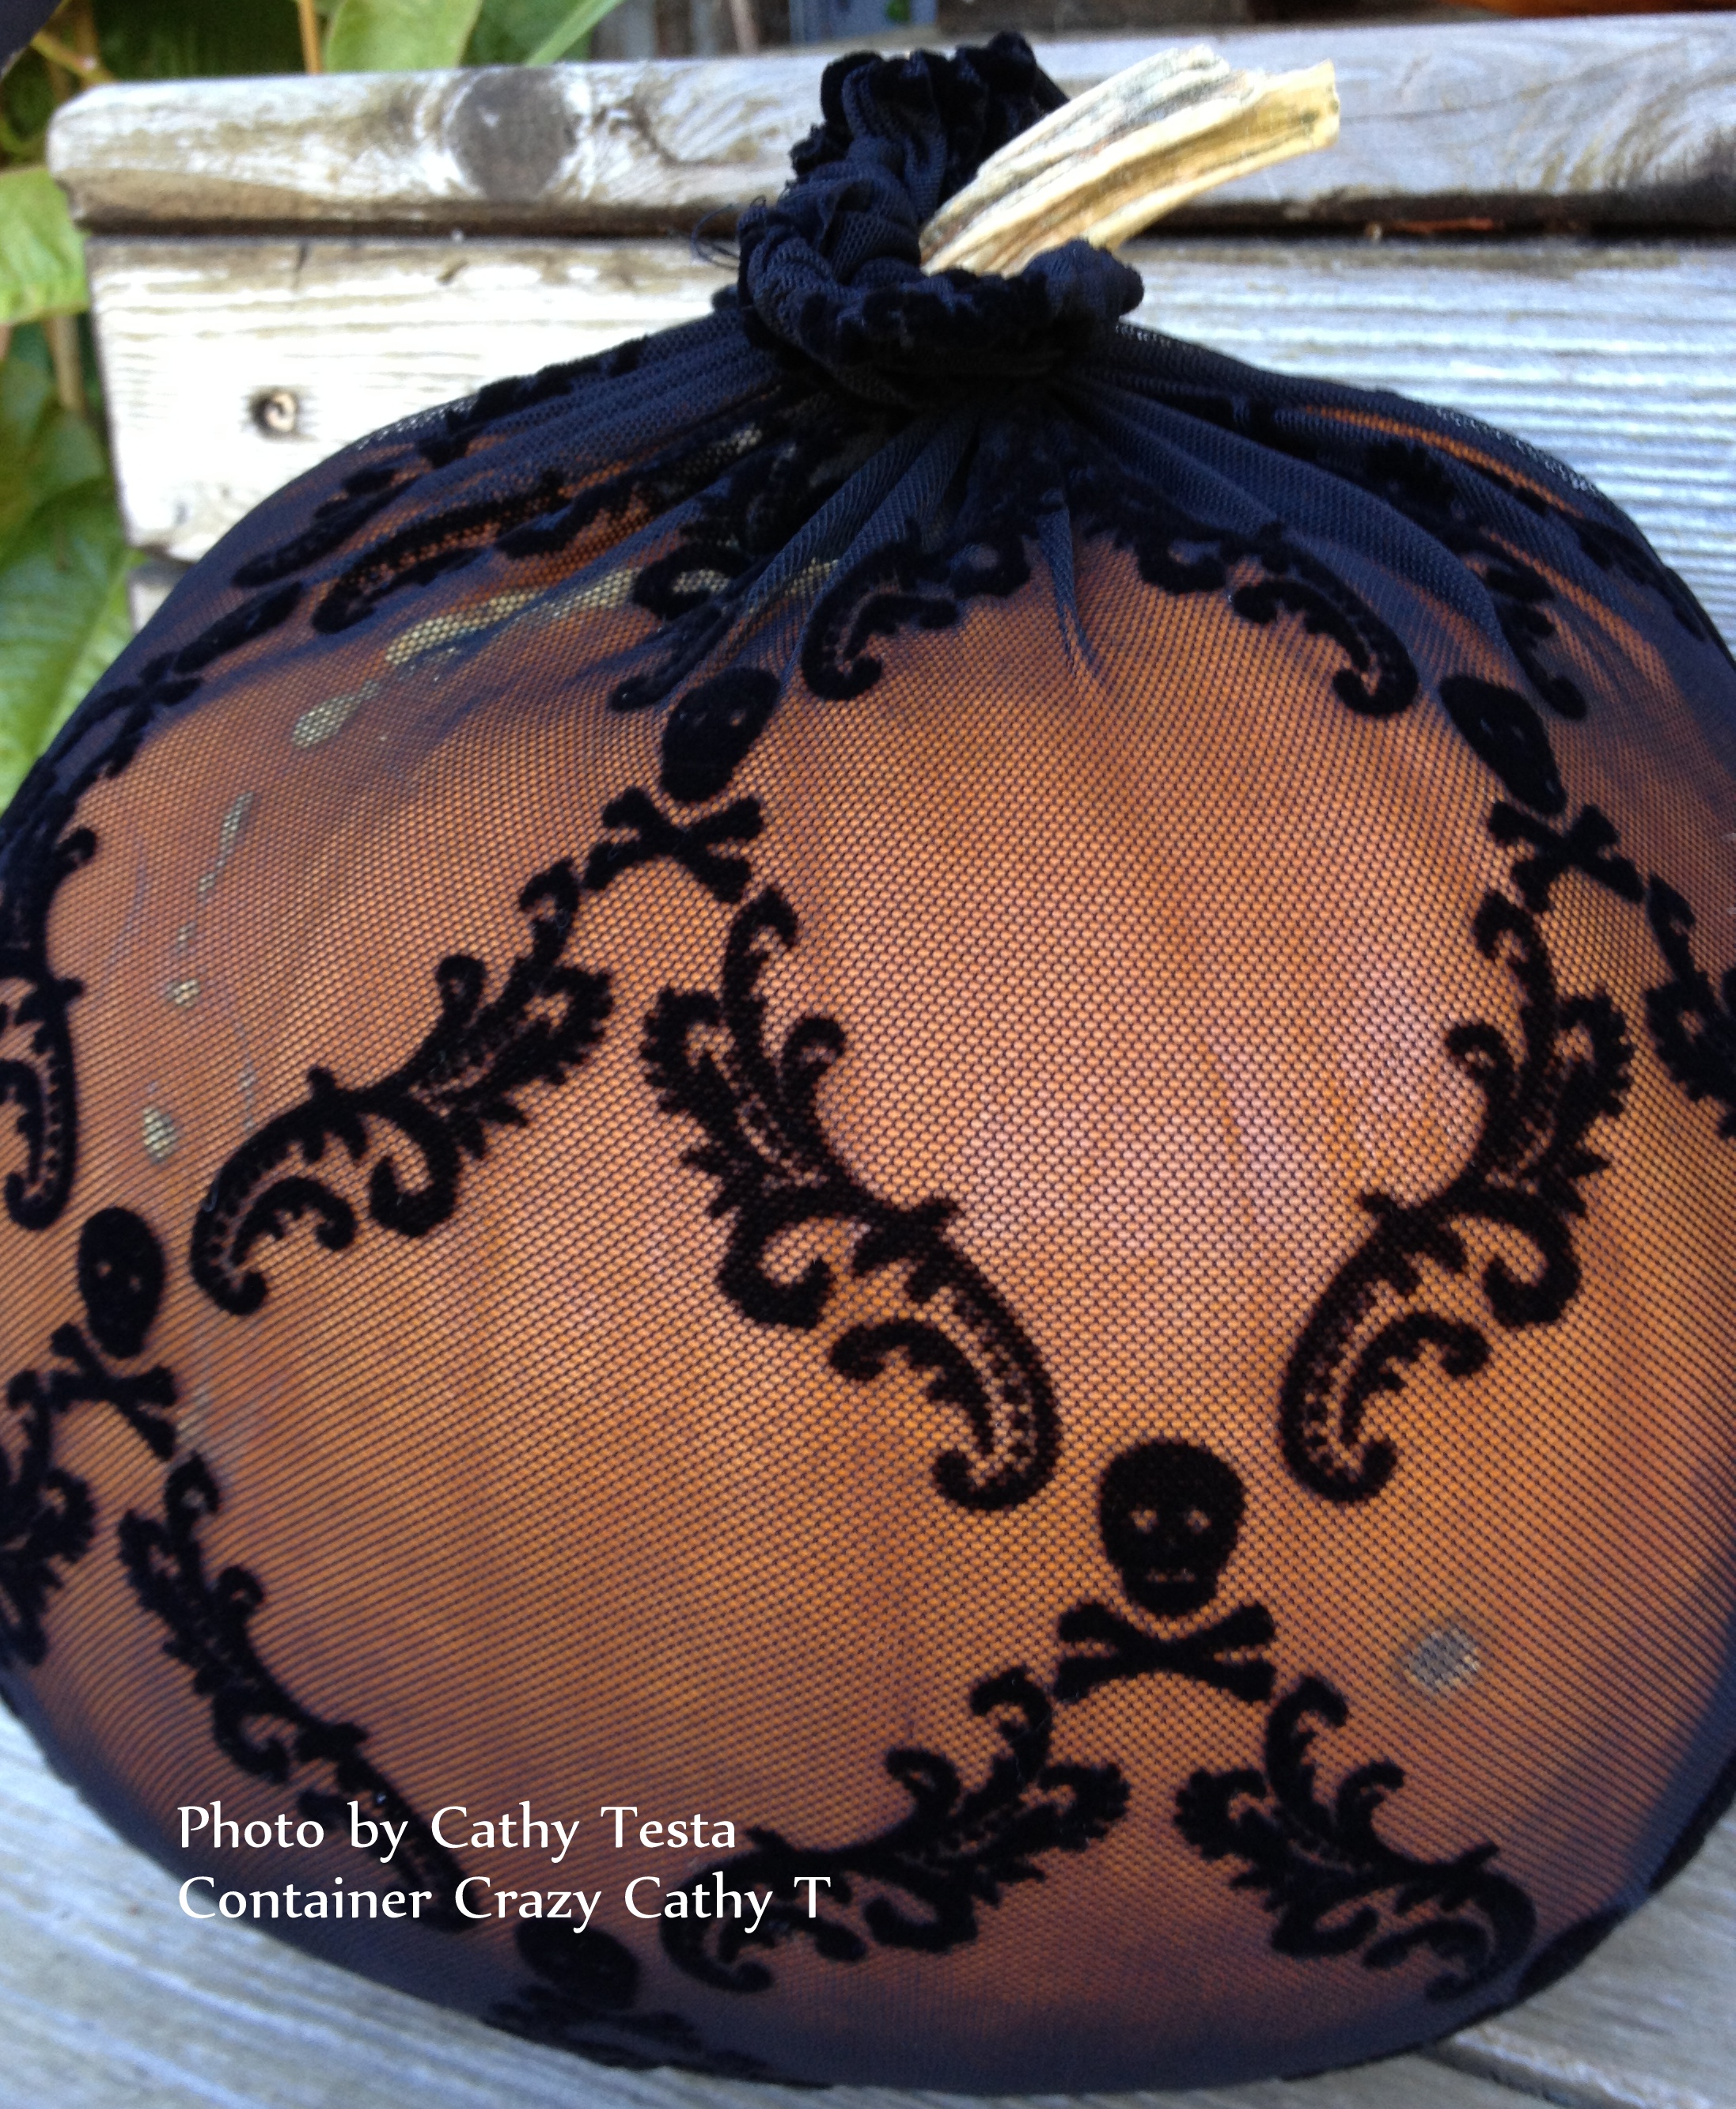
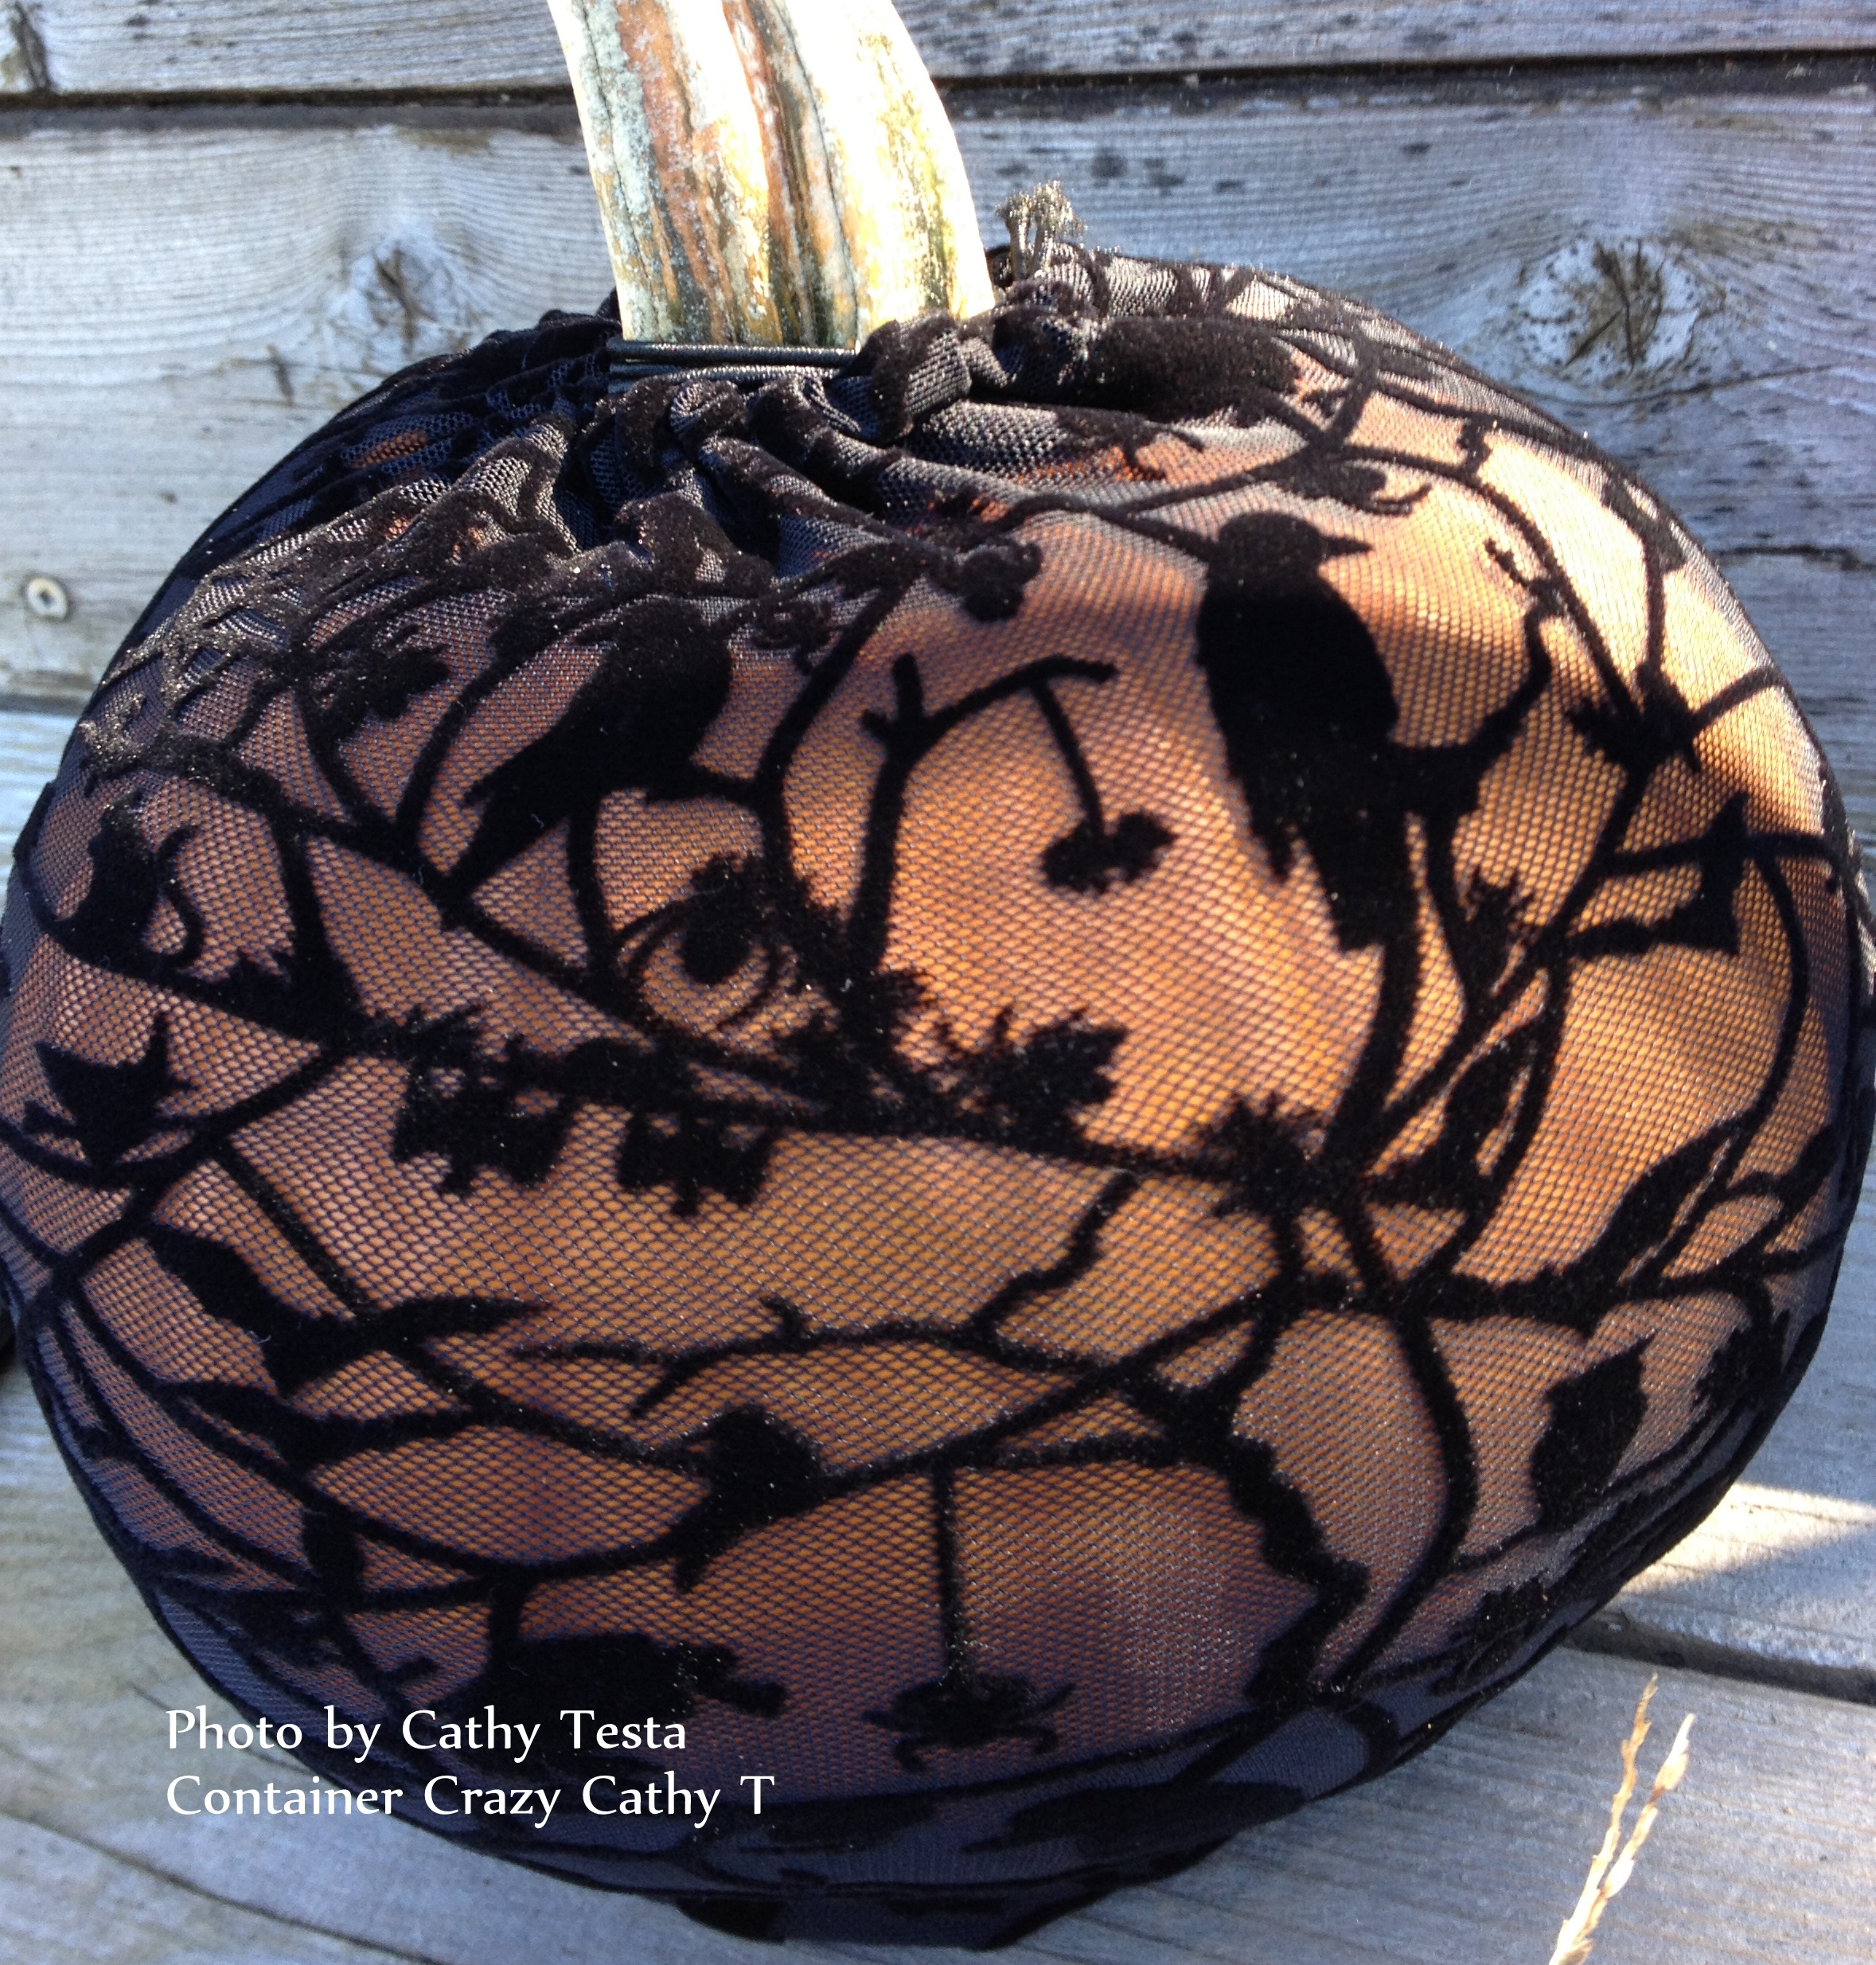
Not a bother – because it was very easy. Just slip it over and secure the ends. At first I used small rubber bands to gather the ends on the bottom and top, but later discovered a draw string for the top end of the sleeve. However, I still found the rubber band trick to secure it tightly worked better.


As I went to pimp my last pumpkin, I realized I didn’t have enough sleeves (only 3 per package), so I went to my drawer, found a pair of plain black nylon stockings, cut a portion off the foot end, and pulled it over. It is not as pretty because there isn’t a pattern on it, but I’m sure I could use a Sharpie permanent marker to create some images on it if I wanted to later.

 My cat, Mini, came by to investigate my project – like most of my curious cats do when I’m outside dressing up areas for the season.
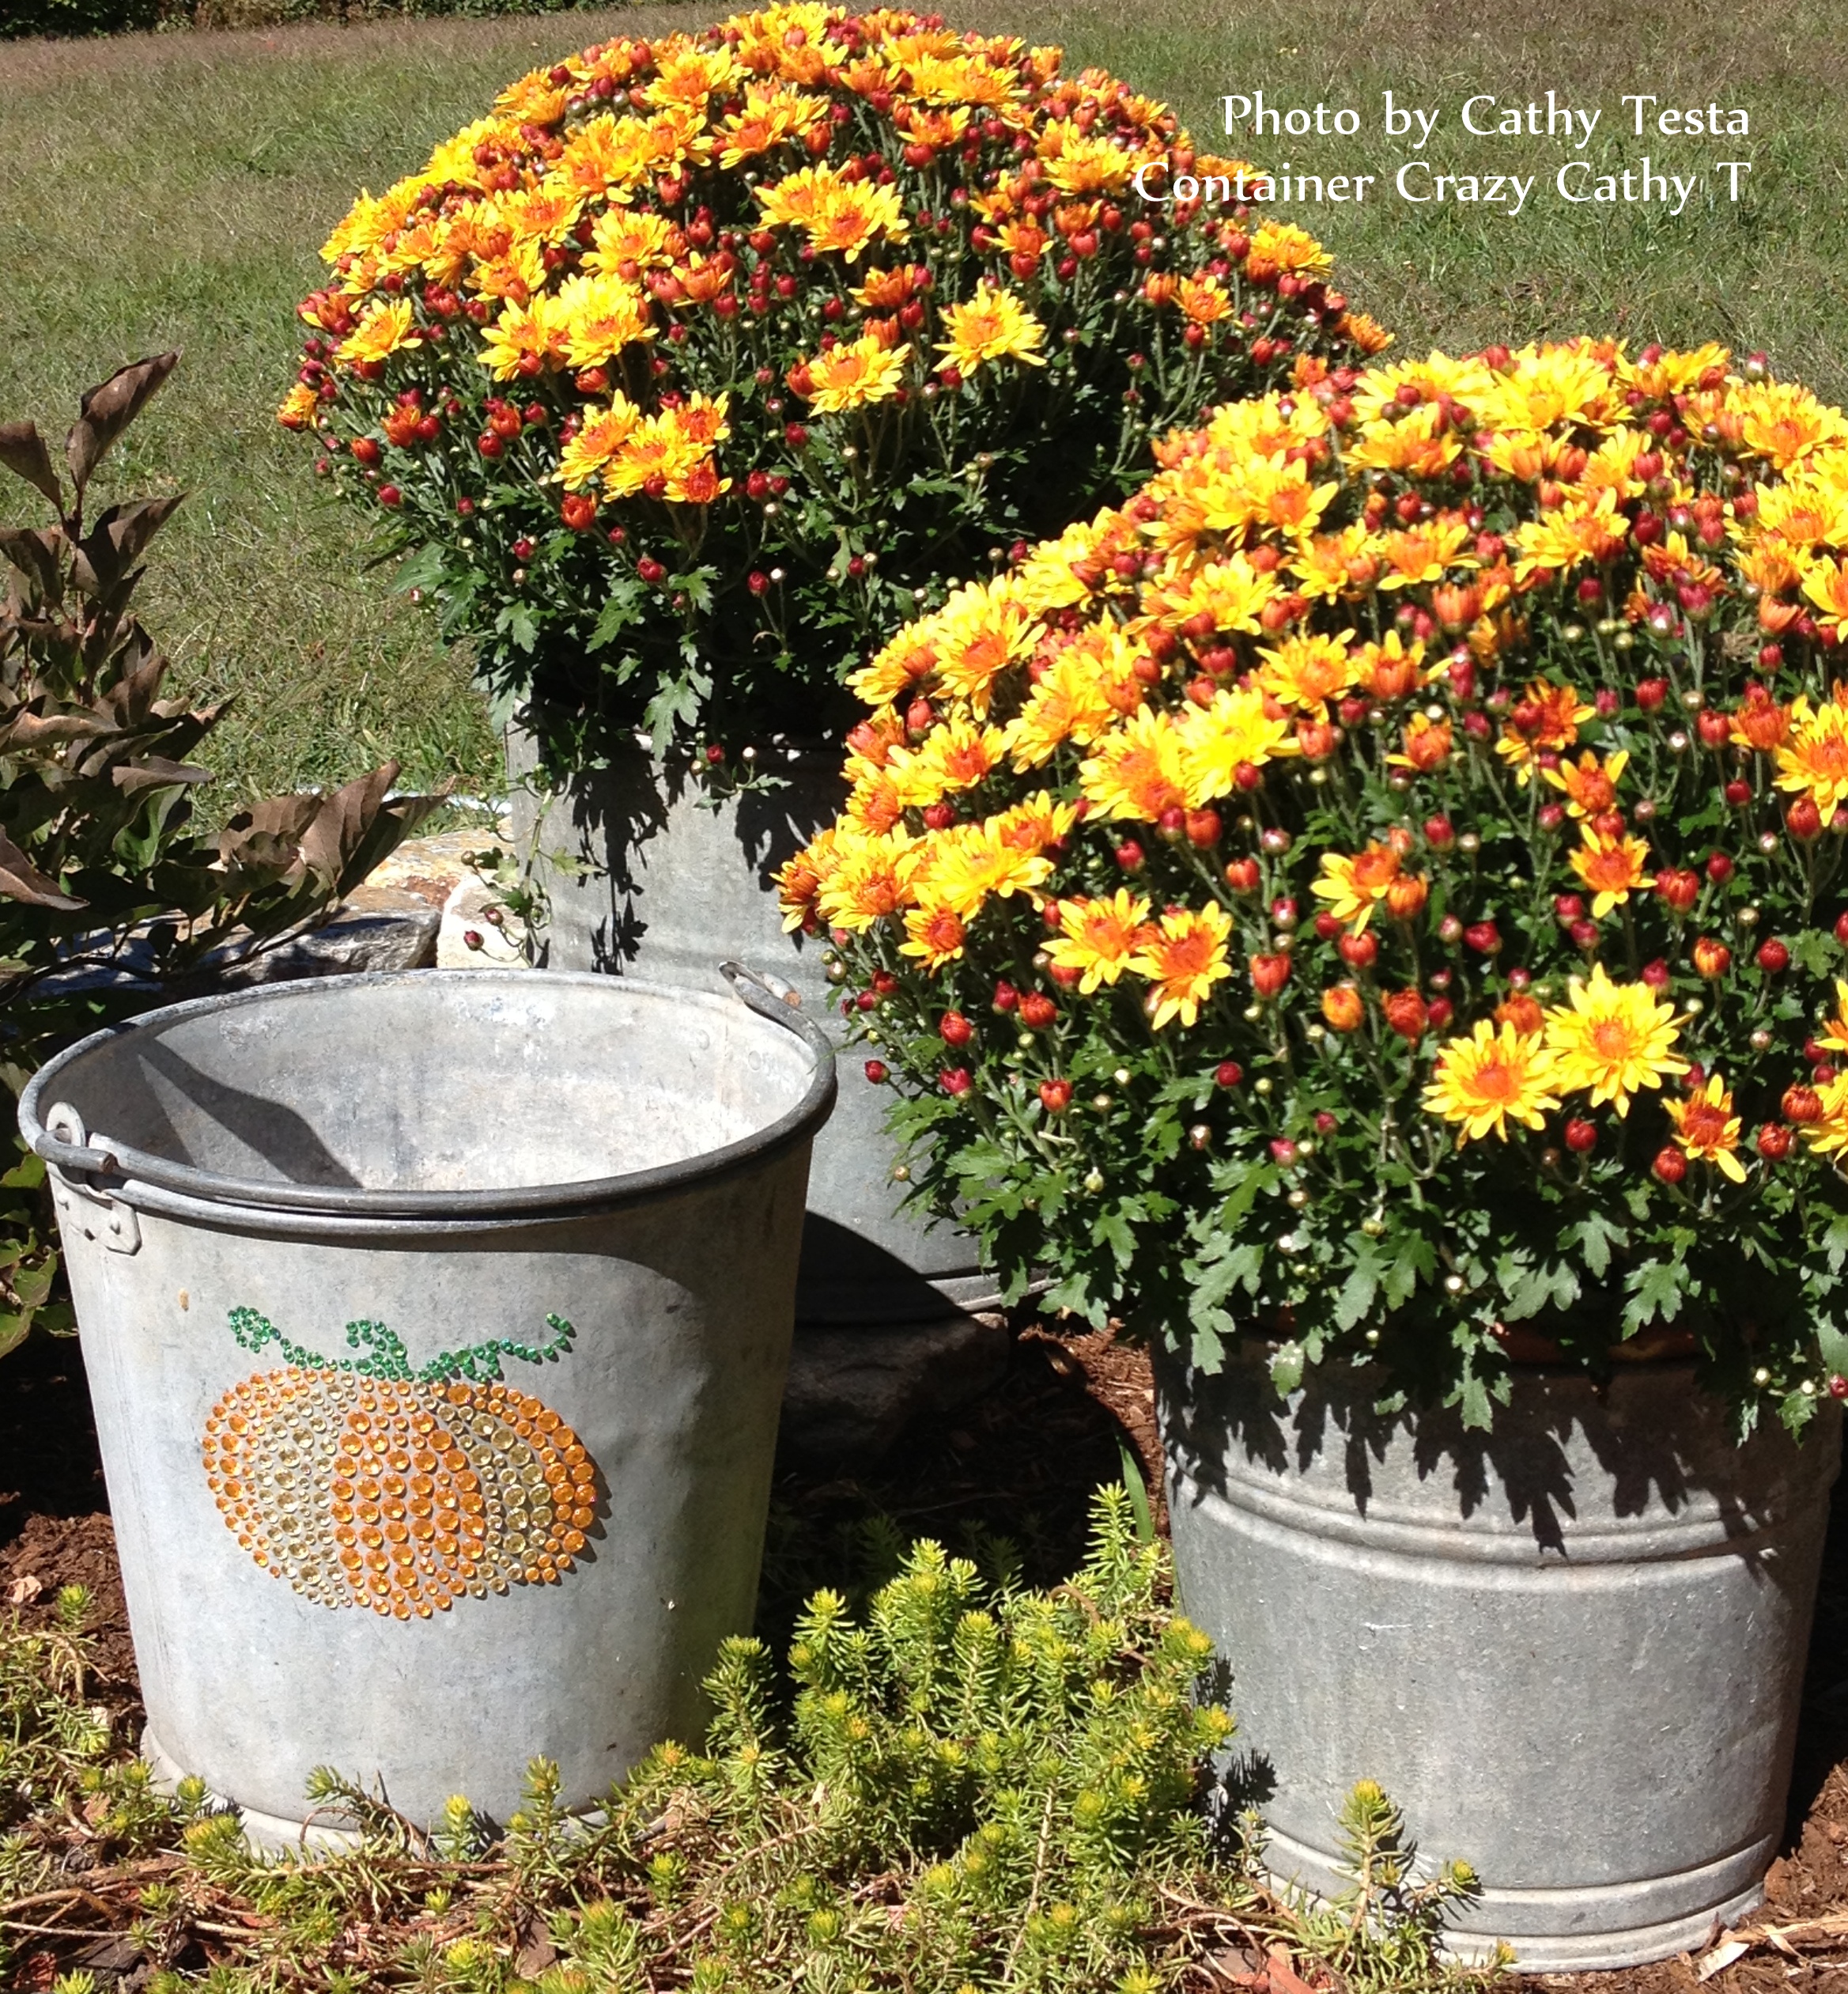
 I also picked up some bling-bling from Michaels by Recollections. It is rhinestone stickers, probably intended to stick on windows, but I attempted to apply them to my pumpkins and galvanized buckets.

Because the temperature of the pumpkin will get cold in the evenings and warm during the day, I added some additional clear glue under to help it stay adhered. We will see if it hangs on for the rest of the month.


Both the sleeves and rhinestone stickers are a quick and easy fix to pimping your pumpkins. And since there is no cutting involved, it will last much longer than a carved pumpkin. Plus you can reuse the pumpkin sleeves every year. For rhinestones, you could also investigate your unused jewelry beads, buttons, or small pieces to upcycle them for a look similar to the rhinestones.

That’s it! Just a quick bit of inspiration – and right after, I went to my hammock and rested a bit to enjoy the beautiful blue skies of this past weekend. It was absolutely gorgeous out – and the weatherman said it would be nice and warm all week.
Enjoy your week.
Written by Cathy Testa


Ooh, I love these! How creative and festive for fall!
Thank you! With the wonderful weather we had last week, and are experiencing in CT this week – the fun to decorate for fall continues! Cathy T
Love those sleeves! I just might try to recreate that! I have some old patterned hose that I might top with a big black sating bow! Great ideas, Cathy, thanks for sharing!
Sounds like a plan – just yesterday a visitor told me she loved them too – saw in person. It is super easy – and nice to not have to any cleanup as when we carve pumpkins – but I still love carving too. Thanks.
Love…Love..Love these pumpkins! Love this post Cathy. Great photos too! I’m going to go and purchase a few of these…too much fun. Happy Fall!
Thanks Catherine. Everyone who happens to come over and sees, them loves them too. So simple yet an elegant was to dress up your pumpkins. Cathy T
Those actually look really cool! I was skeptical at first, which strangely made me feel like some kind of pumpkin purist. They look great and I love your last picture from the hammock!
Thanks Angela. Someone asked me if I really use my hammock because it is way in the back of my yard, and yes, of course! I do. Glad you liked the pumpkins. Cath
What a cute and inventive way to decorate pumpkins! I’m not one for carving and this is a great alternative!
I love all of these! So cool, and they look so simple to make!
xx Kait
Reblogged this on Container Crazy Cathy T and commented:
This post received a lot of attention last October – so if you haven’t decorated your pumpkins yet – and don’t like the art of carving, here are some wonderful alternatives.
Note the stick-on bling decor held up well but some started to peel off when the sun heated them up – so I would recommend some adhesive or even some very small push pins to secure them onto the pumpkins.
I loved the nylon covering for pumpkins because they are reusable. I stored mine with my Halloween decor – however, we did some carving last Sunday, meaning my husband and I.
Carving pumpkins was so much fun – I decided in 2016 – I’m going to offer a fun workshop of “Carving and Flower Stuffing of Pumpkins” early in October. It will be posted on my blog under the “Nature with Art” class programs in 2016.
All will be here for attendees – pumpkin selections, carving tools, and fresh flowers if you prefer to fill them with flowers for your table!
Only two more weeks until Halloween – have fun out there, and be safe.
Cathy Testa